Home>Home Appliances>Laundry Appliances>How To Change A Washing Machine Belt
Laundry Appliances
How To Change A Washing Machine Belt
Modified: October 27, 2024
Learn how to change a washing machine belt with our step-by-step guide. Keep your laundry appliances running smoothly with our expert tips.
(Many of the links in this article redirect to a specific reviewed product. Your purchase of these products through affiliate links helps to generate commission for Storables.com, at no extra cost. Learn more)
Introduction
Changing a washing machine belt is a common maintenance task that can help restore your appliance's functionality and extend its lifespan. Over time, the belt in your washing machine may wear out or become damaged, leading to issues such as the drum not spinning or the machine making unusual noises during operation. By replacing the belt, you can address these issues and ensure that your washing machine continues to operate smoothly.
Whether you're a seasoned DIY enthusiast or a first-time fixer-upper, learning how to change a washing machine belt can save you time and money. Instead of calling a repair technician, you can take matters into your own hands and tackle this straightforward repair with confidence. With the right tools, a bit of patience, and the guidance provided in this article, you'll be well-equipped to successfully replace the belt in your washing machine.
In the following sections, we'll walk you through the step-by-step process of changing a washing machine belt, from gathering the necessary tools and materials to testing the machine after the new belt is installed. By following these instructions, you'll be able to address belt-related issues in your washing machine and restore its optimal performance. So, roll up your sleeves, gather your tools, and let's get started on reviving your washing machine with a new belt.
Key Takeaways:
- Changing a washing machine belt is a DIY task that can save time and money. Prioritize safety, follow step-by-step instructions, and test the machine for optimal functionality after installation.
- By replacing the old belt with a new one, homeowners can revitalize their washing machines and ensure reliable performance. This proactive approach extends the appliance’s lifespan and minimizes the need for professional repairs.
Read more: How To Change A Dryer Belt
Tools and Materials Needed
Before embarking on the task of changing a washing machine belt, it's essential to gather the necessary tools and materials to ensure a smooth and efficient repair process. Here's a comprehensive list of what you'll need:
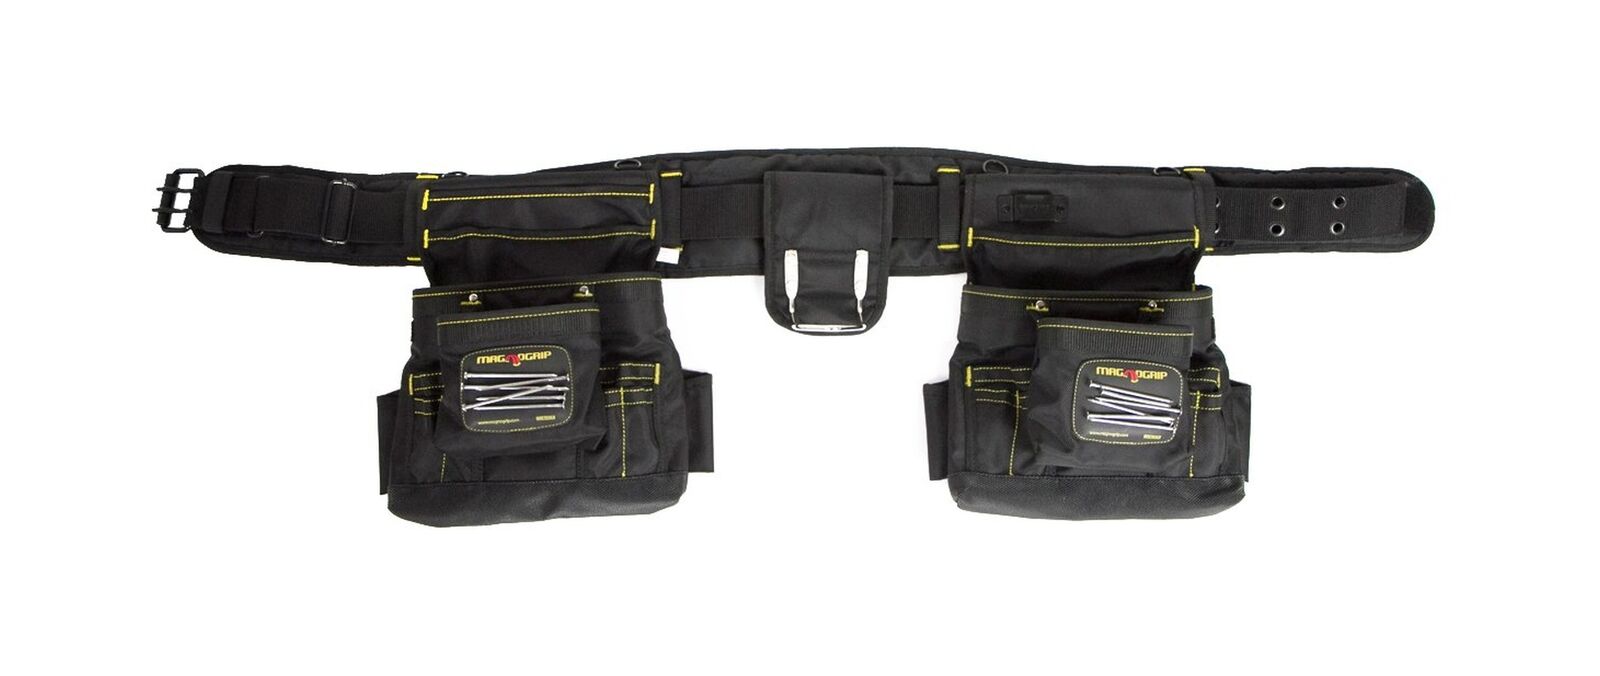
Tools:
- Screwdriver Set: A set of screwdrivers, including both flathead and Phillips head varieties, will be essential for accessing and removing components of the washing machine.
- Adjustable Wrench: This tool will come in handy for loosening and tightening bolts and nuts during the belt replacement process.
- Pliers: A pair of pliers will be useful for gripping and manipulating small components within the washing machine.
- Flashlight: Since the belt and pulley system is often located in a confined space within the washing machine, a flashlight will help illuminate the area for better visibility.
- Putty Knife: This tool can be used to pry open the washing machine's cabinet or access panel, allowing you to reach the belt and pulley system.
Materials:
- Replacement Belt: Ensure that you have the correct replacement belt for your specific washing machine model. You can refer to the appliance's manual or consult the manufacturer's website for the appropriate belt specifications.
- Safety Gloves: It's important to prioritize safety during the repair process. Wear protective gloves to shield your hands from sharp edges and moving components within the washing machine.
- Safety Glasses: Protect your eyes from any potential debris or dust that may be present within the washing machine by wearing safety glasses.
- Cleaning Cloth: Have a clean cloth or rag on hand to wipe away any dirt or debris that may have accumulated within the washing machine during the repair.
- Owner's Manual: Keep the washing machine's owner's manual nearby for reference. It can provide valuable insights into the specific components and mechanisms of your appliance.
By ensuring that you have these tools and materials at your disposal, you'll be well-prepared to tackle the task of changing the washing machine belt. With the right equipment and a methodical approach, you can effectively address belt-related issues and restore your washing machine's functionality. Now that you're equipped with the necessary tools and materials, let's move on to the next steps of the belt replacement process.
Step 1: Unplug the Washing Machine
The first and foremost step in changing a washing machine belt is to ensure the appliance is completely disconnected from its power source. Safety should always be the top priority when working on any electrical device, and unplugging the washing machine is a crucial precautionary measure.
To begin, locate the power cord of the washing machine and unplug it from the electrical outlet. It's important to verify that the machine is completely powered down and not in operation mode before proceeding with any repair work. This step serves to eliminate the risk of electric shock and ensures a safe working environment for the duration of the belt replacement process.
By disconnecting the washing machine from the power supply, you prevent any accidental activation of the appliance while components are being accessed and manipulated. This precautionary measure also minimizes the potential for electrical hazards, providing you with peace of mind as you work on the repair.
Additionally, unplugging the washing machine aligns with standard safety practices recommended for any maintenance or repair work on electrical appliances. It sets the foundation for a secure and controlled repair environment, allowing you to focus on the task at hand without the concern of electrical interference.
Once the washing machine is unplugged, it's advisable to wait for a few minutes to ensure that any residual electrical charge within the appliance dissipates. This extra precaution further reduces the risk of exposure to electrical hazards and enhances the overall safety of the repair process.
By diligently following this initial step and unplugging the washing machine, you establish a safe working environment and lay the groundwork for a successful belt replacement procedure. With the appliance safely disconnected from its power source, you can confidently proceed to the subsequent steps of accessing and replacing the washing machine belt.
Unplugging the washing machine is a fundamental safety measure that sets the stage for a smooth and secure repair process. With this critical step completed, you're ready to move on to the next phase of the belt replacement procedure, ensuring that the repair progresses safely and effectively.
Read more: How To Change Sandpaper On A Belt Sander
Step 2: Access the Belt
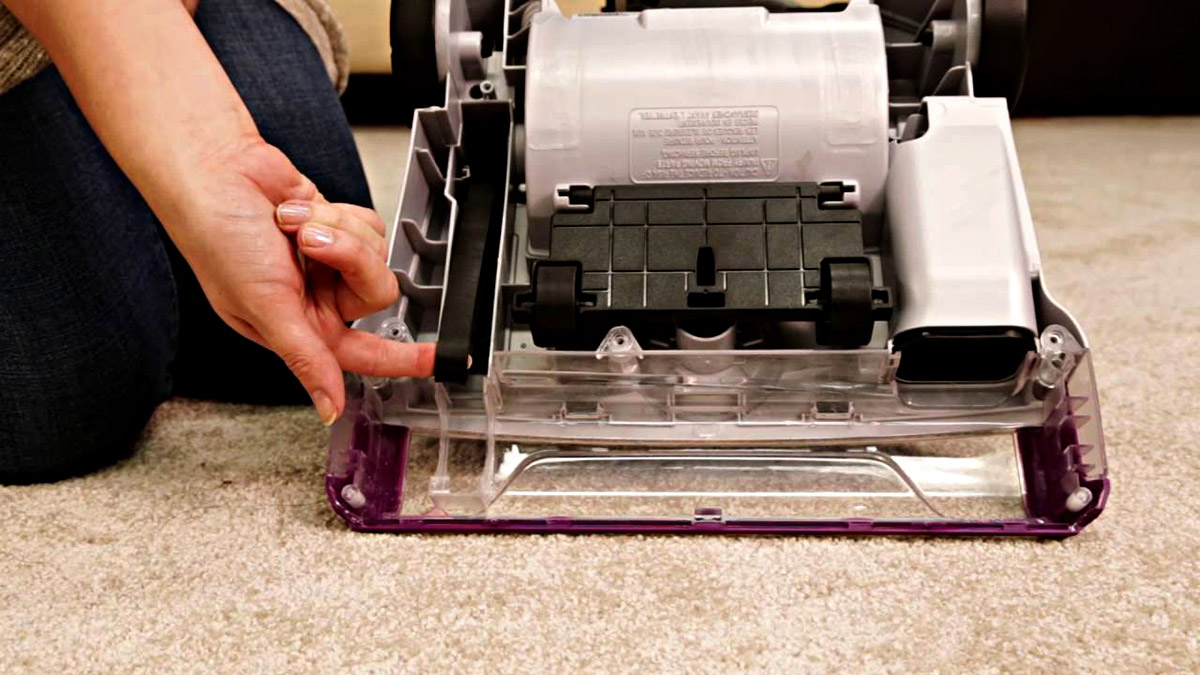
Accessing the belt in a washing machine is a pivotal step in the process of replacing it. To begin, you'll need to locate the access panel or cabinet of the washing machine. The specific location of the access point may vary depending on the make and model of your appliance. In most cases, the access panel is situated at the back of the washing machine, while some models feature a front-access cabinet that can be opened by removing screws or clips.
Once you've identified the access panel, use the appropriate tools, such as a screwdriver or putty knife, to remove any fasteners or screws securing the panel in place. Carefully set aside the screws or clips in a secure location to prevent misplacement. With the access panel removed, you'll gain visibility and entry to the internal components of the washing machine, including the belt and pulley system.
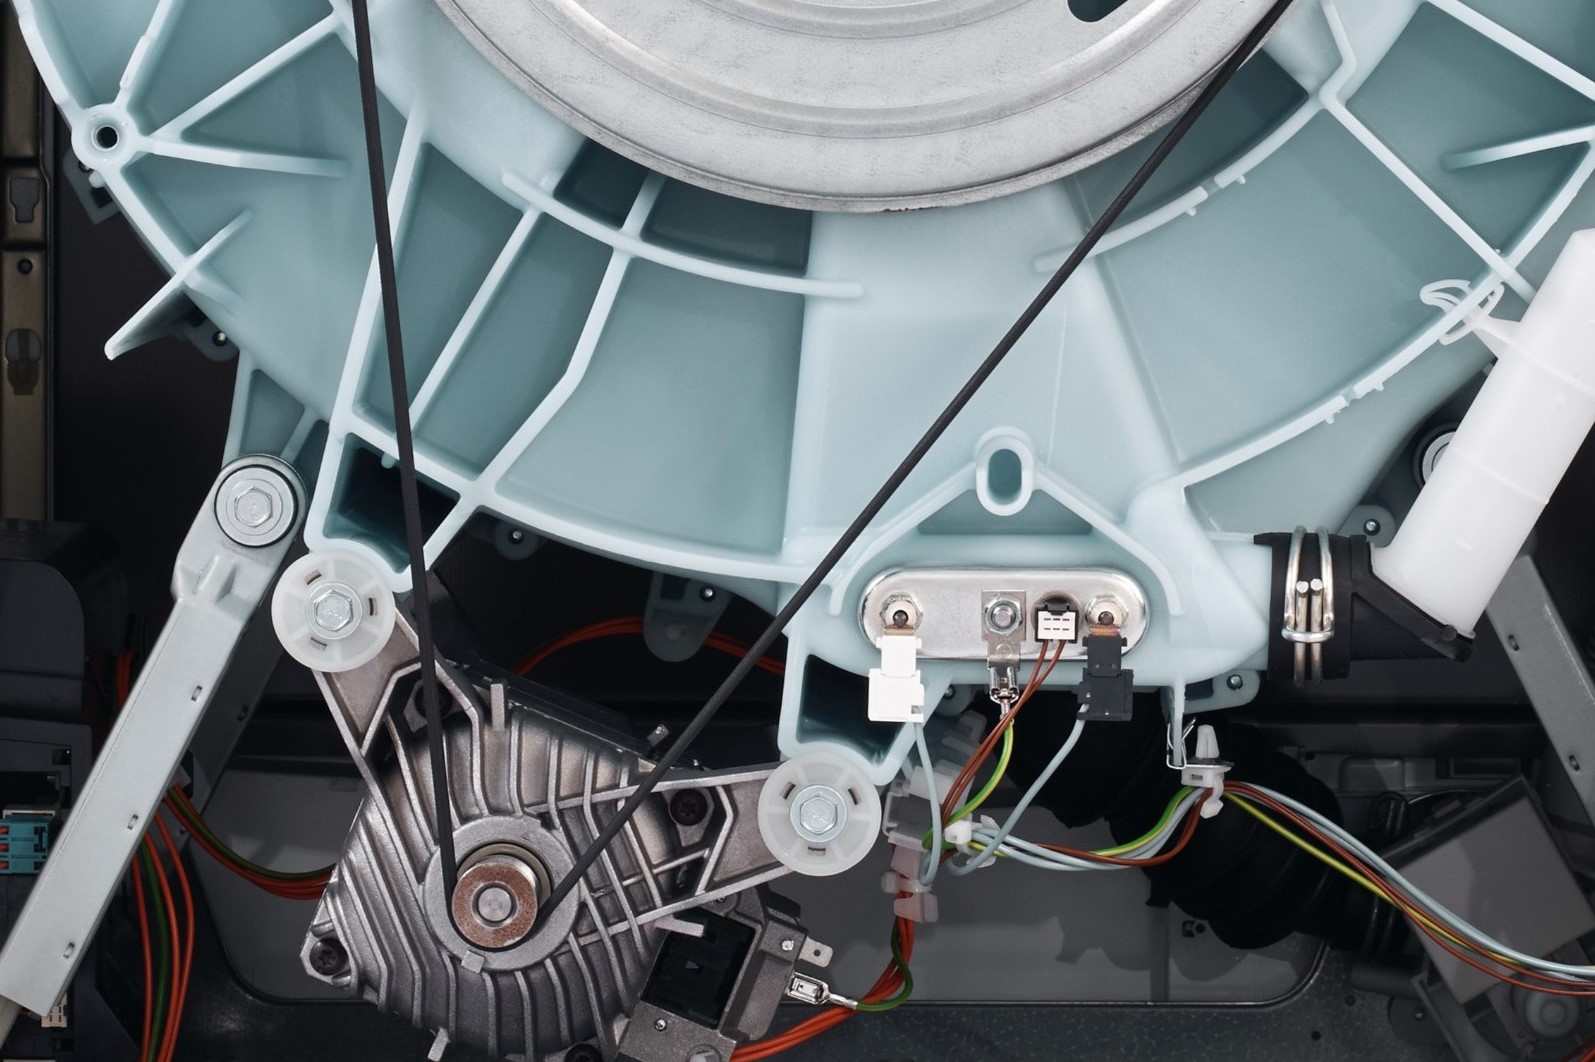
Upon accessing the interior of the washing machine, take a moment to familiarize yourself with the layout and positioning of the belt and pulleys. The belt is typically looped around the motor pulley and the drum pulley, forming a crucial connection that facilitates the rotation of the drum during the wash and spin cycles. As you inspect the belt, assess its condition and note any signs of wear, fraying, or damage that may have led to its malfunction.
In some instances, the belt may have slipped off the pulleys, causing operational issues in the washing machine. If this is the case, carefully realign the belt onto the pulleys, ensuring that it sits securely in place and follows the correct path around the motor and drum pulleys. Proper alignment of the belt is essential for optimal performance and longevity of the washing machine's components.
During the process of accessing the belt, it's important to exercise caution and attentiveness to prevent damage to the internal mechanisms of the washing machine. Avoid applying excessive force or causing undue strain on the components as you navigate the interior of the appliance. By approaching this step with care and precision, you can effectively access the belt and prepare for the subsequent stages of the replacement process.
With the belt and pulley system within reach, you're now poised to proceed to the next phase of the belt replacement procedure. By successfully accessing the belt and gaining insight into its condition, you've taken a significant stride toward restoring the functionality of your washing machine.
Step 3: Remove the Old Belt
With the washing machine's internal components accessible, the next critical step in the belt replacement process is to remove the old, worn-out belt. Before proceeding, it's essential to closely examine the existing belt to assess its condition and identify any areas of damage or wear. This inspection will provide valuable insights into the specific issues that may have led to the belt's malfunction and the subsequent need for replacement.
To remove the old belt, begin by carefully disengaging it from the motor and drum pulleys. Depending on the design of the washing machine, you may need to release tension from the belt to facilitate its removal. This can typically be achieved by adjusting the position of the motor or by manipulating the tension pulley, if present, to create slack in the belt.
Using a combination of gentle maneuvering and precise handling, carefully slide the old belt off the motor and drum pulleys, ensuring that it is completely detached from the system. Take note of the belt's path and orientation as you remove it, as this will be instrumental in correctly installing the new belt during the subsequent phase of the repair process.
As you extract the old belt, pay close attention to any resistance or areas of friction that may indicate underlying issues within the pulley system. This observation can offer valuable clues regarding the cause of the belt's deterioration and guide you in addressing potential mechanical concerns that may have contributed to its failure.
Once the old belt has been successfully removed, set it aside in a designated area, as it may serve as a reference point for selecting the appropriate replacement belt. Take this opportunity to clean the pulleys and surrounding components, removing any accumulated debris or residue that could impede the performance of the new belt.
By methodically removing the old belt and conducting a thorough assessment of its condition, you've taken a crucial step toward revitalizing your washing machine. With the worn belt out of the way, you're now primed to progress to the subsequent phase of the repair process, where you'll install the new belt and set the stage for testing the machine's functionality.
With the old belt safely removed and the pulleys prepared for the installation of the new belt, you're well-positioned to advance to the next pivotal stage of the belt replacement procedure.
When changing a washing machine belt, make sure to unplug the machine and remove the back panel. Loosen the motor and remove the old belt, then install the new belt and reassemble the machine.
Step 4: Install the New Belt
With the old belt removed and the internal components of the washing machine accessible, the next critical phase in the belt replacement process is the installation of the new belt. This pivotal step marks a significant stride toward restoring the optimal functionality of the appliance and addressing any issues related to the previous belt's wear or damage.
Before proceeding with the installation of the new belt, it's essential to ensure that you have the correct replacement belt that aligns with the specifications of your washing machine model. Refer to the appliance's manual or consult the manufacturer's guidelines to verify the compatibility and dimensions of the new belt. Selecting the appropriate replacement belt is fundamental to the successful restoration of the washing machine's performance.
To install the new belt, begin by carefully positioning it around the motor pulley and the drum pulley, following the designated path that corresponds to the original configuration. Pay close attention to the alignment and orientation of the belt, ensuring that it sits securely on the pulleys and maintains the necessary tension for optimal operation.
As you guide the new belt into place, take care to avoid twisting or kinking it, as this can impede its functionality and lead to premature wear. Smoothly maneuver the belt around the pulleys, ensuring that it follows the designated path without any obstructions or misalignments.
Depending on the design of the washing machine, you may need to adjust the position of the motor or utilize a tension pulley to create the appropriate tension in the new belt. This adjustment is crucial for ensuring that the belt is securely seated on the pulleys and can effectively facilitate the rotation of the drum during the wash and spin cycles.
Once the new belt is correctly positioned and tensioned, carefully rotate the drum by hand to verify that the belt moves smoothly along the pulleys without slipping or binding. This manual rotation test serves as a preliminary assessment of the new belt's alignment and functionality, allowing you to detect any irregularities or issues that may require further adjustment.
By methodically installing the new belt and confirming its proper alignment and tension, you've taken a significant step toward rejuvenating your washing machine and addressing the issues associated with the previous belt. With the new belt securely in place, you're now prepared to proceed to the final phase of the repair process: testing the machine to ensure its optimal functionality.
With the new belt successfully installed, you've reached a pivotal milestone in the belt replacement procedure, setting the stage for the final phase of the repair process.
Step 5: Test the Machine
After successfully installing the new belt in your washing machine, the final and crucial step is to test the appliance to ensure that the belt replacement has effectively addressed any previous issues and restored its optimal functionality. Testing the machine provides a comprehensive evaluation of the new belt's performance and allows you to verify that the washing machine operates smoothly and efficiently.
To begin the testing phase, carefully reassemble any components or access panels that were removed to access the belt and pulley system. Ensure that all fasteners are securely tightened and that the washing machine's exterior is restored to its original configuration. This step is essential for creating a safe and contained environment for testing the appliance, preventing any potential hazards or obstructions during the evaluation process.
Once the washing machine is reassembled, plug the power cord back into the electrical outlet and power on the appliance. As the machine initiates its operation, listen attentively for any unusual noises or vibrations that may indicate issues with the new belt's installation or alignment. Additionally, observe the drum's rotation during the wash and spin cycles, ensuring that it moves smoothly and consistently without any irregularities.
As the washing machine completes its cycles, pay close attention to its overall performance, including the balance of the drum, the absence of excessive noise, and the effectiveness of the spin cycle. These observations provide valuable insights into the functionality of the new belt and its impact on the appliance's operation. If the machine exhibits any signs of strain, unusual sounds, or operational irregularities, it may indicate that further adjustments are necessary to optimize the new belt's performance.
To further validate the effectiveness of the new belt, consider running a test load of laundry through the washing machine. Monitor the entire cycle, from the initial filling of the drum to the final spin and drainage process. This comprehensive test allows you to assess the washing machine's performance under typical operating conditions, ensuring that the new belt can effectively facilitate the appliance's essential functions.
Throughout the testing phase, remain vigilant and responsive to any indications of potential issues or malfunctions. If you observe any persistent irregularities or concerns during the testing process, consider consulting the washing machine's manual or seeking professional assistance to address the underlying causes and ensure the optimal functionality of the appliance.
By meticulously testing the washing machine after the new belt installation, you can confidently verify the success of the belt replacement and ensure that the appliance operates at its best. This thorough evaluation serves as the final validation of the repair process, affirming that the washing machine is ready to resume its essential role in your household with renewed efficiency and reliability.
Conclusion
In conclusion, the process of changing a washing machine belt is a rewarding endeavor that empowers homeowners to address issues related to the appliance's functionality and extend its operational lifespan. By following the step-by-step instructions outlined in this guide and leveraging the necessary tools and materials, individuals can confidently undertake the task of replacing the washing machine belt, thereby restoring the appliance's optimal performance.
Throughout the belt replacement process, prioritizing safety and precision is paramount. Unplugging the washing machine from its power source at the outset sets the stage for a secure and controlled repair environment, mitigating the risk of electrical hazards and ensuring a safe working environment. Accessing the belt, removing the old belt, and installing the new belt require careful attention to detail and a methodical approach to safeguard the internal components of the washing machine and facilitate a seamless repair process.
The successful installation of the new belt culminates in the pivotal phase of testing the washing machine, where the appliance's performance is thoroughly evaluated to confirm the effectiveness of the belt replacement. By conducting comprehensive tests and observing the machine's operation, individuals can gain valuable insights into the new belt's functionality and address any potential issues that may arise during the testing phase.
Ultimately, the successful completion of the belt replacement process equips homeowners with the satisfaction of revitalizing their washing machine and ensuring its continued reliability in meeting their laundry needs. By taking a proactive approach to maintenance and repair, individuals can extend the longevity of their appliances and minimize the need for costly professional interventions.
As a result of the diligent efforts invested in changing the washing machine belt, individuals can enjoy the peace of mind that comes with a fully functional and efficiently operating appliance. Whether it's the seamless rotation of the drum during wash cycles or the reliable performance during spin cycles, the new belt serves as a fundamental component that contributes to the overall functionality and longevity of the washing machine.
In essence, the process of changing a washing machine belt embodies the spirit of DIY maintenance and empowers individuals to take charge of their appliance's well-being. By embracing this proactive approach, homeowners can ensure that their washing machines continue to serve their households with reliability and efficiency, making the investment of time and effort in belt replacement a truly rewarding endeavor.
Frequently Asked Questions about How To Change A Washing Machine Belt
Was this page helpful?
At Storables.com, we guarantee accurate and reliable information. Our content, validated by Expert Board Contributors, is crafted following stringent Editorial Policies. We're committed to providing you with well-researched, expert-backed insights for all your informational needs.


0 thoughts on “How To Change A Washing Machine Belt”