Home>Home Appliances>Laundry Appliances>How To Drain A Washing Machine For Moving
Laundry Appliances
How To Drain A Washing Machine For Moving
Published: February 22, 2024
Learn how to properly drain a washing machine before moving to avoid water damage and ensure a smooth relocation. Follow these steps for a hassle-free move. Ideal for anyone relocating their laundry appliances.
(Many of the links in this article redirect to a specific reviewed product. Your purchase of these products through affiliate links helps to generate commission for Storables.com, at no extra cost. Learn more)
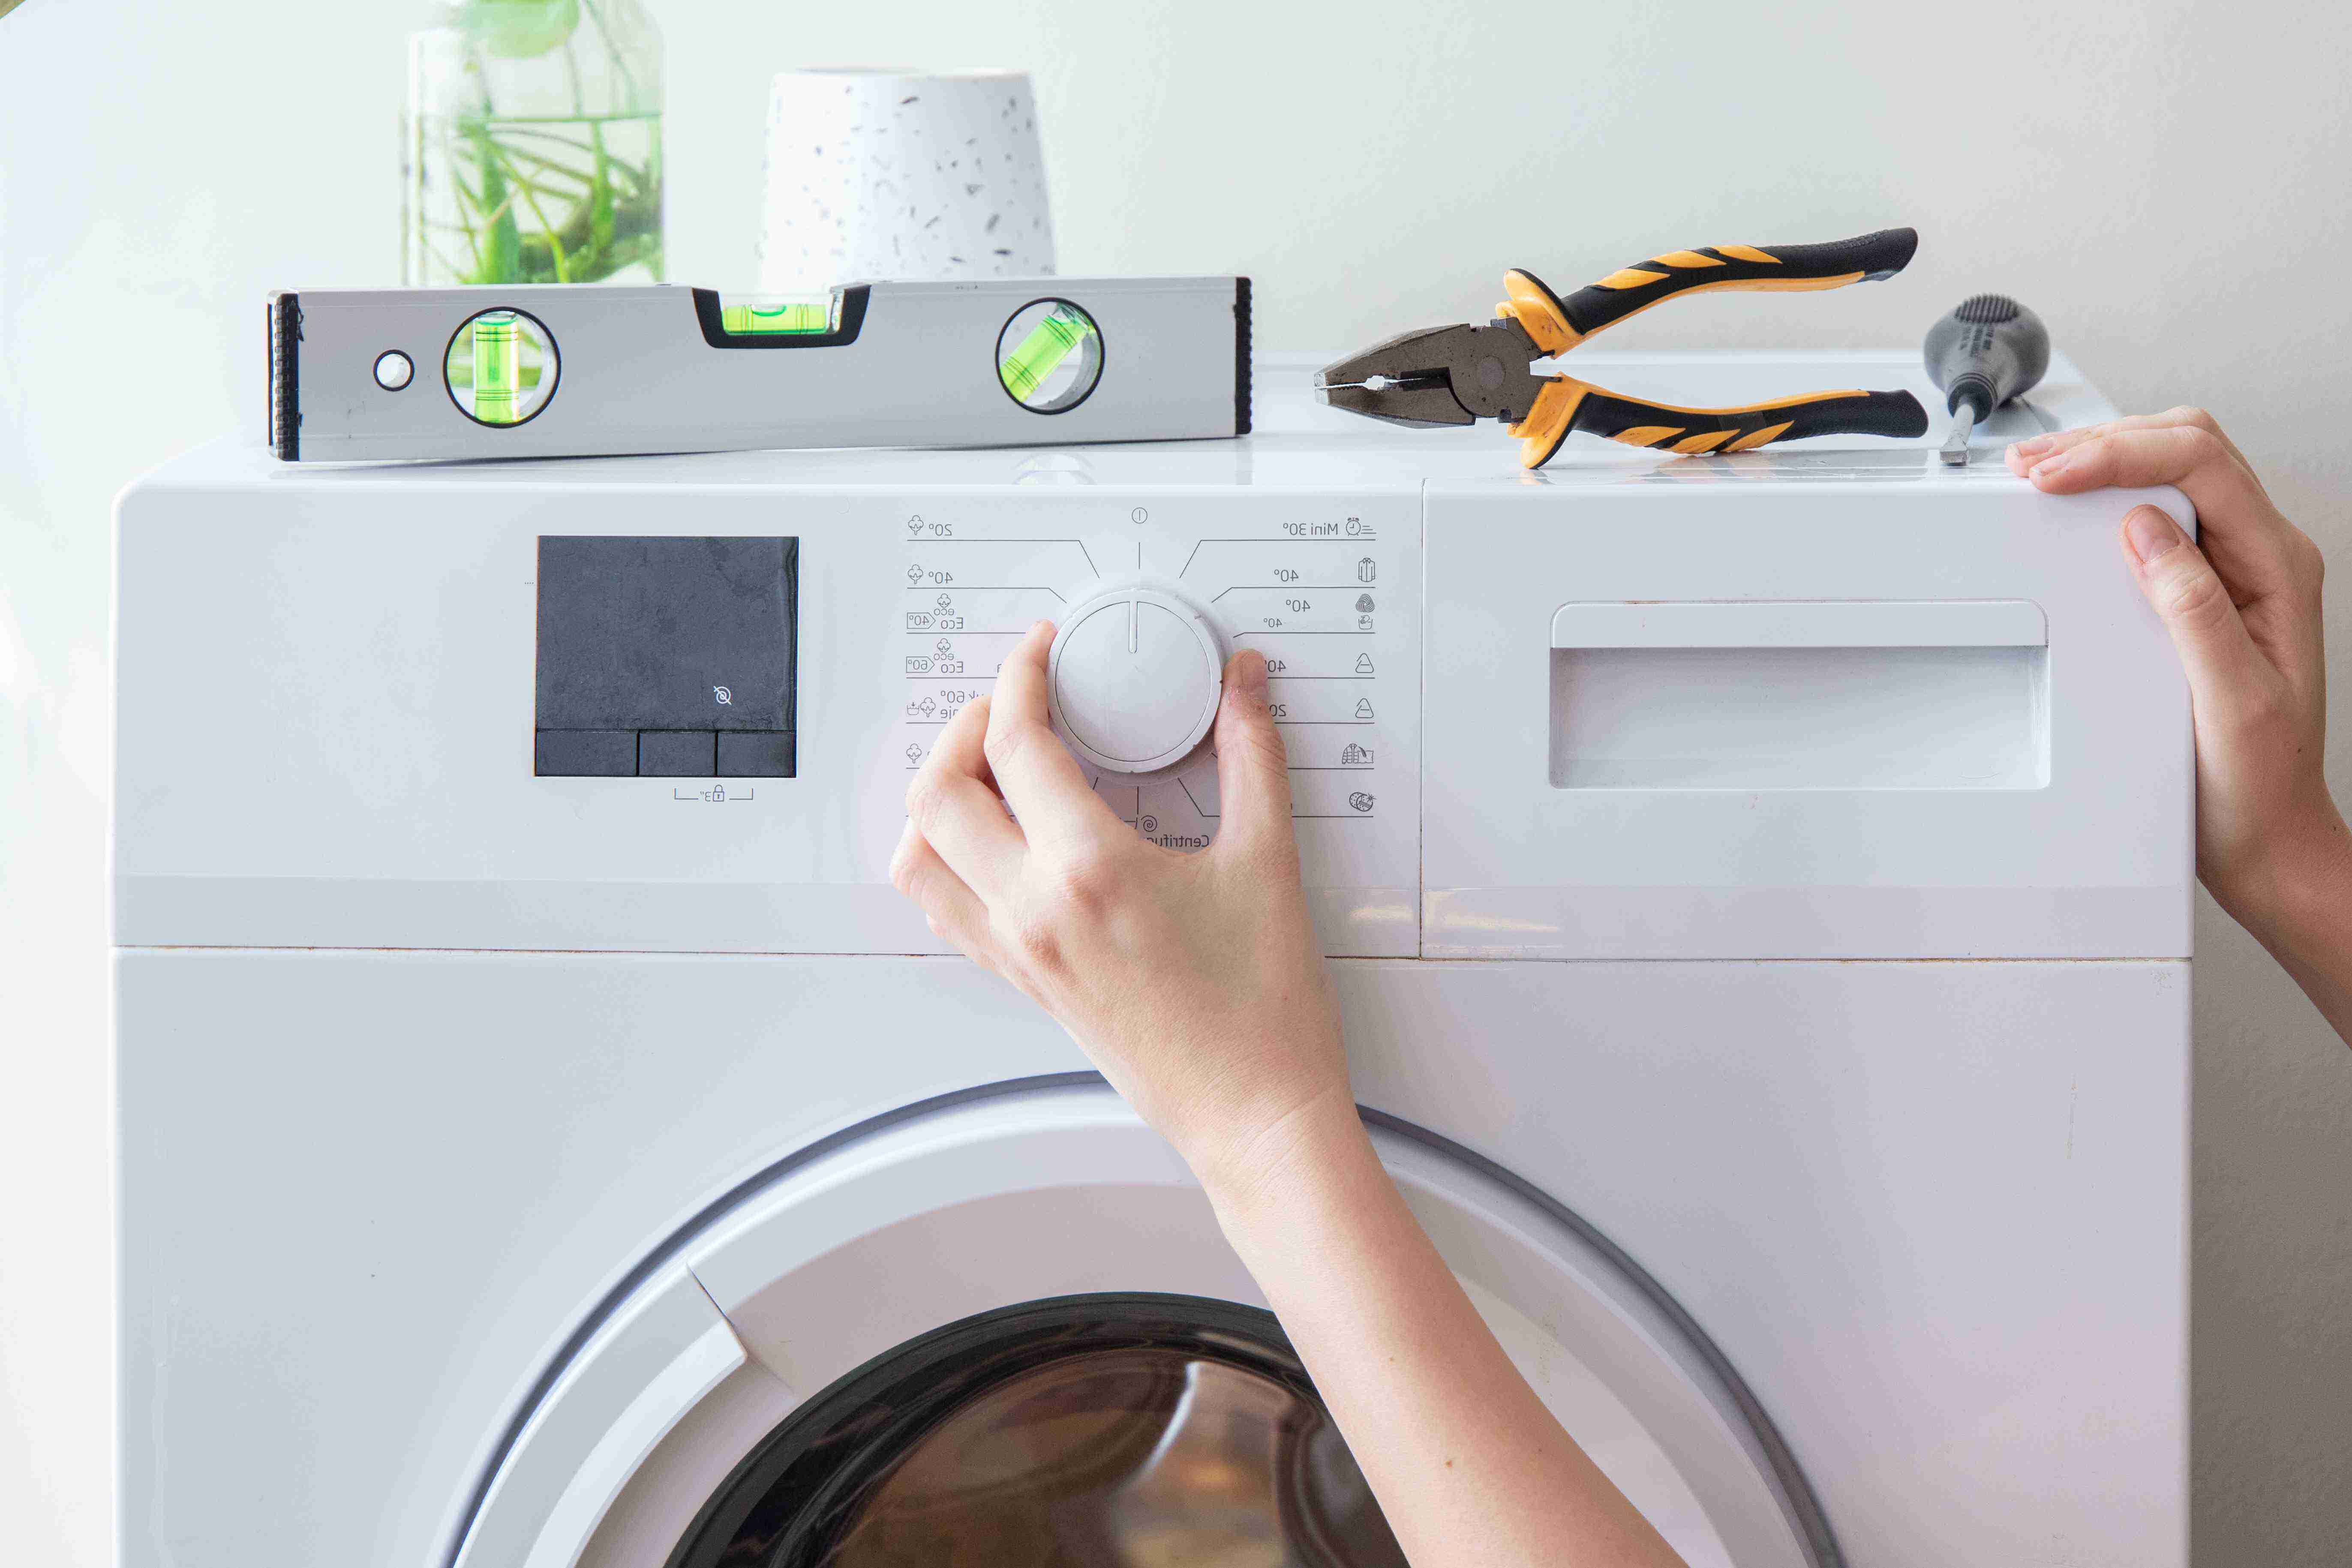
Preparing the Washing Machine
Before moving a washing machine, it's crucial to prepare it properly to ensure a smooth and safe transition. Here's a step-by-step guide to help you prepare your washing machine for moving:
-
Turn Off the Power: Start by unplugging the washing machine from the power outlet. This will prevent any electrical mishaps during the moving process.
-
Clear the Surrounding Area: Remove any items placed on or around the washing machine. This includes laundry detergent, fabric softener, and any other accessories. Clearing the area around the machine will make it easier to access and prepare for moving.
-
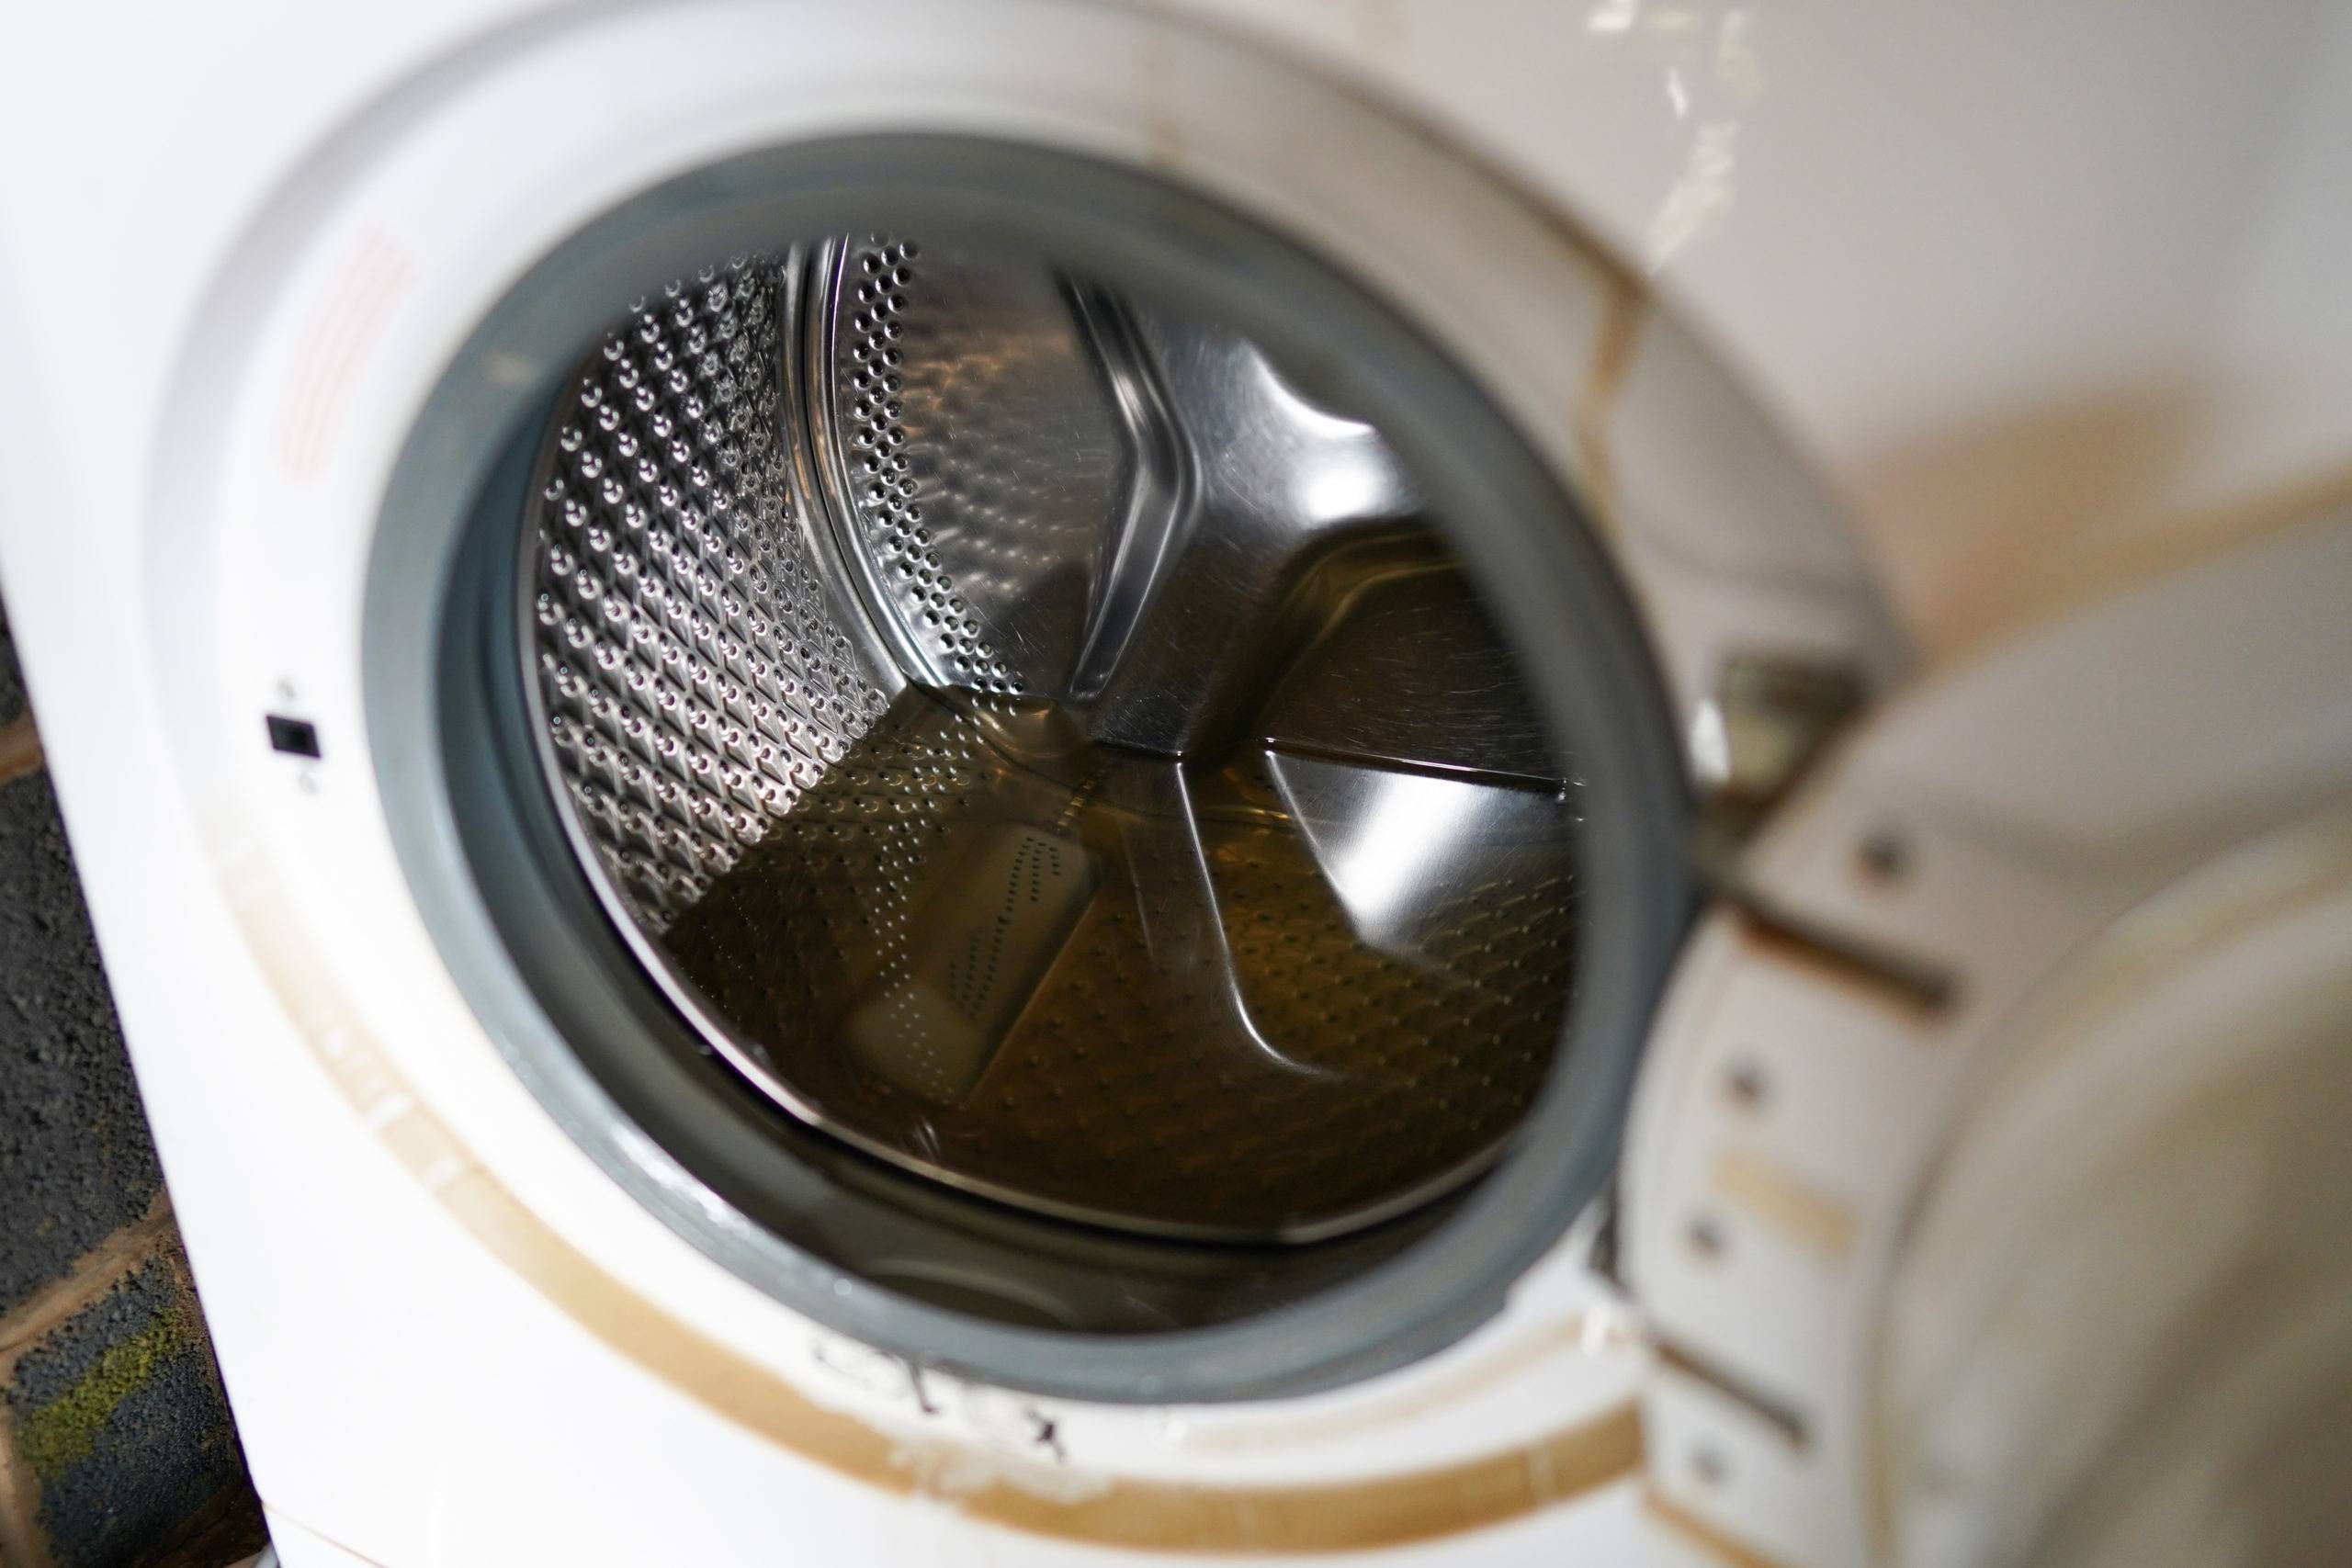
Empty the Drum: Ensure that the washing machine drum is completely empty. Check for any forgotten items such as socks or small garments that may have been left behind.
-
Secure the Drum: To prevent the drum from moving during transportation, secure it with the manufacturer's recommended locking or transit bolts. These bolts are designed to hold the drum in place and prevent damage to the machine's internal components.
-
Secure the Door: If your washing machine has a door lock, engage it to prevent the door from swinging open during the move. This will also help protect the door from potential damage.
-
Clean the Exterior: Wipe down the exterior of the washing machine with a gentle cleaner to remove any dirt or grime. This will not only keep the machine looking its best but also prevent any debris from transferring to other items during the move.
By following these steps to prepare your washing machine for moving, you can ensure that it arrives at its new location in optimal condition, ready to continue providing clean laundry for your household.
Key Takeaways:
- Properly prepare your washing machine for moving by turning off the power, clearing the surrounding area, emptying the drum, securing the drum and door, and cleaning the exterior.
- Safely disconnect the water supply by turning off the water, preparing a container, disconnecting and draining the hoses, inspecting the hoses, and ensuring a secure reconnection.
Read more: How To Move Washer
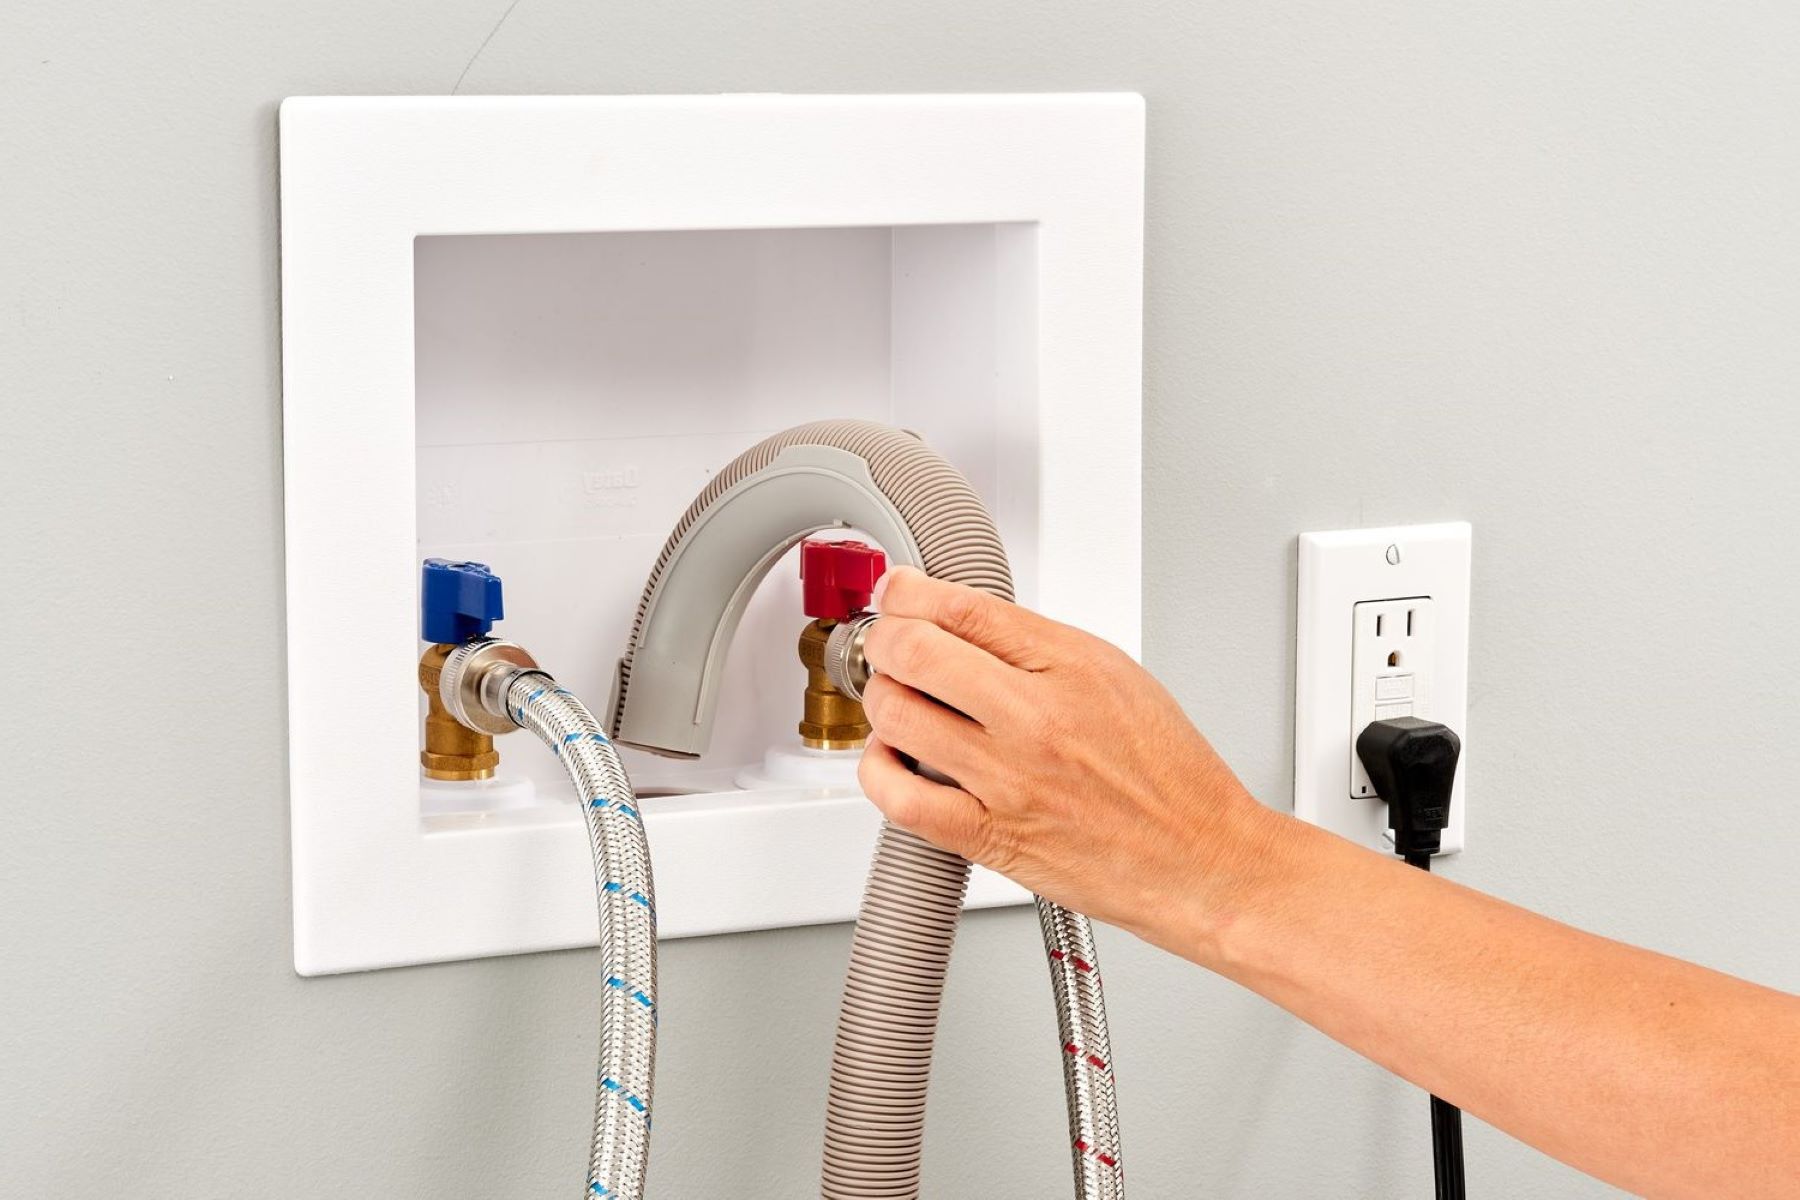
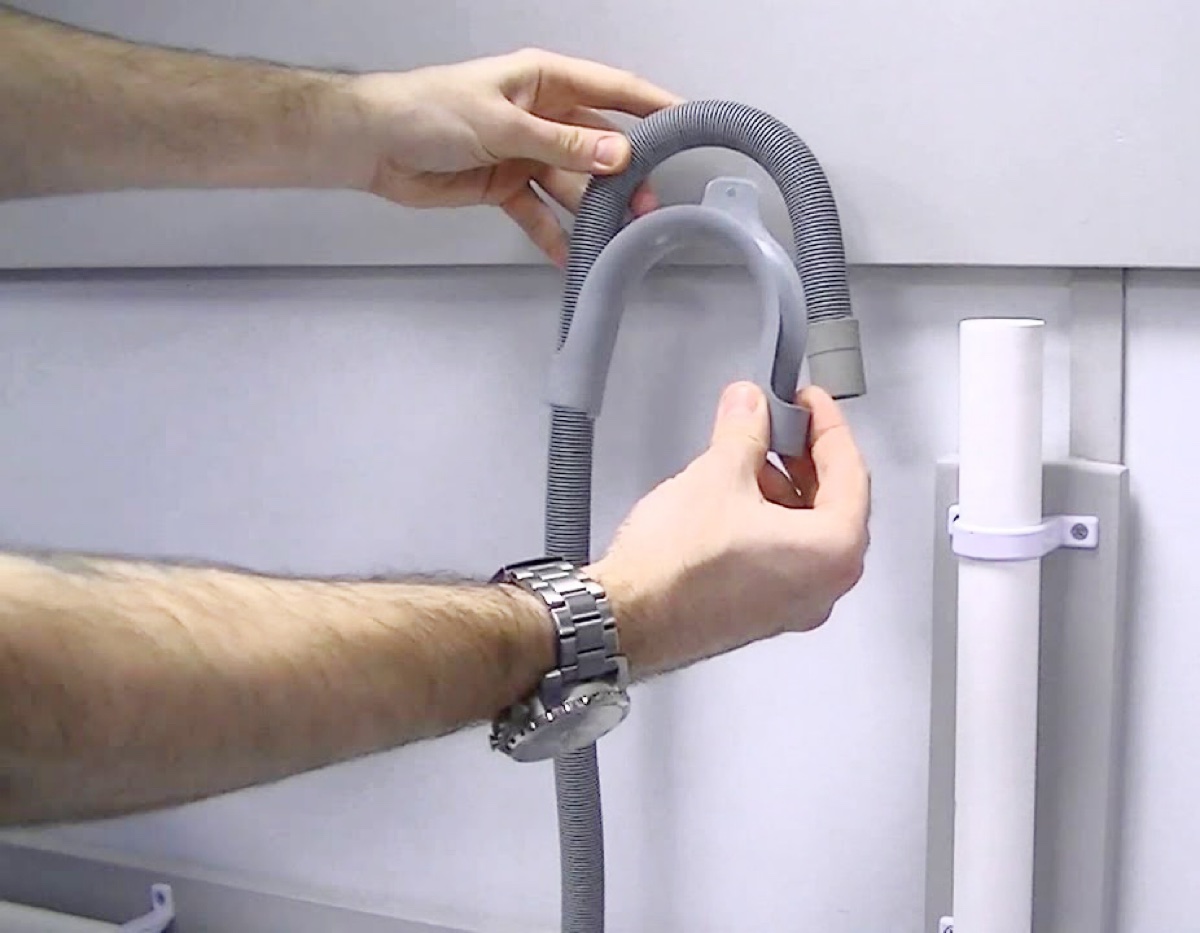
Disconnecting the Water Supply
Properly disconnecting the water supply is a crucial step when preparing a washing machine for a move. Here's a detailed guide on how to safely disconnect the water supply from your washing machine:
-
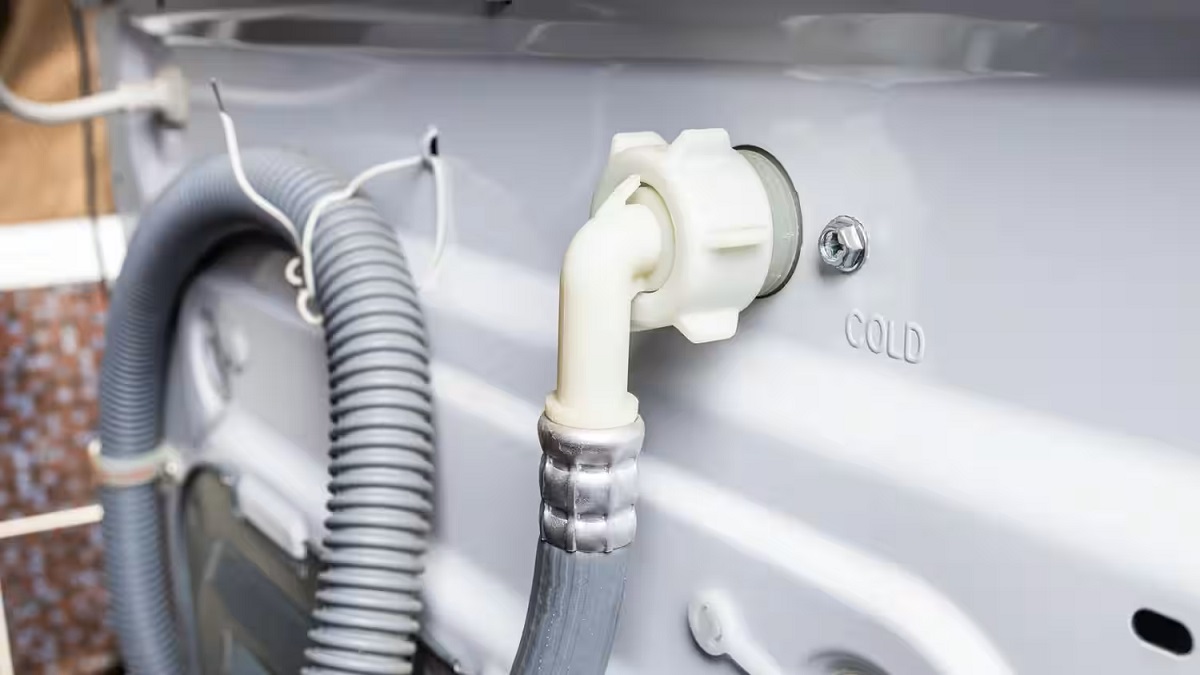
Turn Off the Water: Locate the shut-off valves for both the hot and cold water supply lines connected to the washing machine. These valves are typically located behind the machine or in a nearby utility area. Turn the valves clockwise to shut off the water flow. This will prevent any water from entering the machine during the disconnection process.
-
Prepare a Container: Place a towel or a shallow container, such as a small bucket or tray, beneath the water supply hoses. This will help catch any residual water that may be left in the hoses when they are disconnected.
-
Disconnect the Hoses: Using a pair of adjustable pliers, carefully loosen the hose connections at the back of the washing machine. Start with the hot water hose, which is usually marked with a red indicator, and then proceed to the cold water hose, typically marked with a blue indicator. Slowly unscrew the connections by turning them counterclockwise. Be prepared for some water to spill out as you disconnect the hoses.
-
Drain the Hoses: Once the hoses are disconnected, allow any remaining water to drain into the container below. Gently tilt the hoses downward to encourage the water to flow out completely. It's essential to ensure that both hoses are entirely drained to prevent any leakage during the move.
-
Inspect the Hoses: Take this opportunity to inspect the hoses for any signs of wear, damage, or mineral buildup. If the hoses show signs of deterioration, it's advisable to replace them before reinstalling the washing machine at its new location.
By following these steps to disconnect the water supply from your washing machine, you can effectively prepare it for a safe and hassle-free move. Properly managing the water supply not only protects the machine from potential damage but also prevents any water-related mishaps during transportation. This attention to detail will contribute to a seamless transition for your washing machine to its new home.
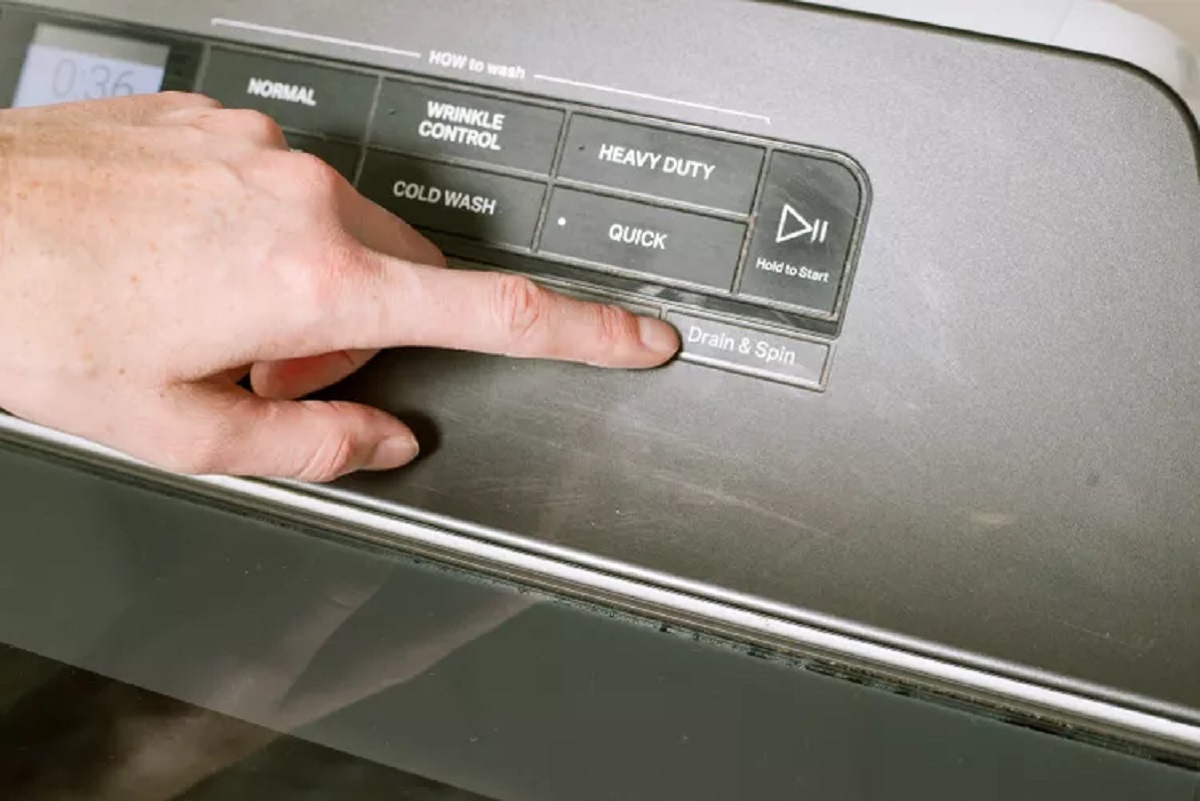
Draining the Water from the Machine
Draining the water from your washing machine is a crucial step in preparing it for a move. Whether you're relocating to a new home or transporting the machine for storage, properly draining the water will prevent potential leaks and water damage during transit. Here's a detailed guide on how to effectively drain the water from your washing machine:
-
Locate the Drain Hose: Begin by identifying the drain hose connected to the back of the washing machine. This hose is responsible for carrying the used water out of the machine during the wash and rinse cycles. It is typically secured to the machine with a clamp or inserted into a standpipe or laundry tub.
-
Position a Container: Place a shallow container, such as a small bucket or tray, beneath the end of the drain hose. This will catch any water that may flow out when the hose is disconnected.
-
Disconnect the Drain Hose: Using a pair of pliers, carefully loosen the clamp or release the hose from the standpipe or laundry tub. Be prepared for water to flow out once the hose is disconnected. Gently guide the end of the hose into the container to direct the water flow.
-
Allow the Water to Drain: Once the hose is disconnected, allow the water to drain completely into the container. Depending on the amount of water remaining in the machine, this process may take a few minutes. It's essential to ensure that all the water is drained to prevent any leakage during the move.
-
Inspect the Drain Pump Filter: Some washing machines are equipped with a drain pump filter, which may need to be checked and cleaned periodically. If your machine has this feature, it's advisable to inspect the filter for any debris or blockages that could impede the drainage process. Clearing the filter will ensure optimal water drainage and prevent potential issues in the future.
-
Reconnect the Drain Hose: Once the water has been drained, reattach the drain hose to the machine or secure it back into the standpipe or laundry tub. Ensure that the connection is tight to prevent any leaks.
By following these steps to drain the water from your washing machine, you can effectively prepare it for a safe and seamless move. Properly managing the water drainage not only protects the machine from potential damage but also ensures a hassle-free transition to its new location. This attention to detail will contribute to a smooth and successful relocation for your washing machine.
Before moving a washing machine, turn off the water supply and unplug the machine. Then, disconnect the hoses and drain any remaining water into a bucket or by using the machine’s drain function.
Securing the Drum for Moving
Securing the drum of a washing machine is a critical step in preparing it for relocation. The drum, also known as the tub, is the central component responsible for holding the laundry and facilitating the washing and spinning cycles. Properly securing the drum is essential to prevent damage to the machine's internal components and ensure its safe transport to a new location. Here's a detailed guide on how to effectively secure the drum of a washing machine for moving:
-
Refer to the Manufacturer's Guidelines: Before securing the drum, it's important to refer to the manufacturer's guidelines or the user manual for specific instructions related to your washing machine model. Manufacturers often provide detailed recommendations for securing the drum to prevent damage during transportation.
-
Use Transit Bolts or Braces: Many washing machines are equipped with transit bolts or braces designed to secure the drum in place during transport. These specialized bolts or braces are typically provided by the manufacturer and are essential for stabilizing the drum and preventing excessive movement. If your washing machine includes transit bolts, carefully follow the manufacturer's instructions to install them securely.
-
Adjust the Suspension System: Some washing machines feature adjustable suspension systems that can be utilized to secure the drum. These systems help stabilize the drum and minimize movement during transportation. Refer to the user manual to understand how to adjust the suspension system effectively.
-
Inspect and Secure Loose Components: Before moving the washing machine, thoroughly inspect the drum and its surrounding components for any loose or detachable parts. Secure any loose components, such as agitators or paddles, to prevent them from moving or causing damage during transit.
-
Protect the Drum from External Impact: To provide an additional layer of protection, consider wrapping the drum with a soft, protective material such as bubble wrap or foam padding. This extra cushioning can help safeguard the drum from external impact and vibrations during transportation.
-
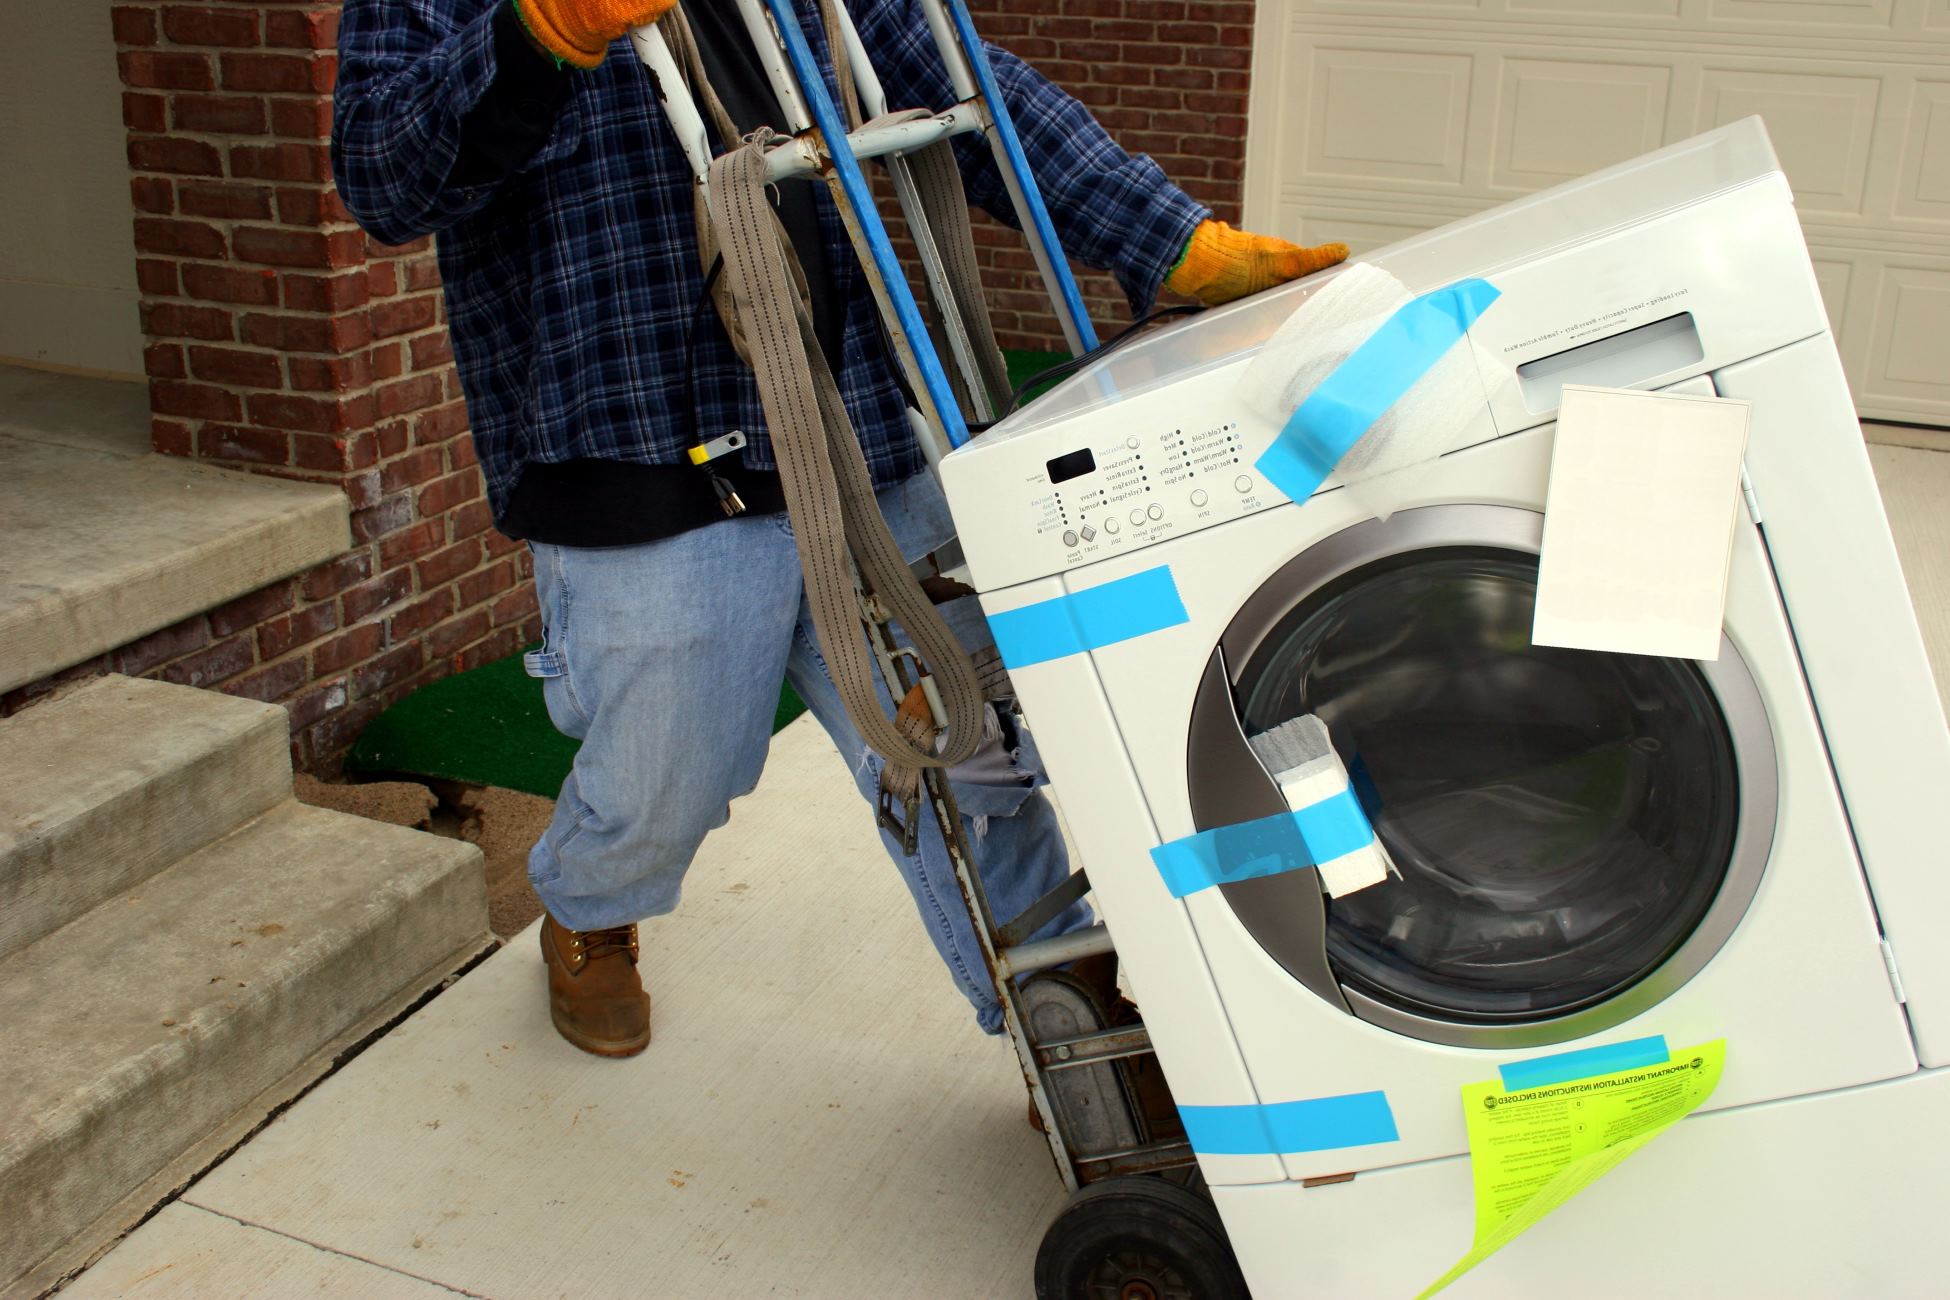
Stabilize the Machine: Once the drum is secured, ensure that the entire washing machine is stabilized within the moving vehicle. Use straps or restraints to prevent the machine from shifting or tipping during transit. Proper stabilization will further protect the drum and the internal components from potential damage.
By following these steps to secure the drum of your washing machine for moving, you can ensure that it arrives at its new location in optimal condition. Taking the time to properly secure the drum demonstrates a proactive approach to safeguarding your appliance and contributes to a successful and stress-free relocation process.
Cleaning the Machine Before Moving
Cleaning your washing machine before moving is essential to ensure that it arrives at its new location in a pristine condition and ready for immediate use. Here's a comprehensive guide on how to thoroughly clean your washing machine before the move:
-
Interior Cleaning: Start by running a cleaning cycle with hot water and a washing machine cleaner or a homemade solution of white vinegar and baking soda. This will help remove any built-up residue, detergent scum, and mildew from the interior of the machine. Follow the manufacturer's guidelines for the recommended cleaning products and cycle settings.
-
Door Seal and Dispenser: Pay special attention to the door seal and detergent dispenser. These areas are prone to mold and mildew buildup. Use a mildew cleaner or a solution of water and vinegar to thoroughly clean and disinfect these components. Ensure that all traces of residue are removed to prevent odors and potential mold growth during the move.
-
Exterior Surface: Wipe down the exterior surface of the washing machine with a gentle cleaner and a soft cloth. Pay attention to any visible stains, fingerprints, or spills. For stainless steel surfaces, use a specialized stainless steel cleaner to restore its shine and remove any smudges or marks.
-
Control Panel and Knobs: Clean the control panel and knobs with a damp cloth and a mild, non-abrasive cleaner. Take care to avoid excess moisture around the controls to prevent any potential electrical issues. Ensure that the control panel is completely dry before moving the machine.
-
Drum and Gasket: If possible, remove the drum and gasket to clean any accumulated debris or lint. Use a vacuum cleaner with a brush attachment to gently remove any lint or foreign objects that may have accumulated in these areas. This will help maintain the machine's optimal performance and prevent potential issues after the move.
-
Inspect and Dry: After cleaning, thoroughly inspect the washing machine to ensure that all components are clean and dry. Leave the door open for a period of time to allow any residual moisture to evaporate. This will help prevent the development of odors and mold during transit.
By following these steps to clean your washing machine before moving, you can ensure that it remains in top condition and ready for immediate use at its new location. A clean and well-maintained washing machine not only enhances its longevity but also contributes to a seamless transition to your new home.
Frequently Asked Questions about How To Drain A Washing Machine For Moving
Was this page helpful?
At Storables.com, we guarantee accurate and reliable information. Our content, validated by Expert Board Contributors, is crafted following stringent Editorial Policies. We're committed to providing you with well-researched, expert-backed insights for all your informational needs.


0 thoughts on “How To Drain A Washing Machine For Moving”