Home>Home Appliances>Laundry Appliances>How To Install A Washing Machine Drain

Laundry Appliances
How To Install A Washing Machine Drain
Published: February 22, 2024
Learn how to properly install a washing machine drain for your laundry appliances with our step-by-step guide. Ensure a smooth and efficient installation process.
(Many of the links in this article redirect to a specific reviewed product. Your purchase of these products through affiliate links helps to generate commission for Storables.com, at no extra cost. Learn more)
Introduction
Installing a washing machine drain is a crucial step in setting up a laundry area in your home. A properly installed drain ensures efficient water removal from the washing machine, preventing potential water damage and maintaining a clean and functional laundry space. Whether you're setting up a new washing machine or relocating an existing one, understanding the process of installing a washing machine drain is essential for a successful and hassle-free laundry appliance setup.
In this comprehensive guide, we will walk you through the step-by-step process of installing a washing machine drain. From selecting the right location for your washing machine to connecting the drain hose and testing the drain system, we will cover all the essential aspects to help you complete the installation with confidence. By following these instructions, you can ensure that your washing machine operates smoothly and efficiently, providing you with clean and fresh laundry without any drainage-related issues.
Installing a washing machine drain may seem like a daunting task, especially for those who are new to home appliance installations. However, with the right tools, materials, and guidance, you can tackle this project effectively and achieve professional-quality results. Whether you're a DIY enthusiast or a homeowner looking to gain a better understanding of your laundry appliances, this guide will equip you with the knowledge and skills needed to complete the installation process with ease.
By the end of this guide, you will have the expertise to install a washing machine drain in a manner that promotes optimal functionality and minimizes the risk of drainage problems. With a well-installed drain system, you can enjoy the convenience of a fully operational washing machine while maintaining the integrity of your home's plumbing infrastructure. Let's dive into the details and learn how to install a washing machine drain with precision and confidence.
Key Takeaways:
- Properly installing a washing machine drain is crucial for efficient water removal, preventing water damage, and maintaining a clean laundry space. It involves choosing the right location, preparing the area, connecting the drain hose, and testing the system.
- To install a washing machine drain, gather tools like an adjustable wrench and materials like a high-quality drain hose. Choose a suitable location, prepare the area, connect the drain hose securely, and test the system for efficient water removal.
Read more: How To Install Washer Drain
Tools and Materials Needed
When preparing to install a washing machine drain, it's essential to gather the necessary tools and materials to ensure a smooth and efficient installation process. Here's a comprehensive list of the items you'll need to have on hand before beginning the installation:
Tools:
- Adjustable Wrench: This versatile tool will be used to tighten and secure various plumbing connections during the installation process.
- Screwdriver Set: Having a set of screwdrivers, including both flathead and Phillips head varieties, will enable you to handle different types of fasteners and screws.
- Pipe Wrench: A pipe wrench is essential for tightening and connecting pipes and fittings securely.
- Tape Measure: Accurately measuring the space and dimensions for the drain installation is crucial for ensuring a proper fit.
- Level: A level will help you confirm that the washing machine is positioned correctly and that the drain system is installed on a level surface.
- Bucket: Keep a bucket on hand to catch any water that may spill during the installation process.
Materials:
- Washing Machine Drain Hose: Ensure you have a high-quality, durable drain hose that is compatible with your washing machine model.
- P-Trap: This essential plumbing component prevents sewer gases from entering your home and helps maintain proper drainage flow.
- Pipe Connectors and Fittings: Depending on your specific installation requirements, you may need various connectors and fittings to create a secure and functional drain system.
- Plumber's Tape: Also known as Teflon tape, this material is used to create a tight seal between threaded plumbing connections, preventing leaks.
- Drainpipe: You may need additional sections of drainpipe to extend the reach of the washing machine drain to the desired location.
- Rubber Gaskets: These gaskets are essential for creating watertight seals at connection points, preventing leaks and ensuring efficient drainage.
By ensuring that you have all the necessary tools and materials at your disposal, you can approach the washing machine drain installation process with confidence and preparedness. Having these items readily available will streamline the installation and help you overcome any challenges that may arise during the process. With the right tools and materials, you can set the stage for a successful and professional-quality washing machine drain installation.
Choosing the Right Location
Selecting the optimal location for your washing machine is a critical step in ensuring efficient drainage and overall functionality. When choosing the right location for the washing machine, consider the following factors to make an informed decision:
-
Proximity to Water Supply and Drainage Outlets: Position the washing machine in close proximity to both the water supply and drainage outlets. This ensures that the appliance can easily access the necessary water source and efficiently drain the used water without any obstructions.
-
Level Surface: Place the washing machine on a level surface to prevent any imbalance or instability during operation. A level surface also facilitates proper drainage, allowing the water to flow smoothly through the drain system.
-
Accessibility: Ensure that the chosen location provides easy access to the back of the washing machine for connecting the drain hose and accessing the plumbing connections. This accessibility simplifies the installation process and future maintenance tasks.
-
Ventilation: Consider the ventilation in the selected area to prevent moisture buildup and promote air circulation around the washing machine. Adequate ventilation helps prevent mold and mildew growth, maintaining a clean and hygienic laundry space.
-
Space Constraints: Take into account the available space in the designated area to accommodate the washing machine and its surrounding components, such as the drain system and water supply lines. Ensure that there is ample space for the appliance to operate without any spatial limitations.
-
Flooring Material: Evaluate the flooring material in the chosen location to ensure it can withstand potential water exposure and is easy to clean. Opt for a durable and water-resistant flooring material to mitigate any potential water damage.
-
Proximity to Utility Connections: Position the washing machine near existing utility connections, such as electrical outlets and plumbing access points, to streamline the installation process and minimize the need for extensive modifications.
By carefully considering these factors, you can identify the most suitable location for your washing machine, ensuring optimal drainage functionality and overall operational efficiency. Choosing the right location sets the foundation for a successful washing machine installation and contributes to the long-term performance of the appliance within your home.
Read more: How To Install A Washing Machine Drain Pan
Preparing the Area
Before initiating the installation of a washing machine drain, it is crucial to adequately prepare the designated area to facilitate a seamless and effective installation process. Proper preparation ensures that the surrounding environment is conducive to accommodating the washing machine and its associated drainage system. Here's a detailed breakdown of the essential steps involved in preparing the area for the installation:
-
Clearing the Space: Begin by clearing the designated area where the washing machine will be installed. Remove any obstacles, debris, or unnecessary items to create a clean and open space for the appliance. This step is essential for ensuring unobstructed access during the installation process and allows for a clear assessment of the available space.
-
Leveling the Surface: Verify that the surface where the washing machine will be placed is level and stable. Use a reliable leveling tool to check for any unevenness or irregularities in the flooring. If the surface is not level, consider using shims or other appropriate methods to achieve a stable and balanced foundation for the washing machine.
-
Inspecting the Plumbing Access: Assess the proximity of the plumbing access points, including the drainage outlet and water supply connections. Ensure that the plumbing access points are easily accessible and in close proximity to the designated installation area. This inspection helps identify any potential challenges related to plumbing connections and allows for timely adjustments if needed.
-
Addressing Flooring Protection: Protect the flooring in the installation area by placing a waterproof mat or tray underneath the washing machine. This precautionary measure helps safeguard the flooring from potential water leaks or spills during the operation of the washing machine. Additionally, it simplifies the cleaning process and minimizes the risk of water damage to the surrounding area.
-
Creating Adequate Ventilation: Evaluate the ventilation in the installation area to promote air circulation and prevent moisture buildup. Adequate ventilation is essential for maintaining a dry and hygienic environment around the washing machine. Consider the installation of a ventilation fan or ensuring that the area has sufficient airflow to prevent dampness and mold growth.
-
Organizing Tools and Materials: Gather all the necessary tools and materials required for the installation process and organize them within easy reach of the installation area. Having the tools and materials readily available streamlines the installation process and minimizes disruptions during the setup of the washing machine drain.
By meticulously preparing the area for the installation of a washing machine drain, you can create an environment that is conducive to a successful and efficient installation process. These preparatory measures lay the groundwork for a smooth and trouble-free installation, ensuring that the washing machine operates optimally within its designated space.
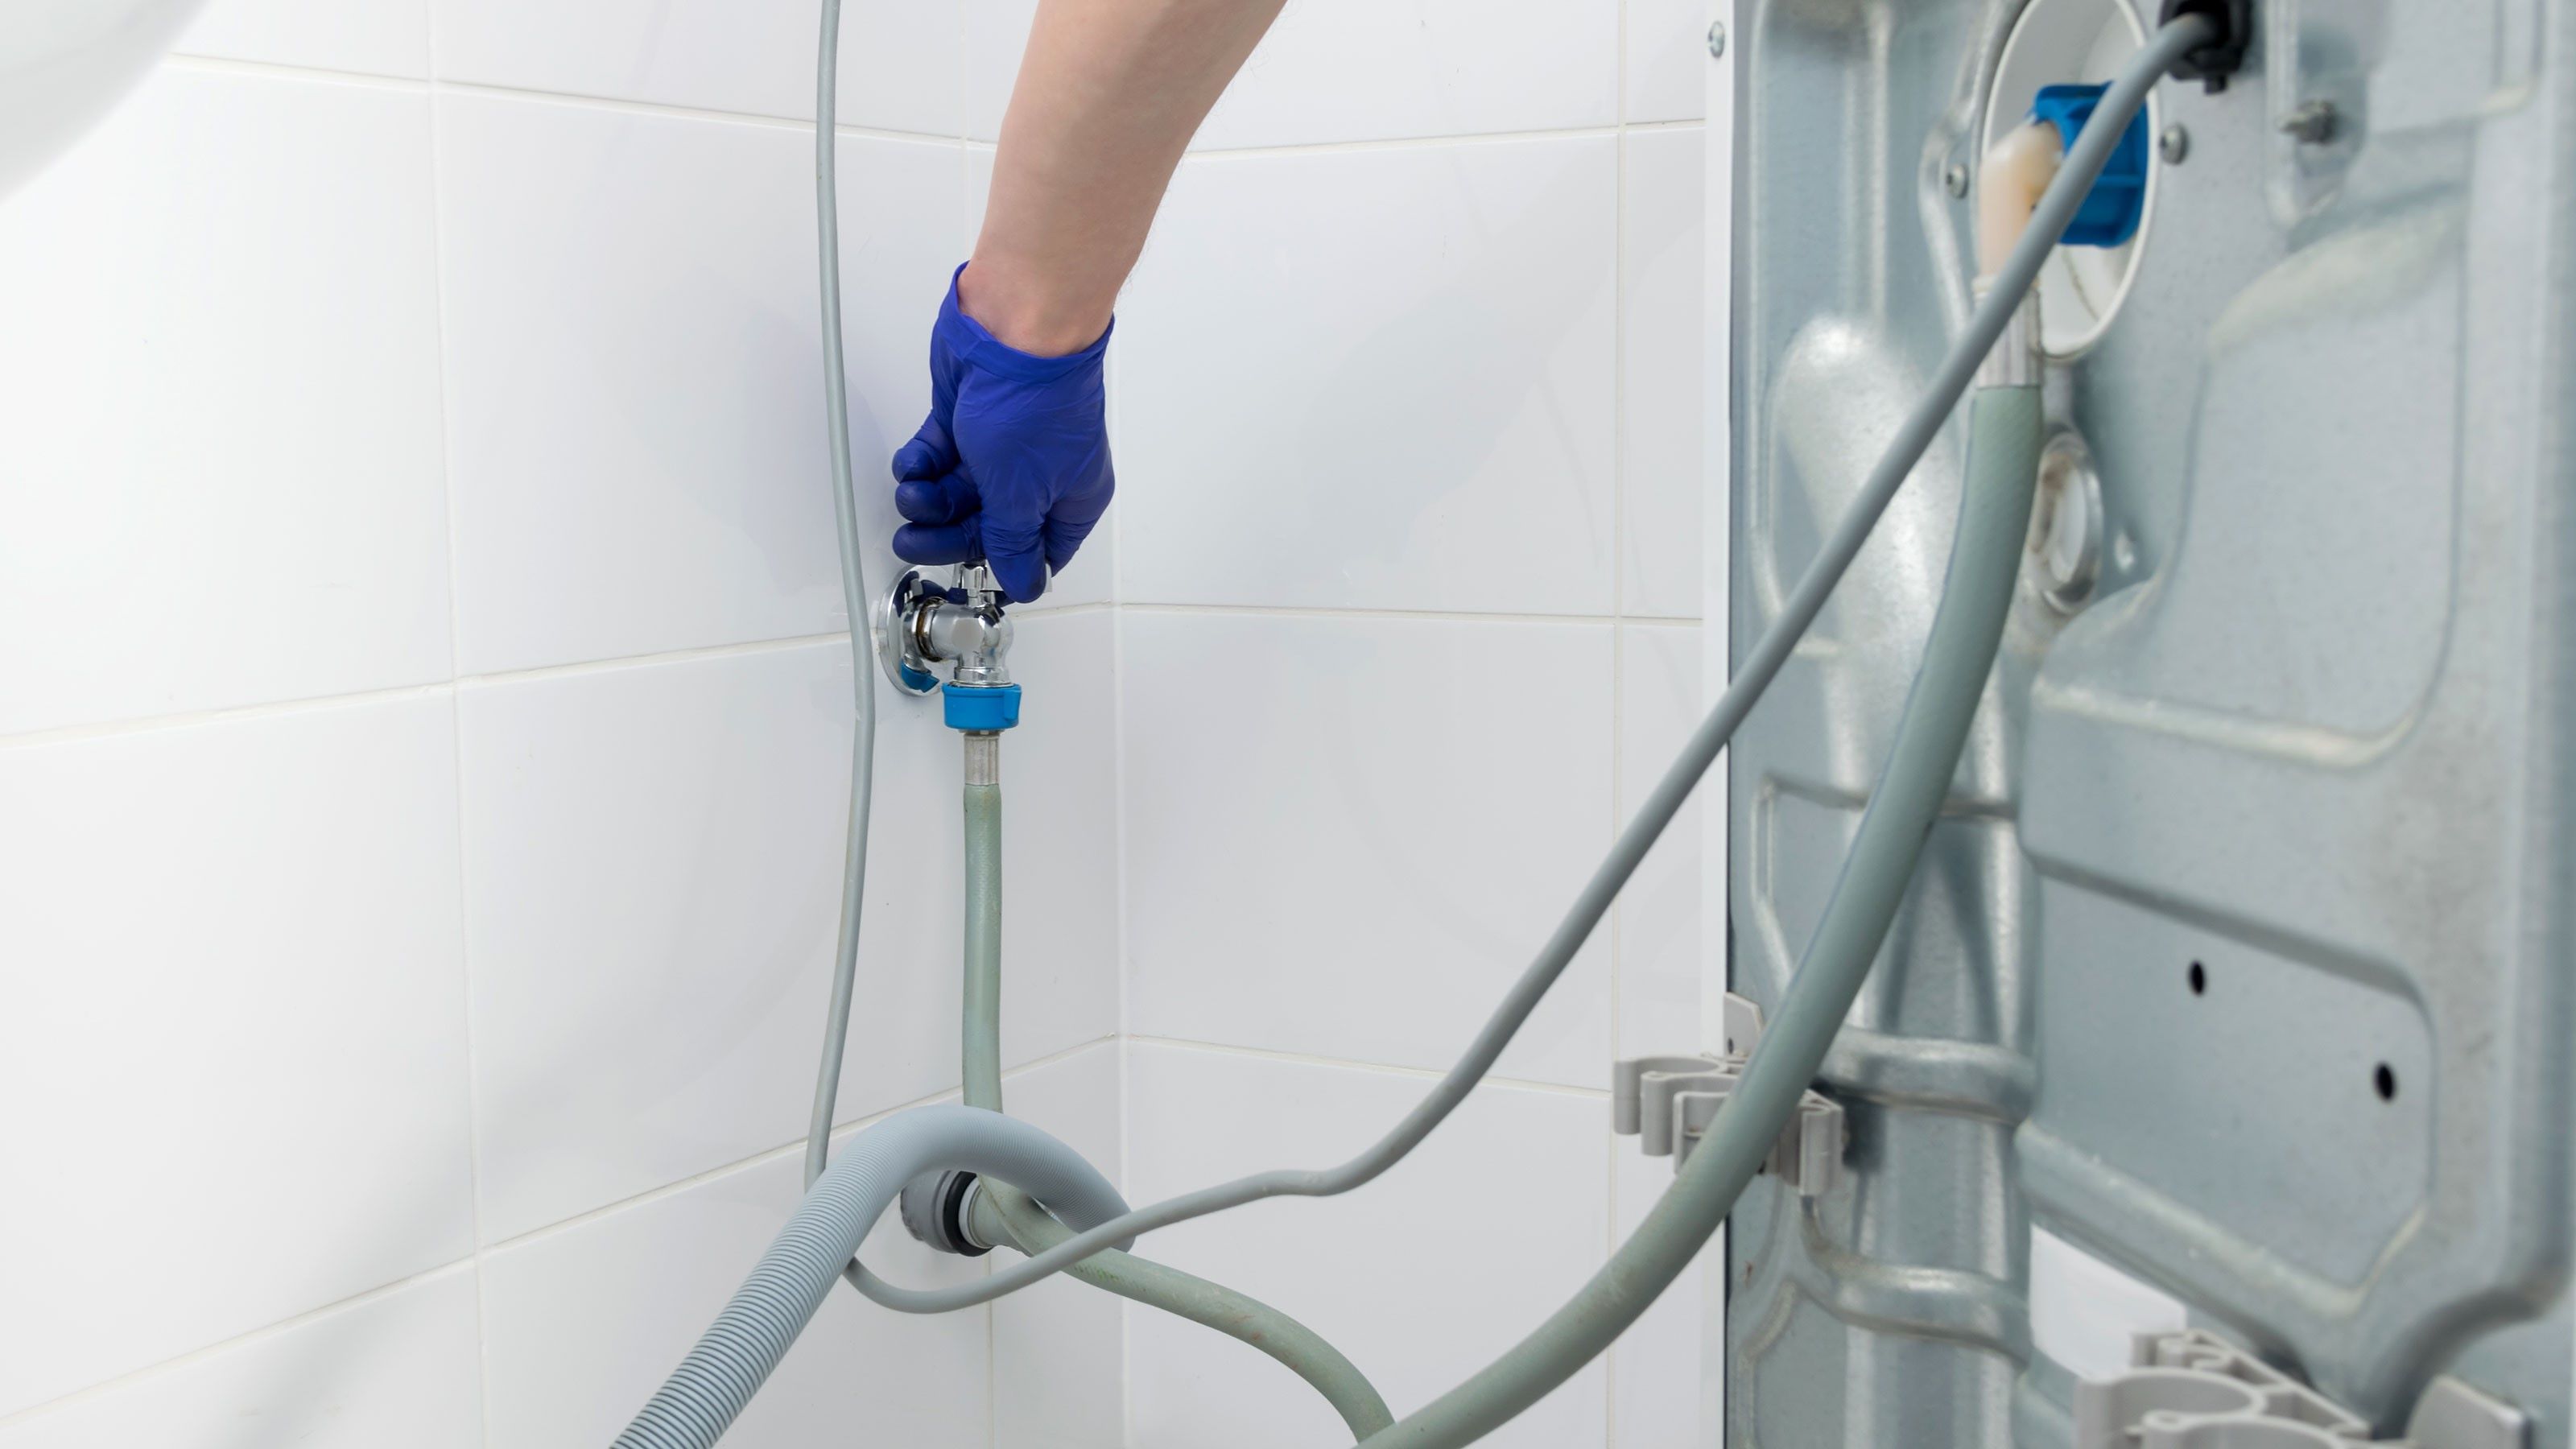
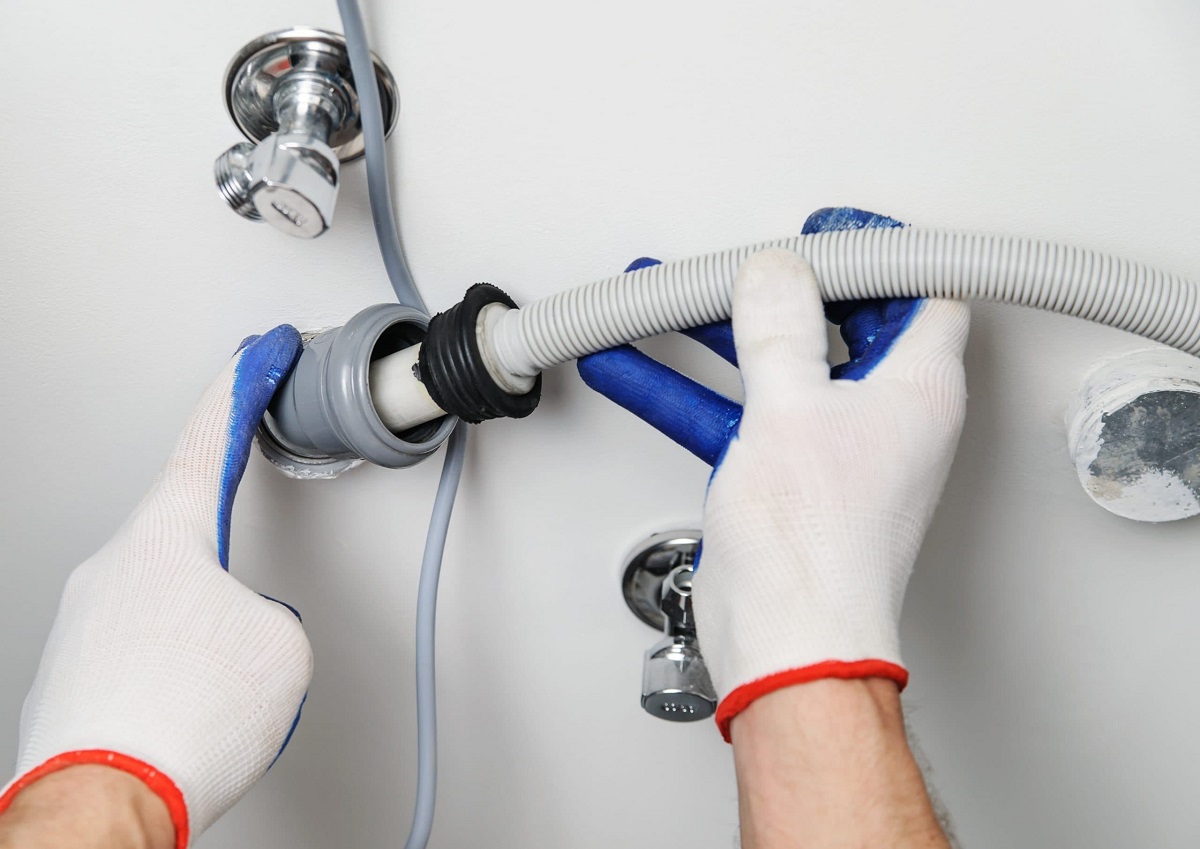
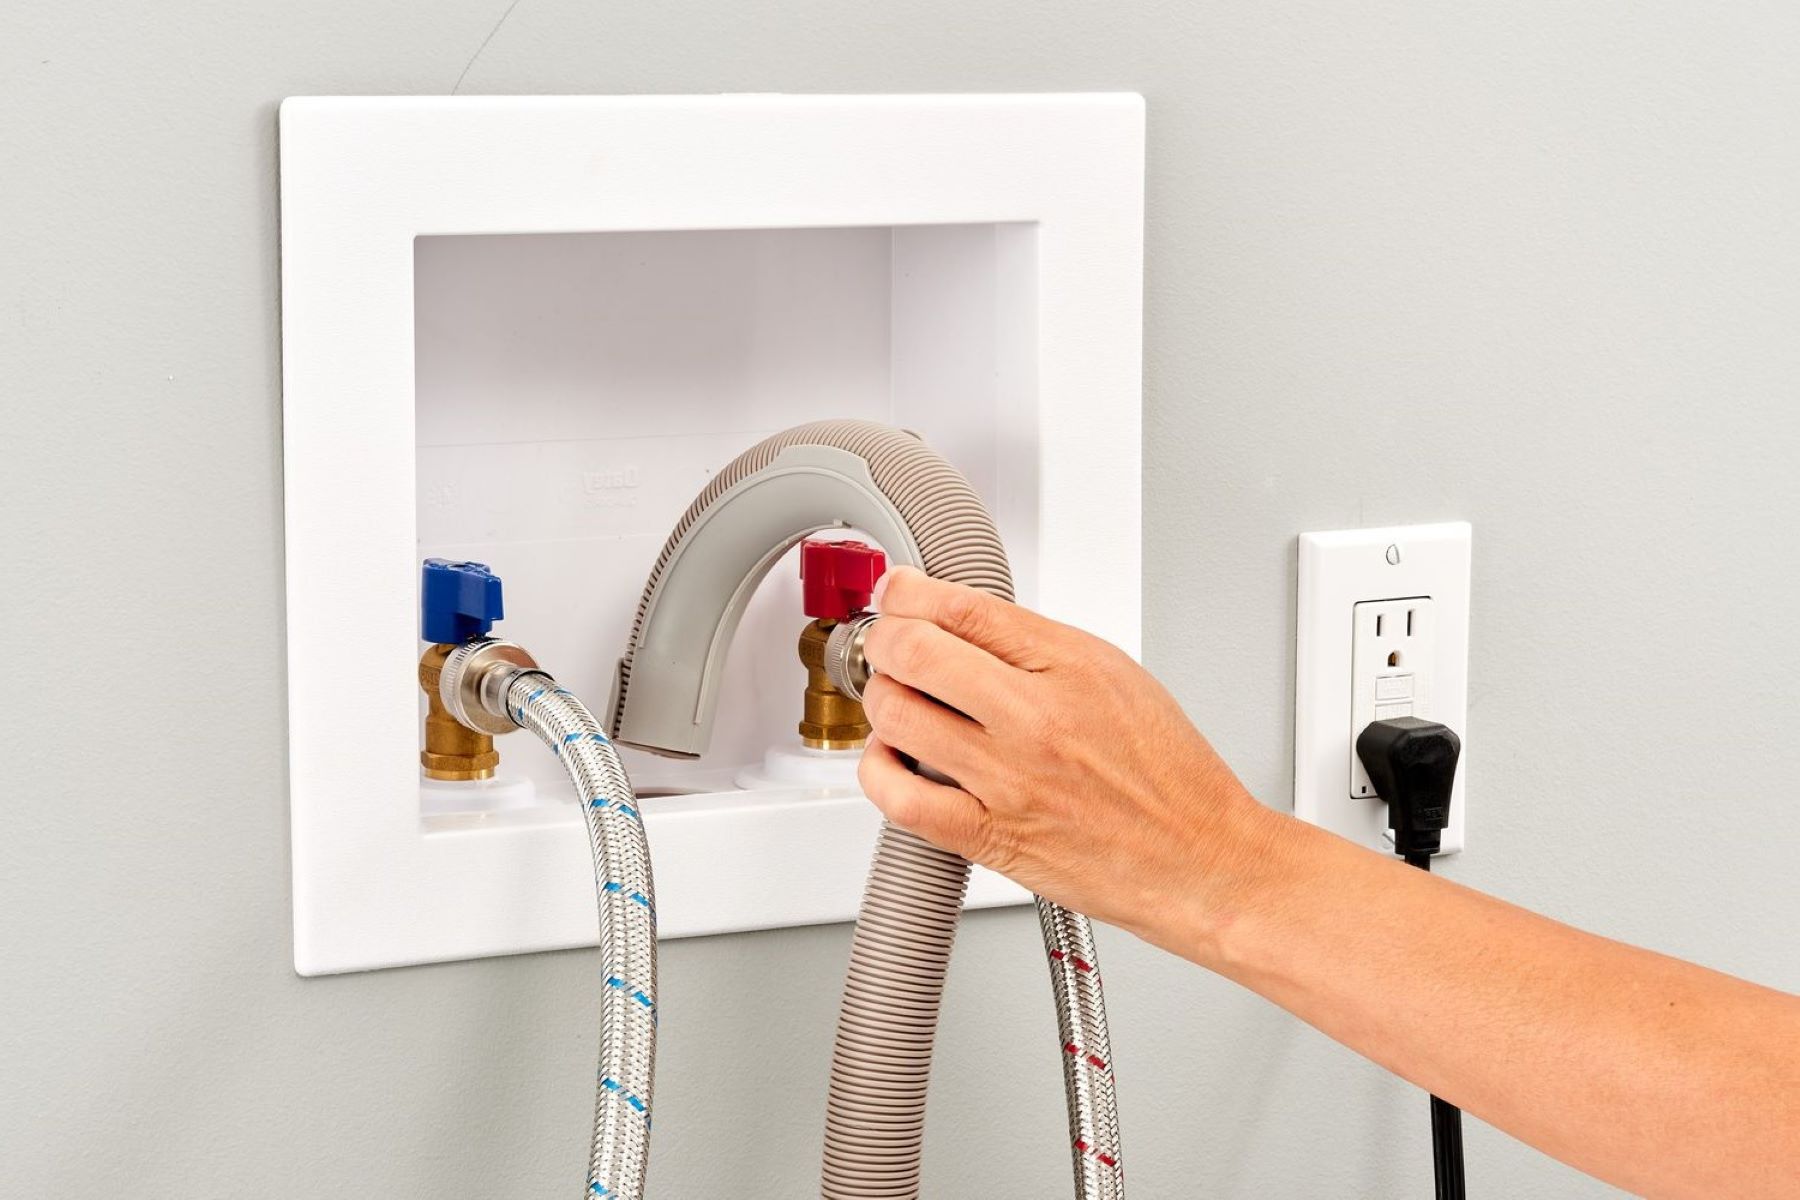
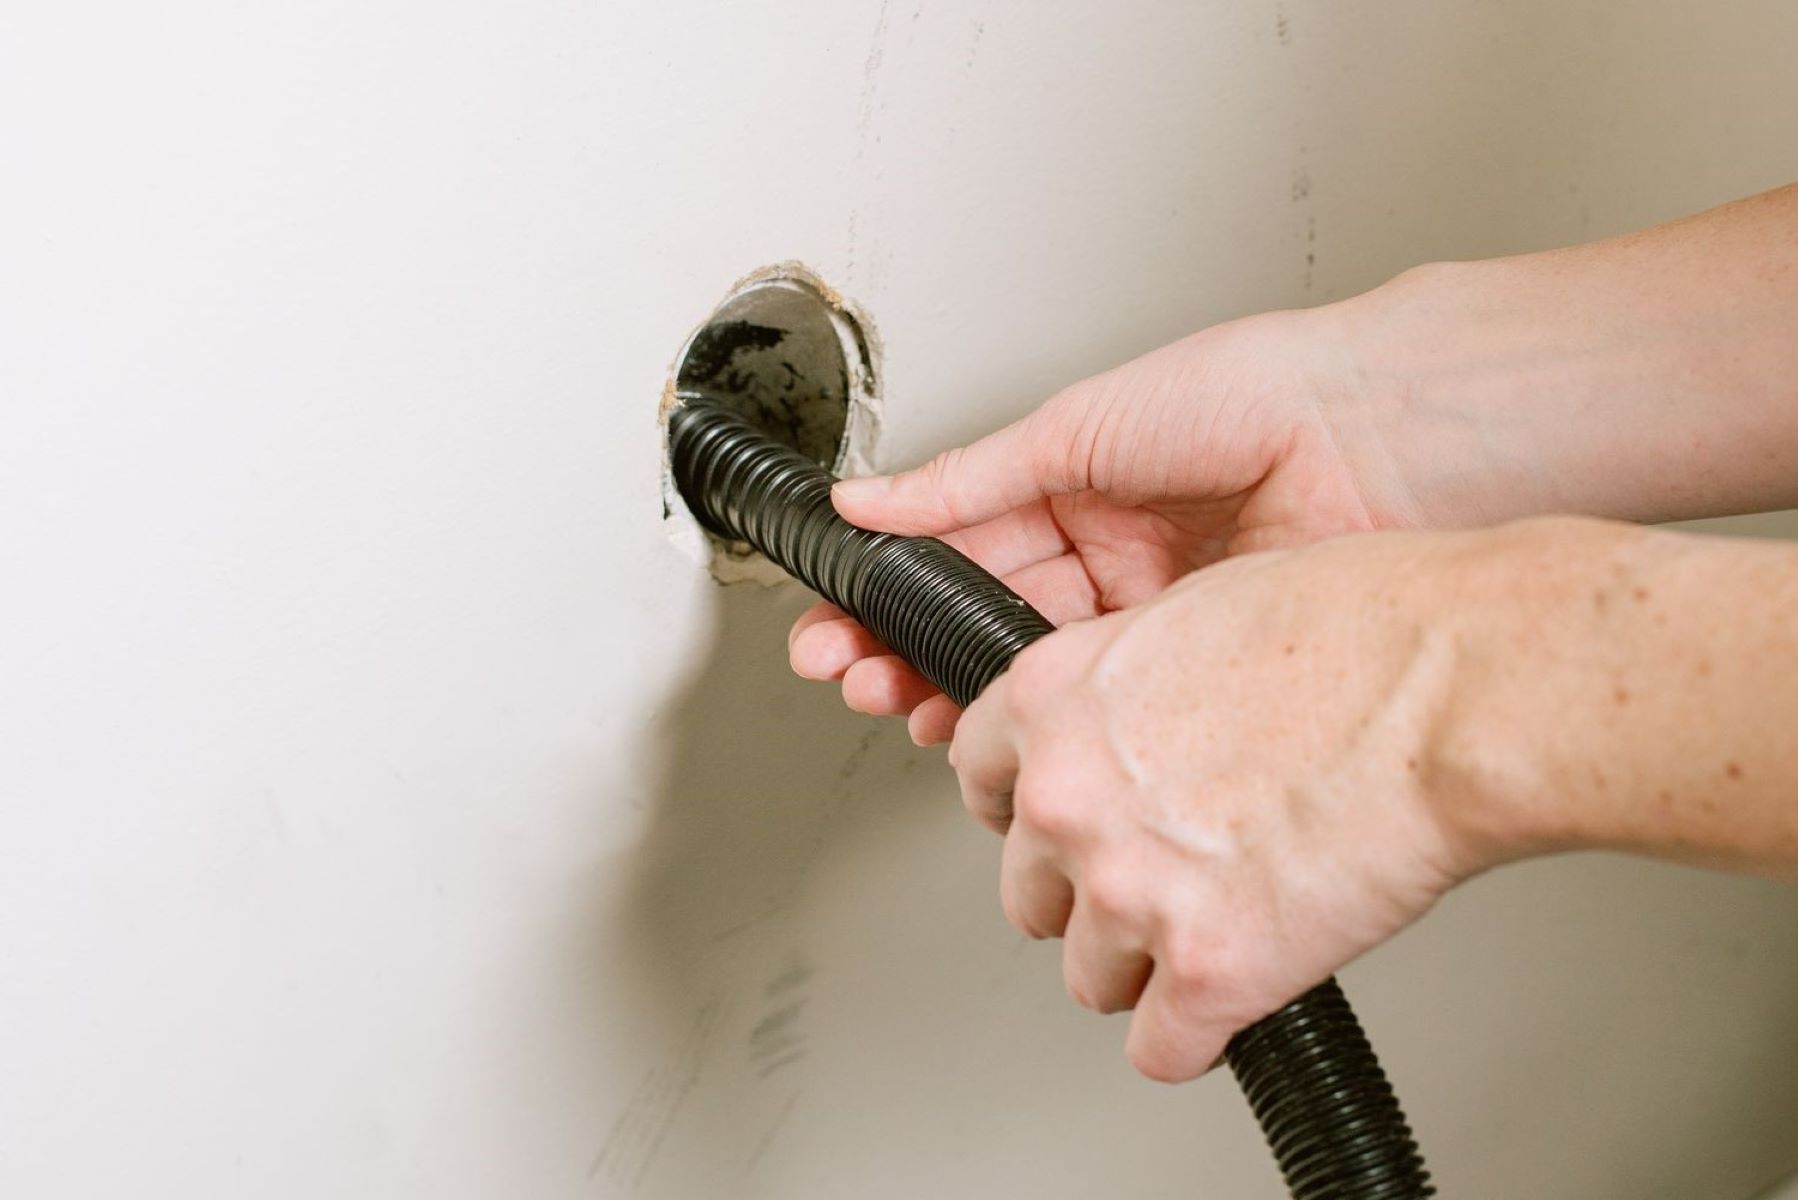
Make sure the drain hose is properly connected to the washing machine and secured in place. It should then be inserted into the standpipe or a laundry sink, ensuring a tight fit to prevent leaks.
Connecting the Drain Hose
Connecting the drain hose is a pivotal step in the installation of a washing machine drain, as it directly impacts the efficient removal of used water from the appliance. Properly securing the drain hose ensures that water is effectively directed out of the washing machine and into the drainage system, preventing potential leaks and ensuring smooth operation. Here's a detailed breakdown of the essential steps involved in connecting the drain hose:
-
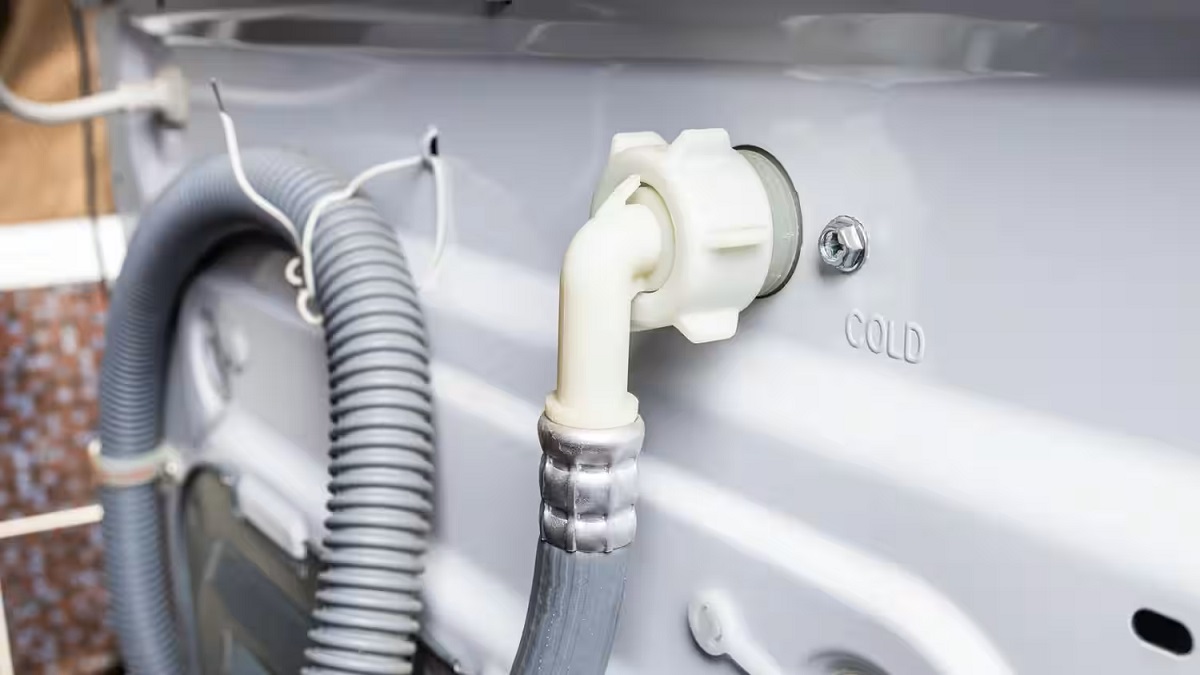
Positioning the Drain Hose: Begin by positioning the end of the washing machine's drain hose near the designated drainage outlet. Ensure that the hose is not kinked or twisted, as this can impede the flow of water and lead to drainage issues. Positioning the hose correctly sets the stage for a seamless connection to the drainage system.
-
Securing the Hose Clamp: If the washing machine's drain hose features a hose clamp, use a screwdriver to tighten the clamp securely around the drainage outlet. This step is crucial for creating a watertight seal and preventing any potential leaks at the connection point. Ensure that the hose clamp is tightened sufficiently to maintain a secure and reliable connection.
-
Creating a High Loop: To prevent backflow and ensure proper drainage, create a high loop in the drain hose. This involves elevating a section of the hose to a level higher than the washing machine's water level. Securing the high loop to the wall or the back of the washing machine using a hook or zip tie helps maintain the elevation, preventing water from flowing back into the washing machine.
-
Securing the Hose in Place: Once the high loop is established, secure the drain hose in place using appropriate fasteners or hooks. This prevents the hose from slipping or becoming dislodged during the washing machine's operation, maintaining the integrity of the drainage system.
-
Inspecting for Leaks: After connecting the drain hose, carefully inspect the connection points and the entire length of the hose for any signs of leaks. Run a brief test cycle on the washing machine to observe the drainage process and ensure that water flows smoothly through the hose without any leakage.
By following these steps and ensuring a secure and properly positioned drain hose, you can establish a reliable and efficient drainage system for your washing machine. A well-connected drain hose promotes effective water removal, minimizes the risk of leaks, and contributes to the overall functionality of the washing machine within your home.
Testing the Drain System
Once the washing machine drain installation is complete, it is crucial to conduct thorough testing to ensure the functionality and integrity of the drain system. Testing the drain system involves simulating the operation of the washing machine to verify that water is effectively and efficiently drained from the appliance without any issues. Here's a detailed overview of the essential steps involved in testing the drain system:
-
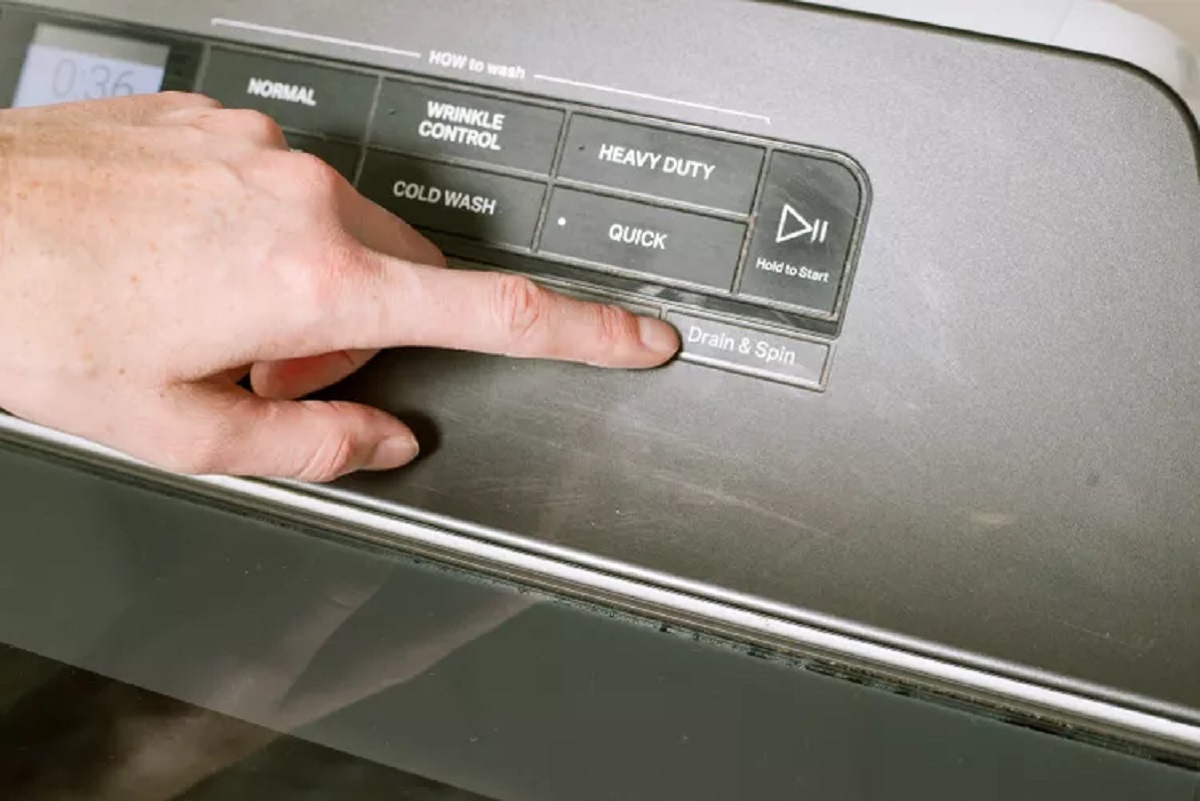
Water Fill and Drain Cycle: Initiate a complete wash cycle on the washing machine, allowing it to fill with water and progress through the wash, rinse, and drain phases. This comprehensive cycle provides a real-world simulation of the washing machine's operation, allowing you to observe the drainage process under typical usage conditions.
-
Observing Drainage Performance: During the wash cycle, closely monitor the drainage process to ensure that water is expelled from the washing machine and flows smoothly through the drain hose. Verify that the water is effectively directed into the drainage system without any backups, blockages, or leaks.
-
Checking Drain Hose Position: Confirm that the drain hose maintains its proper positioning and the established high loop throughout the wash cycle. The high loop prevents backflow and ensures that water is efficiently removed from the washing machine, contributing to the overall effectiveness of the drain system.
-
Inspecting Drainage Outlet: Examine the drainage outlet to ensure that water is being discharged properly and that there are no signs of overflow or blockages. A clear and unobstructed drainage outlet is essential for facilitating the smooth flow of water from the washing machine to the external drainage system.
-
Verifying Leak-Free Operation: Throughout the testing process, carefully inspect the connection points of the drain hose and the drainage outlet for any indications of leaks. A leak-free operation is imperative for maintaining a clean and dry laundry area and preventing potential water damage.
By conducting a comprehensive test of the drain system, you can identify any potential issues or irregularities and address them proactively. This proactive approach ensures that the washing machine operates with optimal drainage functionality, minimizing the risk of water-related complications and promoting a seamless laundry experience.
Testing the drain system serves as a critical quality assurance measure, providing the assurance that the installation has been executed effectively and that the washing machine is equipped with a reliable and efficient drainage system. By verifying the performance of the drain system, you can instill confidence in the functionality of the washing machine and enjoy the convenience of hassle-free laundry operations.
Frequently Asked Questions about How To Install A Washing Machine Drain
Was this page helpful?
At Storables.com, we guarantee accurate and reliable information. Our content, validated by Expert Board Contributors, is crafted following stringent Editorial Policies. We're committed to providing you with well-researched, expert-backed insights for all your informational needs.



0 thoughts on “How To Install A Washing Machine Drain”