Articles
How To Vent Washer Drain
Modified: August 27, 2024
Learn how to properly vent your washer drain in this informative article. Find out the steps and tips to ensure a well-functioning drainage system for your washing machine.
(Many of the links in this article redirect to a specific reviewed product. Your purchase of these products through affiliate links helps to generate commission for Storables.com, at no extra cost. Learn more)
Introduction
Having a properly functioning washer drain is essential for the efficient and effective operation of your washing machine. One crucial component of a washer drain system is a vent pipe, which plays a key role in maintaining the proper flow of water and preventing clogs. In this article, we will guide you through the process of venting a washer drain to ensure optimal performance.
Understanding how washer drain venting works is essential before attempting any installation or repair. The vent pipe connects to the sewer system and allows air to escape, balancing the pressure and preventing a vacuum from forming in the drain system. This venting process ensures that water can flow freely, preventing backups and reducing the strain on your washing machine.
There are several signs that indicate a clogged or inadequate washer drain. These include slow drainage, foul odor, gurgling sounds, or water backing up into the washing machine basin. If you notice any of these signs, it’s crucial to address the issue promptly to prevent further damage to your washer and drain system.
Before you begin the venting process, it’s important to gather the necessary tools and materials. You will need a vent pipe, PVC pipes and fittings, a pipe cutter or hacksaw, plumber’s tape, and PVC cement. Additionally, make sure to have safety equipment such as gloves and safety glasses to protect yourself during the installation.
Key Takeaways:
- Proper washer drain venting prevents clogs, backups, and drainage issues, ensuring efficient washing machine operation and preventing damage to the drain system.
- Regular maintenance, adherence to building codes, and professional consultation are essential for long-term functionality and efficiency of the washer drain vent.
Read more: How To Vent A Bathtub Drain
Understanding Washer Drain Venting
Washer drain venting is a crucial aspect of the plumbing system that ensures proper drainage and prevents issues like clogs and backups. When a washing machine is in use, a large volume of water is discharged into the drain system, which can create a suction effect and restrict the flow of water. The vent pipe installed on the drain system helps to alleviate this pressure by allowing air to escape.
The vent pipe is typically installed vertically and connects to the main sewer line or septic system. Its primary function is to provide an escape route for air trapped in the drain system. Without proper venting, the draining process can become slow and inefficient, leading to various problems.
By venting the washer drain, you create a balanced system where air can freely flow in and out. When the washing machine drains water, the vent pipe allows air to enter the system, preventing the formation of a vacuum that can hinder drainage. This improves the efficiency of the drain system and reduces the risk of water backing up into the washer or other fixtures.
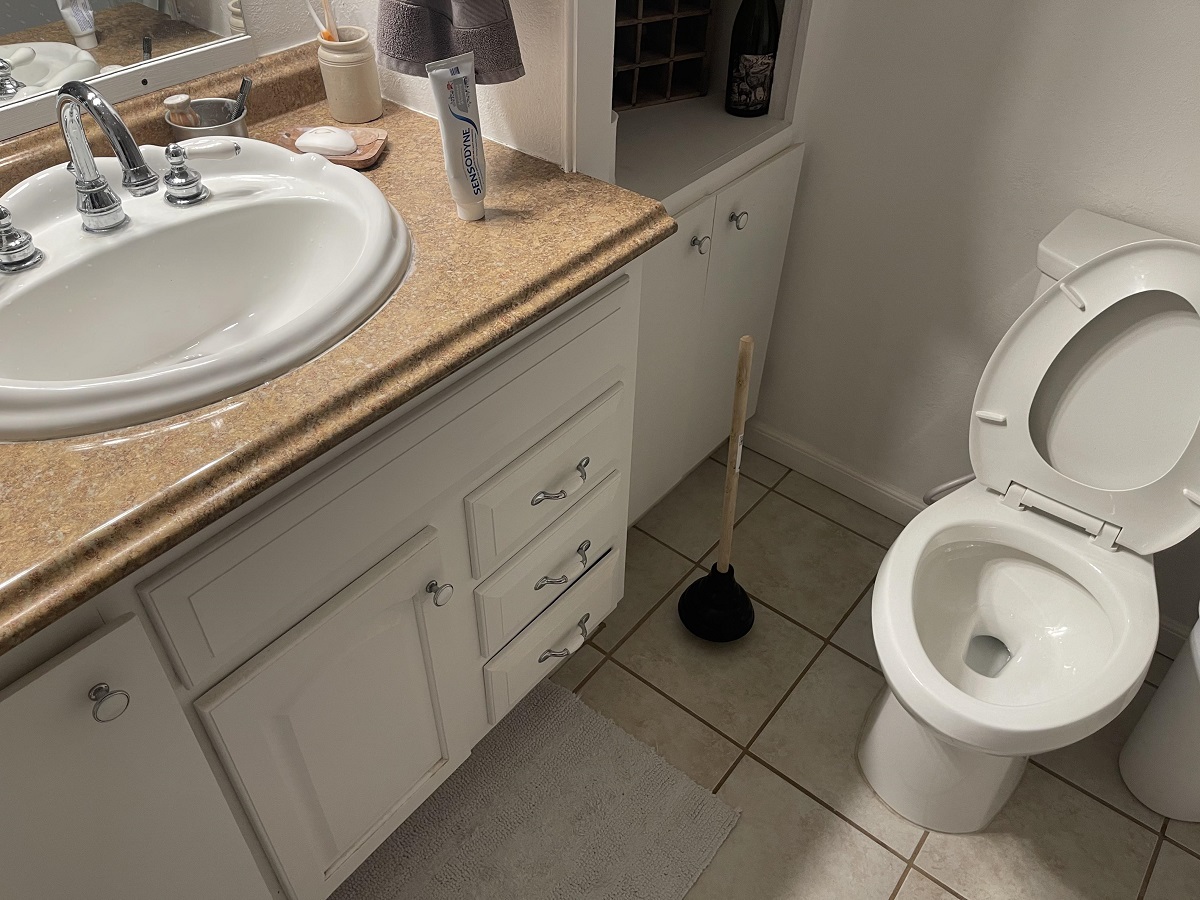
It’s important to note that every plumbing fixture in your home requires proper venting. This includes sinks, toilets, and showers, in addition to the washing machine. Each fixture has its own vent pipe that connects to the main vent stack or vent manifold. These vent pipes ensure that the drainage system operates smoothly and efficiently throughout your home.
When considering the venting of your washer drain, it’s crucial to comply with local building codes and regulations. These codes specify the size and location of vent pipes, as well as other requirements for proper installation. It’s essential to familiarize yourself with these regulations to ensure your venting system meets the necessary standards.
In the next sections, we will provide a step-by-step guide on how to install a new vent pipe for your washer drain. It’s worth noting that if you are unsure about your plumbing skills or lack experience, it may be wise to consult a professional plumber for the installation.
Signs of a Clogged or Inadequate Washer Drain
A clogged or inadequate washer drain can cause significant issues, ranging from poor drainage to potential water damage. It’s important to be able to recognize the signs of a problem with your washer drain so that you can address it promptly. Here are some common signs to look out for:
- Slow drainage: If you notice that your washing machine is taking longer than usual to drain, it could be an indication of a clogged or partially blocked drain. This can be caused by a buildup of lint, debris, or even small items that accidentally made their way into the washer.
- Foul odor: A lingering unpleasant smell around your washer or in the laundry room is another sign of a potential drainage issue. The accumulation of stagnant water in a clogged drain can create a breeding ground for bacteria and mold, resulting in a foul odor.
- Gurgling sounds: When water tries to drain through a clogged or inadequate washer drain, it can create air bubbles that manifest as gurgling sounds. These noises typically occur when the washing machine is draining or when water is backing up into the machine’s basin.
- Water backing up: If you notice water backing up into the washing machine basin or overflowing from nearby fixtures (such as sinks or toilets) when the washing machine is in use, it’s a clear indication of an issue with the drain system. This can occur when the drain is clogged, causing water to have nowhere to go.
- Repeated drain problems: If you frequently experience drain problems with your washer, such as having to manually unclog the drain or dealing with slow drainage on a regular basis, it’s a sign that the current drain configuration may be inadequate for your needs.
If you notice any of these signs, it’s crucial to take action to prevent further damage and ensure the proper functioning of your washer drain. Ignoring these symptoms can lead to more severe issues, such as water damage to your home or damage to your washing machine.
In the next sections, we will guide you through the steps of venting your washer drain properly. By addressing any clogs or inadequate drainage, you can ensure the efficient operation of your washing machine and avoid costly repairs in the future.
Tools and Materials Needed
Before you begin venting your washer drain, ensure that you have the necessary tools and materials to complete the installation. Here is a list of what you will need:
1. Vent pipe: Purchase a vent pipe that is suitable for your specific plumbing system. The size and material of the pipe will depend on local building codes and regulations.
2. PVC pipes and fittings: You will need PVC pipes and fittings to connect the vent pipe to the existing drain system. Measure the distance between the washer drain and the main drain pipe to determine the length of PVC pipe required.
3. Pipe cutter or hacksaw: A pipe cutter or hacksaw will be needed to cut the PVC pipe to the desired length. Ensure you have a clean, straight cut for a secure and leak-free installation.
4. Plumber’s tape: Plumber’s tape, also known as Teflon tape, is used to create a watertight seal between threaded pipe connections. Apply the tape to the threads of the pipe fittings before assembling them.
5. PVC cement: PVC cement is necessary to bond the PVC pipes and fittings together. Apply the cement to the outside of the pipe and the inside of the fitting, then twist and hold them in place for a few seconds to create a strong and permanent connection.
6. Safety equipment: Ensure you have the appropriate safety equipment, such as gloves and safety glasses, to protect yourself during the installation process. Safety should always be a priority when working with plumbing materials.
7. Tape measure: A tape measure will come in handy for measuring and marking the length of the PVC pipes, ensuring accurate cuts and a precise installation.
8. Spirit level: A spirit level can be used to check the alignment and levelness of the vent pipe during installation, ensuring that it is installed correctly and functions optimally.
Having these tools and materials readily available will streamline the installation process and help you complete the job efficiently. It’s important to double-check that you have everything you need before starting the venting process to avoid making multiple trips to the hardware store.
In the following sections, we will guide you through the step-by-step process of installing a new vent pipe for your washer drain. With the right tools and materials on hand, you’ll be well-prepared to tackle the project and achieve a properly vented washer drain.
Step 1: Assessing Current Drain Configuration
Before you begin installing a new vent pipe for your washer drain, it’s important to assess the current drain configuration to understand how the system is currently set up. This step will help you determine the most suitable location for the vent pipe installation and ensure a smooth installation process. Follow these steps to assess your current drain configuration:
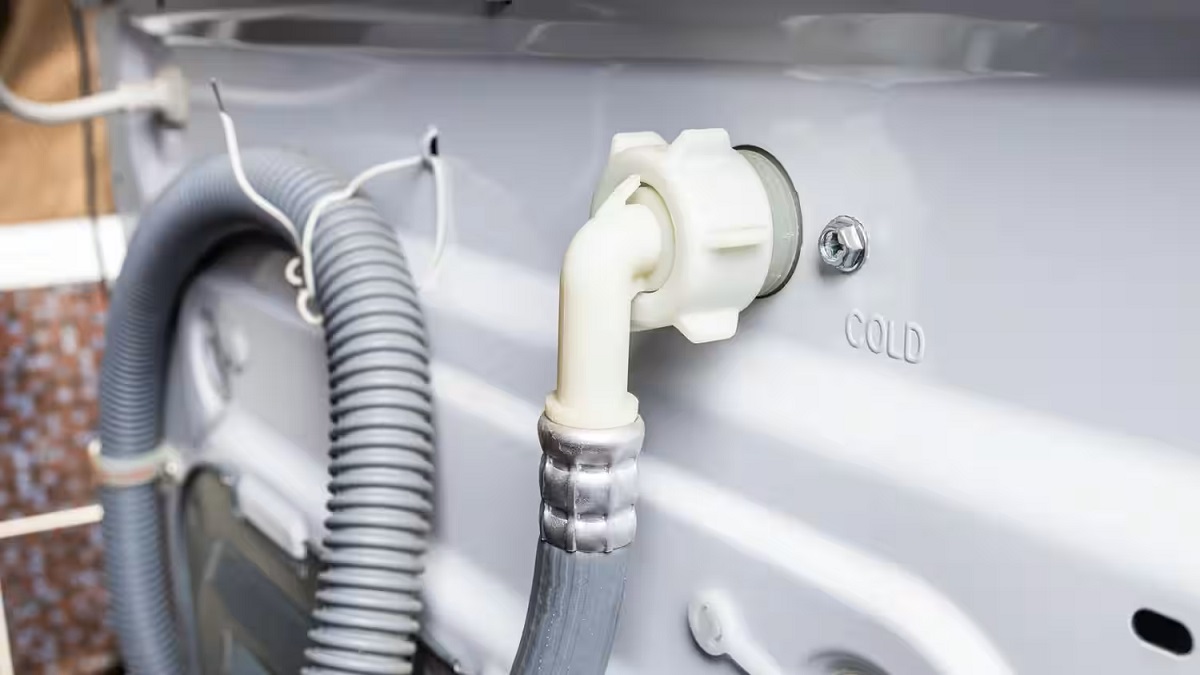
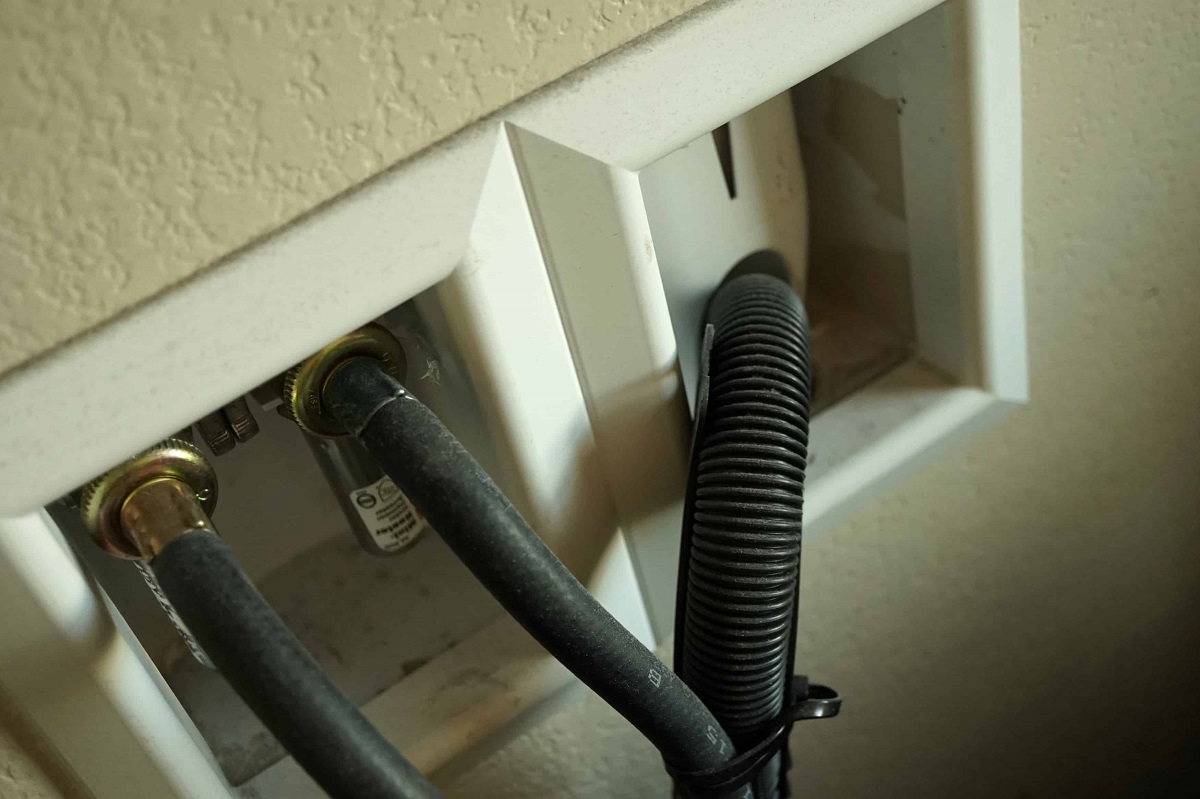
- Locate the drain pipe: Identify the existing drain pipe where your washer currently drains into. This is typically found near the floor, behind or next to the washing machine. The drain pipe may be connected to a standpipe, a vertical pipe that extends several inches above the floor level.
- Measure the distance: Measure the distance between the washer drain and the main drain pipe. This will help you determine the length of PVC pipe needed to connect the vent pipe to the main drain.
- Identify available space: Assess the available space around the current drain configuration. Look for nearby walls, cabinets, and other fixtures that might impact the placement of the vent pipe. You’ll need sufficient space to install the vent pipe and connect it to the main drain without any obstructions.
- Check local building codes: Familiarize yourself with local building codes and regulations regarding venting requirements. These codes specify the allowable size and location of vent pipes, as well as other considerations that must be met to ensure compliance. Make sure your planned vent pipe installation aligns with these guidelines.
Assessing your current drain configuration will give you a clear understanding of how the vent pipe installation will fit into the existing plumbing system. It will also help you plan the layout and determine the necessary materials and fittings required for a successful installation.
Once you have assessed the current drain configuration and gathered the necessary information, you can proceed to the next step: installing a new vent pipe. This will ensure that your washer drain is properly vented, improving the overall performance and preventing any potential drainage issues.
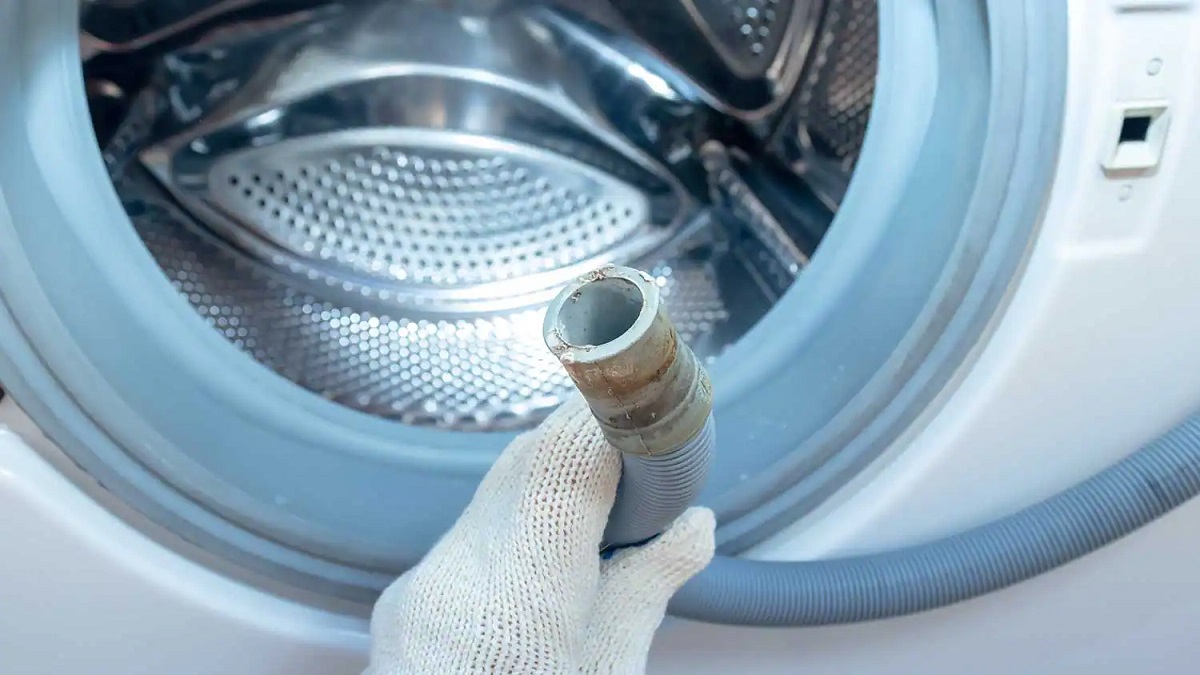
Make sure the washer drain hose is not kinked or clogged. Use a drain snake to clear any blockages and ensure proper drainage. Check the hose for leaks and secure it in place to prevent any water damage.
Read more: How To Drain Washer
Step 2: Installing a New Vent Pipe
Now that you have assessed your current drain configuration, it’s time to proceed with installing a new vent pipe for your washer drain. Follow these steps to install the vent pipe:
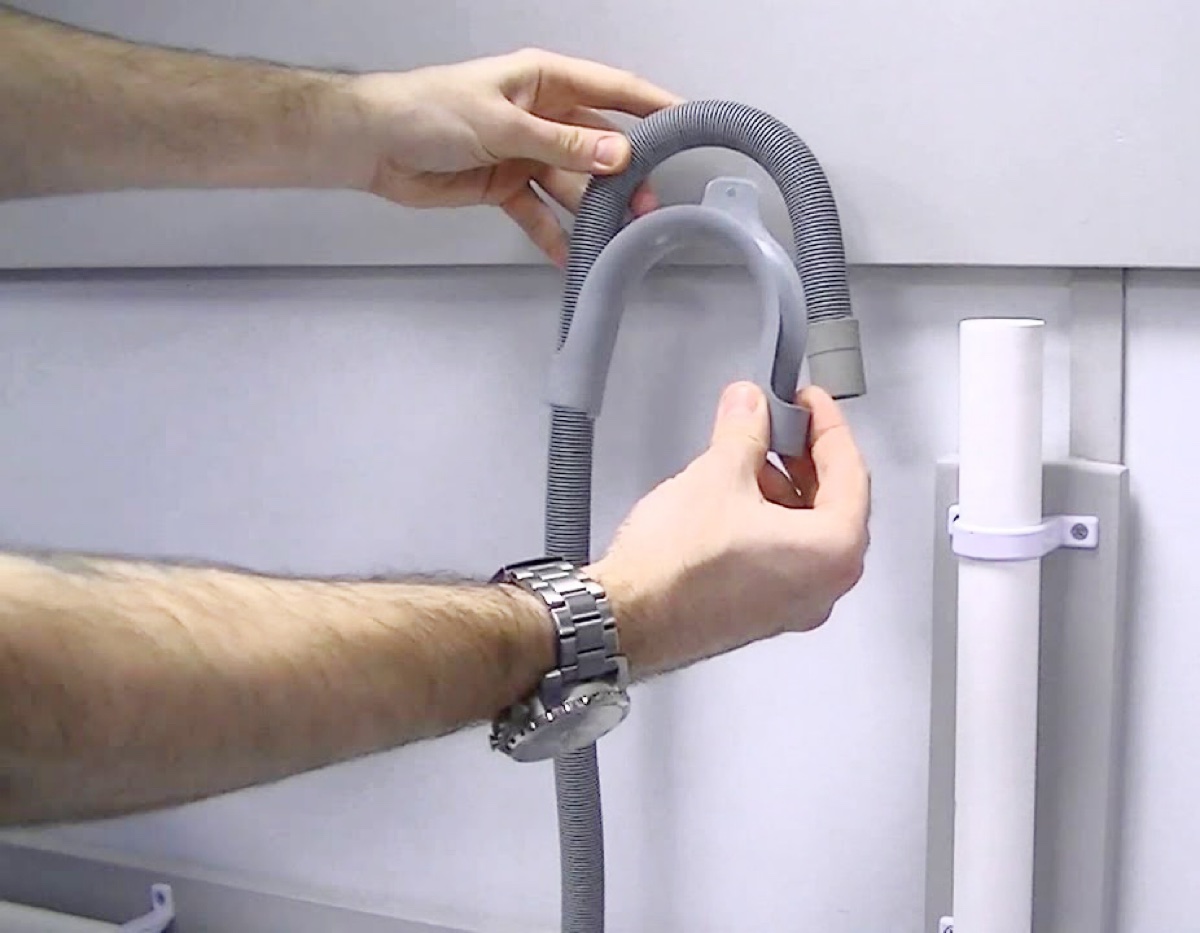
- Select the location: Identify a suitable location for the vent pipe installation. It should be close to the washer drain and have enough space to accommodate the pipe and its connections. Ensure that there are no obstructions, such as walls or cabinets, that could hinder the installation.
- Measure and cut the PVC pipe: Using a tape measure, measure the distance between the washer drain and the chosen location for the vent pipe installation. Transfer this measurement onto a PVC pipe and use a pipe cutter or hacksaw to cut it to the desired length. Make sure to have a clean and straight cut for a proper fit.
- Prepare the connections: Dry-fit the PVC fittings onto the cut pipe to check the fit and alignment. Ensure that the pipes are fully inserted into the fittings and that the joints are snug. Make any necessary adjustments before moving on to the next step.
- Apply plumber’s tape: Wrap plumber’s tape around the threads of the PVC fittings that will be connected to create a watertight seal. The tape helps prevent leakage at the threaded connections.
- Apply PVC cement: Apply PVC cement to the outside of the pipe and the inside of the fitting that will be connected. Follow the manufacturer’s instructions for the specific type of PVC cement you are using. Insert the pipes into the fittings, twisting them slightly to ensure a secure bond.
- Check alignment: Use a spirit level to check the alignment and levelness of the vent pipe. It should be straight and properly positioned. Make any necessary adjustments to ensure that the pipe is aligned correctly.
- Secure the vent pipe: Once you are satisfied with the alignment, secure the vent pipe to the wall or adjacent structure using pipe clamps or pipe straps. This will provide additional support and stability to the pipe.
By following these steps, you can successfully install a new vent pipe for your washer drain. It’s important to ensure that all connections are secure, and the pipe is properly aligned and supported. Taking these precautions will help prevent future issues and ensure a well-functioning washer drain system.
Now that you have installed the vent pipe, you are ready to move on to the next step: connecting the vent pipe to the existing drain system. This will complete the venting process and allow for proper drainage of your washing machine.
Step 3: Connecting the Vent Pipe to the Existing Drain System
With the new vent pipe installed, the next step is to connect it to the existing drain system. Follow these steps to connect the vent pipe:
- Locate the main drain pipe: Identify the main drain pipe where you will connect the vent pipe. It is typically a larger pipe that carries wastewater out of your home. Ensure that the area around the connection point is clear and accessible.
- Measure and cut the PVC pipe: Measure the distance between the vent pipe and the main drain pipe. Use a tape measure to determine the length of PVC pipe needed for the connection. Cut the PVC pipe to the appropriate length using a pipe cutter or hacksaw.
- Prepare the connections: Dry-fit the PVC fittings onto the cut pipe to ensure a proper fit. Ensure that the pipes are fully inserted into the fittings, and the joints are snug. Make any necessary adjustments to ensure a secure connection.
- Apply plumber’s tape and PVC cement: Wrap plumber’s tape around the threads of the PVC fittings that will be connected to create a watertight seal. Apply PVC cement to the outside of the pipe and the inside of the fitting. Insert the pipes into the fittings, twisting them slightly to create a secure bond. Follow the manufacturer’s instructions for the specific type of PVC cement you are using.
- Check alignment: Use a spirit level to check the alignment of the connected pipes. They should be straight and properly aligned. Make any necessary adjustments to ensure a correct alignment.
- Secure the connection: Once you are satisfied with the alignment, use pipe clamps or pipe straps to secure the connection between the vent pipe and the main drain pipe. This will provide additional support and stability.
- Test for leaks: Turn on the water supply to the washer and observe the connection for any signs of leakage. Check for any water seepage or dripping around the connections. If you notice any leaks, tighten the fittings or reapply PVC cement to create a proper seal.
By following these steps, you can successfully connect the vent pipe to the existing drain system. It’s important to ensure that all connections are secure and leak-free to prevent water damage and ensure proper drainage.
Now that the vent pipe is connected to the existing drain system, you are ready to move on to the next step: testing the washer drain vent. This will help ensure that the venting system is functioning correctly and that proper drainage is maintained during the operation of your washing machine.
Step 4: Testing the Washer Drain Vent
Once you have installed and connected the vent pipe to the existing drain system, it’s important to test the washer drain vent to ensure it is functioning properly. Follow these steps to test the vent:
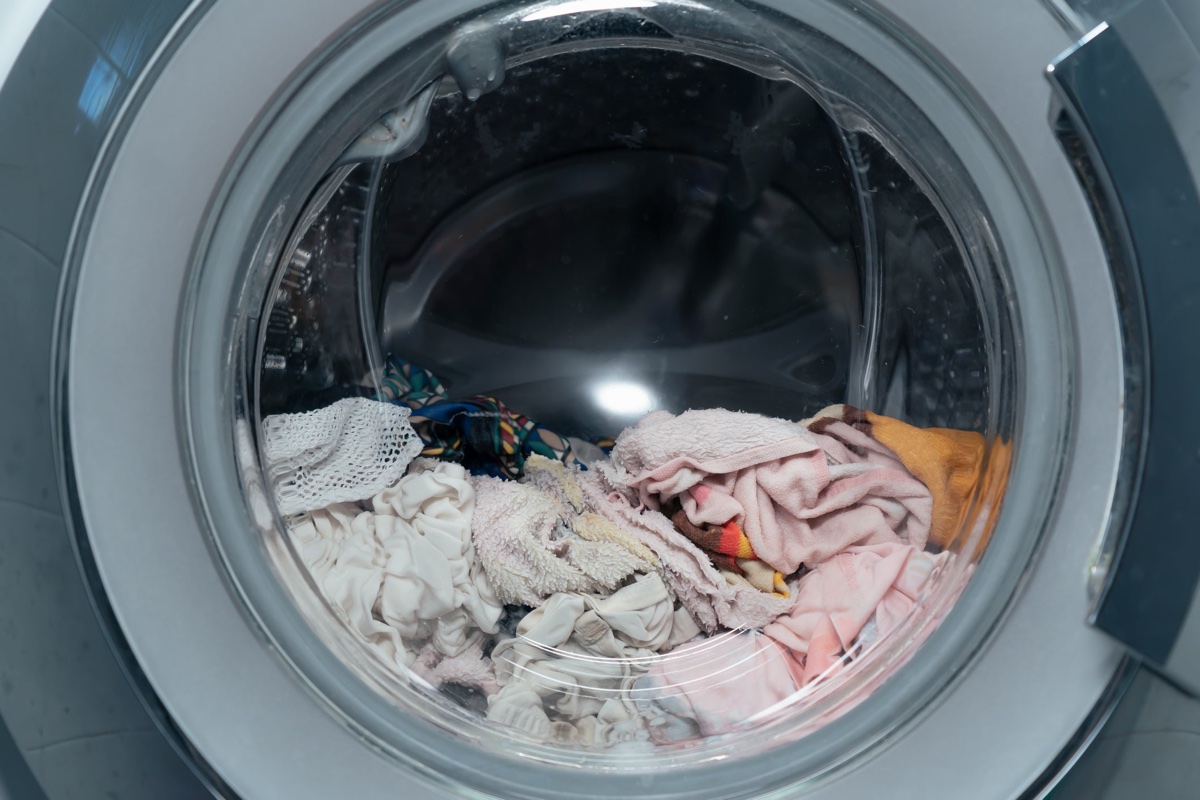
- Fill the washing machine: Fill the washing machine with water, following the manufacturer’s guidelines. Ensure that the water level is adequate to test the drainage effectively.
- Start the washing cycle: Start the washing machine and let it complete a full washing cycle. Observe the water drainage during this process.
- Check for proper drainage: As the washing machine drains the water, ensure that it is flowing smoothly and quickly down the drain. There should not be any signs of slow drainage or backups.
- Listen for any gurgling sounds: Pay attention to any unusual gurgling or bubbling sounds coming from the drain system while the washing machine is draining. These sounds may indicate a ventilation issue that needs to be addressed.
- Inspect for leaks: While the washing machine is draining, check the connections between the vent pipe and the drain system for any signs of leakage. Look for water seepage or dripping around the connections. If you notice any leaks, tighten the fittings or reapply PVC cement to create a proper seal.
- Monitor the washer drain after the cycle: After the washing cycle is complete, observe the washer drain for any signs of water backup or lingering water in the machine’s basin. This could indicate a drainage problem that needs to be addressed.
Testing the washer drain vent is a crucial step to ensure that your venting system is working effectively and allowing for proper drainage. By performing this test, you can identify any issues or deficiencies in the venting system and address them promptly.
If you encounter any problems during the testing process, such as slow drainage or unusual sounds, it may be necessary to reevaluate your venting installation and consult a professional plumber if needed. Remember that a well-ventilated washer drain is essential for the efficient and effective operation of your washing machine.
Now that you have tested the washer drain vent, you can move on to the final step: troubleshooting and maintenance tips. These will help you address any potential issues and keep your washer drain system in optimal condition for long-term use.
Step 5: Troubleshooting and Maintenance Tips
After completing the installation and testing of your washer drain vent, it’s important to be aware of some troubleshooting and maintenance tips to keep the system functioning properly. Here are some helpful tips:
- Regularly clean the vent pipe: Over time, lint, debris, and other particles can accumulate within the vent pipe. Regularly clean the vent pipe to prevent clogs and maintain proper airflow. Use a plumber’s snake or a pipe brush to remove any obstructions.
- Watch for signs of clogs: Keep an eye out for slow draining or backups. If you notice these signs, it may indicate a clog in the vent pipe or the drain system. Use a plunger or a plumbing snake to clear the clog or consult a professional plumber for assistance.
- Inspect the vent pipe periodically: Check the vent pipe for any signs of damage or deterioration. Look for cracks, leaks, or loose connections. If you notice any issues, repair or replace the damaged parts to ensure the vent pipe functions properly.
- Monitor the washer drain: Regularly observe the washer drain during operation. If you notice any unusual sounds, slow drainage, or water backups, investigate and address the issue promptly. Ignoring the problem could lead to further damage to the drain system.
- Follow maintenance guidelines: Adhere to the manufacturer’s maintenance guidelines for your washing machine. Regularly clean the washer’s lint trap or filter to prevent lint buildup, which can contribute to clogs in the drain system.
- Stay informed about building codes: Familiarize yourself with and stay updated on local building codes and regulations regarding plumbing vents. Understanding these guidelines will ensure that any future modifications or repairs to the washer drain vent are done in compliance with the necessary standards.
- Consult a professional plumber: If you encounter persistent issues with your washer drain vent or if you are unsure about how to address a problem, it’s advisable to consult a professional plumber. They can provide expert advice, perform necessary repairs, or make any adjustments to the venting system.
By following these troubleshooting and maintenance tips, you can ensure the continued efficiency and functionality of your washer drain vent. Regular inspections and maintenance will help prevent clogs, backups, and other drainage problems, ensuring the proper operation of your washing machine for years to come.
With the completion of these steps, you have successfully vented your washer drain and created a well-functioning drainage system. Congratulations on taking this proactive step to ensure smooth and efficient washing machine operation!
If you have any further concerns or questions regarding your washer drain vent, it’s always recommended to consult with a professional plumber who can provide tailored advice for your specific situation.
HTML output validated with valid HTML encoding.
Read more: How To Drain A Maytag Washer
Conclusion
Ensuring proper venting for your washer drain is vital for maintaining the efficient operation of your washing machine. By following the steps outlined in this guide, you can successfully install a new vent pipe and create a well-ventilated drain system, preventing clogs, backups, and other drainage issues.
Remember to assess your current drain configuration, gather the necessary tools and materials, and follow the step-by-step process for installing and connecting the vent pipe. Testing the washer drain vent is crucial to confirm its proper functionality, and regular maintenance and troubleshooting are important for long-term performance.
By addressing any clogs, ensuring proper ventilation, and adhering to local building codes and regulations, you can enjoy the benefits of an efficiently functioning washer drain system. Proper drainage not only prevents damage to your washing machine and drain system but also keeps your laundry routine smooth and hassle-free.
In case you encounter any challenges or are unsure about any aspect of the venting process, it’s recommended to consult a professional plumber. Their expertise and knowledge will ensure that your installation is done correctly and in compliance with the necessary standards.
By taking the time to vent your washer drain properly and maintaining it regularly, you can extend the lifespan of your washing machine, avoid costly repairs, and maintain a clean and functional laundry area in your home.
HTML output validated with valid HTML encoding.
If you've found our guide on venting washer drains handy, chances are you'll need more insights on maintaining a flawless home system. Wondering whether your pipes require professional attention? Our detailed read on when you might need plumbing repairs will clear up any uncertainties. Additionally, if setting up new appliances is on your to-do list, don't miss our straightforward guide on washer installation for seamless setup and operation.
Frequently Asked Questions about How To Vent Washer Drain
Was this page helpful?
At Storables.com, we guarantee accurate and reliable information. Our content, validated by Expert Board Contributors, is crafted following stringent Editorial Policies. We're committed to providing you with well-researched, expert-backed insights for all your informational needs.


0 thoughts on “How To Vent Washer Drain”