Home>Home Appliances>Laundry Appliances>How To Make An Ironing Board Cover
Laundry Appliances
How To Make An Ironing Board Cover
Modified: February 18, 2024
Learn how to make an ironing board cover for your laundry appliances with this easy DIY guide. Keep your ironing board looking fresh and functional!
(Many of the links in this article redirect to a specific reviewed product. Your purchase of these products through affiliate links helps to generate commission for Storables.com, at no extra cost. Learn more)
Introduction
Creating a custom ironing board cover is a fantastic way to add a personal touch to your laundry routine. Not only does it allow you to express your creativity, but it also ensures that your ironing board is both functional and visually appealing. Whether you're a seasoned seamstress or a novice crafter, making an ironing board cover can be a rewarding and practical project.
By crafting your own ironing board cover, you have the freedom to choose the fabric that best suits your style and preferences. From vibrant floral patterns to classic solid colors, the options are endless. Additionally, customizing the cover allows you to select a durable and heat-resistant fabric, ensuring that it can withstand the rigors of frequent ironing.
Moreover, a well-fitted and secure ironing board cover can make the ironing process more efficient and enjoyable. It provides a smooth and stable surface for pressing clothes, preventing wrinkles and ensuring a professional finish. With the right materials and a bit of creativity, you can transform your ironing board into a stylish and functional tool that complements your laundry space.
In the following sections, we will explore the step-by-step process of creating a custom ironing board cover, from selecting the materials to adding the finishing touches. Whether you're looking to revitalize an old ironing board or personalize a new one, this guide will equip you with the knowledge and skills to embark on this enjoyable DIY project. Let's dive into the materials needed and the exciting process of making your very own ironing board cover.
Key Takeaways:
- Personalize your ironing board with a custom cover using durable fabric and elastic for a snug fit. Add decorative elements for a stylish and functional laundry essential.
- Crafting your own ironing board cover allows you to express creativity, personalize your space, and enjoy a more enjoyable and rewarding ironing experience.
Read more: How To Clean An Ironing Board Cover
Materials Needed
To embark on the journey of creating a custom ironing board cover, you will need a few essential materials and tools to ensure a successful and visually appealing outcome. Here's a comprehensive list of what you'll need:
-
Fabric: Select a durable and heat-resistant fabric that can withstand the high temperatures generated by an iron. Cotton and linen are popular choices due to their natural fibers and ability to handle heat effectively. Additionally, consider the aesthetic appeal of the fabric, as this will contribute to the overall look of your ironing board cover.
-
Elastic: High-quality elastic is crucial for ensuring a snug and secure fit of the cover on the ironing board. Opt for elastic that is both flexible and resilient, as it will be stretched and adjusted during the installation process.
-
Measuring Tape: Accurate measurements are essential for creating a well-fitted ironing board cover. A reliable measuring tape will enable you to determine the dimensions of your ironing board, ensuring that the cover fits perfectly.
-
Scissors: Sharp, fabric-friendly scissors are indispensable for cutting the fabric to the required size and shape. Precision is key when working with fabric, so ensure that your scissors are in optimal condition.
-
Pins: Sewing pins are essential for securing the fabric in place during the cutting and sewing processes. They help maintain the alignment of the fabric layers, ensuring that the cover is symmetrical and well-constructed.
-
Sewing Machine or Needle and Thread: Depending on your preference and sewing expertise, you can use a sewing machine or hand-sew the cover. Ensure that your sewing machine is in good working condition, or have a reliable needle and thread on hand for manual stitching.
-
Iron: An iron is necessary for pressing the fabric and ensuring that the seams are crisp and well-defined. Additionally, it allows you to test the heat resistance of the fabric before using the cover for ironing.
-
Optional: Piping or Binding: If you desire a decorative edge or additional reinforcement for the cover, consider incorporating piping or binding into your design. These elements can elevate the aesthetic appeal of the cover while providing structural integrity.
By gathering these materials and tools, you'll be well-equipped to embark on the exciting journey of creating a custom ironing board cover. With the right resources at your disposal, you can proceed to the next steps with confidence, knowing that you have everything you need to bring your vision to life.
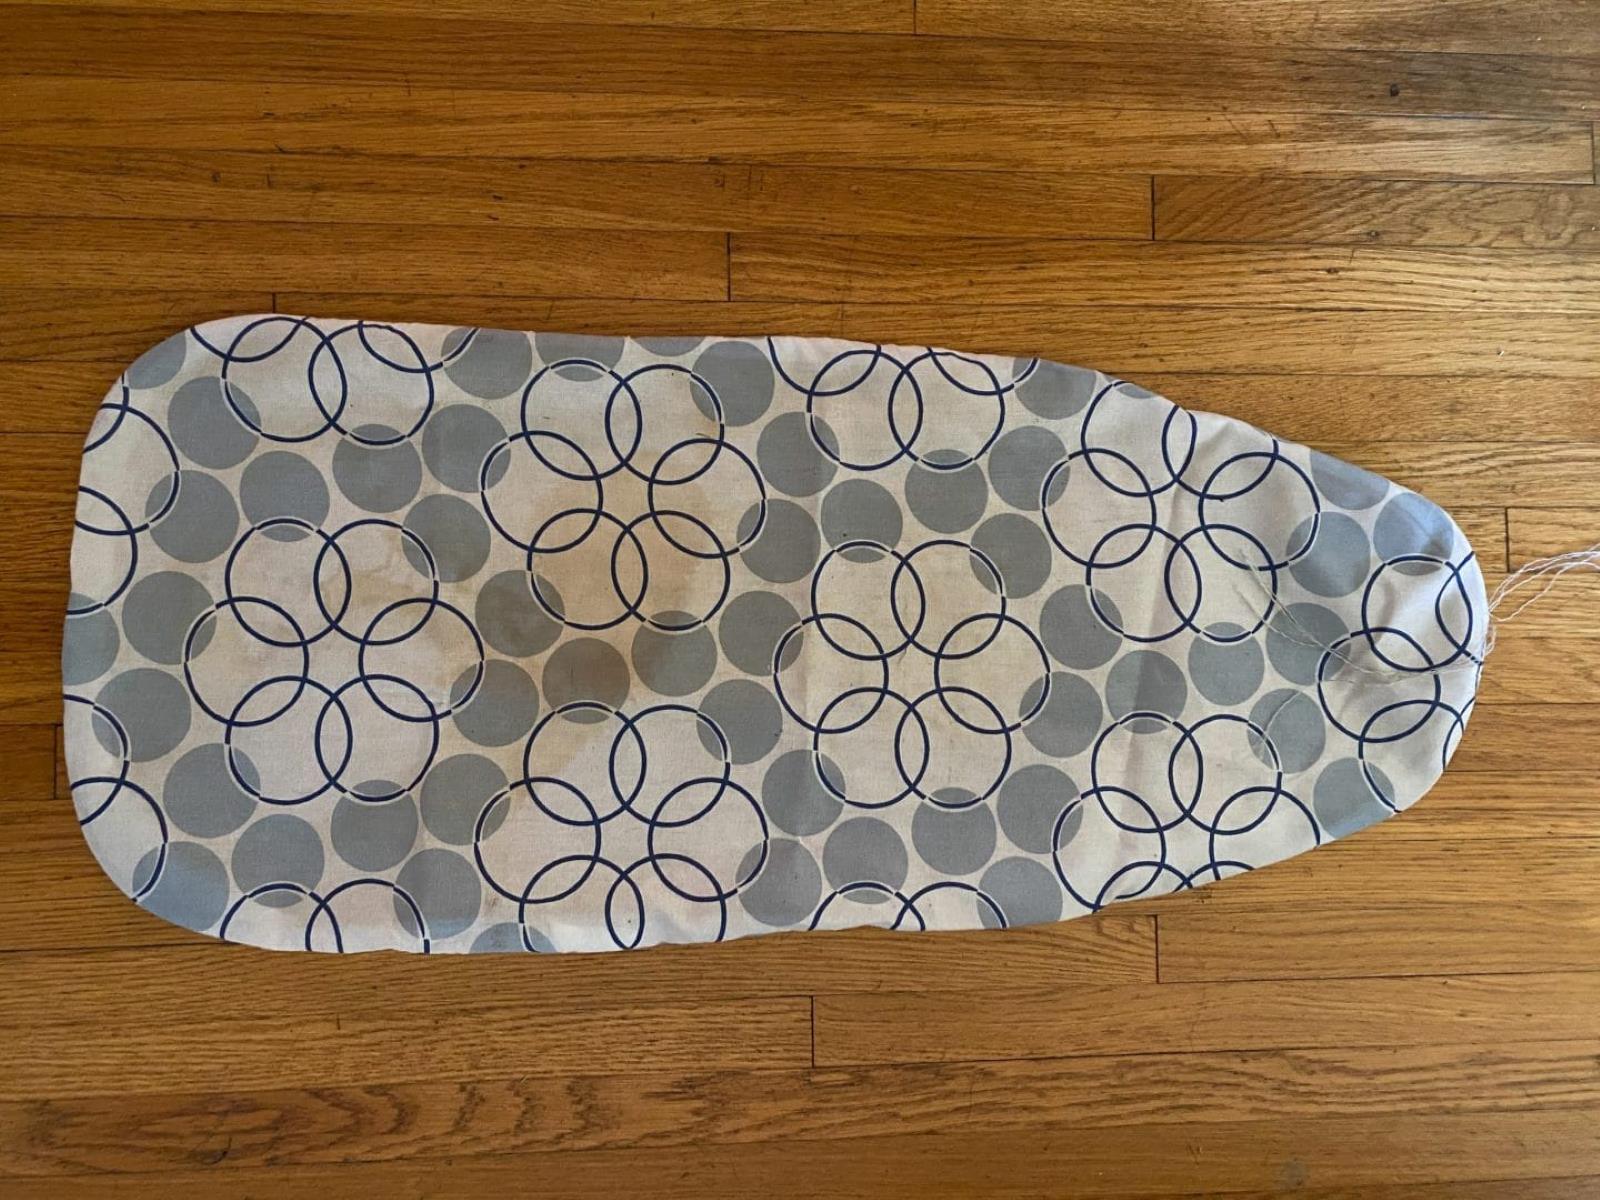
Step 1: Measure and Cut the Fabric
The initial step in creating a custom ironing board cover involves precise measurements and accurate cutting of the fabric. This crucial stage sets the foundation for a well-fitted cover that will enhance the functionality and aesthetics of your ironing board.
Begin by placing your fabric on a clean, flat surface, ensuring that it is free from wrinkles or creases. Using a measuring tape, carefully measure the length and width of your ironing board, accounting for any padding or thickness. It's essential to add extra inches to these measurements to accommodate the sides and elastic casing of the cover.
Once you have determined the dimensions, mark the fabric using fabric chalk or pins, outlining the shape of the cover according to the measurements. Take your time to ensure that the lines are straight and the corners are accurately marked. This precision will contribute to a professional-looking and well-fitted cover.
With the fabric marked, use sharp fabric scissors to cut along the outlined shape. Exercise caution and maintain a steady hand to achieve clean and even edges. If you are incorporating piping or binding into your design, consider the additional width required for these elements when cutting the fabric.
After cutting the main piece of fabric, it's time to create the casing for the elastic. Measure and mark the allowance for the elastic casing along the edges of the fabric, ensuring that it is wide enough to accommodate the elastic without being too loose or too tight.
Once the casing is marked, carefully fold and press the fabric to create the casing, ensuring that the edges are neatly aligned. Secure the folded edges in place with pins, maintaining the accuracy of the measurements and ensuring that the casing is uniform around the entire perimeter of the fabric.
By meticulously measuring and cutting the fabric to the precise dimensions and creating the elastic casing, you have laid the groundwork for a well-constructed and tailored ironing board cover. This meticulous attention to detail sets the stage for the next steps in the process, bringing you closer to the completion of your custom cover.
Step 2: Sew the Elastic
Sewing the elastic is a pivotal stage in the creation of a custom ironing board cover, as it ensures a snug and secure fit that prevents the cover from shifting during use. This step requires precision and attention to detail to achieve a professional and functional result.
Begin by selecting a high-quality elastic that is both flexible and resilient. The elastic should be slightly shorter than the perimeter of the fabric casing, allowing it to create tension and hold the cover firmly in place. Carefully measure and cut the elastic to the appropriate length, ensuring that it is evenly sized and free from any twists or tangles.
With the elastic prepared, it's time to secure it within the fabric casing. Starting at one end of the casing, use sewing pins to anchor the elastic in place, ensuring that it is aligned with the edge of the fabric. As you progress along the casing, gently stretch the elastic to fit the fabric, maintaining an even tension to prevent any gathering or bunching.
Once the elastic is pinned in place, it's time to sew it securely into the casing. Set your sewing machine to a medium zigzag stitch, which allows the elastic to stretch while maintaining a durable hold. Begin sewing at one end of the casing, backstitching to reinforce the seam, and carefully guide the elastic through the machine, ensuring that it remains aligned with the edge of the fabric.
As you sew, continue to stretch the elastic to match the length of the casing, maintaining a consistent tension to create a smooth and taut fit. Take your time to sew along the entire perimeter of the casing, ensuring that the elastic is securely attached and that the fabric remains flat and free from wrinkles.
Once the elastic is sewn into place, backstitch at the end to secure the seam, and trim any excess elastic. Test the tension of the elastic by gently stretching the fabric, ensuring that it fits snugly around the ironing board without being too tight. This step is crucial for achieving a well-fitted cover that remains in position during ironing sessions.
By sewing the elastic with precision and care, you have successfully established a secure and tailored fit for your custom ironing board cover. This essential stage sets the foundation for a cover that not only looks professional but also functions seamlessly, providing a stable and reliable surface for all your ironing needs.
When making an ironing board cover, use heat-resistant fabric like cotton or canvas to prevent melting. Measure the board carefully to ensure a snug fit.
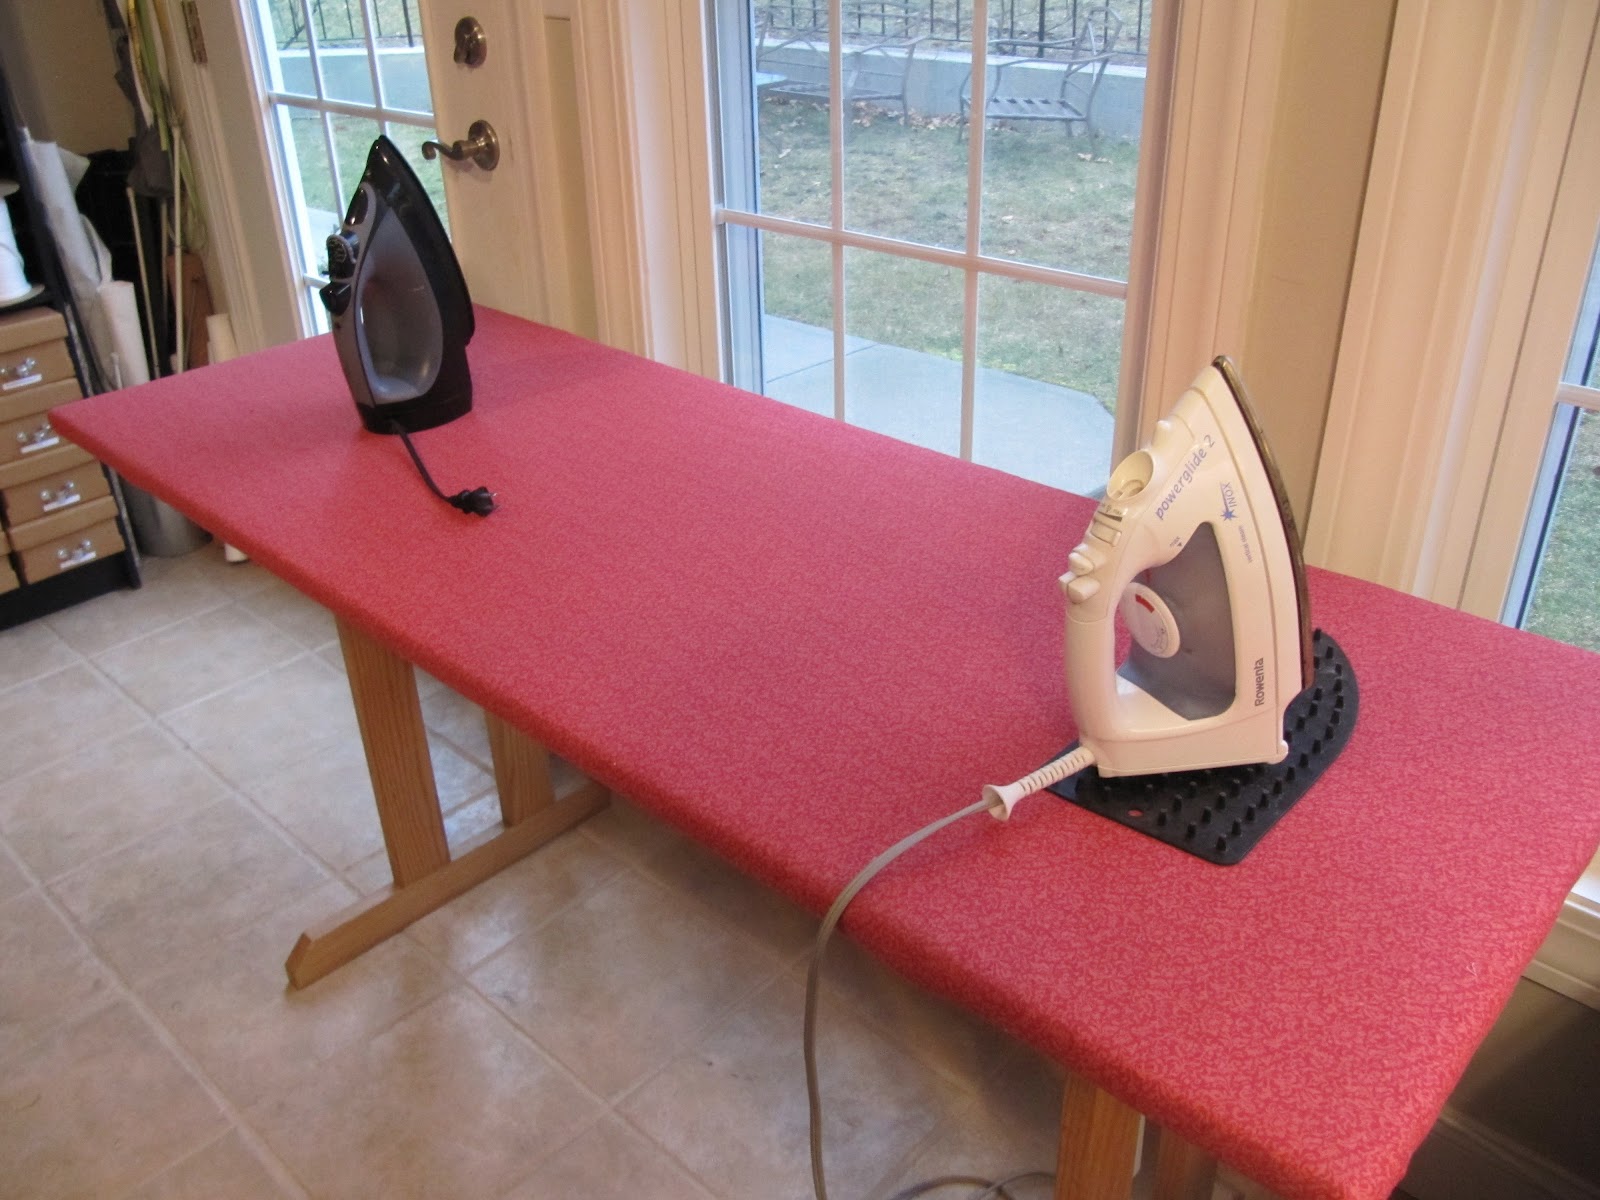
Step 3: Attach the Fabric to the Ironing Board
With the fabric meticulously measured, cut, and the elastic securely sewn into place, it's time to bring your custom ironing board cover to life by attaching it to the ironing board. This step is essential for ensuring a smooth and stable surface that enhances the ironing experience while adding a personalized touch to your laundry space.
Begin by placing the newly crafted cover on a clean and flat surface, ensuring that the elasticized side is facing down. Position your ironing board on top of the cover, aligning it carefully to ensure that the fabric extends evenly on all sides. Take a moment to adjust the cover, ensuring that it is centered and symmetrical before proceeding to the next steps.
Once the cover is positioned correctly, it's time to secure it to the ironing board. Starting at one end, carefully fold the edges of the fabric under the ironing board, creating a neat and snug fit. Use sewing pins to secure the fabric in place, ensuring that it remains taut and smooth across the surface of the board. Pay close attention to the corners, ensuring that they are neatly folded and secured to maintain a clean and professional appearance.
As you progress along the edges of the ironing board, continue to fold the fabric under, securing it with pins to maintain a consistent and well-fitted appearance. Take your time to ensure that the fabric is smooth and free from wrinkles, adjusting as needed to achieve a seamless and tailored look.
Once the fabric is securely pinned around the entire perimeter of the ironing board, it's time to sew it into place. Using a sewing machine or needle and thread, carefully stitch along the edges of the fabric, ensuring that it is firmly attached to the underside of the ironing board. Maintain a straight and even stitch, reinforcing the corners and edges to create a durable and long-lasting attachment.
After sewing the fabric to the ironing board, remove the pins and gently smooth out the cover, ensuring that it fits snugly and securely. Test the tension of the elastic by gently stretching the fabric, confirming that it remains taut and well-fitted.
By attaching the fabric to the ironing board with precision and care, you have completed a crucial step in the creation of a custom cover. This process not only ensures a professional and tailored appearance but also guarantees a stable and reliable surface for all your ironing needs.
Read more: How To Measure For An Ironing Board Cover
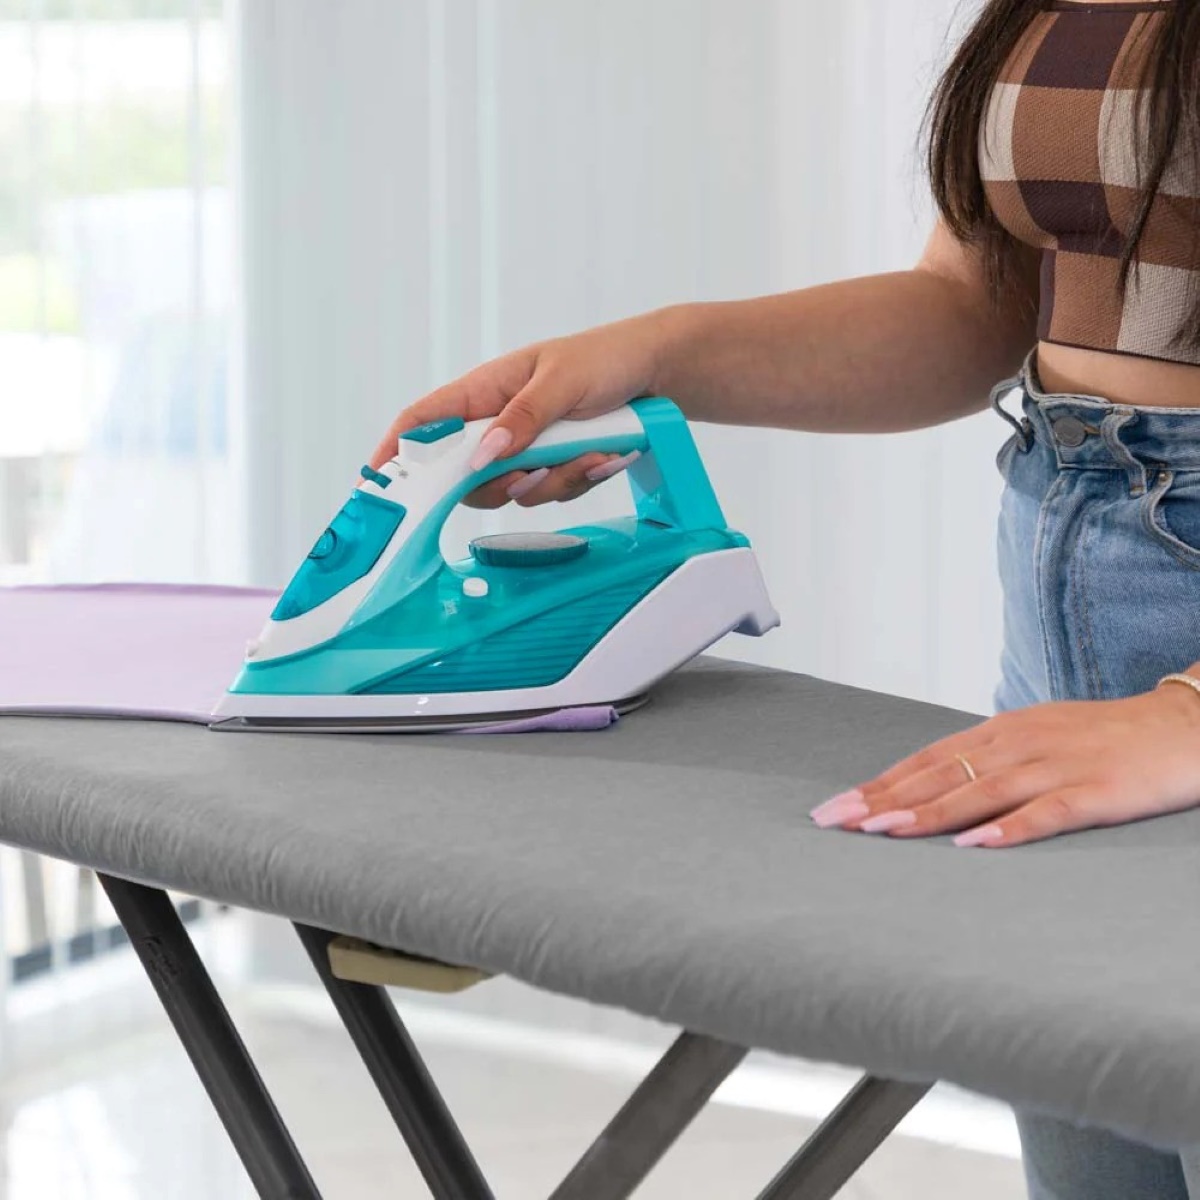
Step 4: Finishing Touches
With the fabric securely attached to the ironing board, it's time to add the finishing touches to elevate the functionality and aesthetics of your custom ironing board cover. This stage allows you to refine the details and ensure that the cover not only serves its practical purpose but also enhances the overall visual appeal of your laundry space.
One essential finishing touch is to reinforce the seams and edges of the cover to ensure durability and longevity. Using a sewing machine or needle and thread, carefully stitch along the edges of the fabric, reinforcing the attachment to the ironing board and creating a sturdy finish. This additional reinforcement provides structural integrity, preventing fraying and ensuring that the cover withstands the rigors of frequent use.
If you opted to incorporate piping or binding into your design, this is the stage to complete this decorative element. Carefully attach the piping or binding along the edges of the cover, ensuring that it is securely sewn into place. This decorative detail not only adds a polished look to the cover but also provides additional strength and a professional finish.
To further enhance the functionality of the cover, consider adding a layer of heat-reflective or heat-resistant material to the underside. This additional layer acts as a barrier, preventing the transfer of heat to the surface beneath the cover and ensuring that your ironing board remains protected. Whether using a specialized heat-reflective fabric or a layer of insulated material, this extra step can prolong the lifespan of your ironing board while enhancing safety during ironing sessions.
Finally, take a moment to inspect the cover for any loose threads or uneven areas. Trim any excess threads and make any necessary adjustments to ensure that the cover is smooth, taut, and free from imperfections. This attention to detail contributes to a professional and polished result, reflecting the care and craftsmanship invested in creating your custom ironing board cover.
By adding these finishing touches, you have transformed a simple fabric into a functional and visually appealing cover that complements your ironing routine. The meticulous attention to detail and the incorporation of these final elements ensure that your custom cover not only meets practical requirements but also adds a touch of personalized style to your laundry space.
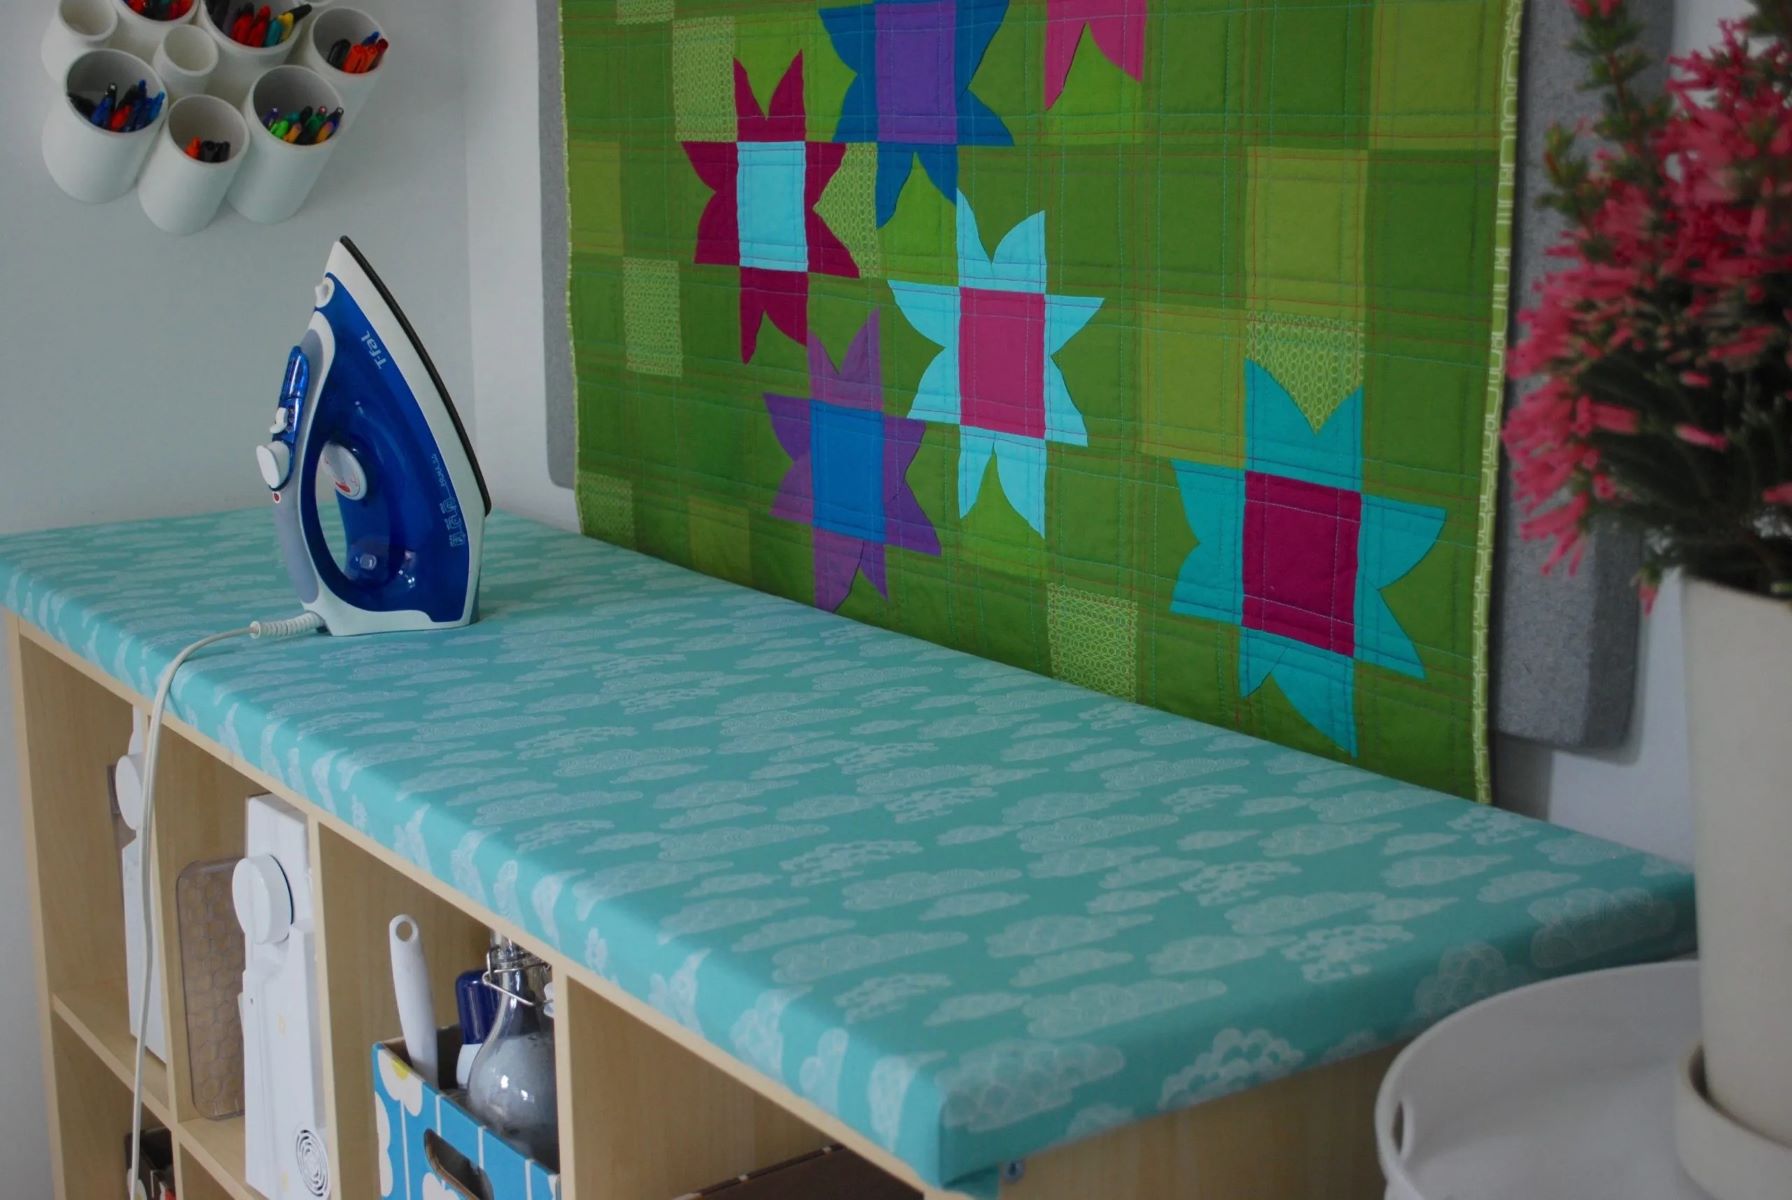
Conclusion
In conclusion, creating a custom ironing board cover is a gratifying endeavor that combines practicality with creativity. By following the step-by-step process outlined in this guide, you have embarked on a journey to transform a simple fabric into a functional and visually appealing cover that enhances your ironing experience.
Through meticulous measurements and precise cutting, you have tailored the fabric to fit your ironing board perfectly, ensuring a smooth and taut surface for pressing clothes. The careful sewing of the elastic has provided a secure and snug fit, preventing the cover from shifting during use and contributing to a professional finish.
Attaching the fabric to the ironing board with care and precision has resulted in a well-fitted cover that not only functions seamlessly but also adds a personalized touch to your laundry space. The finishing touches, including reinforcing the seams, adding decorative elements, and incorporating heat-reflective materials, have elevated the cover's functionality and aesthetics.
By crafting your own ironing board cover, you have the freedom to select a fabric that reflects your style and preferences, ensuring that your ironing board becomes a personalized and integral part of your laundry routine. Whether you opt for a vibrant pattern, a classic solid color, or a decorative trim, your custom cover is a reflection of your individuality and attention to detail.
As you embark on future ironing sessions, your custom cover will not only provide a stable and reliable surface for pressing clothes but also serve as a testament to your crafting skills and creativity. The satisfaction of using a cover that you have meticulously tailored to your preferences adds a sense of pride and accomplishment to the everyday task of ironing.
In essence, the process of making a custom ironing board cover transcends the practical aspects of creating a functional surface for ironing. It embodies the joy of crafting, the satisfaction of personalizing everyday items, and the fulfillment of transforming a simple fabric into a valuable and cherished addition to your home.
With your newly crafted ironing board cover in place, you are poised to approach your ironing tasks with renewed enthusiasm and a sense of ownership. The cover not only enhances the functionality of your ironing board but also adds a touch of personality and flair to your laundry space, making the chore of ironing a more enjoyable and rewarding experience.
Frequently Asked Questions about How To Make An Ironing Board Cover
Was this page helpful?
At Storables.com, we guarantee accurate and reliable information. Our content, validated by Expert Board Contributors, is crafted following stringent Editorial Policies. We're committed to providing you with well-researched, expert-backed insights for all your informational needs.

0 thoughts on “How To Make An Ironing Board Cover”