Home>Home Appliances>Laundry Appliances>How To Unfold An Ironing Board
Laundry Appliances
How To Unfold An Ironing Board
Modified: February 18, 2024
Learn the easy steps to unfold an ironing board and make your laundry routine a breeze. Discover the best techniques for setting up your laundry appliances.
(Many of the links in this article redirect to a specific reviewed product. Your purchase of these products through affiliate links helps to generate commission for Storables.com, at no extra cost. Learn more)
Introduction
Unfolding an ironing board may seem like a simple task, but it's essential to do it correctly to ensure a smooth and efficient ironing experience. Whether you're a seasoned pro or a novice in the world of laundry, mastering the art of setting up an ironing board is a valuable skill that can make a significant difference in the quality of your ironing results.
In this comprehensive guide, we will walk you through the step-by-step process of unfolding an ironing board with ease and precision. From setting up the board to adjusting its height and securing it in place, we'll cover everything you need to know to transform your ironing board from a compact storage unit to a fully functional tool for achieving wrinkle-free perfection in your garments.
By following the instructions outlined in this guide, you'll gain the confidence and expertise needed to unfold your ironing board effortlessly, allowing you to focus on the task at hand – achieving impeccably pressed clothes. So, let's dive into the details and unravel the secrets of mastering the art of unfolding an ironing board.
Key Takeaways:
- Mastering the art of unfolding an ironing board ensures a smooth and efficient ironing experience, leading to wrinkle-free perfection in garments. Follow the steps to set up, adjust, and use the ironing board with confidence.
- Unfolding the ironing board cover and using proper ironing techniques contribute to achieving professional-quality results. With attention to detail and practice, you can transform wrinkled fabrics into smooth, pristine garments.
Read more: Where To Iron Without An Ironing Board?
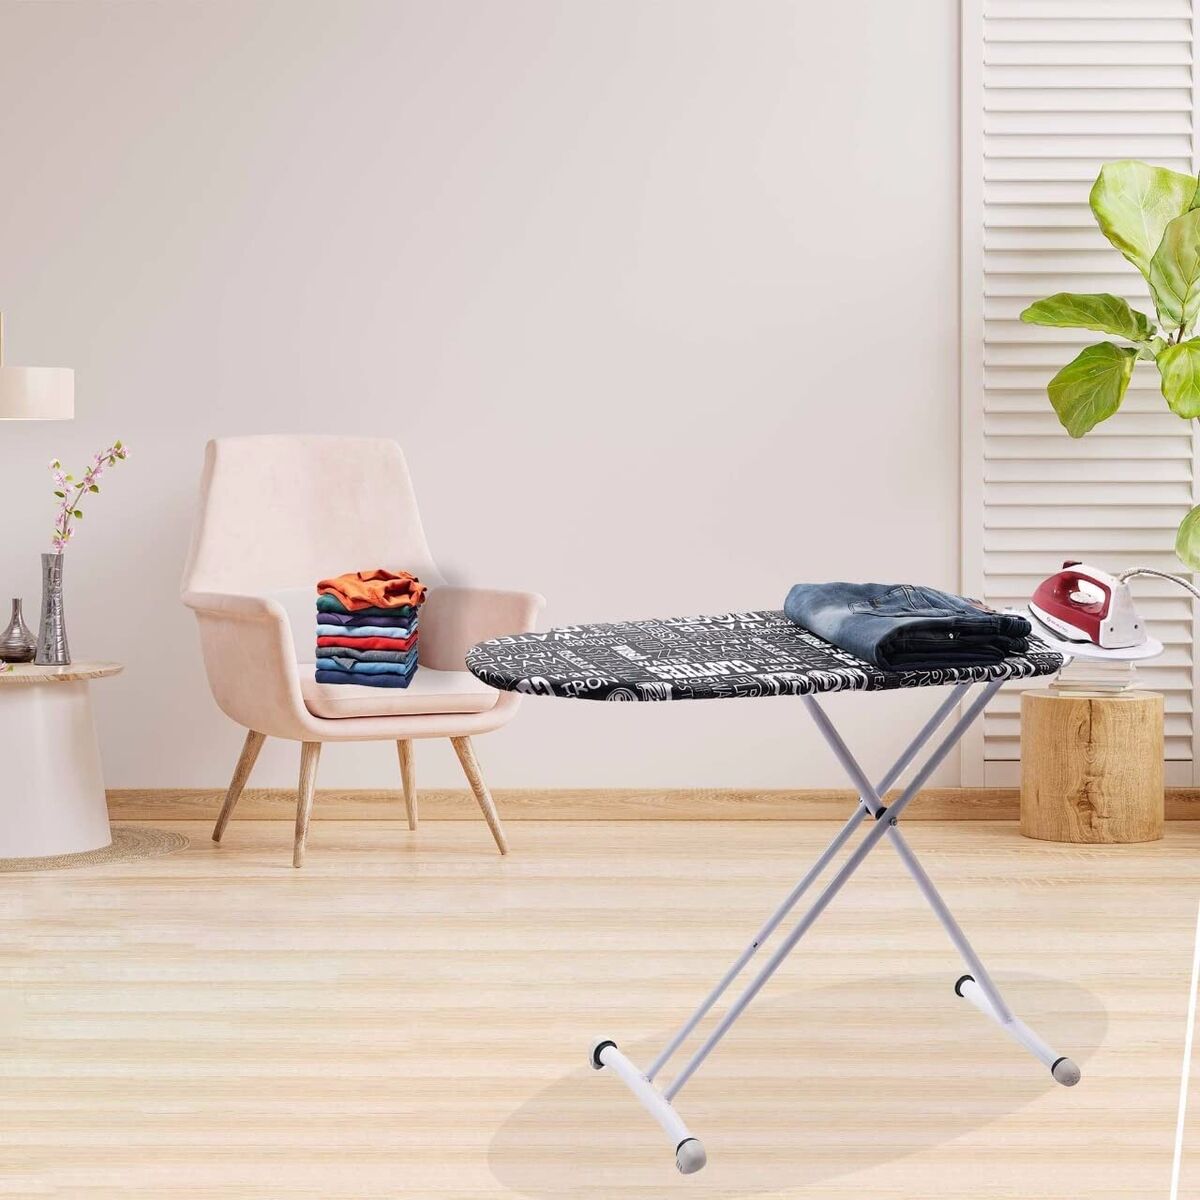
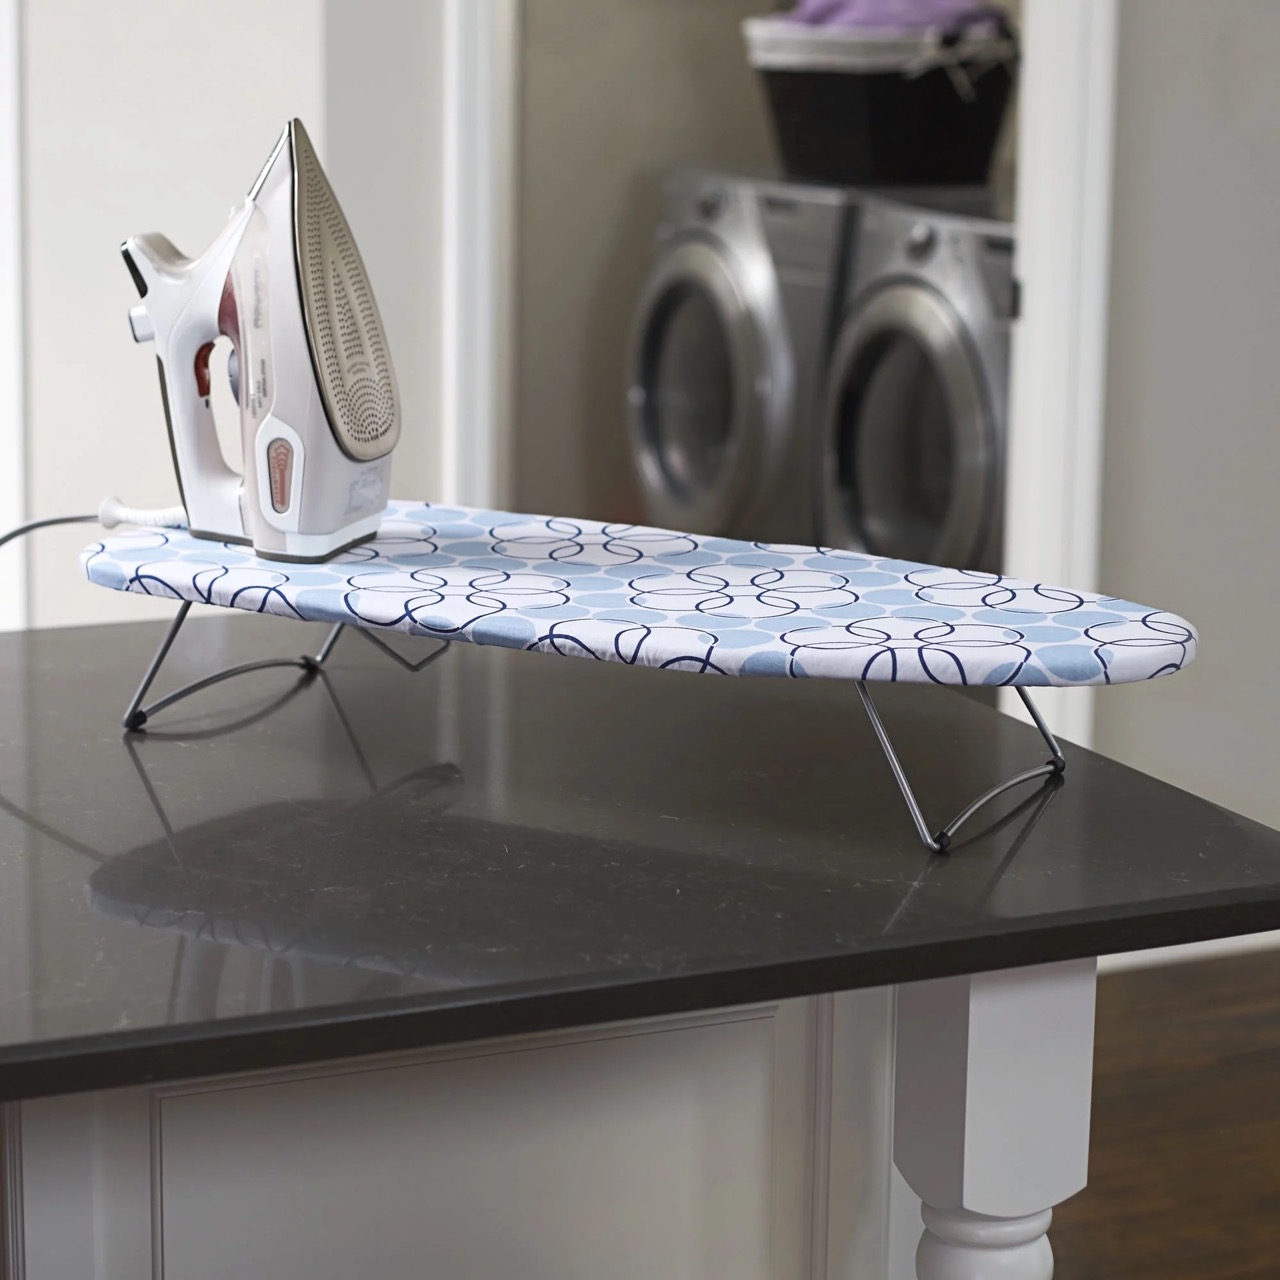
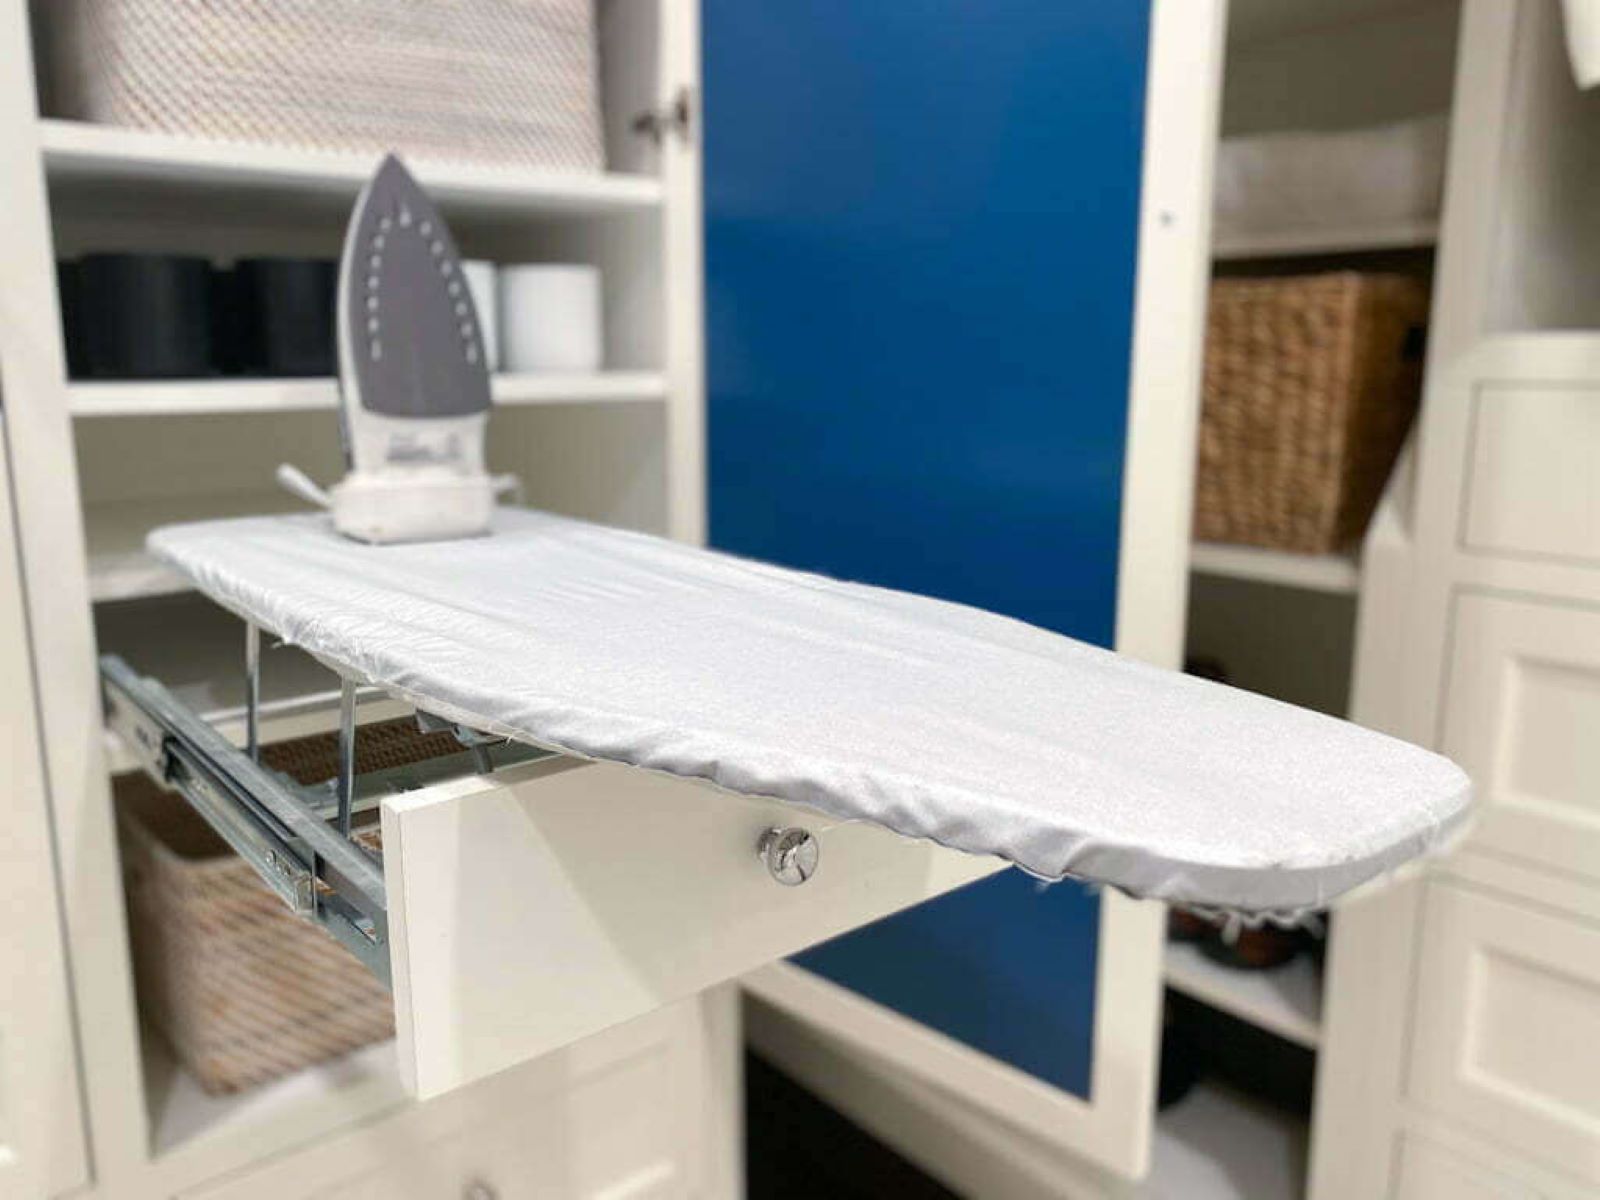
Step 1: Setting up the ironing board
Setting up an ironing board is the first crucial step in preparing for a successful ironing session. Follow these detailed instructions to ensure a smooth and efficient setup process:
-
Unfold the Legs: Start by unlocking the ironing board and allowing the legs to fall into place. Most ironing boards have a latch or lever that secures the legs during storage. Release this mechanism to unfold the legs fully.
-
Secure the Board: Once the legs are extended, ensure that the board is securely locked in the open position. This step is essential for stability and safety during use.
-
Check Stability: Before proceeding, gently shake the board to confirm that it is stable and firmly positioned on the floor. If there is any wobbling or instability, double-check the locking mechanism and readjust as needed.
-
Positioning: Choose a suitable location for your ironing board, ensuring that there is ample space around it for unrestricted movement. It's also advisable to set up the board near a power outlet for convenient access to your iron.
-
Smooth Surface: Inspect the ironing surface for any debris or irregularities. Wipe it down with a clean cloth to ensure a smooth and clean ironing surface.
-
Cover Placement: If your ironing board has a removable cover, ensure it is securely in place. Smooth out any wrinkles or creases to create a flat and even ironing surface.
By meticulously following these steps, you'll effectively set up your ironing board for a seamless ironing experience. A well-prepared ironing board provides the foundation for achieving professional-quality results and ensures that your garments receive the care and attention they deserve.
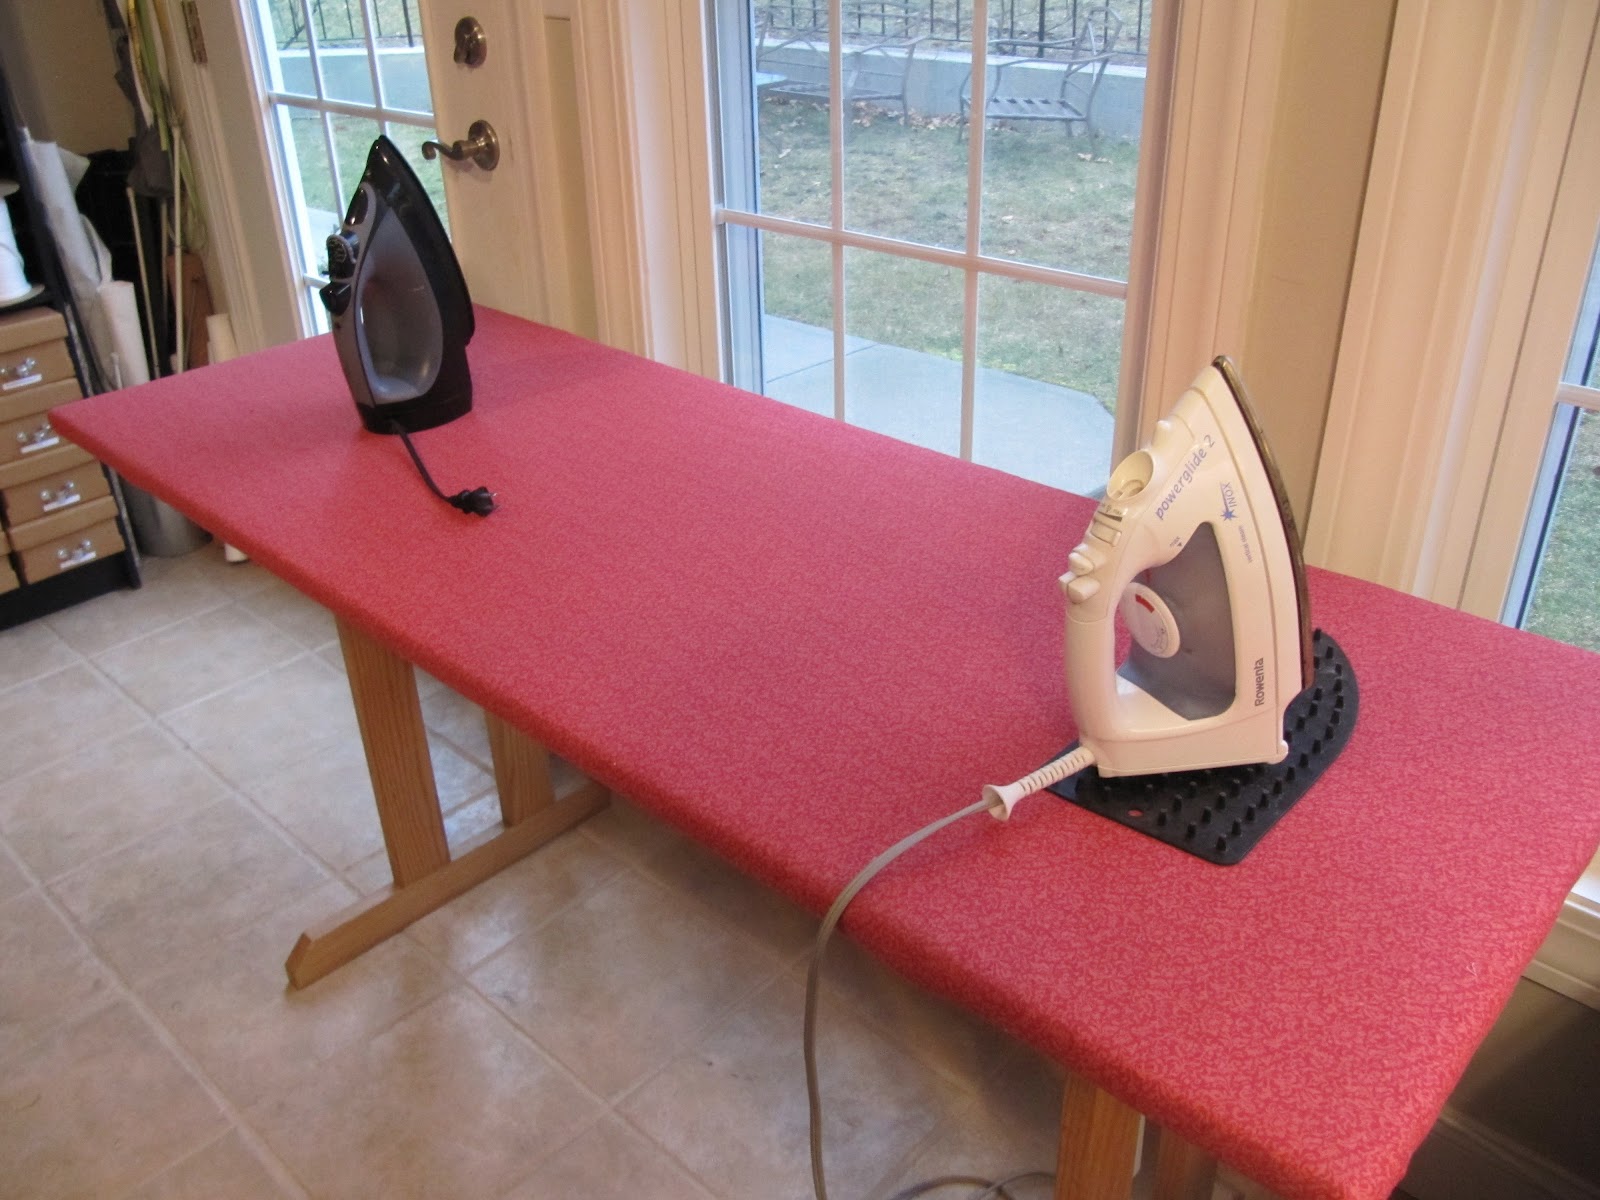
Step 2: Adjusting the height
Properly adjusting the height of your ironing board is essential for maintaining a comfortable and ergonomic posture while ironing. The correct height ensures that you can effectively press your garments without straining your back or arms. Follow these steps to adjust the height of your ironing board with precision and ease:
-
Locate the Height Adjustment Mechanism: Most modern ironing boards are equipped with a height adjustment feature, typically in the form of a lever or knob located near the leg assembly. Identify this mechanism before proceeding.
-
Release the Locking Mechanism: If your ironing board is equipped with a locking mechanism to secure the height adjustment, release it to allow for changes in height. This may involve pressing a button, turning a knob, or releasing a latch, depending on the design of your ironing board.
-
Adjust the Height: With the locking mechanism released, gently lift or lower the ironing board to your desired height. It's important to consider your own height and comfort preferences when making this adjustment. Ideally, the ironing surface should be at a level that allows you to maintain a relaxed and upright posture while ironing.
-
Secure the Height Adjustment: Once you've set the ironing board to the desired height, engage the locking mechanism to secure the adjustment. This step is crucial for maintaining stability and preventing the ironing board from collapsing or shifting during use.
-
Test the Height: Before proceeding with your ironing tasks, stand in front of the board and assess the height to ensure that it feels comfortable and ergonomically suitable for your stature. Make any necessary adjustments to achieve the ideal positioning.
By carefully following these steps, you'll be able to customize the height of your ironing board to suit your individual comfort and ironing needs. A properly adjusted ironing board height not only enhances the efficiency of your ironing process but also contributes to a more enjoyable and comfortable experience overall.
Step 3: Locking the ironing board in place
Securing the ironing board in a stable and fixed position is a critical step that ensures safety and stability during the ironing process. By properly locking the ironing board in place, you can prevent unexpected collapses or shifts, providing a secure foundation for achieving wrinkle-free perfection in your garments.
Here's a detailed guide on how to effectively lock your ironing board in place:
-
Identify the Locking Mechanism: Begin by familiarizing yourself with the specific locking mechanism employed by your ironing board. This may involve locating a lever, latch, or button designed to secure the board in its open position.
-
Engage the Locking Mechanism: Once you've unfolded the ironing board and adjusted it to the desired height, locate the locking mechanism and engage it to secure the board in place. This step is crucial for preventing accidental collapses or shifts during use.
-
Test Stability: After locking the ironing board, gently apply pressure to the board to test its stability. Ensure that it remains firmly positioned and does not wobble or shift. If you notice any instability, double-check the locking mechanism and readjust as needed to achieve a secure and stable setup.
-
Verify Security: Take a moment to visually inspect the locking mechanism to confirm that it is fully engaged and holding the ironing board securely in place. This visual check provides added assurance that the board is properly locked and ready for use.
-
Double-Check Periodically: Throughout your ironing session, it's advisable to periodically check the stability and security of the locked ironing board. This simple precaution can help prevent potential accidents and ensure a smooth and uninterrupted ironing experience.
By following these steps, you can effectively lock your ironing board in place, creating a secure and stable platform for achieving professional-quality ironing results. A securely locked ironing board not only enhances safety but also contributes to a seamless and enjoyable ironing experience, allowing you to focus on perfecting your garments with confidence and ease.
To unfold an ironing board, start by unlocking the board and pulling the legs apart until they lock into place. Then, adjust the height if needed and ensure the board is stable before using.
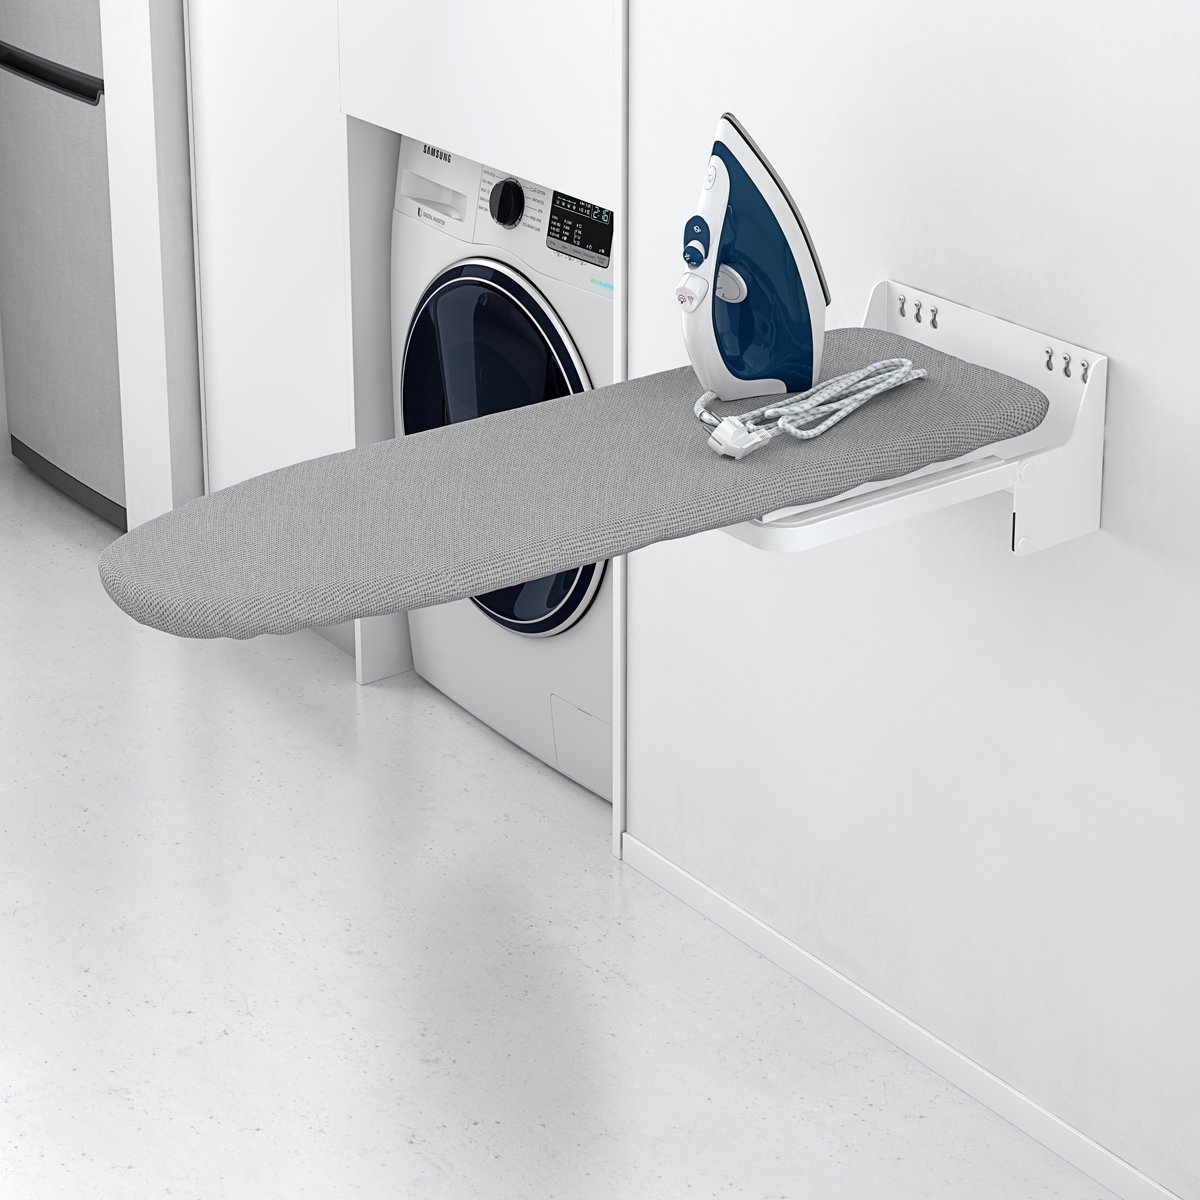
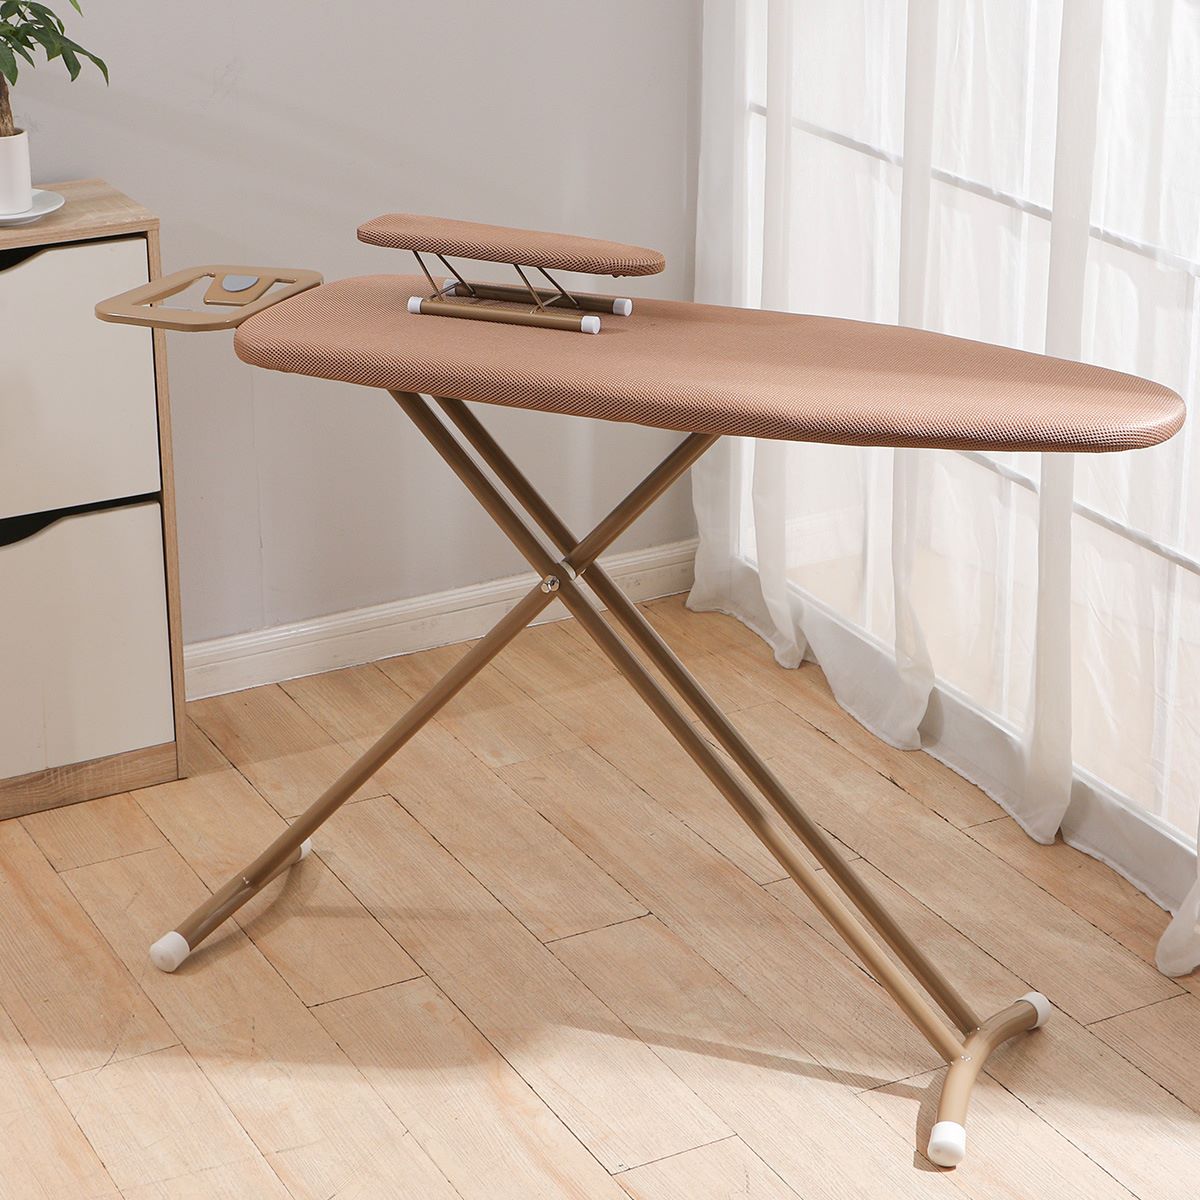
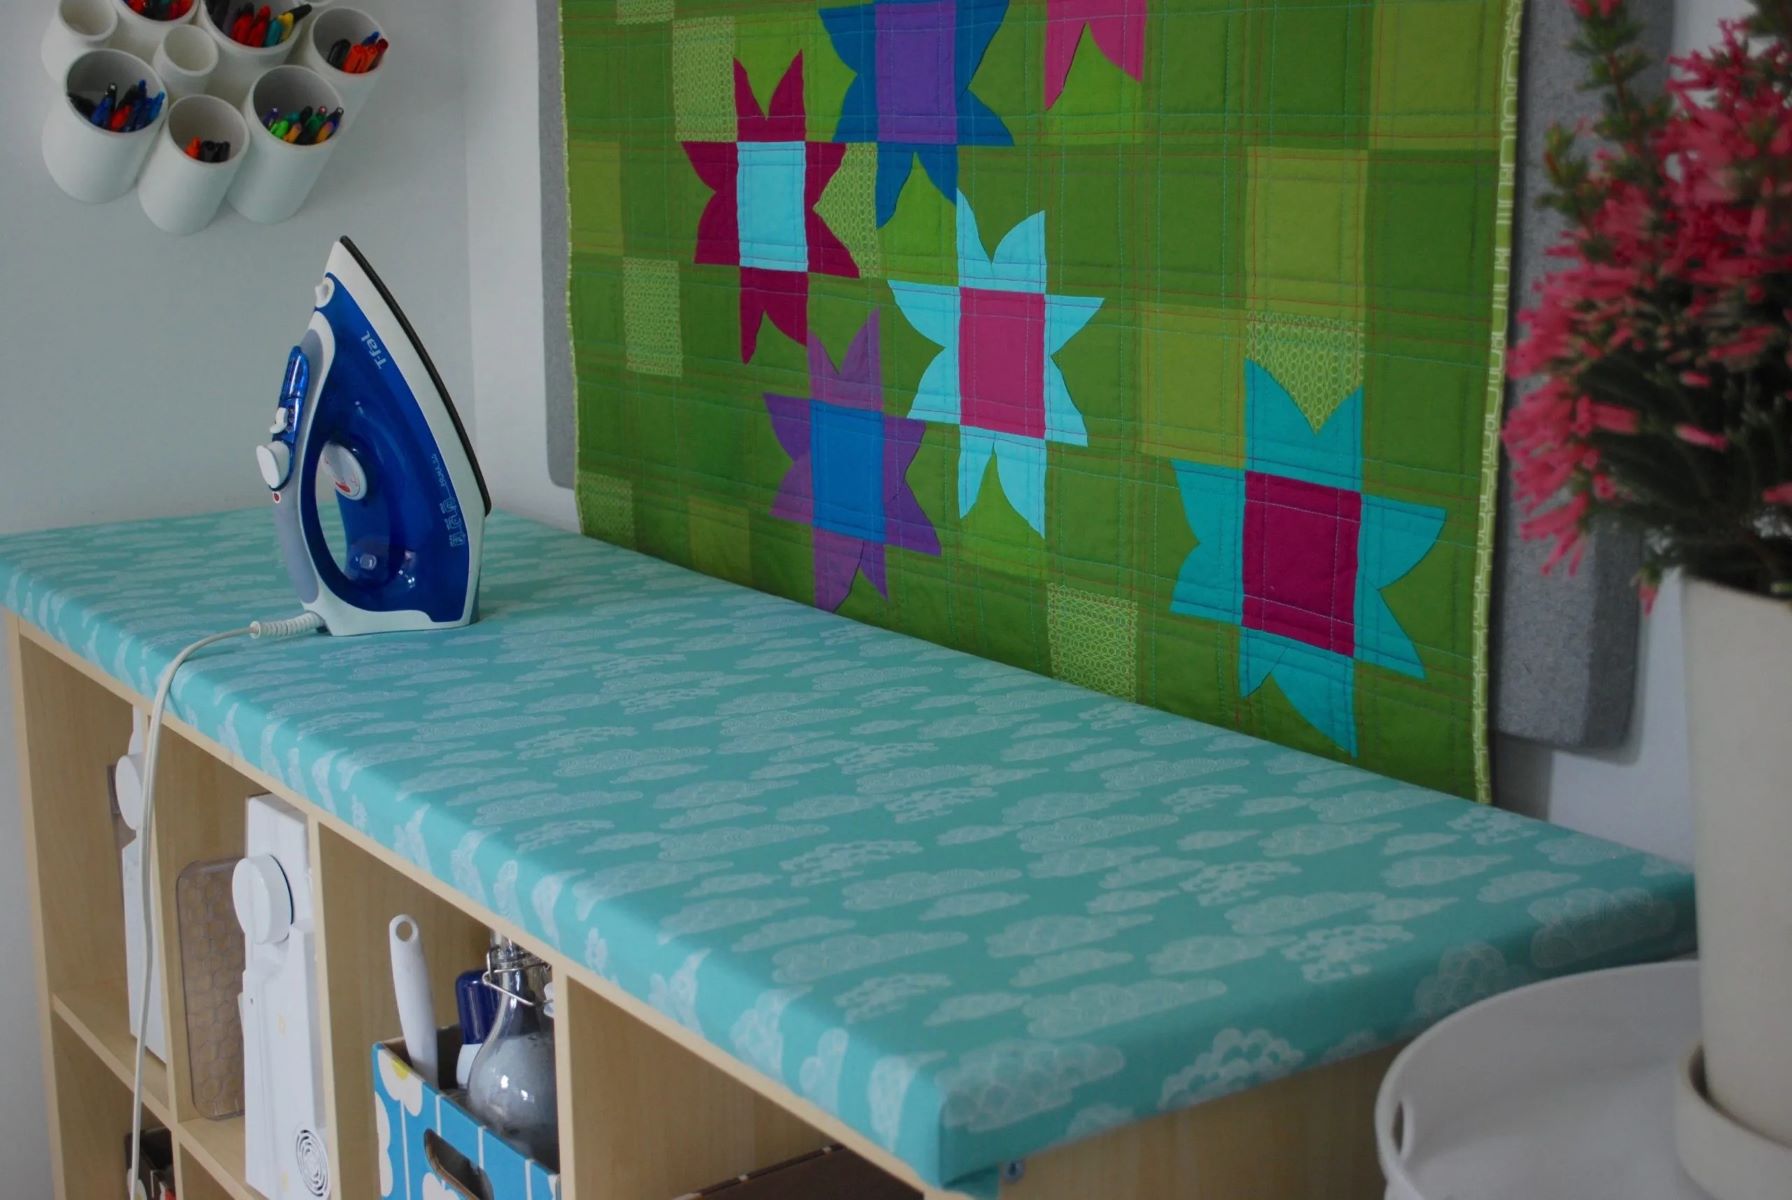
Step 4: Unfolding the ironing board cover
Unfolding the ironing board cover is a crucial step that prepares the ironing surface for optimal garment care and wrinkle removal. The cover serves as a protective and cushioning layer, ensuring that your garments are ironed on a smooth and clean surface. Here's a detailed guide on how to unfold the ironing board cover with precision and care:
-
Inspect the Cover: Before unfolding the ironing board cover, take a moment to inspect its condition. Ensure that the cover is clean, free from any stains or debris, and in good overall condition. If the cover shows signs of wear or damage, consider replacing it with a new cover to maintain an effective ironing surface.
-
Unfasten Any Fastenings: Some ironing board covers may feature fastenings or securing mechanisms to keep them in place during storage. If your cover has any straps, clips, or fasteners, carefully unfasten them to release the cover for unfolding.
-
Smooth Out Wrinkles: If the cover appears wrinkled or creased from storage, take a moment to smooth out any irregularities. Gently run your hands over the cover to flatten it and ensure a uniform surface for ironing.
-
Unfold the Cover: With the fastenings released and any wrinkles smoothed out, proceed to unfold the ironing board cover fully. Extend it over the ironing surface, ensuring that it fits snugly and evenly without any excess fabric bunching up.
-
Secure the Cover: Once the cover is unfolded over the ironing board, tuck any excess fabric underneath the board to create a neat and secure fit. Smooth out the cover to eliminate any remaining wrinkles or folds, ensuring a flat and even surface for ironing.
-
Inspect for Proper Fit: Take a moment to visually inspect the unfolded cover to ensure that it fits the ironing board surface properly. Verify that there are no loose or sagging areas that could interfere with the ironing process.
By following these steps, you can effectively unfold the ironing board cover, preparing the ironing surface for optimal garment care. A properly unfolded and secured cover provides the foundation for achieving professional-quality ironing results, ensuring that your garments receive the attention and care they deserve.
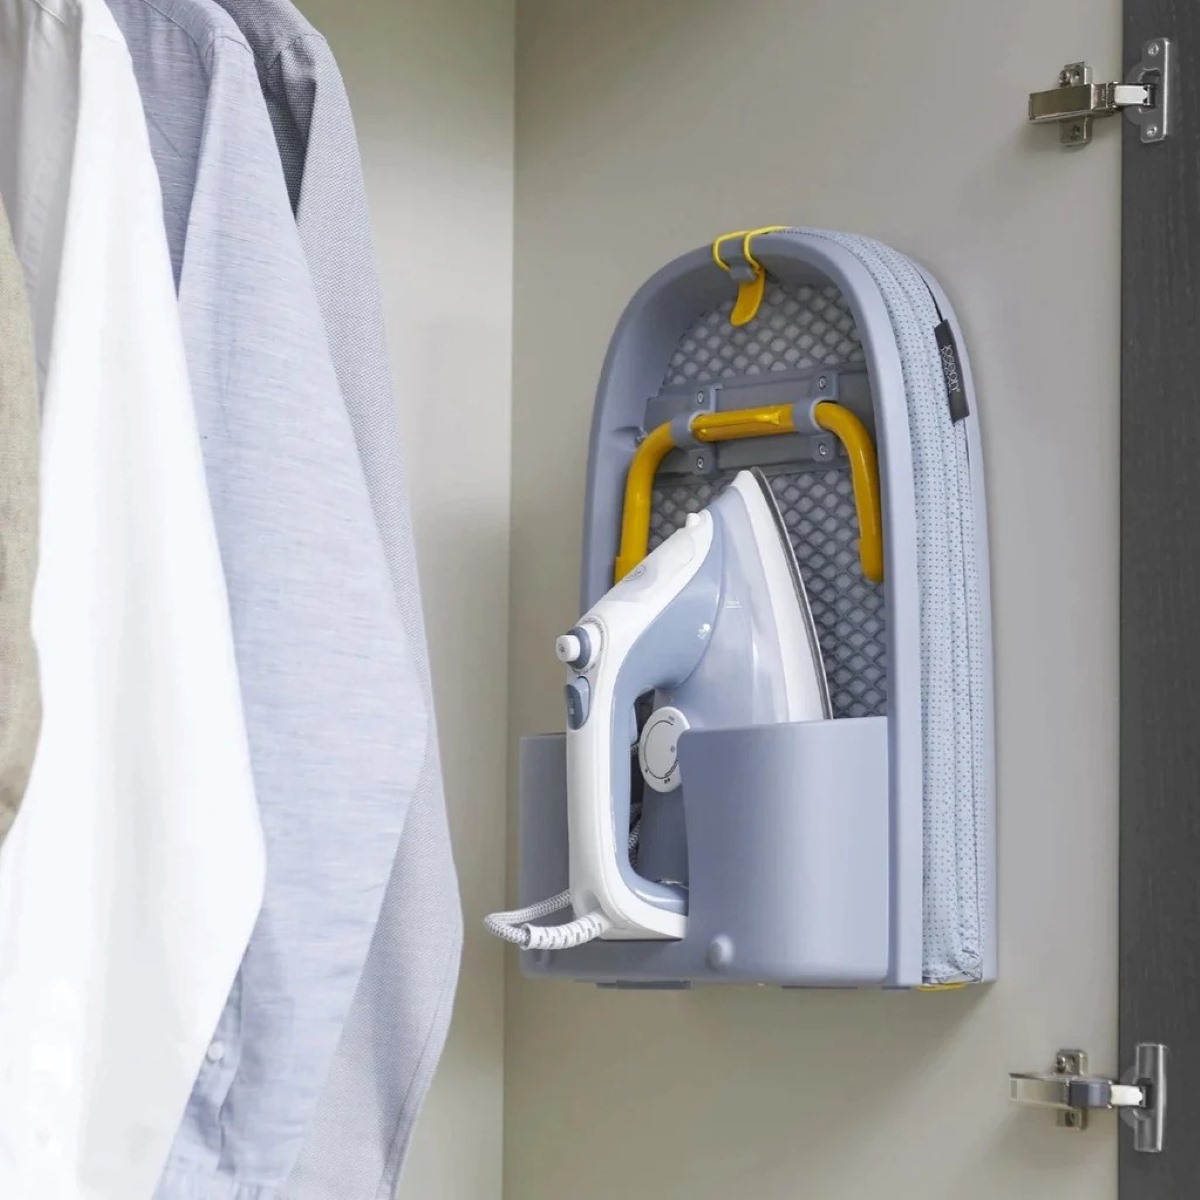
Read more: How To Store An Ironing Board
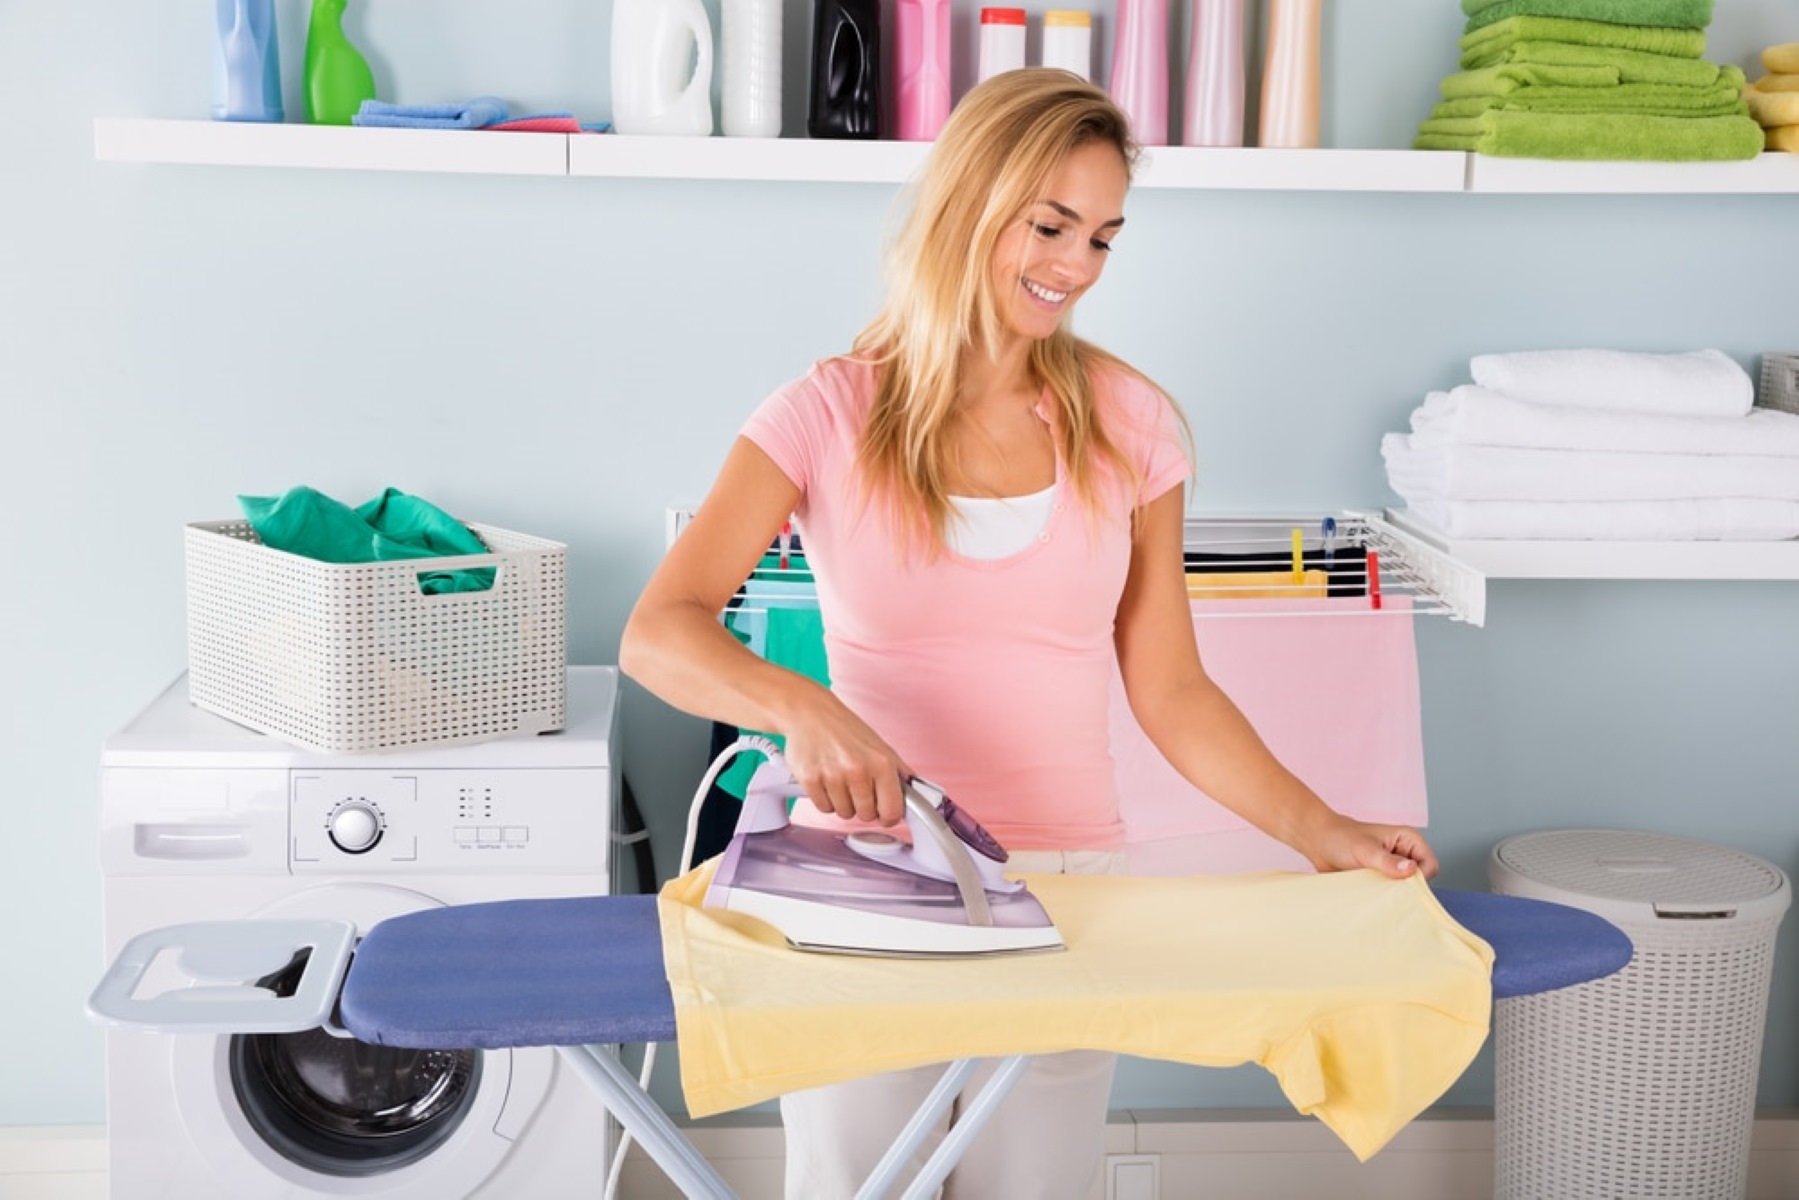
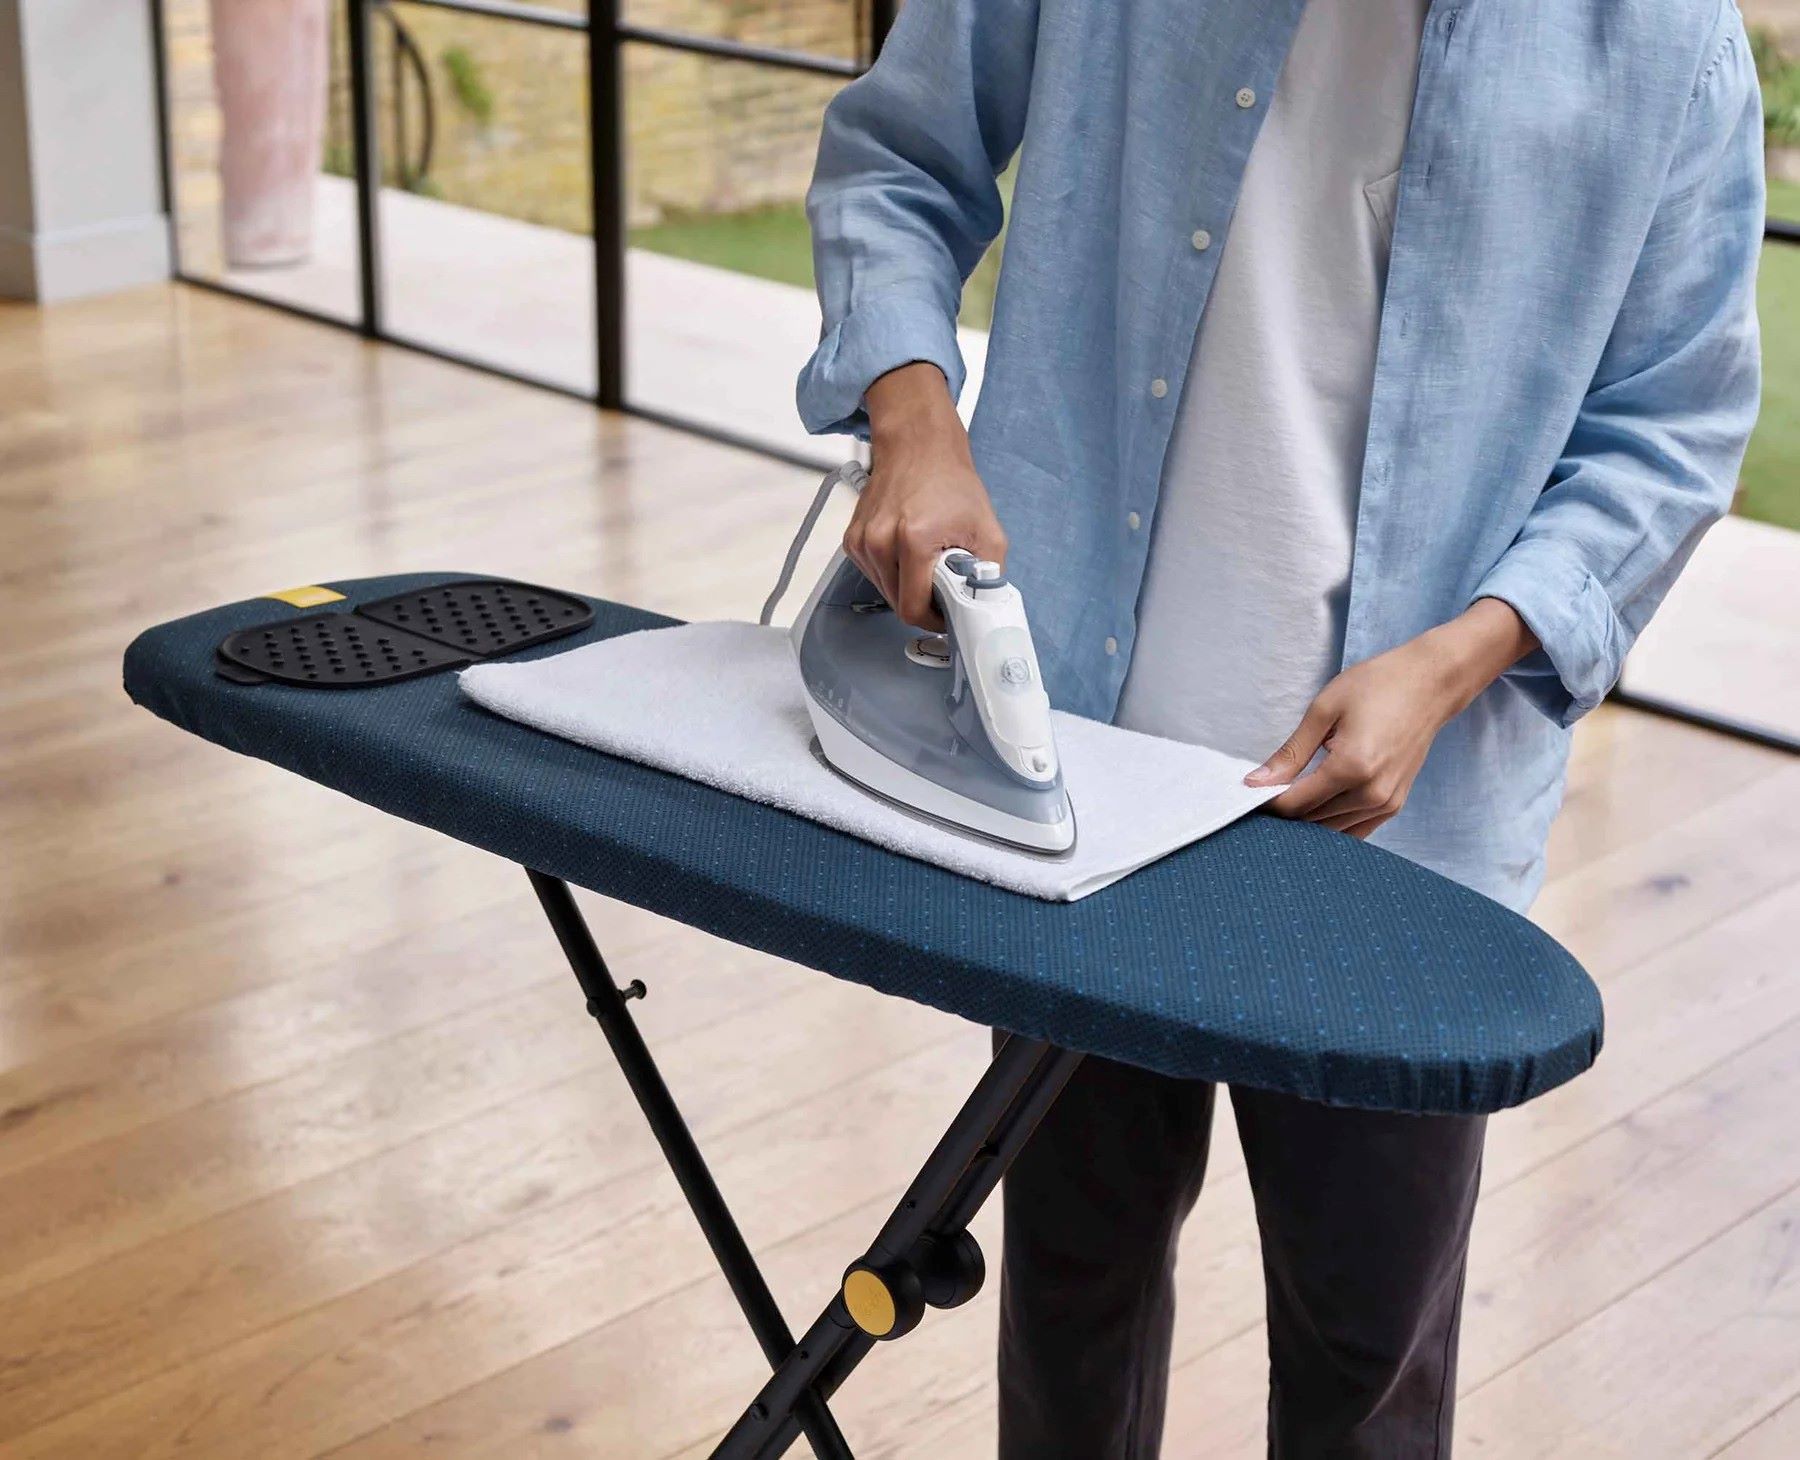
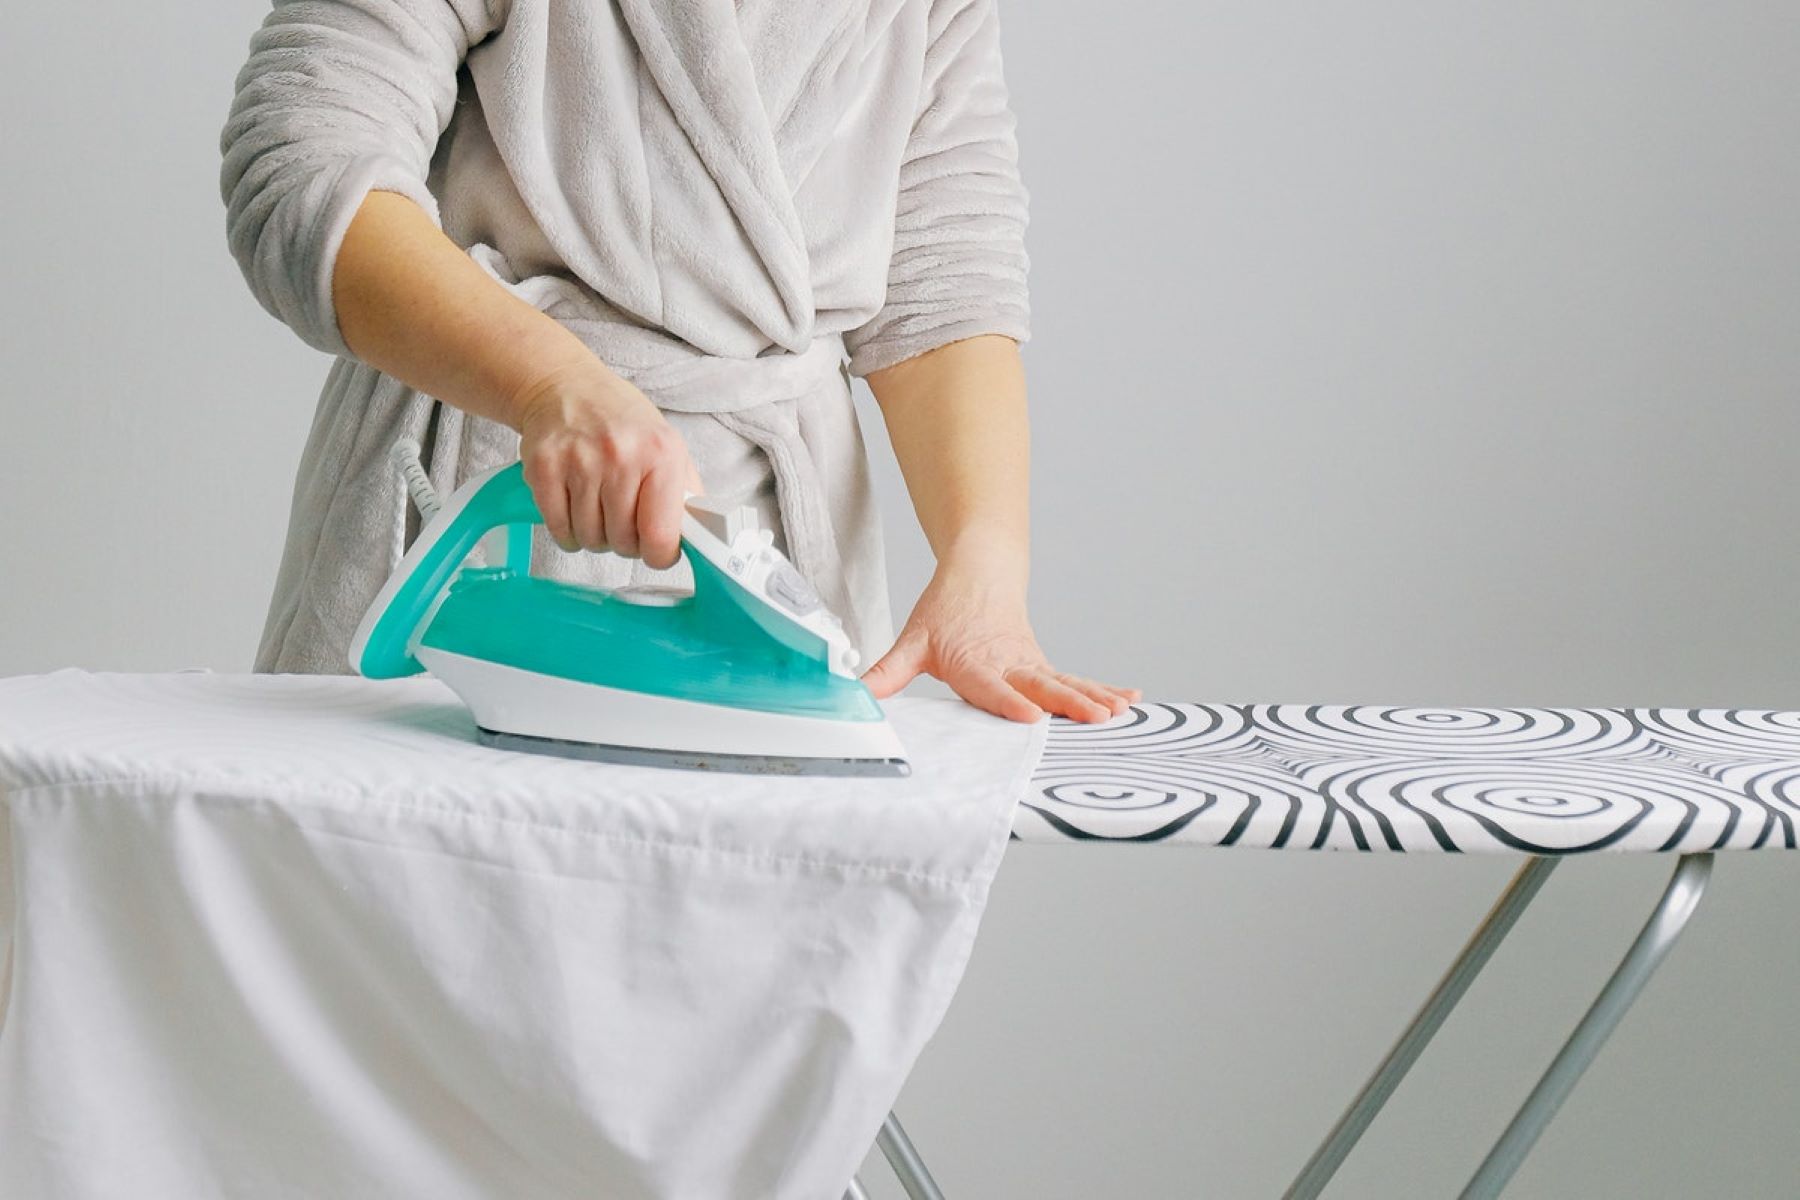
Step 5: Using the ironing board
Once you have successfully set up and prepared your ironing board, it's time to put it to use and transform your wrinkled garments into smooth, pristine pieces. Using the ironing board effectively involves mastering the techniques and best practices that contribute to achieving professional-quality results. Here's a detailed guide on how to make the most of your ironing board:
-
Preheat the Iron: Before placing any garments on the ironing board, ensure that your iron is preheated to the appropriate temperature for the fabric you'll be ironing. Different fabrics require different heat settings, so refer to the garment care labels for guidance.
-
Positioning the Garment: Lay the garment to be ironed on the ironing board, ensuring that it is spread out flat and free from wrinkles. Smooth out any creases or folds to create a uniform surface for ironing.
-
Ironing Techniques: When ironing different types of garments, it's essential to use the appropriate ironing techniques. For example, when ironing shirts, start with the collar and then move on to the sleeves and body of the shirt. For trousers or skirts, iron each leg or section methodically to ensure thorough wrinkle removal.
-
Applying Pressure: Apply gentle pressure with the iron as you glide it over the fabric. Avoid pressing too hard, as excessive pressure can stretch or distort the fabric. Smooth, even strokes with the iron will help to effectively remove wrinkles.
-
Repositioning the Garment: As you progress through ironing a garment, reposition it on the ironing board to access different areas. This ensures that you can effectively iron all sections of the garment without creating new wrinkles.
-
Checking for Moisture: Some fabrics benefit from a light mist of water to aid in wrinkle removal. Use a spray bottle to lightly mist the fabric before ironing, being mindful not to oversaturate the garment.
-
Folding and Hanging: Once a garment is thoroughly ironed, carefully fold or hang it to prevent new wrinkles from forming. Properly folded or hung garments will maintain their freshly ironed appearance for longer.
By following these steps and techniques, you can effectively use your ironing board to achieve professional-quality results. The combination of a well-prepared ironing board and proper ironing techniques ensures that your garments receive the care and attention needed to look their best. With practice and attention to detail, you'll soon become proficient in using the ironing board as a valuable tool for maintaining impeccably pressed clothing.
Conclusion
Mastering the art of unfolding an ironing board is a valuable skill that contributes to the overall efficiency and quality of the ironing process. By following the step-by-step guide outlined in this comprehensive article, you've gained the knowledge and expertise needed to unfold your ironing board with precision and ease. From setting up the board and adjusting its height to securing it in place and preparing the ironing surface, each step plays a crucial role in creating an optimal environment for achieving wrinkle-free perfection in your garments.
As you embark on your ironing journey armed with this newfound understanding, you'll approach the task with confidence and a clear sense of purpose. The careful attention to detail in setting up the ironing board ensures that you have a stable and secure platform for transforming wrinkled fabrics into smooth, pristine garments. The proper adjustment of the board's height contributes to a comfortable and ergonomic ironing experience, allowing you to maintain a relaxed posture and minimize strain on your body.
Locking the ironing board in place provides the assurance of safety and stability, ensuring that you can focus on the task at hand without concerns about unexpected collapses or shifts. Unfolding the ironing board cover completes the setup process, creating a clean and smooth surface that is essential for achieving professional-quality ironing results. With the ironing board prepared and ready for use, you can confidently apply the techniques and best practices to effectively iron a variety of garments, from shirts and trousers to dresses and linens.
The culmination of these steps and practices leads to the transformation of wrinkled, crumpled fabrics into garments that exude a fresh and well-maintained appearance. The careful attention to detail and the seamless execution of each stage in the process reflect a commitment to garment care and a dedication to achieving impeccable results. As you become more adept at using the ironing board as a valuable tool in your laundry routine, you'll find that the once-daunting task of ironing becomes a satisfying and rewarding endeavor.
In conclusion, the journey of unfolding an ironing board is not merely a series of mechanical steps but a deliberate and purposeful process that sets the stage for garment care and maintenance. With the knowledge and skills acquired from this guide, you're well-equipped to approach the unfolding of your ironing board as a foundational step in the pursuit of wrinkle-free perfection. Embrace the art of ironing with confidence, knowing that your mastery of the unfolding process is the first step towards achieving impeccably pressed garments and a polished, professional appearance.
Frequently Asked Questions about How To Unfold An Ironing Board
Was this page helpful?
At Storables.com, we guarantee accurate and reliable information. Our content, validated by Expert Board Contributors, is crafted following stringent Editorial Policies. We're committed to providing you with well-researched, expert-backed insights for all your informational needs.


0 thoughts on “How To Unfold An Ironing Board”