Home>Home Appliances>Laundry Appliances>How To Put An Ironing Board Down
Laundry Appliances
How To Put An Ironing Board Down
Modified: February 18, 2024
Learn the step-by-step process of putting an ironing board down with ease. Follow these simple instructions for a hassle-free experience.
(Many of the links in this article redirect to a specific reviewed product. Your purchase of these products through affiliate links helps to generate commission for Storables.com, at no extra cost. Learn more)
Introduction
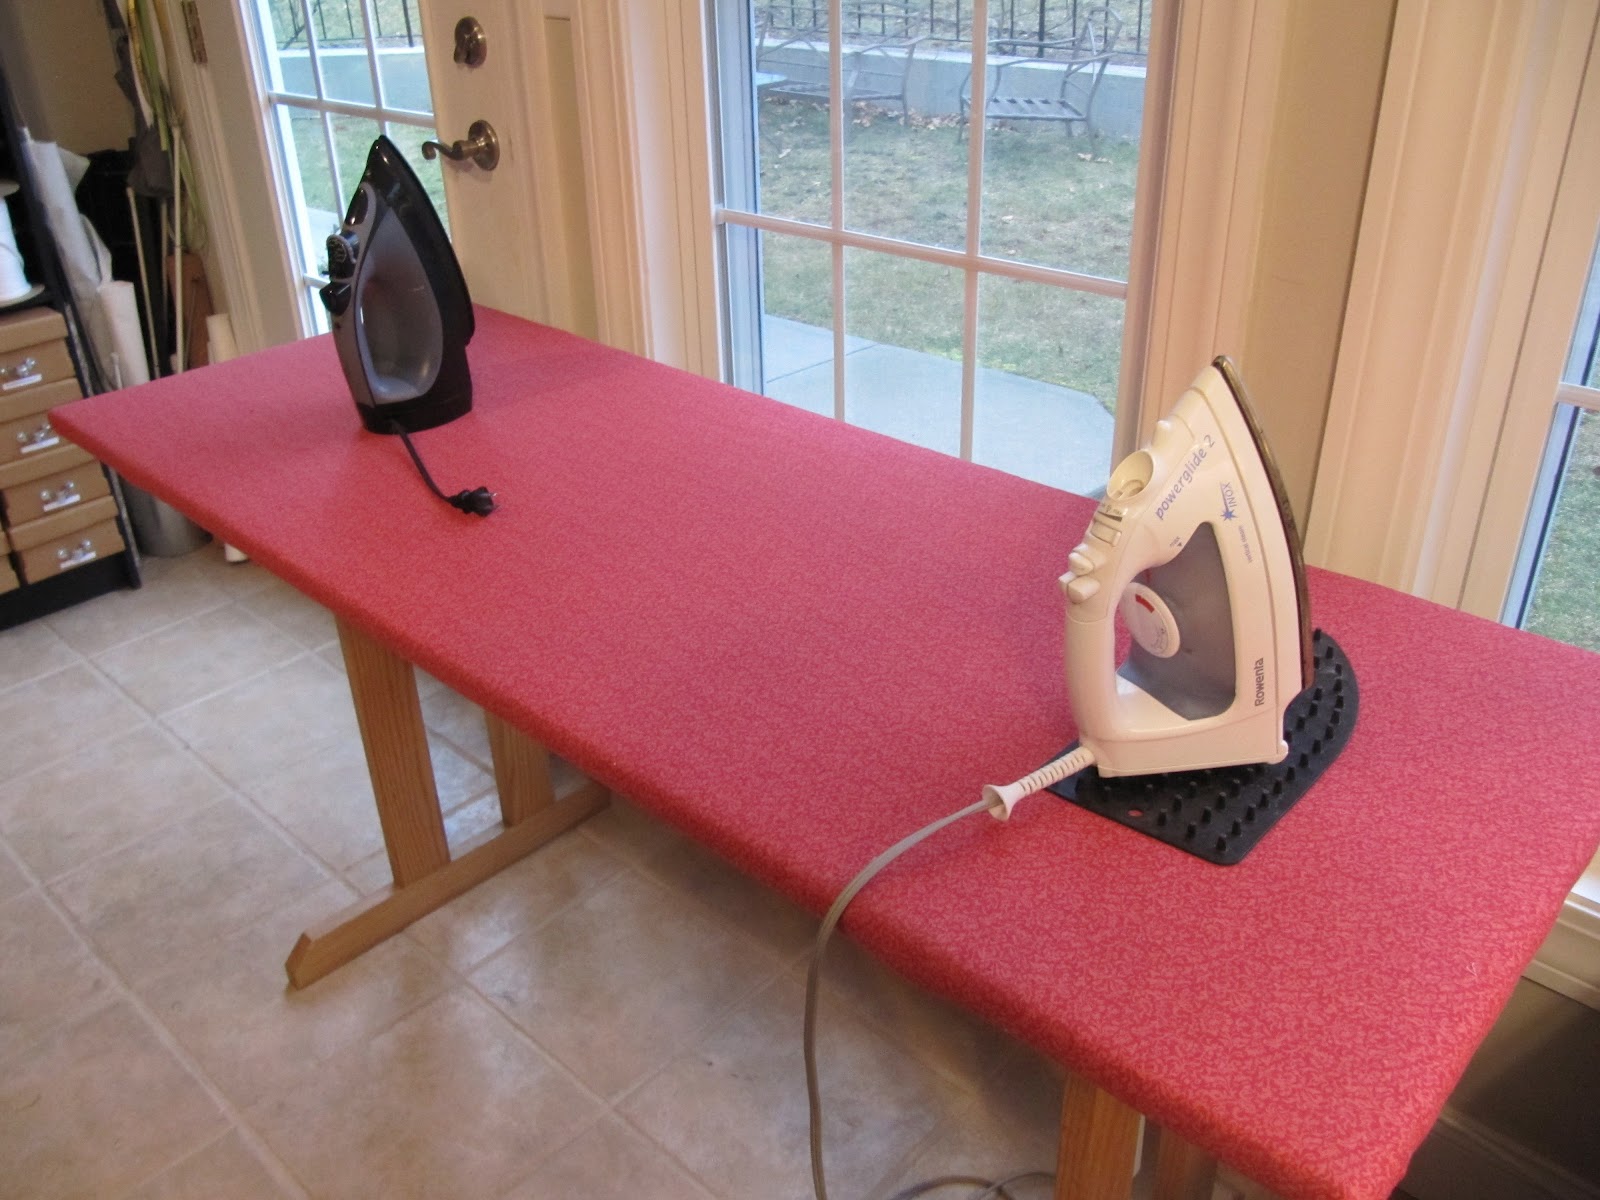
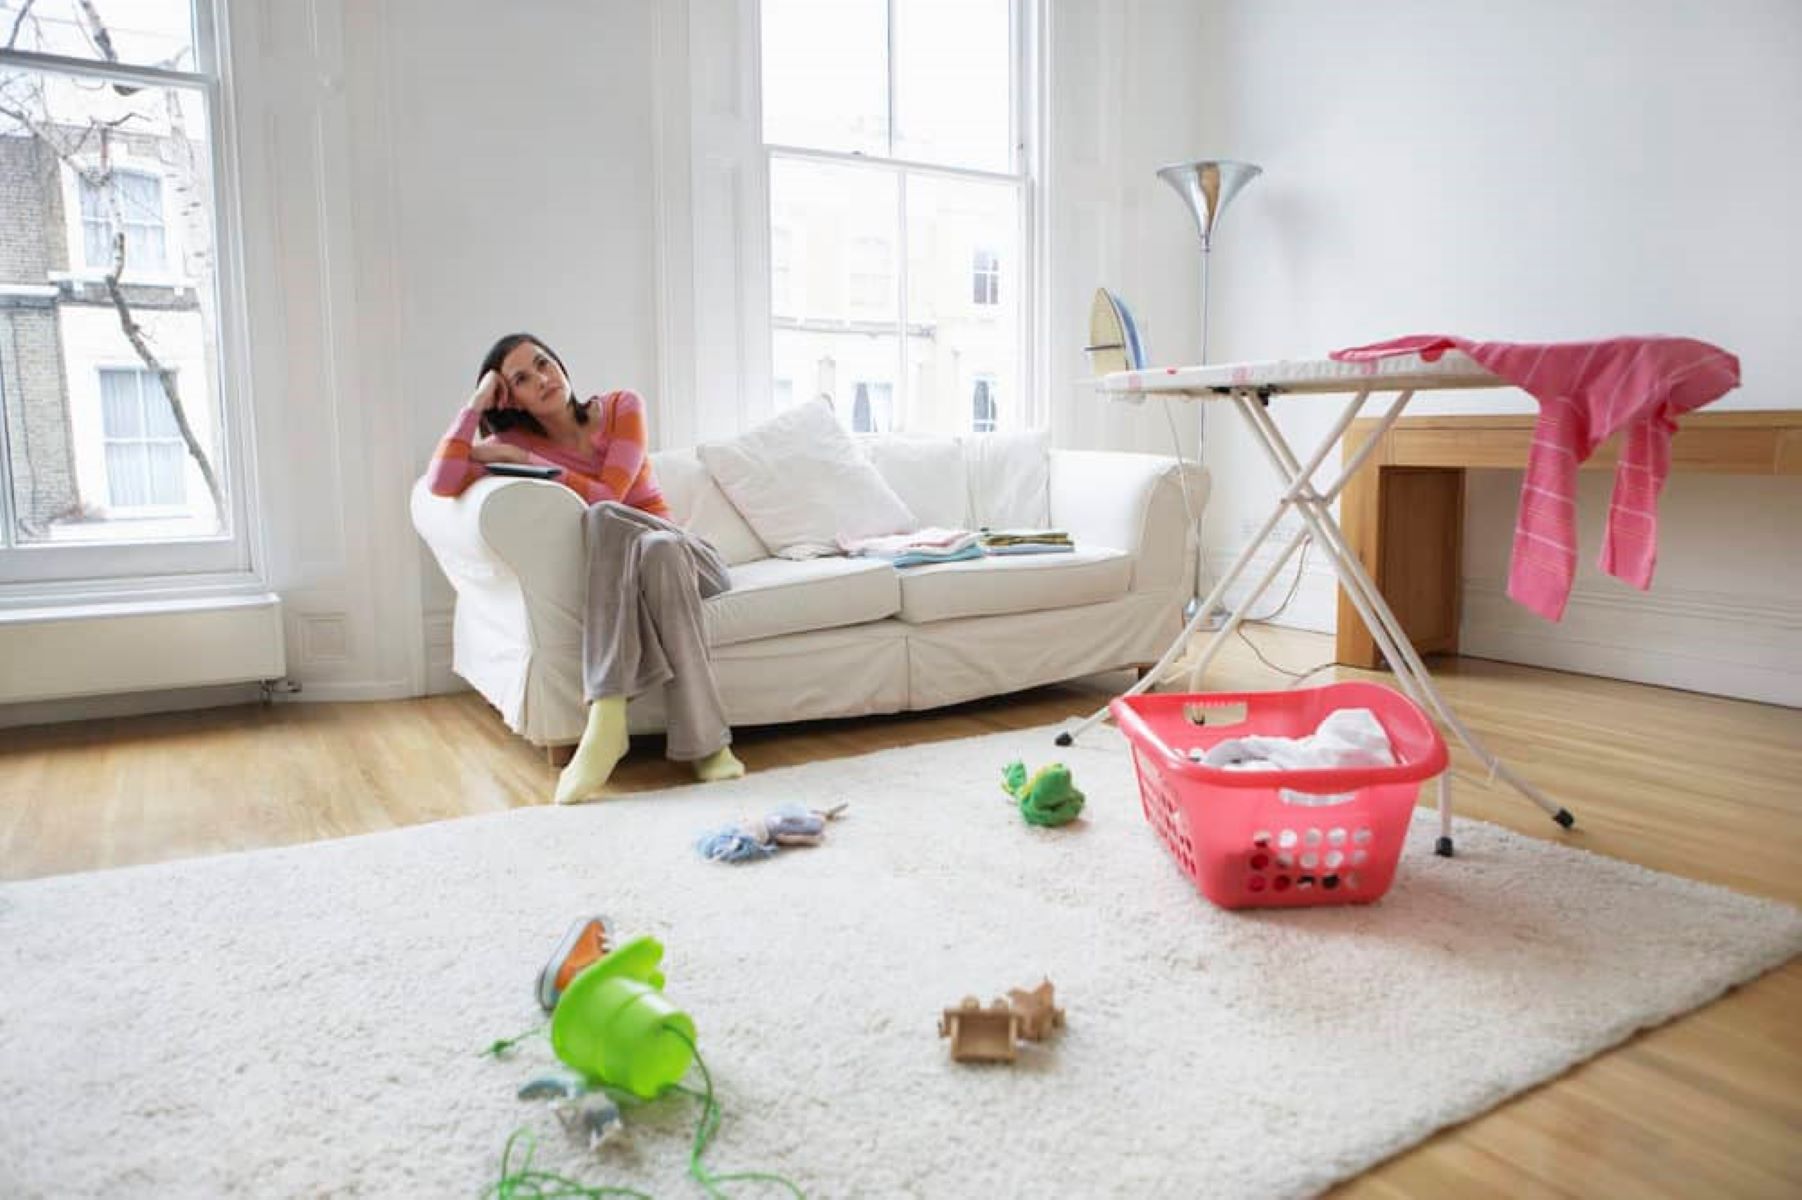
Ironing clothes is a task that many of us face on a regular basis. Whether it's preparing for a special occasion or simply maintaining a polished appearance, the ironing board is a fundamental tool for achieving wrinkle-free garments. However, before we can embark on the journey of ironing, we must first master the art of setting up the ironing board. This seemingly simple task can sometimes be a source of frustration for many, especially for those who are new to the process.
In this comprehensive guide, we will delve into the step-by-step process of setting up an ironing board with ease and confidence. By following these instructions, you will be able to effortlessly prepare your ironing board for the task at hand, ensuring a smooth and efficient ironing experience. From unlocking the ironing board to adjusting its height and securely locking it in place, each step plays a crucial role in creating a stable and functional ironing surface.
So, whether you're a novice in the realm of ironing or simply seeking to refine your technique, this guide will equip you with the knowledge and skills needed to put an ironing board down like a seasoned pro. Let's embark on this journey together and unravel the secrets to effortlessly setting up an ironing board, paving the way for perfectly pressed garments and a sense of accomplishment.
Key Takeaways:
- Mastering the art of setting up an ironing board is crucial for a smooth ironing experience. From unlocking to adjusting height, each step ensures a stable and functional surface for wrinkle-free garments.
- A well-prepared ironing board enhances efficiency and minimizes discomfort. By unlocking, extending, adjusting height, and locking in place, you pave the way for a satisfying and rewarding ironing ritual.
Read more: Where To Iron Without An Ironing Board?
Step 1: Unlocking the ironing board
Unlocking the ironing board is the initial step in the process of setting it up for use. This seemingly simple action is crucial for ensuring that the ironing board is stable and ready to support the task at hand. To unlock the ironing board, locate the mechanism that secures it in its folded position. This mechanism is typically a latch or lever that holds the ironing board in place during storage. Once you have identified the locking mechanism, follow these steps to unlock the ironing board:
-
Locate the Locking Mechanism: Begin by identifying the locking mechanism on the ironing board. This may be a latch, lever, or similar device that holds the ironing board in its folded position. The location of the locking mechanism may vary depending on the specific design of the ironing board, so take a moment to familiarize yourself with its placement.
-
Release the Lock: With the locking mechanism identified, proceed to release it by either lifting a latch or pressing a lever. This action will disengage the lock, allowing the ironing board to unfold and extend into its operational position.
-
Unfold the Ironing Board: Once the lock is released, gently unfold the ironing board, allowing the legs to extend and the ironing surface to become fully accessible. Take care to ensure a smooth and controlled unfolding to prevent any sudden movements or potential accidents.
By following these steps, you will successfully unlock the ironing board, setting the stage for the subsequent actions required to prepare it for use. This foundational step lays the groundwork for creating a stable and functional ironing surface, setting the stage for a seamless ironing experience.
Unlocking the ironing board may seem like a straightforward task, but it is an essential precursor to the subsequent steps involved in setting up the ironing board. With the board now unlocked and ready for use, we can proceed to the next step in the process: extending the legs to establish a stable base for the ironing board.
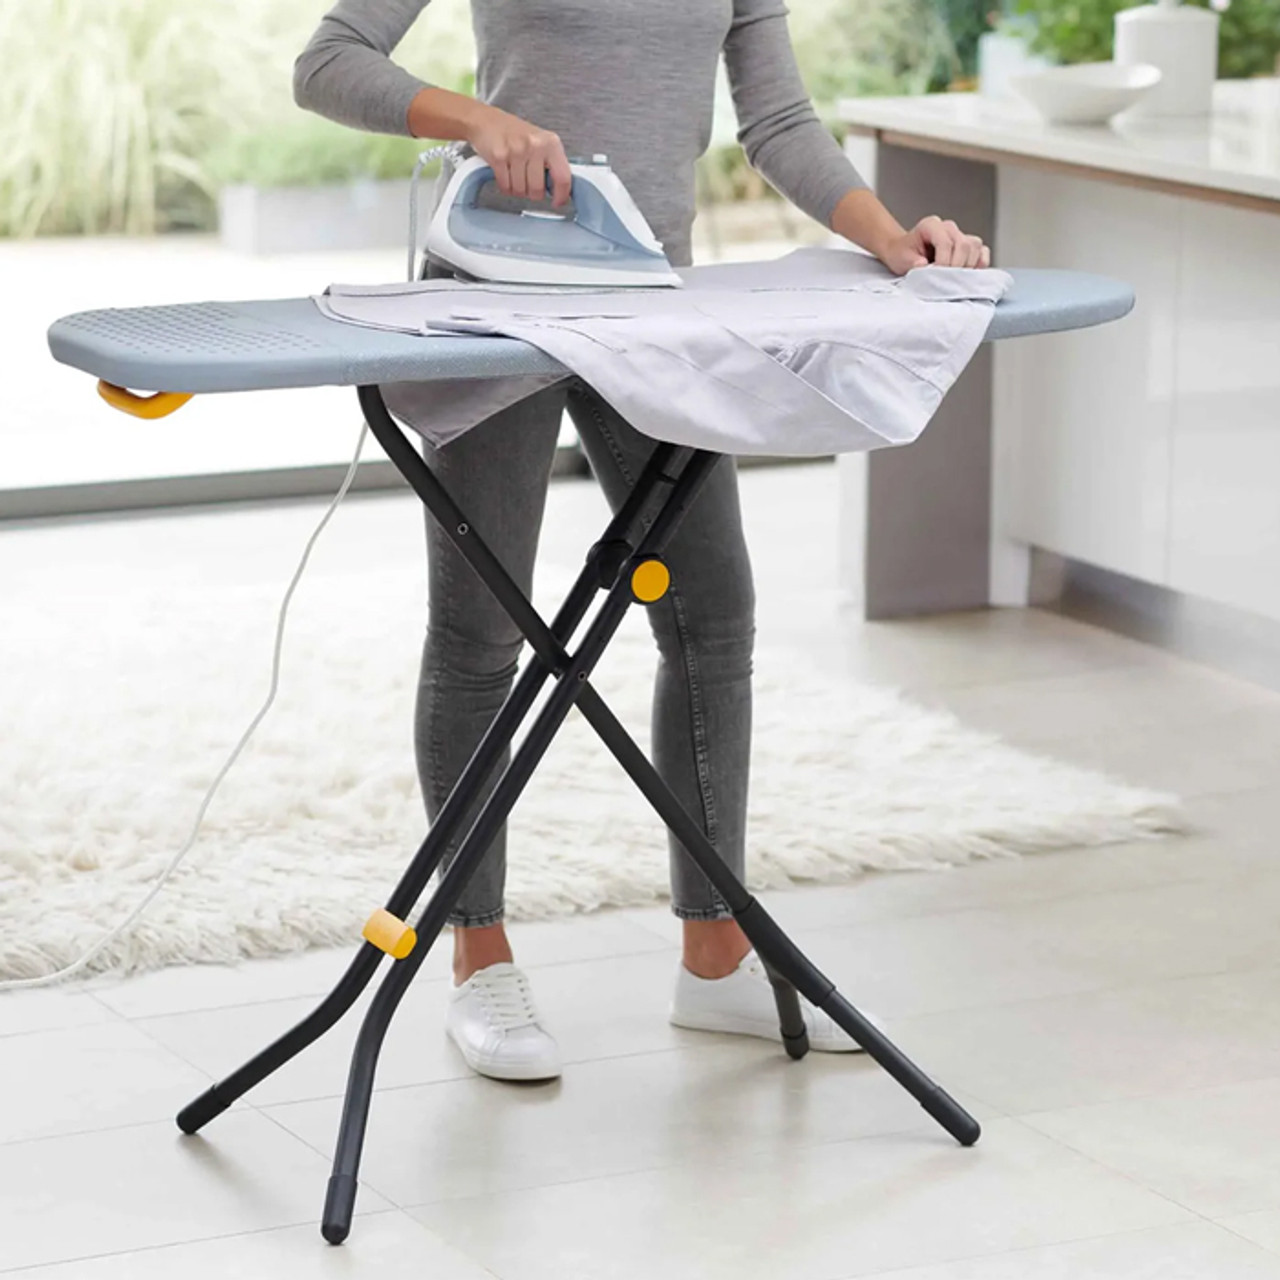
Step 2: Extending the legs
Extending the legs of an ironing board is a pivotal step in the setup process, as it establishes the foundation for a stable and functional ironing surface. By extending the legs, we ensure that the ironing board is securely positioned at an optimal height, ready to accommodate the ironing task at hand. Let's delve into the detailed process of extending the legs of an ironing board:
-
Stability and Balance: Before extending the legs, it's essential to ensure that the ironing board is placed on a flat and even surface. This foundational step sets the stage for a stable setup, minimizing the risk of wobbling or instability during use.
-
Identifying the Release Mechanism: Most ironing boards are equipped with a release mechanism that allows the legs to extend and retract. This mechanism may consist of buttons, levers, or similar devices located near the junction of the legs and the ironing board frame.
-
Engaging the Release Mechanism: Once the release mechanism is identified, engage it to unlock the legs for extension. This may involve pressing a button, pulling a lever, or following the specific instructions provided by the manufacturer.
-
Gently Extending the Legs: With the release mechanism engaged, gently pull the legs outward to extend them to their full length. Take care to exert even pressure on both sides to ensure that the legs extend uniformly, contributing to the stability of the ironing board.
-
Auditing Stability: As the legs are extended, take a moment to audit the stability and balance of the ironing board. Gently press down on the ironing surface to assess the firmness of the setup, ensuring that all legs make secure contact with the floor.
-
Fine-Tuning the Height: Depending on your personal preference and ergonomic considerations, you may have the option to adjust the height of the ironing board at this stage. Some models feature adjustable leg extensions or telescopic legs, allowing you to customize the height to your comfort.
By meticulously following these steps, you will successfully extend the legs of the ironing board, laying the groundwork for a stable and ergonomic setup. This crucial phase sets the stage for the subsequent step of adjusting the height of the ironing board to suit your specific needs and preferences. With the legs extended and the foundation established, the ironing board is now poised to support the ironing process with steadfast stability and functionality.
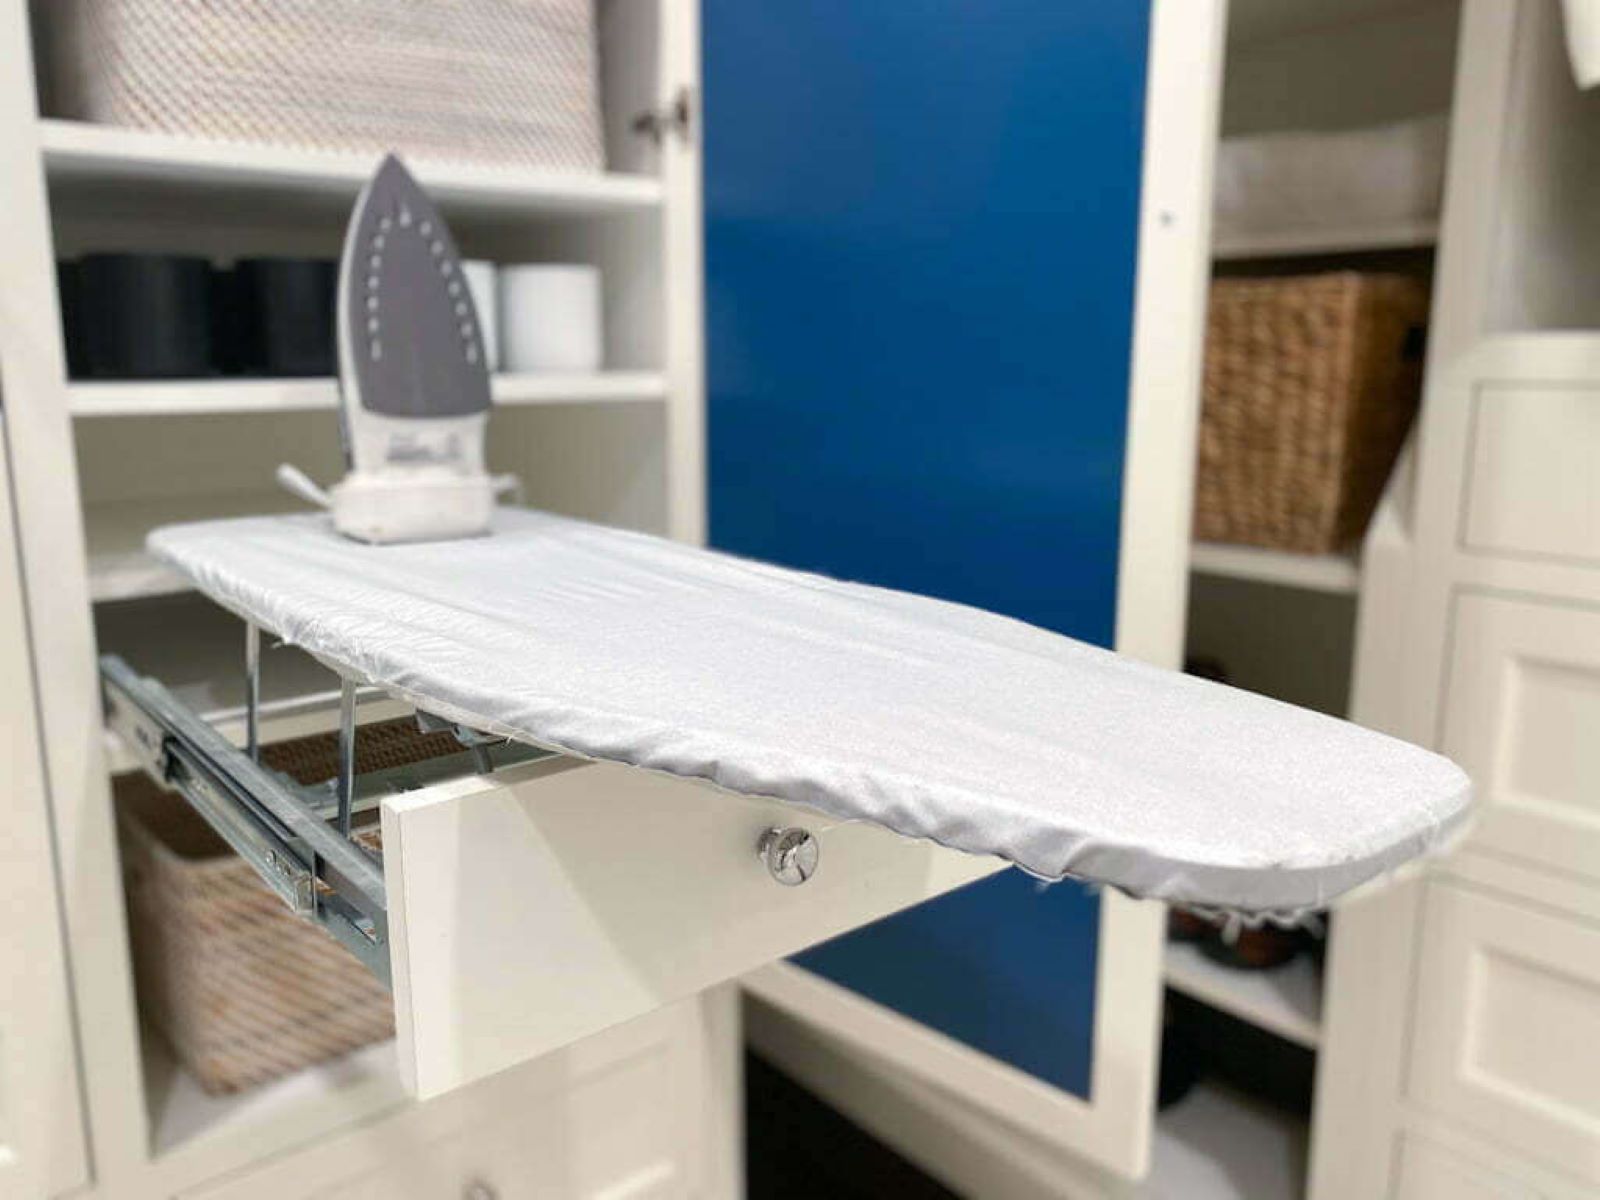
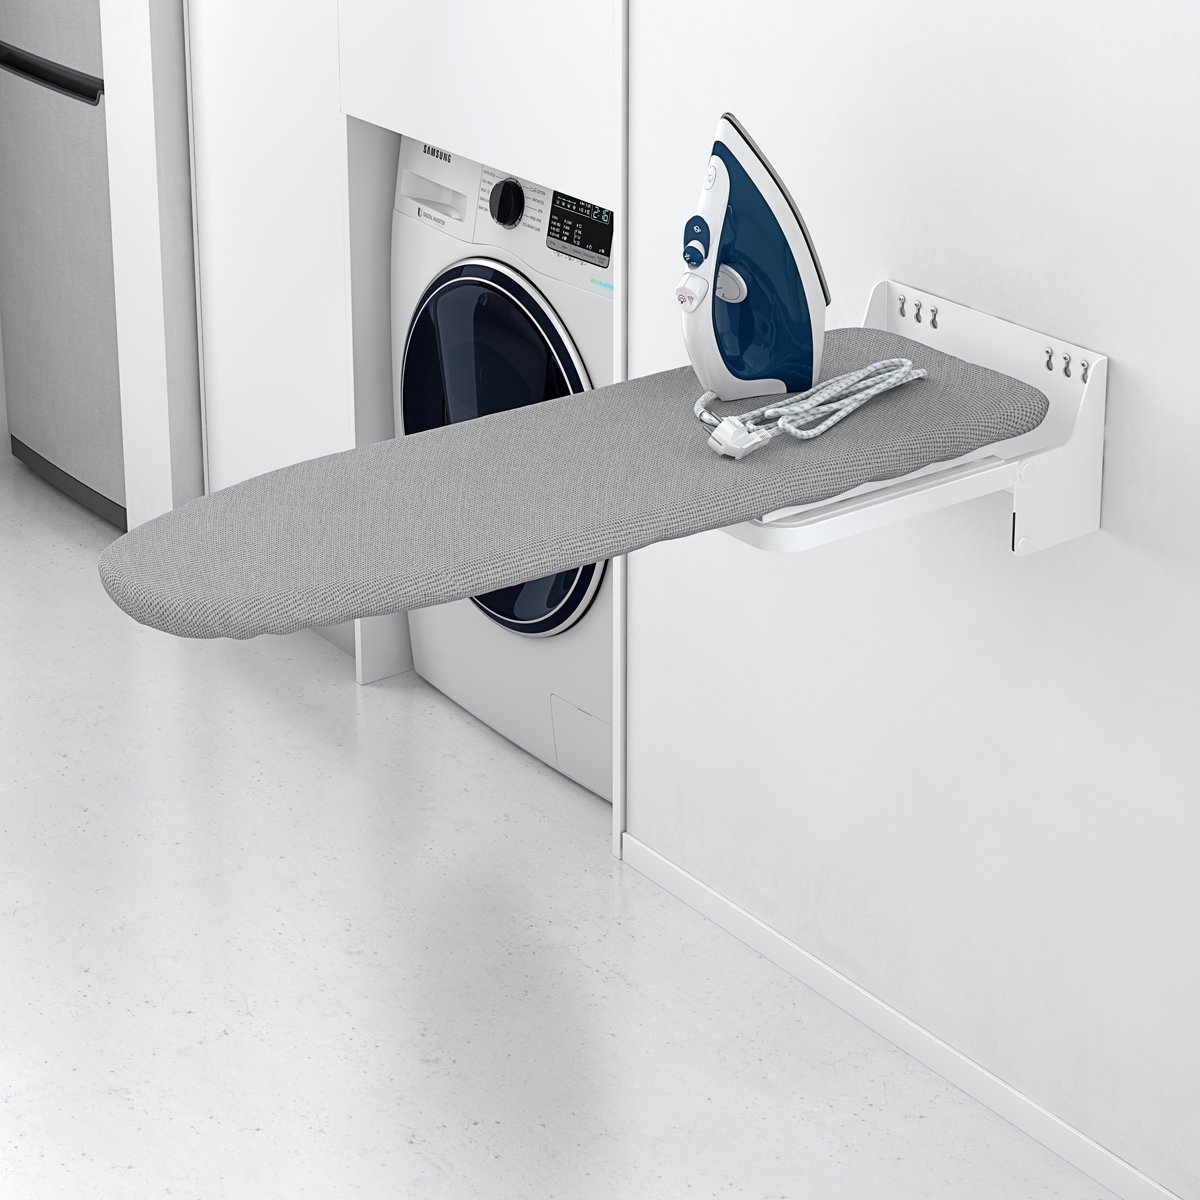
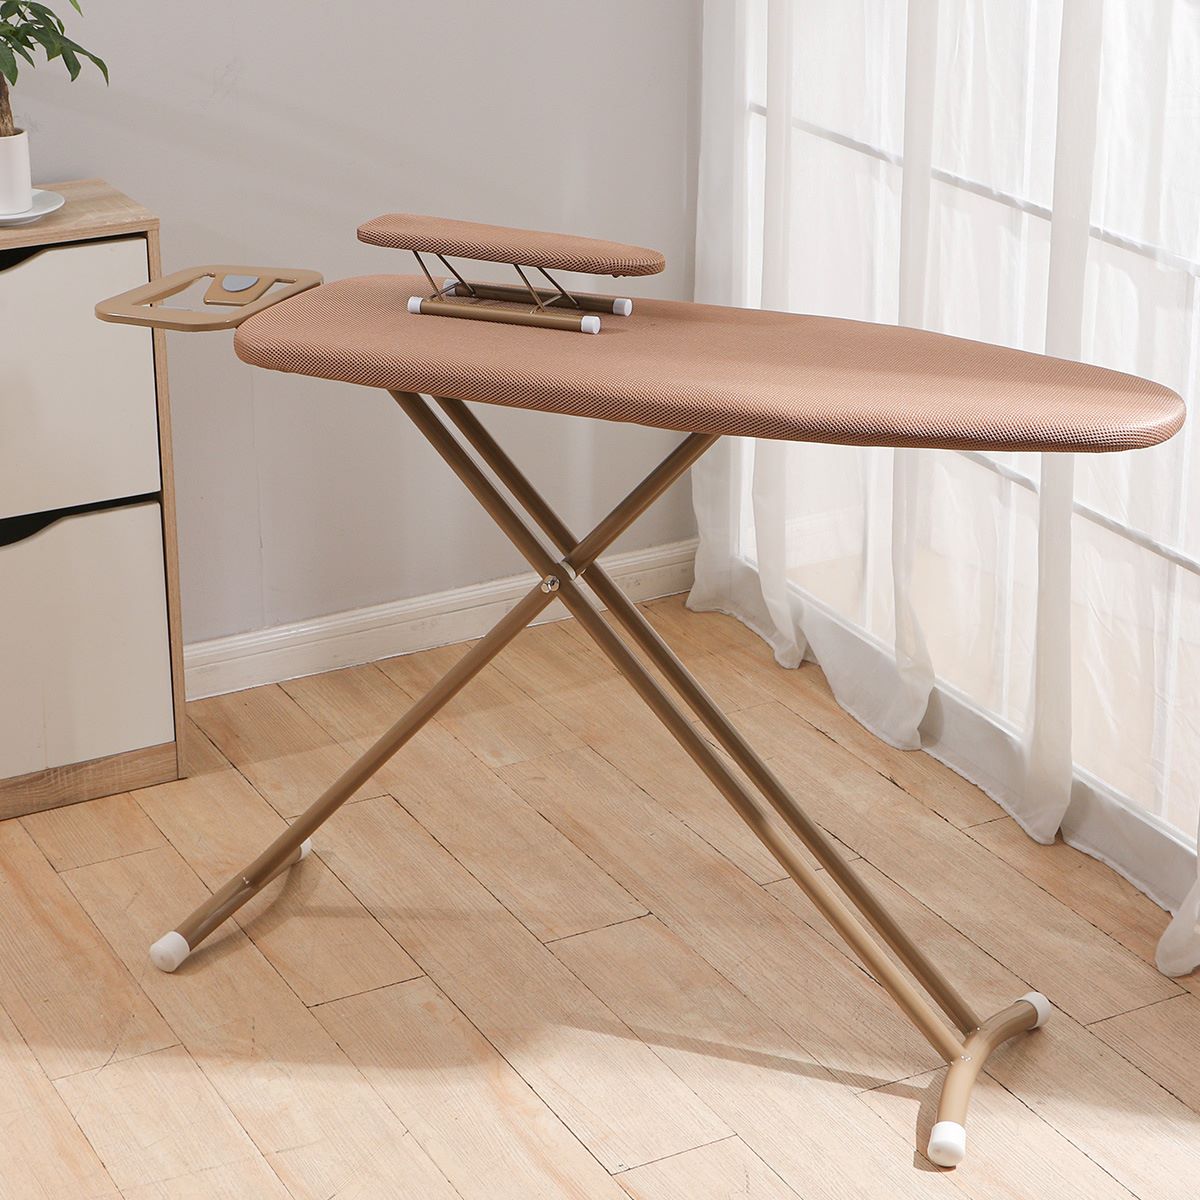
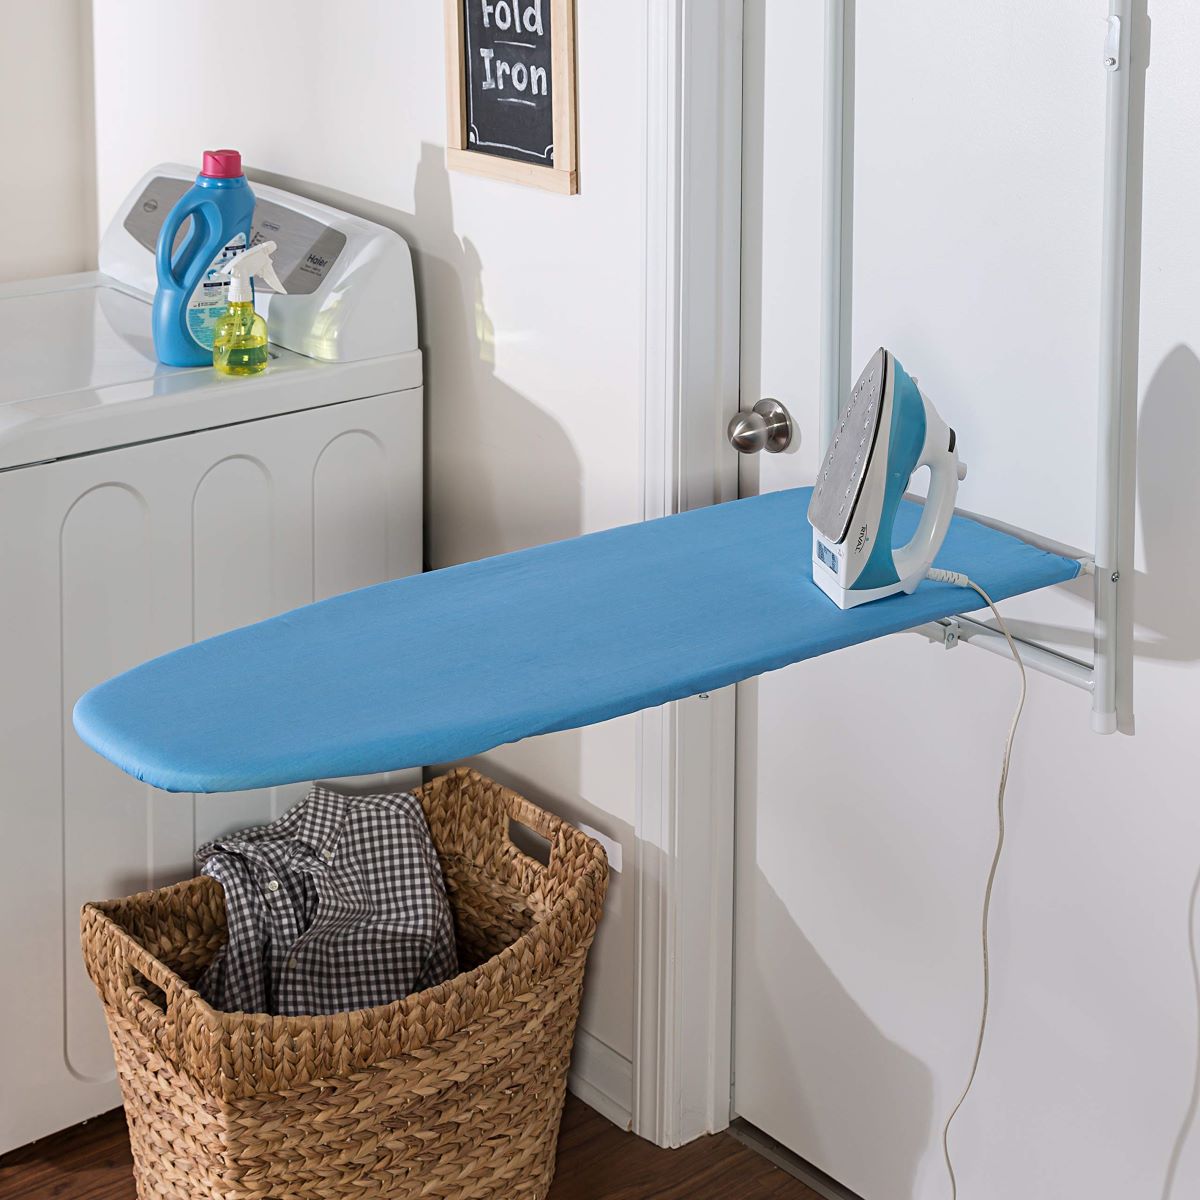
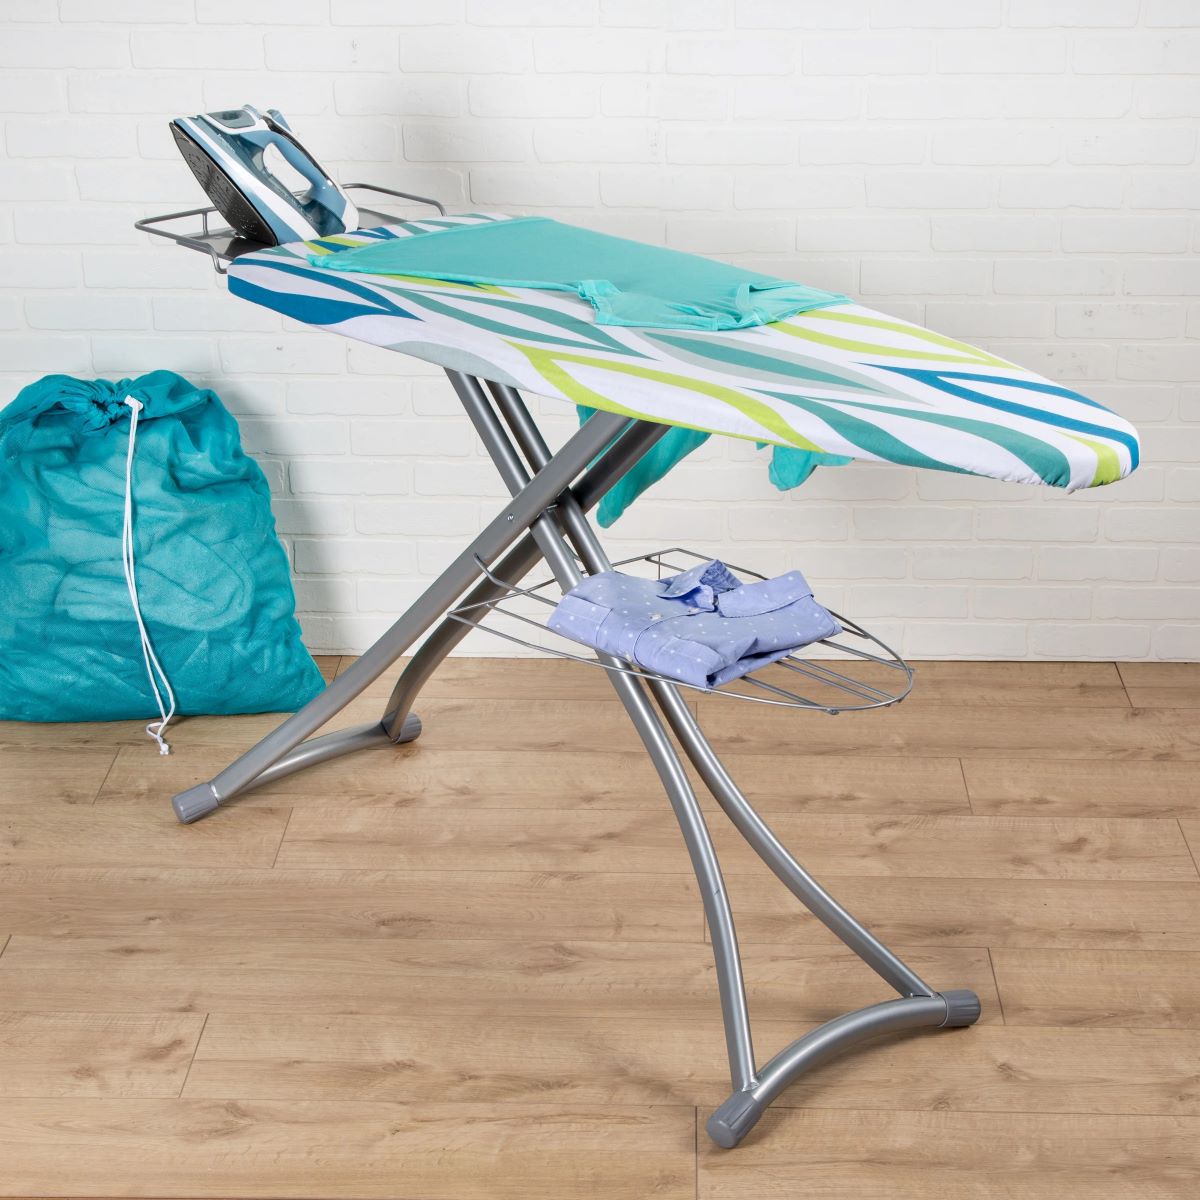
To put an ironing board down, simply hold the board by the legs and release the latch to unfold it. Make sure the board is secure and stable before using.
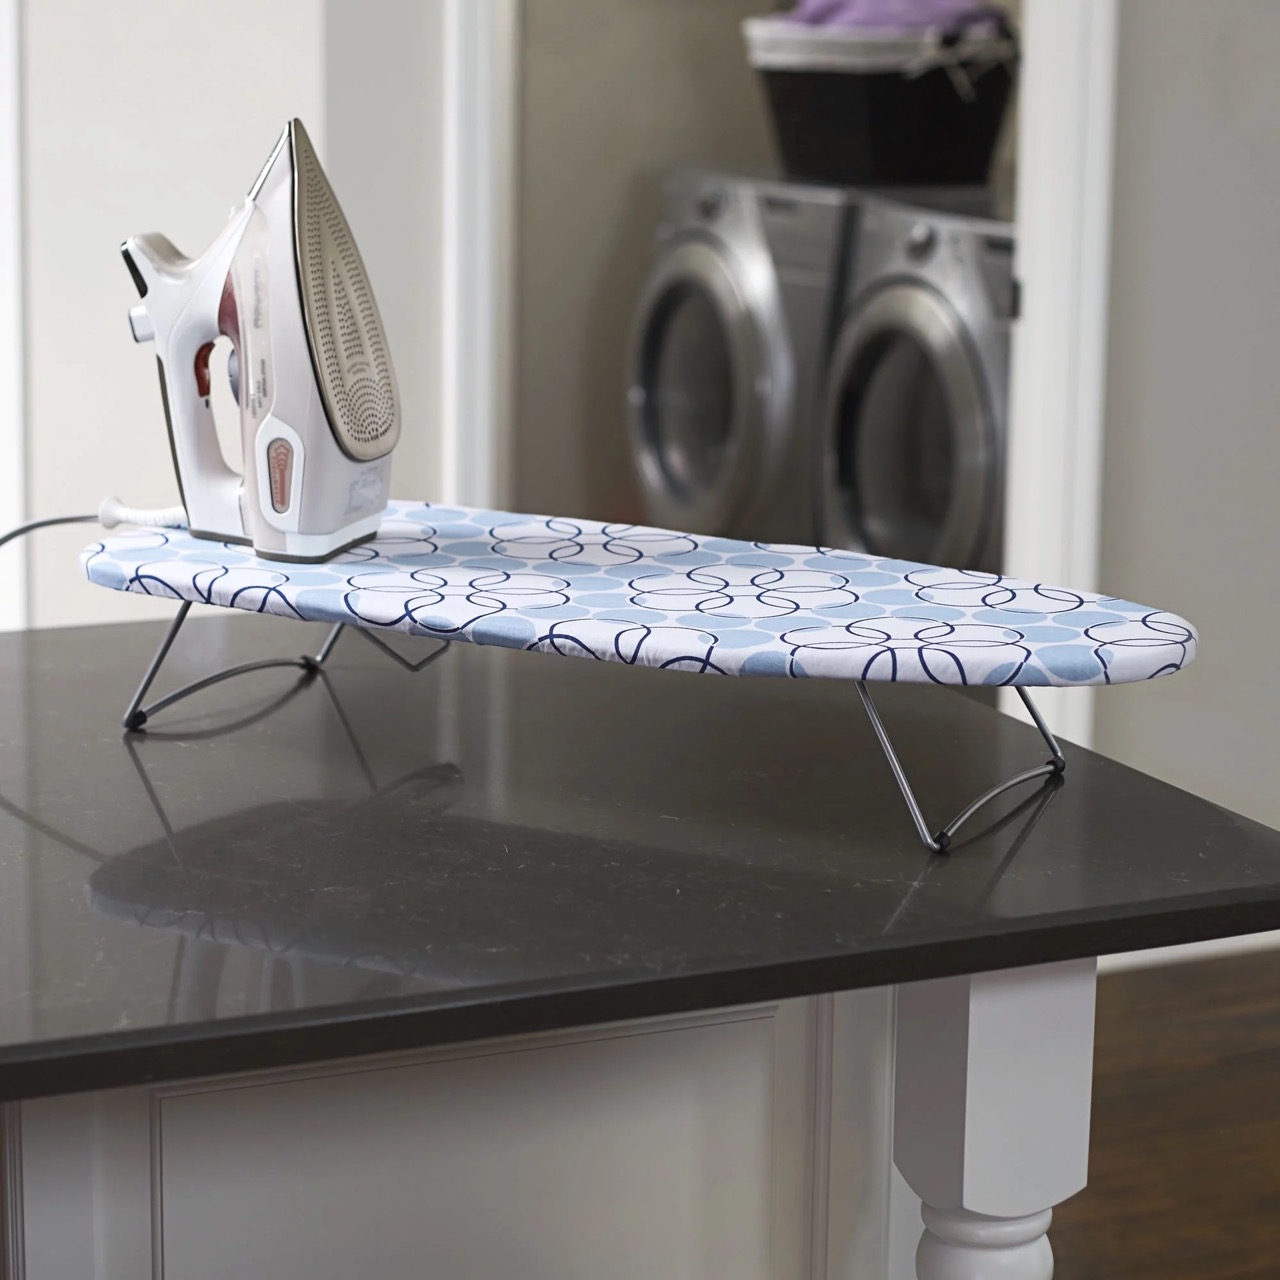
Step 3: Adjusting the height
Adjusting the height of an ironing board is a pivotal aspect of the setup process, as it directly impacts the ergonomics and comfort level during the ironing task. By customizing the height to suit your individual stature and preferences, you can optimize the ironing experience, minimizing strain and maximizing efficiency. Let's delve into the detailed process of adjusting the height of an ironing board:
-
Ergonomic Considerations: Before proceeding with the height adjustment, it's essential to consider the ergonomic factors that influence the ideal ironing board height. The goal is to position the ironing surface at a level that allows for comfortable and natural arm movements, minimizing strain on the shoulders, back, and neck.
-
Locating the Height Adjustment Mechanism: Most modern ironing boards are equipped with a height adjustment mechanism, typically located near the junction of the legs and the ironing board frame. This mechanism may consist of buttons, levers, or telescopic extensions that facilitate effortless height customization.
-
Customizing the Height: Engage the height adjustment mechanism to unlock the current height setting. Depending on the specific design of the ironing board, this may involve pressing buttons, pulling levers, or simply lifting the ironing surface to release the locking mechanism.
-
Setting the Desired Height: With the height adjustment mechanism unlocked, carefully raise or lower the ironing surface to achieve the desired height. Take into account your individual comfort and ergonomic needs, ensuring that the ironing board is positioned at a level that allows for relaxed and natural arm movements.
-
Auditing Comfort and Stability: Once the height is adjusted, take a moment to audit the comfort and stability of the setup. Stand in front of the ironing board and simulate the ironing motion to assess the ergonomics and comfort level. Ensure that the board remains stable and secure at the chosen height.
-
Fine-Tuning if Necessary: Depending on your personal preference and comfort, you may choose to fine-tune the height further to achieve the optimal positioning. Experiment with slight height adjustments to find the setting that best suits your individual needs.
By meticulously following these steps, you will successfully adjust the height of the ironing board, creating an ergonomic and personalized setup tailored to your comfort and efficiency. This crucial phase ensures that the ironing board accommodates your unique stature and preferences, setting the stage for a seamless and enjoyable ironing experience.
Step 4: Locking the ironing board in place
Securing the ironing board in its operational position is the final step in the setup process, essential for ensuring stability and safety during the ironing task. By locking the ironing board in place, we establish a secure and reliable platform that can withstand the movements and pressure exerted during the ironing process. Let's delve into the detailed process of locking the ironing board in place:
-
Stability Assessment: Before proceeding with the locking mechanism, it's crucial to ensure that the ironing board is positioned on a stable and level surface. This foundational step sets the stage for a secure setup, minimizing the risk of wobbling or instability during use.
-
Identifying the Locking Mechanism: Most ironing boards are equipped with a locking mechanism that holds the legs and the ironing surface in a fixed position. This mechanism may consist of a latch, lever, or similar device located near the junction of the legs and the ironing board frame.
-
Engaging the Locking Mechanism: Once the locking mechanism is identified, engage it to secure the ironing board in place. This may involve pressing a latch, flipping a lever, or following the specific instructions provided by the manufacturer. The action of engaging the locking mechanism ensures that the legs and the ironing surface are firmly held in position, preventing any unintended movement during use.
-
Auditing Stability and Security: After locking the ironing board in place, take a moment to audit the stability and security of the setup. Gently apply pressure to the ironing surface to ensure that it remains steadfast and immovable. Additionally, verify that the legs make secure contact with the floor, further enhancing the stability of the setup.
-
Final Checks: Before commencing the ironing task, perform a final inspection of the locked ironing board. Confirm that all components are securely in place and that there are no signs of instability or movement. This proactive approach ensures a safe and reliable setup, setting the stage for a focused and efficient ironing experience.
By meticulously following these steps, you will successfully lock the ironing board in place, creating a stable and secure platform ready to support the ironing process. This crucial phase ensures that the ironing board remains steadfast and immovable, allowing you to focus on the task at hand without concerns about stability or safety. With the ironing board securely locked in place, you are now poised to embark on the journey of achieving perfectly pressed garments with confidence and ease.
Read more: How To Unfold An Ironing Board
Conclusion
In conclusion, mastering the art of setting up an ironing board is a fundamental skill that paves the way for a seamless and efficient ironing experience. By following the step-by-step process outlined in this guide, you have gained the knowledge and confidence needed to effortlessly prepare your ironing board for the task at hand. From unlocking the ironing board to extending its legs, adjusting the height, and securely locking it in place, each step plays a crucial role in creating a stable and functional ironing surface.
As you embark on your ironing journey, it's important to remember the significance of a well-prepared ironing board. A stable and ergonomic setup not only enhances the efficiency of the ironing process but also minimizes the risk of strain or discomfort, allowing you to focus on achieving perfectly pressed garments with ease.
Furthermore, the process of setting up an ironing board serves as a foundation for a productive and enjoyable ironing experience. By paying attention to the details and ensuring that the ironing board is securely positioned and adjusted to your comfort, you set the stage for a task that transcends mere chores and transforms into a satisfying and rewarding endeavor.
As you put these newfound skills into practice, take pride in the meticulous setup of your ironing board, knowing that it is a crucial element in the pursuit of sartorial perfection. With each garment that emerges flawlessly pressed, you can reflect on the role that the well-prepared ironing board played in achieving such impeccable results.
In essence, the process of putting an ironing board down is not merely a series of mechanical actions; it is a ritual that sets the stage for sartorial excellence and personal satisfaction. Embrace this ritual with confidence and finesse, knowing that your mastery of the ironing board transcends the mundane and contributes to a refined and polished lifestyle.
So, as you embark on your next ironing endeavor, may the knowledge and skills acquired in this guide empower you to approach the task with poise and proficiency. With a well-prepared ironing board as your steadfast ally, you are poised to conquer the realm of wrinkle-free perfection, one garment at a time.
Frequently Asked Questions about How To Put An Ironing Board Down
Was this page helpful?
At Storables.com, we guarantee accurate and reliable information. Our content, validated by Expert Board Contributors, is crafted following stringent Editorial Policies. We're committed to providing you with well-researched, expert-backed insights for all your informational needs.

0 thoughts on “How To Put An Ironing Board Down”