Home>Home Appliances>Laundry Appliances>How To Make An Ironing Board

Laundry Appliances
How To Make An Ironing Board
Published: February 8, 2024
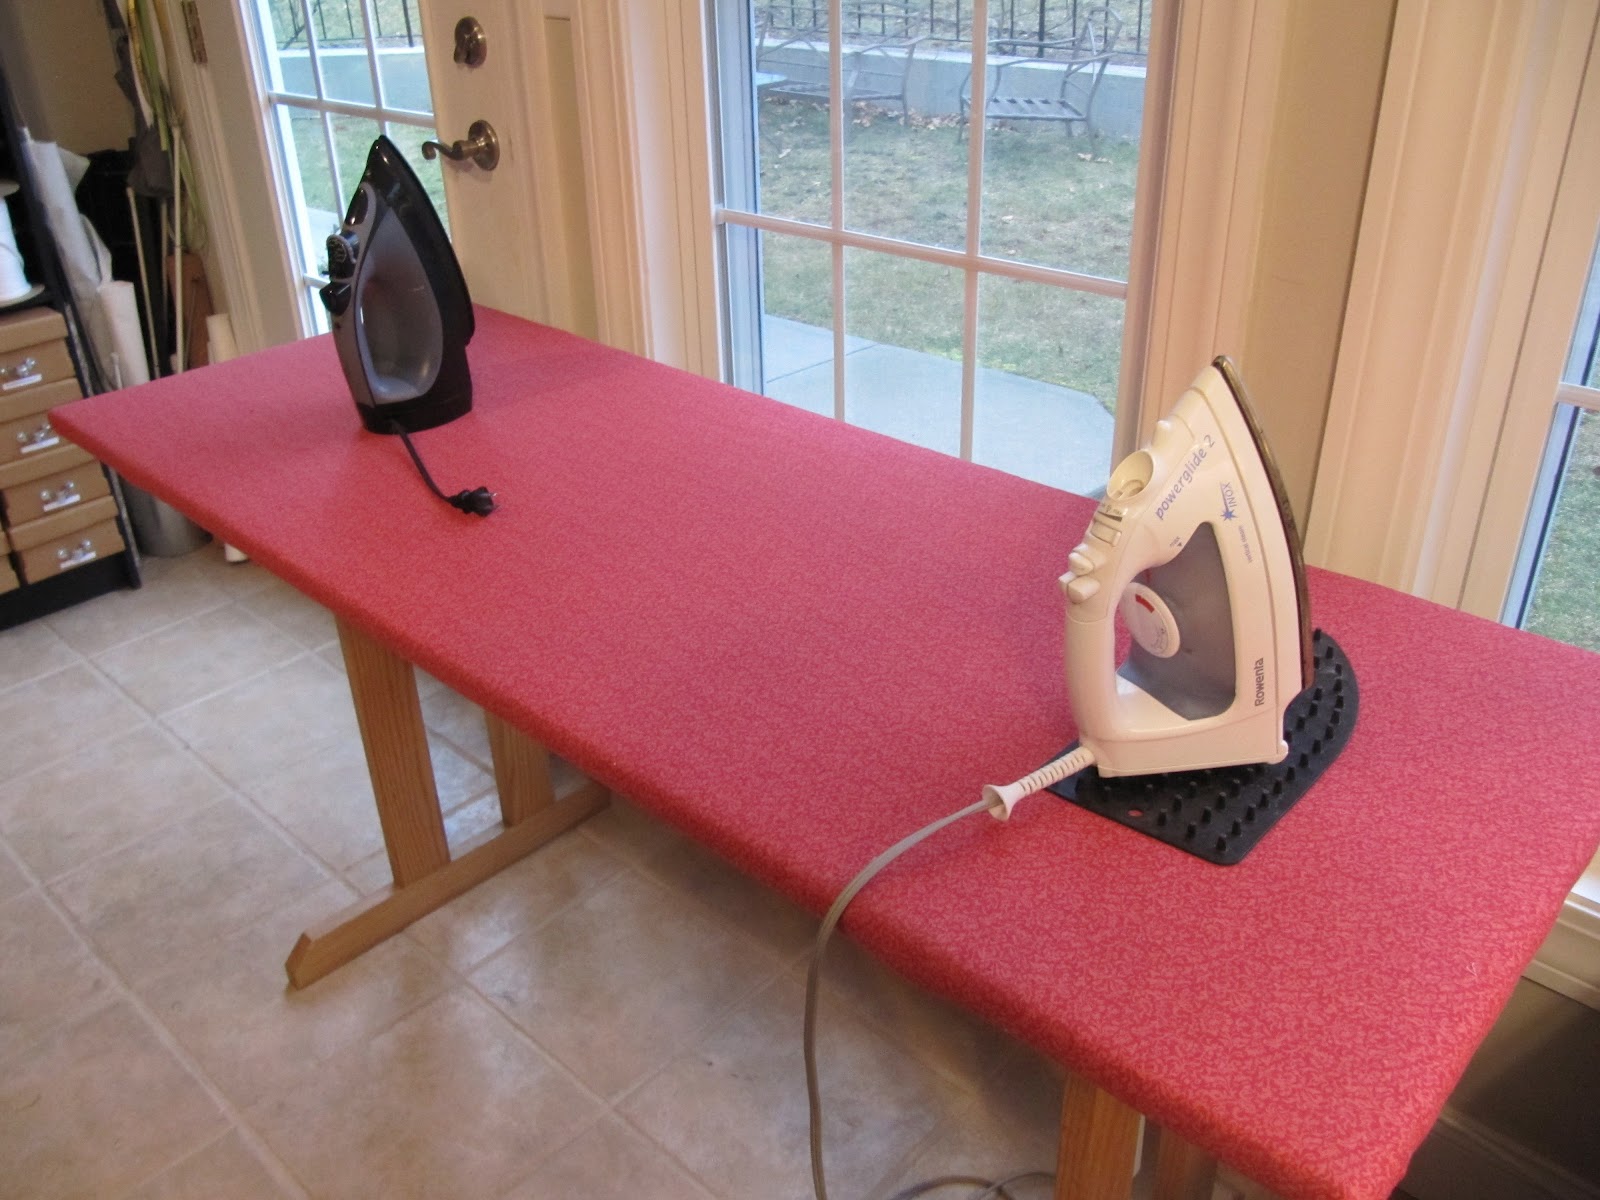
Learn how to make an ironing board at home with simple materials. Perfect for your laundry room and other laundry appliances. Step-by-step guide!
(Many of the links in this article redirect to a specific reviewed product. Your purchase of these products through affiliate links helps to generate commission for Storables.com, at no extra cost. Learn more)
Introduction
Creating your own ironing board can be a rewarding and practical DIY project. Whether you're looking to customize the size, shape, or design to suit your specific needs, or simply seeking a fun and fulfilling craft activity, making an ironing board from scratch allows you to tailor it to your preferences. In this comprehensive guide, we'll walk you through the step-by-step process of crafting your very own ironing board, from selecting the materials to adding the finishing touches.
By embarking on this DIY endeavor, you'll not only have the opportunity to exercise your creativity and handiness, but you'll also gain a deeper understanding of the functionality and construction of this essential laundry appliance. Additionally, customizing your ironing board provides the flexibility to match it with your existing decor, ensuring a seamless integration into your living space.
As we delve into the intricacies of constructing an ironing board, you'll discover the satisfaction of transforming raw materials into a practical and aesthetically pleasing household item. Whether you're a seasoned DIY enthusiast or a novice crafter, this guide is designed to equip you with the knowledge and skills needed to embark on this fulfilling project. So, gather your materials and let's dive into the exciting process of creating your very own ironing board!
Key Takeaways:
- Crafting your own ironing board allows you to customize its size, shape, and design, providing a fun and fulfilling DIY project that enhances your creativity and handiness while gaining a deeper understanding of this essential laundry appliance.
- By carefully cutting plywood, attaching foam padding and fabric, adding legs, and incorporating finishing touches, you can create a personalized and functional ironing board that meets your unique needs and style, elevating your ironing experience.
Read more: How To Make An Ironing Board For Quilting
Materials Needed
To embark on the journey of creating your own ironing board, you'll need a selection of materials that are essential for constructing this versatile household item. Here's a comprehensive list of the items required to bring your DIY ironing board to life:
-
Plywood: The foundation of your ironing board, plywood serves as the sturdy base on which the padding and fabric will be attached. Opt for a high-quality plywood sheet that is smooth and free from imperfections, ensuring a durable and reliable surface for ironing.
-
Foam Padding: Select a dense and heat-resistant foam padding to provide a cushioned surface for ironing. The padding should be thick enough to offer ample support for pressing clothes while withstanding the heat of the iron.
-
Fabric: Choose a durable and heat-resistant fabric to cover the padded surface of the ironing board. Cotton or linen fabrics are popular choices due to their ability to withstand high temperatures and provide a smooth ironing surface.
-
Wood for Legs: If you prefer a freestanding ironing board, you'll need wooden pieces to construct the legs. Ensure the wood is sturdy and capable of supporting the weight of the ironing board and providing stability during use.
-
Screws and Nails: These essential fasteners will be used to secure the padding and fabric to the plywood, as well as to attach the legs to the board. Opt for screws and nails that are appropriate in size and strength for the materials you're working with.
-
Saw: A saw will be necessary for cutting the plywood to the desired dimensions, ensuring that it fits your specific ironing needs and space constraints.
-
Staple Gun: This tool is essential for attaching the padding and fabric to the plywood, providing a secure and taut finish. Ensure the staple gun is compatible with the staples needed for the project.
-
Measuring Tape: Accurate measurements are crucial for creating an ironing board that meets your requirements. A measuring tape will aid in precisely determining the dimensions of the plywood, padding, and fabric.
-
Sandpaper: To achieve a smooth and even surface on the plywood, sandpaper will be essential for removing any rough edges or imperfections, ensuring a professional finish.
-
Screwdriver: A reliable screwdriver will be indispensable for attaching the legs to the ironing board, providing stability and support during use.
By gathering these materials, you'll be well-equipped to commence the exciting process of constructing your very own ironing board, tailored to your preferences and needs. With these essential items at your disposal, you're ready to move on to the next step in this rewarding DIY endeavor.
Step 1: Cutting the Plywood
The first crucial step in creating your custom ironing board is to cut the plywood to the desired dimensions. This foundational material will serve as the base of the ironing board, providing a stable and reliable surface for all your ironing needs. Before embarking on the cutting process, it's essential to determine the ideal size and shape for your ironing board, taking into account your available space and personal preferences.
Begin by measuring and marking the plywood according to your desired dimensions, ensuring precision and accuracy in your markings. A measuring tape and a straight edge will be invaluable tools in this process, allowing you to achieve straight and uniform lines for cutting. Whether you prefer a standard rectangular shape or a custom design to fit specific spaces, take the time to carefully outline the shape on the plywood before proceeding to the cutting phase.
Once the plywood is marked with the intended dimensions, it's time to bring out the saw. Select a saw that is suitable for cutting plywood, such as a circular saw or a jigsaw, and ensure that the blade is appropriate for the material. With steady hands and a focus on safety, carefully guide the saw along the marked lines, allowing it to smoothly cut through the plywood and create the desired shape.
As you near the completion of the cutting process, pay close attention to the edges to ensure they are smooth and free from splinters or rough surfaces. If necessary, utilize sandpaper to refine the edges, creating a clean and professional finish. This step is crucial in preparing the plywood to serve as the solid foundation for the subsequent stages of constructing your ironing board.
By meticulously cutting the plywood to the specified dimensions, you're laying the groundwork for a customized ironing board that meets your exact requirements. With the plywood now shaped to your desired specifications, you're ready to progress to the next phase of this engaging DIY project, bringing you one step closer to enjoying the satisfaction of using a personalized ironing board tailored to your unique needs and style.
Step 2: Attaching the Padding
With the plywood cut to the desired dimensions, the next pivotal step in crafting your custom ironing board is to attach the foam padding. This essential component will provide a cushioned and heat-resistant surface for ironing, ensuring optimal support and protection for your garments during the pressing process.
Begin by laying the plywood on a clean and spacious work surface, ensuring that it is positioned with the smooth side facing upwards. Unroll the foam padding over the plywood, aligning it carefully to cover the entire surface. The dense and heat-resistant nature of the padding will contribute to creating a comfortable and effective ironing surface.
Once the padding is positioned to your satisfaction, secure it in place using a staple gun. Starting from one edge, carefully staple the padding to the plywood, ensuring a snug and taut fit. Work your way around the perimeter, spacing the staples evenly to maintain consistent tension across the padding. This meticulous process will result in a securely attached and smooth padding layer, essential for achieving optimal ironing results.
As you progress with attaching the padding, pay close attention to the corners and edges, ensuring that the padding is neatly secured without any wrinkles or excess material. Trim any excess padding if necessary, ensuring a clean and uniform finish. The thorough and precise attachment of the padding is crucial in creating a professional and functional ironing board surface.
Throughout this process, prioritize the even distribution of the padding to avoid lumps or uneven areas, which could impact the effectiveness of the ironing surface. By maintaining a methodical approach and focusing on precision, you'll ensure that the padding is securely attached and ready to provide the necessary support for all your ironing endeavors.
With the foam padding expertly affixed to the plywood, you've reached a significant milestone in the construction of your custom ironing board. The secure and uniform attachment of the padding sets the stage for the next phase of this engaging DIY project, bringing you closer to the satisfaction of using a personalized ironing board tailored to your unique needs and style.
When making an ironing board, make sure to use a sturdy and heat-resistant material for the surface, such as plywood or metal. This will ensure that the board can withstand the heat of the iron without getting damaged.
Step 3: Wrapping the Fabric
Wrapping the fabric is a pivotal step in the process of creating your custom ironing board, as it not only adds a decorative touch but also contributes to the functionality and durability of the ironing surface. The fabric serves as the outer layer of the ironing board, providing a smooth and heat-resistant surface for pressing garments while adding a personalized aesthetic to the finished product.
To begin this step, lay the fabric flat on your work surface, ensuring that it is free from wrinkles or creases. Position the plywood with the attached padding on top of the fabric, ensuring that it is centered and aligned with the edges of the fabric. Allow for an ample overhang of fabric on all sides to facilitate the wrapping process.
With the plywood in place, carefully lift one edge of the fabric and fold it over the padding, ensuring a snug and taut fit. Secure the fabric in place using a staple gun, starting from the center and working towards the edges. This methodical approach ensures that the fabric is evenly tensioned and free from wrinkles, resulting in a smooth and professional finish.
As you progress with wrapping the fabric, pay close attention to the corners, ensuring that they are neatly folded and secured to maintain a clean and uniform appearance. Take care to avoid excessive bunching or creasing, as a smooth fabric surface is essential for achieving optimal ironing results.
Continue to work your way around the perimeter, securing the fabric with staples at regular intervals to maintain consistent tension and a secure fit. As you approach the final edges, ensure that the fabric is neatly folded and secured to create a seamless and polished appearance.
Once the fabric is securely wrapped and attached to the plywood, trim any excess material to achieve a clean and uniform edge. This attention to detail ensures a professional and tailored finish, ready to enhance your ironing experience.
Wrapping the fabric marks a significant stage in the construction of your custom ironing board, bringing you one step closer to enjoying the satisfaction of using a personalized and functional household item. With the fabric expertly wrapped and secured, you're poised to move on to the next phase of this engaging DIY project, culminating in the creation of a bespoke ironing board tailored to your unique needs and style.
Read more: How To Make An Ironing Board Cover
Step 4: Attaching the Fabric
Attaching the fabric to the plywood, which is already equipped with the foam padding, is a crucial step in the construction of your custom ironing board. This process not only adds a decorative and personalized touch to the ironing surface but also ensures the creation of a smooth, heat-resistant, and durable fabric layer that is essential for achieving optimal ironing results.
To commence this step, lay the chosen fabric on a clean and spacious work surface, ensuring that it is free from any wrinkles or creases. Position the plywood, with the attached padding and fabric side facing downwards, on top of the fabric. It is important to ensure that the fabric is centered and aligned with the edges of the plywood, allowing for an adequate overhang on all sides to facilitate the wrapping and attachment process.
Carefully lift one edge of the fabric and fold it over the padding, ensuring a snug and taut fit. Using a staple gun, begin securing the fabric in place, starting from the center and working towards the edges. This methodical approach ensures that the fabric is evenly tensioned and free from wrinkles, resulting in a smooth and professional finish.
As you progress with attaching the fabric, pay close attention to the corners, ensuring that they are neatly folded and secured to maintain a clean and uniform appearance. It is essential to avoid excessive bunching or creasing, as a smooth fabric surface is crucial for achieving optimal ironing results.
Continue to work your way around the perimeter, securing the fabric with staples at regular intervals to maintain consistent tension and a secure fit. As you approach the final edges, ensure that the fabric is neatly folded and secured to create a seamless and polished appearance.
Once the fabric is securely attached to the plywood, trim any excess material to achieve a clean and uniform edge. This attention to detail ensures a professional and tailored finish, ready to enhance your ironing experience.
Attaching the fabric marks a significant stage in the construction of your custom ironing board, bringing you one step closer to enjoying the satisfaction of using a personalized and functional household item. With the fabric expertly attached and secured, you're poised to move on to the next phase of this engaging DIY project, culminating in the creation of a bespoke ironing board tailored to your unique needs and style.
Step 5: Adding the Legs
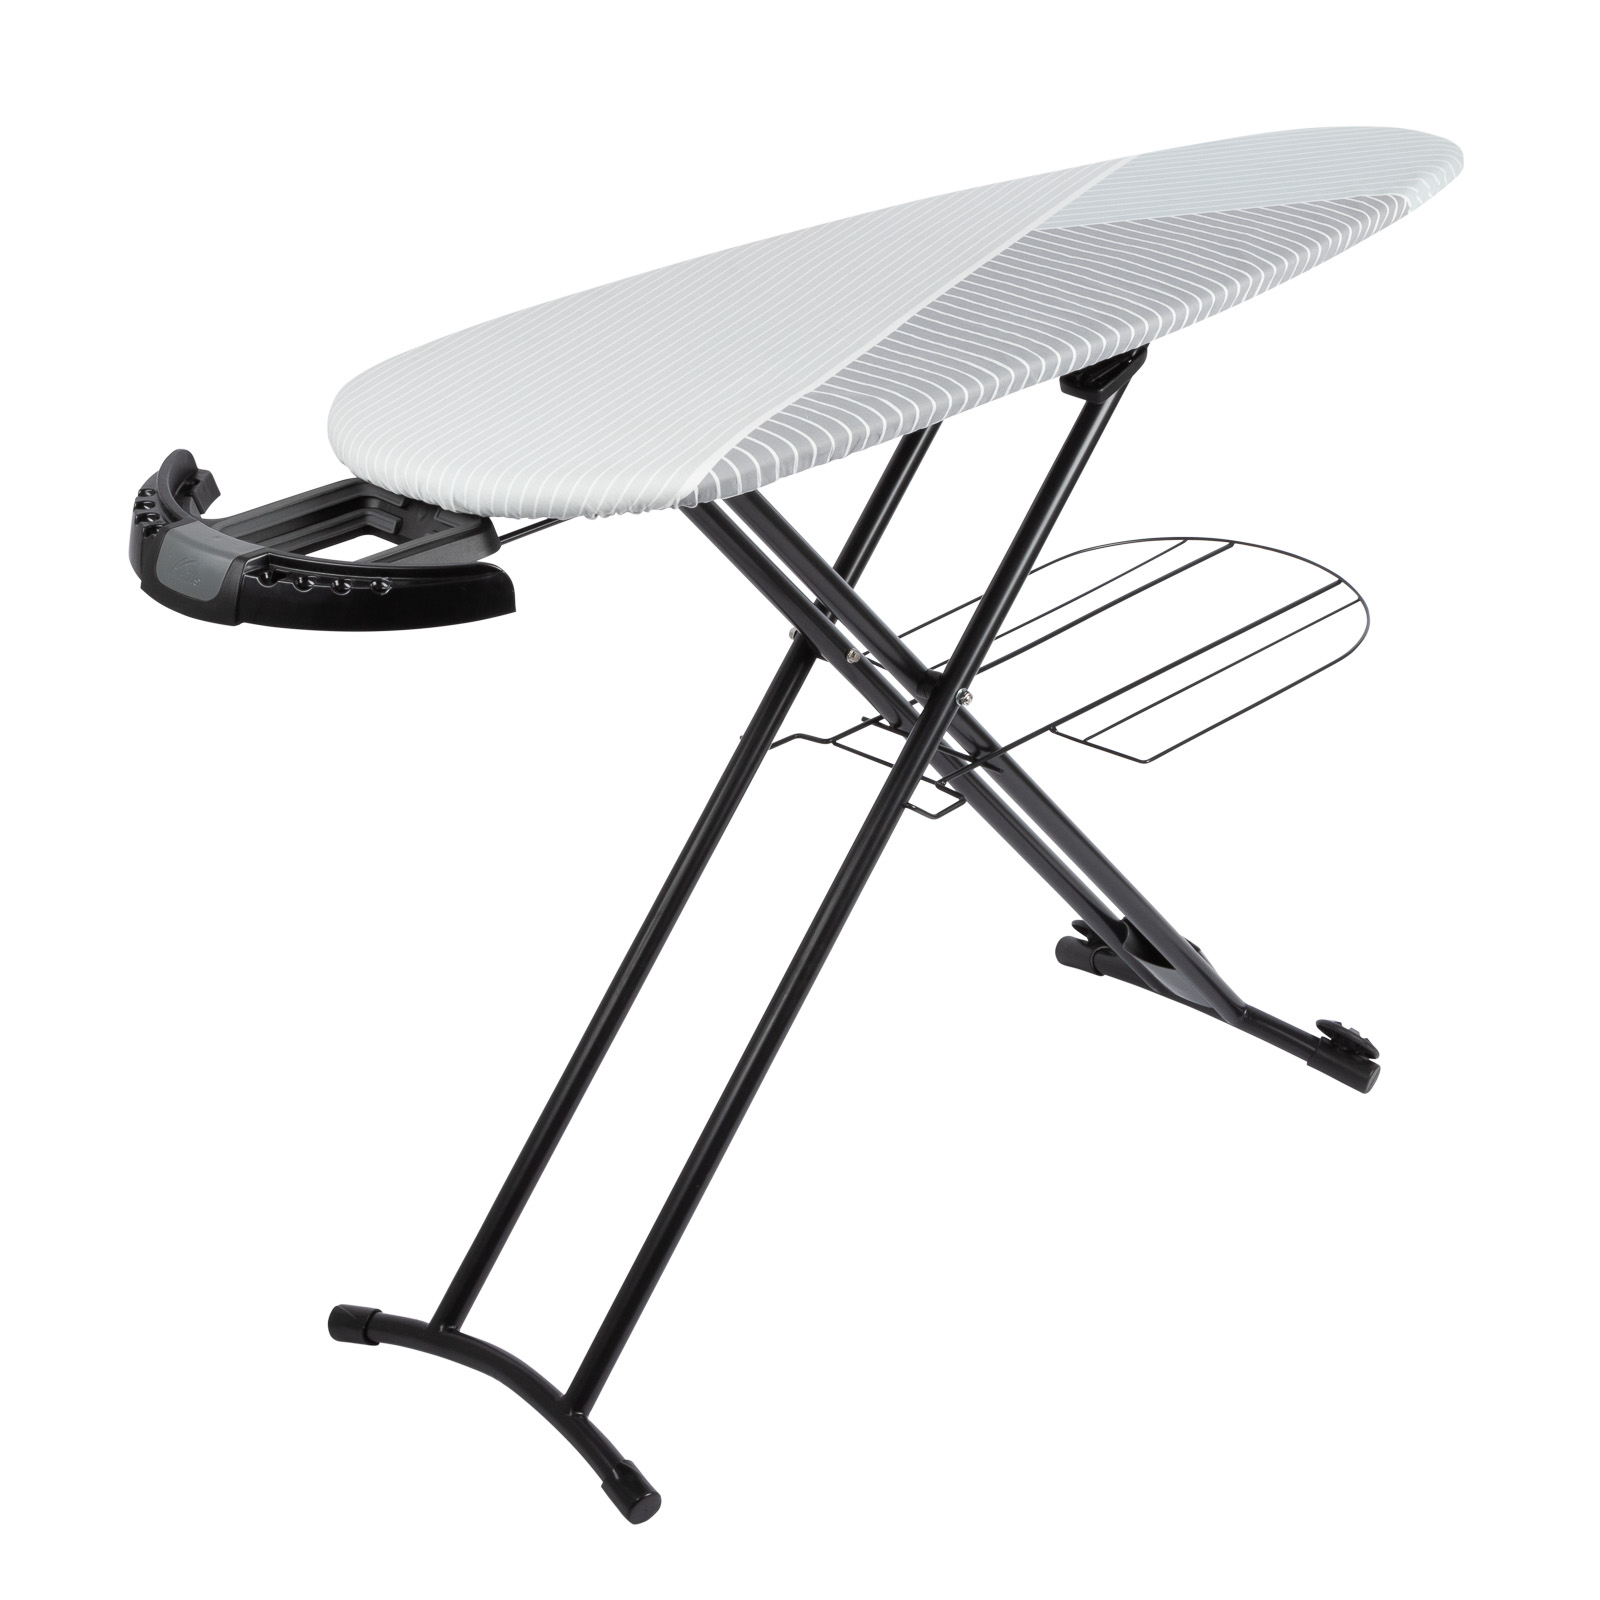
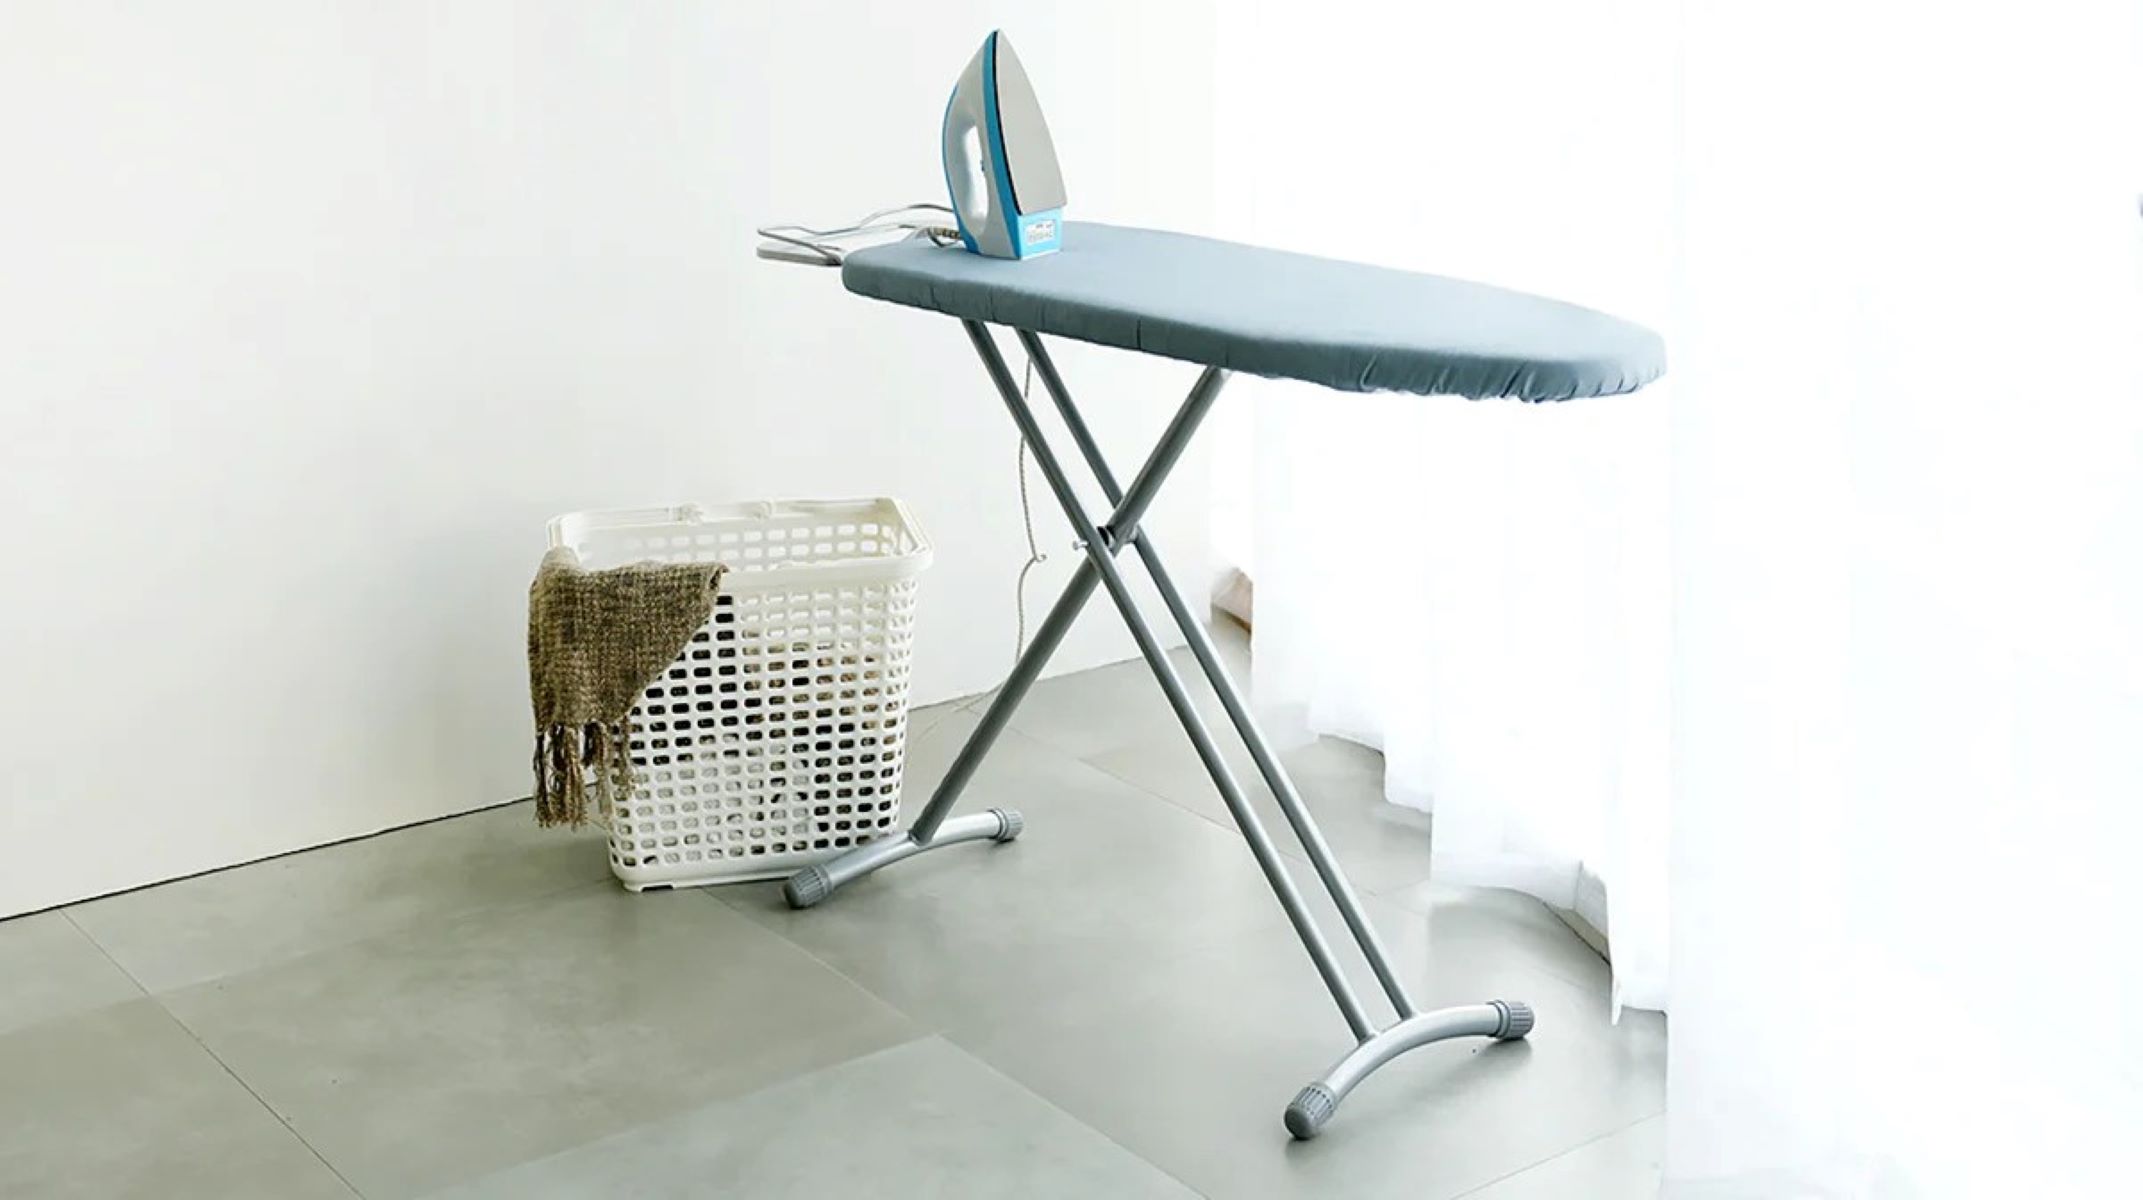
The addition of legs to your custom ironing board is a pivotal step that transforms it into a freestanding and versatile household essential. Whether you prefer a standard height or require adjustable legs to accommodate various users, this phase allows you to tailor the ironing board to your specific needs and preferences.
To commence this step, gather the wooden pieces designated for the legs and ensure they are of sturdy and reliable quality. The dimensions and design of the legs can be customized to suit your desired height and stability requirements. If you opt for adjustable legs, select the appropriate hardware to facilitate easy height adjustments, enhancing the functionality of your ironing board.
Position the ironing board with the fabric-covered surface facing downwards, providing a stable and accessible work area for attaching the legs. Carefully align the wooden legs at the corners of the ironing board, ensuring they are evenly spaced and securely positioned to provide optimal stability and support during use.
Using screws and a screwdriver, begin attaching the legs to the plywood base, ensuring a firm and durable connection. It is essential to prioritize the even distribution of the screws to maintain uniform stability and prevent wobbling or unevenness in the ironing board's structure.
If you have opted for adjustable legs, follow the manufacturer's instructions to install the height adjustment mechanism, ensuring smooth and secure functionality. This feature allows for personalized height settings, catering to the comfort and convenience of various users, making the ironing board adaptable to diverse needs.
As you progress with attaching the legs, periodically test the stability and balance of the ironing board to ensure that it meets your expectations for a reliable and functional household item. Adjust the legs as needed to achieve the desired height and stability, ensuring that the ironing board is well-suited to your specific requirements.
With the legs securely attached and any height adjustments finalized, your custom ironing board has evolved into a freestanding and personalized household essential, ready to enhance your ironing experience. This transformative step marks a significant milestone in the construction of your bespoke ironing board, bringing you one step closer to enjoying the satisfaction of using a tailored and functional household item that meets your unique needs and style.
Step 6: Finishing Touches
With the foundational elements of your custom ironing board expertly crafted and assembled, the final phase involves adding the finishing touches to elevate its functionality, aesthetics, and overall appeal. This stage allows you to refine and personalize your creation, ensuring that it seamlessly integrates into your living space while delivering exceptional performance.
One essential aspect of the finishing touches is the application of a heat-reflective and durable cover to the fabric-wrapped surface of the ironing board. This cover serves as a protective shield, safeguarding the fabric from scorching and wear while enhancing the heat distribution during ironing. Opt for a cover that is specifically designed for ironing boards, ensuring a snug and secure fit that complements the overall design of your custom creation.
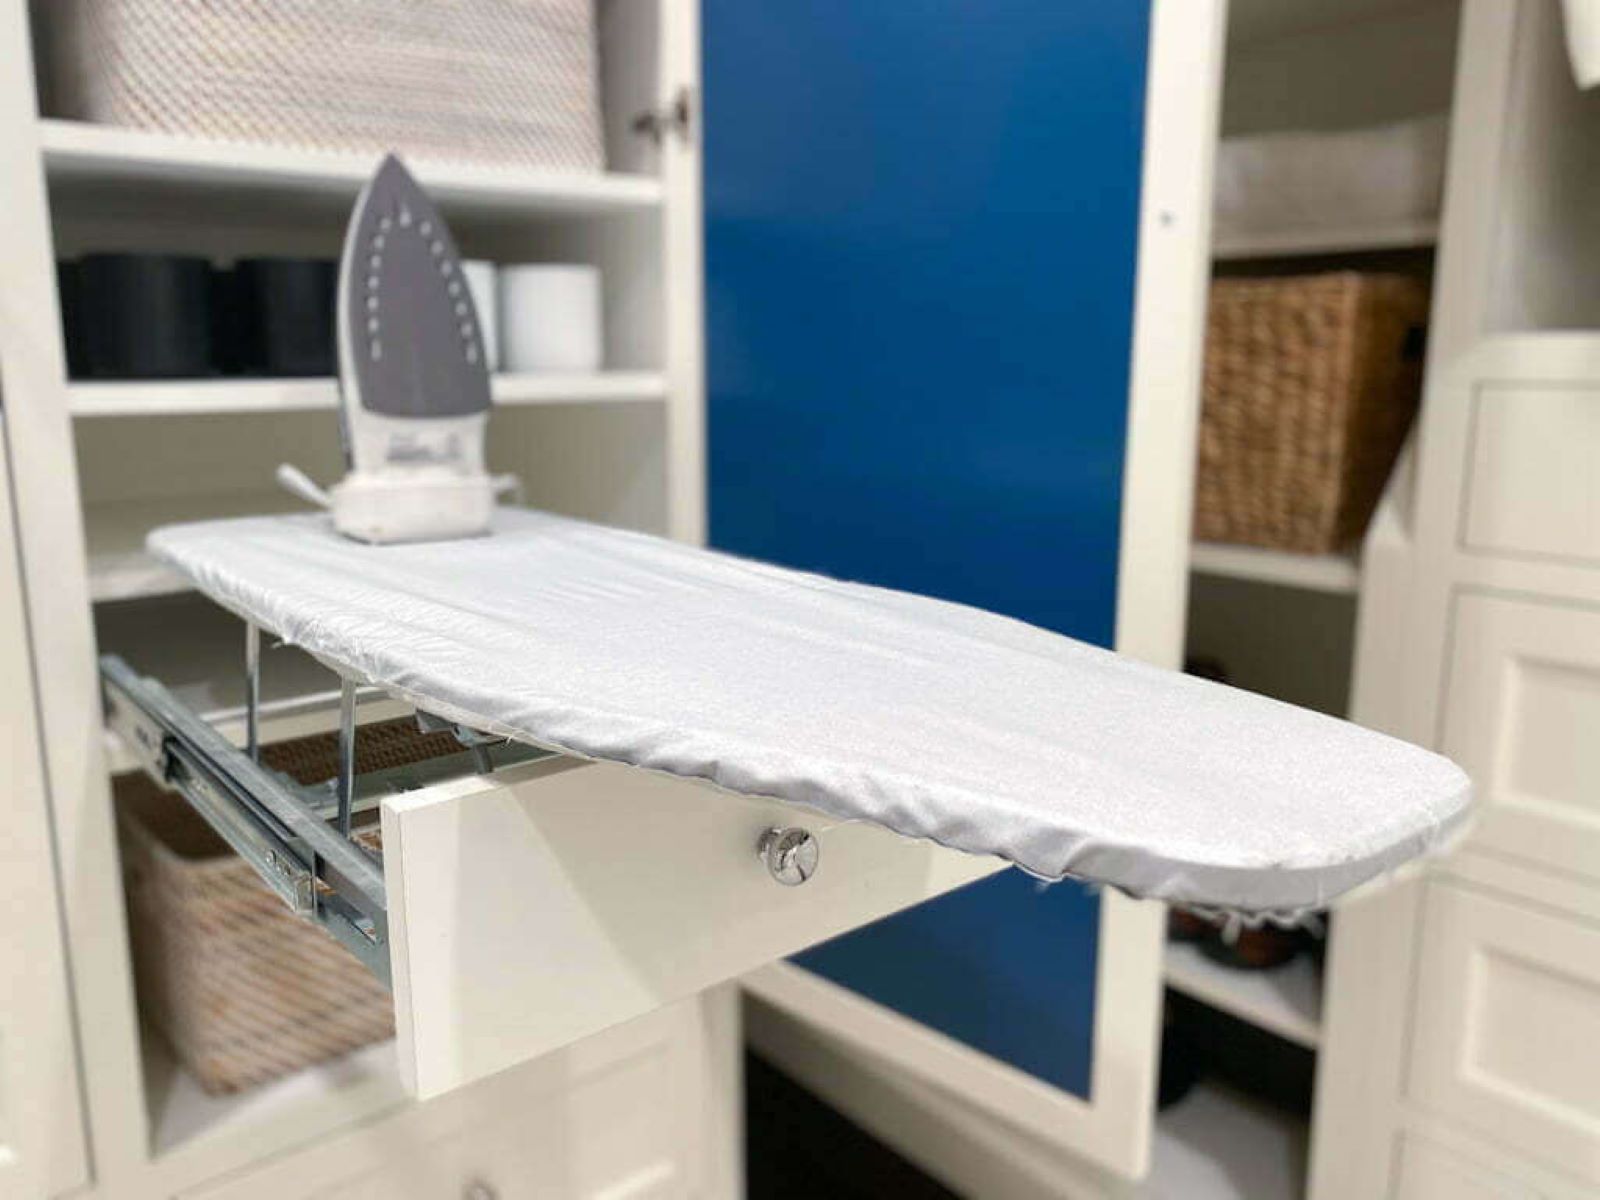
Additionally, consider incorporating a convenient storage solution into your ironing board design, such as a built-in rack or compartment for neatly stowing away ironing essentials. This thoughtful addition enhances the practicality of your ironing board, allowing for easy access to items such as spray bottles, starch, and pressing cloths, streamlining the ironing process and maintaining a clutter-free workspace.
To further personalize your ironing board, explore the option of adding decorative elements or embellishments that align with your personal style and home decor. Whether it's a fabric trim, decorative buttons, or a custom monogram, these details infuse your ironing board with a touch of individuality and charm, transforming it from a functional item into a visually appealing and personalized household essential.
Finally, take the opportunity to conduct a thorough inspection of your custom ironing board, ensuring that all components are securely fastened, and the overall construction meets your exacting standards. Test the stability, height adjustment mechanism (if applicable), and the smoothness of the ironing surface to guarantee that your creation is primed for seamless and efficient ironing sessions.
By meticulously attending to these finishing touches, you elevate your custom ironing board from a practical household item to a personalized and functional work of art. This final phase marks the culmination of your DIY journey, resulting in a bespoke ironing board that reflects your creativity, style, and attention to detail, ready to enhance your daily routine with its tailored functionality and visual appeal.
Frequently Asked Questions about How To Make An Ironing Board
Was this page helpful?
At Storables.com, we guarantee accurate and reliable information. Our content, validated by Expert Board Contributors, is crafted following stringent Editorial Policies. We're committed to providing you with well-researched, expert-backed insights for all your informational needs.

0 thoughts on “How To Make An Ironing Board”