Home>Home Appliances>Laundry Appliances>How To Sanitize A Public Washing Machine
Laundry Appliances
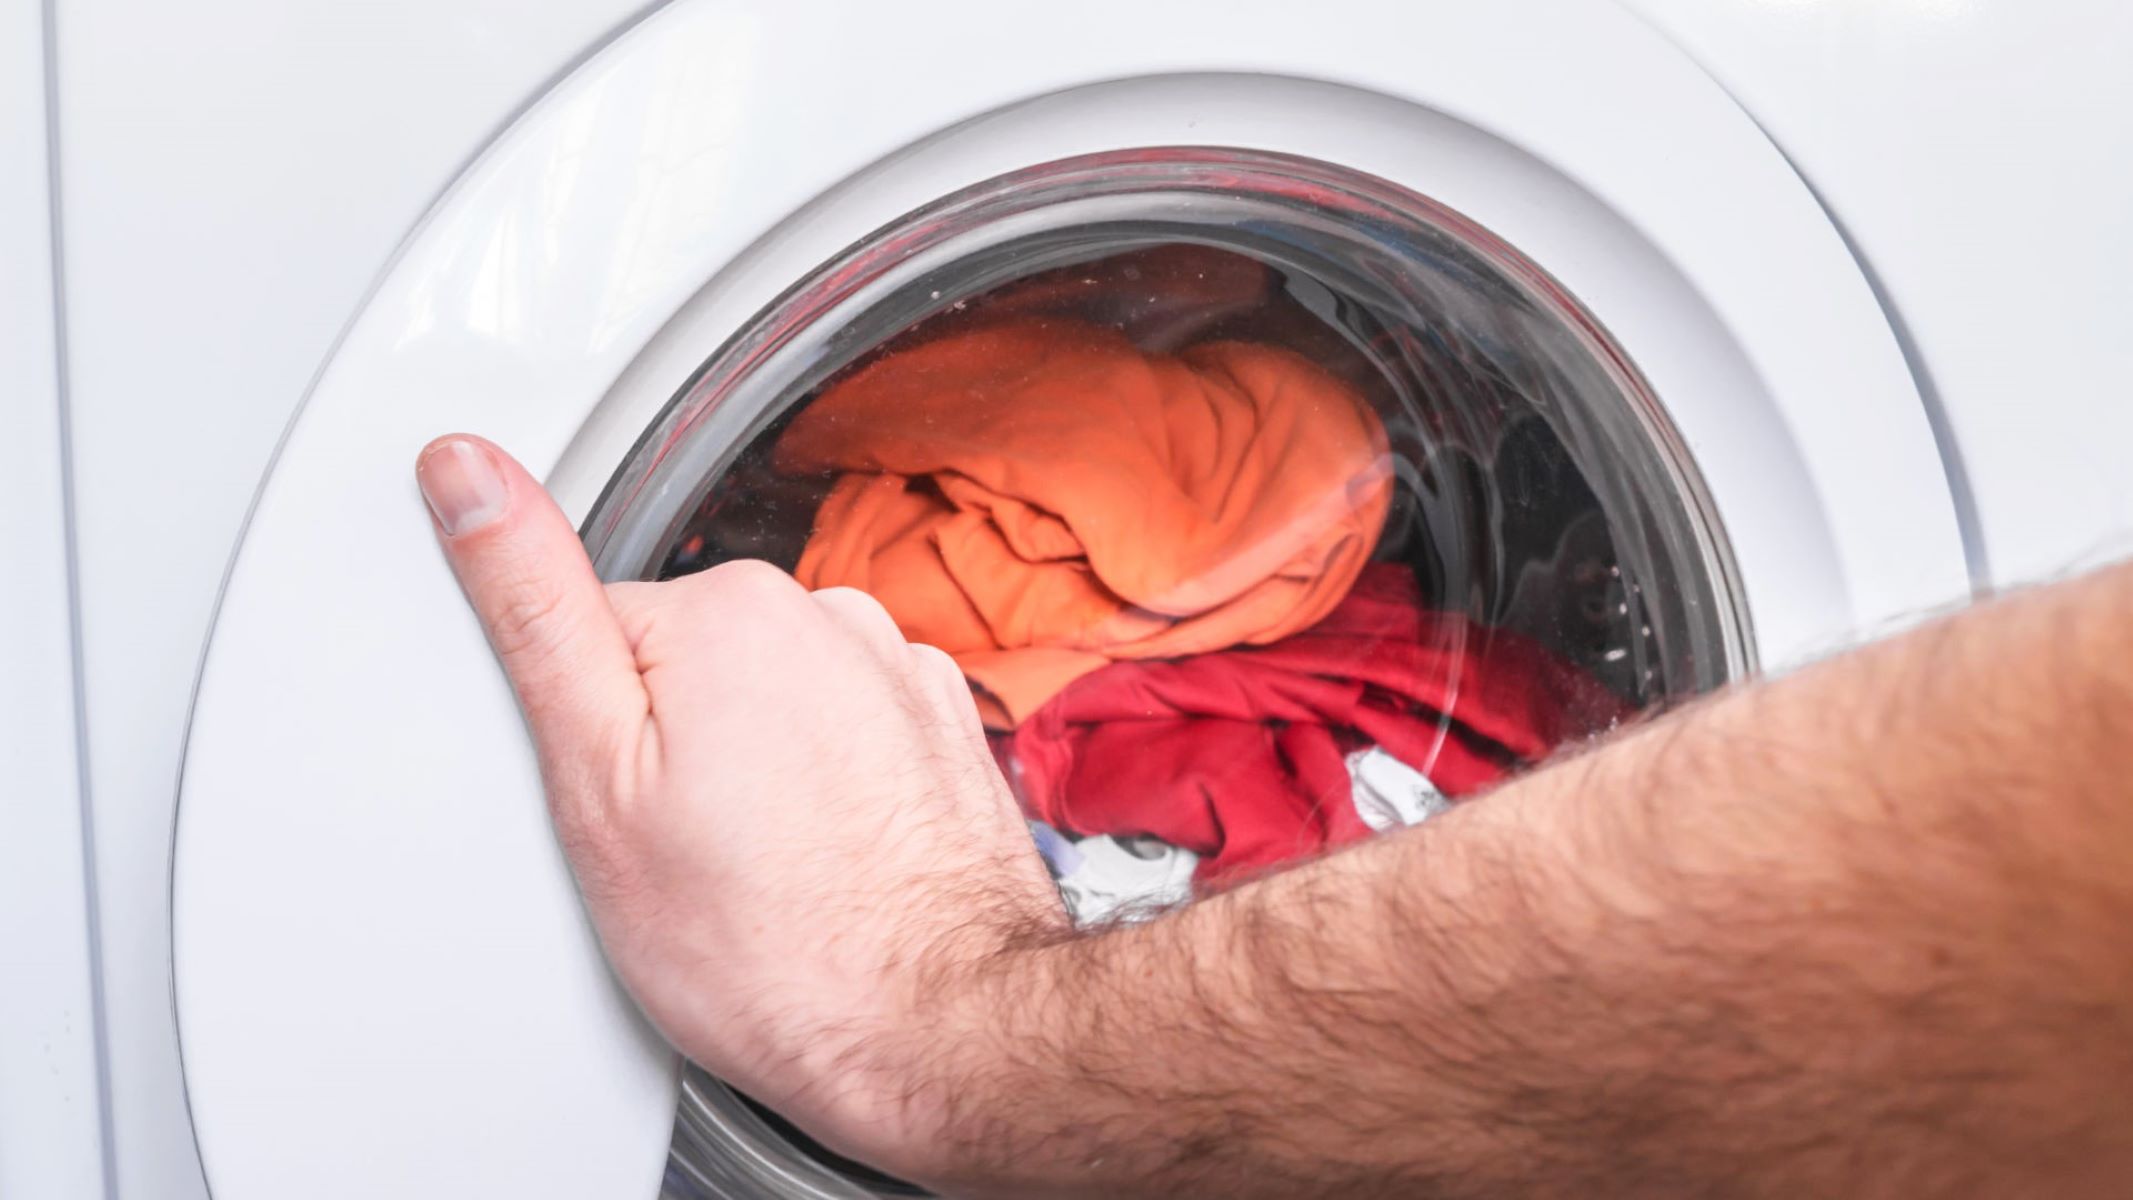
How To Sanitize A Public Washing Machine
Modified: August 16, 2024
Learn how to properly sanitize public washing machines to ensure cleanliness and hygiene. Follow our expert tips for maintaining laundry appliances. Ideal for anyone using shared laundry facilities.
(Many of the links in this article redirect to a specific reviewed product. Your purchase of these products through affiliate links helps to generate commission for Storables.com, at no extra cost. Learn more)
Introduction
Sanitizing a public washing machine is a crucial step in maintaining cleanliness and hygiene, especially in shared laundry facilities. Public washing machines are used by a diverse range of individuals, and ensuring that they are properly sanitized can help prevent the spread of germs and bacteria. Whether you are a frequent user of public laundry facilities or a business owner responsible for maintaining these machines, understanding the proper steps to sanitize a public washing machine is essential.
In this comprehensive guide, we will walk you through the step-by-step process of effectively sanitizing a public washing machine. By following these instructions, you can contribute to a cleaner and safer environment for everyone who utilizes these communal appliances. From gathering the necessary supplies to executing the sanitization process, each step is designed to ensure thorough cleanliness and disinfection.
Maintaining a high standard of hygiene in public washing machines is not only a matter of personal health and well-being but also a responsibility to the community. By taking the time to sanitize these machines properly, you can help create a more sanitary environment for all users. Let's delve into the specific steps required to achieve this goal and ensure that public washing machines remain clean and safe for everyone's use.
Key Takeaways:
- Keep public washing machines clean by gathering supplies, wiping down the exterior, cleaning the detergent dispenser, sanitizing the drum, running a cleaning cycle, and revisiting the exterior for a final wipe-down. This ensures a healthier laundry environment for all users.
- Regularly sanitizing public washing machines is crucial for preventing the spread of germs and bacteria. By following the comprehensive steps outlined in this guide, individuals and business owners can contribute to a cleaner, safer, and more welcoming laundry environment for everyone.
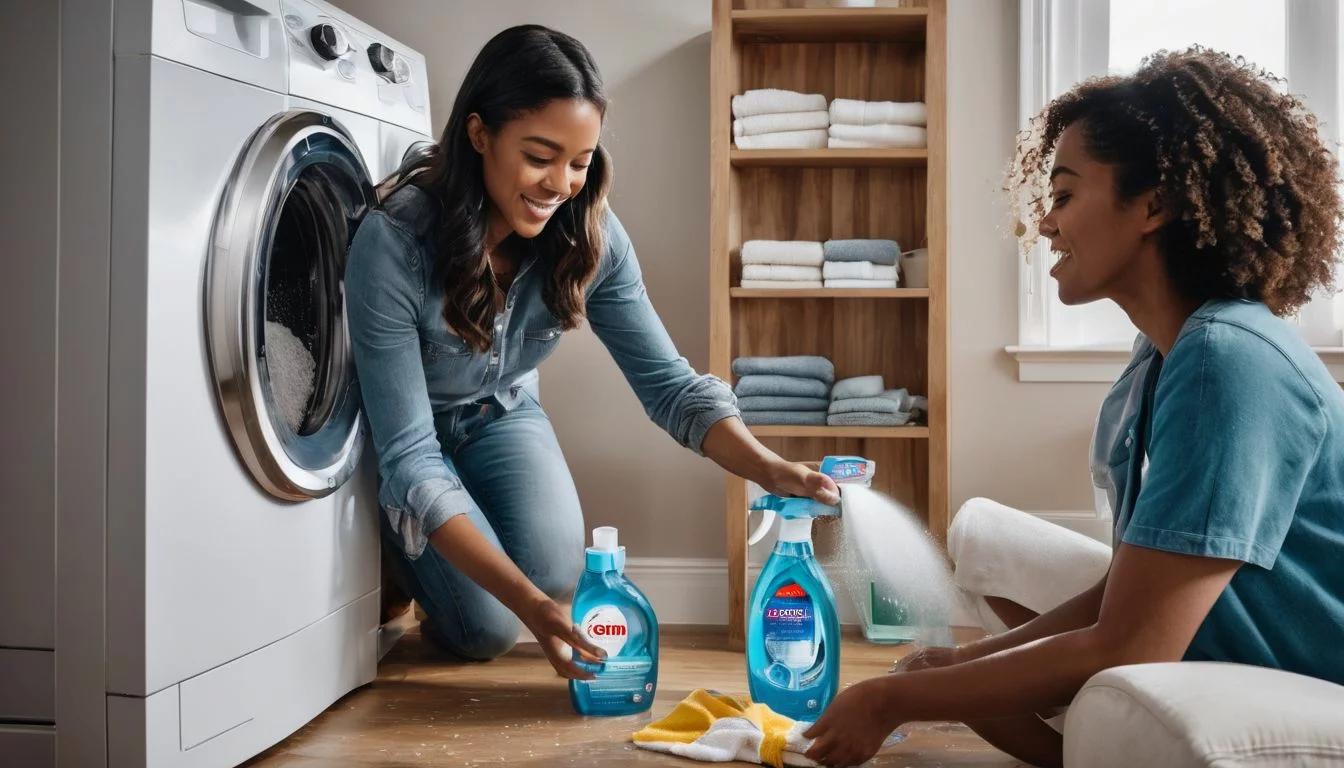
Step 1: Gather Necessary Supplies
Before beginning the process of sanitizing a public washing machine, it is essential to gather the necessary supplies. Having the right tools and cleaning agents at hand will streamline the sanitization process and ensure thorough cleanliness. Here's a detailed list of the supplies you will need:
-
Rubber Gloves: Protect your hands from coming into direct contact with any potentially harmful substances or residues inside the washing machine.
-
Disinfectant Wipes or Spray: Choose a disinfectant specifically formulated to eliminate germs and bacteria. Look for products that are safe for use on appliance surfaces.
-
Microfiber Cloth: Opt for a soft, non-abrasive cloth to wipe down the exterior of the washing machine. Microfiber cloths are effective at trapping dirt and debris without scratching the surface.
-
Vinegar or Bleach: These common household items can be used to sanitize the interior of the washing machine. Vinegar is a natural disinfectant, while bleach is a powerful germ-killing agent. Choose one based on your preference and availability.
-
Detergent: Select a high-quality laundry detergent to run a cleaning cycle in the washing machine. Using a detergent with strong cleaning properties will help eliminate any lingering odors and residues.
-
Bucket or Spray Bottle: You will need a container to mix the cleaning solution if using vinegar or bleach. A spray bottle can be convenient for applying the solution to specific areas.
-
Optional: Baking Soda: Baking soda can be used as a natural deodorizer and mild abrasive cleaner. It is particularly effective at removing stubborn stains and odors.
By ensuring that you have all these supplies on hand, you can proceed with confidence knowing that you are fully equipped to sanitize the public washing machine effectively. With the necessary supplies gathered, you are ready to move on to the next step in the sanitization process.
Step 2: Wipe Down the Exterior
Once you have gathered the necessary supplies, the next step in sanitizing a public washing machine is to thoroughly wipe down the exterior surfaces. Over time, the exterior of the machine can accumulate dust, dirt, and other residues, making it essential to clean and disinfect these areas. Follow these detailed steps to ensure a comprehensive cleaning of the washing machine's exterior:
-
Put on Rubber Gloves: Before you begin cleaning the exterior, it's important to protect your hands by wearing rubber gloves. This will prevent direct contact with any potential contaminants and ensure your safety throughout the cleaning process.
-
Use Disinfectant Wipes or Spray: Start by using disinfectant wipes or spray to clean the exterior surfaces of the washing machine. Pay close attention to commonly touched areas such as the control panel, door handle, and detergent dispenser. Thoroughly wipe these areas to eliminate any germs or bacteria that may be present.
-
Focus on Seams and Crevices: Pay special attention to seams, crevices, and any recessed areas where dirt and grime can accumulate. Use a microfiber cloth to reach these areas and ensure that all surfaces are thoroughly cleaned and disinfected.
-
Inspect and Clean the Door Seal: The rubber door seal of the washing machine is a common area where mold and mildew can develop. Carefully inspect the seal and use disinfectant wipes or a cloth dampened with a vinegar solution to clean and sanitize this area.
-
Wipe Down the Sides and Top: Don't overlook the sides and top of the washing machine. Use a clean microfiber cloth to wipe down these surfaces, removing any dust or residues that may have accumulated.
-
Allow the Exterior to Dry: After thoroughly wiping down all exterior surfaces, allow the washing machine to air dry. This will ensure that any remaining cleaning agents evaporate, leaving the exterior clean and free of germs.
By meticulously wiping down the exterior of the public washing machine, you can contribute to a cleaner and more hygienic environment for all users. This step sets the foundation for a comprehensive sanitization process, preparing the machine for further cleaning of its interior components. With the exterior surfaces now clean and disinfected, you are ready to proceed to the next step in the process of sanitizing the public washing machine.
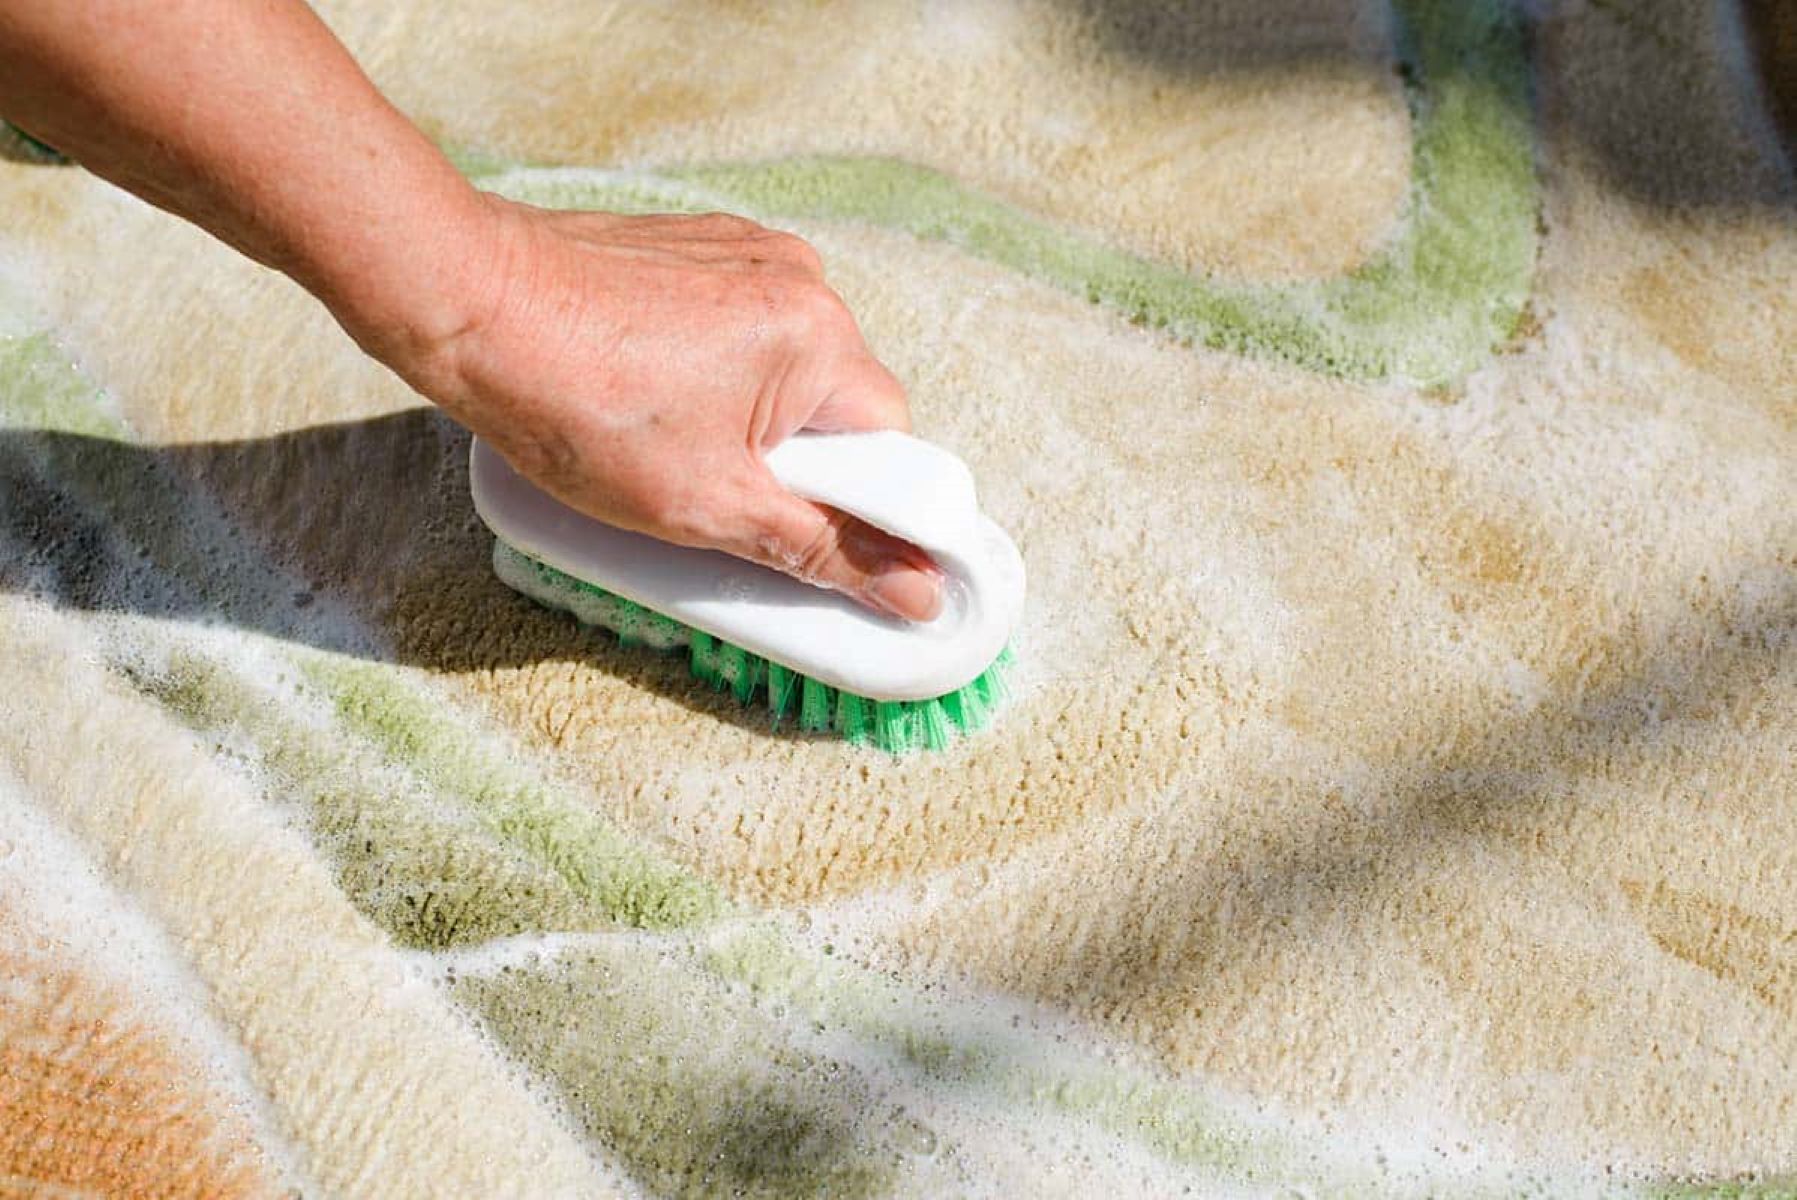
Step 3: Clean the Detergent Dispenser
Cleaning the detergent dispenser of a public washing machine is a crucial step in the sanitization process, as this component can harbor residue, mold, and bacteria if not properly maintained. Neglecting to clean the detergent dispenser can lead to cross-contamination and affect the cleanliness of the laundry being washed. Follow these detailed steps to effectively clean and sanitize the detergent dispenser:
-
Remove the Dispenser Drawer: Start by removing the detergent dispenser drawer from the washing machine. Most dispenser drawers can be easily removed by pressing a release button or simply pulling them out. Place the drawer on a flat surface in a well-ventilated area for cleaning.
-
Inspect for Residue and Buildup: Thoroughly inspect the dispenser drawer for any visible residue, mold, or buildup. Pay close attention to the compartments where detergent, fabric softener, and bleach are typically dispensed. Use a flashlight if necessary to ensure that all areas are examined.
-
Soak in a Cleaning Solution: Prepare a cleaning solution using warm water and a mild detergent or a mixture of equal parts water and vinegar. Submerge the detergent dispenser drawer in the solution and allow it to soak for at least 30 minutes. This will help loosen and dissolve any stubborn residue.
-
Scrub and Rinse: After soaking, use a soft-bristled brush or a cloth to scrub the dispenser drawer, focusing on areas with visible residue or buildup. Pay particular attention to the compartments and any small openings where detergent and fabric softener flow. Rinse the dispenser thoroughly with clean water to remove any remaining cleaning solution.
-
Inspect and Dry: Once the dispenser drawer has been cleaned and rinsed, inspect it to ensure that all residue and buildup have been removed. Allow the dispenser to air dry completely before reinserting it into the washing machine.
-
Clean the Dispenser Cavity: While the dispenser drawer is removed, take the opportunity to clean the dispenser cavity inside the washing machine. Use a damp cloth or disinfectant wipes to clean the cavity, removing any residual detergent or fabric softener that may have accumulated.
By thoroughly cleaning the detergent dispenser and its associated cavity, you can prevent the buildup of residue and ensure that the washing machine operates at its best. This step contributes to the overall cleanliness and hygiene of the machine, promoting a healthier laundry environment for all users. With the detergent dispenser now clean and sanitized, you are ready to proceed to the next step in the sanitization process.
To sanitize a public washing machine, use a disinfectant wipe to clean the control panel, door handle, and detergent dispenser before and after use. This helps to reduce the spread of germs.
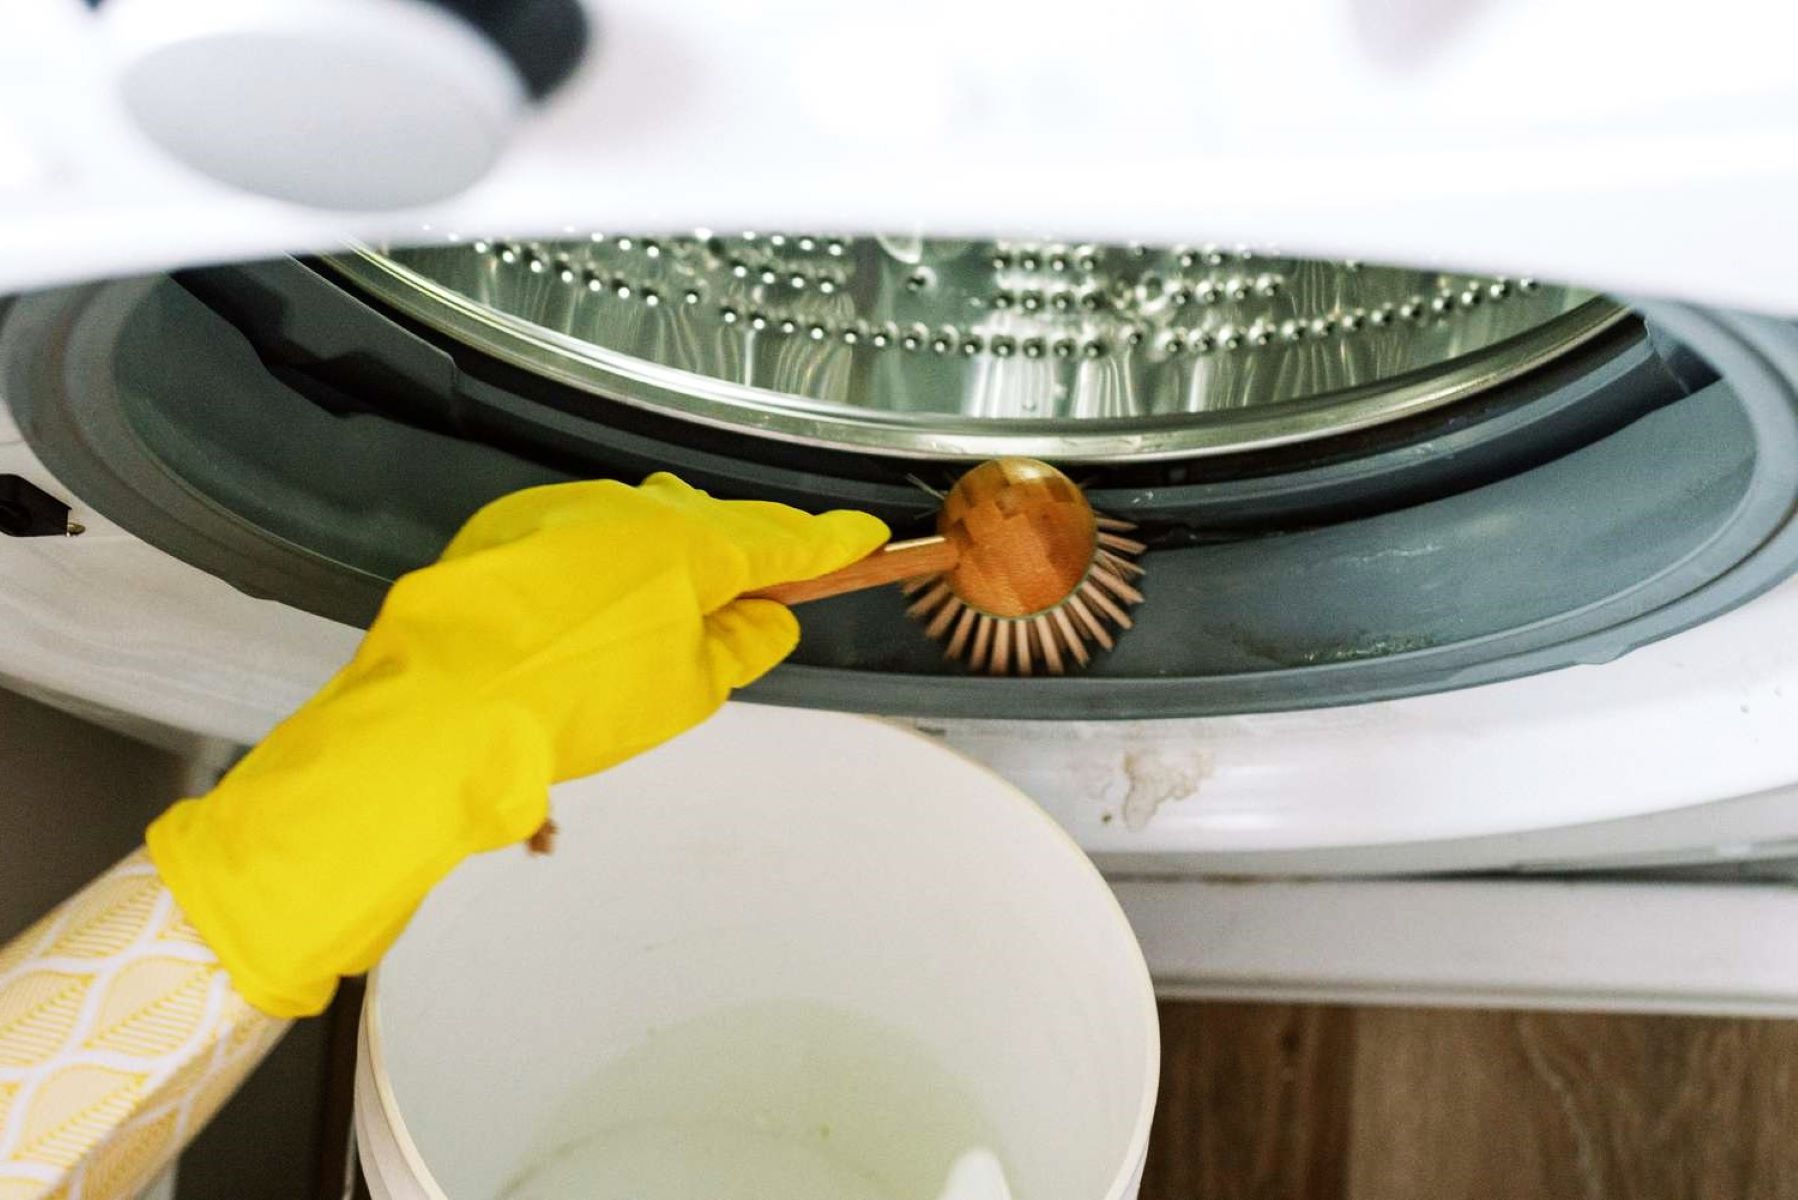
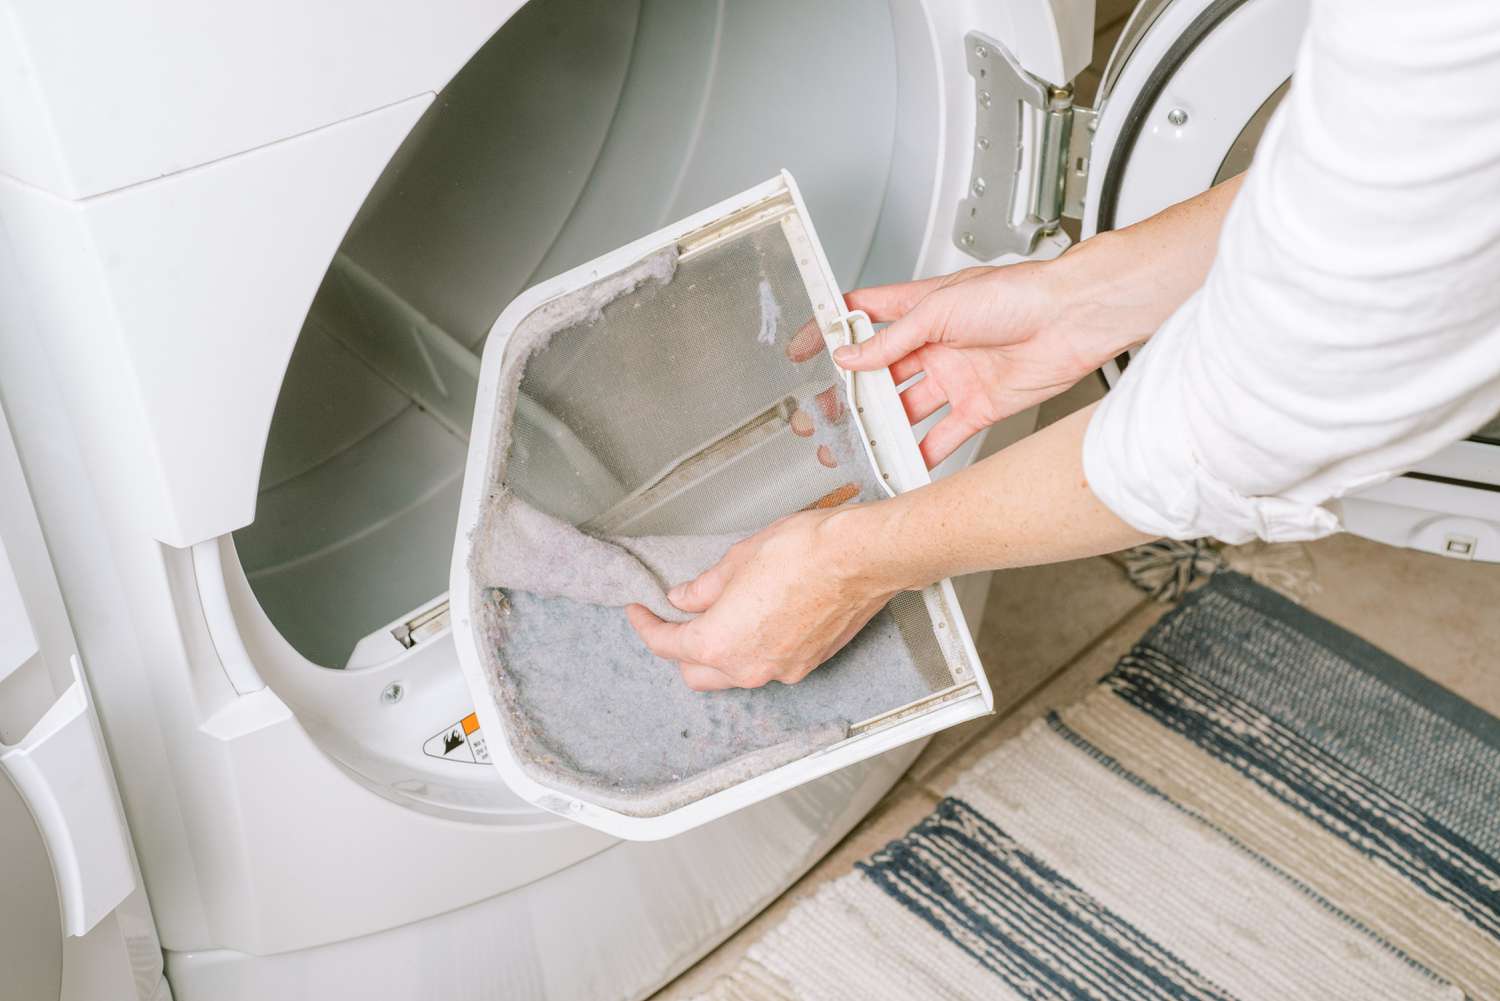
Step 4: Sanitize the Drum
Sanitizing the drum of a public washing machine is a critical step in ensuring that the interior of the appliance is free from germs, bacteria, and residual odors. Over time, the drum can accumulate dirt, detergent buildup, and mildew, creating an environment that is less than ideal for clean laundry. By following these detailed steps, you can effectively sanitize the drum of the washing machine, contributing to a more hygienic laundry experience for all users.
-
Prepare a Cleaning Solution: Begin by preparing a cleaning solution to sanitize the drum. If using vinegar, mix equal parts of distilled white vinegar and water in a bucket. If using bleach, dilute it according to the manufacturer's instructions. Both vinegar and bleach are effective at killing germs and eliminating odors.
-
Wipe Down the Drum: Use a clean cloth or sponge dampened with the cleaning solution to wipe down the interior of the washing machine drum. Pay close attention to areas where residue and mildew are likely to accumulate, such as the door seal and the inner rim of the drum. Thoroughly wipe these areas to ensure comprehensive sanitation.
-
Let the Solution Sit: After wiping down the drum, allow the cleaning solution to sit for at least 15-30 minutes. This dwell time allows the vinegar or bleach to effectively disinfect the interior surfaces of the drum, killing any lingering germs and bacteria.
-
Scrub Stubborn Stains: If there are stubborn stains or deposits in the drum, use a soft-bristled brush or sponge to gently scrub these areas. Take care not to use abrasive materials that could damage the drum's surface. The goal is to remove any buildup and ensure that the interior is thoroughly sanitized.
-
Rinse the Drum: Once the cleaning solution has had time to disinfect the drum, use a clean damp cloth to thoroughly rinse the interior surfaces. Ensure that all traces of the cleaning solution are removed, leaving the drum clean and free from any residual odors.
-
Air Out the Drum: To complete the sanitization process, allow the drum to air out for a brief period. This will help any remaining moisture to evaporate, leaving the interior of the washing machine fresh and ready for use.
By following these steps, you can effectively sanitize the drum of a public washing machine, promoting a cleaner and more hygienic laundry environment. This crucial step contributes to the overall cleanliness of the appliance, ensuring that all users can enjoy the benefits of a well-maintained and sanitized washing machine. With the drum now sanitized, the next step in the process is to run a cleaning cycle to further enhance the cleanliness of the machine.
Read more: What Is Sanitize Cycle On Washer
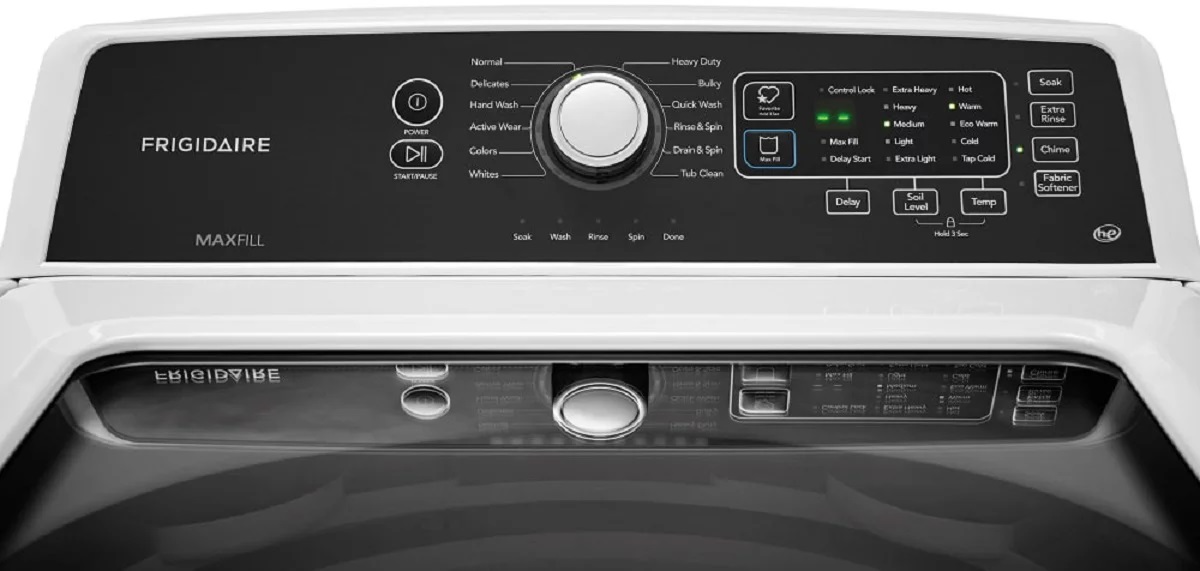
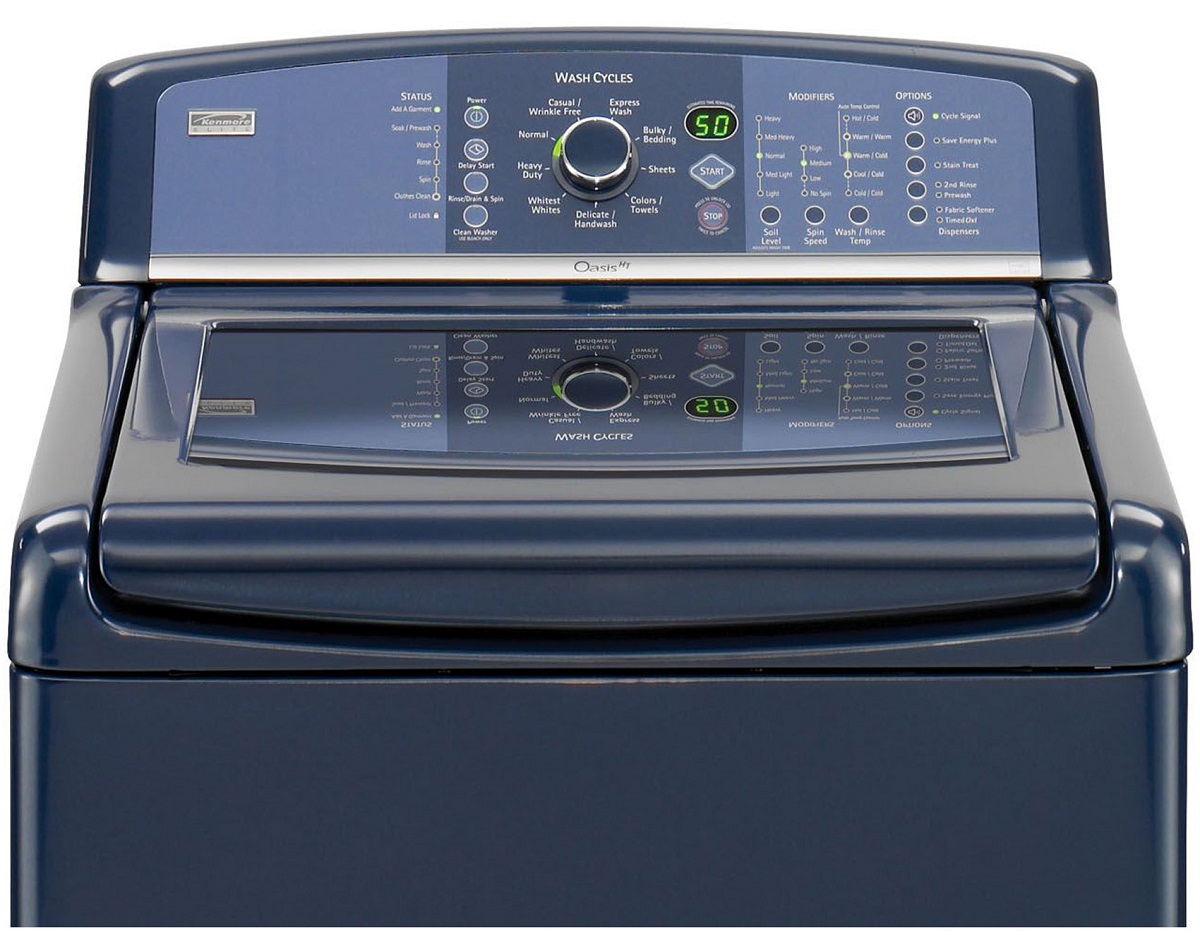
Step 5: Run a Cleaning Cycle
Running a cleaning cycle in a public washing machine is a pivotal step in the sanitization process, as it helps eliminate any remaining germs, bacteria, and odors from the appliance. This specialized cycle is designed to thoroughly clean the interior of the machine, including hard-to-reach areas that may not be accessible during regular use. By following these detailed steps, you can ensure that the washing machine is effectively sanitized and ready for optimal performance:
-
Select the Cleaning Cycle: Most modern washing machines are equipped with a dedicated cleaning cycle or a maintenance setting designed to clean the interior of the appliance. Consult the user manual or the control panel of the washing machine to locate and select the appropriate cleaning cycle.
-
Add Detergent: Once the cleaning cycle is initiated, add a specified amount of high-quality laundry detergent to the detergent dispenser. The detergent will work in conjunction with the cleaning cycle to thoroughly clean the interior of the washing machine.
-
Optional Additives: Depending on the manufacturer's recommendations, you may have the option to add specialized cleaning additives or washing machine cleaner to enhance the effectiveness of the cleaning cycle. Follow the instructions provided with the cleaning additives to ensure proper usage.
-
Initiate the Cycle: Start the cleaning cycle according to the washing machine's instructions. This specialized cycle typically involves a series of agitation, soaking, and rinsing stages designed to remove residue, odors, and buildup from the interior of the machine.
-
Complete the Cycle: Allow the cleaning cycle to run its full course, ensuring that the washing machine completes all programmed stages. Some cleaning cycles may take longer than regular wash cycles to ensure thorough cleaning and disinfection.
-
Air Out the Machine: Once the cleaning cycle is complete, open the door of the washing machine and allow the interior to air out. This brief airing period helps any residual moisture to evaporate, leaving the interior of the machine fresh and ready for use.
By running a dedicated cleaning cycle, you can effectively sanitize the interior of the public washing machine, ensuring that it is free from germs, bacteria, and residual odors. This step contributes to the overall cleanliness and hygiene of the appliance, providing a healthier laundry environment for all users. With the cleaning cycle successfully completed, the final step in the sanitization process is to wipe down the exterior of the washing machine once again, ensuring a comprehensive and thorough cleaning.
Step 6: Wipe Down the Exterior Again
After completing the internal cleaning and sanitization processes, it's essential to revisit the exterior of the public washing machine to ensure a comprehensive and thorough sanitization. This final step contributes to the overall cleanliness and hygiene of the appliance, leaving no surface untouched. Follow these detailed steps to effectively wipe down the exterior of the washing machine once again:
-
Inspect for Residue: Begin by inspecting the exterior surfaces of the washing machine for any residual dirt, detergent splatters, or water marks. Pay close attention to areas that may have been overlooked during the initial wipe down, such as the sides, back, and bottom of the machine.
-
Use Disinfectant Wipes or Spray: If you notice any areas with visible residue or marks, use disinfectant wipes or spray to clean and disinfect these surfaces. Focus on areas that are frequently touched, such as the control panel, door handle, and any buttons or knobs. Thoroughly wipe these areas to ensure that they are free from germs and bacteria.
-
Address Stains and Spills: If there are stubborn stains or spills on the exterior of the washing machine, use a microfiber cloth dampened with a mild cleaning solution to gently remove these blemishes. Take care not to use abrasive materials that could scratch or damage the surface of the machine.
-
Pay Attention to Details: Pay special attention to seams, crevices, and any recessed areas where dirt and grime can accumulate. Use a clean microfiber cloth to reach these areas and ensure that all surfaces are thoroughly cleaned and disinfected.
-
Inspect the Door and Hinges: Carefully inspect the door and hinges of the washing machine, as these areas can harbor dirt and grime. Use disinfectant wipes or a cloth dampened with a cleaning solution to thoroughly clean and sanitize the door and its surrounding areas.
-
Allow the Exterior to Dry: After wiping down all exterior surfaces, allow the washing machine to air dry. This will ensure that any remaining cleaning agents evaporate, leaving the exterior clean and free of germs.
By revisiting the exterior of the public washing machine and thoroughly wiping down all surfaces, you can ensure that the appliance is comprehensively sanitized. This final step contributes to the overall cleanliness and hygiene of the machine, providing a pristine and welcoming environment for all users. With the exterior now clean and disinfected, the public washing machine is ready for use, promoting a healthier and more hygienic laundry experience for everyone.
Conclusion
In conclusion, the process of sanitizing a public washing machine is a vital aspect of maintaining cleanliness and hygiene in shared laundry facilities. By following the comprehensive steps outlined in this guide, individuals and business owners can ensure that public washing machines are thoroughly cleaned and free from germs, bacteria, and residual odors.
From gathering the necessary supplies to wiping down the exterior, cleaning the detergent dispenser, sanitizing the drum, running a cleaning cycle, and revisiting the exterior for a final wipe-down, each step plays a crucial role in the overall sanitization process. By meticulously following these steps, individuals can contribute to a cleaner and safer environment for all users of public washing machines.
It is important to recognize the significance of maintaining a high standard of hygiene in public washing machines. These communal appliances are utilized by a diverse range of individuals, and proper sanitization is essential for preventing the spread of germs and ensuring a healthier laundry environment. Whether in a residential complex, apartment building, or laundromat, the cleanliness of public washing machines directly impacts the well-being of those who rely on them for their laundry needs.
By taking the time to sanitize public washing machines effectively, individuals and business owners demonstrate a commitment to the health and safety of the community. This proactive approach to cleanliness not only promotes a more hygienic environment but also instills confidence in the users of these shared facilities.
In essence, the process of sanitizing a public washing machine goes beyond routine cleaning—it is a responsibility to uphold the highest standards of hygiene for the benefit of all users. By incorporating these sanitization practices into regular maintenance routines, individuals and business owners can contribute to a cleaner, safer, and more welcoming laundry environment for everyone.
Ultimately, by following the steps outlined in this guide and recognizing the importance of thorough sanitization, individuals and business owners can play a significant role in promoting a healthier and more hygienic laundry experience for all users of public washing machines.
Frequently Asked Questions about How To Sanitize A Public Washing Machine
Was this page helpful?
At Storables.com, we guarantee accurate and reliable information. Our content, validated by Expert Board Contributors, is crafted following stringent Editorial Policies. We're committed to providing you with well-researched, expert-backed insights for all your informational needs.


0 thoughts on “How To Sanitize A Public Washing Machine”