Home>Home Appliances>Laundry Appliances>How To Install A Washing Machine Drain Pan
Laundry Appliances
How To Install A Washing Machine Drain Pan
Modified: August 27, 2024
Learn how to properly install a washing machine drain pan to protect your laundry appliances from potential water damage. Follow these step-by-step instructions for a hassle-free installation.
(Many of the links in this article redirect to a specific reviewed product. Your purchase of these products through affiliate links helps to generate commission for Storables.com, at no extra cost. Learn more)
Introduction
Installing a washing machine drain pan is a crucial step in safeguarding your home from potential water damage. Whether you're replacing an old washing machine or setting up a new one, a drain pan serves as a protective barrier, preventing water leaks from causing structural harm to your floors and walls. This comprehensive guide will walk you through the process of installing a washing machine drain pan, ensuring that you have the necessary knowledge and skills to complete the task with confidence.
By following the steps outlined in this guide, you'll not only protect your home from water damage but also gain peace of mind knowing that your laundry area is equipped with an essential safeguard. With the right tools, materials, and a clear understanding of the installation process, you can effectively mitigate the risk of potential water leaks and their associated consequences. Let's delve into the details of how to install a washing machine drain pan, empowering you to take proactive measures in safeguarding your home.
Key Takeaways:
- Protect your home from water damage by installing a washing machine drain pan. Gather tools and materials, prepare the area, and connect the pan to the drainage system for effective safeguarding.
- Ensure the drain pan’s effectiveness by testing its water containment and drainage system functionality. With proper installation and testing, gain peace of mind against potential water leaks.
Read more: How To Install Washer Drain
Necessary Tools and Materials
Before embarking on the installation of a washing machine drain pan, it's essential to gather the necessary tools and materials to ensure a smooth and efficient process. Here's a comprehensive list of what you'll need:
Tools:
- Adjustable Wrench: This versatile tool will be essential for tightening and securing various connections during the installation process.
- Screwdriver Set: A set of screwdrivers, including both flathead and Phillips head varieties, will enable you to handle different types of screws encountered during the installation.
- Level: Ensuring that the drain pan is perfectly level is crucial for its effectiveness. A level will help you achieve this precision.
- Measuring Tape: Accurate measurements are vital for positioning the drain pan correctly, making a measuring tape an indispensable tool.
- Utility Knife: You may need to make precise cuts in materials such as PVC piping, making a utility knife a valuable addition to your toolkit.
- Safety Gloves and Goggles: As with any DIY project, safety is paramount. Protect your hands with gloves and your eyes with goggles throughout the installation process.
Materials:
- Washing Machine Drain Pan: Select a high-quality, durable drain pan that is compatible with the dimensions of your washing machine and fits the space in your laundry area.
- PVC Piping and Fittings: Depending on your specific drainage system setup, you may need PVC piping and fittings to connect the drain pan to the existing plumbing.
- Pipe Thread Sealant: This will help ensure a secure, leak-free connection between the PVC piping and fittings.
- Plumber's Putty or Caulk: Use this to seal any gaps or joints, providing an extra layer of protection against potential leaks.
- Teflon Tape: Also known as plumber's tape, this will help create a tight seal when connecting threaded plumbing components.
- Bucket and Towels: Have these on hand to catch any water that may be released during the installation process and to keep the work area clean.
By ensuring that you have all the necessary tools and materials at your disposal, you'll be well-prepared to proceed with the installation of the washing machine drain pan. This comprehensive list covers everything you'll need to complete the task efficiently and effectively, setting the stage for a successful installation process.
Preparing the Area
Before commencing the installation of a washing machine drain pan, it's crucial to prepare the designated area to ensure a seamless and effective process. Here's a detailed breakdown of the steps involved in preparing the area for the installation:
-
Clearing the Space: Begin by clearing the space around the washing machine to create ample room for maneuvering and accessing the area where the drain pan will be installed. Remove any obstacles, laundry supplies, or items that may obstruct the installation process. This step is essential for providing unobstructed access to the installation site, facilitating a smooth and hassle-free procedure.
-
Leveling the Floor: Use a level to assess the levelness of the floor where the washing machine is situated. If the floor is uneven, it's imperative to address this issue before installing the drain pan. An uneven floor can compromise the effectiveness of the drain pan and lead to potential leaks. Depending on the severity of the unevenness, you may need to use leveling compounds or shims to ensure a flat and stable surface for the drain pan.
-
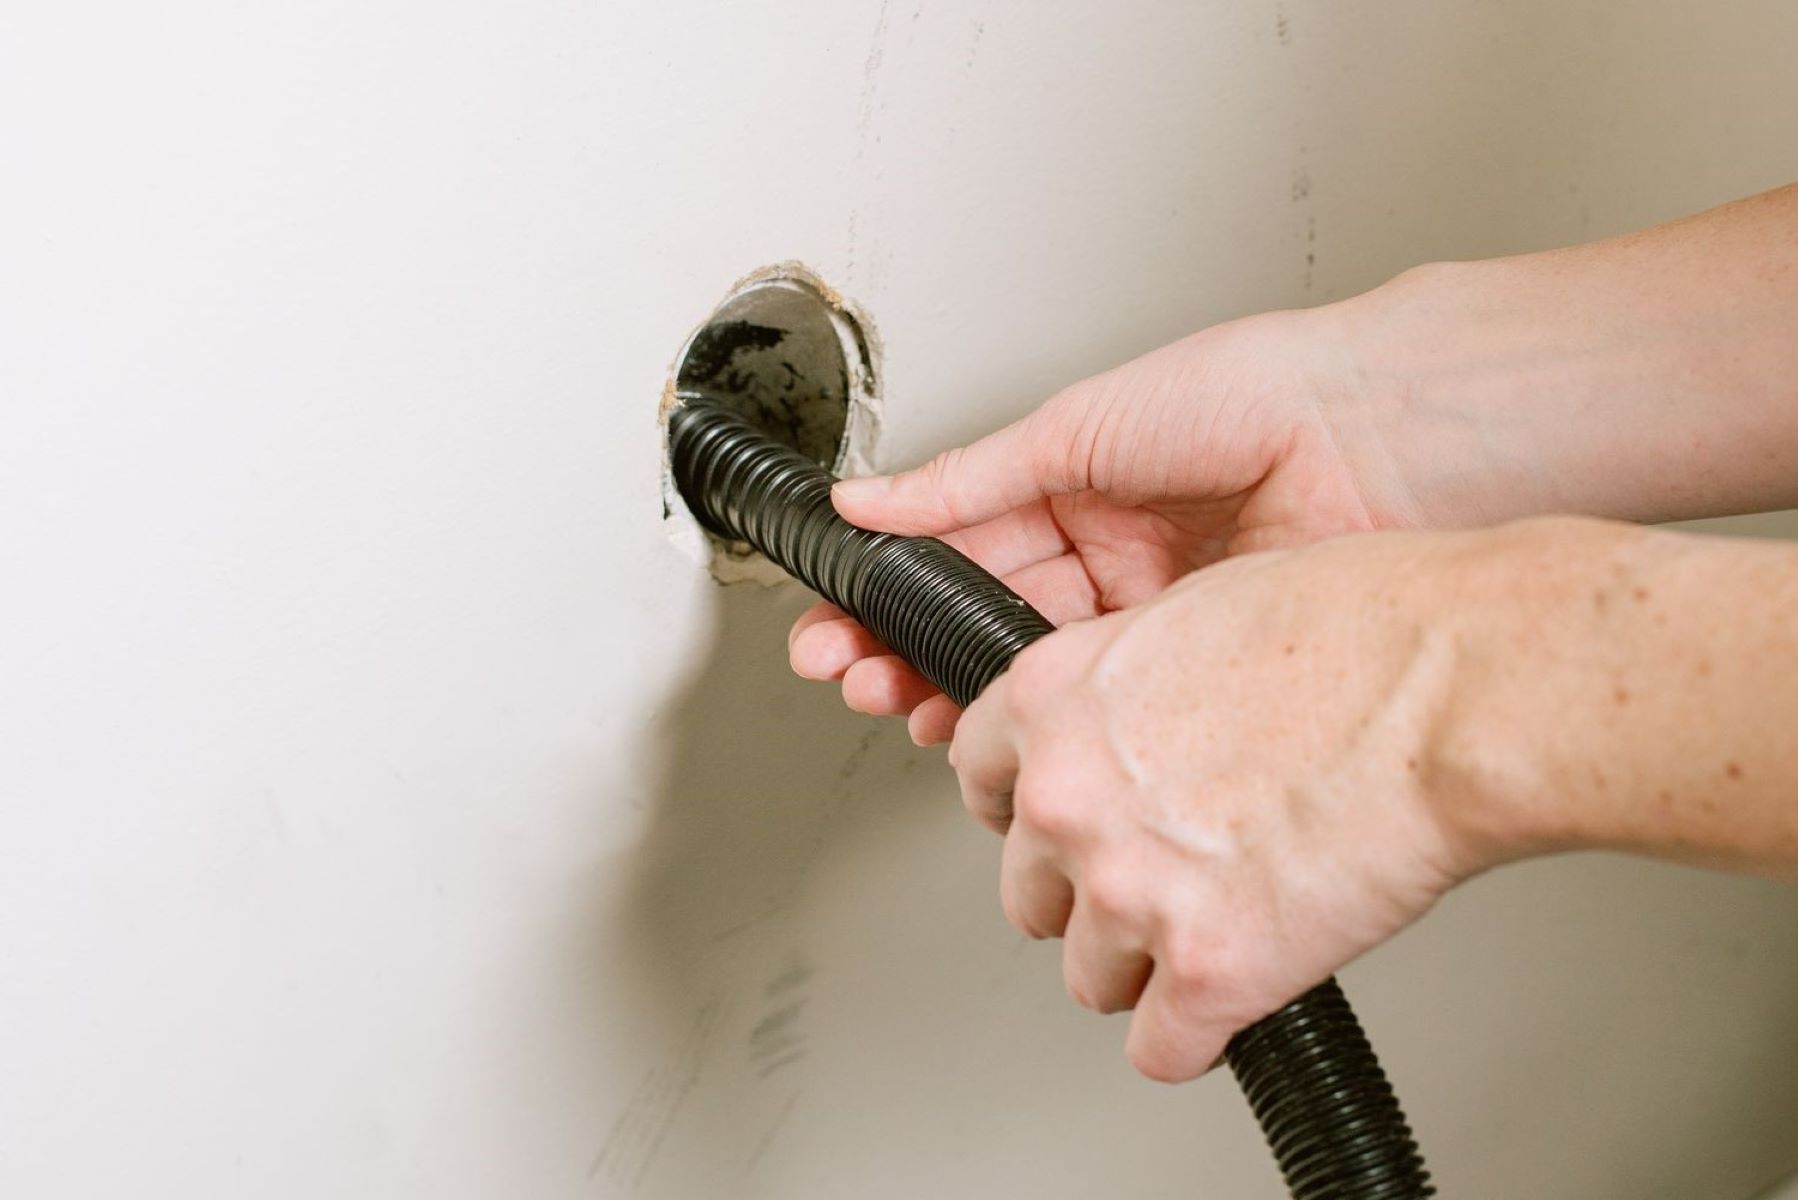
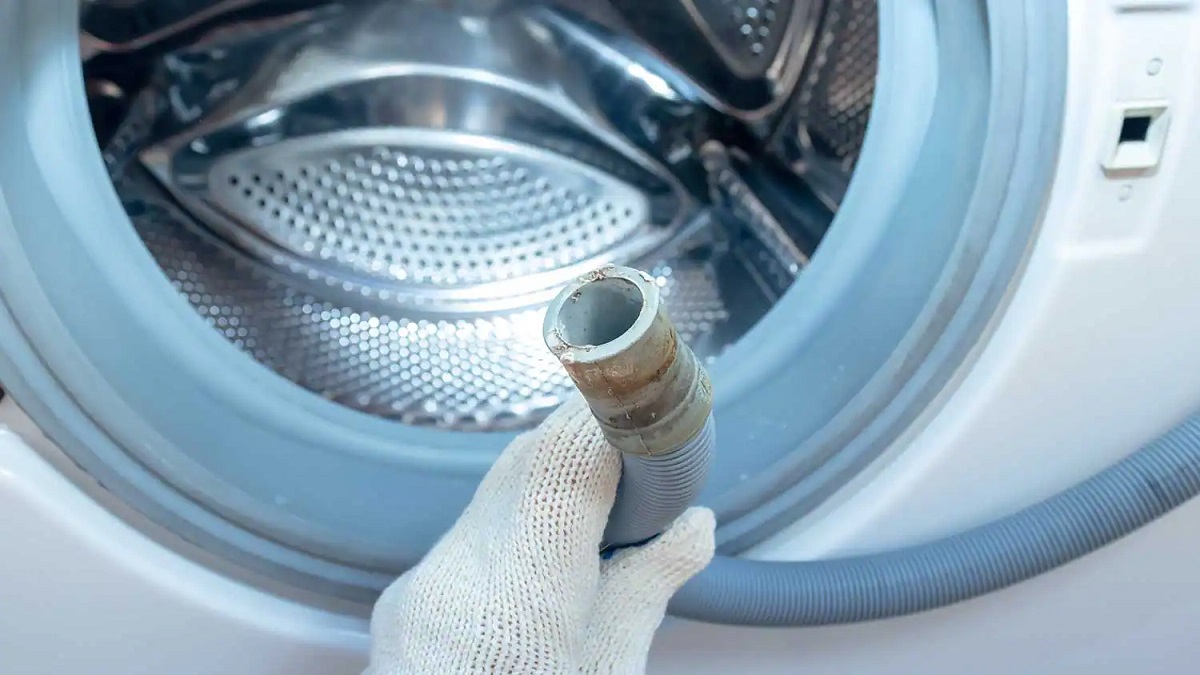
Inspecting the Drainage System: Take the time to inspect the existing drainage system to ensure that it is in good condition and free from any blockages or leaks. Verify that the drainage pipe is securely connected and functioning optimally. If any issues are identified during the inspection, address them promptly to prevent potential complications once the drain pan is installed.
-
Measuring and Marking: Accurate measurements are crucial for positioning the drain pan correctly. Use a measuring tape to determine the precise dimensions of the space where the drain pan will be placed. Mark the designated area with a pencil or masking tape to indicate the exact placement of the drain pan, ensuring that it aligns perfectly with the washing machine and allows for easy access to the drainage system.
-
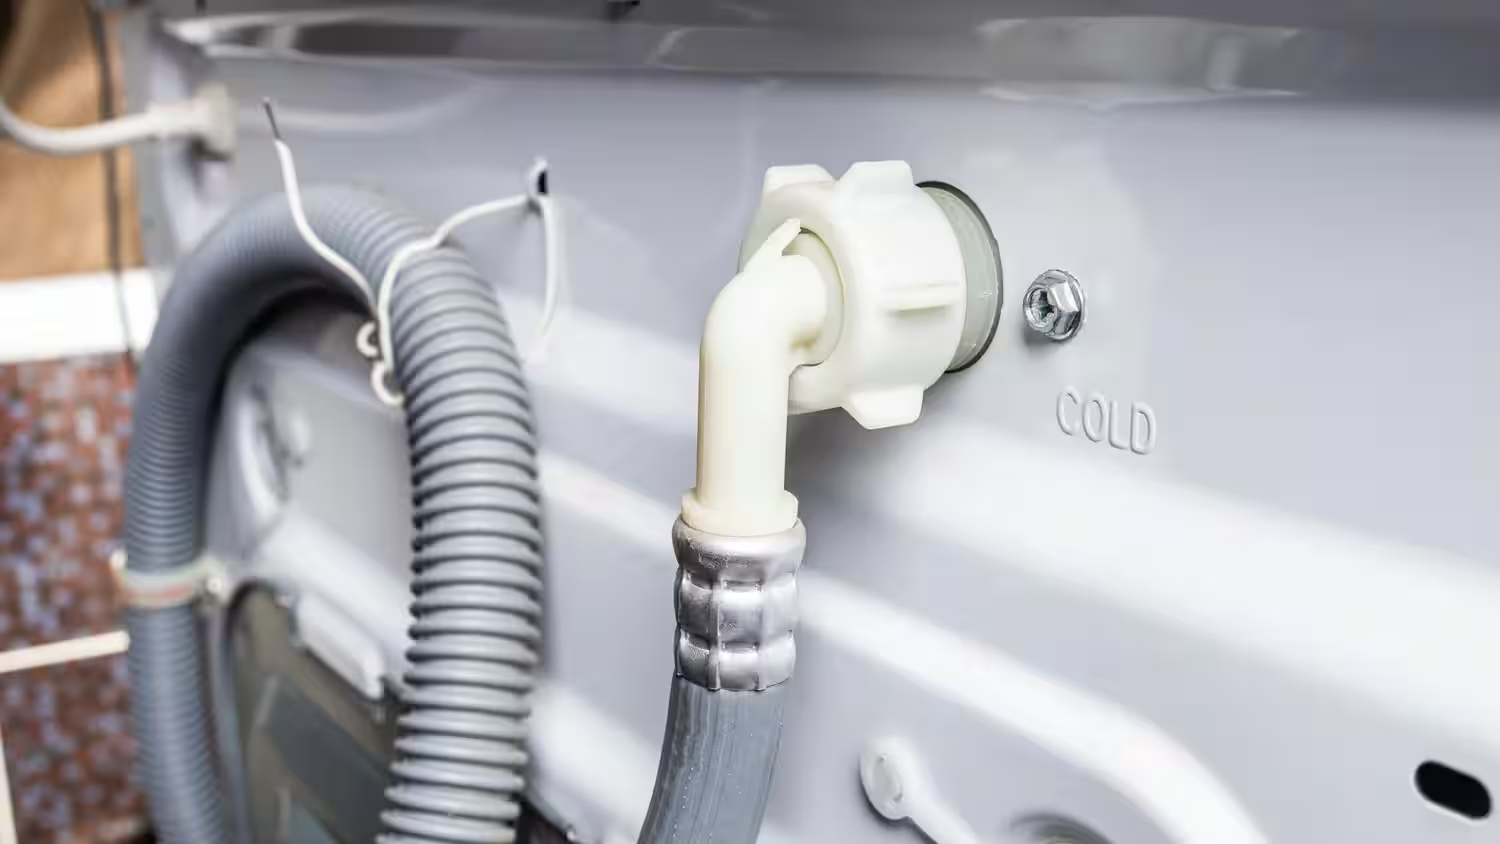
Preparing the Drainage Connection: If the washing machine drain pan requires a connection to the existing drainage system, ensure that the necessary provisions are in place. This may involve assessing the proximity of the drainage pipe and making any adjustments or extensions to facilitate a seamless connection. Additionally, gather the required PVC piping and fittings to complete the connection process.
By meticulously preparing the area for the installation of the washing machine drain pan, you'll set the stage for a successful and effective installation process. These preparatory steps are essential for ensuring that the installation proceeds smoothly and that the drain pan is positioned optimally to fulfill its protective function. With the area meticulously prepared, you're ready to proceed with the next phase of the installation process.
Read more: How To Drain Washer
Installing the Drain Pan
With the area meticulously prepared, it's time to proceed with the installation of the washing machine drain pan. This critical step involves positioning the drain pan correctly and securing it in place to create a reliable barrier against potential water leaks. Here's a detailed breakdown of the process involved in installing the drain pan:
-
Positioning the Drain Pan: Carefully lift the washing machine and position the drain pan beneath it. Ensure that the drain pan aligns perfectly with the base of the washing machine, providing comprehensive coverage to capture any potential leaks. Take the time to adjust the position as needed, ensuring that the drain pan is centered and adequately sized to accommodate the washing machine.
-
Securing the Drain Pan: Once the drain pan is positioned correctly, secure it in place to prevent any movement or displacement. Depending on the design of the drain pan, it may feature pre-drilled holes for securing it to the floor. Utilize appropriate fasteners to anchor the drain pan securely, enhancing its stability and effectiveness in containing potential water leaks.
-
Leveling the Drain Pan: Use a level to confirm that the drain pan is perfectly level once it's secured in place. This step is crucial for ensuring that any water collected in the drain pan is distributed evenly, maximizing its containment capabilities. Make any necessary adjustments to achieve a level position, guaranteeing the optimal functionality of the drain pan.
-
Verifying Accessibility: Confirm that the drain pan allows for easy access to the washing machine and its components. Ensure that there is ample space for routine maintenance and servicing of the washing machine without compromising the integrity of the drain pan. Accessibility is key to ensuring that the drain pan serves its purpose effectively without impeding the functionality of the washing machine.
-
Sealing Joints and Gaps: To further fortify the protective barrier created by the drain pan, apply plumber's putty or caulk to seal any gaps or joints along the edges of the drain pan. This additional layer of protection helps prevent water from seeping underneath the drain pan, bolstering its effectiveness in containing potential leaks.
By meticulously following these steps, you'll successfully install the washing machine drain pan, establishing a robust safeguard against water leaks in your laundry area. The secure positioning, leveling, and sealing of the drain pan are essential for ensuring its effectiveness in mitigating the risk of water damage. With the drain pan securely in place, you're ready to proceed with the next phase of the installation process.
When installing a washing machine drain pan, make sure to position it directly under the machine’s water outlet to catch any leaks. Also, ensure the pan has a drain pipe connected to direct water away from the area.
Connecting the Drain Pan to the Drainage System
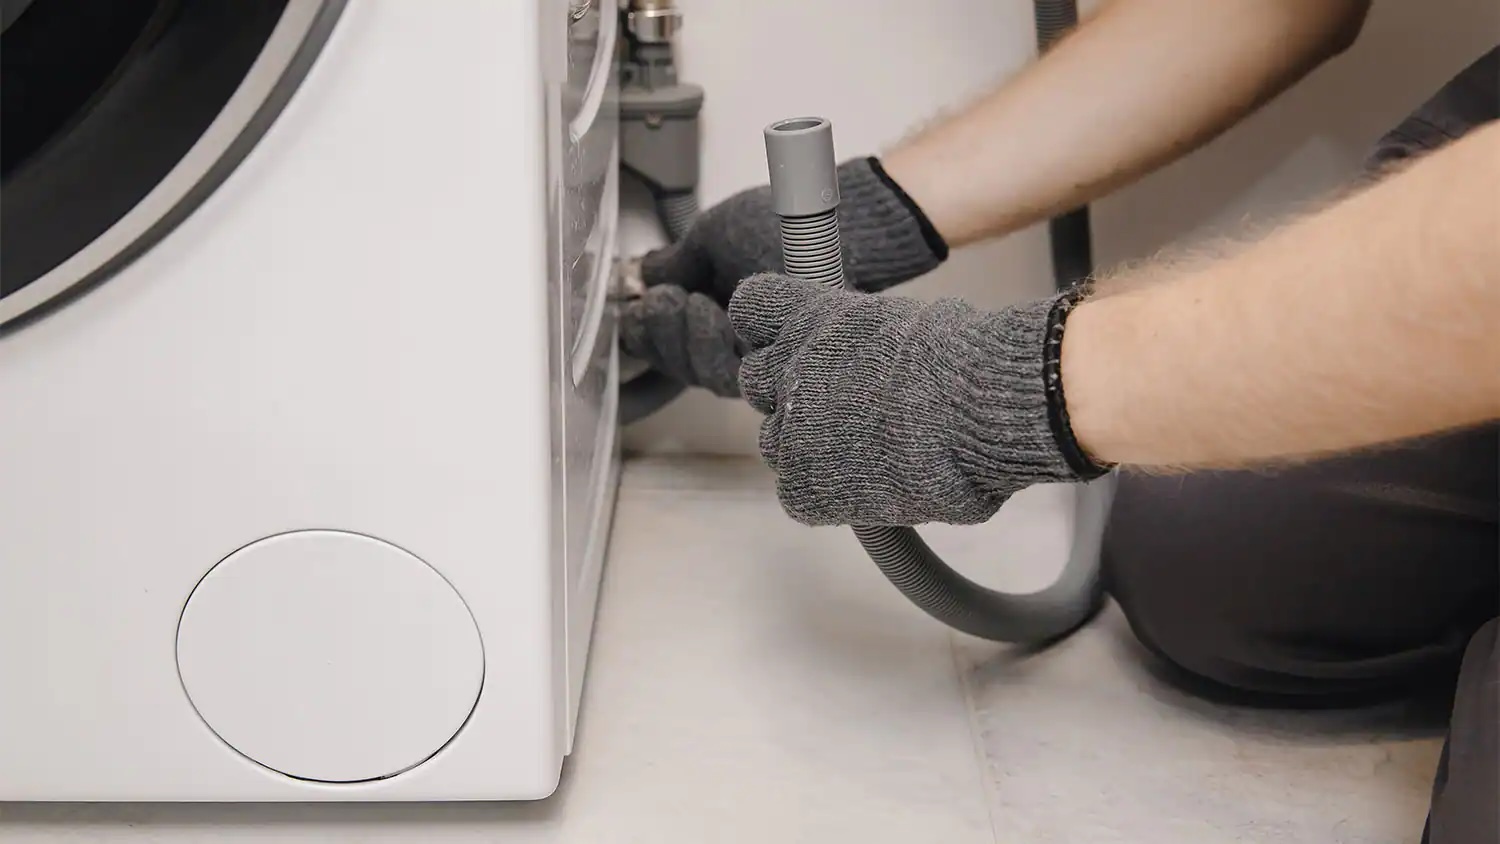
Connecting the washing machine drain pan to the existing drainage system is a pivotal step in ensuring comprehensive protection against potential water leaks. This process involves establishing a secure and reliable connection that enables any captured water to be effectively diverted to the drainage system, preventing it from causing damage to the surrounding area. Here's a detailed breakdown of the steps involved in connecting the drain pan to the drainage system:
-
Assessing the Drainage Configuration: Begin by assessing the configuration of the existing drainage system to determine the most suitable approach for connecting the drain pan. Identify the proximity of the drainage pipe to the drain pan and evaluate the alignment and accessibility of the connection point. This assessment provides valuable insights into the specific requirements for establishing a seamless connection.
-
Measuring and Cutting PVC Piping: Measure the distance between the outlet of the drain pan and the connection point on the drainage system. Use these measurements to cut the PVC piping to the appropriate length, ensuring a precise fit for the connection. A utility knife is invaluable for making clean and accurate cuts, allowing for a snug and secure connection between the drain pan and the drainage system.
-
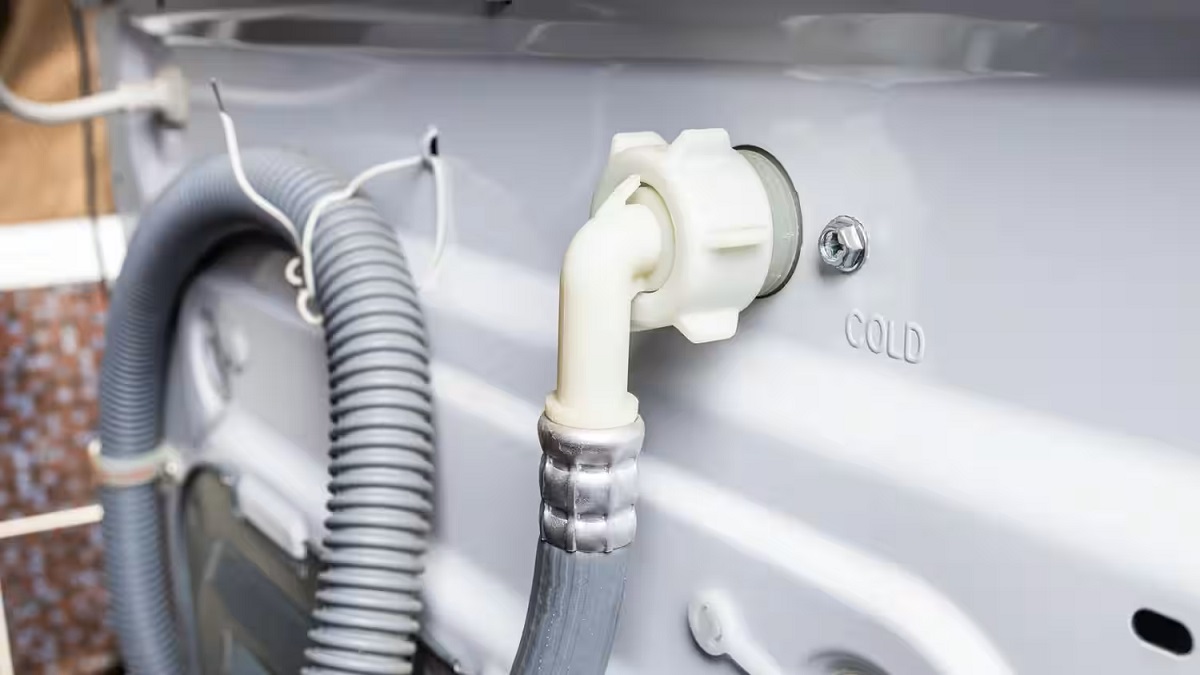
Fitting and Securing PVC Piping: Once the PVC piping is cut to the required length, securely fit it to the outlet of the drain pan and the designated connection point on the drainage system. Utilize appropriate PVC fittings to create a watertight connection, ensuring that the piping is firmly secured in place. This step is crucial for establishing a reliable pathway for diverting any collected water from the drain pan to the drainage system.
-
Applying Pipe Thread Sealant and Teflon Tape: To reinforce the integrity of the connection, apply pipe thread sealant to the threaded fittings and wrap Teflon tape around the threaded areas. These measures help create a tight and leak-free seal, preventing any potential water seepage at the connection points. Thoroughly coating the threaded components with pipe thread sealant and Teflon tape enhances the overall reliability of the connection.
-
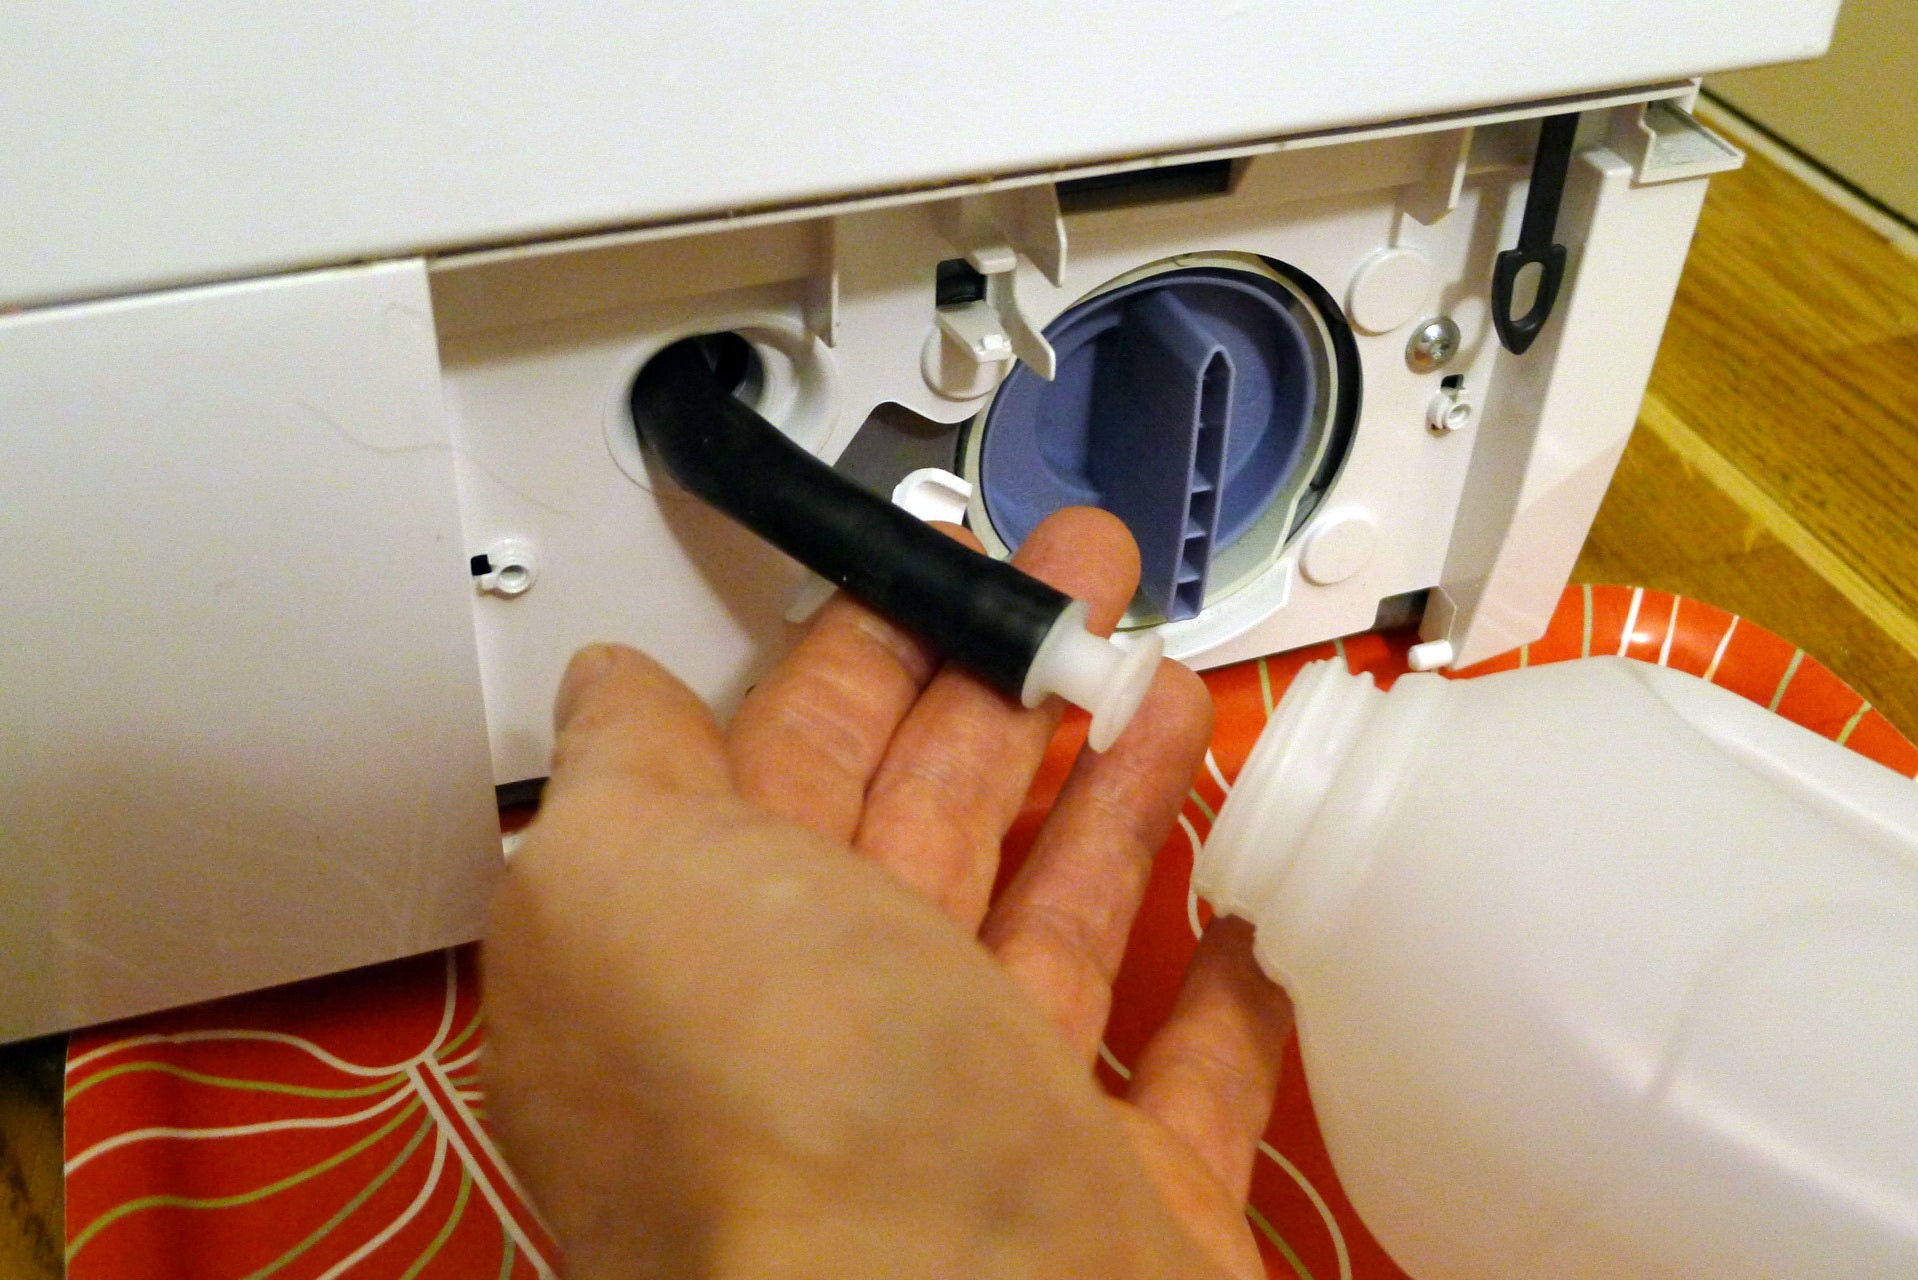
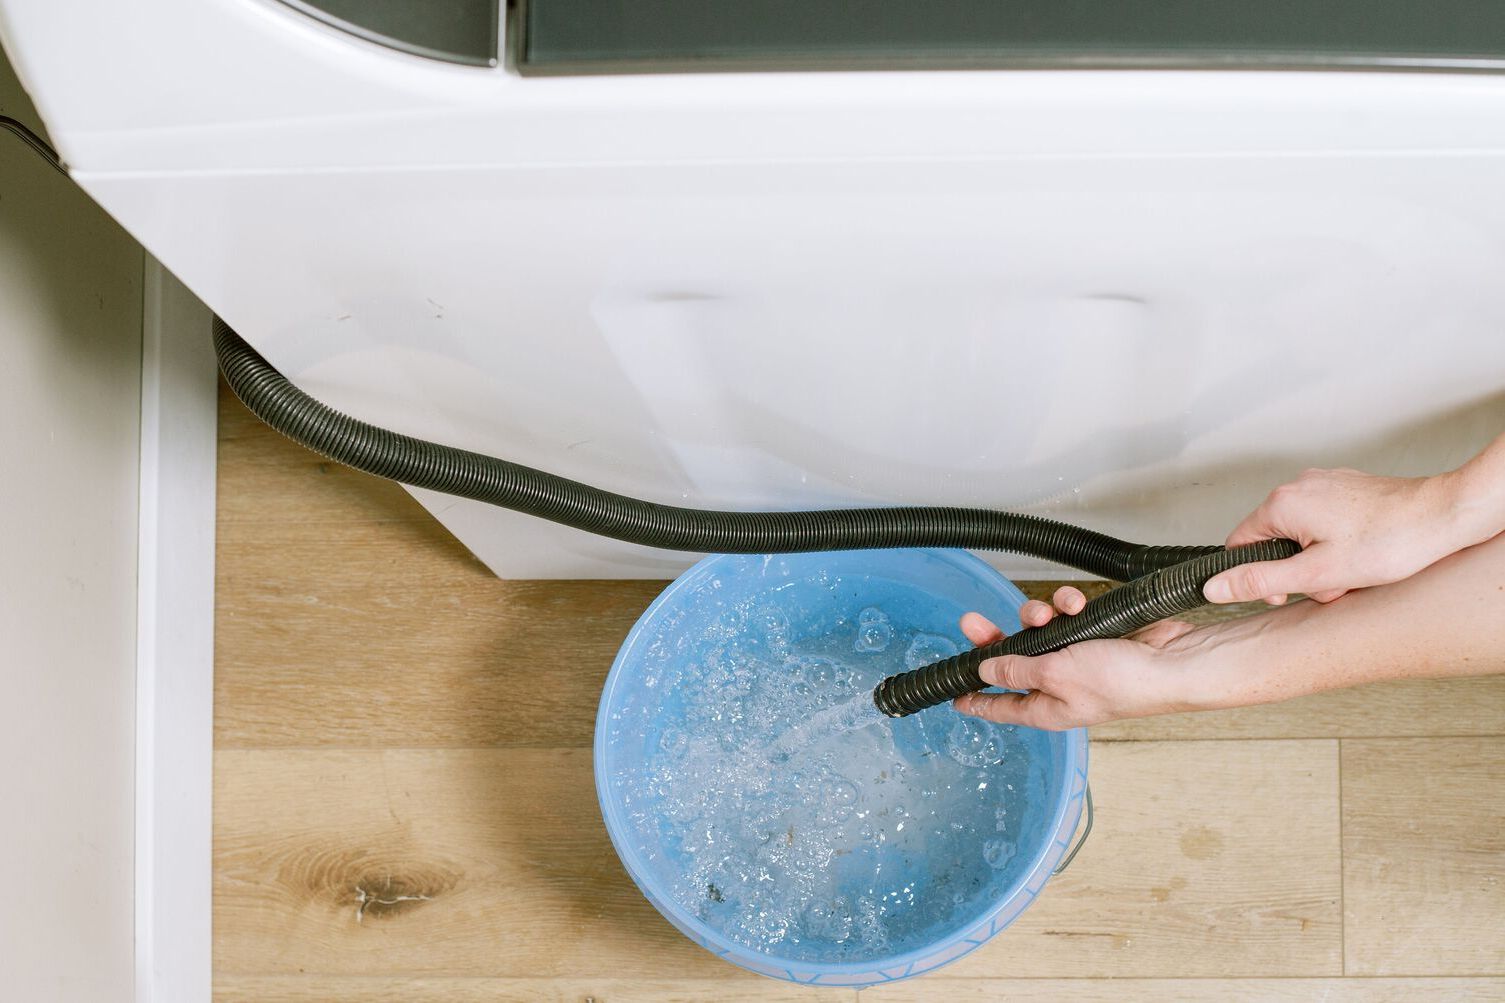
Testing the Connection: Once the PVC piping is securely connected, it's essential to conduct a thorough test to ensure that the connection is leak-free and fully functional. Run a small amount of water through the washing machine to simulate a typical drainage scenario, allowing you to observe the flow of water from the drain pan to the drainage system. This test provides valuable confirmation that the connection is effectively diverting water without any leaks or issues.
By meticulously following these steps, you'll successfully connect the washing machine drain pan to the drainage system, establishing a robust and dependable pathway for managing potential water leaks. A secure and well-executed connection ensures that any water collected in the drain pan is efficiently directed to the drainage system, mitigating the risk of water damage in your laundry area. With the connection in place, you're ready to proceed with the final phase of the installation process.
Testing the Drain Pan
After completing the installation of the washing machine drain pan and connecting it to the drainage system, it's crucial to conduct a comprehensive testing process to validate its functionality and effectiveness. Testing the drain pan serves as a critical quality assurance measure, providing assurance that it can reliably contain and manage potential water leaks. Here's a detailed breakdown of the steps involved in testing the drain pan:
-
Simulating Water Leaks: To initiate the testing process, deliberately introduce a controlled amount of water into the drain pan to simulate a potential water leak scenario. This can be achieved by pouring a measured quantity of water into the drain pan, replicating the volume that may result from a minor leak or overflow during the operation of the washing machine.
-
Observing Water Containment: Once the water is introduced into the drain pan, closely observe its containment capabilities. The drain pan should effectively confine the water within its boundaries, preventing any seepage or overflow onto the surrounding floor. This visual inspection provides immediate feedback on the drain pan's ability to contain and manage water leaks.
-
Monitoring Drainage System Functionality: As the water remains in the drain pan, monitor the functionality of the connection between the drain pan and the drainage system. Verify that the water is being efficiently diverted from the drain pan to the drainage system without any leaks or obstructions. This step ensures that the drainage pathway is fully operational and capable of managing the collected water.
-
Checking for Seepage or Dampness: After allowing the water to remain in the drain pan for a sufficient duration, carefully inspect the area surrounding the drain pan for any signs of seepage or dampness. The floor and immediate surroundings should remain dry, indicating that the drain pan has effectively contained the water without any leakage or seepage.
-
Verifying Accessibility and Stability: While the water remains in the drain pan, verify that the accessibility and stability of the drain pan are maintained. Ensure that the washing machine remains securely positioned on the drain pan and that there are no indications of instability or displacement. Additionally, confirm that the drain pan allows for easy access to the drainage system connection point for future maintenance or inspections.
-
Draining and Drying Process: Once the testing process is complete, carefully drain the water from the drain pan and allow it to dry thoroughly. This step prepares the drain pan for regular use and ensures that it remains free from any residual moisture, maintaining its integrity and effectiveness for future potential water leak scenarios.
By meticulously conducting these testing procedures, you can confidently validate the functionality and reliability of the washing machine drain pan. A successful testing process provides assurance that the drain pan is fully capable of containing and managing potential water leaks, safeguarding your home from the damaging effects of water intrusion. With the drain pan effectively tested and validated, you can enjoy peace of mind knowing that your laundry area is equipped with a robust protective measure against water leaks.
Frequently Asked Questions about How To Install A Washing Machine Drain Pan
Was this page helpful?
At Storables.com, we guarantee accurate and reliable information. Our content, validated by Expert Board Contributors, is crafted following stringent Editorial Policies. We're committed to providing you with well-researched, expert-backed insights for all your informational needs.


0 thoughts on “How To Install A Washing Machine Drain Pan”