Home>Home Appliances>Laundry Appliances>How To Wash Hockey Gear In A Washing Machine
Laundry Appliances
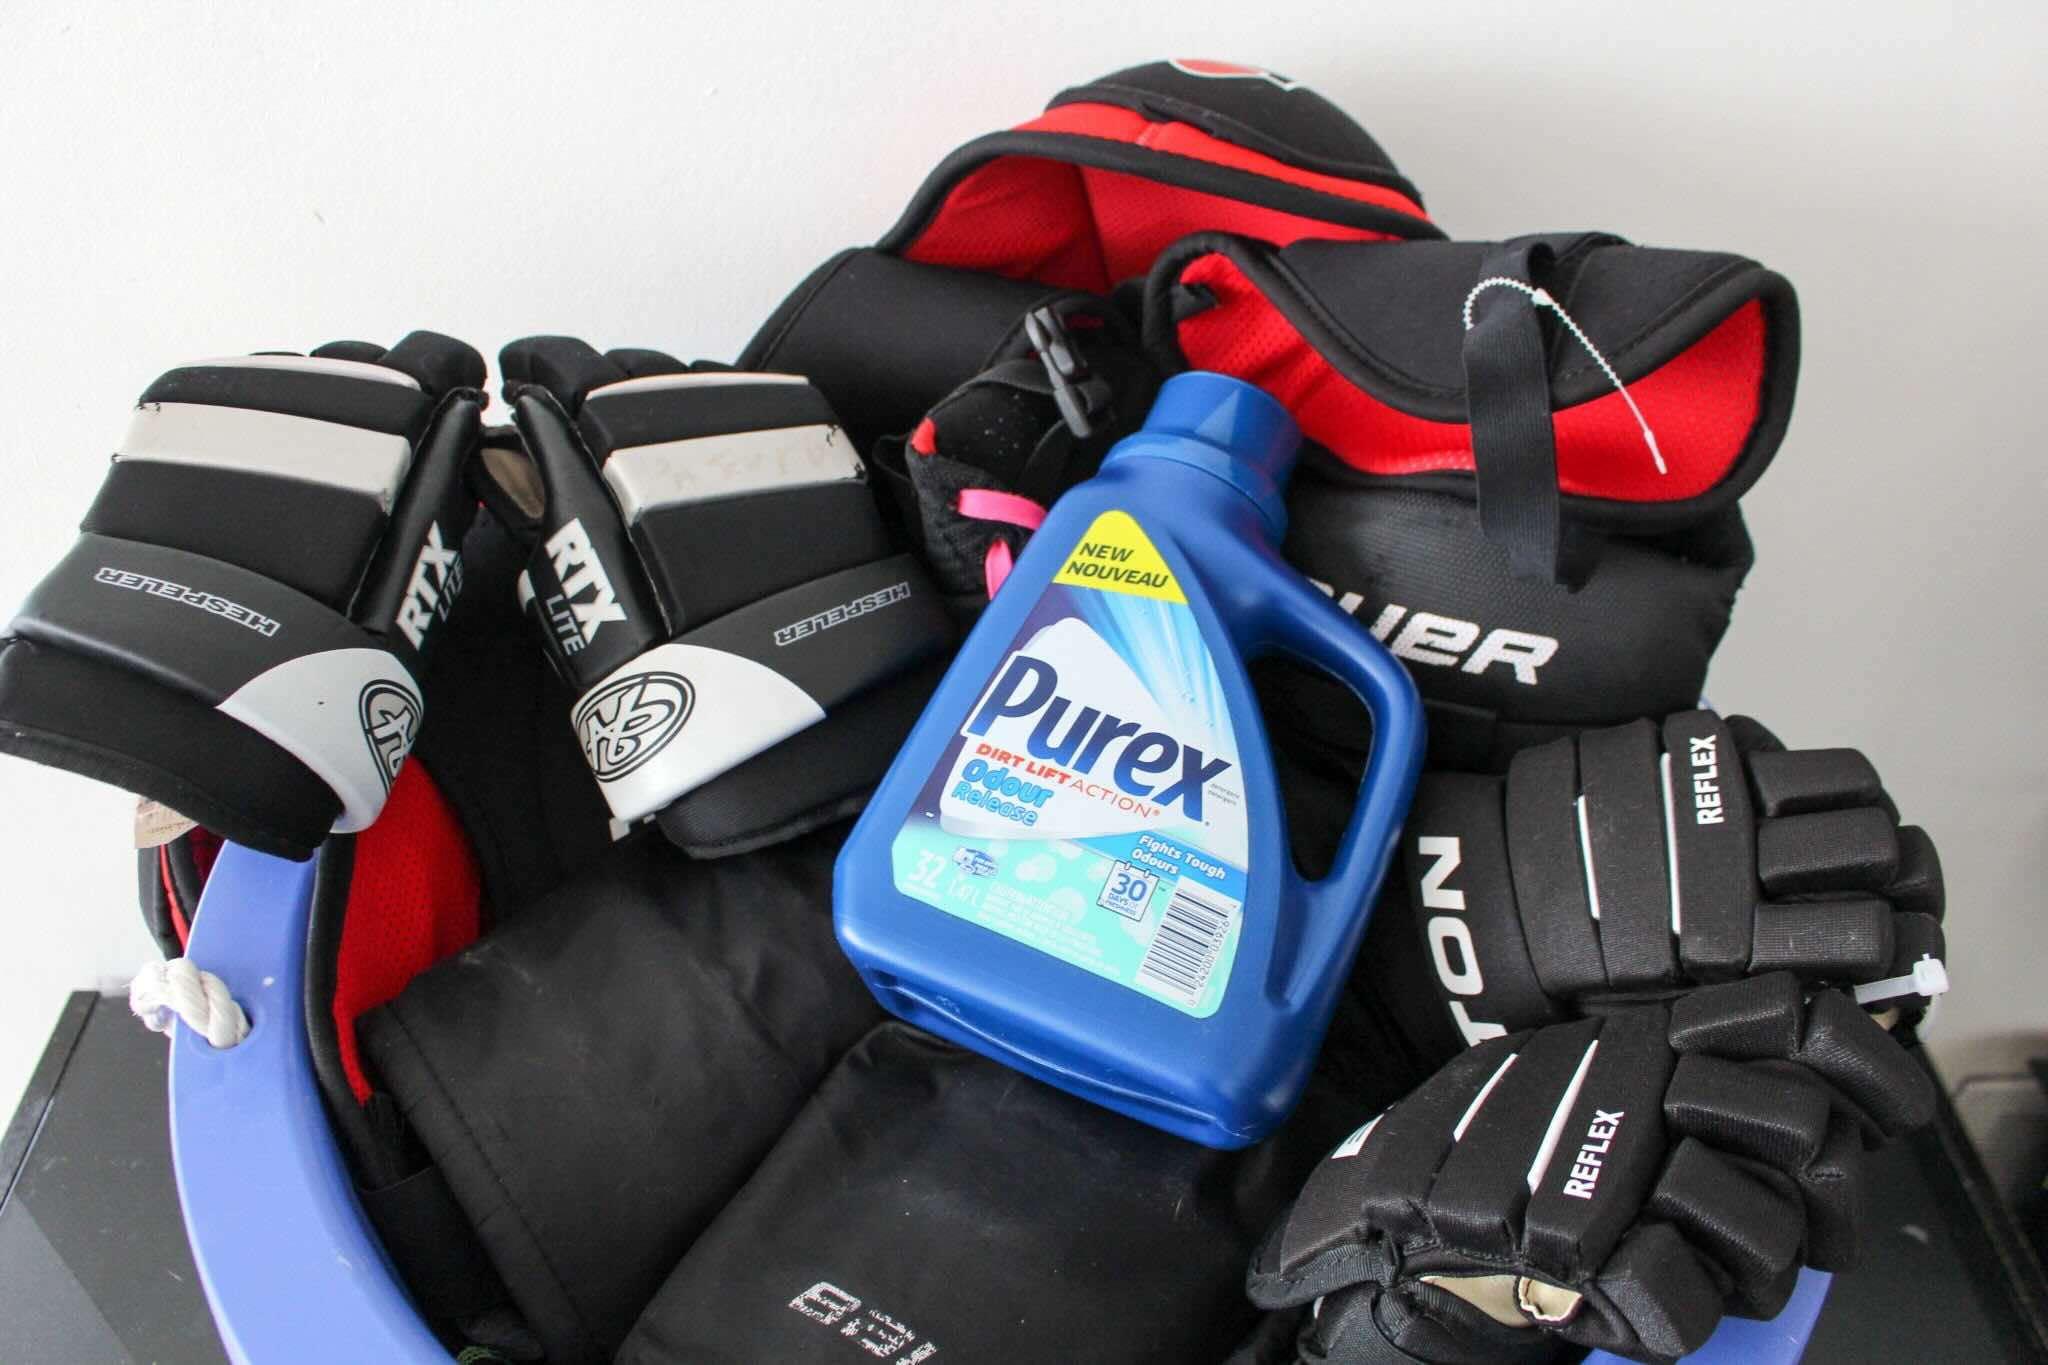
How To Wash Hockey Gear In A Washing Machine
Published: February 21, 2024
Learn how to properly wash hockey gear in a washing machine with our expert tips. Keep your laundry appliances in top condition with our step-by-step guide.
(Many of the links in this article redirect to a specific reviewed product. Your purchase of these products through affiliate links helps to generate commission for Storables.com, at no extra cost. Learn more)
Introduction
Hockey is an exhilarating sport that demands agility, strength, and skill. Whether you're a seasoned player or a passionate fan, the importance of maintaining clean and fresh hockey gear cannot be overstated. Properly cleaning your hockey equipment not only ensures hygiene but also prolongs its lifespan, allowing you to perform at your best while staying comfortable and protected on the ice.
In this comprehensive guide, we will delve into the essential steps for washing hockey gear in a washing machine. From preparing the gear for washing to drying it effectively, we'll cover everything you need to know to keep your hockey equipment in top condition. By following these guidelines, you can bid farewell to the lingering odors and grime that often plague hockey gear, and instead, revel in the confidence of stepping onto the ice with clean and revitalized equipment.
So, whether you're a dedicated player striving for peak performance or a supportive parent ensuring your child's gear remains pristine, this guide is your go-to resource for maintaining impeccable hockey gear. Let's embark on this journey to discover the secrets of effectively washing and caring for your hockey equipment, ensuring that every game is played with the comfort and confidence that only fresh gear can provide.
Key Takeaways:
- Keep your hockey gear fresh and clean by pre-treating stains, using sports-specific detergent, and air-drying thoroughly. Regular inspections and proper storage practices can prolong the lifespan of your gear.
- Maintain hygiene and gear longevity by airing out, deodorizing, and sanitizing your hockey equipment. Consider professional cleaning for specialized care and rejuvenation.
Read more: How To Store Hunting Gear
Preparing the Gear for Washing
Before diving into the washing process, it's crucial to prepare the hockey gear adequately to ensure a thorough and effective cleaning. Here's a step-by-step guide to preparing your gear for washing:
-
Gather the Gear: Collect all the hockey gear that requires cleaning, including the jersey, socks, shoulder pads, elbow pads, shin guards, gloves, and any other protective equipment. Ensure that all removable padding and inserts are taken out, as they may require separate cleaning.
-
Inspect for Damage: Take a moment to inspect each piece of gear for any signs of damage, such as tears, loose stitching, or worn-out padding. Addressing these issues before washing can prevent further damage and maintain the gear's integrity.
-
Check Washing Instructions: Refer to the manufacturer's guidelines or labels on the gear to determine the recommended washing instructions. Some items may be machine washable, while others may require hand washing or specific temperature settings.
-
Fasten Velcro Straps: Secure any Velcro straps or fastenings on the gear to prevent them from catching on other items during the washing cycle. This simple step can help preserve the quality of the gear and prevent unnecessary wear and tear.
-
Pre-Treat Stains: If any pieces of gear have noticeable stains or odors, consider pre-treating them before washing. Use a gentle stain remover or a mixture of mild detergent and water to target stubborn stains and eliminate unpleasant odors.
-
Sort by Material: Sort the gear based on material and color to prevent potential color bleeding or damage during the washing process. Separating dark and light-colored items can help maintain the vibrancy of the gear's colors.
-
Use Mesh Laundry Bags: For smaller items such as gloves and socks, consider placing them in mesh laundry bags to prevent them from getting tangled or damaged in the washing machine. This extra precaution can safeguard delicate components of the gear.
By meticulously preparing your hockey gear for washing, you set the stage for a successful cleaning process that ensures each piece is thoroughly cleansed and maintained. With these preparatory steps completed, you're now ready to proceed with washing the gear and restoring its freshness and functionality.
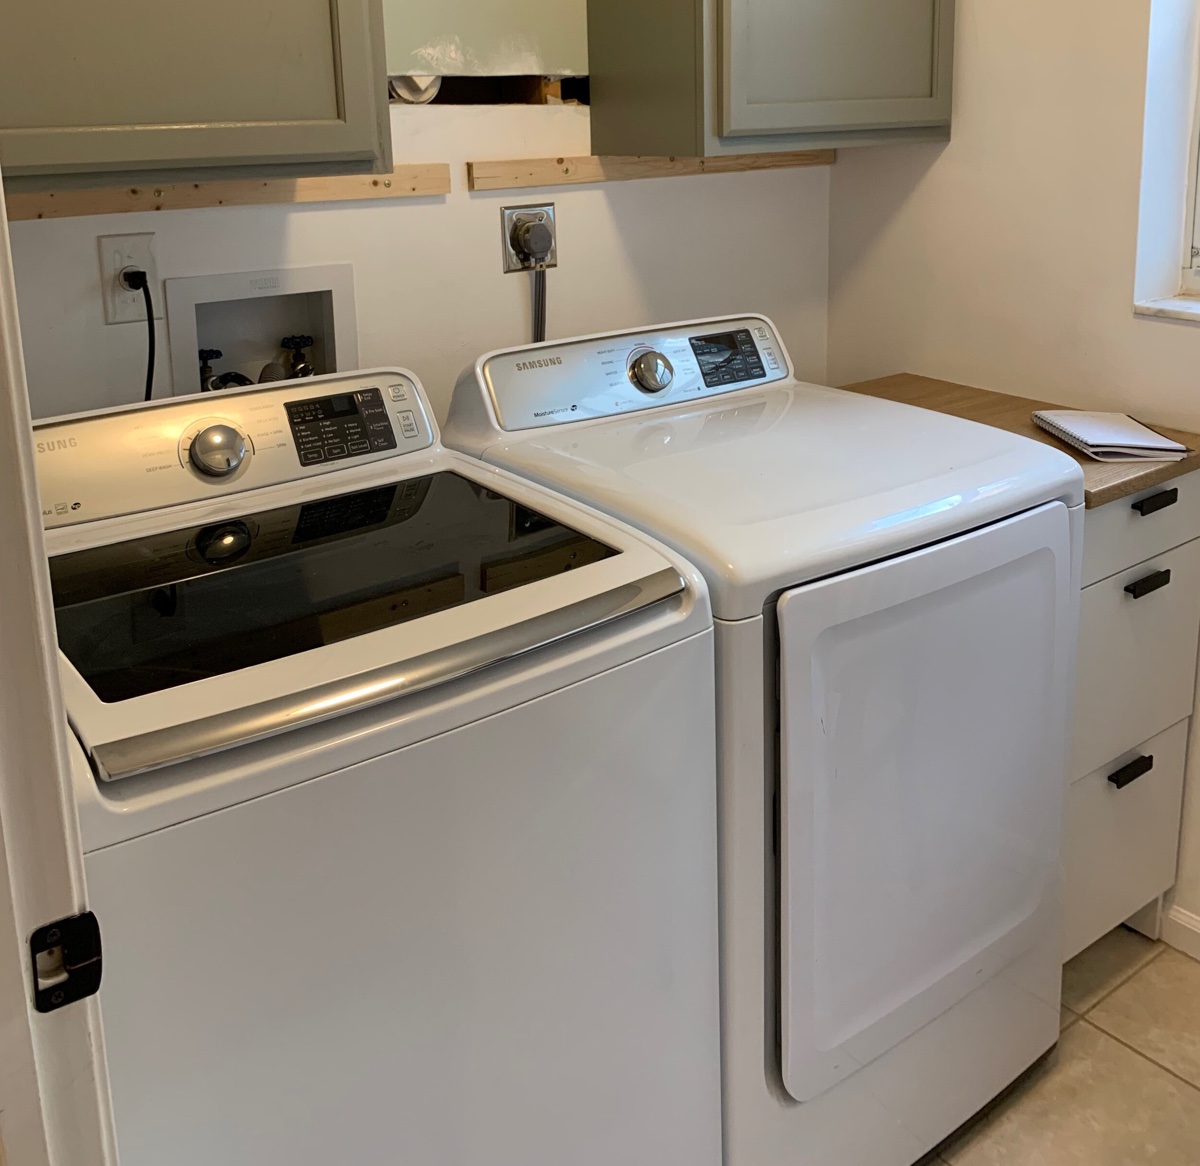
Washing the Hockey Gear
Now that the hockey gear is meticulously prepared, it's time to delve into the crucial step of washing each piece to eliminate dirt, sweat, and odors. Follow these detailed guidelines to ensure that your hockey gear receives a thorough and effective cleaning:
-
Select the Appropriate Detergent: Choose a gentle, sports-specific detergent designed to effectively clean technical fabrics while preserving their integrity. Avoid using harsh chemicals or bleach, as they can damage the gear's materials and affect their performance.
-
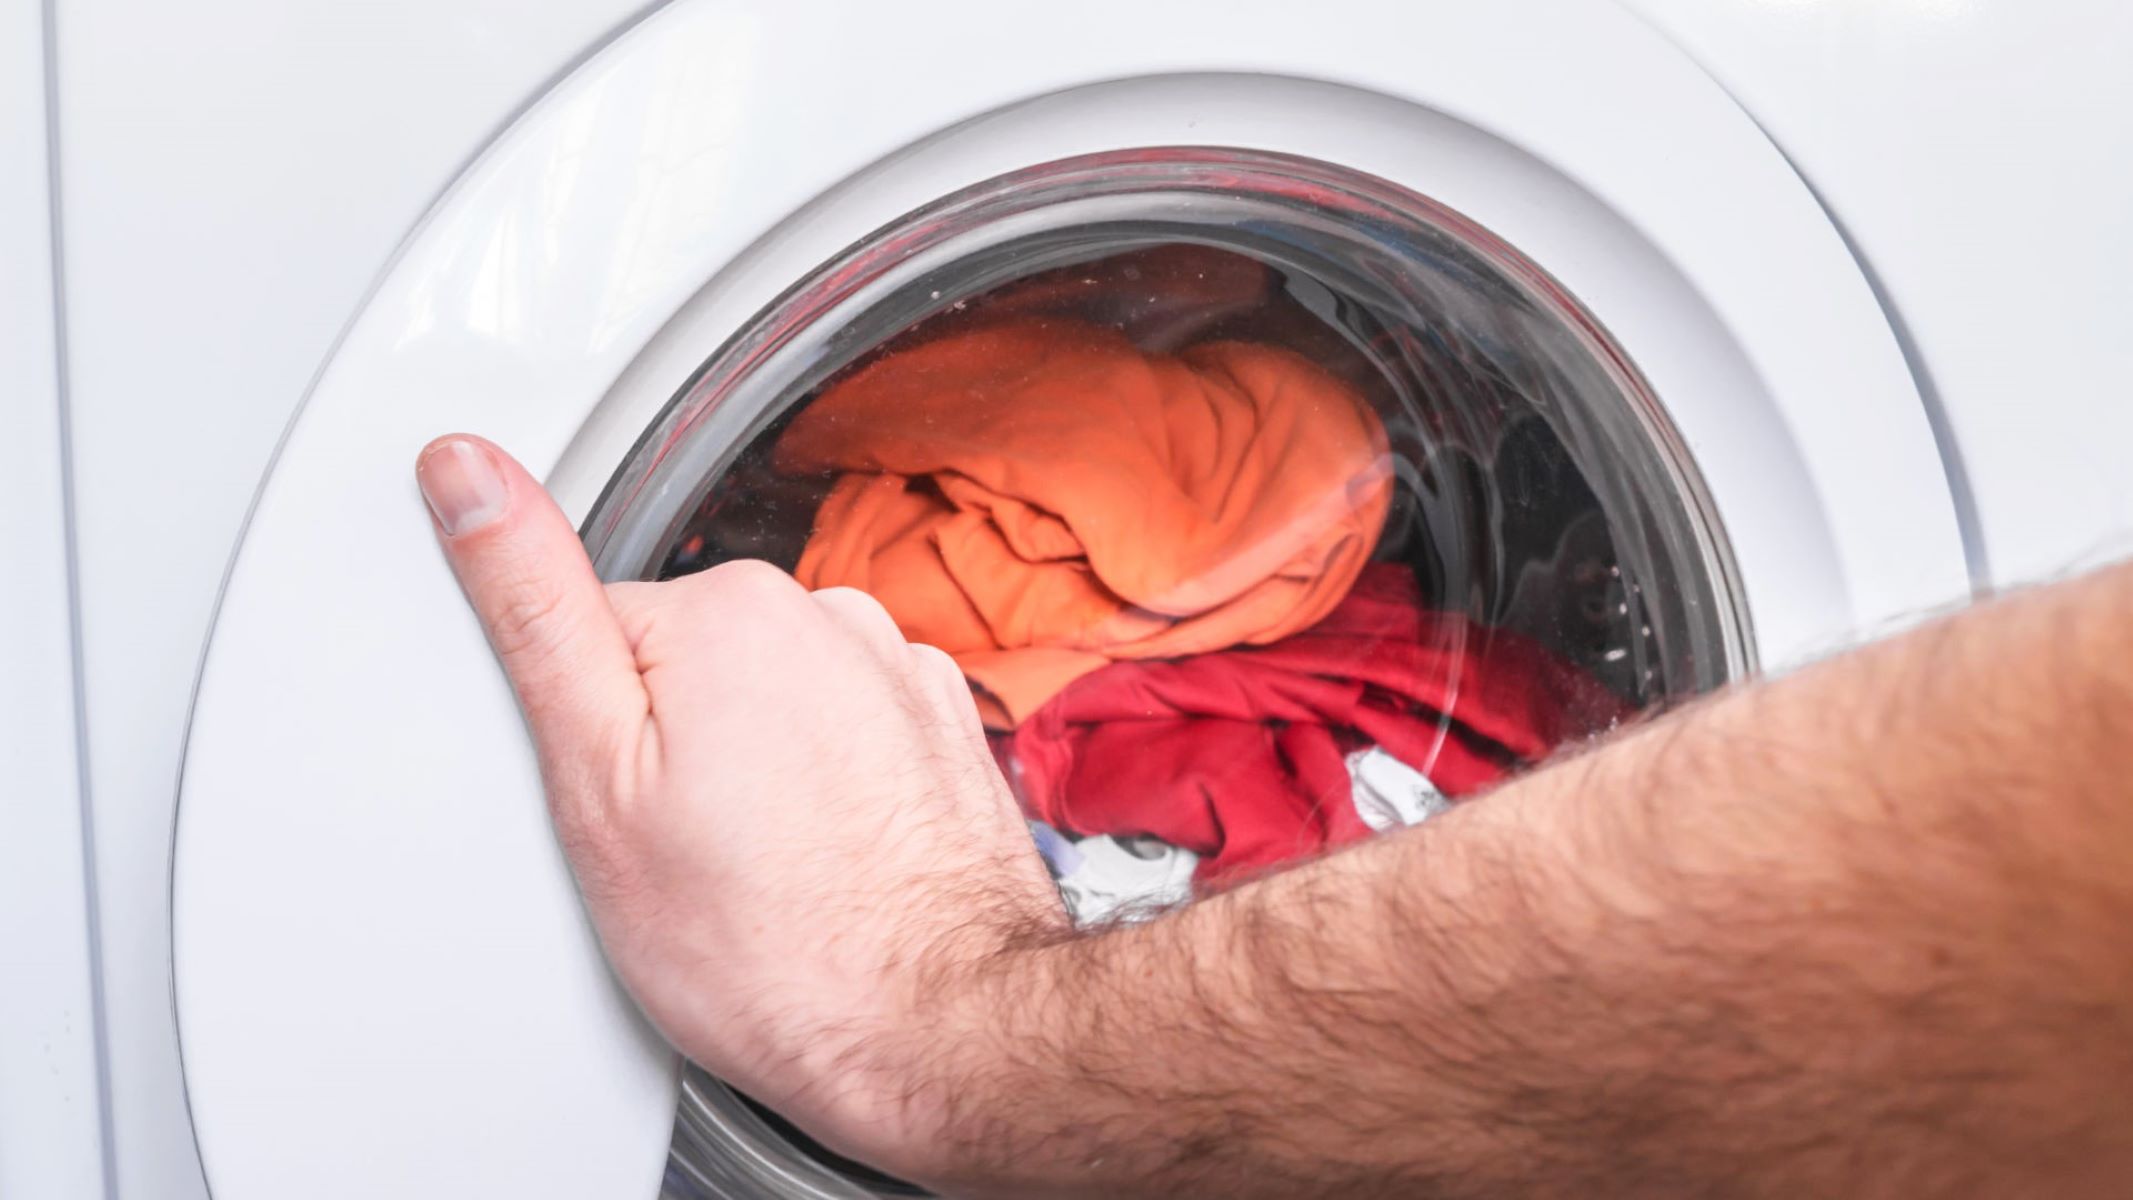
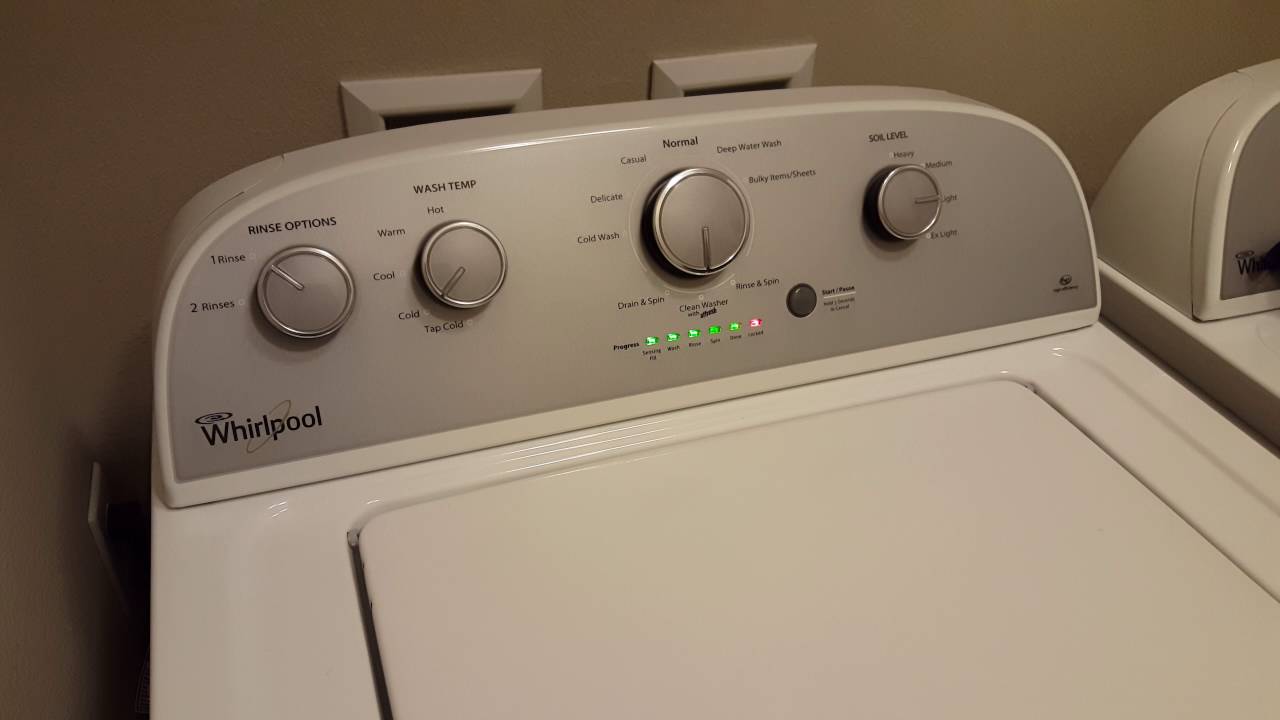
Load the Washing Machine: Place the prepared hockey gear, sorted by material and color, into the washing machine. Ensure that the machine is not overloaded, allowing the gear to move freely during the wash cycle for optimal cleaning.
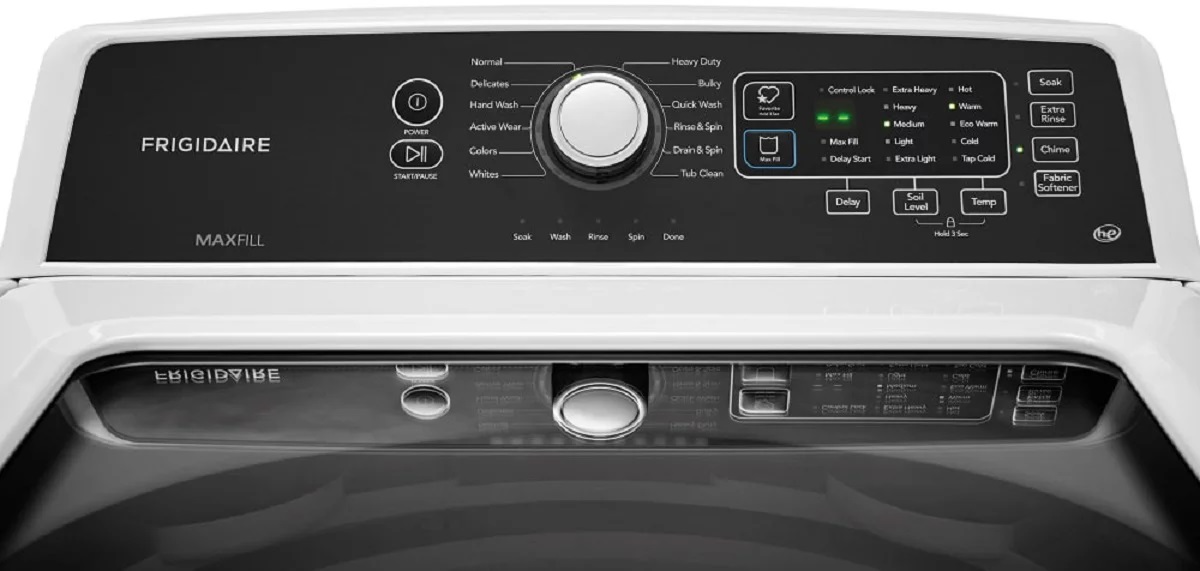
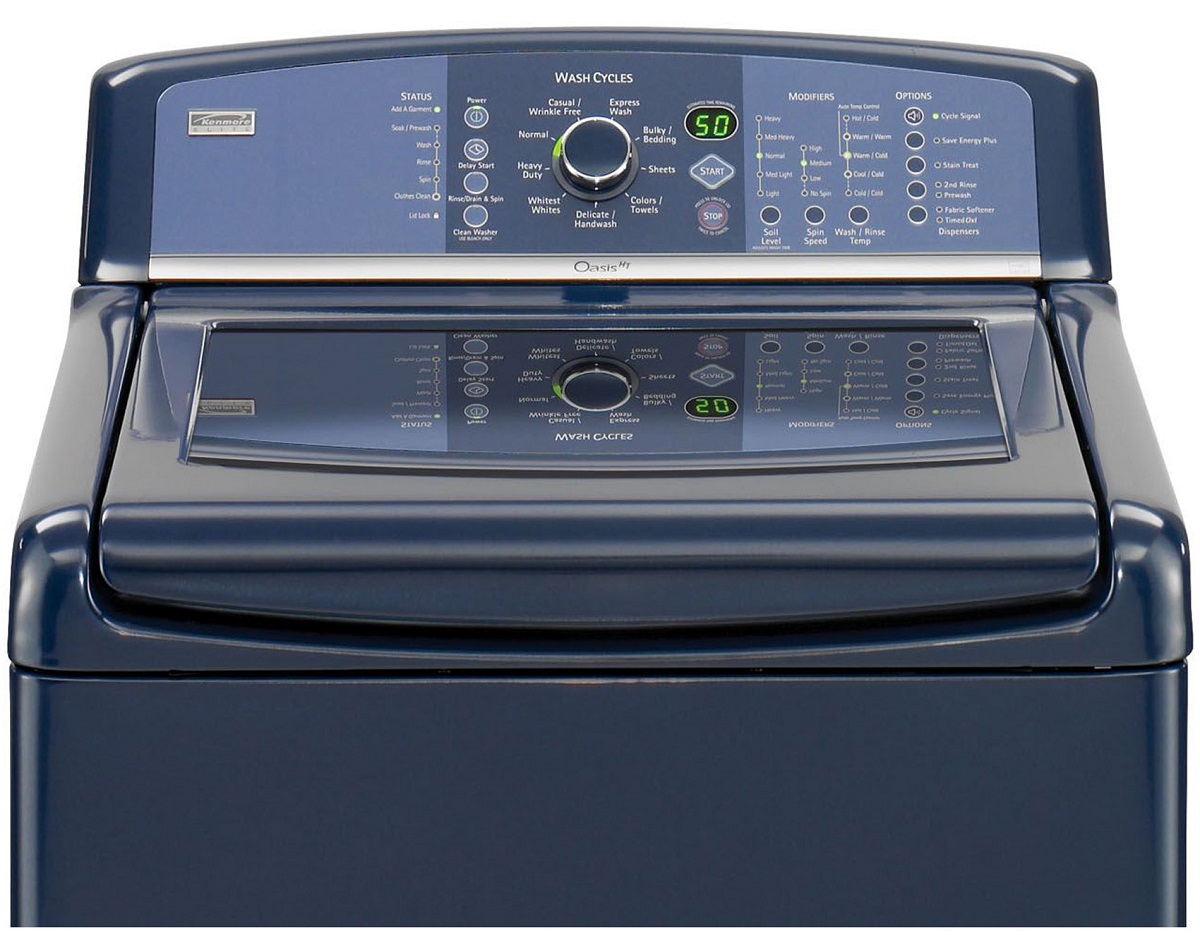
-
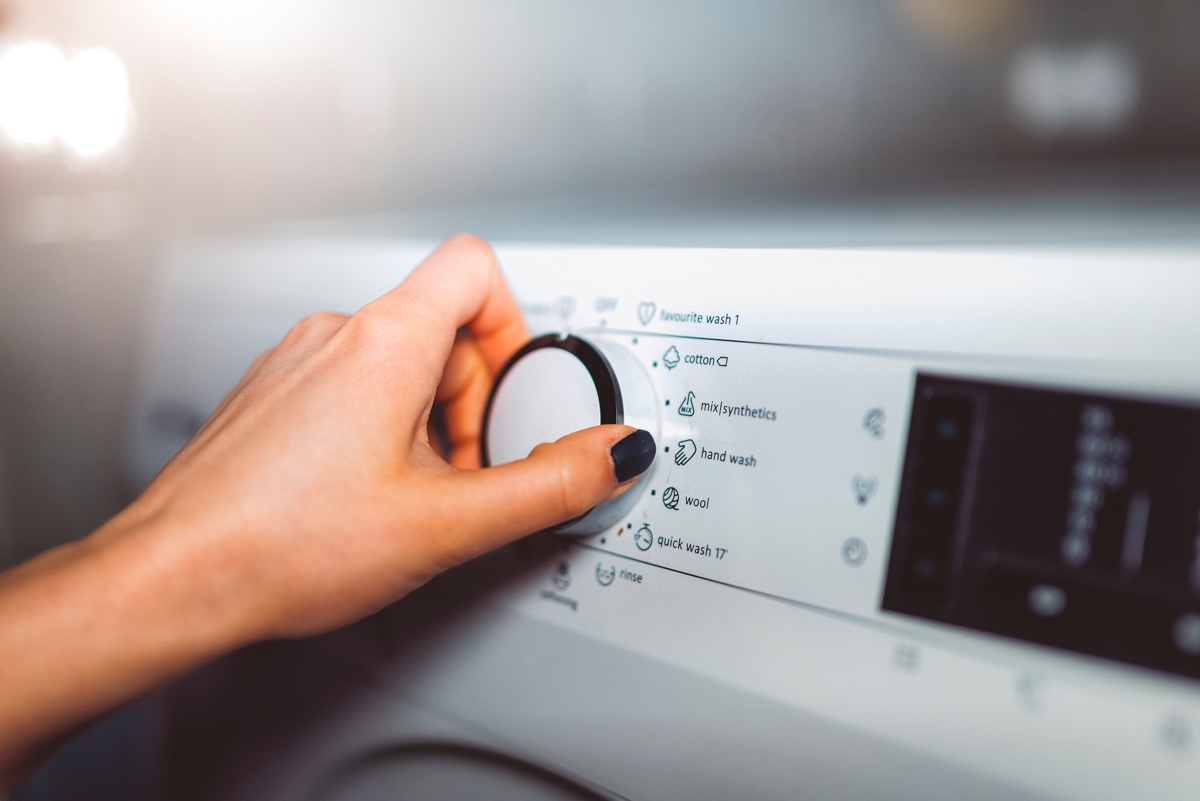
Set the Wash Cycle: Select a gentle or delicate wash cycle with cold water to prevent shrinkage or damage to the gear's fabrics. Avoid using hot water, as it can cause the materials to break down and lose their protective properties.
-
Add the Detergent: Pour the appropriate amount of sports detergent into the detergent compartment of the washing machine. Be mindful of the recommended dosage to achieve a thorough yet gentle cleaning of the gear.
-
Initiate the Wash Cycle: Start the washing machine, allowing it to complete the designated wash cycle. The gentle agitation and thorough rinsing will effectively remove dirt, sweat, and odors from the hockey gear without compromising its quality.
-
Inspect the Gear: Once the wash cycle is complete, carefully remove the gear from the washing machine and inspect each piece for any lingering stains or odors. If necessary, consider re-washing specific items or targeting stubborn stains with a gentle stain remover.
-
Air Dry the Gear: After washing, it's crucial to air dry the hockey gear to preserve its shape and integrity. Lay the gear flat or hang it in a well-ventilated area away from direct sunlight to allow it to dry thoroughly.
By following these meticulous steps for washing your hockey gear, you can ensure that each piece is revitalized and ready for the next game. Clean, fresh, and free from odors, your hockey gear will provide the comfort and protection you need to perform at your best on the ice. With the washing process complete, you're now ready to proceed to the next essential step: drying the hockey gear.
Drying the Hockey Gear
After the washing process is complete, the next critical step in maintaining your hockey gear is ensuring thorough and effective drying. Proper drying techniques are essential to prevent damage, maintain the integrity of the materials, and eliminate any residual moisture that could lead to unpleasant odors. Follow these detailed guidelines to ensure that your hockey gear dries effectively and is ready for your next game:
-
Remove Excess Water: Before initiating the drying process, gently press each piece of gear to remove excess water. Avoid wringing or twisting the gear, as this can distort its shape and compromise its structural integrity.
-
Air Dry in a Well-Ventilated Area: Lay the gear flat or hang it in a well-ventilated area with ample airflow. Avoid placing the gear in direct sunlight or near a direct source of heat, as excessive heat can cause the materials to degrade and lose their protective properties.
-
Utilize a Drying Rack: Consider using a dedicated drying rack designed for sports equipment to facilitate optimal air circulation around the gear. This can expedite the drying process and ensure that each piece dries thoroughly and evenly.
-
Rotate the Gear: Periodically rotate the gear during the drying process to promote even airflow and prevent any areas from remaining damp. This simple step can help prevent the development of musty odors and ensure that the gear dries uniformly.
-
Patience is Key: Allow the gear to air dry completely before storing or using it. Rushing the drying process can result in residual moisture, which can lead to mold and mildew growth, compromising the cleanliness and integrity of the gear.
-
Check for Dryness: Before storing the gear, ensure that each piece is completely dry to the touch. Pay particular attention to areas with padding or inserts, as they may retain moisture for a longer duration.
By meticulously following these drying guidelines, you can ensure that your hockey gear dries effectively, maintaining its quality and functionality. Clean, fresh, and free from residual moisture, your gear will be ready to provide the comfort and protection you need for your next game. With the drying process complete, your hockey gear is now primed for action, allowing you to step onto the ice with confidence and focus on the game at hand.
Additional Tips for Maintaining Hockey Gear
In addition to the essential steps of washing and drying hockey gear, there are several supplementary tips and practices that can further enhance the cleanliness, longevity, and performance of your equipment. By incorporating these additional tips into your gear maintenance routine, you can elevate the overall care and upkeep of your hockey gear, ensuring that it remains in optimal condition for the long term.
Read more: How To Store Climbing Gear
1. Regular Inspections:
Make it a habit to conduct regular inspections of your hockey gear, checking for any signs of wear, tear, or damage. Look for loose stitching, worn-out padding, or weakened materials, and address any issues promptly to prevent further deterioration. By identifying and addressing potential issues early on, you can prolong the lifespan of your gear and maintain its protective qualities.
2. Air Out and Deodorize:
After each use, allow your hockey gear to air out in a well-ventilated area to prevent the buildup of moisture and odors. Consider using deodorizing products specifically designed for sports equipment to eliminate any lingering odors and keep your gear smelling fresh. Proper ventilation and deodorization can contribute to a more hygienic and pleasant gear-wearing experience.
3. Storage Practices:
When not in use, store your hockey gear in a clean and dry environment to prevent the growth of mold, mildew, and bacteria. Consider using breathable mesh bags or dedicated gear storage solutions to promote air circulation and prevent moisture buildup. Proper storage practices can help preserve the cleanliness and integrity of your gear between uses.
4. Equipment Sanitization:
Periodically sanitize your hockey gear to eliminate bacteria and germs that may accumulate over time. Use specialized sports equipment sanitizing sprays or wipes to disinfect your gear, focusing on areas that come into direct contact with your skin. Regular sanitization can contribute to a more hygienic and health-conscious approach to gear maintenance.
Read more: How To Store Camping Gear
5. Professional Cleaning:
Consider seeking professional cleaning services for your hockey gear, especially for items that require specialized care or deep cleaning. Professional cleaners equipped with the knowledge and tools to handle technical sports fabrics can provide a thorough and meticulous cleaning that rejuvenates your gear and ensures its longevity.
By integrating these additional tips into your gear maintenance routine, you can elevate the cleanliness, longevity, and performance of your hockey gear. With regular inspections, proper ventilation, strategic storage, equipment sanitization, and the option of professional cleaning, you can uphold the quality and functionality of your gear, allowing you to focus on the game with confidence and peace of mind.
Frequently Asked Questions about How To Wash Hockey Gear In A Washing Machine
Was this page helpful?
At Storables.com, we guarantee accurate and reliable information. Our content, validated by Expert Board Contributors, is crafted following stringent Editorial Policies. We're committed to providing you with well-researched, expert-backed insights for all your informational needs.


0 thoughts on “How To Wash Hockey Gear In A Washing Machine”