Home>Home Maintenance>How Long Does It Take To Install An Air Conditioner

Home Maintenance
How Long Does It Take To Install An Air Conditioner
Modified: October 20, 2024
Find out how long it takes to install an air conditioner with our expert home maintenance guide. Keep your home cool and comfortable all summer long.
(Many of the links in this article redirect to a specific reviewed product. Your purchase of these products through affiliate links helps to generate commission for Storables.com, at no extra cost. Learn more)
Introduction
Installing an air conditioner is a crucial step in maintaining a comfortable and cool living environment during the hot summer months. Whether you’re replacing an old unit or installing a new one, it’s important to understand how long the installation process might take.
The time required to install an air conditioner can vary depending on several factors, such as the complexity of the installation, the size and type of the unit, and the condition of the existing infrastructure. By familiarizing yourself with these factors and the installation process, you’ll have a better idea of what to expect when it comes to the timeline.
In this article, we’ll explore the various factors that can affect the installation time of an air conditioner. We’ll also discuss the different steps involved in the installation process to provide you with a comprehensive understanding of what goes into installing an air conditioner. So, let’s dive in and find out how long it takes to install an air conditioner.
Key Takeaways:
- Installing an air conditioner can take varying amounts of time due to factors like unit type, size, and existing infrastructure. Proper planning and professional help can ensure a successful and efficient installation process.
- The installation process involves steps such as site inspection, electrical wiring, and testing. Prioritizing safety and following manufacturer guidelines are crucial for a well-functioning air conditioner system.
Factors Affecting Installation Time
Several factors can influence the time it takes to install an air conditioner. These factors can vary depending on the specific circumstances of the installation. Here are some common factors that can affect the installation time:
- Type of Air Conditioner: The type of air conditioner you are installing can significantly impact the installation time. Different types, such as window units, split systems, or central systems, have varying levels of complexity and installation requirements.
- Size of the Unit: The size of the air conditioner unit plays a role in the installation time. Larger units may require additional manpower and time to handle and position properly.
- Difficulty of Access: The accessibility of the installation site can impact the time it takes to install the air conditioner. If the unit needs to be installed in a hard-to-reach area or in a multi-story building, additional time may be required to navigate through tight spaces or use specialized equipment.
- Existing Infrastructure: The condition of the existing infrastructure can also affect the installation time. If there are existing ductwork, electrical wiring, or mounting brackets in place, the installation process may be quicker. However, if significant modifications or repairs are necessary, it can extend the installation time.
- Additional Services: Additional services required, such as electrical work, ductwork modifications, or vent installations, can add to the overall installation time. It’s important to consider these factors when estimating the duration of the installation process.
- Experience and Expertise: The experience and expertise of the installation team can impact the installation time. A professional with extensive knowledge and experience in HVAC installations can complete the job more efficiently compared to an inexperienced individual.
Keep in mind that these factors are not exhaustive and may differ in each installation scenario. It is always recommended to consult with a professional HVAC contractor to assess the specific requirements and factors affecting your particular installation.
Now that we have explored the factors that affect the installation time let’s move on to the next step: preparation and planning.
Preparation and Planning
Before diving into the installation process, proper preparation and planning are essential to ensure a smooth and efficient installation. Adequate preparation helps minimize unexpected delays and complications that may arise during the installation. Here are the key steps involved in the preparation and planning phase:
- Determine the Installation Location: Choose the optimal location for the air conditioner unit. Consider factors such as proximity to power sources, accessibility for maintenance, and efficient air distribution.
- Calculate Cooling Requirements: Assess the cooling needs of the space to determine the appropriate size and capacity of the air conditioner. An undersized or oversized unit can lead to inefficient cooling and increased energy consumption.
- Procure the Necessary Permits: Check with local authorities to confirm if any permits or approvals are required for the installation. Obtaining the necessary permits ensures compliance with local building codes and regulations.
- Arrange for Equipment and Materials: Ensure that all the necessary equipment, tools, and materials required for the installation are available. This includes the air conditioner unit, mounting brackets, ductwork, electrical wires, and any additional components needed.
- Allocate Sufficient Time: Plan the installation during a time that allows for uninterrupted work. Allocate sufficient time for the installation to avoid rushing the process, which can lead to mistakes or subpar results.
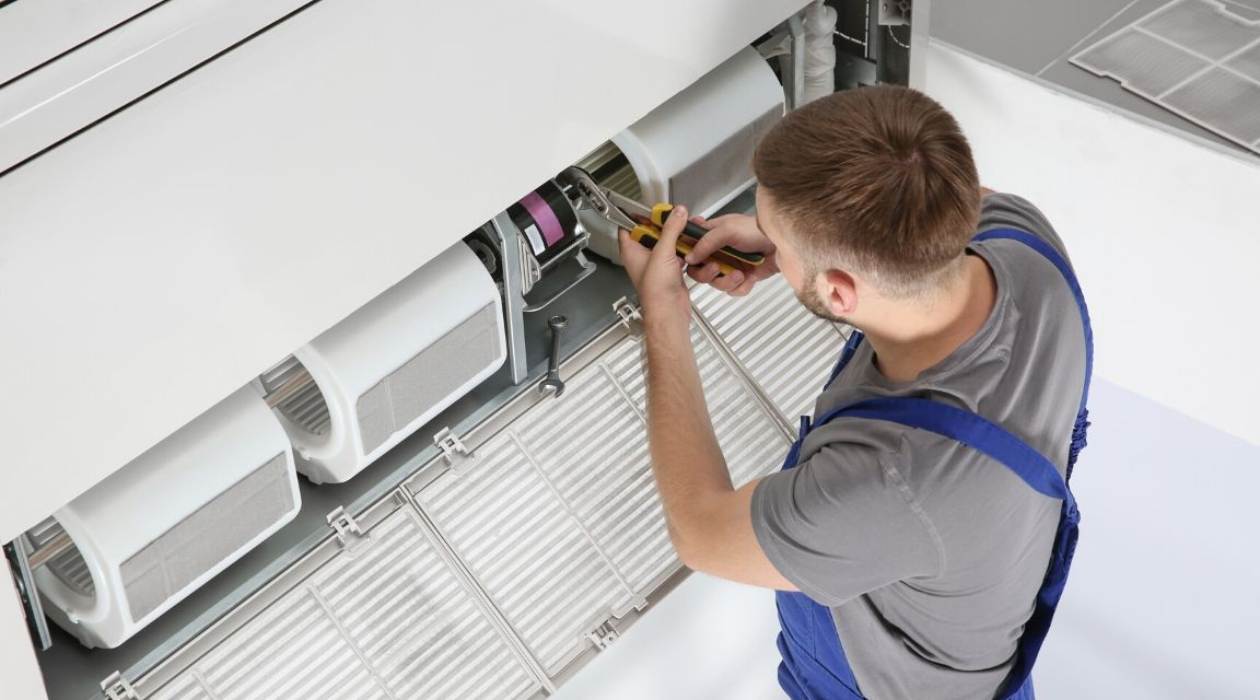
- Secure Professional Help: If you’re not experienced in HVAC installations, it’s best to hire a professional contractor to ensure a proper and efficient installation. A professional will have the expertise and knowledge to handle all aspects of the installation, ensuring safety and reliability.
By following these preparation and planning steps, you can set a solid foundation for the installation process and minimize potential delays or issues.
Next, we will discuss the site inspection, where the installation team assesses the location and makes necessary adjustments for a successful installation.
Site Inspection
Before beginning the installation process, a thorough site inspection is conducted to evaluate the installation location and make any necessary adjustments. The site inspection helps ensure that the chosen location is suitable for installing the air conditioner and that all requirements are met. Here are the key aspects covered during the site inspection:
- Evaluate the Installation Location: The installation team carefully assesses the chosen location to ensure it meets the necessary requirements. Factors such as structural integrity, available space, and proximity to power sources are taken into consideration.
- Check for Proper Airflow and Ventilation: Adequate airflow and ventilation are crucial for efficient cooling. The team ensures that the chosen location allows for proper airflow and that there are no obstructions that could impede the performance of the air conditioner.
- Verify Accessibility: The installation team examines the accessibility of the location to ensure that they can easily maneuver the air conditioner unit and perform the necessary installations, repairs, or maintenance in the future.
- Confirm Compatibility: The team checks if the selected air conditioner unit is compatible with the existing infrastructure and electrical system. Any needed modifications or upgrades are identified during this phase.
- Address Potential Challenges: If there are any existing challenges or complications, such as limited space, hidden obstructions, or wiring issues, the installation team addresses them in the site inspection to determine the best approach for installation.
A thorough site inspection ensures that all necessary adjustments and preparations are made to facilitate a smooth installation process. It allows the installation team to identify any potential issues and make the required modifications before proceeding with the installation.
After completing the site inspection, the next step in the installation process is the dismantling and removal of the old air conditioner unit, which we will discuss in the upcoming section.
Dismantling and Removal of Old Unit
Once the site inspection is complete and any necessary adjustments have been made, the next step in the installation process is the dismantling and removal of the old air conditioner unit. This step is essential, especially if you are replacing an existing unit. Here’s what you can expect during this phase:
- Turn Off the Power: Ensure that the power to the old unit is switched off before beginning the dismantling process. This step is crucial for safety and prevents any electrical accidents.
- Disconnect the Electric Wiring: Carefully disconnect the electrical wiring connecting the old unit to the power source. Take caution and follow proper electrical safety procedures while performing this task.
- Remove the Mounting Brackets: If the old unit was previously mounted, remove the mounting brackets from the wall or window frame. This step may require tools and careful attention to avoid damaging the surrounding area.
- Detach the Ductwork: If the old unit was part of a ducted system, disconnect and remove the ductwork connecting the air conditioner to the vents. Take note of any damages or signs of wear and tear that may require repairs or replacements.
- Proper Disposal: Make sure to dispose of the old unit responsibly. Check local regulations and guidelines for the proper method of disposing of electronic waste. Consider recycling options to minimize environmental impact.
Dismantling and removing the old unit can vary in time depending on the complexity of the installation and the condition of the existing unit. It is recommended to seek professional assistance to ensure a safe and efficient removal process.
With the old unit successfully dismantled and removed, the next step is to proceed with the electrical wiring and connections required for the installation, which we will discuss in the upcoming section.
Electrical Wiring and Connections
Once the old unit has been dismantled and removed, the next step in the air conditioner installation process is the electrical wiring and connections. Proper electrical wiring and connections are vital for the safe and efficient operation of the new unit. Here’s what you can expect during this phase:
- Plan the Wiring Layout: Determine the most suitable route for the wiring to connect the air conditioner unit to the power supply. Consider factors such as accessibility, safety, and aesthetics.
- Switch Off the Power: Before starting any electrical work, ensure that the power to the installation area is turned off. This precautionary measure is crucial to avoid electrical accidents.
- Connect Wiring and Components: Follow the manufacturer’s instructions and any applicable electrical codes to connect the wiring and components of the air conditioner unit. This includes connecting the power cables, control wires, and any auxiliary components.
- Secure Connections and Insulate: Ensure that all connections are securely fastened and insulated to prevent any electrical hazards. Use proper electrical connectors, terminal blocks, and insulation materials as recommended.
- Verify Correct Voltage and Grounding: Check the voltage requirements of the air conditioner unit and ensure that the power supply matches those specifications. Additionally, verify that the grounding is properly established for safety purposes.
- Test the Electrical Connections: Once the wiring is complete, test the electrical connections to ensure proper functionality. Power on the unit and verify that all components are working as intended.
Proper electrical wiring and connections require the expertise of a qualified electrician. It is recommended to hire a professional to handle this phase of the installation. They possess the knowledge and skills to ensure compliance with electrical codes and standards.
With the electrical wiring and connections successfully completed, the next step is to mount the air conditioner unit, which we will discuss in the upcoming section.
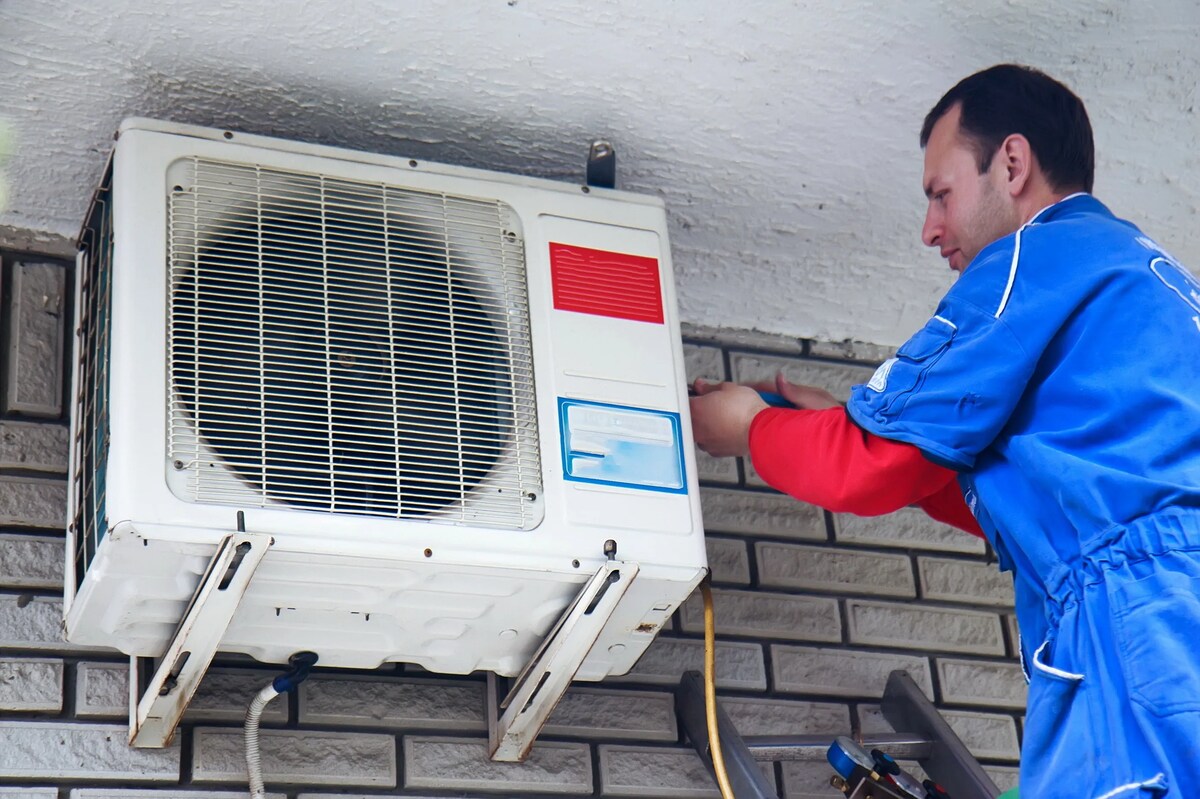
The time it takes to install an air conditioner can vary depending on the type and size of the unit, as well as the complexity of the installation. On average, it can take anywhere from 4 to 8 hours for a professional to complete the installation.
Mounting the Air Conditioner Unit
After the electrical wiring and connections have been completed, the next step in the air conditioner installation process is mounting the unit. Proper mounting is crucial to ensure stability, proper airflow, and efficient operation of the air conditioner. Here’s what you can expect during this phase:
- Select the Mounting Location: Refer to the manufacturer’s instructions and the findings from the site inspection to determine the optimal location for mounting the air conditioner unit. Consider factors such as structural integrity, accessibility, and proper airflow.
- Prepare the Mounting Surface: Ensure that the mounting surface is clean, level, and free from any debris or obstructions. This ensures a secure and stable installation of the air conditioner unit.
- Install Mounting Brackets or Supports: Depending on the type of air conditioner and installation location, install the appropriate mounting brackets or supports. Follow the manufacturer’s instructions and use the recommended tools and hardware for a secure installation.
- Position and Secure the Air Conditioner Unit: Carefully position the air conditioner unit onto the mounting brackets or supports. Secure it in place according to the instructions provided by the manufacturer. Take care to ensure that the unit is level and properly aligned.
- Check for Proper Airflow: Verify that there is sufficient clearance around the air conditioner unit for proper airflow. Adequate airflow helps in efficient cooling and prevents potential issues such as overheating or reduced performance.
- Inspect for Stability: Confirm that the air conditioner unit is securely mounted and stable. Shake or apply slight pressure to test for any movement or looseness. Make any necessary adjustments or reinforcements to maintain stability.
Properly mounting the air conditioner unit requires attention to detail and following the manufacturer’s guidelines. If you are unsure or uncomfortable with this process, it’s advisable to seek professional assistance to ensure a safe and secure installation.
With the air conditioner unit securely mounted, the next step is to install the necessary ductwork and ventilation, which we will discuss in the upcoming section.
Ductwork and Vent Installation
Once the air conditioner unit is mounted, the next step in the installation process is to install the necessary ductwork and ventilation. Proper ductwork and vent installation ensures efficient airflow and even distribution of cool air throughout the space. Here’s what you can expect during this phase:
- Assess the Ductwork Requirements: Evaluate the existing ductwork or determine the need for new ductwork. Consider factors such as the size, length, and layout of the ducts to ensure optimal airflow and distribution.
- Measure and Cut Ductwork: Measure and cut the ductwork pieces to the appropriate dimensions, ensuring a proper fit and smooth airflow. Use appropriate tools to create clean and precise cuts.
- Connect and Seal Ductwork: Connect the ductwork pieces using appropriate connectors and seal them securely to prevent air leaks. Properly sealed ductwork ensures efficient cooling and prevents energy wastage.
- Position and Install Vents: Determine the optimal locations for the vents based on the airflow requirements and layout of the space. Install the vents securely, ensuring an even distribution of cool air throughout the room.
- Insulate Ductwork: Insulate the ductwork to minimize heat gain or loss, improving energy efficiency. Proper insulation helps maintain the desired temperature within the ducts and reduces the workload on the air conditioner unit.
- Test for Airflow: Once the ductwork and vents are installed, test the airflow to ensure that the cool air is evenly distributed throughout the space. Adjust the vents if needed to optimize airflow and cooling.
Proper ductwork and vent installation can contribute to the overall performance and efficiency of the air conditioning system. Consider consulting a professional HVAC technician to ensure the correct sizing, installation, and insulation of the ductwork.
After completing the ductwork and vent installation, the next step is to proceed with testing and troubleshooting the air conditioner system, which we will discuss in the upcoming section.
Testing and Troubleshooting
After all the components of the air conditioner system have been installed, the next crucial step in the installation process is testing and troubleshooting. This step ensures that the system functions properly and any issues or malfunctions are identified and addressed. Here’s what you can expect during this phase:
- Power On the System: Switch on the power to the air conditioner system and ensure that it starts up without any issues. Listen for any unusual noises or vibrations that could indicate a problem.
- Test Thermostat Operations: Check the functionality of the thermostat by adjusting the temperature settings. Verify that the air conditioner kicks on and off as expected based on the desired temperature settings.
- Monitor Airflow and Cooling: Observe the airflow from the vents to confirm that it is strong and consistent. Use a thermometer to gauge the temperature of the air coming from the vents to ensure that it matches the set temperature.
- Check for Air Leaks: Inspect the ductwork and connections for any signs of air leaks. Often, air leaks can lead to decreased cooling efficiency and increased energy consumption. Seal any leaks found to optimize system performance.
- Test Safety Controls and Shut-off Mechanisms: Verify that all safety controls, such as overload protection and shut-off mechanisms, are functioning correctly. These safety measures are essential to protect the system from damage and prevent any hazards.
- Address Any Issues: If any issues or malfunctions are detected during the testing phase, troubleshoot the problem and make the necessary adjustments or repairs. Consult the manufacturer’s instructions or seek professional assistance if needed.
Thorough testing and troubleshooting help ensure that the air conditioner system is functioning optimally and delivering the desired cooling performance. It is recommended to follow the manufacturer’s guidelines and seek professional assistance as needed to address any issues that arise during the testing phase.
Once the system has been thoroughly tested and any issues have been resolved, the final step is to proceed with the final inspection and cleanup, which we will discuss in the upcoming section.
Final Inspection and Cleanup
After the air conditioner system has been tested and any issues have been addressed, the final step in the installation process is performing a thorough inspection and cleanup. This step ensures that everything is in order and the installation area is left clean and tidy. Here’s what you can expect during this phase:
- Inspect the System: Conduct a final inspection of the air conditioner system to ensure all components are properly installed, connections are secure, and there are no visible signs of damage or leaks.
- Check for Proper Airflow: Verify that there is adequate airflow from the vents and that each area of the space receives sufficient cooling. Adjust the vents if needed to ensure proper air distribution.
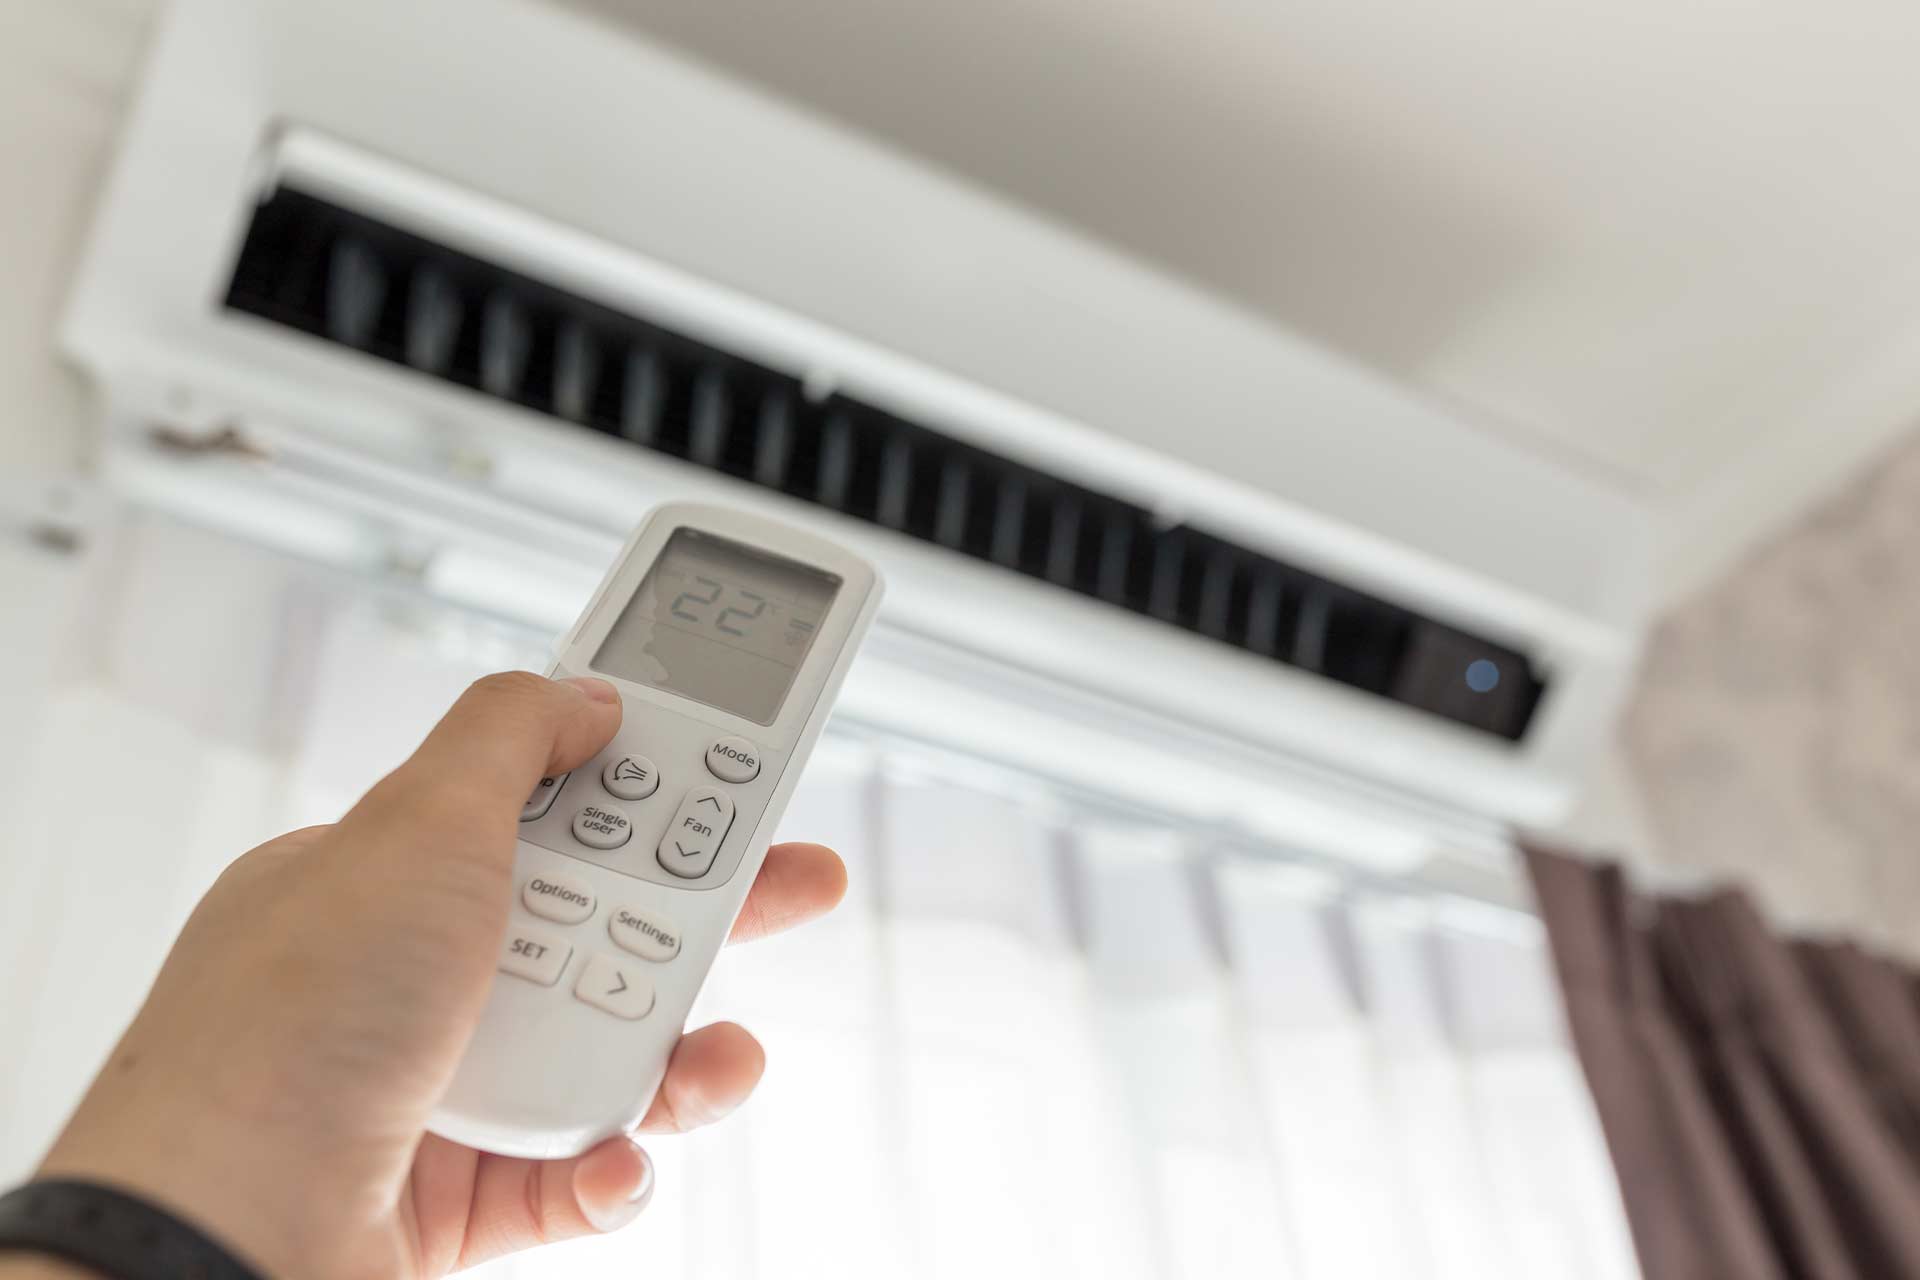
- Test System Controls: Test all system controls, such as the on/off buttons, mode selection, and fan speed controls, to ensure they operate as expected. Make any necessary adjustments or repairs if any control malfunctions are detected.
- Remove Installation Debris: Clean up any debris, packaging materials, or tools that were used during the installation process. Ensure that the installation area is left clean and free from clutter.
- Dispose of Waste Responsibly: Properly dispose of any waste materials generated during the installation, such as old unit components or packaging. Follow local regulations and guidelines for the disposal of electronic waste.
- Provide Client Instructions and Recommendations: Once the installation is complete, provide the client with instructions on operating and maintaining the air conditioner system. Share any recommended practices for maximizing efficiency and ensuring optimal performance.
Performing a final inspection and cleanup helps ensure that the installation is completed to a high standard and leaves the client satisfied with the service. It demonstrates attention to detail and a commitment to delivering a quality installation.
With the final inspection and cleanup completed, the air conditioner installation process is finished. The client can now enjoy the benefits of a well-installed and properly functioning cooling system.
Conclusion
Installing an air conditioner is a significant undertaking that requires careful planning, preparation, and execution. The installation time can vary depending on several factors, including the type and size of the unit, the complexity of the installation, and the condition of the existing infrastructure. By understanding these factors and following the installation process, you can ensure a successful and efficient installation.
Factors such as the type of air conditioner, size of the unit, difficulty of access, existing infrastructure, additional services, and the experience of the installation team can all impact the installation time. Considering these factors will help you estimate the duration of the installation process and plan accordingly.
The installation process typically involves several steps, including preparation and planning, site inspection, dismantling and removal of the old unit, electrical wiring and connections, mounting the air conditioner unit, ductwork and vent installation, testing and troubleshooting, and final inspection and cleanup. Each step is crucial in ensuring a properly functioning and efficient air conditioner system.
Throughout the installation process, it is important to prioritize safety, follow manufacturer guidelines, and consider seeking professional assistance when needed. Professionals with expertise in HVAC installations can provide invaluable knowledge and ensure that the installation is done correctly and efficiently.
By following the steps outlined in this article and considering the various factors involved, you can navigate the air conditioner installation process with confidence. A well-planned and properly executed installation will bring you years of reliable and efficient cooling, creating a comfortable living environment during the hot summer months.
Frequently Asked Questions about How Long Does It Take To Install An Air Conditioner
Was this page helpful?
At Storables.com, we guarantee accurate and reliable information. Our content, validated by Expert Board Contributors, is crafted following stringent Editorial Policies. We're committed to providing you with well-researched, expert-backed insights for all your informational needs.
