Home>Home Maintenance>How To Build A Window Air Conditioner Support
Home Maintenance
How To Build A Window Air Conditioner Support
Modified: August 29, 2024
Learn how to build a sturdy and reliable window air conditioner support for your home with our easy-to-follow home maintenance guide.
(Many of the links in this article redirect to a specific reviewed product. Your purchase of these products through affiliate links helps to generate commission for Storables.com, at no extra cost. Learn more)
Introduction
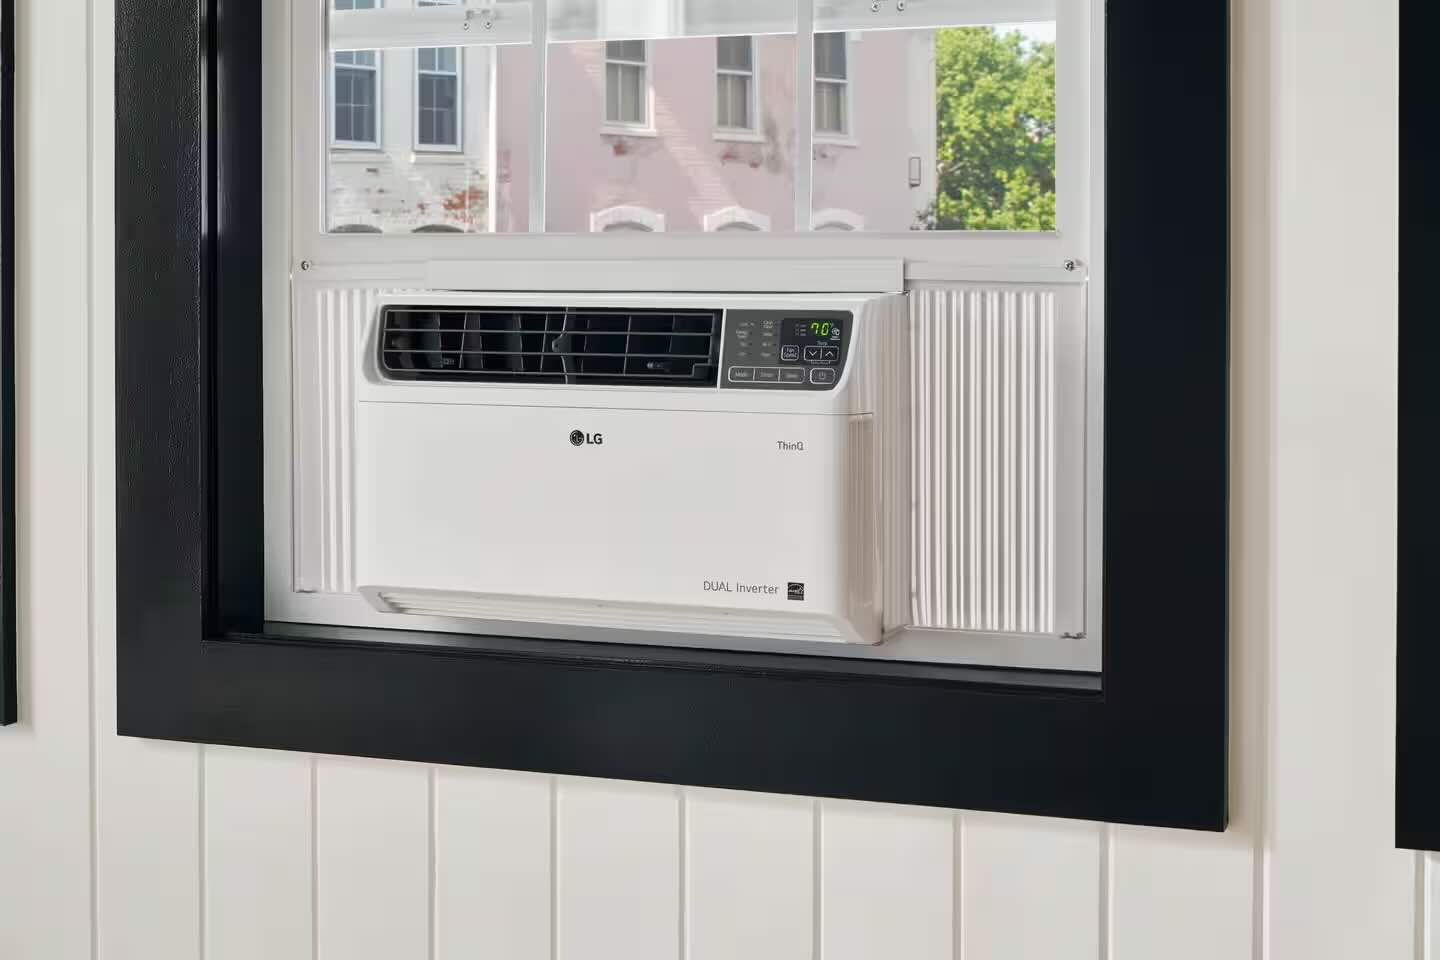
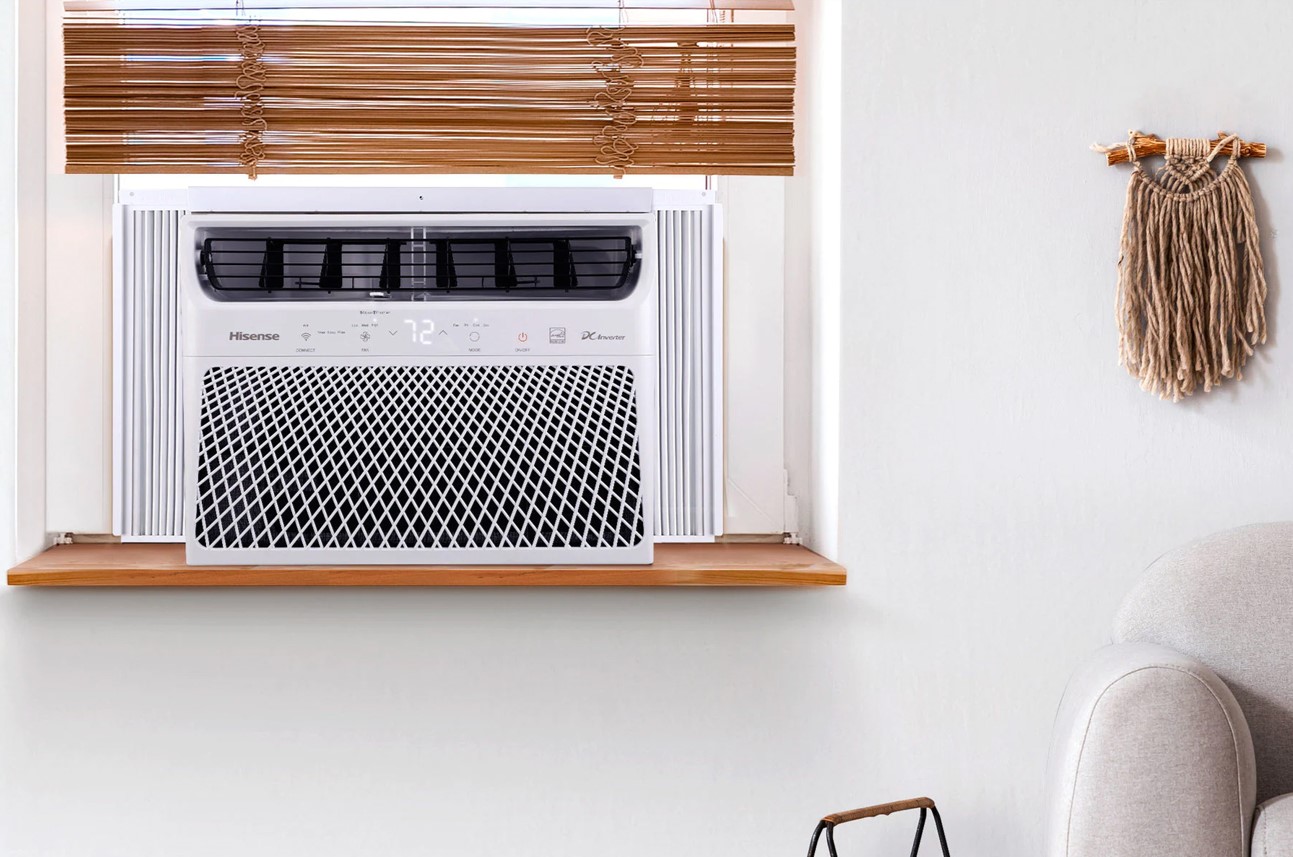
Welcome to our step-by-step guide on how to build a window air conditioner support. Summer can be quite brutal, with sweltering heat and high humidity making it unbearable to be indoors. A window air conditioner is a great solution to keep your home cool and comfortable during these hot months. However, simply placing the unit in the window may not provide the necessary support, and you risk damage to both the unit and your window.
In this article, we will take you through the process of building a window air conditioner support, ensuring a secure and stable installation. This DIY project will not only save you money, but it will also give you the confidence and satisfaction of completing the task on your own.
Before we get started, it’s essential to gather the necessary tools and materials. You will need a measuring tape, a pencil, a level, a power drill, screws, a support bracket, and insulation foam. Once you have everything ready, let’s dive into the steps required to build a window air conditioner support.
Key Takeaways:
- Keep your home cool and comfortable by building a secure window air conditioner support. Follow the steps to ensure a stable installation and enjoy the refreshing air without any worries.
- Save money and gain satisfaction by completing a DIY project to enhance your home’s comfort. Regularly maintain the support bracket, seals, and insulation for long-term effectiveness.
Read more: What Is A Window Air Conditioner
Step 1: Assessing the Window Opening
The first step in building a window air conditioner support is to assess the window opening. Different window types will require different approaches, so it’s important to understand the specifics of your window before proceeding.
Begin by measuring the width and height of the window opening. This will determine the size of the support bracket you will need to build. Take accurate measurements and note them down for reference.
Next, check the condition of the window frame and sill. Ensure that they are sturdy and able to support the weight of both the air conditioner unit and the support bracket. Any signs of damage or weakness should be addressed before continuing with the installation.
Consider the type of window you have, as this will determine the type of support bracket you will need. Common window types include double-hung windows, sliding windows, casement windows, and awning windows. Each type may require a specific bracket design or installation method.
It’s also important to consider any obstructions, such as window screens or security bars, that may block the installation of the air conditioner support. Determine if these obstacles can be easily removed or adjusted to accommodate the support bracket.
Lastly, assess the electrical outlets near the window. Ensure that there is an appropriate outlet within reach of the air conditioner’s power cord. If not, you may need to hire an electrician to install a new outlet before proceeding.
By thoroughly assessing the window opening, you will have a clear understanding of the requirements and challenges you may face during the installation process. This information will guide you in choosing the right support bracket and ensure a secure and successful installation.
Step 2: Measuring and Cutting the Support Bracket
Once you have assessed the window opening, it’s time to move on to measuring and cutting the support bracket. The support bracket is a crucial component as it provides stability and support for the window air conditioner.
Start by measuring the width of the window opening. Use a measuring tape to determine the distance between the side walls or window frame where the support bracket will be installed. Take accurate measurements and note them down.
Next, decide on the height of the support bracket. Measure the distance from the bottom of the window sill to the desired height where you want the air conditioner unit to sit. Ensure that there is enough clearance for the unit and that it aligns with the window opening.
Using the measurements you took, mark the required length on the support bracket material. You can use a metal support bracket or strong, weather-resistant wood for this purpose.
Using a sturdy saw or a power saw, carefully cut the support bracket to the correct length. Make sure to follow the marked lines accurately to ensure a precise fit.
After cutting the support bracket, smooth out any rough edges or splinters using sandpaper. This step is crucial to prevent any injuries or damage during the installation process.
Finally, test the fit of the support bracket by placing it in the window opening. Ensure that it sits securely and levelly against the side walls or window frame. If it doesn’t fit properly, make any necessary adjustments to achieve a snug and stable fit.
By carefully measuring and cutting the support bracket, you will create a strong and customized support system for your window air conditioner. This step is crucial for ensuring the stability and safety of the unit during operation.
Step 3: Attaching the Support Bracket to the Wall
With the support bracket cut to the appropriate size, it’s time to move on to attaching it to the wall. This step will provide the necessary support and stability for the window air conditioner.
Start by positioning the support bracket in the window opening, ensuring that it sits flush against the side walls or window frame. Use a level to check that the bracket is perfectly horizontal. Adjust if needed to achieve a level position.
Once the bracket is aligned and level, mark the locations for screw holes on the side walls or window frame. These holes will be used to secure the bracket to the wall.
Using a power drill and the appropriate drill bit, carefully drill pilot holes at the marked locations. Ensure that the holes are slightly smaller than the screws you will be using to prevent the wall from splitting or cracking.
After drilling the pilot holes, position the support bracket back into place and align it with the drilled holes. Insert screws into the pilot holes and use a screwdriver or drill to tighten them securely. Make sure not to overtighten the screws, as this may damage the bracket or the wall.
Test the stability of the support bracket by gently pushing and pulling on it. It should feel firm and secure against the wall. If there is any wobbling or instability, double-check the screws and make any necessary adjustments.
It’s important to note that the type of wall material will determine the appropriate anchors or fasteners to use. If you have a plaster or drywall wall, you may need to use wall anchors or toggle bolts for added support. Consult with a hardware expert or refer to the manufacturer’s instructions for specific recommendations.
By attaching the support bracket securely to the wall, you will ensure the stability and safety of the window air conditioner. This step is crucial for preventing accidents or damage during installation and use.
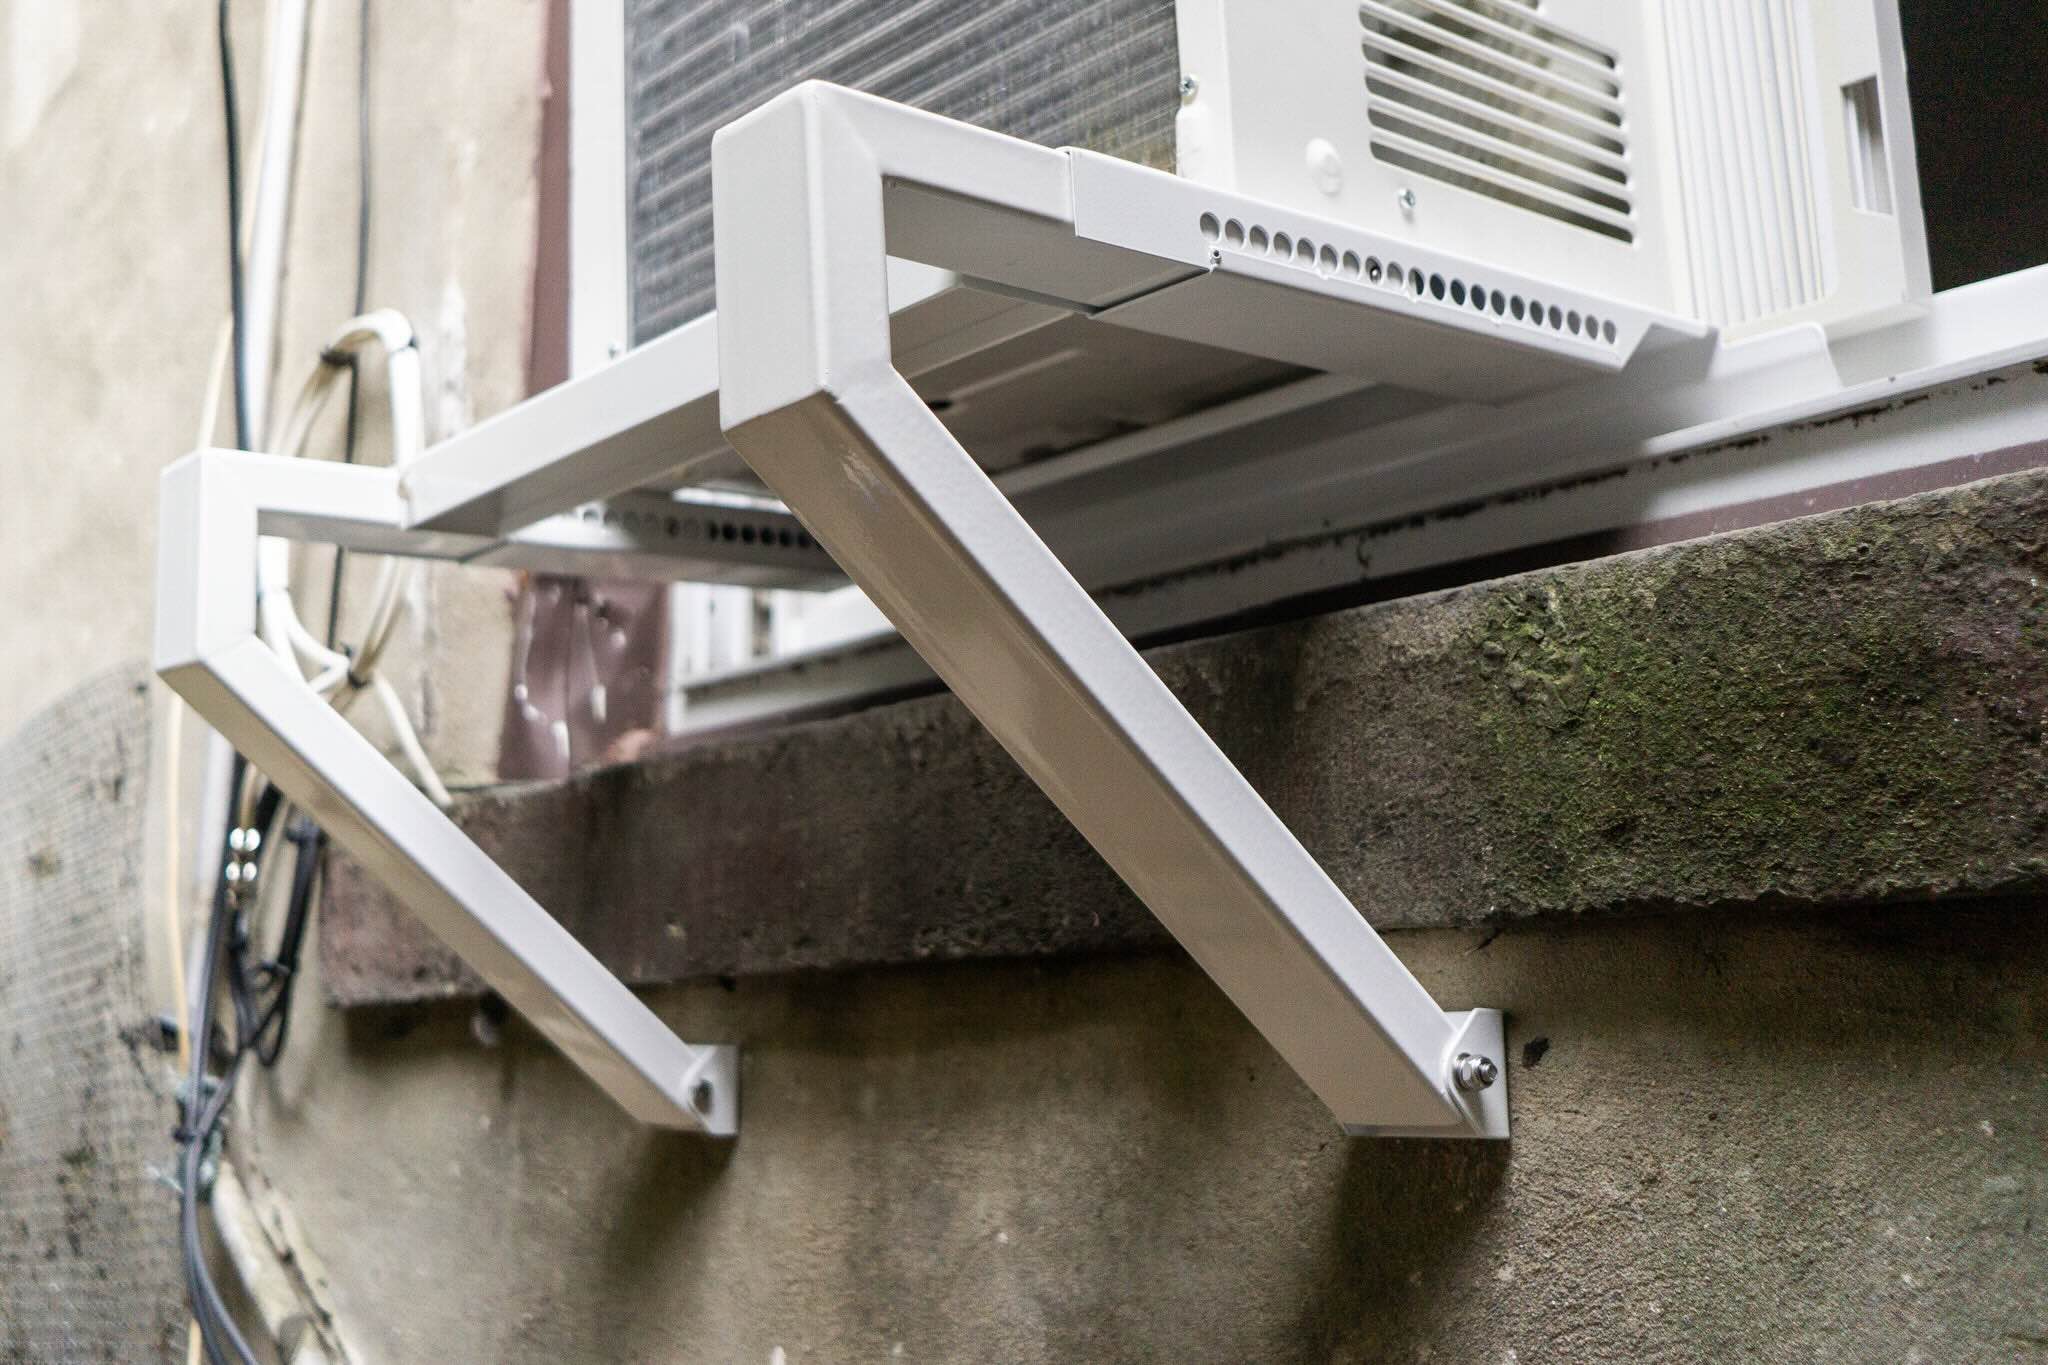
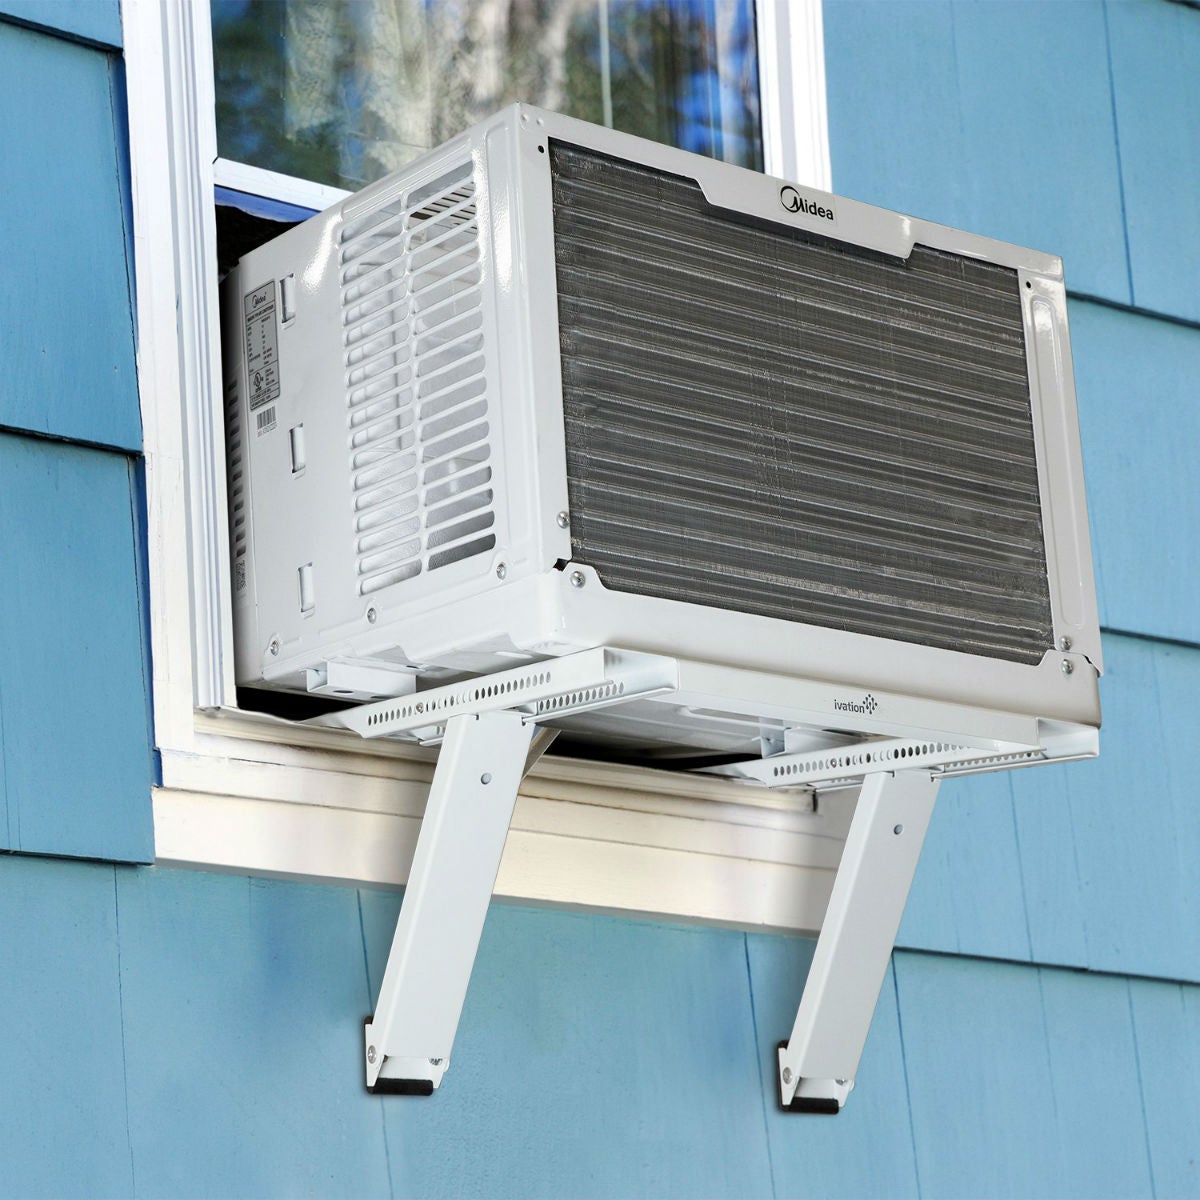
When building a window air conditioner support, make sure to use sturdy materials such as metal brackets or wooden supports to ensure the unit is properly secured and safe to use.
Step 4: Securing the Air Conditioner to the Support Bracket
With the support bracket securely attached to the wall, it’s time to move on to securing the window air conditioner to the bracket. This step will ensure that the unit remains stable and properly supported.
Start by carefully lifting the window air conditioner and placing it onto the support bracket. Make sure to align the unit with the bracket, ensuring that it sits securely and levelly.
Once the air conditioner is in position, locate the mounting holes on the bottom of the unit. These holes are designed for securing the unit to the support bracket.
Using the provided screws or bolts, insert them through the mounting holes and into the corresponding holes on the support bracket. Use a screwdriver or wrench to tighten the screws securely, but be careful not to overtighten and damage the unit or bracket.
Ensure that the air conditioner is securely attached to the support bracket by giving it a gentle tug or shake. It should remain stable without any wobbling or movement. If necessary, adjust the screws for a tighter fit.
It’s important to refer to the manufacturer’s instructions for your specific air conditioner model, as the mounting process may vary slightly. Some units may have additional brackets or clips that need to be installed to provide extra support.
Note that the weight capacity of the support bracket should match or exceed the weight of your air conditioner unit. Exceeding the weight limit can compromise the stability of the bracket and could lead to damage or accidents.
By securely attaching the air conditioner to the support bracket, you can enjoy the cool air without worrying about the unit falling or becoming unstable. This step is crucial for the safe and proper operation of the air conditioner.
Read more: How To Insulate A Window Air Conditioner
Step 5: Sealing and Insulating the Window Opening
Once the air conditioner is securely installed, it’s important to seal and insulate the window opening. This will prevent energy loss, outdoor elements, and pests from entering your home.
Start by checking for any gaps or cracks around the window frame. Use weatherstripping or caulk to seal these areas, ensuring a tight seal between the window and the frame.
Next, apply a bead of caulk along the outer edges of the support bracket where it meets the window frame. This will create a waterproof and airtight seal, minimizing air leakage and improving energy efficiency.
After sealing the window frame, apply insulation foam around the gaps between the air conditioner unit and the window opening. Fill any spaces and crevices to provide additional insulation and prevent drafts from entering your home.
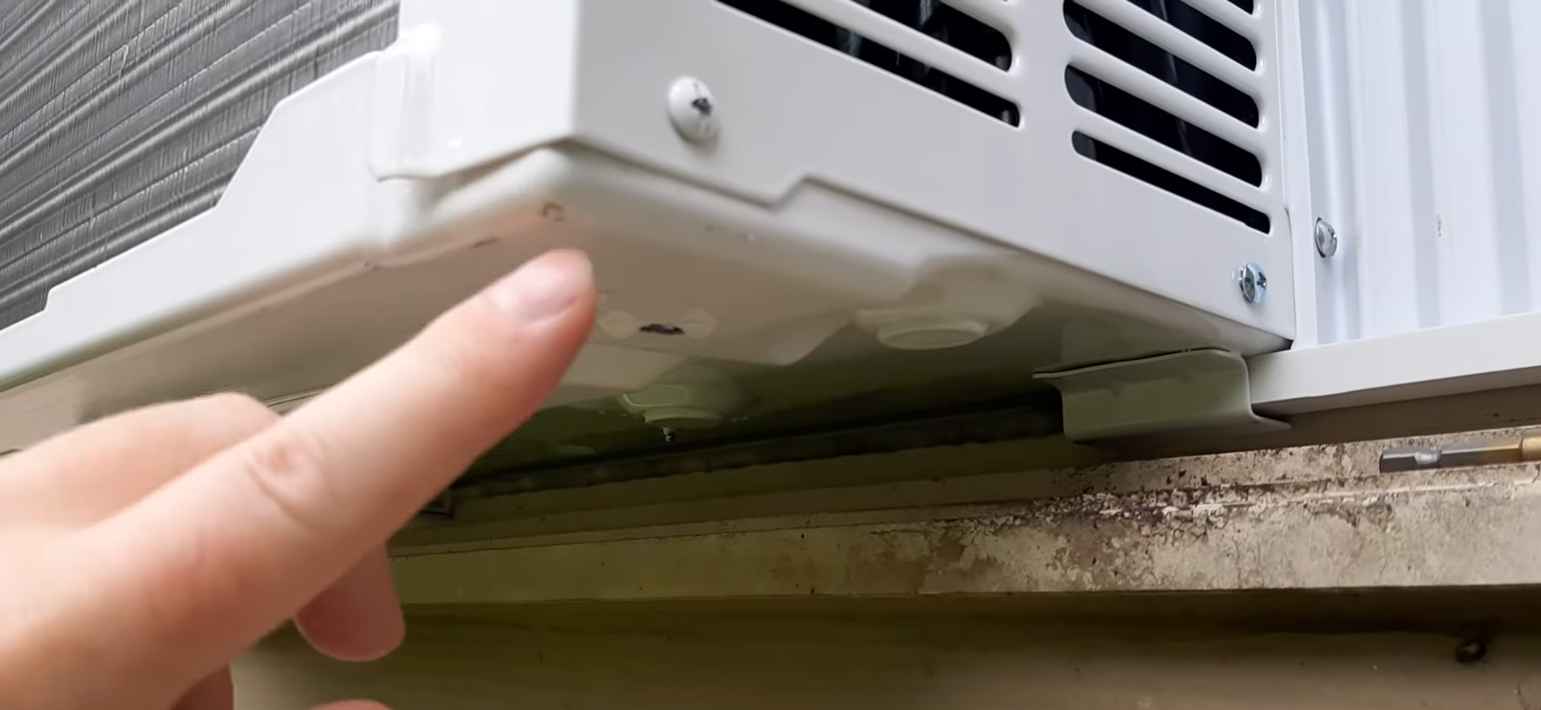
Ensure that the foam insulation does not obstruct the drainage holes on the air conditioner unit. These holes allow moisture to escape, preventing water damage and mold buildup.
Once the sealing and insulation are complete, wait for the caulk and foam to dry and set. This may take a few hours or as specified by the manufacturer’s instructions.
Finally, use a utility knife or a sharp blade to trim any excess foam or caulk, ensuring a neat and tidy appearance. Be careful not to damage the window frame or the support bracket during this process.
Properly sealing and insulating the window opening will improve the efficiency of your air conditioner and help maintain a comfortable indoor environment. It will also minimize the infiltration of dust, insects, and outdoor noise.
Remember to regularly inspect the sealant and insulation and make any necessary repairs or replacements to maintain their effectiveness over time.
Step 6: Testing the Window Air Conditioner Support
After completing the installation and sealing process, it’s crucial to test the window air conditioner support to ensure its stability and functionality. This will give you peace of mind knowing that your unit is safely and securely installed.
Start by turning on the air conditioner and selecting your desired cooling settings. Allow the unit to run for a few minutes to ensure it is functioning properly.
During operation, carefully observe the support bracket and the air conditioner unit. Look for any signs of movement, wobbling, or excessive vibration. If you notice any instability, immediately turn off the unit and double-check the installation and screws securing the support bracket to the wall.
Additionally, listen for any unusual sounds coming from the air conditioner or the support bracket. Rattling or banging noises could indicate loose components or an insecure installation. If you hear anything out of the ordinary, investigate and make any necessary adjustments or repairs.
Test the window operation with the air conditioner installed. Ensure that the window can still open and close smoothly, without any interference from the unit or support bracket.
If you have installed an air conditioner with a remote control, test the remote control functions to ensure they are working correctly. Make sure that the unit responds to the remote commands and adjusts the settings accordingly.
After testing the functionality of the air conditioner and support bracket, visually inspect the overall installation. Check for any signs of damage, wear, or stress on the unit, support bracket, or window frame. Address any issues promptly to maintain the longevity of your air conditioner.
By thoroughly testing the window air conditioner support, you will gain confidence in its stability and performance. Regularly check and maintain the support bracket to ensure that it remains secure and in good condition.
Conclusion
Congratulations! You have successfully built a window air conditioner support, providing a secure and stable installation for your cooling needs. By following the steps outlined in this guide, you have taken the necessary measures to ensure the safety, efficiency, and longevity of your air conditioning unit.
Building a support bracket for your window air conditioner not only saves you money, but it also gives you the satisfaction of completing a DIY project that enhances the comfort of your home.
Remember, proper assessment of the window opening, precise measurement and cutting of the support bracket, secure attachment to the wall, and sealing and insulating the window opening are essential steps in this process.
Regularly inspect and maintain the support bracket, seals, and insulation to ensure their effectiveness. Address any issues promptly to prevent any potential damage to your unit or window.
Now, you can enjoy the cool and refreshing air from your air conditioner without any worries. Sit back, relax, and beat the summer heat!
We hope this guide has been helpful to you. If you have any further questions or need assistance with any other home maintenance projects, feel free to consult our experts.
Now that you've mastered building your own window air conditioner support, why not explore options for premade brackets? Our next guide delves into AC Support Brackets, offering a review of the top choices to ensure your setup is as secure and efficient as possible. Whether you're looking to upgrade or just curious about what's available, this article provides all the details needed to make an informed decision. Dive into this essential read and equip yourself with the best support options on the market.
Frequently Asked Questions about How To Build A Window Air Conditioner Support
Was this page helpful?
At Storables.com, we guarantee accurate and reliable information. Our content, validated by Expert Board Contributors, is crafted following stringent Editorial Policies. We're committed to providing you with well-researched, expert-backed insights for all your informational needs.