Home>Home Maintenance>How To Level An Air Conditioner Pad
Home Maintenance
How To Level An Air Conditioner Pad
Modified: March 7, 2024
Learn how to properly level an air conditioner pad for your home maintenance needs. Ensure your unit is stable and functioning optimally with these step-by-step instructions.
(Many of the links in this article redirect to a specific reviewed product. Your purchase of these products through affiliate links helps to generate commission for Storables.com, at no extra cost. Learn more)
Introduction
When it comes to maintaining your home, ensuring that your air conditioner is properly leveled is an important task that shouldn’t be overlooked. A level air conditioner pad not only helps in the efficient functioning of the unit but also prevents any potential damage to the system. If your air conditioner pad is not level, it can put unnecessary stress on the unit and cause it to operate inefficiently.
In this comprehensive guide, we will take you through the step-by-step process of leveling an air conditioner pad. Whether you are a seasoned DIY enthusiast or a homeowner looking to take charge of your home maintenance, this article will equip you with all the necessary information and tips to successfully level your air conditioner pad.
Before we dive into the steps involved, let’s understand why leveling your air conditioner pad is important. An unlevel pad can lead to numerous issues, including:
- Reduced efficiency: A tilted pad can result in poor drainage and hinder the efficient flow of condensation away from the unit. This can lead to water pooling and potential damage to the system.
- Increased energy consumption: When an air conditioner is not level, it has to work harder to maintain the desired temperature, resulting in increased power consumption and higher energy bills.
- Uneven wear and tear: Over time, an unlevel air conditioner pad can cause excessive vibration and strain on the unit, leading to premature wear and tear on important components.
- Noise issues: An imbalanced air conditioner can produce excessive noise due to the uneven distribution of weight and vibration. This can be both annoying and disruptive.
- Potential for water damage: If condensation pools around the unit due to poor drainage, it can seep into the foundation or basement, causing water damage to your home.
Now that you understand the importance of a level air conditioner pad, let’s proceed with the step-by-step instructions to level your air conditioner pad like a pro.
Key Takeaways:
- Properly leveling your air conditioner pad is crucial for efficient cooling, reduced energy consumption, and preventing potential damage to your unit. It ensures a comfortable indoor environment and extends the lifespan of your cooling system.
- By following the step-by-step process outlined in this guide, you can easily level your air conditioner pad, enhance the performance of your unit, and enjoy the benefits of a well-maintained and efficiently functioning cooling system in your home.
Step 1: Preparation
Before you begin leveling your air conditioner pad, it’s essential to gather all the necessary tools and materials. Here’s a list of items you’ll need:
- Level: A reliable and accurate level is the key tool you’ll need to ensure the pad is properly balanced.
- Tape measure: This tool will help you measure the dimensions of the existing pad and the area where the new pad will be placed.
- Shovel: Depending on the condition of the area around the pad, you may need a shovel to clear any debris or level the ground.
- Sand or gravel: You may require sand or gravel to create a stable and level base for the new pad.
- Lifting straps or dolly (optional): If you need to remove the old pad, having lifting straps or a dolly can make the process easier.
- Concrete mix (if applicable): If you need to pour a new concrete pad, make sure you have the necessary concrete mix and tools for the job.
- Gloves and safety goggles: Always prioritize safety when working on home maintenance projects. Wear gloves to protect your hands and safety goggles to shield your eyes.
Once you have gathered all the required tools and materials, it’s time to move on to the next step: inspecting the existing pad.
Step 2: Inspect the existing pad
Before you proceed with leveling the air conditioner pad, it’s important to inspect the condition of the existing pad. This will help you determine whether you need to replace the pad entirely or simply make adjustments to level it.
Here are a few key things to look out for during the inspection:
- Cracks or damage: Check for any cracks or signs of damage on the existing pad. Cracks can be a sign of structural issues and may require the pad to be replaced.
- Unevenness: Use a level to check if the existing pad is already level. If it’s not, note the areas where adjustments need to be made.
- Stability: Assess the stability of the pad by applying pressure or gently rocking it. If it feels wobbly or unstable, it’s important to address the issue to prevent further damage.
- Drainage: Inspect the drainage system around the pad. Ensure that there is proper slope for water to flow away from the unit. If there are any blockages or poor drainage, take note of it for later correction.
Based on your observations during the inspection, you can decide whether the existing pad needs to be replaced or if adjustments can be made to level it. If there are extensive cracks or structural issues, it is recommended to replace the pad to ensure the long-term stability of the air conditioner.
However, if the pad is in relatively good condition and only requires leveling adjustments, you can proceed to the next step: clearing the area.
Step 3: Clear the area
Once you have inspected the existing pad and determined that it only requires leveling adjustments, it’s time to clear the area surrounding the air conditioner. Clearing the area will not only provide you with a clean workspace, but it will also help you assess the condition of the ground and make necessary preparations.
Follow these steps to clear the area effectively:
- Remove debris: Clear away any leaves, dirt, branches, or other debris around the air conditioner unit. This will prevent any obstruction when leveling the pad.
- Trim vegetation: Trim any overgrown grass, bushes, or plants that are near the air conditioner. It is important to maintain a clear and well-ventilated space around the unit.
- Inspect for obstructions: Check for any objects or structures that may be blocking the air conditioner’s airflow. Ensure that there is at least two feet of clearance on all sides of the unit.
- Check underground utilities: Before digging or making any adjustments to the ground, take precautions to locate any underground utilities to avoid damage. Call your local utility company to mark the location of any underground lines.
Clearing the area around the air conditioner not only improves accessibility but also helps create a safer and more efficient working environment. Once you have cleared the area, you can proceed to the next step, which involves removing the old pad (if necessary).
Step 4: Remove the old pad (if necessary)
Depending on the condition and stability of the existing air conditioner pad, you may need to remove it completely before proceeding with leveling. Removing the old pad allows you to start with a clean slate and ensures that the new pad will be properly installed. Here’s how you can remove the old pad:
- Disconnect power: Before you begin any work, it’s important to turn off the power to your air conditioner unit. Locate the circuit breaker that controls the air conditioner and switch it off to prevent any electrical accidents.
- Take safety precautions: Put on gloves and safety goggles to protect yourself during the removal process. Remove any loose debris or objects from the old pad to avoid tripping or injuries.
- Assess attachment method: Determine how the old pad is attached to the ground. It may be held in place with bolts, screws, or adhesive. Use the appropriate tools to remove any fasteners or adhesive, ensuring that you don’t damage the surrounding area.
- Lift the pad: If the pad is heavy or difficult to move, you can use lifting straps or a dolly to lift and transport it to a safe location. Take care to avoid damaging the air conditioner unit or any nearby structures.
- Clean the area: Once the old pad is removed, take the time to clean the area where it was situated. Clear away any remaining debris, dirt, or residue.
After removing the old pad, you can assess the condition of the ground and make any necessary adjustments to ensure a level surface for the new pad. In the next step, we will discuss how to level the ground effectively.
Read more: How To Winterize An Air Conditioner
Step 5: Level the ground
With the old pad removed, it’s time to focus on leveling the ground where the new air conditioner pad will be placed. Properly leveling the ground is crucial for ensuring the stability and longevity of the pad. Follow these steps to level the ground effectively:
- Measure and mark the area: Use a tape measure to determine the dimensions of the new pad. Mark the corners of the pad using stakes or spray paint to indicate the boundaries.
- Remove excess soil: If the ground is uneven or has high spots, use a shovel to remove any excess soil or bumps. Alternatively, if the ground is too low in certain areas, add soil or gravel to fill in the gaps.
- Compact the soil: After removing excess soil or adding new material, use a tamper or a hand compactor to compact the soil. This will create a solid and stable base for the new pad.
- Check for levelness: Place a level on different areas of the ground to check for levelness. Adjust the soil as needed to achieve a flat and even surface. It’s important to ensure that the ground is level in all directions.
- Consider using a leveling compound: If the ground is extremely uneven or unstable, you may need to use a leveling compound. Follow the manufacturer’s instructions to apply the compound and create a level surface.
Take your time during the ground leveling process to ensure accuracy and precision. A properly leveled ground provides a solid foundation for the new air conditioner pad. Now, it’s time to move on to the next step: placing the new pad.
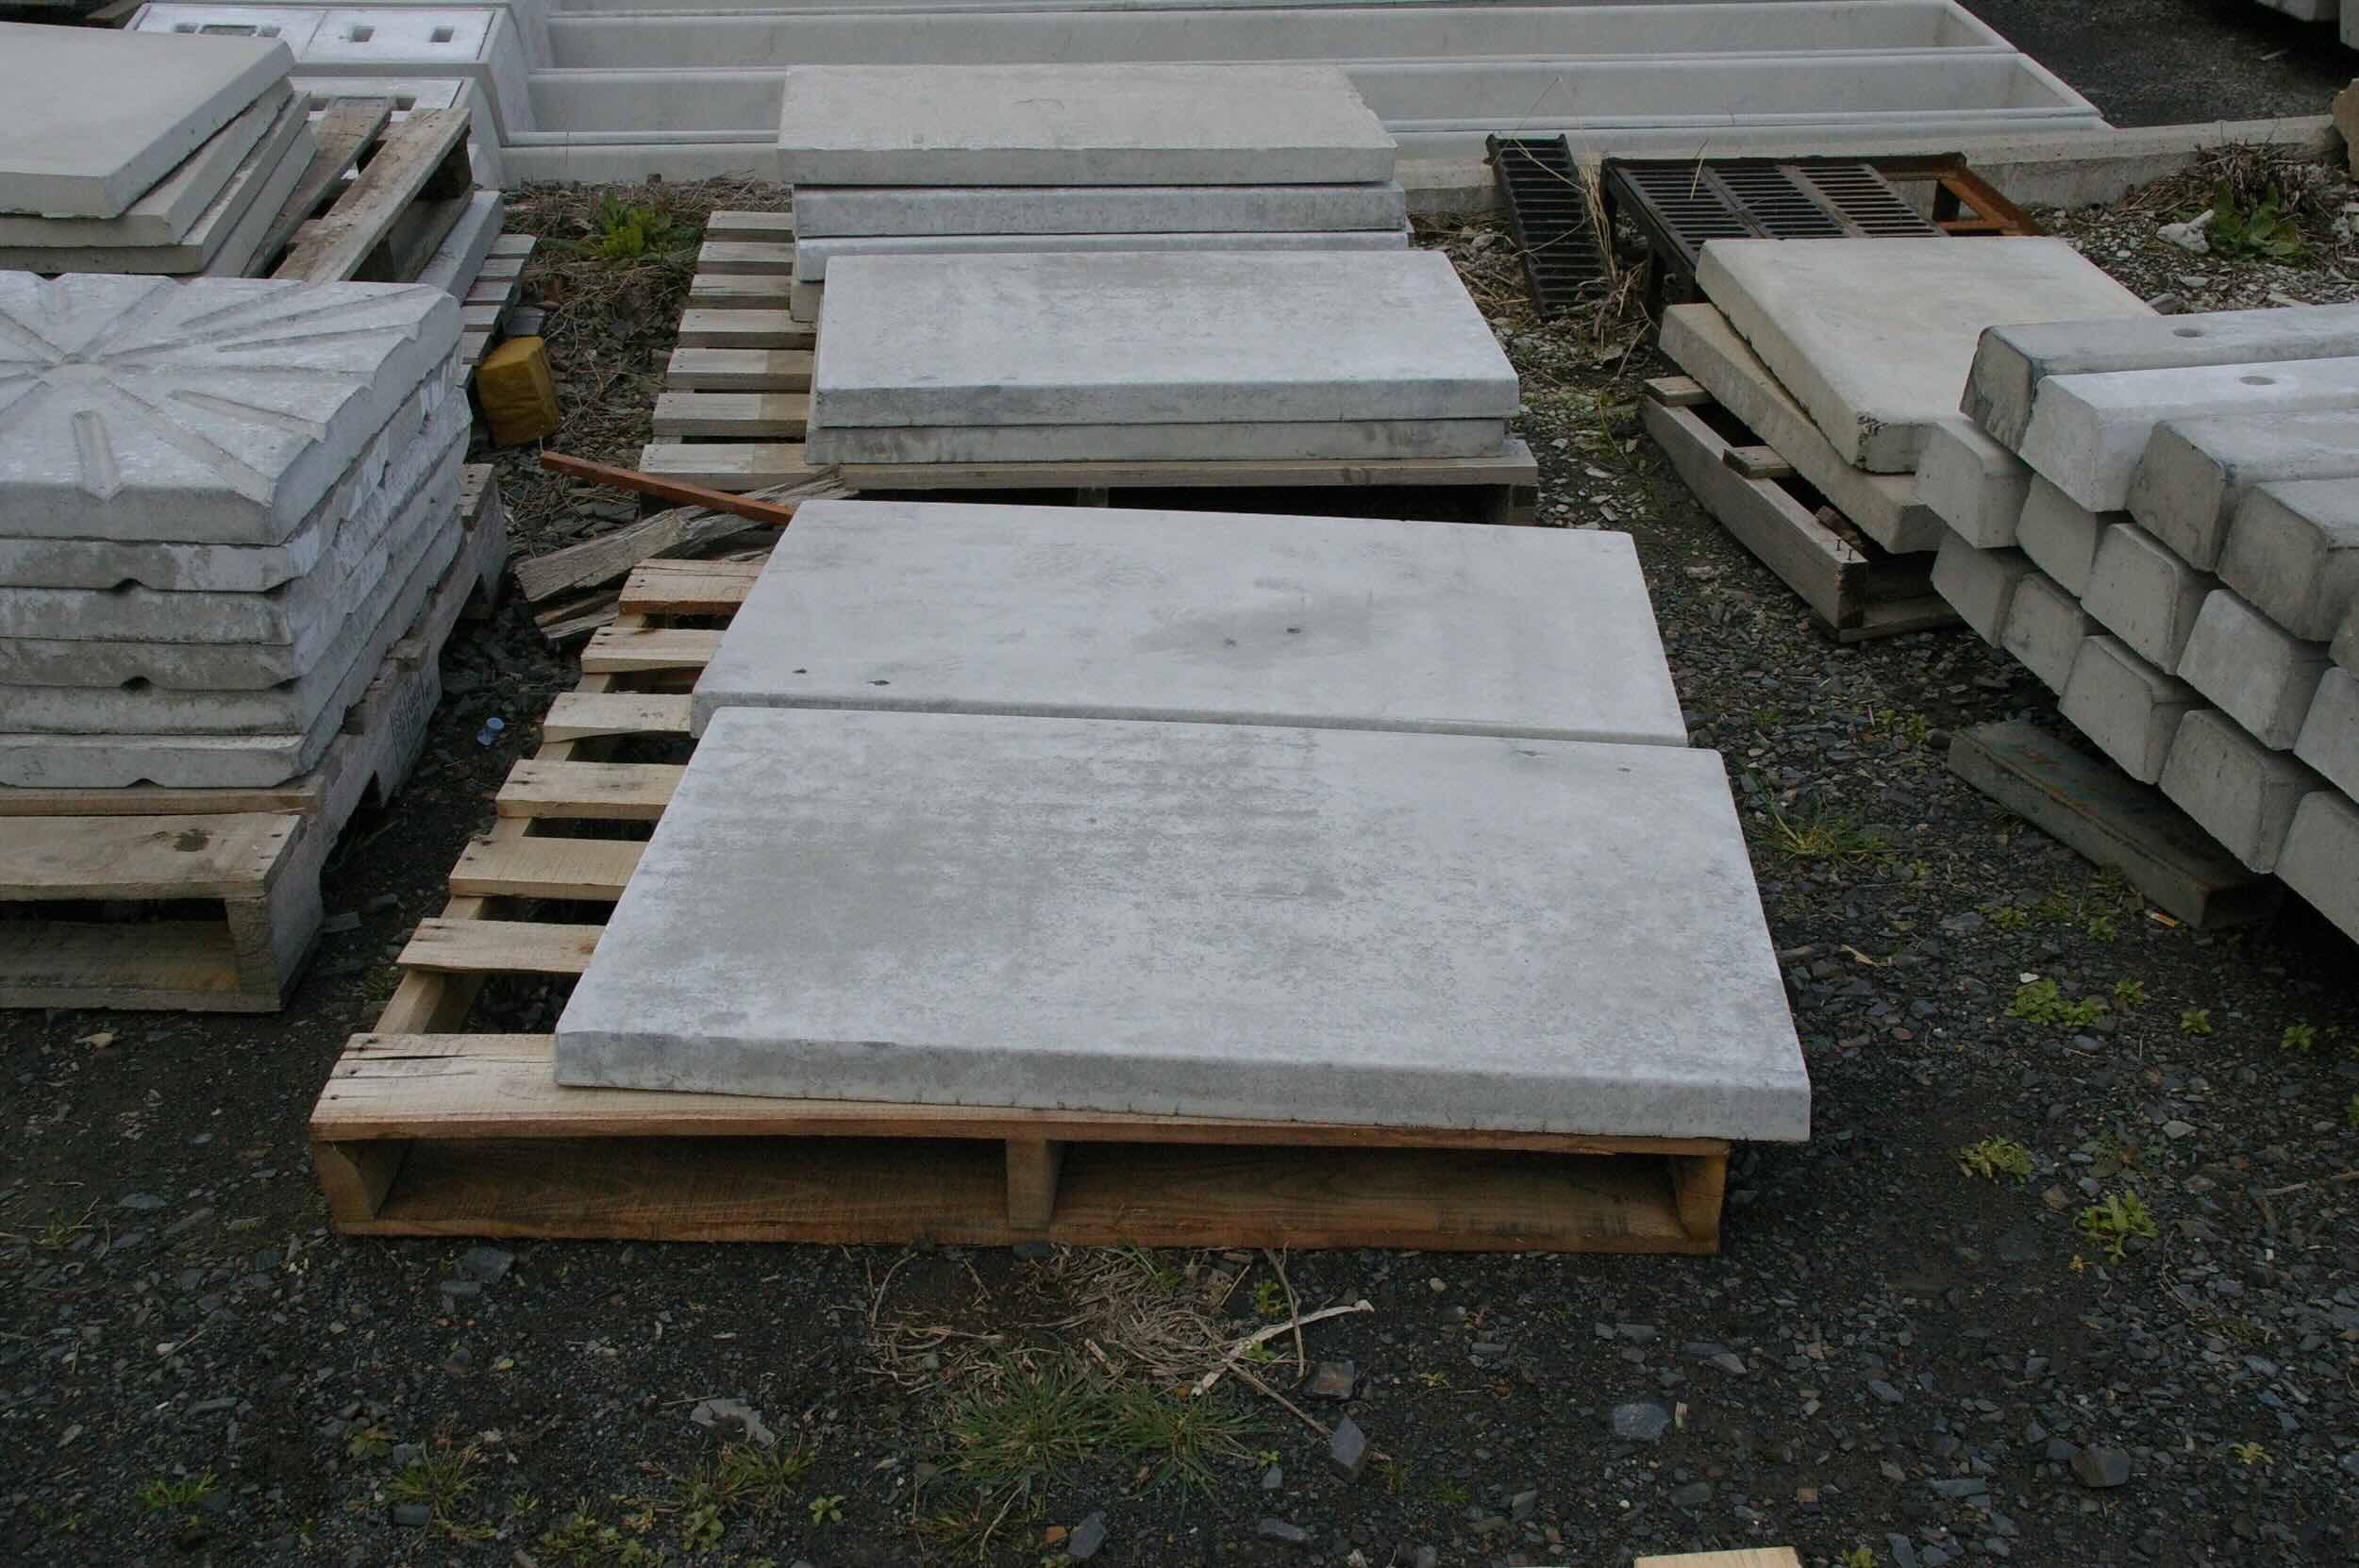
Use a level to check if the air conditioner pad is flat. If it’s not, add or remove gravel underneath until it’s level. This will ensure proper functioning and prevent damage.
Step 6: Place the new pad
After successfully leveling the ground, it’s time to proceed with placing the new air conditioner pad. The new pad will act as a stable base for your air conditioner unit, ensuring proper support and functionality. Follow these steps to place the new pad:
- Choose the right pad: Select a new pad that is specifically designed for air conditioner units. The pad should be made of durable and weather-resistant materials, such as concrete, plastic, or composite materials.
- Position the pad: Carefully place the new pad on the leveled ground, ensuring that it aligns with the dimensions marked in Step 5. Take your time to position it correctly, as this will impact the stability and performance of your air conditioner unit.
- Align the pad: Use a level to check if the pad is perfectly horizontal in all directions. Adjust the position as needed to achieve a level surface.
Note: Some air conditioner pads may have pre-drilled holes for securing the unit. If your pad has these holes, ensure that they align with the mounting holes on the unit for proper attachment.
Placing the new pad accurately is crucial for maintaining the stability and efficiency of your air conditioner. Once the pad is properly positioned, it’s time to move on to the next step: checking the levelness of the pad.
Step 7: Check the level
After placing the new air conditioner pad, it’s important to ensure that it is level to provide optimal support and functionality for your unit. Checking the levelness of the pad will help prevent potential issues and ensure efficient operation. Follow these steps to check the level of the pad:
- Position the level: Place the level on different areas of the pad, both lengthwise and widthwise. Ensure that the level is positioned in a way that allows you to accurately determine the slope or tilt.
- Check the bubble: Look at the bubble on the level and observe its position. Ideally, the bubble should be centered between the leveling lines on the level. If the bubble is off-center, it indicates an uneven surface.
- Adjust if necessary: If the pad is not level, you will need to make adjustments to achieve a level position. This can be done by gradually adding or removing soil or using leveling shims to correct any imbalances.
- Recheck the level: After making adjustments, reposition the level on the pad and check the bubble again. Continue this process until the bubble is centered, indicating a level pad.
It’s important to take your time during this step to ensure accurate leveling. A level pad will provide the necessary stability and support for your air conditioner unit, preventing potential damage and ensuring efficient operation.
Once you have checked and achieved a level surface, it’s time to proceed to the next step: securing the pad in place.
Step 8: Adjust if needed
After checking the levelness of the air conditioner pad, there may be instances where further adjustments are required to achieve the desired balance. It’s essential to ensure that the pad is perfectly level to maintain the efficiency and longevity of the unit. Follow these steps to make any necessary adjustments:
- Identify the uneven areas: Use the level to identify any specific areas of the pad that are not level. Take note of these areas as they will need to be addressed.
- Add or remove material: If the pad is leaning towards one side, you may need to add or remove material under the pad to achieve balance. This can be done by adding or removing soil, sand, or leveling shims.
- Gradually adjust: Make small adjustments at a time and recheck the levelness after each adjustment. This will help you achieve precision and ensure that the pad is properly balanced.
- Reposition the unit: If needed, you may need to slightly reposition the air conditioner unit on the pad to achieve a level position. This can be done by carefully lifting and sliding the unit as necessary.
Remember, it’s important to be patient while making adjustments and continuously rechecking the levelness. Taking the time to properly adjust the pad will help maintain the stability and efficiency of your air conditioner unit in the long run.
Once you have made all the necessary adjustments, it’s time to secure the pad in place to ensure it remains stable and properly aligned.
Read more: How To Use An Air Conditioner
Step 9: Secure the pad
After leveling the air conditioner pad and making any necessary adjustments, it’s crucial to secure the pad in place to ensure stability and prevent any shifting or movement. Securing the pad will help maintain the proper alignment of the air conditioner unit and protect it from potential damage caused by vibrations or external factors. Follow these steps to securely fasten the pad:
- Use anchor bolts or screws: Depending on the design of your air conditioner pad, you may need to use anchor bolts or screws to secure it to the ground. These fasteners will help prevent any movement or shifting of the pad.
- Align the pad with mounting holes: If your air conditioner unit has mounting holes, ensure that they align with the holes on the pad. This will allow for a secure and stable connection between the unit and the pad.
- Insert and tighten the fasteners: Insert the anchor bolts or screws through the holes and use the appropriate tools to tighten them securely. Take care not to overtighten, as this may cause damage to the pad or unit.
- Verify stability: Once the pad is secured, check for any movement or wobble. Give the pad a gentle push or shake to ensure that it remains stable. If there is any instability, revisit the leveling and securing steps to make adjustments as needed.
Securing the air conditioner pad is an important final step in the leveling process. It provides stability and ensures that the unit remains properly aligned, reducing the risk of damage and ensuring efficient operation.
With the pad securely in place, it’s time to move on to the final step: performing a thorough check and testing of the air conditioner unit.
Step 10: Final check and testing
After completing the process of leveling and securing the air conditioner pad, it’s crucial to perform a final check and testing to ensure that everything is in proper working order. This step will help you verify the effectiveness of your efforts and ensure that your air conditioner unit is ready for optimal performance. Follow these steps for the final check and testing:
- Inspect the pad: Carefully examine the pad to ensure that it is level and securely fastened. Look for any signs of movement, cracks, or instability. Address any issues or concerns that you may notice.
- Check for proper unit alignment: Verify that the air conditioner unit is aligned properly on the pad. The unit should be centered and level. Make any necessary adjustments if the unit appears misaligned.
- Test the air conditioner: Turn on the air conditioner and allow it to run for a few minutes. Listen for any unusual sounds, vibrations, or excessive noise. Observe the airflow and ensure that it is consistent and reaching the desired areas.
- Monitor drainage: Watch for proper drainage of condensation water. Ensure that it is flowing away from the unit and not pooling around the pad. Address any drainage issues promptly.
- Check for efficient cooling: Confirm that the air conditioner is effectively cooling the space. Monitor the temperature and compare it to the desired setting. If there are any issues with cooling, contact a professional for further assistance.
By conducting a final check and testing, you can have confidence that your air conditioner pad is properly leveled and that your unit is functioning optimally. If any issues or concerns arise during the testing phase, it’s recommended to consult with a professional HVAC technician for further evaluation and guidance.
Congratulations! By following these ten steps, you have successfully leveled your air conditioner pad and ensured the efficient and stable operation of your unit. Regularly inspect the pad and perform maintenance to keep it in good condition. Properly leveling the pad will contribute to the longevity of your air conditioner and help maintain a comfortable indoor environment.
Remember, if you are unsure or uncomfortable with any of the steps mentioned, it’s best to seek the assistance of a professional to ensure the job is done correctly and safely.
With your air conditioner pad leveled, you can now enjoy the benefits of a well-maintained and efficiently functioning cooling system in your home.
Conclusion
Leveling your air conditioner pad is a crucial maintenance task that ensures the optimal function of your unit while preventing potential damage. By following the step-by-step process outlined in this guide, you have learned how to properly level an air conditioner pad with ease and confidence.
Throughout the process, you have learned the importance of a level pad. An uneven pad can lead to reduced efficiency, increased energy consumption, uneven wear and tear, noise issues, and potential water damage. By addressing these issues and leveling the pad, you can enhance the performance of your air conditioner and extend its lifespan.
Starting with preparation and tool gathering, you cleared the area and inspected the existing pad. You learned how to remove the old pad (if necessary) and level the ground for the new pad. With careful placement and adjustment, you achieved a level surface. By securing the pad in place, you ensured stability and alignment for the air conditioner unit.
Finally, after the completion of all the steps, you performed a thorough final check and testing to verify the effectiveness of your efforts. A properly leveled pad will contribute to efficient cooling and a comfortable indoor environment while reducing the risk of damage.
Remember, if you have any doubts or concerns during the process of leveling your air conditioner pad, it’s advisable to consult with a professional HVAC technician. They can provide expert guidance and ensure the job is done correctly.
By taking the time to properly level your air conditioner pad, you are prioritizing the maintenance and longevity of your cooling system. Regularly inspect the pad and perform any necessary adjustments to keep it in optimal condition. With a well-leveled pad, you can enjoy cool and comfortable indoor temperatures for years to come.
Thank you for choosing this guide. Happy leveling!
Frequently Asked Questions about How To Level An Air Conditioner Pad
Was this page helpful?
At Storables.com, we guarantee accurate and reliable information. Our content, validated by Expert Board Contributors, is crafted following stringent Editorial Policies. We're committed to providing you with well-researched, expert-backed insights for all your informational needs.