Home>Home Maintenance>What Is A Casement Air Conditioner
Home Maintenance
What Is A Casement Air Conditioner
Modified: October 20, 2024
Discover how a casement air conditioner can enhance your home's comfort with efficient cooling. Get expert tips and guides for proper home maintenance.
(Many of the links in this article redirect to a specific reviewed product. Your purchase of these products through affiliate links helps to generate commission for Storables.com, at no extra cost. Learn more)
Introduction
A casement air conditioner is a popular cooling option for homes and apartments that have vertical sliding or crank-out windows. Unlike traditional window air conditioners, casement air conditioners are specifically designed to fit into windows that open horizontally rather than vertically. This unique feature makes them an ideal choice for spaces where standard window units cannot be used.
In this article, we will explore the definition of a casement air conditioner, how it works, its advantages and disadvantages, installation and maintenance tips, and how it compares to other types of air conditioners.
Whether you are considering installing a casement air conditioner in your own home or simply want to learn more about this cooling option, this article will provide you with the information you need.
Key Takeaways:
- Casement air conditioners are designed for horizontally sliding windows, providing efficient cooling, improved ventilation, and a sleek appearance. They are a practical choice for targeted and space-saving cooling solutions.
- When choosing an air conditioner, consider factors such as window compatibility, cooling capacity, ventilation, installation requirements, and long-term maintenance. Making an informed decision ensures optimal indoor comfort throughout the year.
Read more: What Are The Parts Of An Air Conditioner
Definition of a Casement Air Conditioner
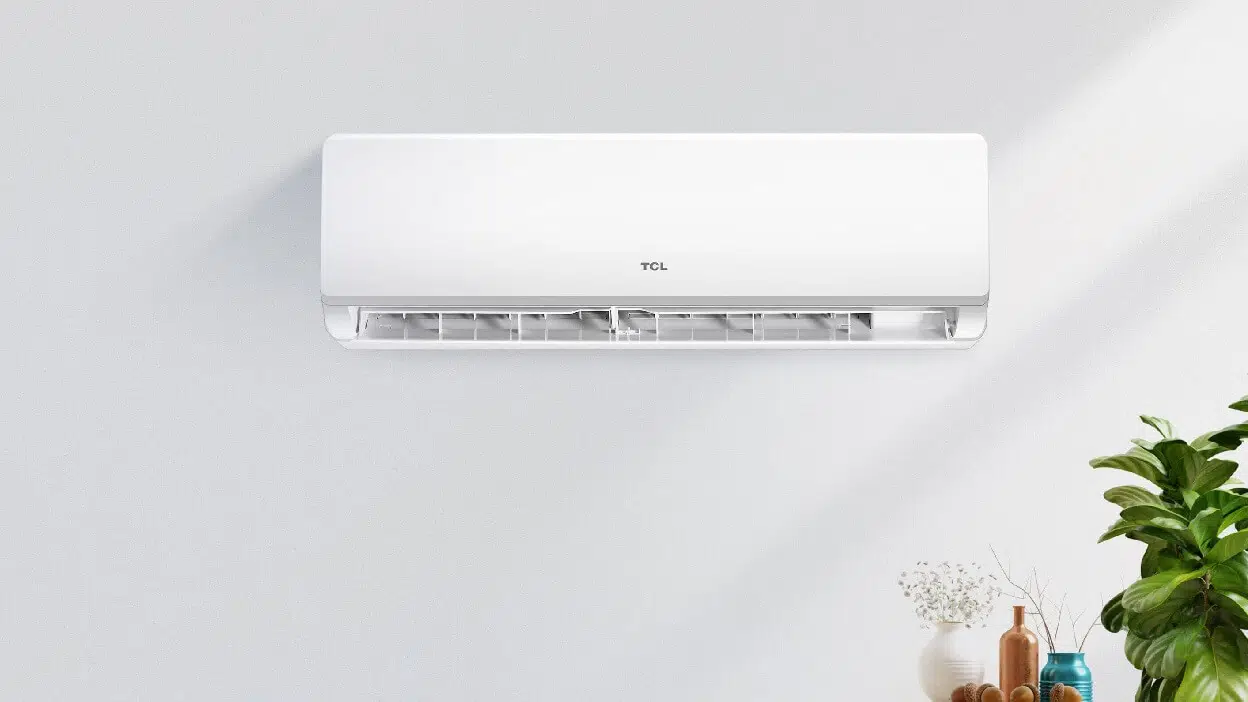
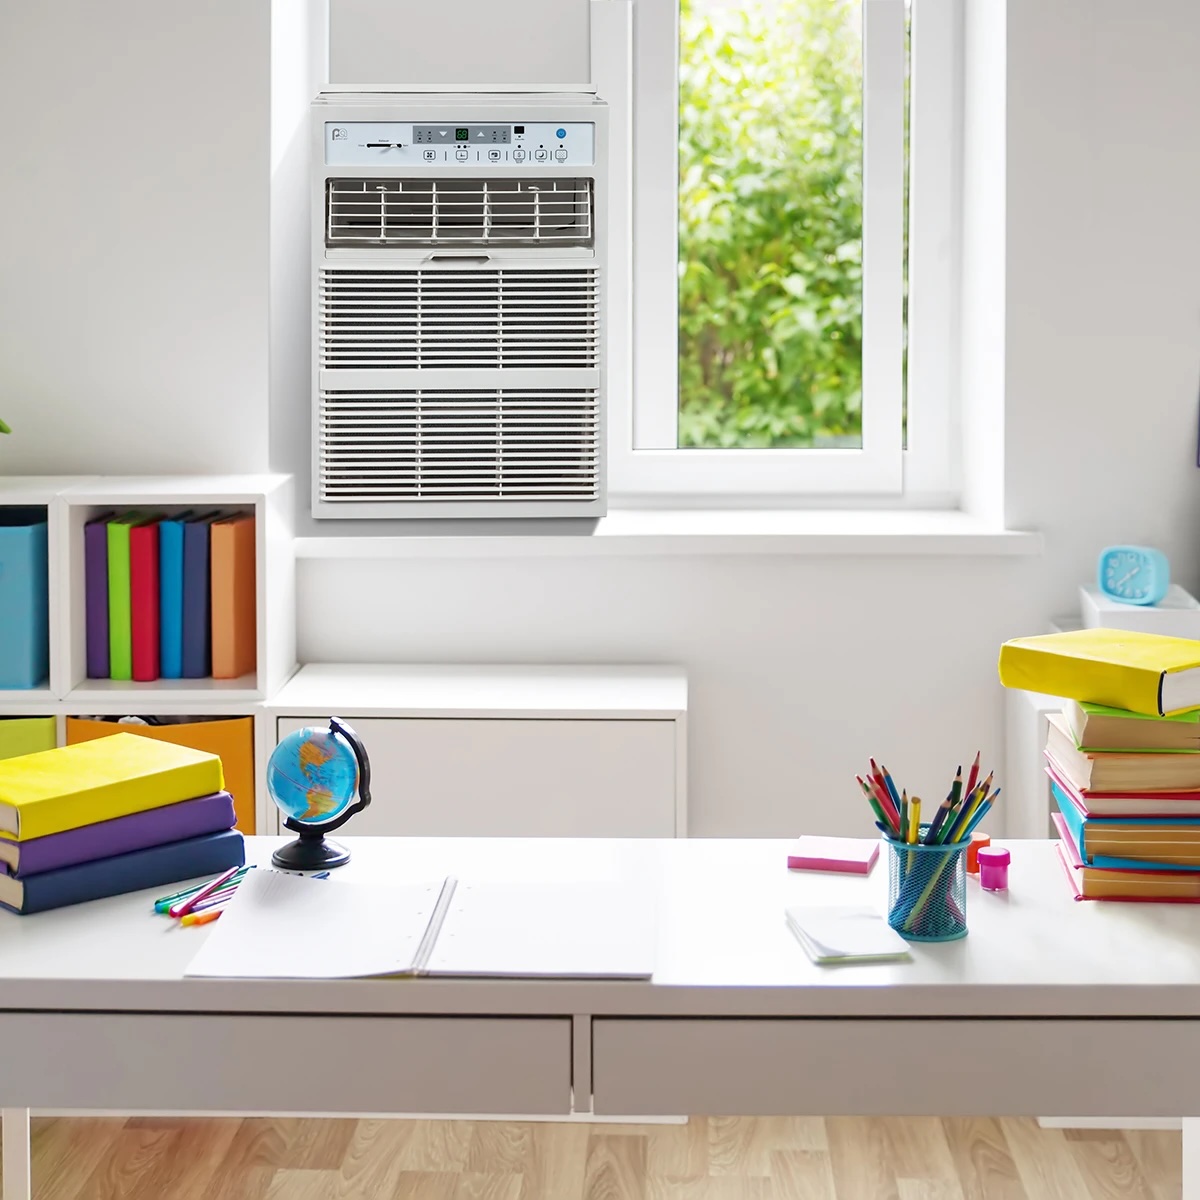
A casement air conditioner is a type of cooling device specifically designed for windows that have a horizontal sliding or crank-out mechanism. Unlike traditional window air conditioners that are designed to fit vertically sliding windows, casement air conditioners are configured to fit horizontally opening windows.
These units are typically narrower and taller than standard window air conditioners, allowing them to fit into the narrow space created by a horizontally opening window. They are also designed to be installed flush with the window frame, providing a tight and secure seal to prevent air leakage.
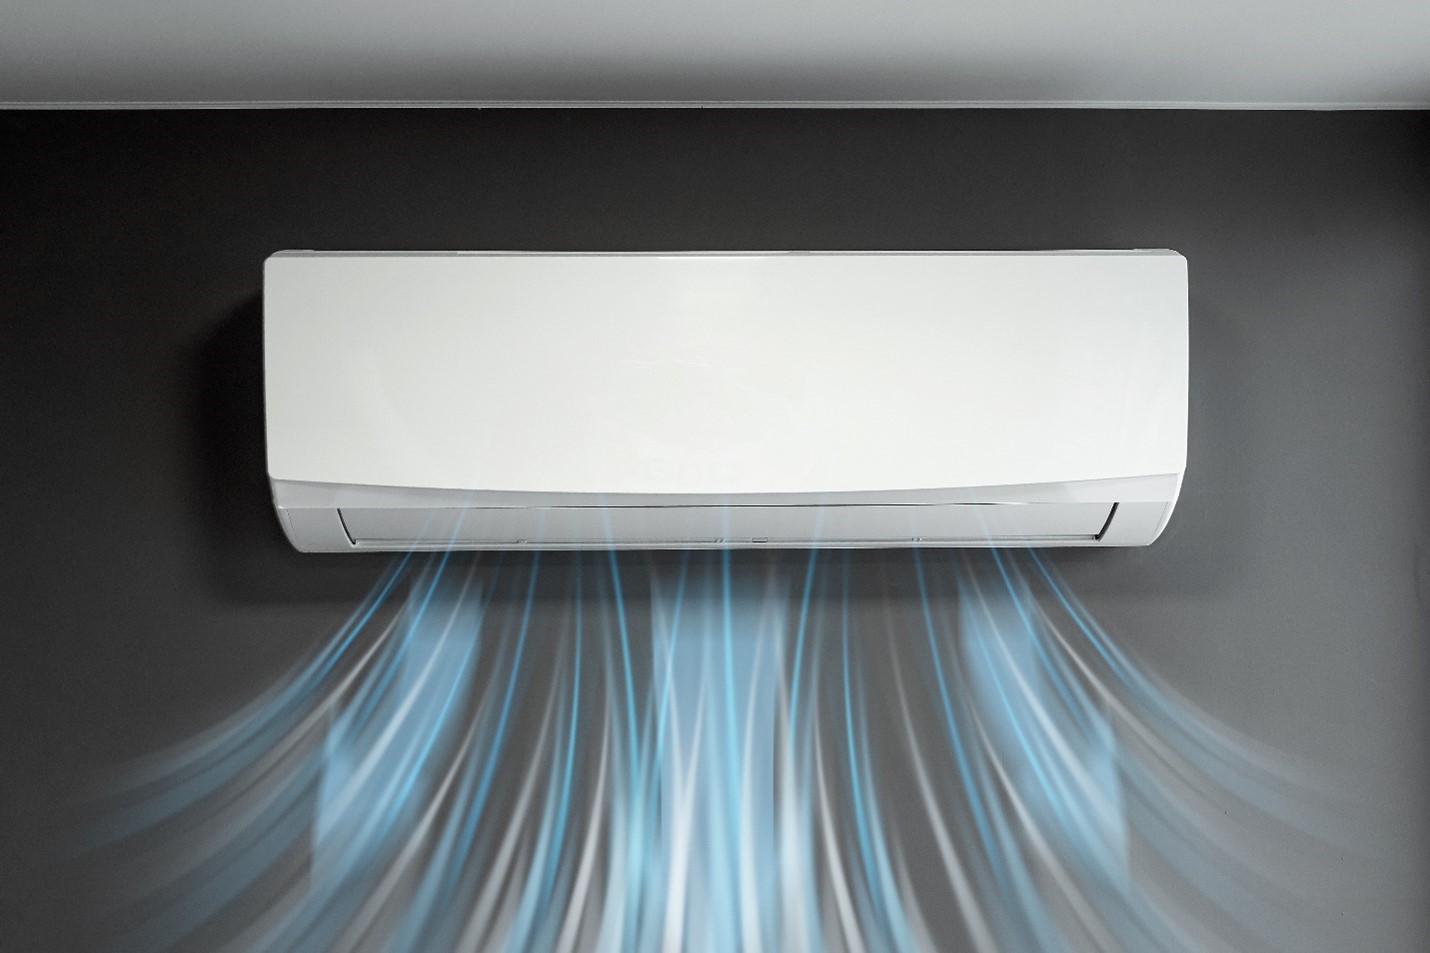
Casement air conditioners work by drawing warm air from the room into the unit, cooling it using a refrigeration process, and then expelling the cooled air back into the room. They are equipped with a compressor, condenser, evaporator, and a fan to facilitate the cooling process.
One of the distinguishing features of casement air conditioners is the inclusion of side vents or louvers. These vents are designed to allow fresh outdoor air to enter the unit for proper ventilation and circulation. The louvers can usually be adjusted manually to control the direction of the air flow.
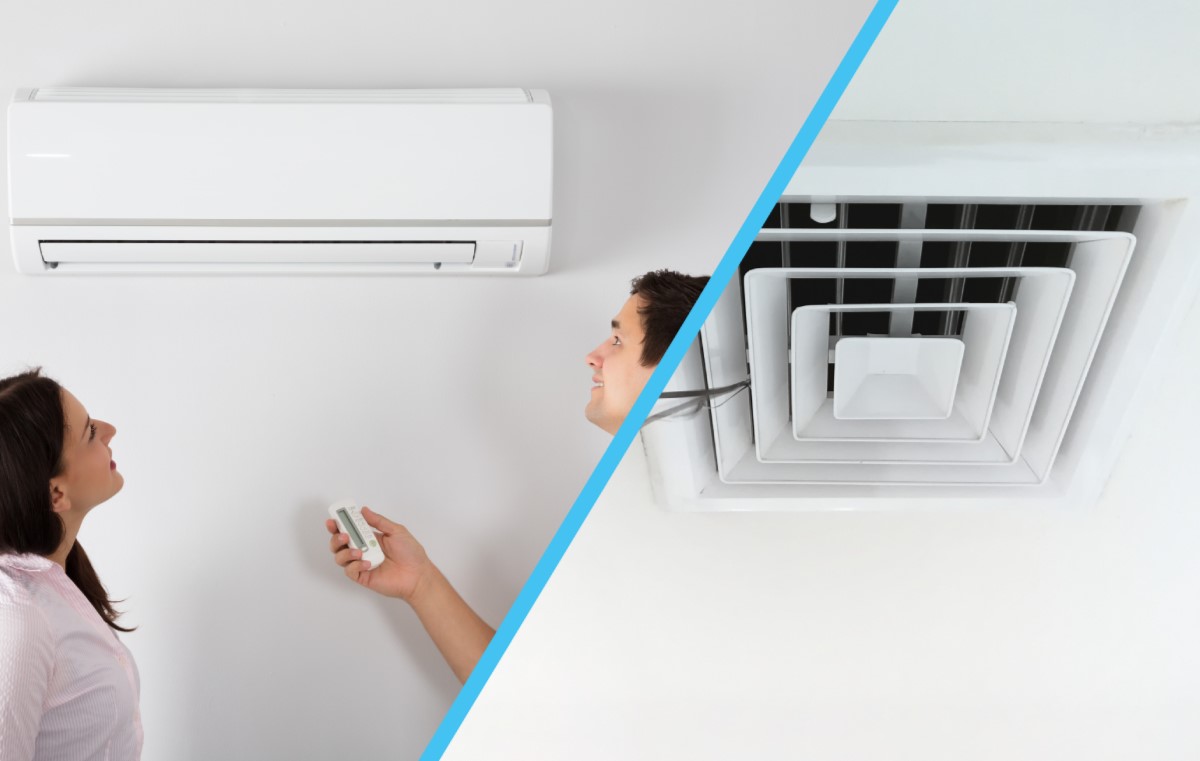
Most casement air conditioners come with a remote control for convenient operation, allowing users to adjust the temperature, fan speed, and other settings from anywhere in the room. They also typically have multiple cooling modes, including a sleep mode and a timer mode, for energy efficiency and customized comfort.
It is important to note that casement air conditioners are designed specifically for windows with horizontal openings, and they may not be suitable for other types of windows such as double-hung or sliding windows. It is essential to carefully measure the window opening and ensure compatibility before purchasing a casement air conditioner.
Now that we have covered the definition of a casement air conditioner, let’s take a closer look at how it works.
How Does a Casement Air Conditioner Work?
A casement air conditioner works on the same basic principle as other air conditioning units: it extracts warm air from the room, cools it, and then releases the cooled air back into the space. However, the design and installation of a casement air conditioner differ slightly from traditional window air conditioners.
When a casement air conditioner is installed in a horizontal-sliding or crank-out window, the unit is positioned flush with the window frame. This ensures a tight seal to prevent air leakage and allows for efficient cooling.
The cooling process of a casement air conditioner begins when the unit draws warm air from the room through the intake vents located at the front of the unit. The air is then circulated over the evaporator coil, which contains a refrigerant that absorbs the heat from the air.
The absorbed heat causes the refrigerant to evaporate into a gas form. The gas then travels to the compressor, where it is compressed and further heated. This process increases the temperature and pressure of the gas.
After leaving the compressor, the hot and pressurized gas moves to the condenser coil located on the back of the unit, where it releases heat to the surrounding air. During this heat exchange process, the refrigerant condenses back into a liquid form.
As the refrigerant cools, a fan inside the casement air conditioner pushes the cooled air back into the room, providing a comfortable indoor climate. The unit also expels excess moisture from the air, further enhancing the cooling effect.
One unique feature of a casement air conditioner is the presence of side vents or louvers. These vents allow fresh outdoor air to enter the unit, providing ventilation and improving air circulation. The louvers can be adjusted manually to control the direction of the air flow to ensure maximum comfort.
Casement air conditioners are typically equipped with various settings and features to enhance convenience and energy efficiency. They often have multiple cooling modes, such as a sleep mode and a timer mode, which allow users to customize the cooling schedule and save energy.
In addition to cooling, many casement air conditioners also offer heating capabilities, making them suitable for year-round use. This versatility adds to their appeal and makes them a practical choice for different climates and seasons.
Now that we understand how a casement air conditioner works, let’s explore the advantages of using this type of cooling device.
Advantages of Using a Casement Air Conditioner
There are several advantages to using a casement air conditioner in your home or apartment. These advantages make them a popular choice for spaces with horizontally sliding or crank-out windows.
1. Perfect fit: Casement air conditioners are specifically designed to fit into horizontal-sliding or crank-out windows, ensuring a tight and secure installation. This snug fit minimizes air leakage and maximizes energy efficiency.
2. Space-saving design: Casement air conditioners are typically narrower and taller than traditional window air conditioners. This compact design makes them a great choice for smaller spaces or rooms with limited window space.
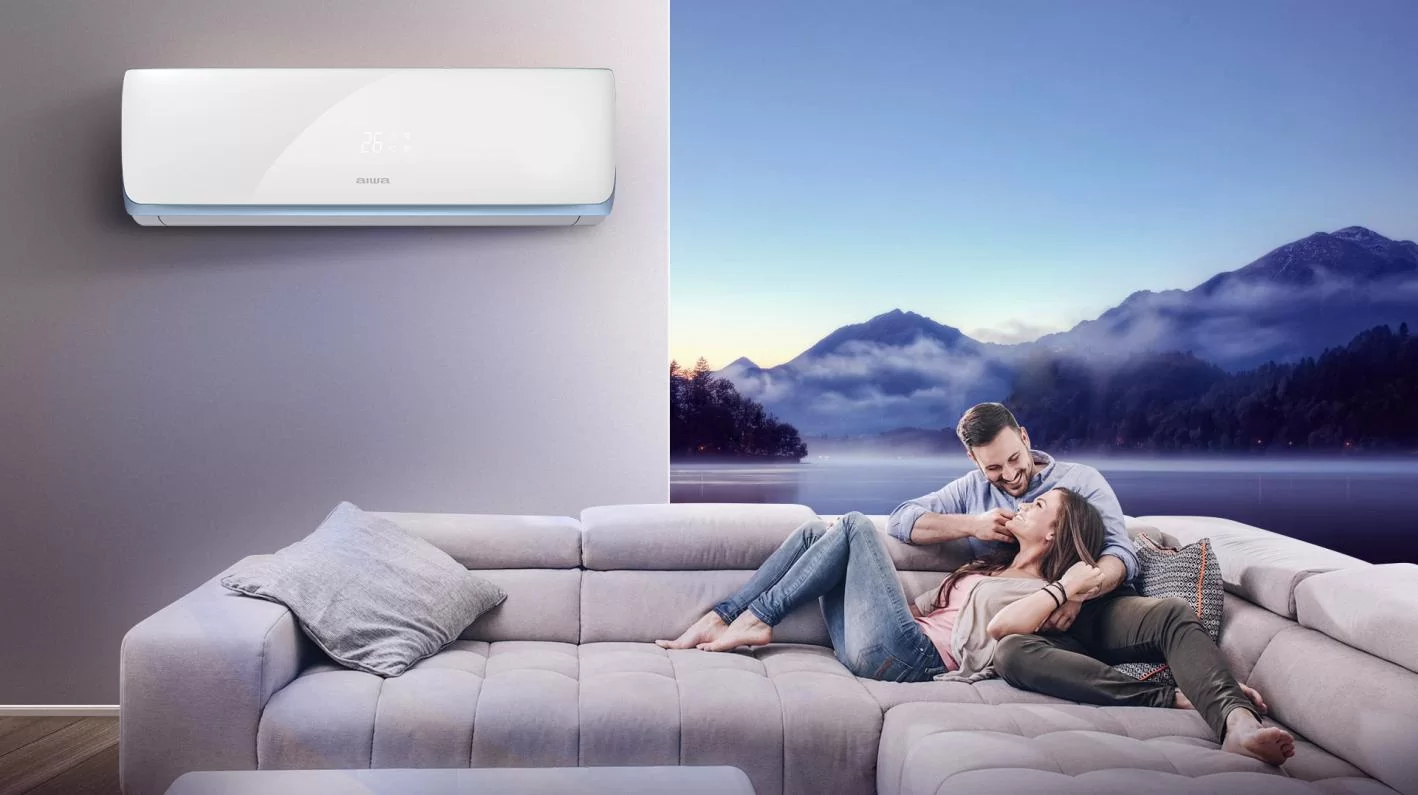
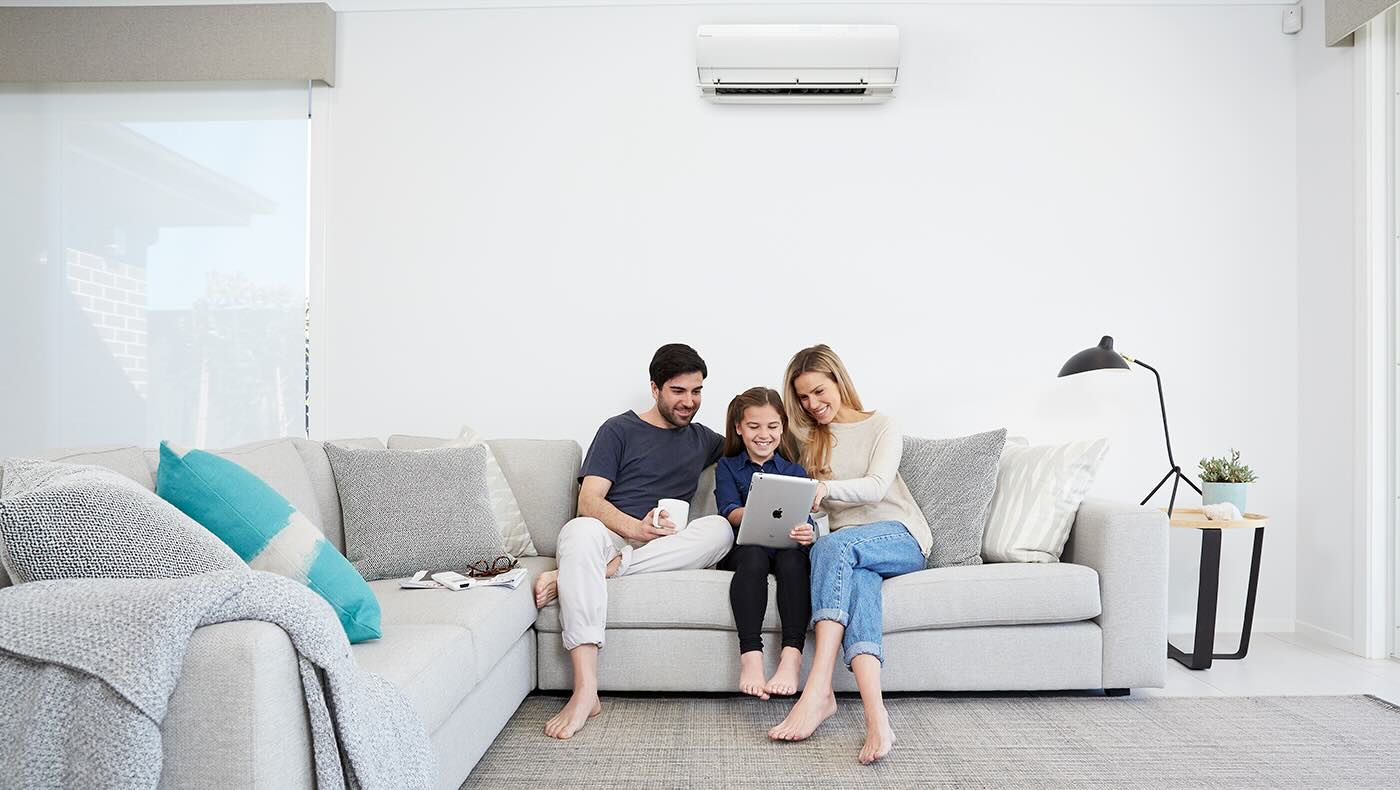
3. Improved aesthetics: Since casement air conditioners are installed flush with the window frame, they provide a sleek and streamlined appearance. This helps maintain the overall aesthetics of the space, both from the inside and outside.
4. Effective cooling: Casement air conditioners are engineered to deliver powerful and efficient cooling. They have strong airflow and can quickly cool down a room, providing relief from hot and humid weather.
5. Enhanced ventilation: Casement air conditioners come with side vents or louvers, allowing fresh outdoor air to enter the unit. This improved ventilation helps maintain good indoor air quality and prevents the room from feeling stuffy or stale.
6. Flexible installation: Unlike central air conditioning systems, casement air conditioners can be installed in specific rooms or areas, allowing for targeted cooling. This allows for efficient cooling of frequently used spaces without cooling the entire house.
7. Year-round use: Many casement air conditioners come with heating capabilities, making them suitable for use throughout the year. This versatility ensures comfort regardless of the season.
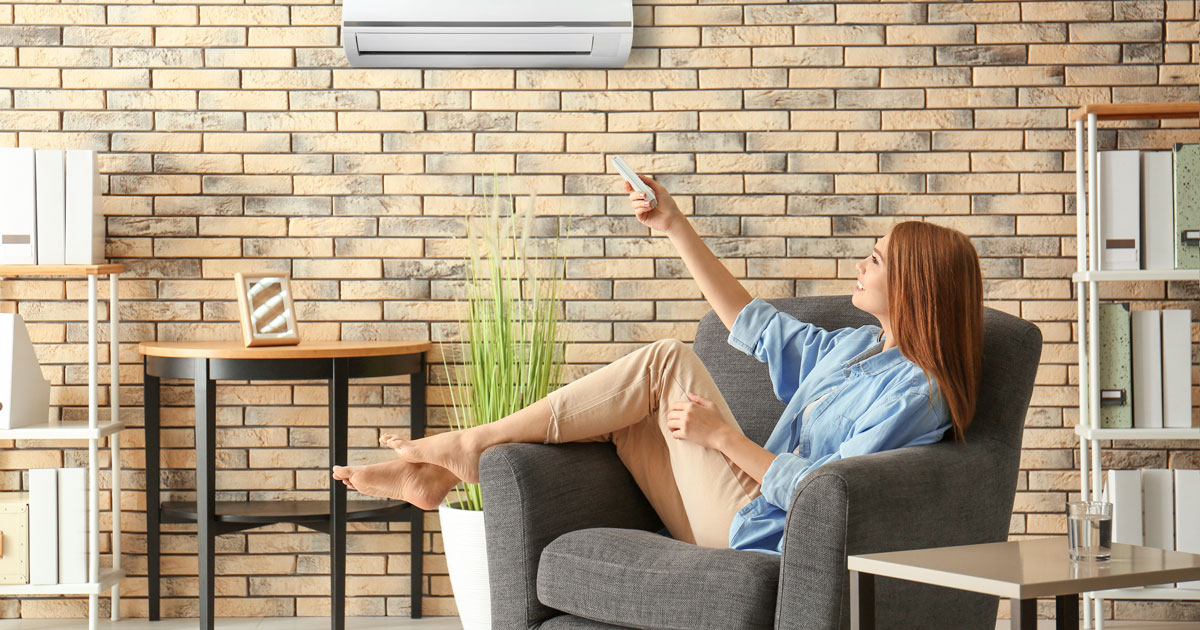
8. Convenient operation: Casement air conditioners are typically equipped with remote controls, allowing for easy operation from anywhere in the room. They also offer various adjustable settings, such as temperature, fan speed, and mode, allowing for personalized comfort.
9. Energy-efficient options: Casement air conditioners are available in various energy efficiency ratings. Look for units with high SEER (Seasonal Energy Efficiency Ratio) ratings to save on energy costs and reduce environmental impact.
10. No structural modifications: Installing a casement air conditioner does not require any permanent changes to the structure of your home. They can be easily removed or relocated when needed.
These advantages make casement air conditioners a practical and convenient cooling option for spaces with horizontally sliding or crank-out windows. However, it’s important to consider the potential drawbacks as well. Let’s explore the disadvantages of using a casement air conditioner.
When installing a casement air conditioner, make sure to properly seal any gaps around the unit to prevent hot air from entering and reduce energy consumption.
Disadvantages of Using a Casement Air Conditioner
While casement air conditioners offer many advantages, it’s important to consider their potential drawbacks before making a decision. Here are some disadvantages to keep in mind:
1. Limited compatibility: Casement air conditioners are specifically designed for horizontally sliding or crank-out windows. If your home has different types of windows, such as double-hung or sliding windows, casement air conditioners may not be suitable.
2. Restricted airflow: The design of casement air conditioners may restrict airflow compared to other types of cooling systems. This can result in a slightly less efficient cooling performance, especially in larger rooms or open floor plans.
3. Higher cost: Casement air conditioners tend to be slightly more expensive compared to other types of window air conditioners. This is due to their specialized design and features catering to horizontally sliding windows.
4. Installation limitations: Installing a casement air conditioner requires a specific type of window, and the unit must be mounted properly to ensure a secure fit. Improper installation may result in air leakage, reduced cooling efficiency, and potential safety hazards.
5. Noise level: Some casement air conditioners can be slightly noisier than other types of cooling systems. It’s important to consider the noise level and placement of the unit if you are sensitive to sound or require a quieter environment.
6. Weight and portability: Casement air conditioners can be heavier and more difficult to move compared to portable air conditioners. If you require a cooling solution that can be easily moved from room to room, a portable unit may be a better option.
7. Window access limitations: Once a casement air conditioner is installed in the window, it restricts access to the window itself. This can limit your ability to open the window fully or utilize it for natural ventilation.
8. Maintenance and cleaning: Similar to other air conditioning units, casement air conditioners require regular maintenance and cleaning to ensure optimal performance. However, the positioning of the unit may make it slightly more challenging to access and clean the filters and coils.
While these disadvantages exist, they may not be significant drawbacks for everyone. It’s important to weigh the pros and cons and consider your specific needs and circumstances when deciding whether a casement air conditioner is the right choice for you.
Now that we have discussed the advantages and disadvantages of casement air conditioners, let’s move on to the installation and maintenance considerations.
Read more: What Is An Air Conditioner Coil
Installation and Maintenance of a Casement Air Conditioner
Proper installation and regular maintenance are crucial to ensure the efficient and long-lasting performance of a casement air conditioner. Here are some key considerations to keep in mind:
Installation:
1. Start by measuring the dimensions of your horizontal-sliding or crank-out window to ensure compatibility with a casement air conditioner. Consider factors such as the size and weight limit of the window opening.
2. Carefully follow the manufacturer’s instructions for installing the casement air conditioner. This may involve removing the window sashes or making adjustments to accommodate the unit’s size and design.
3. Use a support bracket or bracket kit, if provided, to secure the casement air conditioner in place and ensure a tight seal against the window frame. This will prevent air leakage and enhance cooling efficiency.
4. Check that the unit is properly leveled and balanced to prevent any strain on the window or the unit itself. Use a level tool during the installation process to ensure accurate alignment.
5. Seal any gaps or cracks around the unit with weatherstripping or foam insulation to prevent drafts and air leaks. This will help maintain energy efficiency and enhance cooling performance.
Maintenance:
1. Regularly clean or replace the air filters of the casement air conditioner. Clogged or dirty filters can obstruct airflow and reduce cooling efficiency. Refer to the manufacturer’s instructions for recommended cleaning or replacement intervals.
2. Clean the condenser and evaporator coils periodically to remove dirt, dust, and debris. This can be done using a soft brush or vacuum cleaner. Ensure that the unit is unplugged and turned off before performing any cleaning.
3. Keep the side vents or louvers clean and free from obstruction. This allows for proper air circulation and ventilation. Use a damp cloth to wipe away any dirt or debris that may accumulate on the louvers.
4. Check the drainage system of the casement air conditioner regularly to ensure proper functioning. Clear any clogs or blockages in the drain line to prevent water buildup and potential damage to the unit.
5. Inspect the electrical connections and power cord for any signs of wear or damage. If you notice any issues, contact a professional technician to assess and repair the unit.
6. Consider scheduling annual professional maintenance to ensure optimal performance of the casement air conditioner. A trained technician can inspect and service the unit, making any necessary adjustments or repairs.
By following these installation and maintenance guidelines, you can maximize the efficiency and longevity of your casement air conditioner while enjoying consistent and reliable cooling in your space.
Now let’s compare casement air conditioners with other types of air conditioners to help you make a more informed decision.
Comparing Casement Air Conditioners with Other Types of Air Conditioners
When it comes to choosing an air conditioner for your home, it’s important to consider the different types available and their respective features. Here, we will compare casement air conditioners with other popular types of air conditioners to help you make an informed decision:
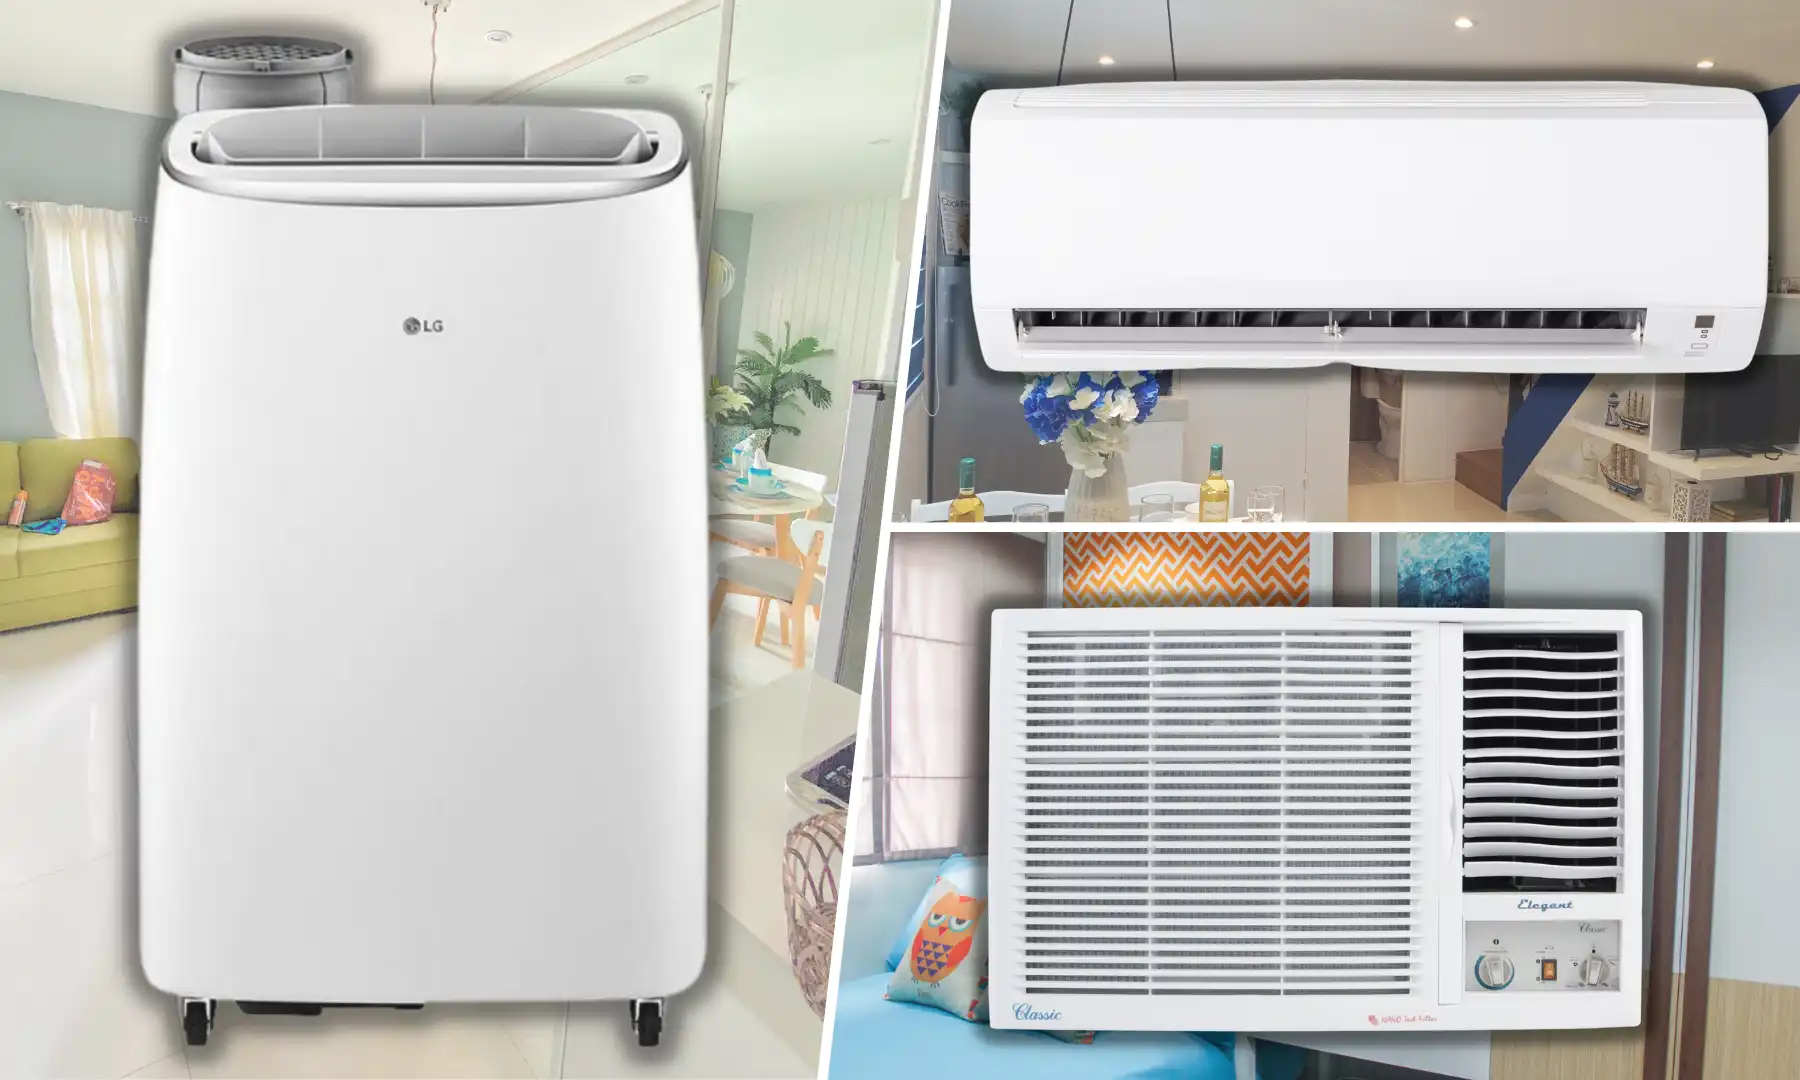
Window Air Conditioners:
– Installation: Both casement air conditioners and window air conditioners are designed to be installed in a window opening. However, casement air conditioners are specifically designed for horizontally sliding or crank-out windows, while window air conditioners are suitable for vertically sliding or sash windows.
– Size and Design: Casement air conditioners are generally taller and narrower than window air conditioners, making them more suitable for windows with limited space. Window air conditioners have a wider range of sizes and designs to accommodate various window types.
– Cooling Capacity: Both types of air conditioners can provide effective cooling, but window air conditioners may offer more options in terms of cooling capacity, allowing for cooling larger rooms or open spaces.
– Ventilation: Casement air conditioners typically have side vents or louvers that allow for improved ventilation and air circulation. Window air conditioners may have adjustable vents as well, but the design may not offer the same level of ventilation as casement units.
– Portability: Casement air conditioners are fixed installations and cannot be easily moved. On the other hand, window air conditioners can be removed and relocated to different windows if needed.
– Aesthetics: Casement air conditioners offer a sleek and flush appearance since they are installed directly in the window frame. Window air conditioners may protrude slightly from the window, affecting the overall aesthetics.
– Price: Casement air conditioners can be slightly more expensive than window air conditioners due to their specialized design. However, the price can vary depending on the brand, size, and features of the unit.
Portable Air Conditioners:
– Installation: Portable air conditioners do not require window installations. They can be placed anywhere in the room, as long as there is a nearby window or vent for exhaust.
– Portability: Portable air conditioners are designed to be easily moved from one room to another. This provides flexibility in cooling multiple areas without the need for separate units.
– Cooling Capacity: Casement air conditioners and portable air conditioners have comparable cooling abilities. However, depending on the model, portable air conditioners may have limitations in cooling larger spaces.
– Ventilation: Both casement and portable air conditioners require proper venting to expel hot air generated during the cooling process. Casement units vent through the window, while portable units typically use a window kit or exhaust hose to expel hot air outside.
– Noise Level: Portable air conditioners tend to produce more noise due to the fan and compressor being located inside the room. Casement air conditioners, on the other hand, may have lower noise levels since the noisy components are typically located outside.
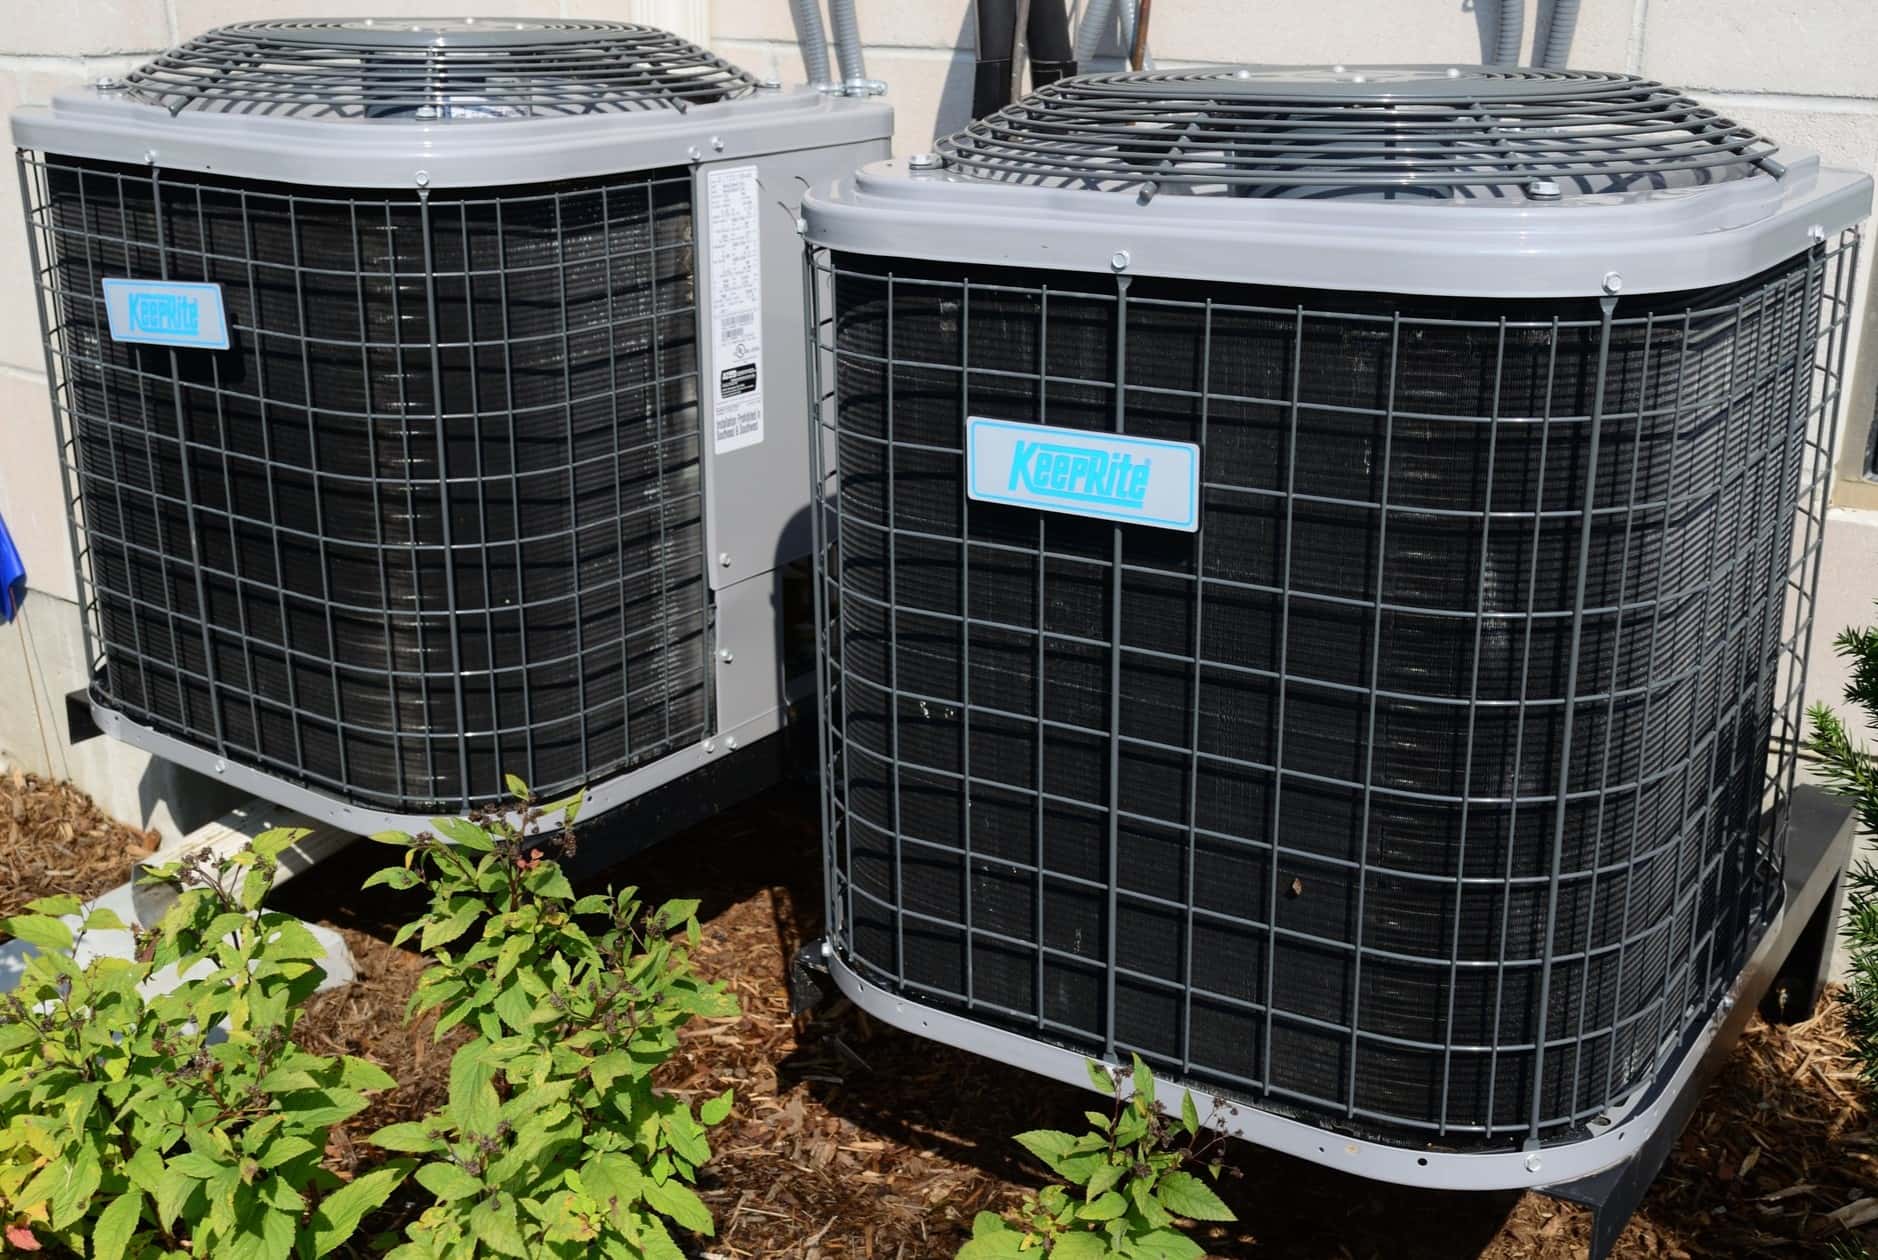
Ductless Mini-Split Air Conditioners:
– Installation: Ductless mini-split systems require professional installation and involve mounting an indoor unit on a wall while connecting it to an outdoor compressor unit. This provides greater cooling flexibility and zonal control.
– Cooling Efficiency: Ductless mini-split systems are known for their energy efficiency and cooling performance. They can provide consistent cooling in specific zones or rooms without the need for extensive ductwork.
– Aesthetics: Aesthetically, ductless mini-split systems offer a more streamlined appearance since the indoor unit is mounted on the wall, while the outdoor unit can be discreetly placed outside.
– Cost: Ductless mini-split systems are generally more expensive upfront than casement and other types of air conditioners. However, they can be more cost-effective in the long run due to their energy efficiency and zonal cooling capabilities.
It’s important to consider your specific cooling needs, space restrictions, and budget when comparing different types of air conditioners. Each type has its own advantages and considerations, so choose the one that best suits your requirements and preferences.
Now that we have compared different air conditioner types, let’s conclude our discussion.
Conclusion
Choosing the right air conditioner is essential to maintaining a comfortable and cool living space. Casement air conditioners offer a specific solution for homes with horizontally sliding or crank-out windows, providing efficient cooling while maximizing space utilization.
In this article, we explored the definition of a casement air conditioner and how it works. We discussed the advantages, such as a perfect fit for specific windows, space-saving design, improved ventilation, and convenient operation. We also highlighted the potential disadvantages, including limited compatibility, restricted airflow, and window access limitations.
We provided installation and maintenance tips, emphasizing the importance of proper installation, regular cleaning of filters and coils, and scheduling professional maintenance to ensure optimal performance.
Additionally, we compared casement air conditioners with other types of air conditioners, including window air conditioners, portable air conditioners, and ductless mini-split systems. Each type offers its own set of advantages and considerations, allowing you to choose the one that best suits your needs, space, and budget.
Overall, casement air conditioners are a reliable cooling option for homes with horizontally sliding or crank-out windows. Their unique design, efficient cooling capabilities, and improved ventilation make them a popular choice for those seeking targeted and space-saving cooling solutions.
Remember, when selecting an air conditioner, consider factors such as window compatibility, cooling capacity, ventilation, installation requirements, and long-term maintenance. By making an informed decision, you can enjoy optimal indoor comfort throughout the year.
We hope this article has provided valuable insights into casement air conditioners and helped you in your quest for the perfect cooling solution. Stay cool and comfortable!
Frequently Asked Questions about What Is A Casement Air Conditioner
Was this page helpful?
At Storables.com, we guarantee accurate and reliable information. Our content, validated by Expert Board Contributors, is crafted following stringent Editorial Policies. We're committed to providing you with well-researched, expert-backed insights for all your informational needs.