Home>Home Maintenance>How To Clean The Filter Of An LG Air Conditioner
Home Maintenance
How To Clean The Filter Of An LG Air Conditioner
Modified: March 7, 2024
Learn how to properly clean the filter of your LG air conditioner to ensure optimum performance and longevity. Expert tips for home maintenance and improved air quality.
(Many of the links in this article redirect to a specific reviewed product. Your purchase of these products through affiliate links helps to generate commission for Storables.com, at no extra cost. Learn more)
Introduction
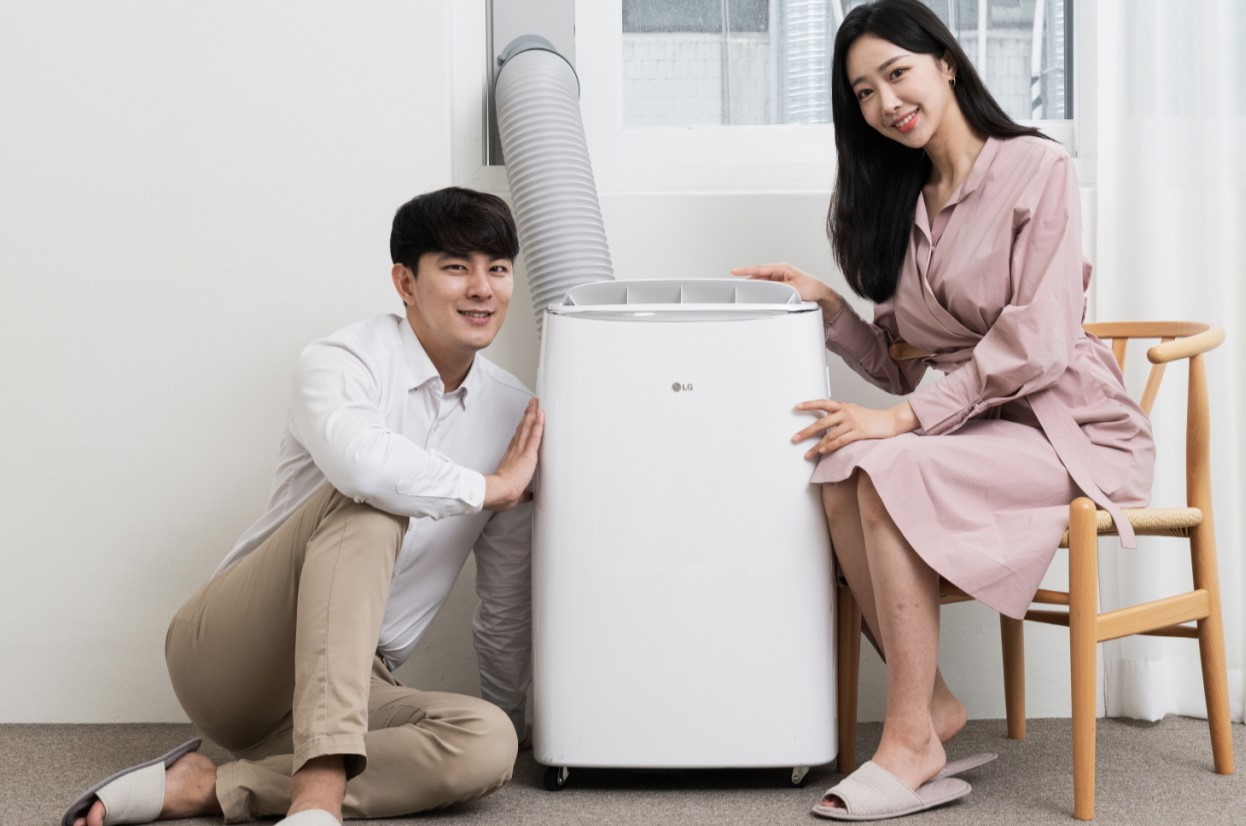
Welcome to your comprehensive guide on how to clean the filter of an LG air conditioner. Keeping the filter clean is essential for maintaining the efficiency and performance of your air conditioner, as well as ensuring the quality of the air you breathe in your home. Over time, the filter can become clogged with dust, debris, and other particles, which can inhibit airflow and reduce cooling effectiveness. Regularly cleaning the filter not only improves the overall performance of your LG air conditioner but also helps to prolong its lifespan.
In this article, we will walk you through the step-by-step process of cleaning the filter of your LG air conditioner. You don’t need to be an expert in home maintenance to tackle this task, as it is relatively straightforward and requires just a few simple tools and materials.
Before we dive into the cleaning process, it’s important to note that different LG air conditioner models may have slightly different filter designs and locations. However, the general steps outlined here should apply to most LG air conditioners. Always refer to your specific model’s user manual for any additional instructions or precautions.
Key Takeaways:
- Regularly cleaning the filter of your LG air conditioner ensures efficient performance and clean indoor air. Follow the simple steps outlined to maintain a healthy and comfortable home environment.
- By cleaning the filter every one to three months, you can enjoy the benefits of a well-functioning LG air conditioner, including optimal airflow, cooling effectiveness, and energy efficiency.
Tools and Materials Needed
Before you begin cleaning the filter of your LG air conditioner, make sure you have the following tools and materials ready:
- Safety gloves: It’s always a good idea to protect your hands with a pair of gloves while working with any maintenance task.
- Old towel or drop cloth: This will help protect the surrounding area from any water or debris that may fall during the cleaning process.
- Vacuum cleaner with brush attachment: The brush attachment will help you remove any loose dust or debris from the filter.
- Mild soap or detergent: Look for a gentle soap or detergent that is safe to use on the filter without causing any damage. Avoid harsh chemicals or abrasive cleaners.
- Warm water: You’ll need water for rinsing and washing the filter.
- Nylon brush or toothbrush: This will help you gently scrub away any stubborn dirt or grime that may be stuck on the filter.
- Clean, dry cloth: For drying the filter after washing.
Once you have gathered all the necessary tools and materials, you’re ready to start the cleaning process. Remember to always read and follow the instructions in your LG air conditioner’s user manual for specific guidance.
Step 1: Turn Off the Air Conditioner
Before you begin cleaning the filter of your LG air conditioner, it’s crucial to turn off the unit to ensure your safety and prevent any potential damage. Here’s how:
- Locate the power source for your LG air conditioner. This is typically a dedicated electrical outlet on the wall.
- Switch off the air conditioner by pressing the power button on the unit or using the remote control.
- Double-check that the power is indeed switched off by ensuring that the display panel on the unit is no longer illuminated.
- Wait for a few minutes to allow the air conditioner to completely shut down and cool off before proceeding to the next steps.
Turning off the air conditioner ensures that you won’t accidentally injure yourself while handling the filter. It also prevents any potential electrical damage that could occur if the unit was still powered on.
Once you have turned off the air conditioner, you can move on to the next step of the cleaning process.
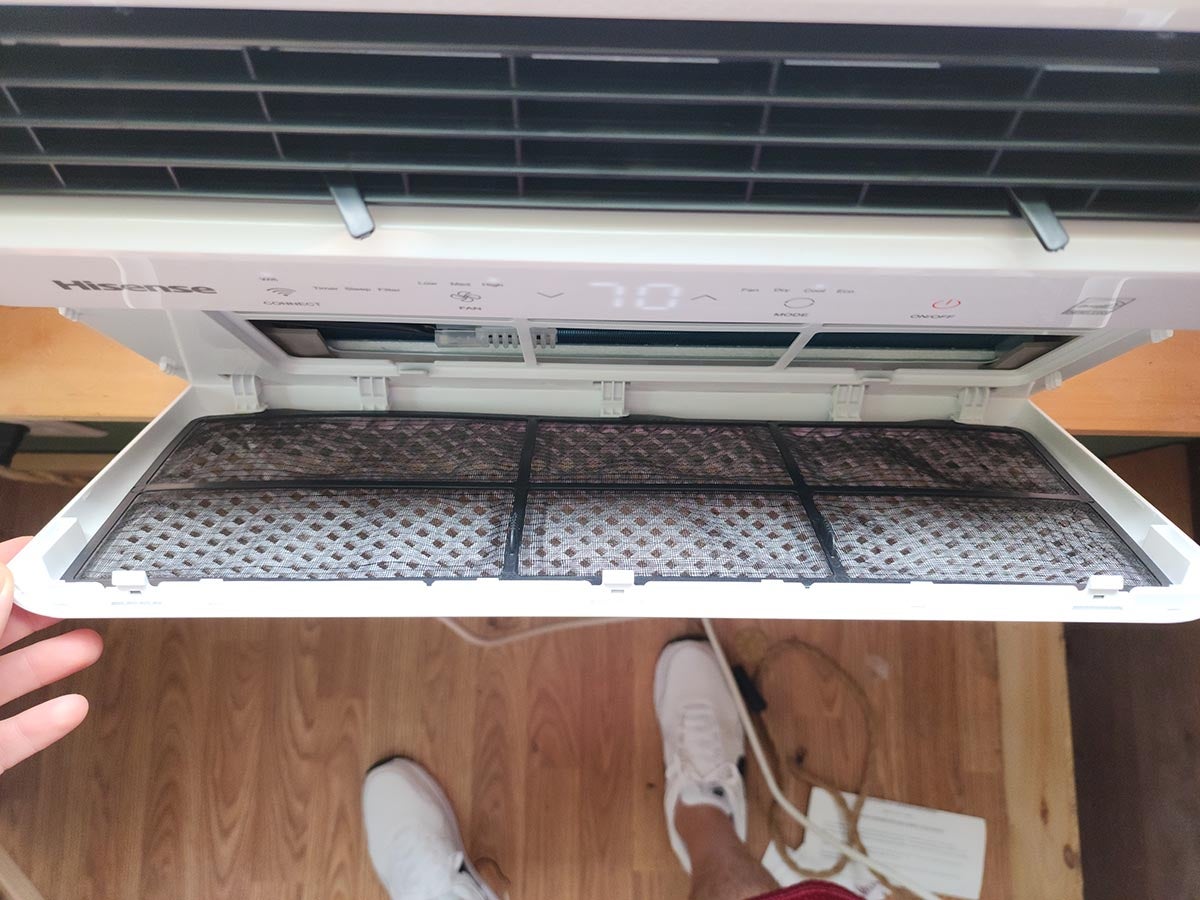
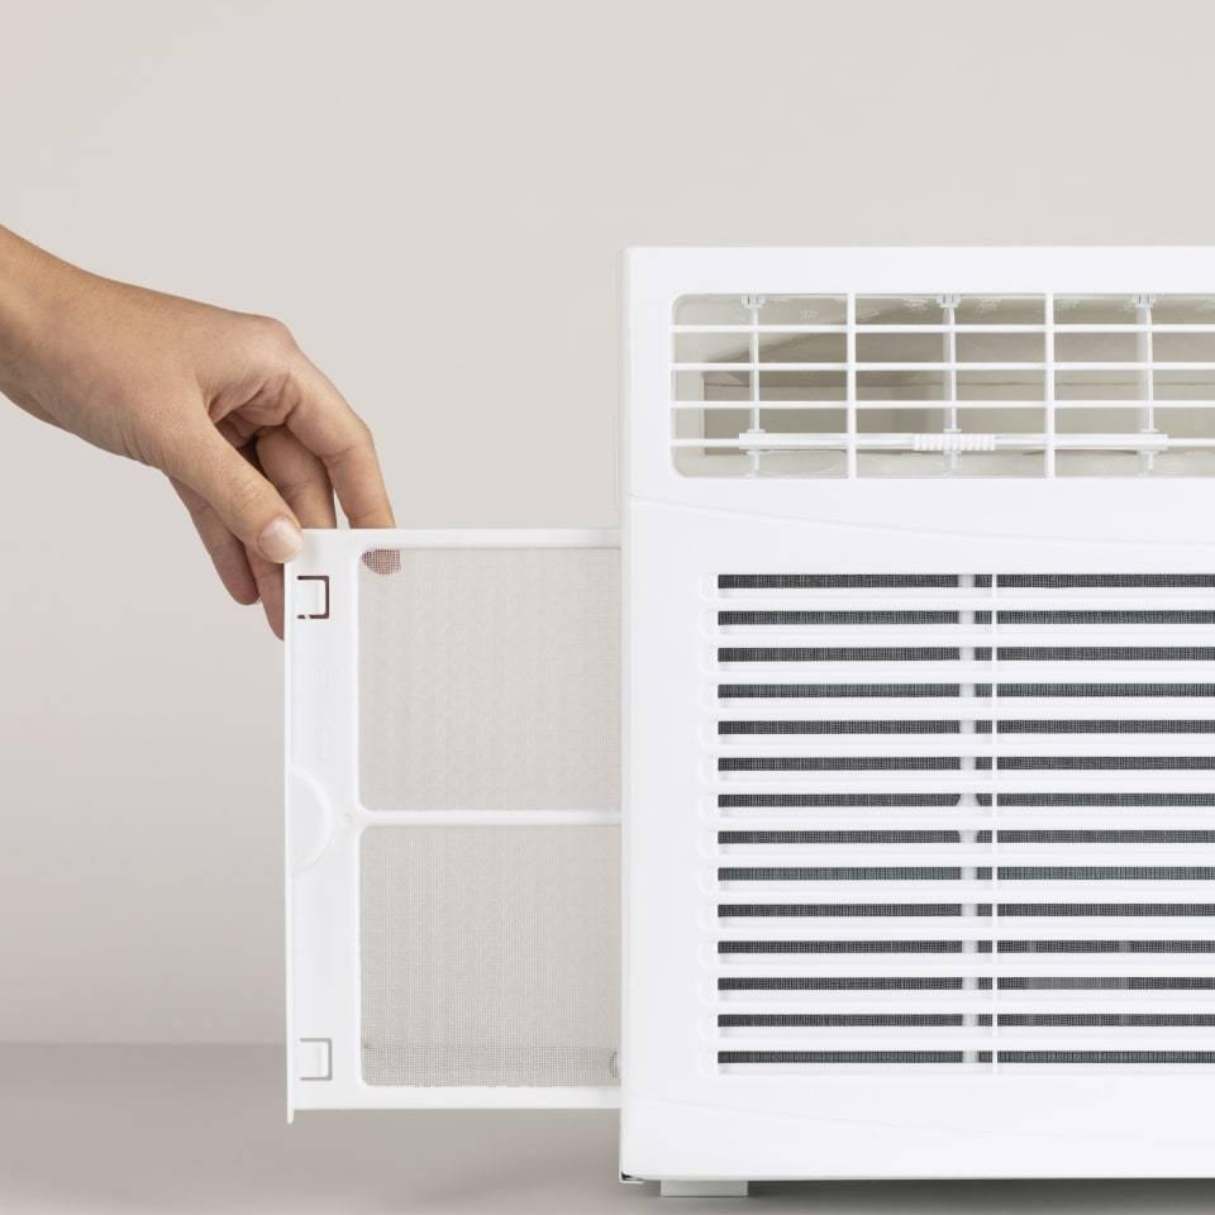
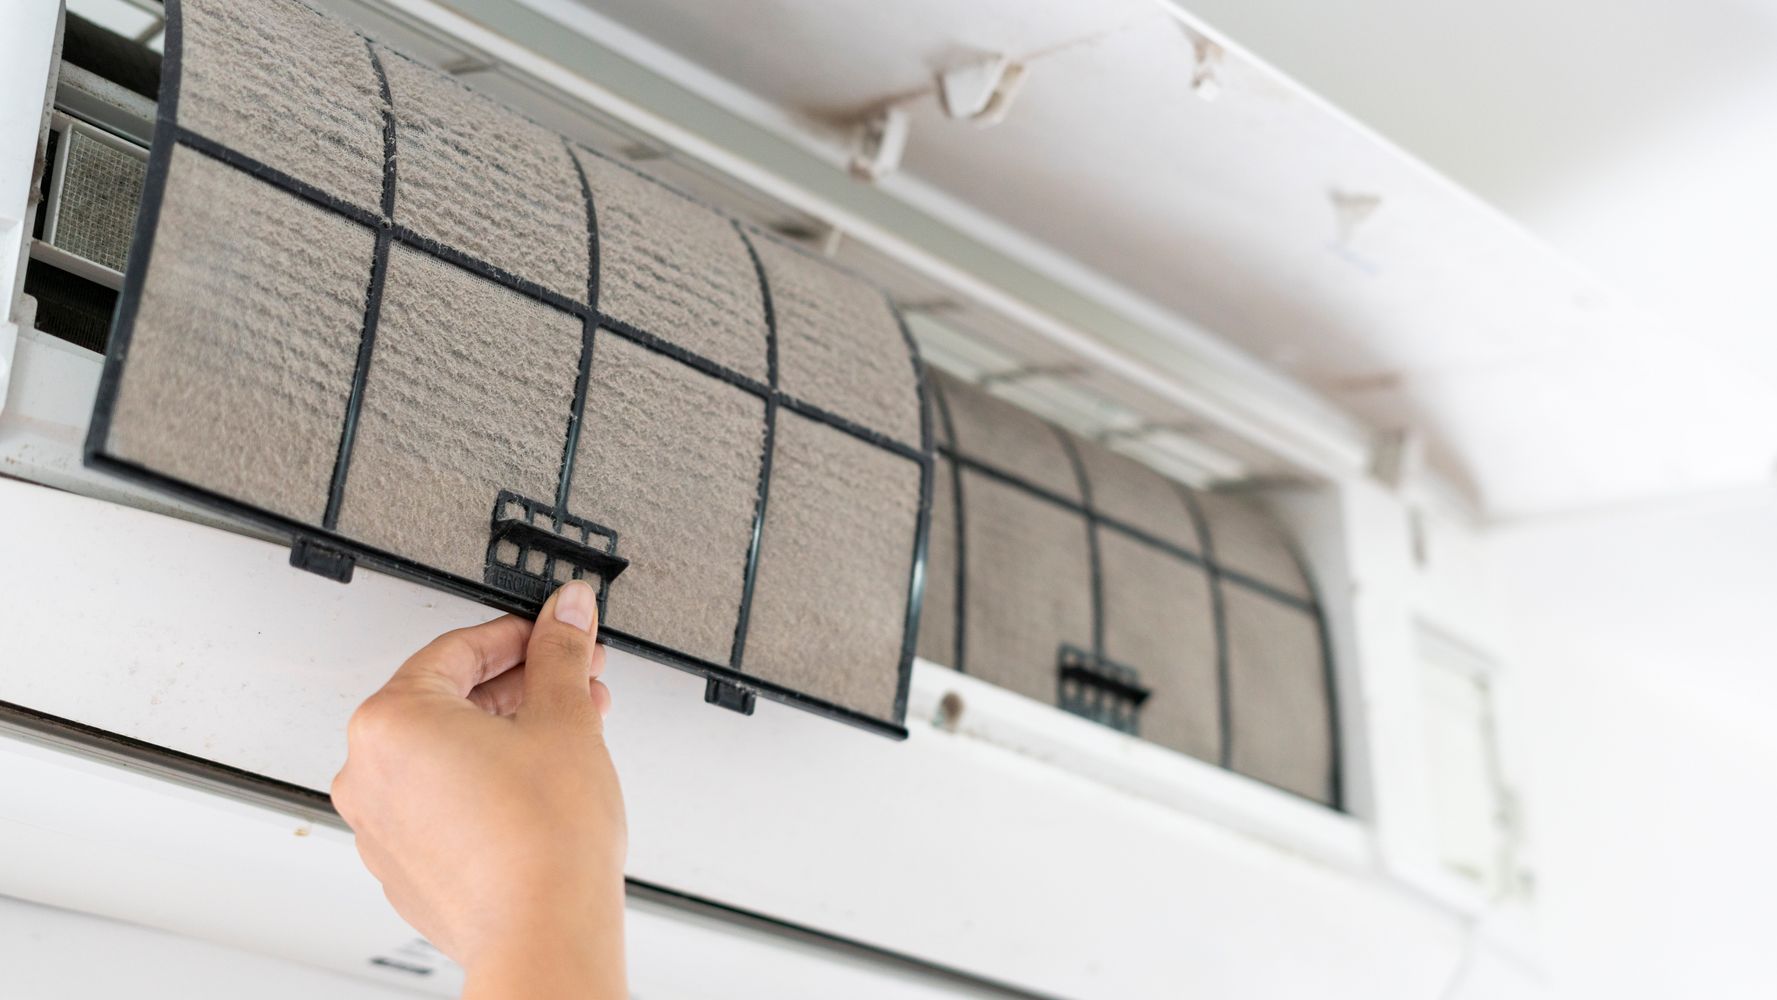
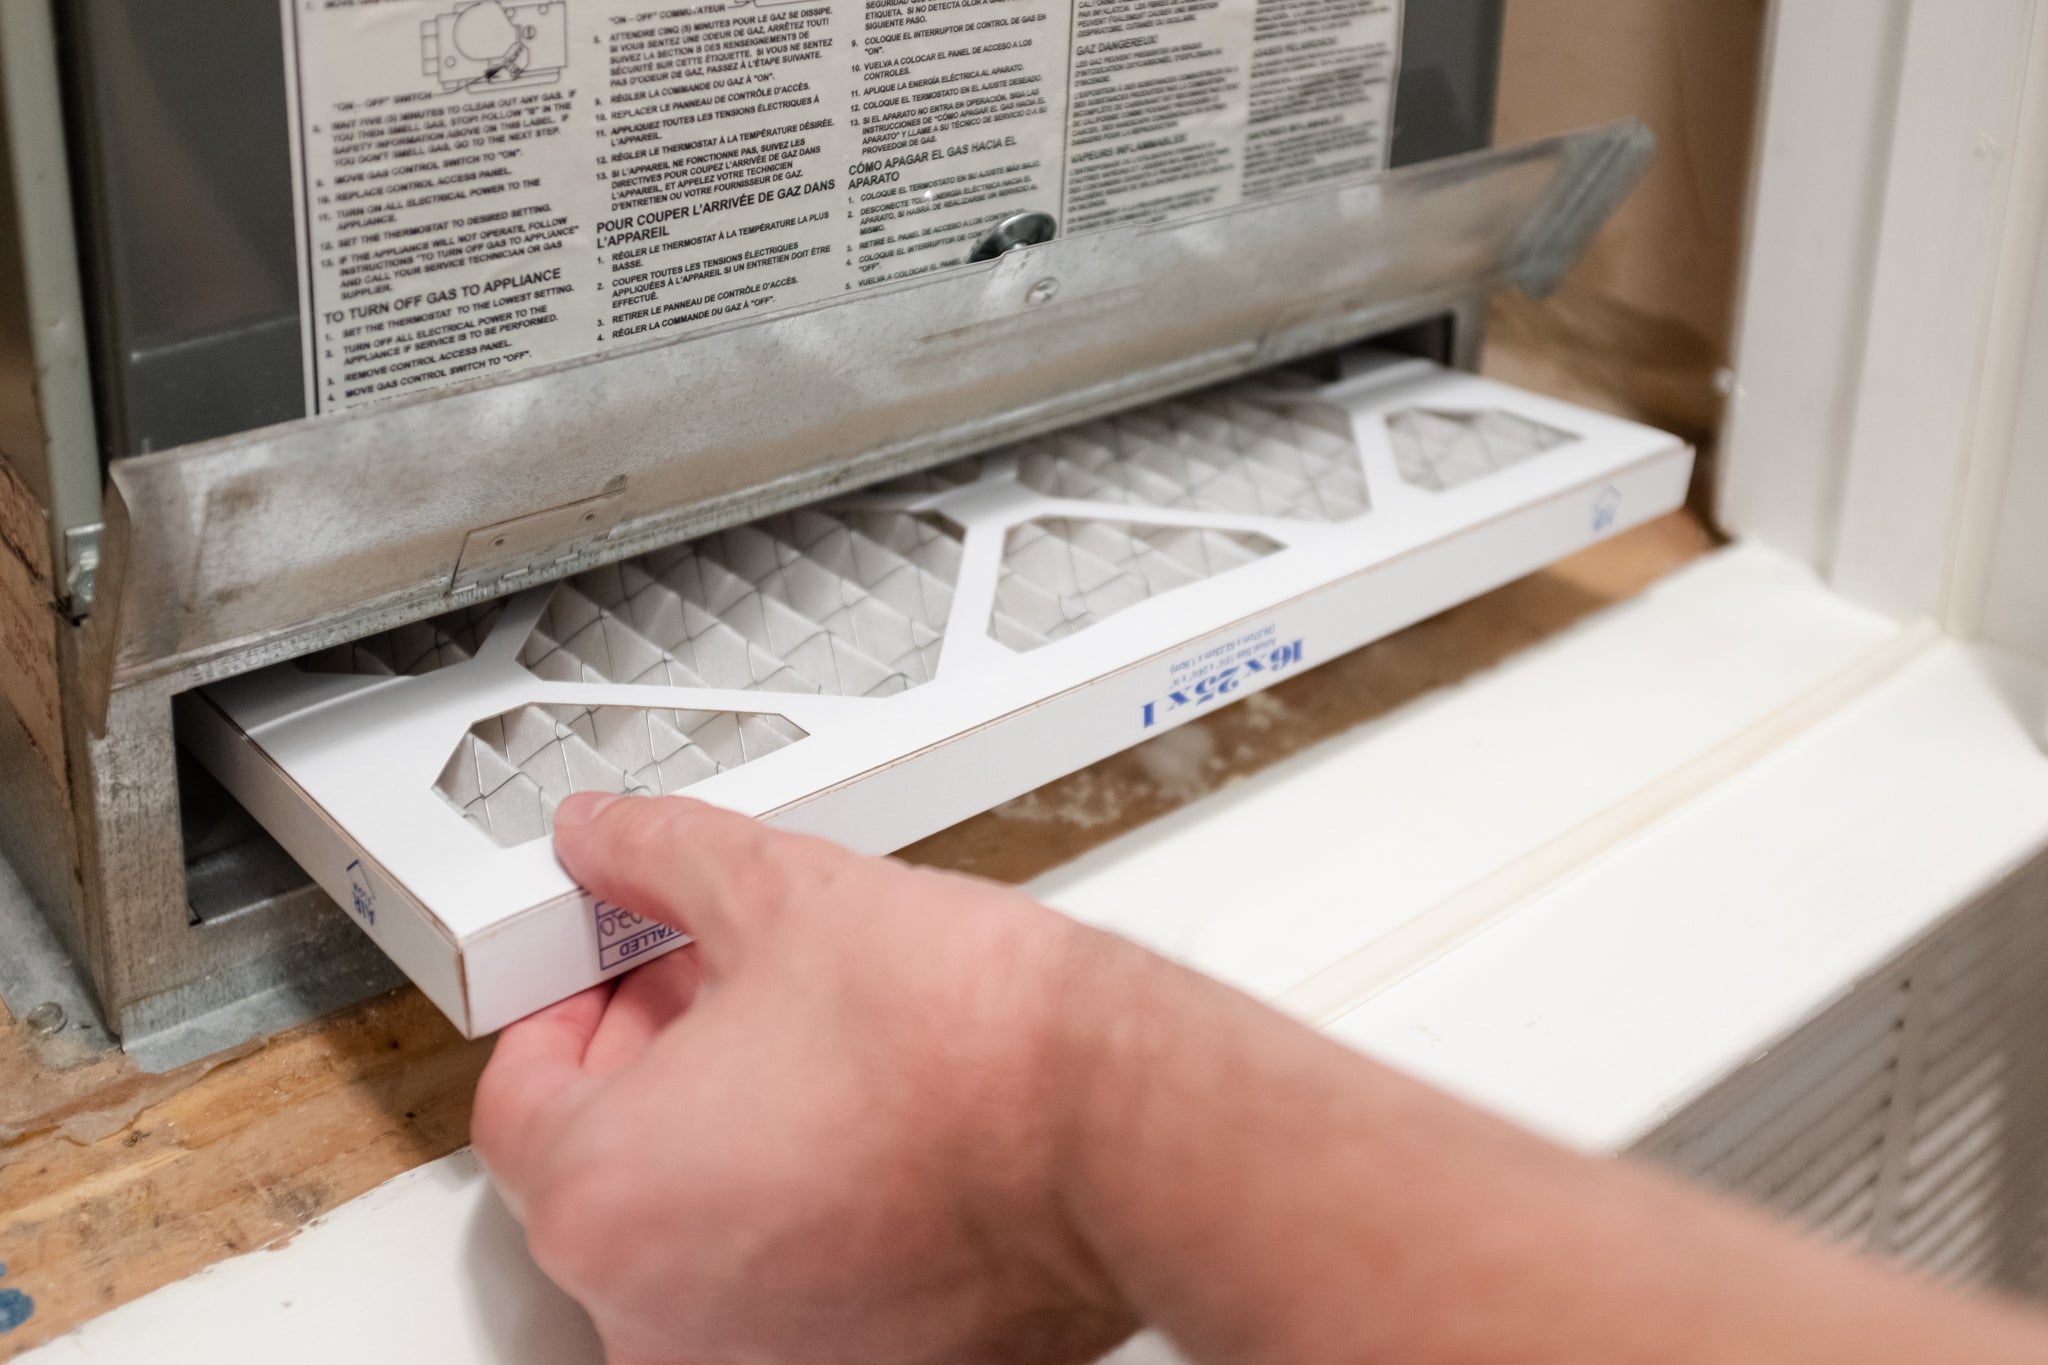
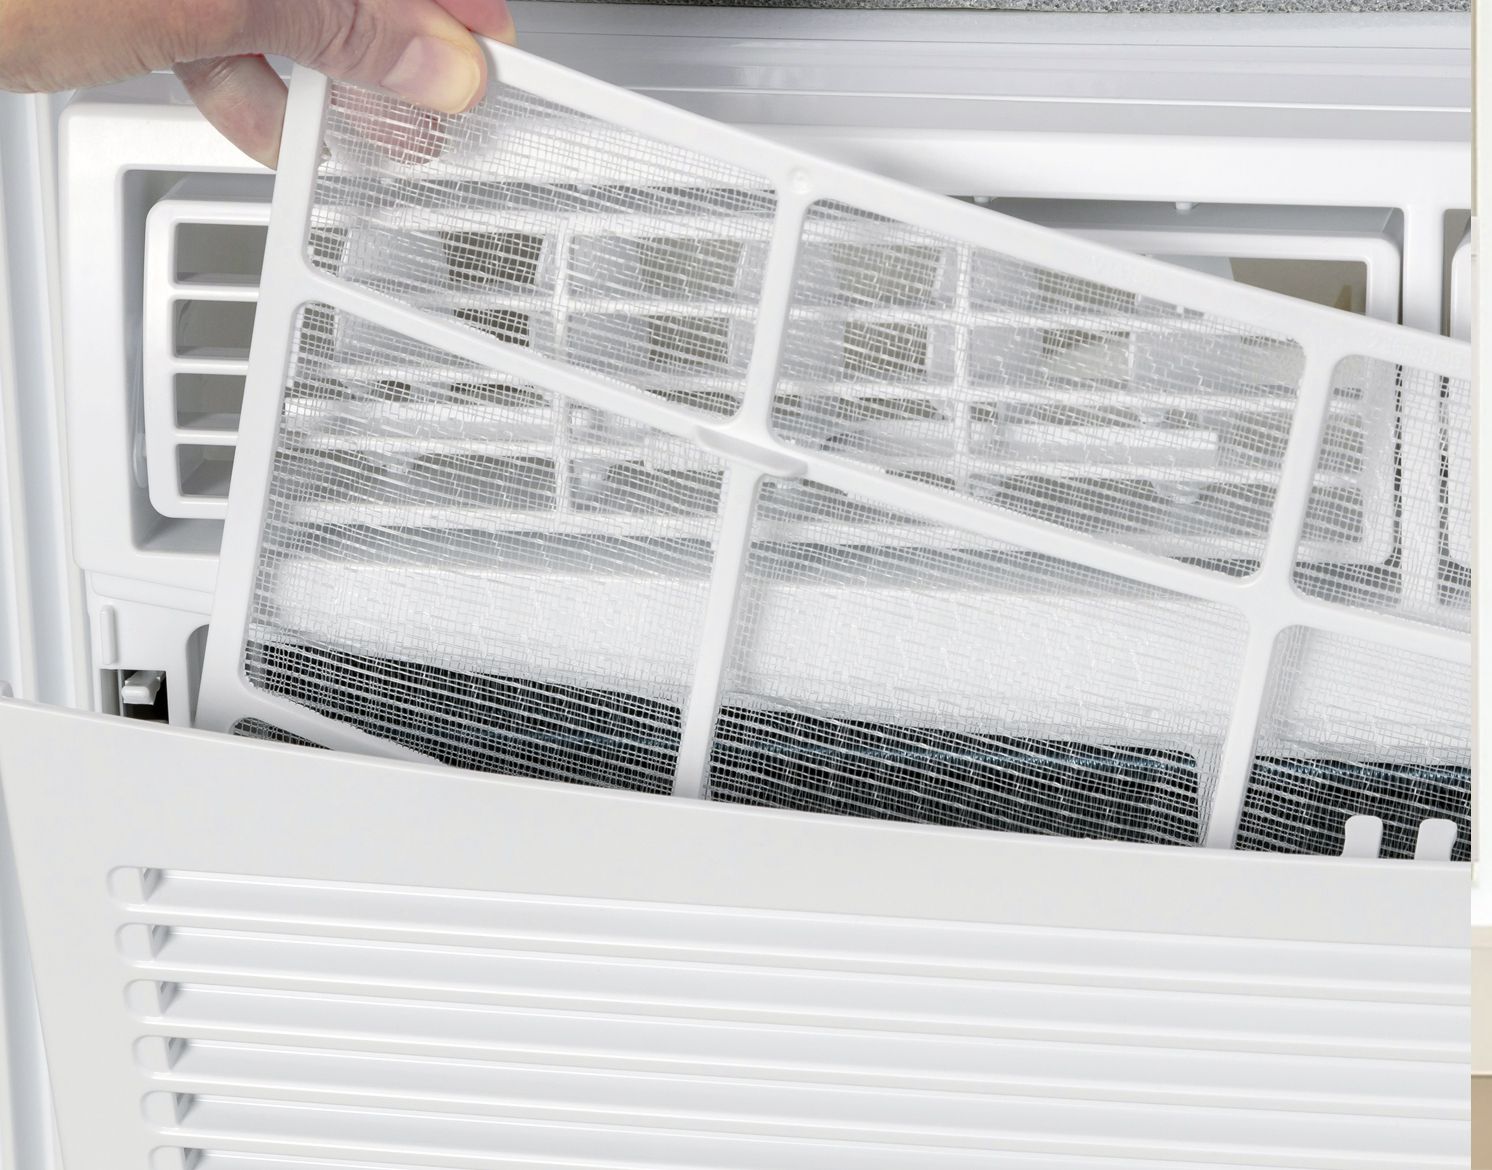
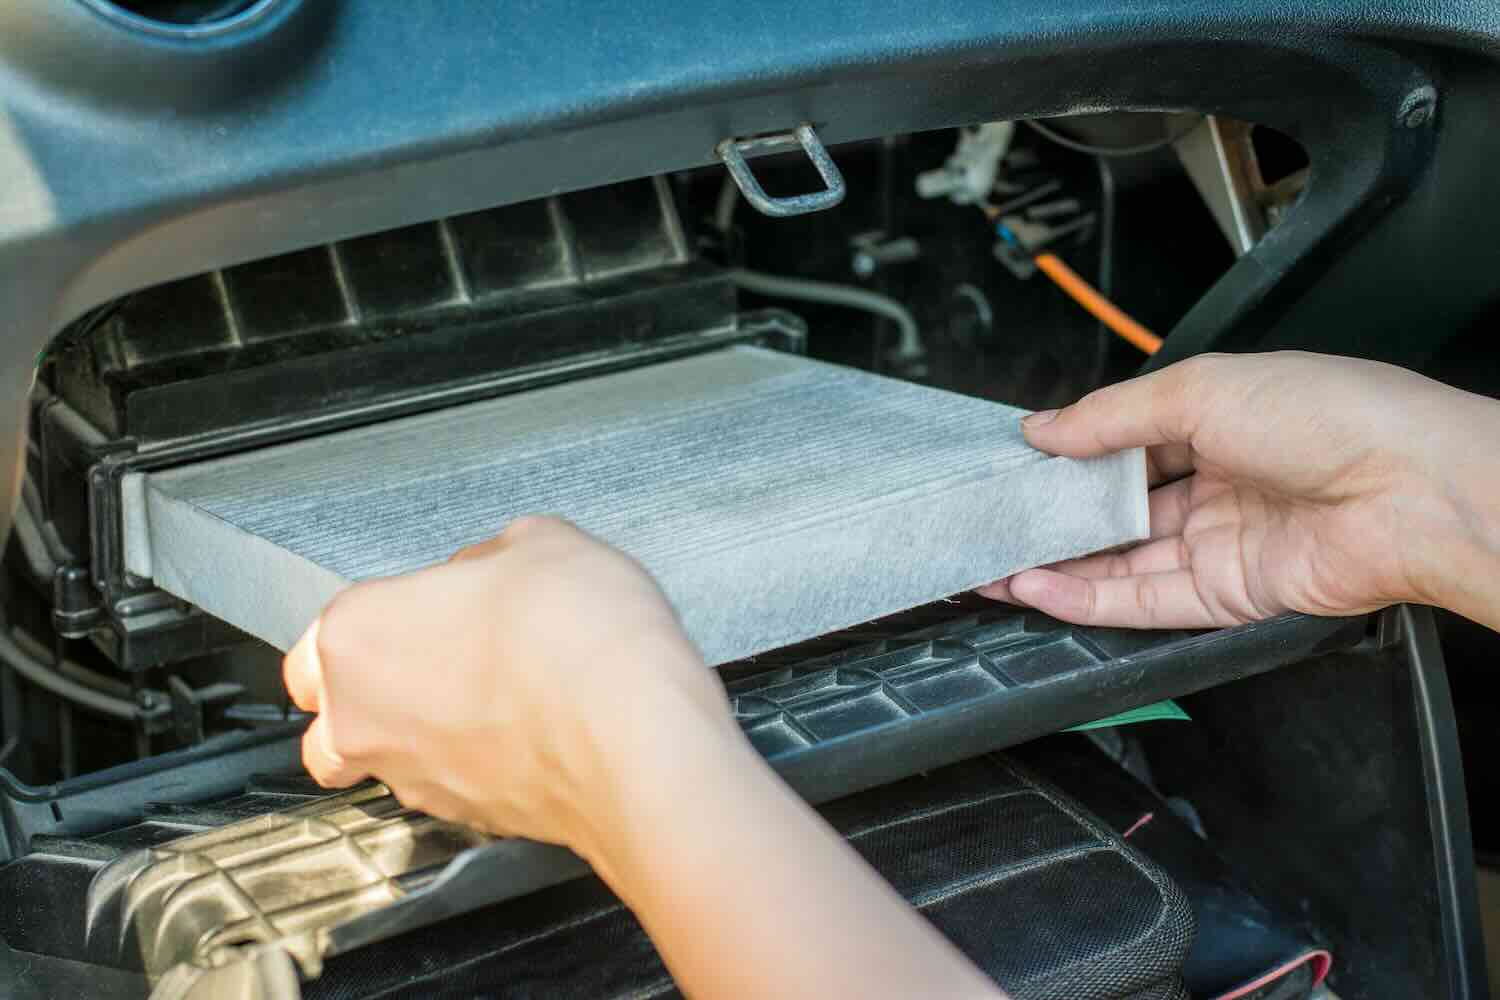
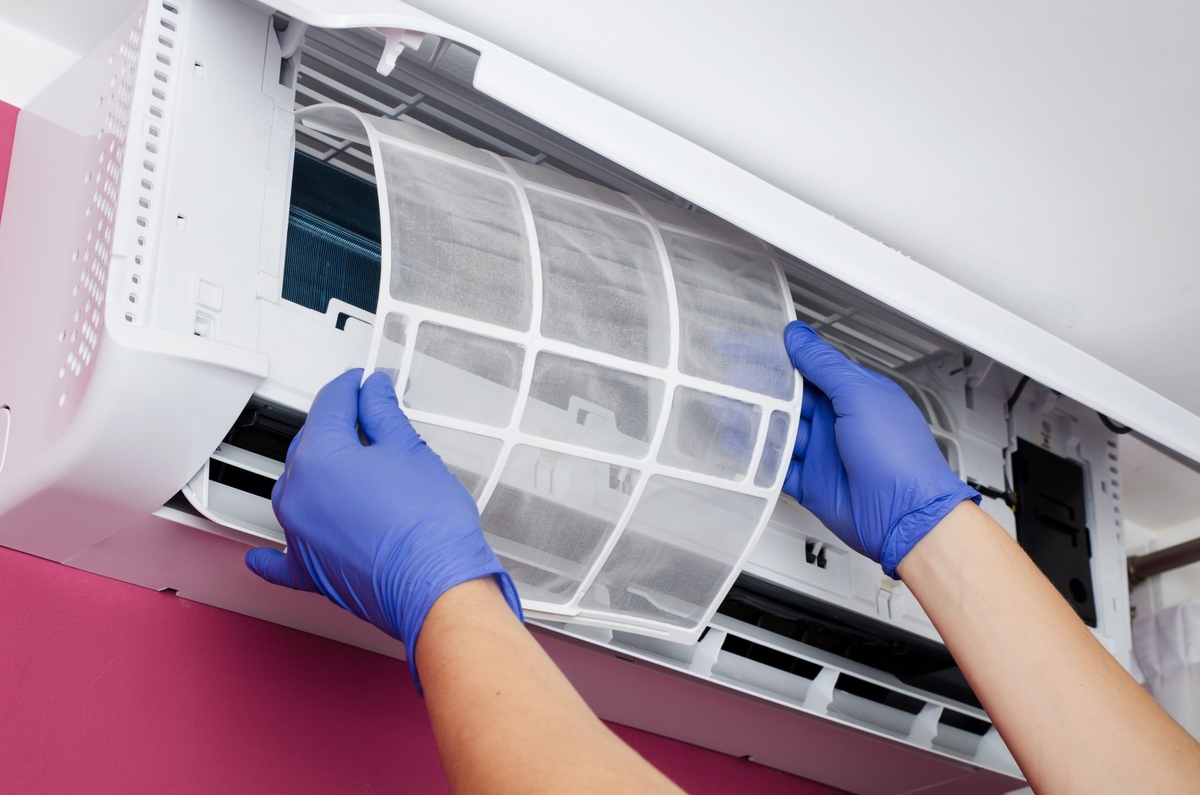
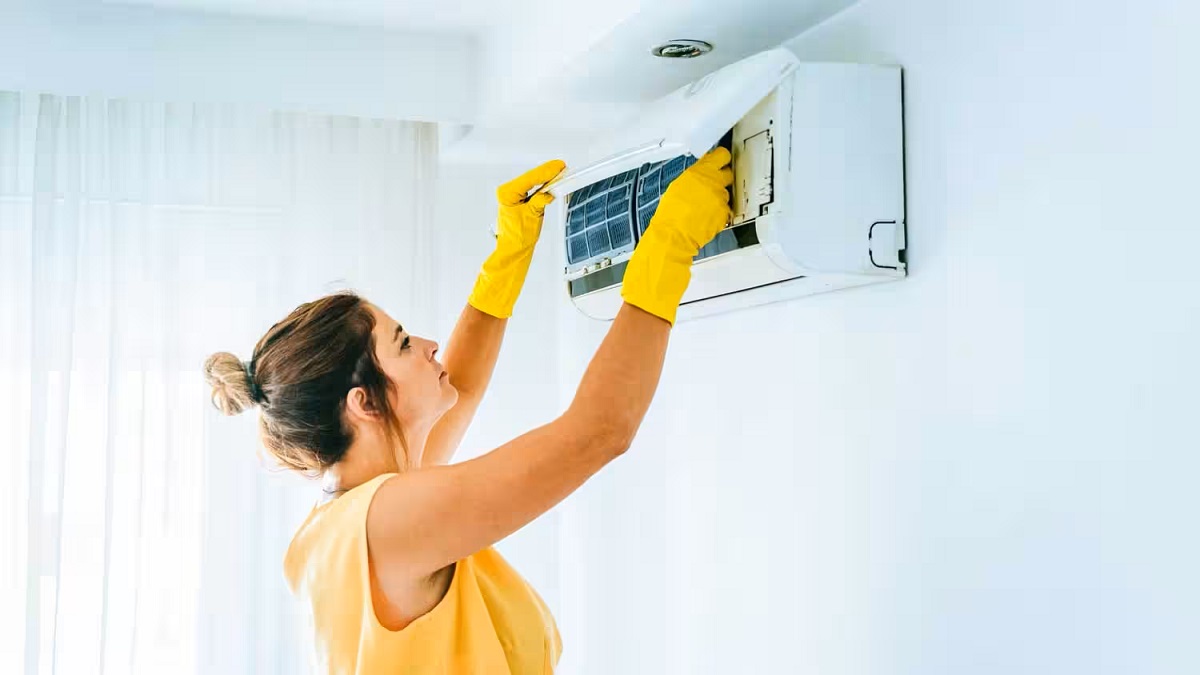
Step 2: Locate and Remove the Air Filter
Now that the air conditioner is turned off, it’s time to locate and remove the air filter. The air filter is responsible for trapping dust, pollen, and other airborne particles, preventing them from circulating back into your home. Follow these steps:
- Locate the air filter compartment on your LG air conditioner. The exact location may vary depending on the model, but it is typically found on the front, side, or back of the unit.
- Once you have located the air filter compartment, carefully open it by either sliding a latch or removing a cover.
- Inside the compartment, you will find the air filter. It is usually a rectangular or square-shaped piece made of mesh or pleated material.
- Gently grasp the air filter by its edges and pull it out of the compartment. Be cautious not to bend or damage the filter during the removal process.
Some LG air conditioner models may have multiple filters, so make sure to remove all filters found in the compartment. It’s always a good idea to inspect the filters and take note of their positions before cleaning.
With the air filter removed, you can now proceed to the next step and assess its condition.
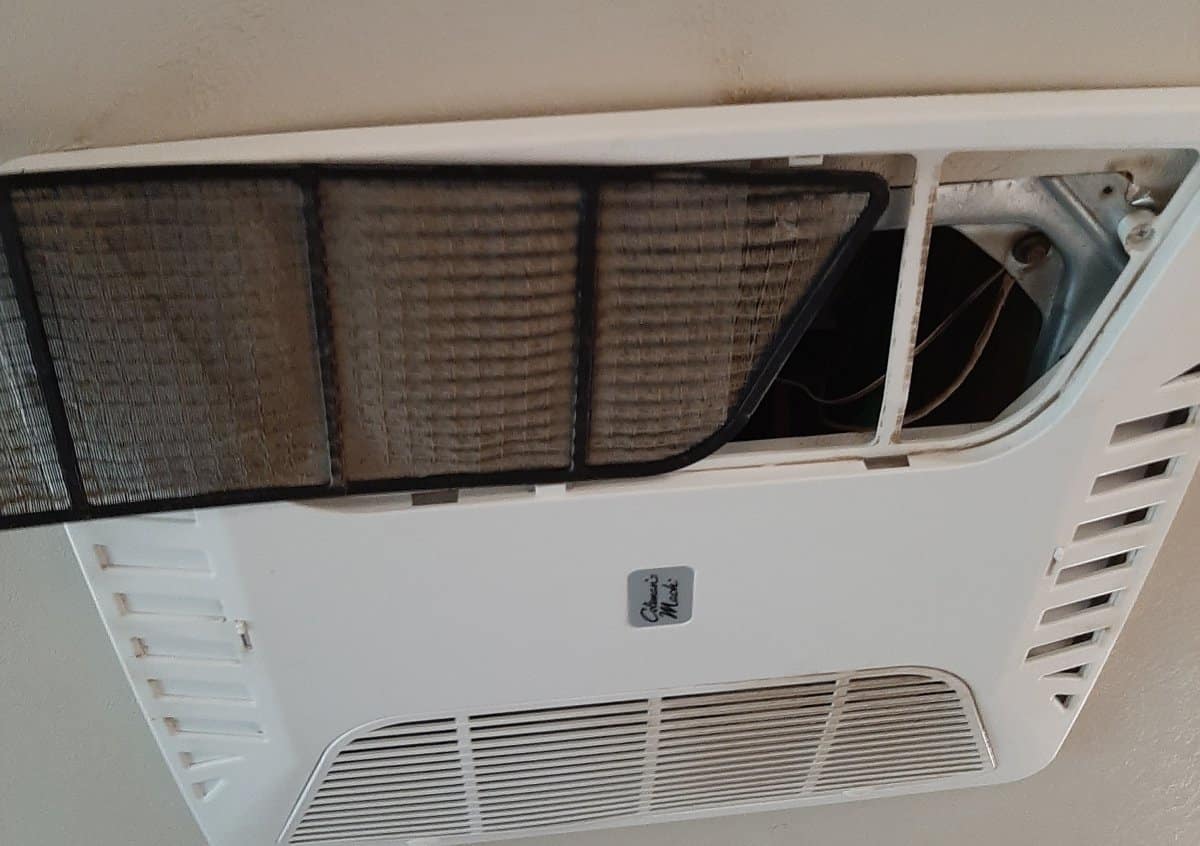
Step 3: Assess the Condition of the Filter
Now that you have removed the air filter from your LG air conditioner, it’s time to assess its condition. Over time, the filter can accumulate dust, dirt, and other particles, which can hinder its effectiveness. Here’s what to look for:
- Inspect the surface of the filter for a visible buildup of dust and debris. A dirty filter may appear discolored, clogged, or have a thick layer of grime.
- Check if the filter has any tears, holes, or damage. A damaged filter may not function properly and may need to be replaced.
- Observe the stiffness of the filter. A filter that feels stiff or brittle may be an indication that it needs to be replaced.
Assessing the condition of the filter helps you determine whether it requires cleaning or replacement. If the filter appears very dirty or damaged, it’s recommended to replace it with a new one. However, if the filter is moderately dirty and in good condition, cleaning it will suffice.
Once you have evaluated the condition of the filter, you can proceed to the next step of cleaning or replacing it accordingly.
Step 4: Vacuum or Brush Away Dust and Debris
After assessing the condition of the filter, it’s time to remove any loose dust and debris that may have accumulated on its surface. This step ensures that the filter is free from any large particles that may obstruct airflow. Here’s how to do it:
- Begin by using a vacuum cleaner with a brush attachment to gently remove loose dust and debris from the filter. The brush attachment helps to dislodge particles without damaging the filter.
- Hold the filter firmly and position the vacuum cleaner over it, ensuring that the brush attachment comes into contact with the filter’s surface.
- Move the vacuum cleaner back and forth, applying light pressure to remove the dust and debris. Pay extra attention to the corners and edges of the filter where dirt tends to accumulate.
- If you don’t have a vacuum cleaner, you can also use a soft-bristle brush to brush away the dust and debris manually. Gently sweep the brush across the filter’s surface, working in one direction to avoid pushing dirt deeper into the filter.
- Continue vacuuming or brushing until the majority of the loose dust and debris is removed from the filter. Take your time and ensure that you cover the entire surface.
By vacuuming or brushing away the dust and debris, you are improving the airflow and preparing the filter for a more thorough cleaning. This step is essential in maintaining the efficiency of your LG air conditioner.
Once you have removed the loose particles, you can move on to the next step and clean the filter more thoroughly.
To clean the filter of an LG air conditioner, first turn off the unit and remove the filter. Use a vacuum or warm soapy water to remove dust and debris. Let the filter dry completely before putting it back in the unit.
Step 5: Wash the Filter with Mild Soap and Water
After removing the loose dust and debris from the filter, it’s time to give it a more thorough cleaning by washing it with mild soap and water. This step helps to remove any remaining dirt or particles that may be trapped in the filter. Follow these steps:
- Fill a basin, sink, or bucket with warm water. Avoid using hot water, as this could potentially damage the filter.
- Add a small amount of mild soap or detergent to the water. Look for a gentle soap that is safe to use on the filter without causing any damage or residue.
- Gently agitate the water to create a soapy solution.
- Carefully place the air filter into the soapy water, making sure it is fully submerged.
- Allow the filter to soak in the soapy water for about 15-20 minutes. This gives the soap time to loosen any stubborn dirt or grime.
- After soaking, use a nylon brush or toothbrush to gently scrub the filter. Pay attention to any areas with visible dirt or stains, but be careful not to apply too much pressure that could damage the filter.
- Continue scrubbing until the filter is clean and free from dirt and stains.
Washing the filter with mild soap and water helps to restore its cleanliness and efficiency. The soap helps to break down any remaining dirt or particles while the gentle scrubbing action assists in removing stubborn stains.
Once you have finished washing the filter, you can proceed to the next step and rinse it thoroughly to remove any traces of soap.
Step 6: Rinse and Dry the Filter Thoroughly
Now that you have washed the filter with mild soap and water, it’s important to rinse it thoroughly to remove any remaining soap residue. Additionally, ensuring that the filter is completely dry before reinstallation is crucial to prevent mold or mildew growth. Follow these steps to rinse and dry the filter:
- Hold the filter under running water to rinse off the soap. Use a gentle water stream and ensure that all soap residue is removed.
- Continue rinsing until the water runs clear and there are no more bubbles or foam.
- Once the filter is thoroughly rinsed, gently shake off any excess water. Avoid wringing or twisting the filter, as this can damage its structure.
- Place the filter on a clean, dry cloth or towel in a well-ventilated area.
- Allow the filter to air dry completely. This may take a few hours, depending on the humidity levels in your environment.
- Ensure that the filter is completely dry before proceeding to the next step. Any residual moisture can lead to mold or mildew growth, affecting both the filter and the air quality it provides.
Remember, a dry filter is essential for optimal performance and longevity of your LG air conditioner. Take the necessary time to ensure that the filter is fully dry before moving on to the next step.
Once the filter is dry, you can proceed to the final step of putting it back in place.
Step 7: Put the Clean Filter Back in Place
Now that you have cleaned and fully dried the filter, it’s time to put it back in place inside your LG air conditioner. Follow these steps to ensure proper reinstallation:
- Locate the air filter compartment on your LG air conditioner.
- Take the clean, dry filter and position it correctly in the compartment. Ensure that it fits snugly and aligns with any markings or guides inside the compartment.
- Push the filter gently but firmly into place. If you have multiple filters, make sure to install them all in the proper order and orientation.
- Double-check that the filter is securely in place and properly aligned within the compartment.
Properly reinserting the clean filter is essential for the efficient functioning of your LG air conditioner. It ensures that the air passing through the unit is properly filtered and free from contaminants.
Once the filter is back in place, you’re almost done! The last step is to turn on the air conditioner and do a quick test to ensure everything is working correctly.
Step 8: Turn On the Air Conditioner and Test
After successfully reinstalling the clean filter, it’s time to turn on your LG air conditioner and ensure that it is working properly. Follow these steps to test the unit:
- Make sure that the air conditioner is plugged into a functioning electrical outlet.
- Press the power button on the unit or use the remote control to turn on the air conditioner.
- Set the desired temperature and fan speed according to your preference.
- Listen for the sound of the air conditioner turning on and feel for cool air coming out of the vents.
- Ensure that the air conditioner is blowing air evenly and with sufficient force.
- Observe the air conditioner for any unusual noises, vibrations, or leaks.
If everything appears to be working properly, congratulations! You have successfully cleaned the filter of your LG air conditioner and restored its efficiency. Enjoy the clean, cool air it provides.
However, if you notice any issues such as poor airflow or unusual sounds, it may be necessary to repeat the cleaning process or seek professional assistance. Additionally, remember to regularly check and clean the filter to maintain optimal performance.
Remember, a clean filter not only improves the performance of your LG air conditioner but also contributes to better indoor air quality for you and your family.
With the air conditioner running smoothly, you have completed the cleaning process. Regular maintenance and cleaning of the filter will help ensure that your LG air conditioner continues to operate efficiently and provide you with cool, clean air for years to come.
Note: Always refer to the user manual for your specific LG air conditioner model for any model-specific instructions or maintenance recommendations.
Conclusion
Congratulations! You have reached the end of our comprehensive guide on how to clean the filter of an LG air conditioner. By following the step-by-step process outlined in this article, you can effectively maintain the efficiency and performance of your air conditioner while ensuring clean and healthy air in your home.
Regularly cleaning the filter is essential for optimal airflow, cooling effectiveness, and energy efficiency. It helps prevent the buildup of dust, dirt, and other particles that can hinder the performance of your LG air conditioner over time. Clean filters also contribute to better indoor air quality by removing allergens and pollutants from the air circulating in your home.
Remember to always consult the user manual specific to your LG air conditioner model for any additional instructions or precautions. Different models may have slightly different filter designs and maintenance requirements.
By turning off the air conditioner, locating and removing the filter, assessing its condition, vacuuming or brushing away dust and debris, washing the filter with mild soap and water, thoroughly rinsing and drying the filter, putting the clean filter back in place, and finally, testing the air conditioner, you can ensure that your LG air conditioner operates efficiently and effectively.
Regularly cleaning the filter should be part of your routine home maintenance. Aim to clean the filter every one to three months, depending on factors such as usage, air quality, and the manufacturer’s recommendations.
Thank you for taking the time to learn how to clean the filter of an LG air conditioner. We hope that this guide has provided you with the knowledge and confidence to maintain a clean and well-functioning air conditioning system in your home.
Stay cool and enjoy the comfort of a properly maintained LG air conditioner!
Frequently Asked Questions about How To Clean The Filter Of An LG Air Conditioner
Was this page helpful?
At Storables.com, we guarantee accurate and reliable information. Our content, validated by Expert Board Contributors, is crafted following stringent Editorial Policies. We're committed to providing you with well-researched, expert-backed insights for all your informational needs.