Articles
How To Remove HVAC Ductwork
Modified: December 7, 2023
Learn effective techniques and step-by-step instructions on how to remove HVAC ductwork with our informative articles. Take control of your home's ventilation system today!
(Many of the links in this article redirect to a specific reviewed product. Your purchase of these products through affiliate links helps to generate commission for Storables.com, at no extra cost. Learn more)
Introduction
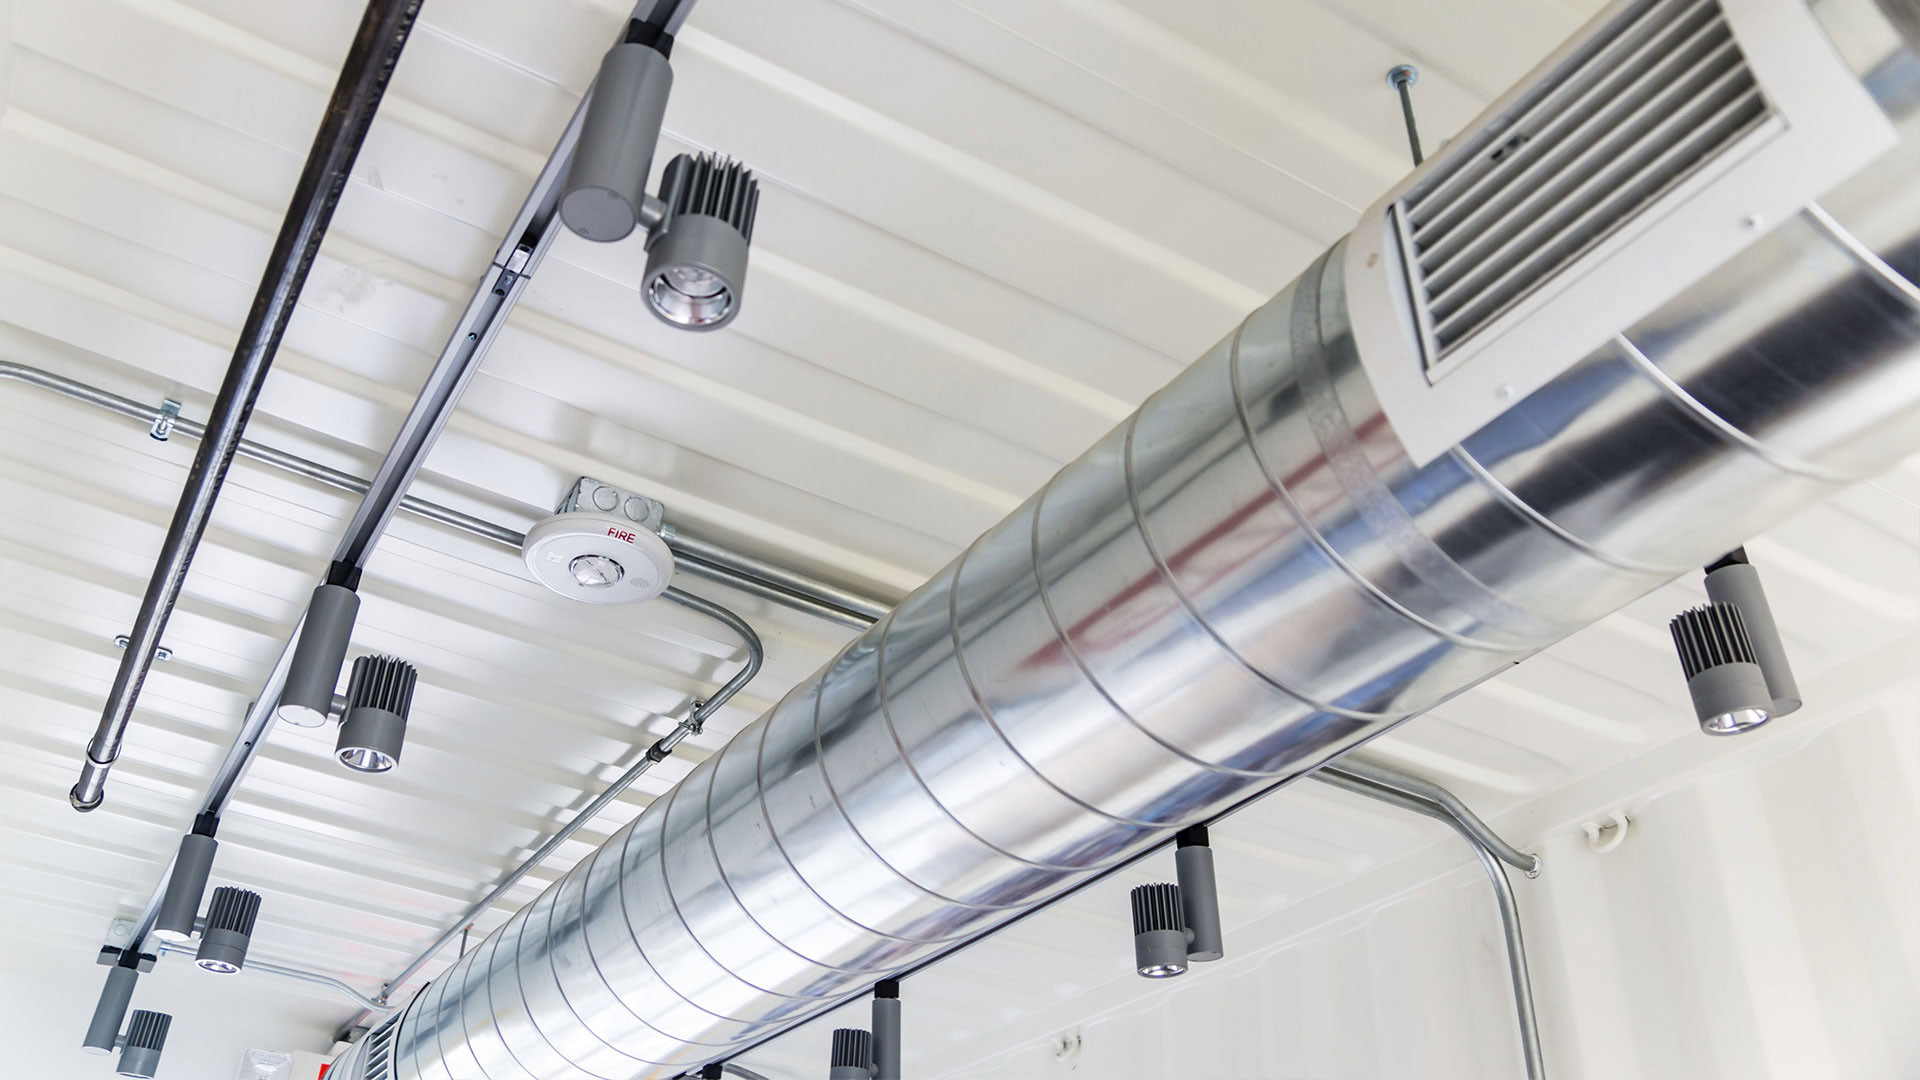
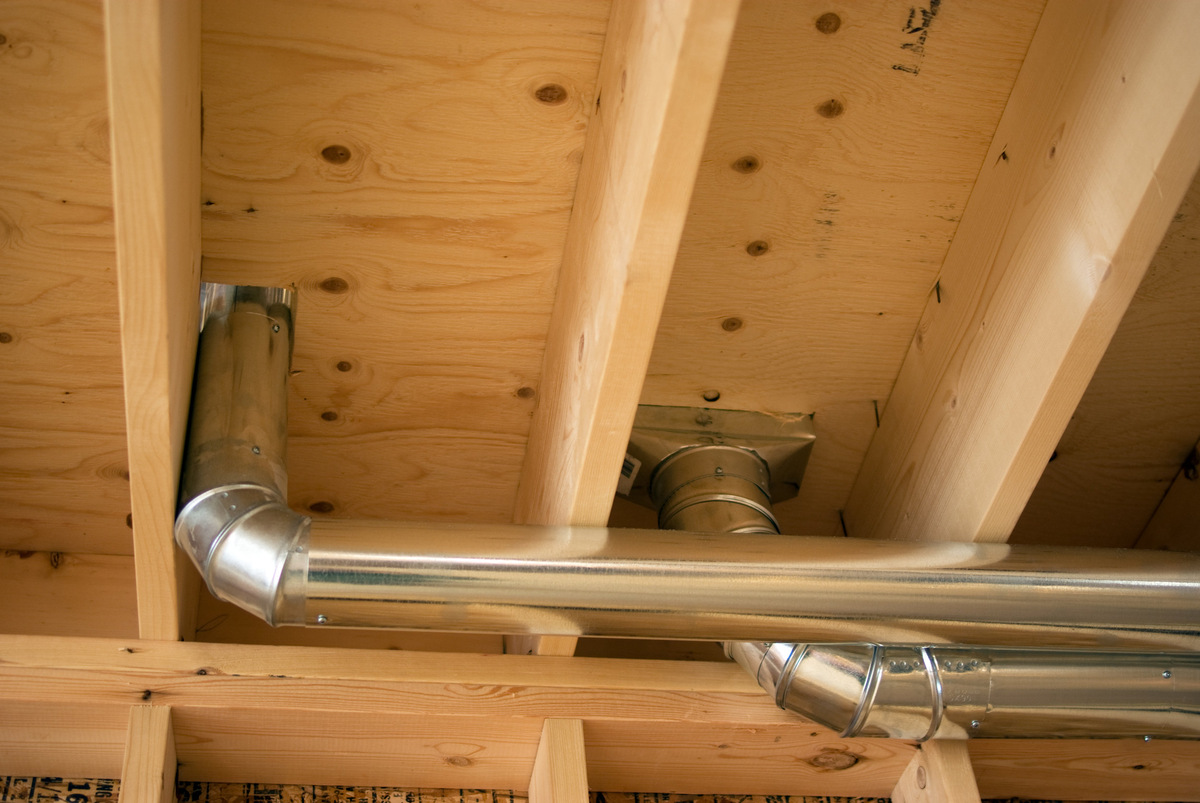
When it comes to home HVAC systems, ductwork plays a crucial role in distributing heated or cooled air throughout the house. However, there may be instances when you need to remove or replace a section of ductwork. This could be due to renovations, repairs, or upgrading to a more efficient system. Whatever the reason, knowing how to properly remove ductwork is essential to ensure a smooth and successful project.
In this article, we will guide you through the step-by-step process of removing HVAC ductwork. We will also provide you with some important safety precautions to follow, as well as a list of tools and materials you will need for the job. So, put on your DIY hat and let’s get started on this ductwork removal adventure!
Key Takeaways:
- Prioritize safety by turning off the HVAC system, wearing protective gear, and being cautious of electrical wiring when removing ductwork. Organize tools and materials for a smooth workflow and efficient removal process.
- Carefully identify, mark, disconnect, and remove the ductwork, ensuring precise cuts and proper sealing of openings. Test the HVAC system to verify its optimal functioning post-removal.
Read more: What Is HVAC Ductwork
Safety Precautions
Before diving into the task of removing HVAC ductwork, it is important to prioritize safety. Here are some key precautions to keep in mind:
- Turn off the HVAC system: Before starting any work, make sure to turn off the HVAC system and disconnect the power supply. This will prevent any accidental activation of the system while you are working on the ductwork.
- Wear protective gear: It is essential to protect yourself while handling HVAC ductwork. Wear gloves, safety glasses, and a dust mask to protect against sharp edges, debris, and potential allergens.
- Use a sturdy ladder or scaffolding: If you are working on ductwork located above ground level, use a stable ladder or scaffolding to access the area safely. Ensure that the ladder or scaffolding is positioned on even ground and properly secured.
- Work with a partner: Removing ductwork can be a challenging and physically demanding task. Having a partner to assist you not only makes the job easier but also improves safety by providing an extra set of eyes and hands.
- Beware of electrical wiring: When removing ductwork, be mindful of any electrical wiring that may be present. Avoid damaging or coming into contact with electrical components to prevent the risk of electrical shock.
- Properly dispose of removed ductwork: Once the ductwork has been removed, handle the materials with care and dispose of them properly. If the ductwork contains insulation, it may be necessary to follow specific regulations for disposal.
By following these safety precautions, you can ensure a safer working environment and minimize the risk of accidents or injuries while removing HVAC ductwork. Remember, safety should always be the top priority in any DIY project.
Tools and Materials Needed
Before you begin removing HVAC ductwork, gather the necessary tools and materials to ensure a smooth and efficient process. Here is a list of what you’ll need:
- Tape measure: Use a tape measure to accurately measure the ductwork and determine the sections that need to be removed.
- Electric drill: An electric drill will come in handy when removing fasteners and screws that secure the ductwork.
- Tin snips: Tin snips are essential for cutting through the ductwork. Choose snips that are specifically designed for cutting sheet metal.
- Screwdriver: Have a selection of screwdrivers on hand, including both flathead and Phillips-head, as you may encounter different types of screws during the removal process.
- Pliers: Pliers will be useful for twisting and loosening any clamps or connectors that are holding the ductwork together.
- Flashlight: A flashlight will help illuminate dark and hard-to-reach areas as you work on the ductwork.
- Work gloves: Protect your hands by wearing work gloves, especially when handling sharp edges or working in tight spaces.
- Dust mask: To protect yourself from dust, debris, and potential allergens, wear a dust mask throughout the ductwork removal process.
- Drop cloth or tarp: Place a drop cloth or tarp underneath the work area to catch any debris or insulation that may fall during the removal process.
- Duct tape or HVAC sealant: Depending on your specific HVAC system, you may need duct tape or HVAC sealant to properly reseal any openings or connections after removing the ductwork.
Make sure to gather all the necessary tools and materials before you start the removal process. Having everything on hand will save you time and ensure a smoother workflow.
Step 1: Turn off the HVAC System
Before you begin removing the HVAC ductwork, it’s important to ensure that the system is turned off to avoid any mishaps or accidents. Here’s how to do it:
- Locate the main electrical switch or breaker box for your HVAC system. This is typically found near the HVAC unit or in a utility area of your home.
- Flip the switch or trip the breaker that controls the power supply to your HVAC system. This will effectively turn off the system and cut off the electricity.
- Double-check that the power is indeed off by testing the HVAC controls or trying to turn on the system. If the system remains off, you can proceed to the next step.
By turning off the HVAC system, you ensure your safety and prevent any potential damage to the system or yourself during the ductwork removal process. It’s always better to be safe than sorry, so take your time to properly turn off the power before moving on to the next steps.
Step 2: Identify and Mark the Ductwork to be Removed
After turning off the HVAC system, the next step is to identify and mark the specific sections of ductwork that need to be removed. This will ensure that you remove the correct ductwork without causing unnecessary damage to the system. Here’s how to proceed:
- Start by visually inspecting the ductwork in your home. Look for any visible signs of damage, such as leaks, loose connections, or rusted sections.
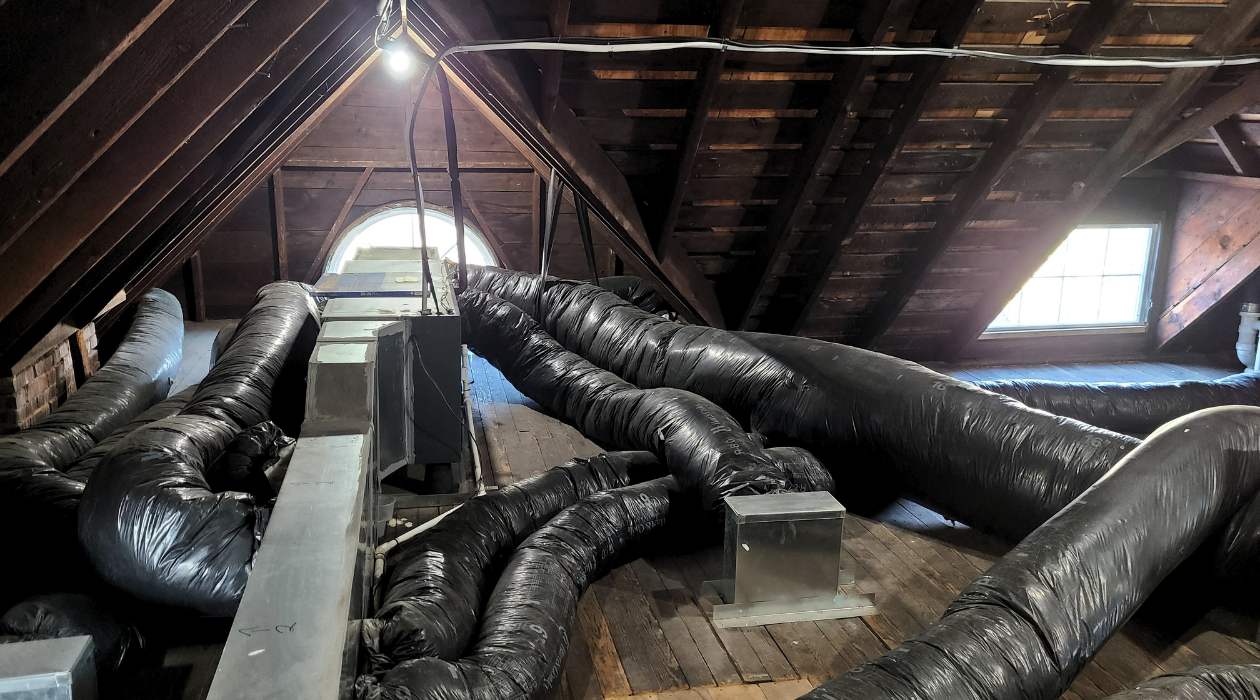
- Use a flashlight to check the ductwork in darker or hard-to-reach areas, such as crawl spaces or attics. Take note of any areas that require repair or replacement.
- Once you have identified the sections of ductwork that need to be removed, use a tape measure to measure the length and width of each section. This will help you accurately cut and remove the ductwork later on.
- Mark the sections of ductwork to be removed using a marker or a piece of tape. Make sure the markings are clearly visible and easily recognizable.
- If there are multiple sections of ductwork that need to be removed, label each section with a corresponding number or letter. This will help you keep track of the order in which the ductwork should be removed.
By identifying and marking the ductwork to be removed, you ensure that you stay organized and focused during the removal process. This will save you time and effort and minimize the chances of accidental removal of the wrong sections. Take your time to properly mark the ductwork before moving on to the next steps.
Read more: How To Run HVAC Ductwork
Step 3: Disconnect the Ductwork from the HVAC Unit
With the marked sections of ductwork identified, it’s time to disconnect them from the HVAC unit. This step requires careful handling to avoid damaging the unit or the surrounding components. Follow these instructions to disconnect the ductwork:
- Locate the point where the ductwork connects to the HVAC unit. This is typically near the air handler or furnace.
- Use a screwdriver or wrench to loosen the screws, bolts, or clamps that secure the ductwork to the unit. Depending on your HVAC system, you may encounter different types of connectors, so you may need to use the appropriate tools.
- Gently pull the ductwork away from the unit, taking care not to force or bend it. If the ductwork is tightly connected, you may need to use pliers to loosen any stubborn clamps or connectors.
- Inspect the area where the ductwork was connected to the unit. Look for any signs of damage or wear, such as leaks or loose fittings. If necessary, make a note to repair or replace these components later.
- Repeat this process for each marked section of ductwork, disconnecting them from the HVAC unit one by one.
By properly disconnecting the ductwork from the HVAC unit, you ensure that the removal process goes smoothly and without causing any damage. Take your time to carefully loosen the connectors and inspect the connections, noting any areas that require further attention. Once the ductwork is disconnected, you can move on to the next step of the removal process.
When removing HVAC ductwork, be sure to turn off the power to the system to avoid any accidents. Use proper safety equipment such as gloves and goggles, and consider hiring a professional if you are unsure about the process.
Step 4: Remove Any Fasteners Securing the Ductwork
Now that the ductwork has been disconnected from the HVAC unit, the next step is to remove any fasteners that secure it in place. These fasteners can include screws, bolts, straps, or clamps. Follow these steps to remove the fasteners:
- Inspect the ductwork sections and identify the fasteners that are holding them in place. They are usually located at regular intervals along the length of the ductwork.
- Using an appropriate screwdriver or wrench, carefully remove the screws, bolts, or clamps from the fasteners. Keep them in a safe place, as you may need them later if you are planning to reuse the ductwork.
- If the fasteners are tightly secured or rusted, you may need to use lubricant or pliers to help loosen them. Take caution not to damage the ductwork or surrounding components while doing so.
- As you remove the fasteners, support the ductwork with your free hand to prevent it from falling or causing any damage.
- After removing the fasteners, set them aside and inspect the ductwork for any additional fasteners that may not be easily visible. Remove any remaining fasteners to ensure the ductwork is completely free.
By removing the fasteners, you are ensuring that the ductwork is ready to be dismantled and removed without any obstructions. Take your time to carefully remove the fasteners, ensuring that you keep track of them for future use if necessary. With the fasteners removed, you can now move on to the next step of the ductwork removal process.
Step 5: Cut and Remove the Ductwork
With the fasteners removed, it’s time to cut and remove the marked sections of ductwork from your HVAC system. This step requires caution and precision to avoid any damage to the surrounding areas. Follow these steps to cut and remove the ductwork:
- Put on a pair of work gloves to protect your hands from sharp edges.
- Using tin snips, carefully cut through the marked sections of ductwork. Make sure to follow the measured markings to ensure accurate cuts.
- Support the section you are cutting with your free hand to prevent it from falling or causing damage as you cut through it.
- If you encounter any issues while cutting, such as thick metal or stubborn connections, use additional tools like pliers or a reciprocating saw to help disconnect and remove the sections.
- Once a section of ductwork is cut and free, carefully remove it from the area. Be mindful of any insulation or debris that may be attached to it.
- Repeat this process for each marked section of ductwork, cutting and removing them one by one.
By carefully cutting and removing the ductwork, you are dismantling it in a controlled manner. Pay attention to any challenges or obstacles you encounter and use the appropriate tools to overcome them. Take your time to ensure that each section is fully disconnected and removed before moving on to the next step.
Step 6: Patch and Seal the Opening
After removing the sections of ductwork, it’s important to properly patch and seal the openings to prevent any air leaks or heat loss. This step will ensure the efficiency and effectiveness of your HVAC system. Follow these steps to patch and seal the openings:
- Inspect the openings where the ductwork was removed. Clean and remove any debris or loose insulation to create a clean surface for patching.
- Measure the dimensions of the openings. Cut a piece of sheet metal or duct board slightly larger than the opening size to create a patch.
- Position the patch over the opening and secure it in place using self-tapping screws or sheet metal tape. Make sure the patch is securely fastened and covers the entire opening.
- Apply duct sealant or HVAC-specific tape along the edges of the patch to create an airtight seal. This will prevent air leakage and maintain the efficiency of your HVAC system.
- If any other openings or connections were exposed during the removal process, inspect them and seal them as necessary. Apply duct sealant or use HVAC-specific tape to ensure a tight seal.
By patching and sealing the openings, you are maintaining the integrity of your HVAC system and preventing any air leakage. Take your time to properly fit and secure the patches, ensuring a proper seal. This will help optimize the performance of your HVAC system and reduce energy waste.
Read more: How Much Does HVAC Ductwork Cost
Step 7: Test the HVAC System
After completing the ductwork removal and patching process, it’s important to test your HVAC system to ensure it is functioning properly. This final step will help you verify that everything is in working order and that there are no issues resulting from the ductwork removal. Follow these steps to test the HVAC system:
- Turn on the power to your HVAC system by flipping the main electrical switch or resetting the breaker.
- Set your thermostat to the desired temperature and mode (heat or cool) to trigger the HVAC system.
- Listen for any unusual sounds or vibrations coming from the system. Pay attention to airflow and temperature changes to ensure they are functioning as expected.
- Inspect the newly patched and sealed areas for any signs of air leaks or moisture accumulation. If you notice any issues, recheck the patches and reapply sealant or tape as necessary.
- Monitor the system’s performance over the next few days to ensure it continues to operate smoothly without any issues or malfunctions.
- If you notice any problems or abnormalities with your HVAC system, such as uneven airflow or unusual smells, it is recommended to consult a professional HVAC technician for further inspection and assistance.
By testing the HVAC system after the ductwork removal, you can ensure that it is functioning optimally and that there are no issues stemming from the removal process. Regularly monitoring and maintaining your HVAC system will help keep it running efficiently and extend its lifespan.
Conclusion
Removing HVAC ductwork may seem like a daunting task, but with the right knowledge and approach, it can be completed successfully. By following the step-by-step process outlined in this article, you can safely and efficiently remove the necessary sections of ductwork from your HVAC system.
Throughout the process, it’s crucial to prioritize safety by turning off the HVAC system, wearing protective gear, and being cautious of electrical wiring. Additionally, having the appropriate tools and materials on hand will ensure a smooth workflow.
Identifying and marking the sections of ductwork to be removed is essential for staying organized and preventing any accidental removal of the wrong sections. Disconnecting the ductwork from the HVAC unit and removing the fasteners require careful handling to prevent damage to the system.
When cutting and removing the ductwork, taking your time and using the right tools will ensure a successful removal without any complications. Finally, patching and sealing the openings will maintain the efficiency of your HVAC system by preventing air leakage.
Once the ductwork removal is complete, testing the HVAC system is important to verify its proper functioning and address any potential issues. By monitoring the system’s performance, you can ensure that it continues to operate optimally.
Remember, if you are unsure or uncomfortable with any step of the process, it is always recommended to consult a professional HVAC technician for assistance.
By following these guidelines, you can successfully remove HVAC ductwork and make the necessary changes to your system. Whether you are remodeling, upgrading, or repairing, this knowledge will empower you to take control of your HVAC system and create a comfortable living environment.
Frequently Asked Questions about How To Remove HVAC Ductwork
Was this page helpful?
At Storables.com, we guarantee accurate and reliable information. Our content, validated by Expert Board Contributors, is crafted following stringent Editorial Policies. We're committed to providing you with well-researched, expert-backed insights for all your informational needs.


0 thoughts on “How To Remove HVAC Ductwork”