Home>Home Maintenance>How To Learn Home Repair
Home Maintenance
How To Learn Home Repair
Modified: October 20, 2024
Learn essential home repair skills and techniques with our comprehensive guide. From basic maintenance to advanced repairs, master the art of home maintenance with our expert advice.
(Many of the links in this article redirect to a specific reviewed product. Your purchase of these products through affiliate links helps to generate commission for Storables.com, at no extra cost. Learn more)
Introduction
Home repairs are an inevitable part of homeownership. From leaky faucets to creaky floorboards, there are countless maintenance tasks that may arise at any given time. While it can be tempting to call a professional for every issue, learning how to tackle basic home repairs yourself can save you time and money.
In this article, we will explore the essential steps you need to take to learn home repair and become a proficient DIY homeowner. Whether you’re a seasoned DIY enthusiast or just starting out, these tips and techniques will help you confidently handle common home maintenance issues.
Learning home repair not only empowers you to take care of your own home, but it also gives you a sense of accomplishment and independence. So, let’s dive in and discover the key aspects of mastering home repair.
Key Takeaways:
- Learning basic home repairs empowers homeowners to save time and money, and gain a sense of accomplishment and independence while effectively maintaining their homes.
- Prioritizing safety, gathering the right tools, and seeking professional help when needed are essential steps in mastering DIY home repairs and preventing minor issues from escalating.
Read more: How To Learn DIY Home Renovation
Assessing the Problem
Before you can begin any home repair project, it’s crucial to accurately assess the problem at hand. This involves identifying the root cause of the issue and evaluating the extent of the damage.
Start by carefully inspecting the area where the problem is occurring. If it’s a plumbing issue, such as a leaking faucet, check for any visible signs of water damage or corrosion. If it’s an electrical problem, like a malfunctioning outlet, inspect the surrounding area for any burnt-out wires or scorch marks.
It’s essential to pinpoint the exact source of the problem to avoid wasting time and effort on unnecessary repairs. Look for any visible signs of damage, listen for unusual sounds, and pay attention to any odors that may indicate an underlying issue.
Additionally, consider the scope of the repair. Determine if it’s a minor fix that you can handle yourself or if it requires professional intervention. Knowing the extent of the problem will help you make an informed decision on how to proceed.
If you are unsure about the cause or severity of the problem, it’s always a good idea to consult with a professional or seek guidance from experienced DIY forums. Remember, safety should be your top priority, and it’s better to seek help when needed.
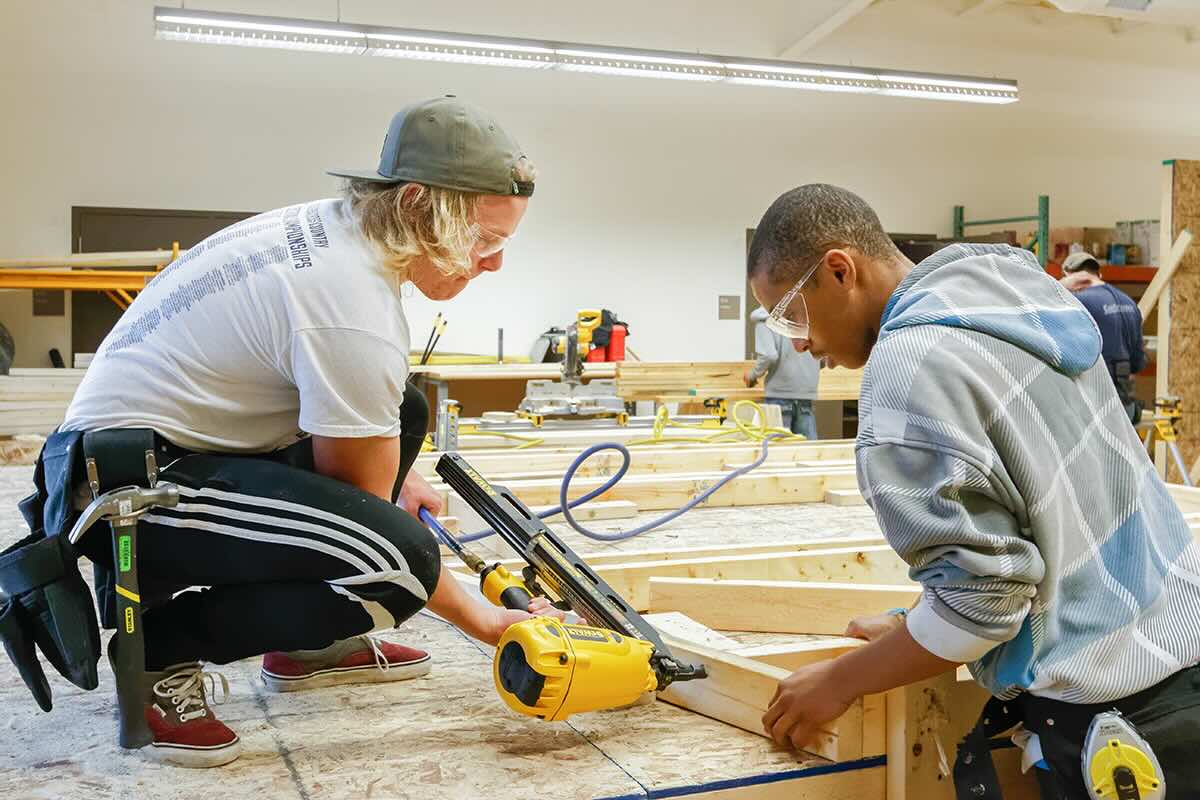
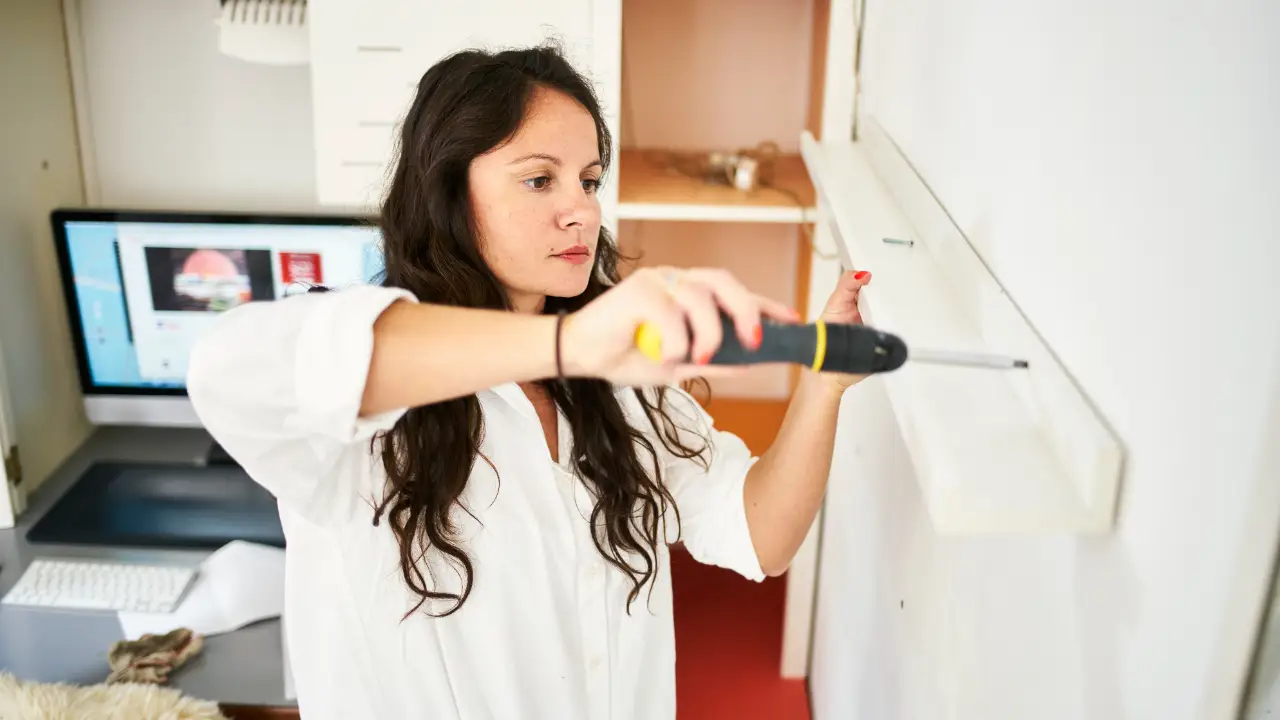
Gathering the Right Tools
Once you have assessed the problem, the next step is to gather the necessary tools for the repair. Having the right tools at your disposal will make your home repair tasks much easier and more efficient.
Start by creating a toolkit specifically designated for home repairs. This toolkit should include essential tools such as a screwdriver set (both flathead and Phillips), adjustable wrench, pliers, utility knife, hammer, and tape measure.
Depending on the specific repair you are undertaking, you may need additional tools. For example, plumbing repairs may require pipe wrenches, Teflon tape, and a plunger. Electrical repairs may necessitate wire cutters, wire strippers, and a voltage tester. Research the specific tools needed for your particular repair to ensure you have everything on hand.
Investing in quality tools is crucial for long-term use and durability. Avoid buying cheap tools that may break easily or compromise the quality of your repairs. Look for reputable brands known for their durability and reliability.
Remember, safety should always be a top priority when working with tools. Wear protective gear such as safety goggles, gloves, and a dust mask when necessary. Additionally, ensure you are using tools correctly and following proper safety precautions to avoid accidents or injuries.
Having a well-stocked toolkit with the right tools for the job will give you the confidence to tackle a wide range of home repair tasks with ease.
Safety Precautions
When it comes to home repairs, ensuring your safety should be your top priority. Many home repair tasks involve working with potentially dangerous tools, electricity, or heavy objects. Taking proper safety precautions can prevent accidents and injuries. Here are some essential safety tips to keep in mind:
1. Educate Yourself: Before attempting any repair, take the time to educate yourself about the task at hand. Read instructional manuals, watch tutorial videos, and consult experts to understand the proper procedures and precautions.
2. Use Protective Gear: Always wear appropriate safety gear, such as protective goggles, gloves, and a dust mask, when working with tools, chemicals, or materials that could cause harm.
3. Shut Off Utilities: For repairs involving plumbing or electricity, always turn off the main water supply or shut off the circuit breaker for the affected area before beginning work. This prevents the risk of electrocution or water damage.
4. Ladder Safety: If your repair requires the use of a ladder, make sure it is in good condition, stable, and positioned on a flat surface. Always maintain three points of contact on the ladder (two hands and one foot or vice versa) and avoid overreaching.
5. Practice Electrical Safety: If you’re not confident in handling electrical repairs, it’s best to leave it to the professionals. However, if you do decide to tackle electrical issues, ensure the power is off and use insulated tools. Test circuits and equipment with a voltage tester before working on them.
6. Proper Ventilation: When working with paints, adhesives, or other chemicals that release fumes, make sure the area is well-ventilated to avoid inhaling harmful substances.
7. Lift with Care: When lifting heavy objects, remember to use proper lifting techniques to protect your back. Bend your knees, keep your back straight, and lift with your legs.
8. Take Breaks: Don’t push yourself too hard. Take regular breaks to rest and hydrate, especially when working on physically demanding repairs.
Remember, if a repair task seems too complex or involves a high level of risk, it’s always advisable to hire a professional contractor or handyman with the necessary expertise and experience to handle the job safely.
Basic Plumbing Repairs
Dealing with plumbing issues can be daunting, but with a bit of knowledge and the right tools, you can tackle basic plumbing repairs in your home. Here are a few common plumbing problems and how to fix them:
1. Leaky Faucet: A dripping faucet is not only annoying but can also waste water and increase your water bill. To fix it, start by turning off the water supply to the faucet. Then, disassemble the faucet handles and replace the worn-out washer or O-ring. Reassemble the faucet and turn the water supply back on to test for leaks.
2. Clogged Drain: A clogged drain can lead to slow drainage or even a complete blockage. Begin by using a plunger to try and dislodge the clog. If that doesn’t work, use a drain snake or an auger to remove the blockage manually. Remember to wear gloves and avoid using chemical drain cleaners, as they can damage your pipes.
3. Running Toilet: If your toilet continues to run long after you’ve flushed, you may need to replace the flapper valve. Turn off the water supply to the toilet, flush to drain as much water as possible, and then replace the flapper valve. If the problem persists, there may be an issue with the fill valve that needs professional attention.
4. Low Water Pressure: If you’re experiencing low water pressure, the cause could be a clogged aerator on your faucet. Unscrew the aerator and clean out any mineral deposits or debris. If this doesn’t solve the issue, there may be a problem with the water line that requires professional assistance.
5. Toilet Tank Leak: A toilet tank leak can waste a significant amount of water. To determine if you have a leak, add a few drops of food coloring to the tank and wait. If the color appears in the toilet bowl without flushing, you have a leak. The most common culprit is a faulty flapper valve, which can be easily replaced.
6. Dripping Showerhead: If your showerhead is dripping, it might be due to a worn-out washer or a loose connection. Disassemble the showerhead and inspect the components. Replace any worn-out parts or use plumber’s tape to secure loose connections.
Remember to always exercise caution when working with plumbing. If you’re unsure about a repair, it’s best to consult a professional plumber to avoid causing further damage or requiring more extensive repairs down the line.
Read more: How To Start Learning Home Improvement
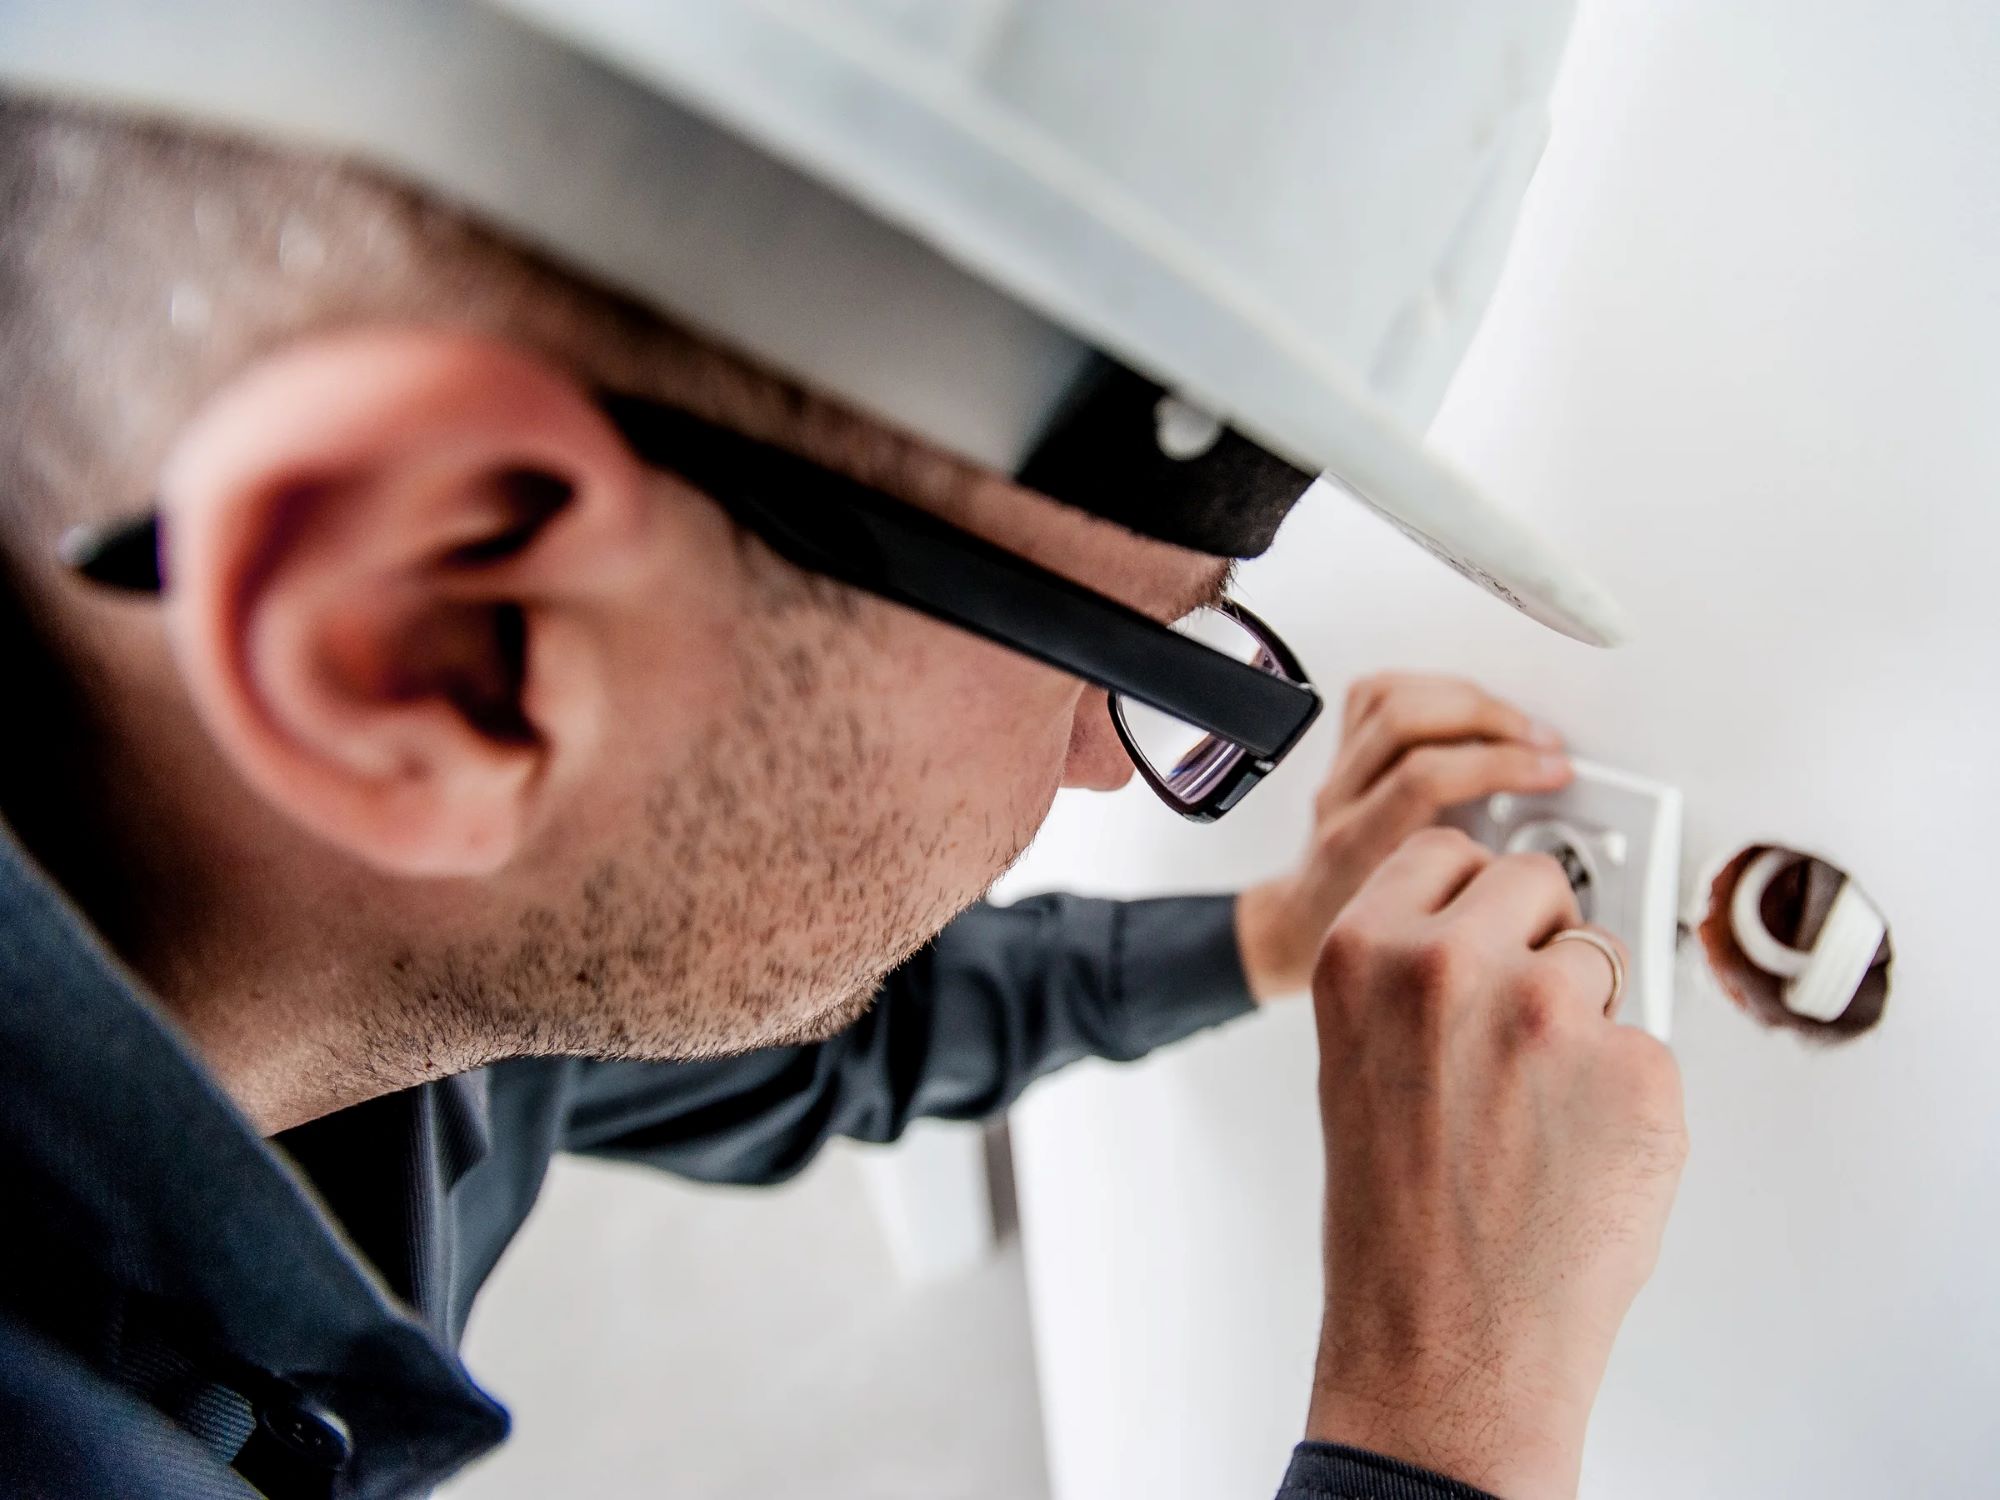
Electrical Repairs
Dealing with electrical repairs can be intimidating for many homeowners. While complex electrical work should be left to the professionals, there are a few basic electrical repairs you can handle on your own. Here are some common electrical issues and how to address them:
1. Faulty Outlet: If an outlet is not working, the first step is to check the circuit breaker to ensure that the corresponding circuit hasn’t tripped. If the breaker is fine, turn off the power to the outlet and remove the cover plate. Check the wiring connections to ensure they are secure and free of any damage. If necessary, replace the outlet or consult an electrician for further assistance.
2. Light Fixture Replacement: If you need to replace a light fixture, start by turning off the power to the circuit at the breaker panel. Remove the old fixture and disconnect the wiring. Install the new fixture following the manufacturer’s instructions and make sure all wire connections are secure. Finally, turn the power back on and test the new fixture.
3. Dim or Flickering Lights: If you are experiencing dimming or flickering lights, it could be due to loose wiring connections. Turn off the power to the affected circuit and check the wiring connections at the switch or light fixture. Tighten any loose connections and replace any damaged or worn-out components if necessary.
4. Tripping Circuit Breaker: If a circuit breaker frequently trips, it may be overloaded. Start by unplugging any appliances or devices connected to the circuit. If the problem persists, you may need to redistribute the load by moving some devices to different circuits or consult an electrician to assess your electrical system.
5. GFCI Outlet Resetting: Ground Fault Circuit Interrupter (GFCI) outlets are designed to protect against electrical shocks. If a GFCI outlet keeps resetting, it could indicate a ground fault or a problem with a connected device. First, unplug all devices from the outlet. If the problem persists, press the “Reset” button on the outlet. If it won’t reset or keeps tripping, there may be a wiring issue that requires professional attention.
It’s important to remember that electrical repairs can be hazardous. If you’re unsure about any electrical repair, or if the issue is beyond basic troubleshooting, it’s recommended to contact a licensed electrician to ensure your safety and prevent further complications.
Start by learning the basics of plumbing, electrical work, and carpentry. Practice on small projects and don’t be afraid to ask for help or watch tutorials.
Patching Drywall
Drywall is a common building material used in most homes. Over time, it can develop cracks, holes, or dents. Learning how to patch drywall is a valuable skill that can help maintain the appearance and integrity of your walls. Here’s a step-by-step guide to patching drywall:
1. Gather the necessary tools: For patching drywall, you’ll need a putty knife, sandpaper, drywall compound, and a patching kit or scrap drywall piece. Ensure that you have a dust mask and protective eyewear for safety.
2. Prepare the damaged area: Start by removing any loose or damaged pieces of drywall around the hole or crack. Use a utility knife to create clean edges and remove any protruding drywall paper. Wipe away any dust or debris with a cloth.
3. Apply the patch: If you’re using a patching kit, follow the manufacturer’s instructions to cut a piece that will cover the damaged area. Secure the patch in place using drywall screws or adhesive. If using a scrap piece of drywall, cut it to fit the hole, ensuring it is slightly smaller than the opening.
4. Apply drywall compound: Using a putty knife, apply a thin layer of drywall compound over the patch or damaged area. Extend the compound beyond the edges of the patch to create a smooth blend with the surrounding wall. Allow it to dry completely according to the manufacturer’s instructions.
5. Sand and feather the compound: Once the compound is dry, use sandpaper to smooth the surface. Start with coarse-grit sandpaper and gradually switch to finer-grit sandpaper for a polished finish. Feather the compound edges to blend it seamlessly with the surrounding wall.
6. Prime and paint: Before painting, apply a coat of primer to the patched area to ensure uniform color and adhesion. Once the primer is dry, paint the patched area to match the rest of the wall. Use a brush or roller for a consistent finish.
With a little practice, you’ll gain confidence in patching drywall and be able to handle small repairs efficiently. For larger or more complex drywall repairs, it’s advisable to consult a professional to ensure a seamless and long-lasting result.
Fixing a Leaky Roof
A leaky roof can be a source of stress for homeowners, as it can lead to water damage and other structural issues. Fixing a leaky roof in a timely manner is crucial to avoid further damage. Here’s a step-by-step guide to help you address a leaky roof:
1. Identify the source of the leak: Begin by inspecting your roof to locate the area where the leak is occurring. Look for signs of water stains or moisture on the ceiling or walls inside your home. Trace the path of the water back to the highest point on the roof where the leak may be originating.
2. Check for damaged or missing shingles: If the leak is due to damaged or missing shingles, carefully remove any loose or damaged shingles in the surrounding area. Replace them with new shingles and secure them in place using roofing nails or adhesive, ensuring they are properly aligned with the existing shingles.
3. Inspect flashing and sealants: Flashing is used to seal gaps and joints in the roof where water can seep in. Examine the flashing around chimneys, vents, skylights, and other protrusions. Look for any signs of damage or deterioration. Repair or replace the flashing as necessary, ensuring a watertight seal.
4. Seal roof penetrations: Roof vents, pipes, and other protrusions can also be potential sources of leaks. Check the seals and gaskets around these areas and apply roof sealant or roofing cement to create a watertight seal. Be thorough in inspecting all roof penetrations to ensure no gaps or cracks are present.
5. Clear debris from gutters and downspouts: Clogged gutters and downspouts can lead to water overflow, which can contribute to roof leaks. Regularly clean out debris, such as leaves and twigs, to ensure proper water drainage away from the roof. Additionally, inspect and repair any damaged or sagging gutters to prevent water from pooling on the roof.
6. Test for leaks: Once you have addressed the potential sources of the leak, it’s important to test the repairs. Use a garden hose to simulate rain and direct water onto the area of the roof where the leak was occurring. Observe if any water seeps through. If the repairs were successful, there should be no signs of leakage.
However, keep in mind that fixing a leaky roof may require expertise and experience, especially for more extensive repairs or if you’re unsure of the underlying cause. In such cases, it is recommended to consult a professional roofing contractor to address the issue and ensure a long-lasting solution.
Repairing Flooring
Over time, flooring can experience wear and tear, resulting in scratches, dents, or damaged sections. Repairing your flooring can help restore its appearance and extend its lifespan. Here are some common flooring types and their respective repair methods:
1. Hardwood Flooring: To repair minor scratches or gouges in hardwood flooring, start by cleaning the damaged area with a hardwood floor cleaner. Next, use a fine-grit sandpaper to gently sand the damaged spot, following the grain of the wood. Once the area is smooth, apply a matching wood filler and use a putty knife to level it with the surrounding floor. Allow the filler to dry, then lightly sand and refinish the area to blend it with the rest of the floor.
2. Laminate Flooring: Laminate flooring repairs typically involve replacing damaged planks. Start by removing the damaged plank by lifting it at an angle and then sliding it out. Measure and cut a new plank to fit the vacant space, ensuring it matches the pattern of the existing floor. Insert the new plank, using a tapping tool to secure it in place. If necessary, use a color-matched laminate floor repair kit to fill in any visible gaps.
3. Vinyl Flooring: For small tears or gouges in vinyl flooring, you can use a vinyl patch kit. Clean the damaged area, trim away any loose edges, and apply the patch according to the kit’s instructions. For larger areas of damage or loose vinyl tiles, it may be necessary to remove the damaged area and replace it with a new tile or section of flooring.
4. Tile Flooring: Tile repairs often involve replacing cracked or chipped tiles. Start by carefully removing the damaged tile using a chisel and hammer. Clean out the area, apply tile adhesive, and install a new tile, making sure it is level and aligned with the surrounding tiles. Allow the adhesive to dry, then grout the area to complete the repair.
5. Carpet Flooring: Carpet repairs can vary depending on the type and extent of the damage. For small stains or burns, you can use a carpet repair kit to cut out the damaged area and replace it with a patch from a hidden area, such as a closet. For larger areas or more complex damage, it is recommended to consult a professional carpet installer for seamless repairs.
Remember, it’s important to assess the extent of the damage and determine if it’s within your skill level before attempting any flooring repairs. If you’re uncertain or the damage is extensive, it may be best to consult a professional flooring contractor for expert advice and assistance.
Read more: Learning How To Sew Home Decor Items
Troubleshooting Appliances
When household appliances malfunction, it can disrupt our daily routines. Troubleshooting common appliance issues can often save us time and money by avoiding unnecessary repairs. Here are some troubleshooting tips for common household appliances:
1. Refrigerator: If your refrigerator is not cooling properly, start by checking the temperature settings. Make sure the vents and coils are clean and free of dust or debris. If the issue persists, ensure that the door seals are intact and sealing properly. Check the condenser fan and motor for any signs of damage or obstruction. It may also be helpful to confirm that the refrigerator is receiving power and that the circuit breaker is not tripped.
2. Washing Machine: If your washing machine is not functioning properly, check that it is receiving power and that the water supply valves are fully open. Inspect the drain hose for any signs of blockage or kinks. Ensure that the wash load is balanced and not overloaded. Additionally, cleaning the filter and checking for clogged pump or drainage can help resolve common issues such as drainage problems.
3. Dishwasher: If your dishwasher is not cleaning dishes effectively, check that the spray arm is not clogged or blocked by utensils or debris. Ensure that the water supply is sufficient and that the detergent dispenser is functioning properly. Clean the filters and check the drain hose for any obstructions. If the dishwasher is not turning on, check the power supply and verify that the door latch is engaging correctly.
4. Oven or Stove: If your oven or stove is not heating or maintaining temperature, check that it is properly plugged in and receiving power. Ensure that the burners and heating elements are clean and intact. Calibrate the temperature settings or recalibrate the electronic control if necessary. It may also be helpful to verify that the oven door is closing tightly to maintain proper heat circulation.
5. Air Conditioner: If your air conditioner is not cooling effectively, start by checking the air filters and cleaning or replacing them if needed. Verify that the thermostat is set to the desired temperature and check for any obstructions around the unit, such as plants or debris. Clean the condenser coils and ensure that the fan is functioning properly. If the issue persists, consult a professional HVAC technician for further diagnosis.
Remember, safety should always be a priority when troubleshooting appliances. If you are not comfortable or unsure about the cause of the issue, it is recommended to seek professional assistance to avoid further damage or potential hazards.
Conclusion
Learning how to handle basic home repairs is an essential skill for homeowners. Not only does it save you time and money, but it also empowers you to take care of your own home, giving you a sense of accomplishment and independence.
In this article, we have explored the key aspects of learning home repair. From assessing the problem to gathering the right tools, taking safety precautions, and tackling specific repairs such as plumbing, electrical, drywall, roof, flooring, and appliances, we have covered a wide range of essential maintenance tasks.
Remember, when it comes to home repair, safety should always be a top priority. Take the time to educate yourself about the repair task at hand, use protective gear, and know when to seek professional assistance when a repair task exceeds your expertise or poses a safety risk.
By taking the initiative to learn and practice basic home repairs, you can effectively maintain your home and prevent minor issues from escalating into larger and more costly problems. Additionally, the knowledge and skills you acquire along the way will serve you well in future home maintenance endeavors.
Lastly, don’t be afraid to seek guidance from reputable resources such as DIY forums, instructional videos, or professional contractors. With the right tools, a little patience, and a willingness to learn, you can become a proficient DIY homeowner, capable of handling a wide range of home repairs with confidence.
So, roll up your sleeves, don your tool belt, and embark on your journey to become a home maintenance expert. Your home and wallet will thank you for it!
Frequently Asked Questions about How To Learn Home Repair
Was this page helpful?
At Storables.com, we guarantee accurate and reliable information. Our content, validated by Expert Board Contributors, is crafted following stringent Editorial Policies. We're committed to providing you with well-researched, expert-backed insights for all your informational needs.