Home>Home Maintenance>How To Put An Air Conditioner In A Sliding Window
Home Maintenance
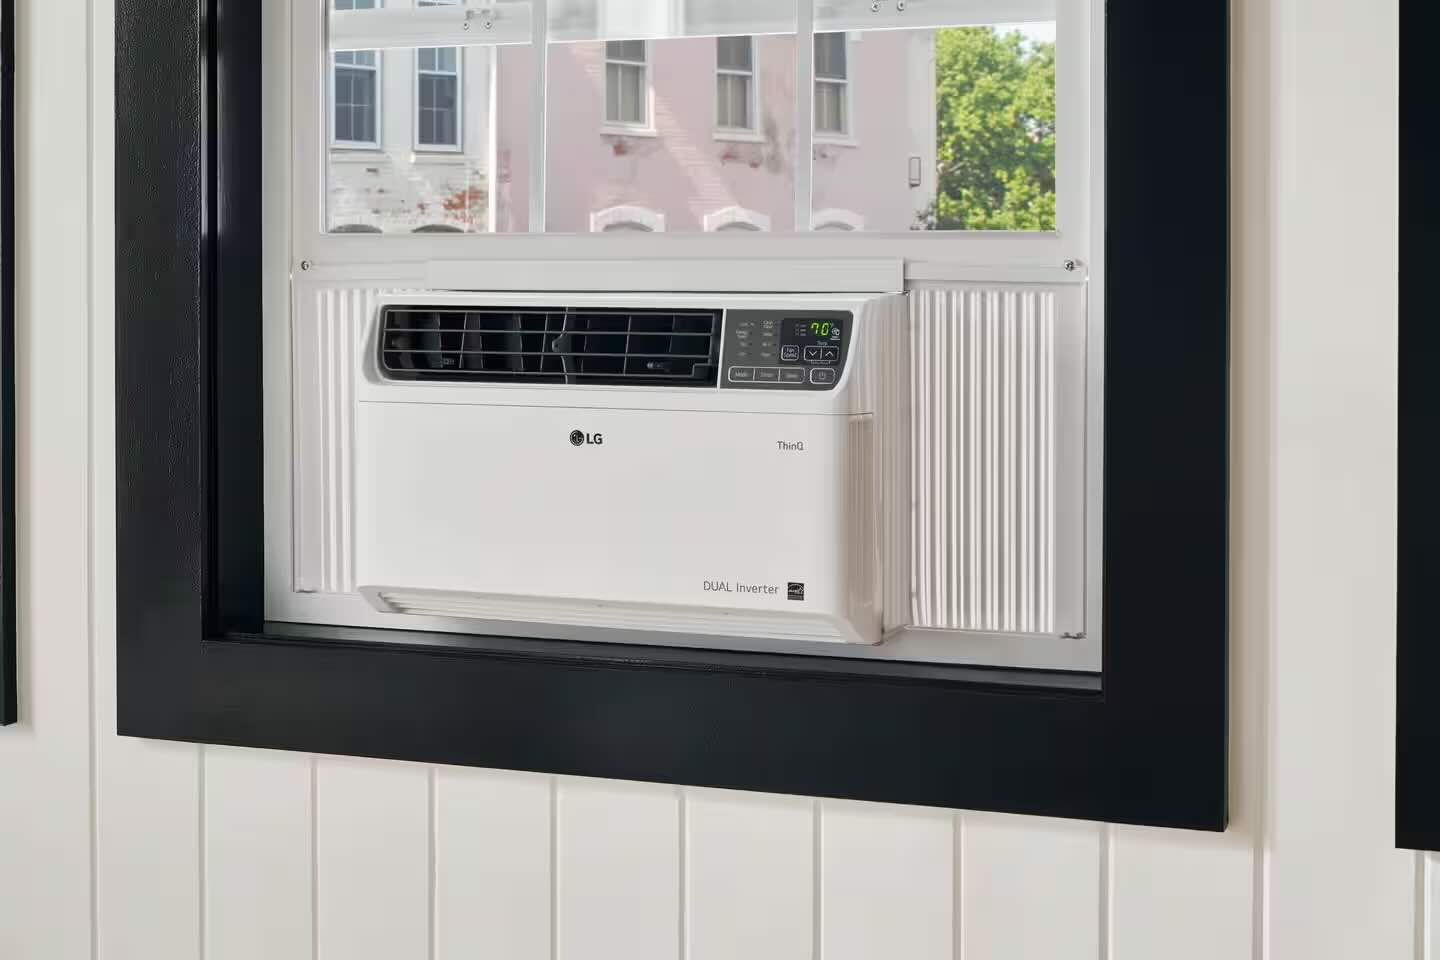
How To Put An Air Conditioner In A Sliding Window
Modified: March 7, 2024
Learn how to install an air conditioner in a sliding window with our comprehensive guide. Our home maintenance tips will make the process quick and easy.
(Many of the links in this article redirect to a specific reviewed product. Your purchase of these products through affiliate links helps to generate commission for Storables.com, at no extra cost. Learn more)
Introduction
Installing an air conditioner in a sliding window may seem like a daunting task, but with the right information and tools, it can be a straightforward process. Whether you live in an apartment or have a room with a sliding window, having an air conditioner can make the hot summer months much more comfortable.
In this article, we will guide you through the steps of putting an air conditioner in a sliding window, ensuring that you can enjoy cool air without the need for professional help. By following these steps, you can save money and have full control over the installation process.
Before you begin, it’s important to gather the necessary tools and materials. You will need a measuring tape, a screwdriver, mounting brackets, side panels, insulation foam, and a sealant. Additionally, make sure to choose the right size air conditioner for your window; an oversized unit may not fit, while an undersized one may not cool your room effectively.
Now, let’s dive into the step-by-step guide on how to put an air conditioner in a sliding window.
Key Takeaways:
- Installing an air conditioner in a sliding window is a manageable DIY project that can save money and provide relief from the summer heat. Follow the step-by-step guide to ensure a secure and efficient installation.
- Properly measuring the window, choosing the right size air conditioner, and ensuring a secure fit are essential for successful installation. Testing the unit after installation is crucial to verify its functionality and efficiency.
Read more: What Is A Window Air Conditioner
Step 1: Measure the Window Opening
The first step in installing an air conditioner in a sliding window is to accurately measure the window opening. This step is crucial to ensure that you purchase the correct size air conditioner and that it fits perfectly into your window.
To begin, open the sliding window fully and measure the width of the opening from side to side. Use a measuring tape to get the precise measurement. Write down this number as it will be crucial in selecting the right size of the air conditioner.
Next, measure the height of the window opening from the bottom sill to the top track. Again, use a measuring tape and record the measurement.
Once you have the width and height measurements, it’s time to consider the depth of the sliding window. Measure the depth by opening the window and measuring from the outer edge of the window to the inner edge. This measurement will help determine the appropriate size of the air conditioner.
With these measurements in hand, you can now proceed to the next step, which is purchasing the correct size air conditioner for your sliding window.
Step 2: Purchase the Correct Size Air Conditioner
Now that you have measured the window opening, it’s time to choose the right size air conditioner. The size of the air conditioner is determined by its cooling capacity, which is measured in British Thermal Units (BTUs). The cooling capacity required depends on the size and insulation of the room.
Generally, a room that is between 100 and 150 square feet requires an air conditioner with a cooling capacity of 5,000 to 6,000 BTUs. For larger rooms, the cooling capacity should be higher. However, it’s essential to match the BTU rating of the air conditioner to the size of the room for optimal cooling efficiency.
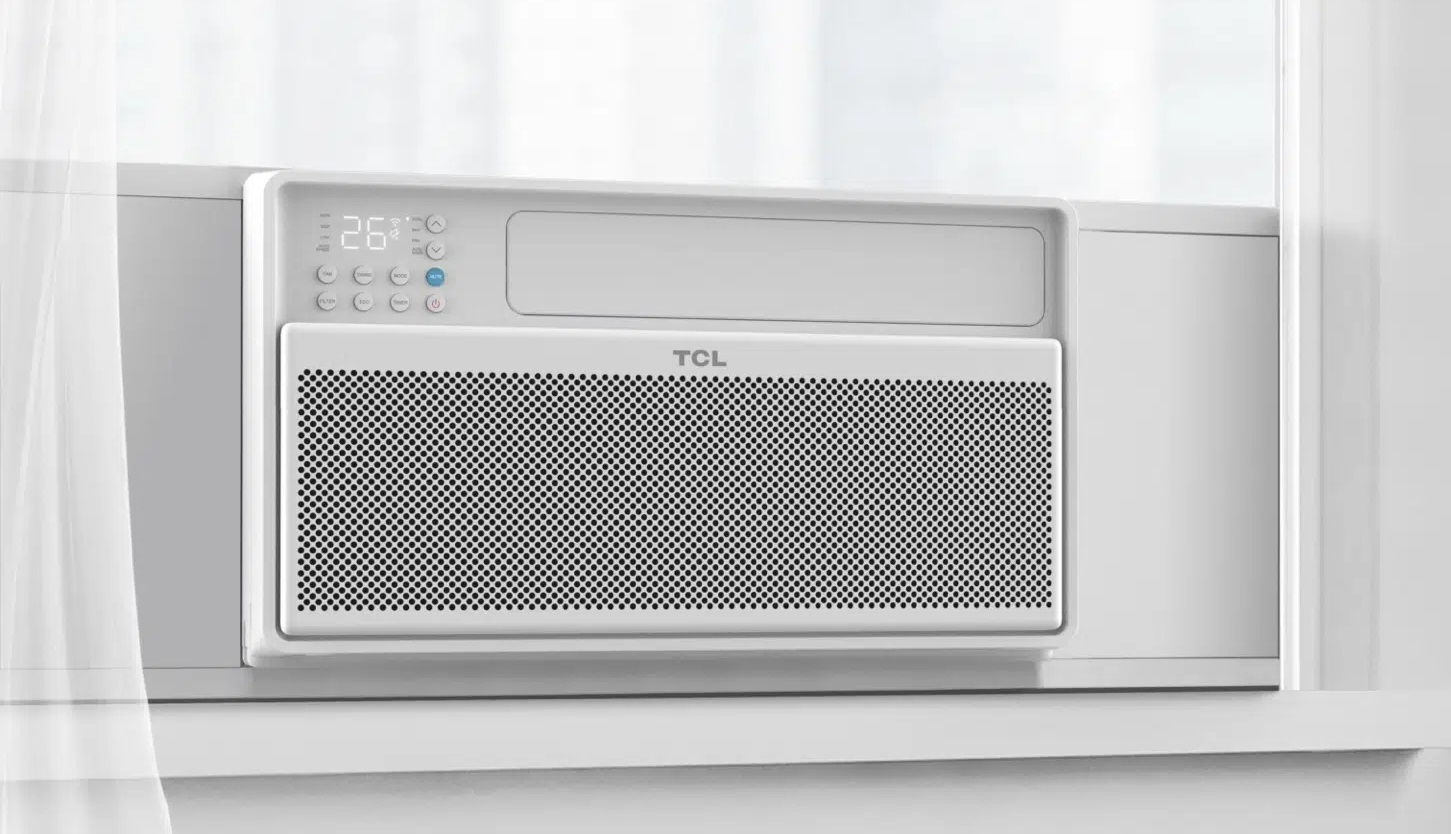
When purchasing an air conditioner, check the product specifications to ensure that it can be installed in a sliding window. Look for air conditioners specifically designed for use in sliding windows, as they usually come with adjustable side panels that fit the width of the window opening.
Take into consideration any additional features you may need, such as a remote control, energy-saving modes, or programmable timers. These features can enhance your comfort and energy efficiency, making your air conditioning unit more convenient to use.
Before making a purchase, compare different models and brands to find the one that best fits your needs and budget. Read customer reviews and check the warranty provided by the manufacturer. Researching and making an informed decision will ensure that you choose the correct size air conditioner that will fit perfectly in your sliding window and cool your room effectively.
Once you have purchased the right size air conditioner, you’re ready to move on to the next steps of installation.
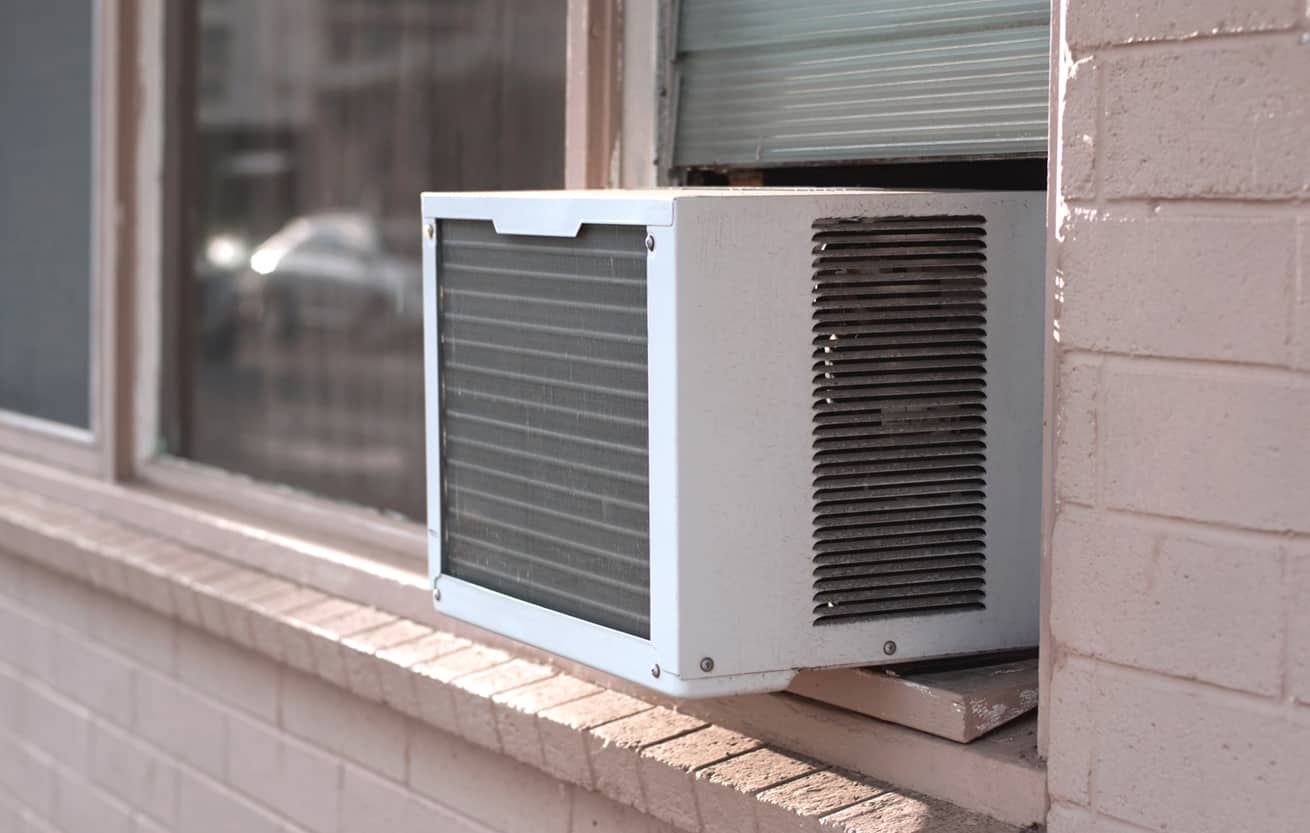
Step 3: Prepare the Window for Installation
Before you can install the air conditioner in your sliding window, it’s important to prepare the window properly. This step involves cleaning the window, removing any obstacles, and ensuring a secure and stable surface for the installation.
Start by cleaning the window thoroughly. Remove any dirt, dust, or debris from the window frame, tracks, and surrounding area. Use a mild detergent and water to clean the window surfaces, and dry them thoroughly with a clean cloth.
Next, remove any window screens or blinds that may obstruct the installation process. These can usually be detached easily by releasing the clips or screws holding them in place.
Check the window for any signs of damage or rot. Repair or replace any damaged parts to ensure the window is in good condition. A sturdy and well-maintained window will provide a solid base for the air conditioner installation.
Inspect the window tracks to ensure they are clear and free of any obstructions. Clean out any debris or dirt that may have accumulated in the tracks. This will ensure smooth sliding and prevent any interference with the air conditioner installation.
Lastly, check if there are any gaps or cracks around the window frame. These can lead to air leakage, reducing the efficiency of your air conditioner. Use a sealant to fill in any gaps and cracks, creating a tight seal around the window. This will improve insulation and prevent drafts.
By properly preparing the window for installation, you are creating a clean and stable foundation for your air conditioner. This will ensure a secure and efficient installation process, allowing you to enjoy the benefits of a cool and comfortable living space.
Step 4: Install the Mounting Brackets
Now that the window is prepared, it’s time to install the mounting brackets for your air conditioner. Mounting brackets help support the weight of the unit and ensure its stability during operation.
Start by positioning the mounting brackets on either side of the window frame. Hold them in place, making sure they are level and aligned with the window opening. You can use a level tool to ensure accuracy.
Using a screwdriver, secure the mounting brackets in place by screwing them into the window frame. Make sure to use screws that are appropriate for your window frame material, such as wood or metal screws.
Ensure that the mounting brackets are tightly secured and can support the weight of the air conditioner. You may need to use additional support, such as brackets or braces, for larger and heavier units.
Double-check the alignment of the mounting brackets to ensure they are evenly spaced and level. This will provide a stable base for the air conditioner and prevent any tilting or instability.
Once the mounting brackets are properly installed, you can proceed to the next step of attaching the side panels to your air conditioner.
Remember to refer to the manufacturer’s instructions for specific guidelines on installing the mounting brackets, as the process may vary depending on the air conditioner model.
By installing the mounting brackets correctly, you are ensuring the stability and safety of your air conditioner unit. This step is crucial in preventing any accidents or damage during the installation and usage of your air conditioner.
Step 5: Attach the Side Panels
After installing the mounting brackets, the next step is to attach the side panels to your air conditioner. Side panels are important components that help seal the gaps between the unit and the window frame, providing insulation and preventing air leakage.
Start by positioning one side panel against the side of the air conditioner. Align it with the mounting brackets and slide it into place, ensuring a snug fit. Some air conditioner models may require you to insert the side panel into specific slots or clips.
Once the first side panel is attached, repeat the process for the other side. Make sure both side panels are securely in place and flush against the window frame.
Check that the side panels are well-aligned and level with the window opening. This will ensure proper insulation and prevent any drafts or air leaks.
Some air conditioner models come with adjustable side panels, which can be extended or retracted according to the width of your window. If necessary, adjust the panels to fit the specific dimensions of your window opening.
If the side panels do not fit or are not included with your air conditioner, you can purchase universal side panels separately. These can be adjusted and trimmed to fit your specific window dimensions.
Properly attached side panels are essential for effective cooling and energy efficiency. They help create a seal, preventing hot air from entering your room and cool air from escaping through gaps.
Once the side panels are securely attached, you are ready to position the air conditioner unit itself in the window, which is the next step in the installation process.
Remember to consult the manufacturer’s instructions for any specific guidelines regarding attaching the side panels, as different air conditioner models may have variations in the installation process.
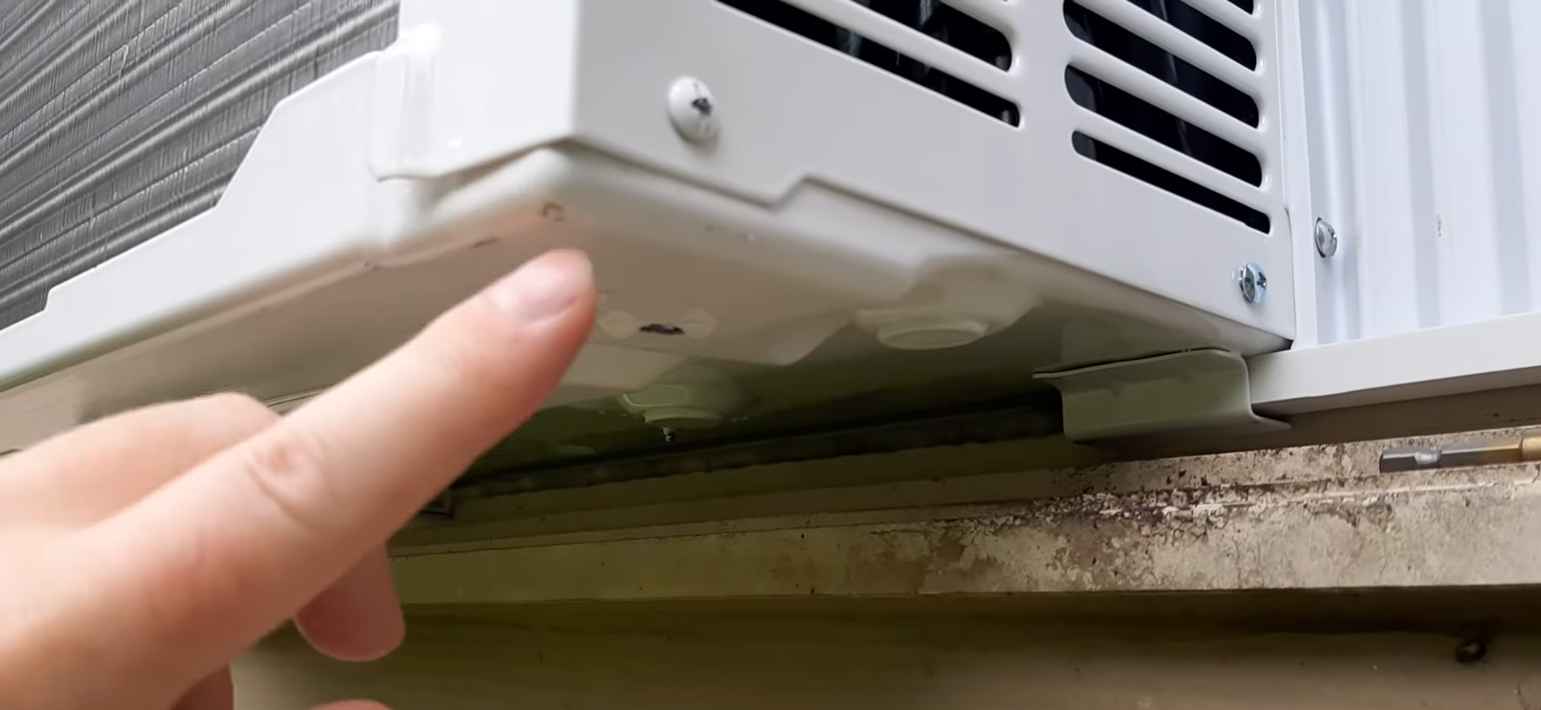
When installing an air conditioner in a sliding window, use a support bracket to hold the unit in place and prevent it from falling out. Make sure to properly insulate the gaps around the unit to keep cool air in and hot air out.
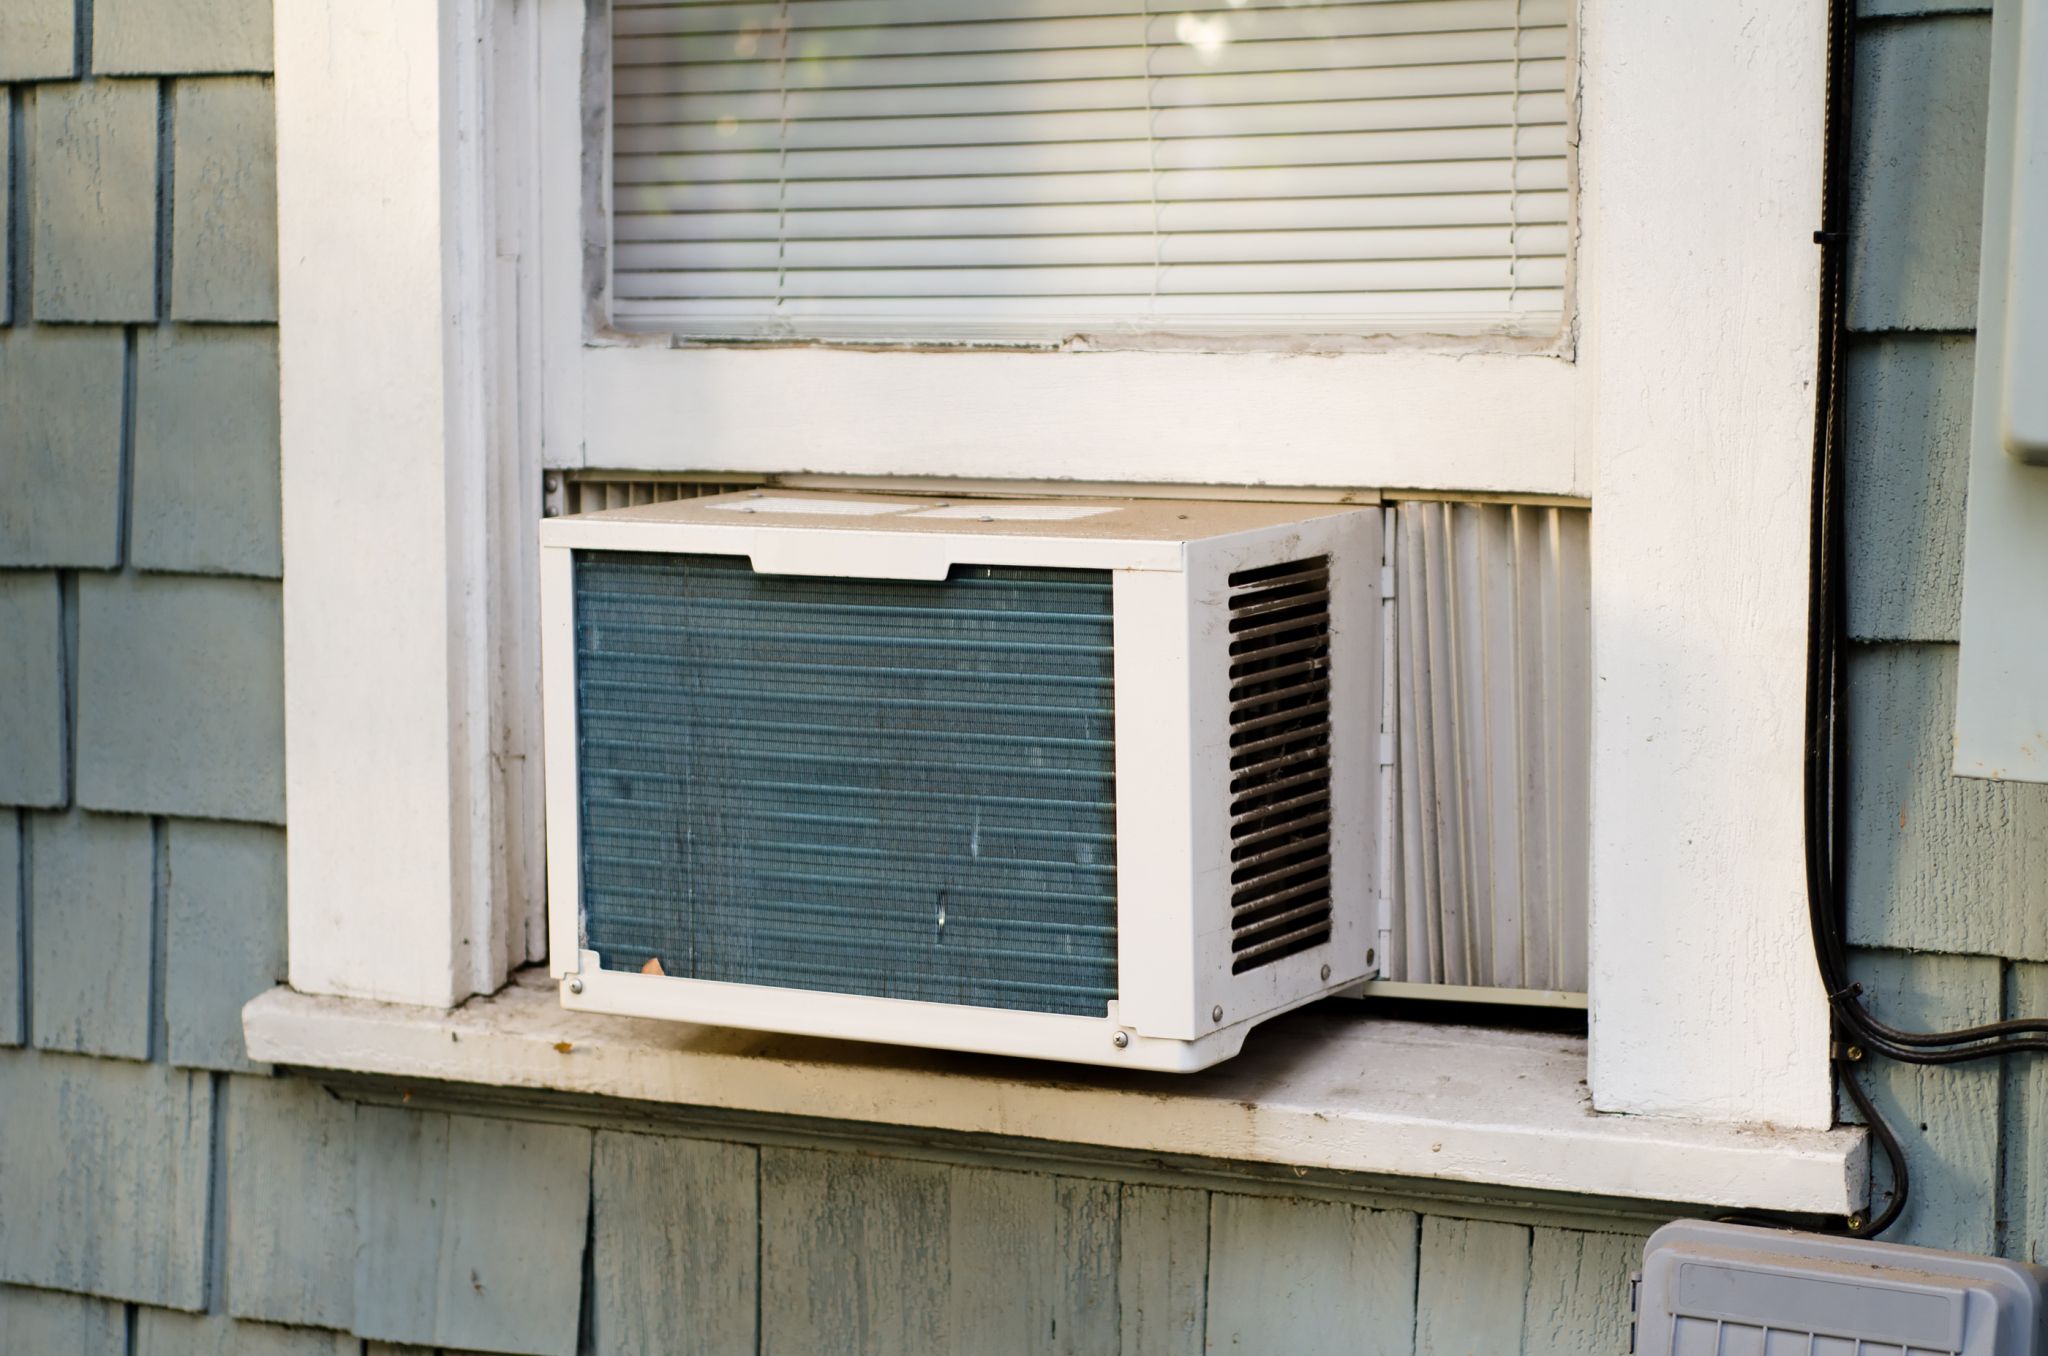
Step 6: Position the Air Conditioner Unit
With the mounting brackets and side panels in place, it’s time to position the air conditioner unit itself in the sliding window. Proper positioning is crucial for optimal air flow and efficient cooling.
Carefully lift the air conditioner unit and position it between the side panels in the window opening. Make sure it is centered and level within the window frame, ensuring a secure and stable fit.
If the air conditioner unit has adjustable curtains or accordion-style extensions, extend them to fill any gaps between the unit and the window frame. This will help to seal the area and prevent air leakage.
The air conditioner unit should fit snugly within the window opening, with the side panels and curtains providing a secure barrier. Ensure that the unit is not tilted or leaning, as this could affect its stability and performance.
Once positioned, check that the air conditioner unit does not obstruct the window from closing completely. The window should be able to slide past the unit and close securely. If needed, adjust the position of the unit to ensure proper window operation.
Be cautious when handling the air conditioner unit, as it can be heavy and awkward to maneuver. It’s always helpful to have an extra person to assist in positioning the unit safely.
By properly positioning the air conditioner unit, you are setting the stage for efficient cooling and optimal air circulation. This step ensures that the unit fits securely in the window and can deliver cool air effectively into your living space.
Now that the air conditioner unit is in place, it’s time to secure it and make any necessary adjustments to ensure a tight and insulated fit in the next step of the installation process.
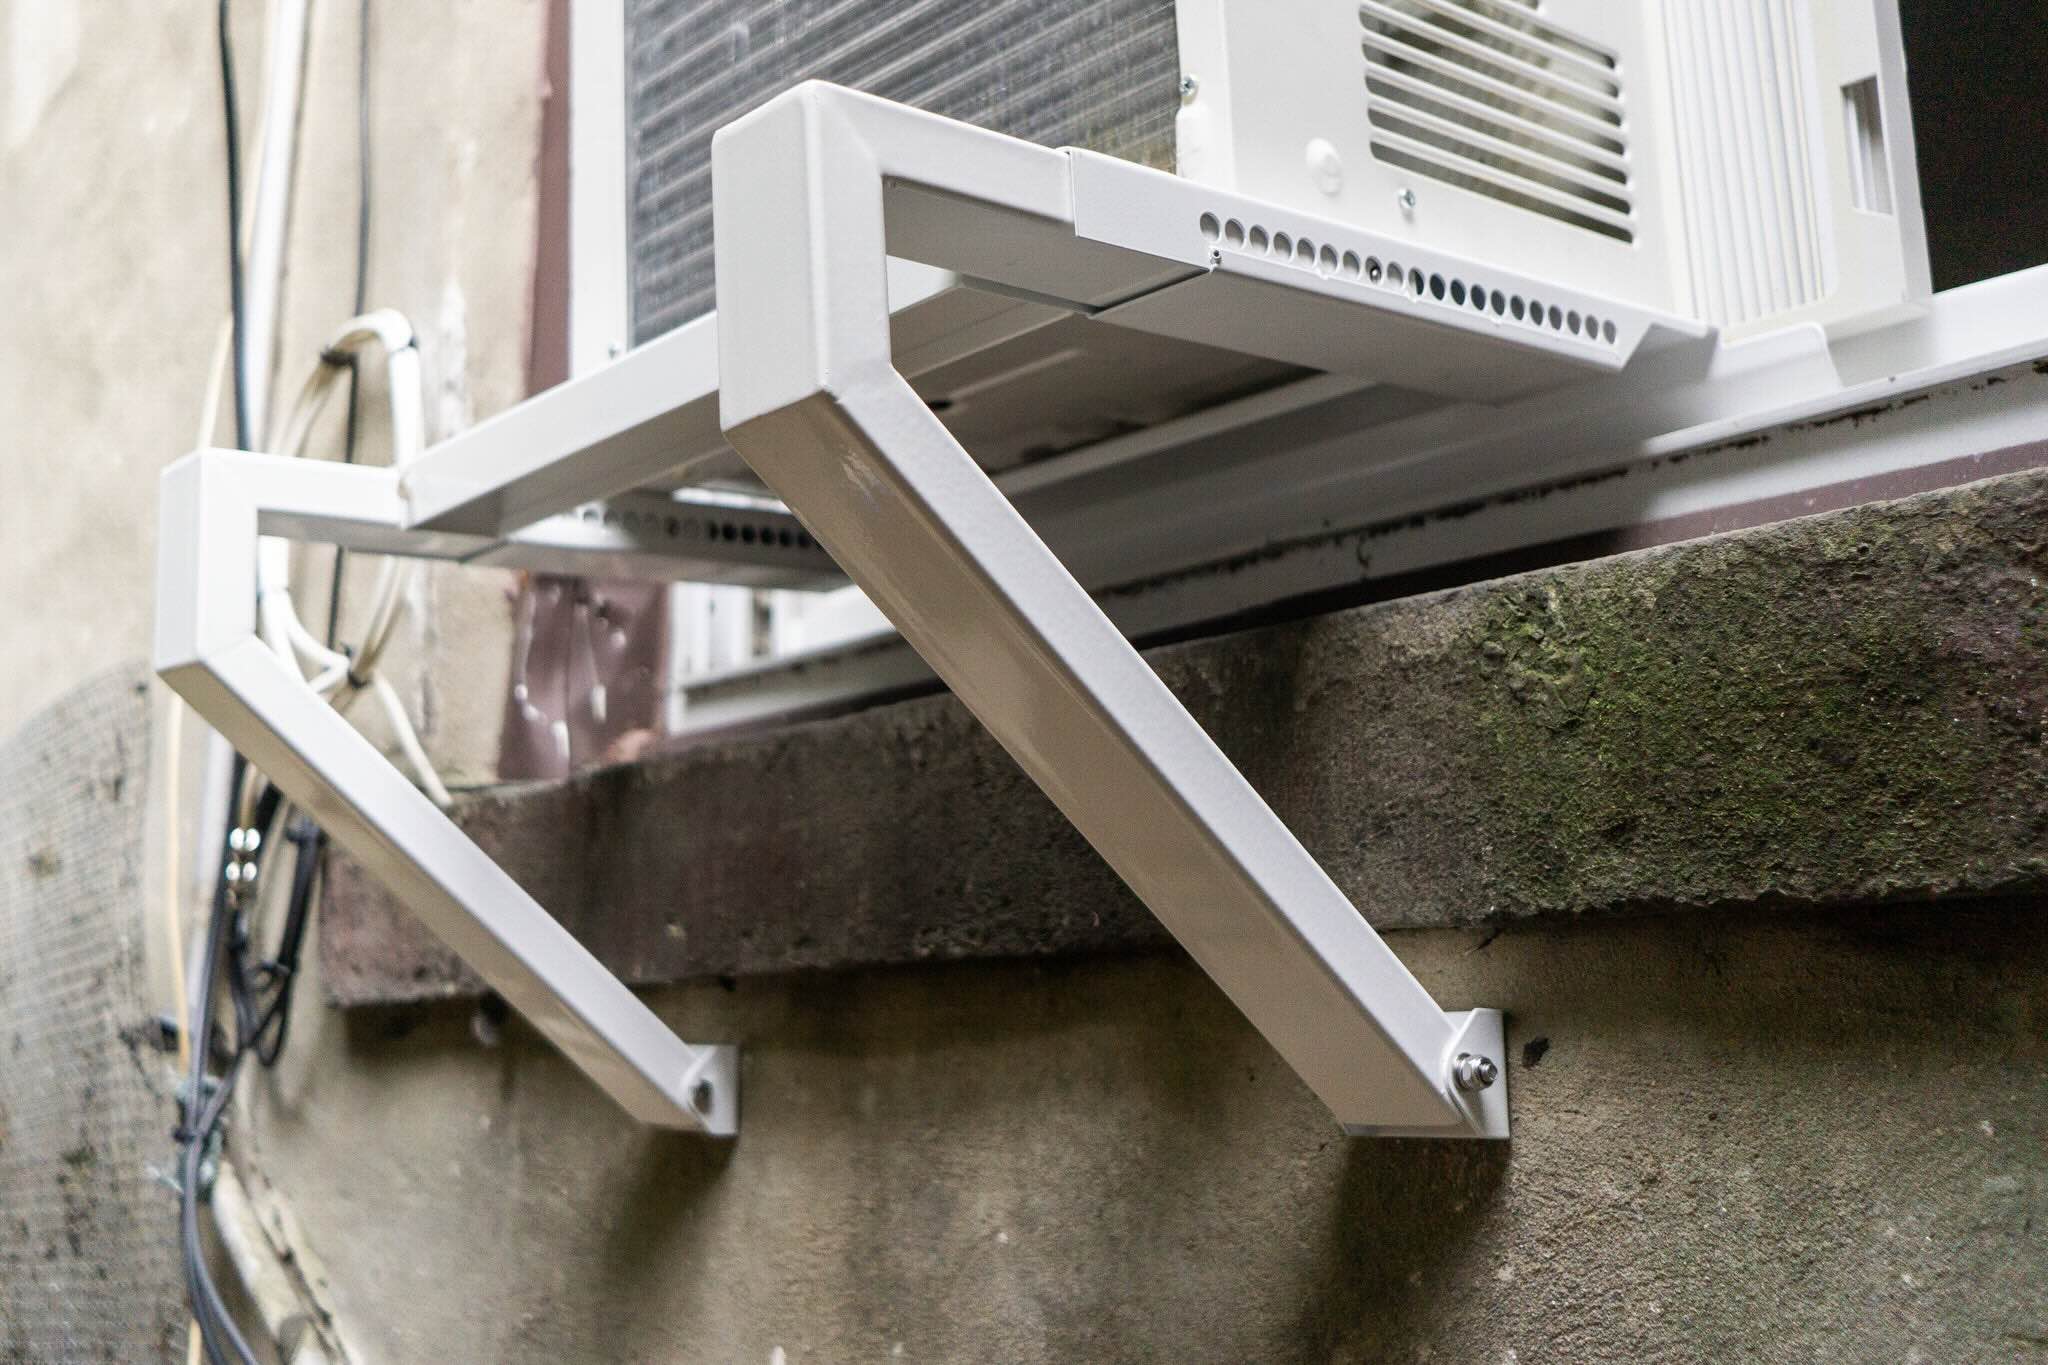
Step 7: Secure the Unit in Place
Once the air conditioner unit is properly positioned in the window opening, it’s important to secure it in place to prevent any accidental movement or dislodging. This step ensures the stability and safety of the unit during operation.
Start by checking the mounting brackets and side panels to ensure they are firmly attached and provide solid support for the air conditioner unit. Double-check that all screws are tightened and that there are no loose or wobbly parts.
To provide additional stability, you can use support brackets or braces to secure the unit further. These can be attached to the window frame or the wall adjacent to the window, depending on the design of your air conditioner and the available mounting options.
If your air conditioner unit comes with a support bracket, follow the manufacturer’s instructions to install it correctly. The support bracket will help distribute the weight of the unit and prevent it from sagging or tilting forward.
Once the unit is secured, test it by gently pushing it from different angles to ensure that it remains stable and firmly in place. If there is any movement or instability, recheck the installation and make any necessary adjustments.
It’s essential to ensure that the air conditioner unit is securely fixed, as any instability or shifting during operation can cause damage to the unit or the window frame. Additionally, it poses a safety hazard and may result in injury or property damage.
By properly securing the air conditioner unit in place, you can enjoy peace of mind knowing that it is stable and safe to use. This step sets the foundation for trouble-free operation and efficient cooling.
Now that the air conditioner unit is securely installed, it’s time to move on to adjusting and insulating the window to create an airtight seal.
Step 8: Adjust and Insulate the Window
After securing the air conditioner unit, it’s important to adjust and insulate the window to create an airtight seal. This step helps to improve energy efficiency and maintain the desired temperature within your living space.
Start by closing the sliding window as much as possible while still leaving a small gap for ventilation. This will help to minimize outside air from entering the room when the air conditioner is in operation.
Next, adjust the curtains or accordion-style extensions on the air conditioner unit to fill any remaining gaps between the unit and the window frame. This will help to prevent drafts and ensure a tight seal.
Inspect the window from both the inside and outside to identify any additional gaps or openings that may compromise insulation. Use weatherstripping or foam tape to seal these gaps, applying it along the edges of the window frame.
Apply insulation foam or caulking around the window opening where the air conditioner unit is installed. This will further prevent air leaks and improve the overall energy efficiency of the unit. Follow the manufacturer’s instructions for the proper application of the insulation material.
Use a handheld or electronic thermal leak detector to check for any remaining drafts around the window area. Move the detector along the edges of the window, focusing on the corners and joints. Address any detected drafts by applying additional insulation.
Inspect the area surrounding the air conditioner unit both inside and outside the window. Ensure that there are no visible gaps or openings that could impact the insulation. If necessary, use additional sealant or insulation materials to seal any potential leaks.
Proper adjustment and insulation of the window are crucial for maximizing the energy efficiency of your air conditioner. By creating an airtight seal, you can prevent cool air from escaping and hot air from entering, allowing the air conditioner to work more effectively and reduce energy consumption.
Now that the window is properly adjusted and insulated, it’s time to test the air conditioner to ensure it is functioning correctly before enjoying the cool air it provides.
Read more: How To Insulate A Window Air Conditioner
Step 9: Test the Air Conditioner
After completing the installation and insulation process, it’s important to test the air conditioner to ensure it is functioning properly. This final step allows you to verify that the unit is cooling effectively and adjust any settings as necessary.
Start by turning on the power to the air conditioner unit. Many units have a switch or button on the front panel or a remote control to control the power supply.
Set the air conditioner to your desired temperature and fan speed. It’s recommended to start with a lower temperature setting and gradually adjust it as needed to maintain a comfortable environment.
Listen for the sound of the air conditioner’s compressor kicking in. You should hear a humming or buzzing noise when the compressor starts to cool the air.
Feel the air coming from the air conditioner vents to ensure that it is cool. If the air is not cool or the unit is not producing cold air, there may be an issue with the refrigerant or compressor that requires professional repair.
Monitor the temperature in the room over the next few minutes to see if it starts to drop. Ideally, the air conditioner should be able to cool the room to your desired temperature within a reasonable amount of time.
Observe the airflow from the air conditioner vents. The airflow should be strong and consistent. If you notice weak or uneven airflow, there may be a problem with the air conditioner’s fan or filters that needs attention.
Pay attention to any unusual noises or odors coming from the air conditioner. If you detect any strange sounds or unpleasant smells, it’s advisable to turn off the unit and consult a professional for troubleshooting and repairs.
Throughout the testing process, pay attention to any signs of leaks, water dripping, or condensation buildup around the air conditioner. These may indicate an issue with the unit’s drainage system or improper installation that requires maintenance.
By thoroughly testing the air conditioner, you can ensure that it is operating efficiently and effectively. If you encounter any issues during the testing process, it’s best to address them promptly to avoid further complications.
With the air conditioner successfully tested and functioning correctly, you can now enjoy the cool comfort it provides during the hot summer months. Regularly maintain and clean the unit to optimize its performance and longevity.
Congratulations! You have successfully installed an air conditioner in your sliding window, providing a cool and comfortable space for relaxation and relief from the heat.
Disclaimer: The information provided in this article is for general guidance purposes only. It is always recommended to refer to the specific instructions and guidelines provided by the manufacturer of your air conditioner for proper installation and usage.
Conclusion
Installing an air conditioner in a sliding window may initially seem like a challenging task, but with the right knowledge and steps, it can be achieved successfully. By following this comprehensive guide, you can save money on professional installation and have full control over the process, ensuring a comfortable and cool living space during the hot summer months.
Throughout the installation process, we covered the essential steps, including measuring the window opening, purchasing the correct size air conditioner, preparing the window, installing the mounting brackets, attaching the side panels, positioning the air conditioner unit, securing it in place, adjusting and insulating the window, and finally, testing the air conditioner.
Each step is crucial for a well-executed installation, providing stability, proper insulation, and efficient functionality of the air conditioner. It’s important to pay attention to details, follow the manufacturer’s instructions, and make any necessary adjustments to ensure a secure and effective installation.
Remember, safety should always be a priority when installing an air conditioner. Take necessary precautions, such as using appropriate tools, having an extra set of hands for assistance, and following proper electrical safety guidelines when connecting and powering the unit.
By installing an air conditioner in a sliding window, you can create a comfortable living space that offers a retreat from the sweltering heat outside. Proper installation and maintenance of the air conditioner will not only enhance your comfort but also improve energy efficiency and reduce utility costs.
Always consult the manufacturer’s instructions and guidelines specific to your air conditioner model for the best results. If you encounter any difficulties or are unsure about any step, it’s recommended to seek professional assistance or consult a licensed HVAC technician.
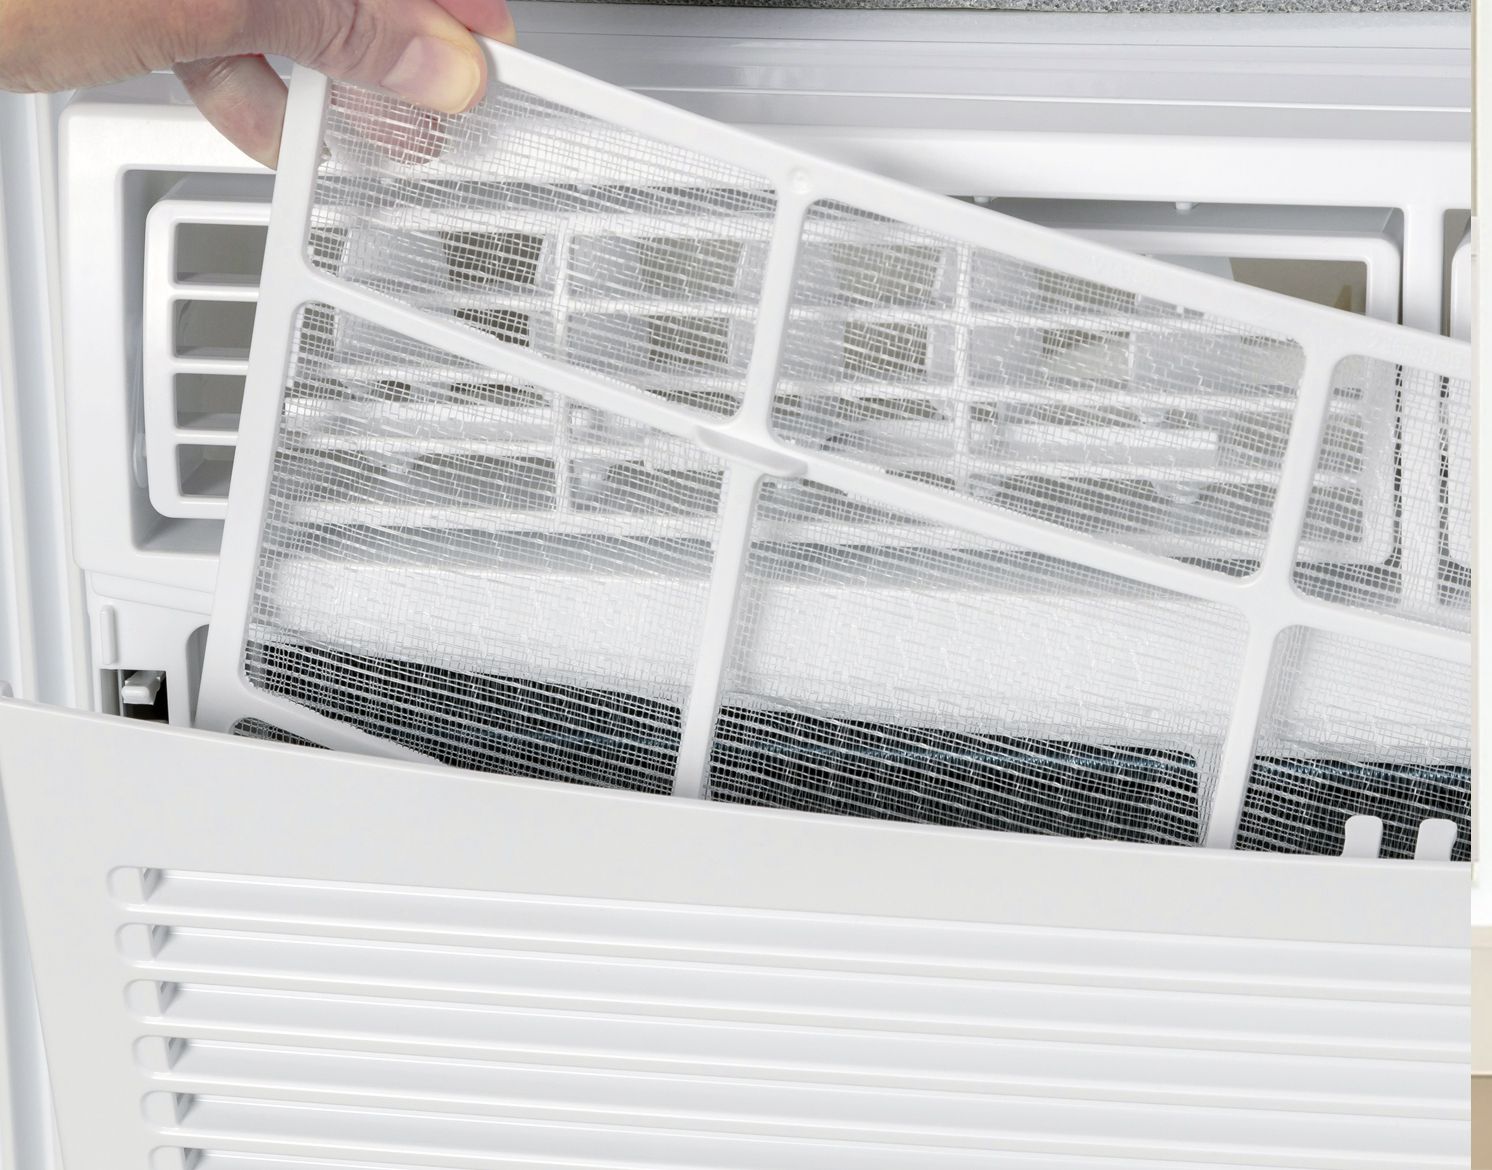
Keep in mind that regular maintenance, such as cleaning the filters and coils, and checking for any possible issues, will help prolong the lifespan and efficiency of your air conditioner.
Now that you have completed the installation process, take a moment to enjoy the cool and refreshing air provided by your newly installed air conditioner. Relax and embrace the comfort it brings to your home.
Stay cool and beat the heat with your new air conditioner!
Frequently Asked Questions about How To Put An Air Conditioner In A Sliding Window
Was this page helpful?
At Storables.com, we guarantee accurate and reliable information. Our content, validated by Expert Board Contributors, is crafted following stringent Editorial Policies. We're committed to providing you with well-researched, expert-backed insights for all your informational needs.