Home>Home Maintenance>How To Close Hole In Wall After Removing Air Conditioner
Home Maintenance
How To Close Hole In Wall After Removing Air Conditioner
Modified: October 19, 2024
Learn how to close a hole in your wall after removing an air conditioner with expert tips and techniques for home maintenance. Achieve a seamless finish and restore the aesthetic appeal of your space.
(Many of the links in this article redirect to a specific reviewed product. Your purchase of these products through affiliate links helps to generate commission for Storables.com, at no extra cost. Learn more)
Introduction
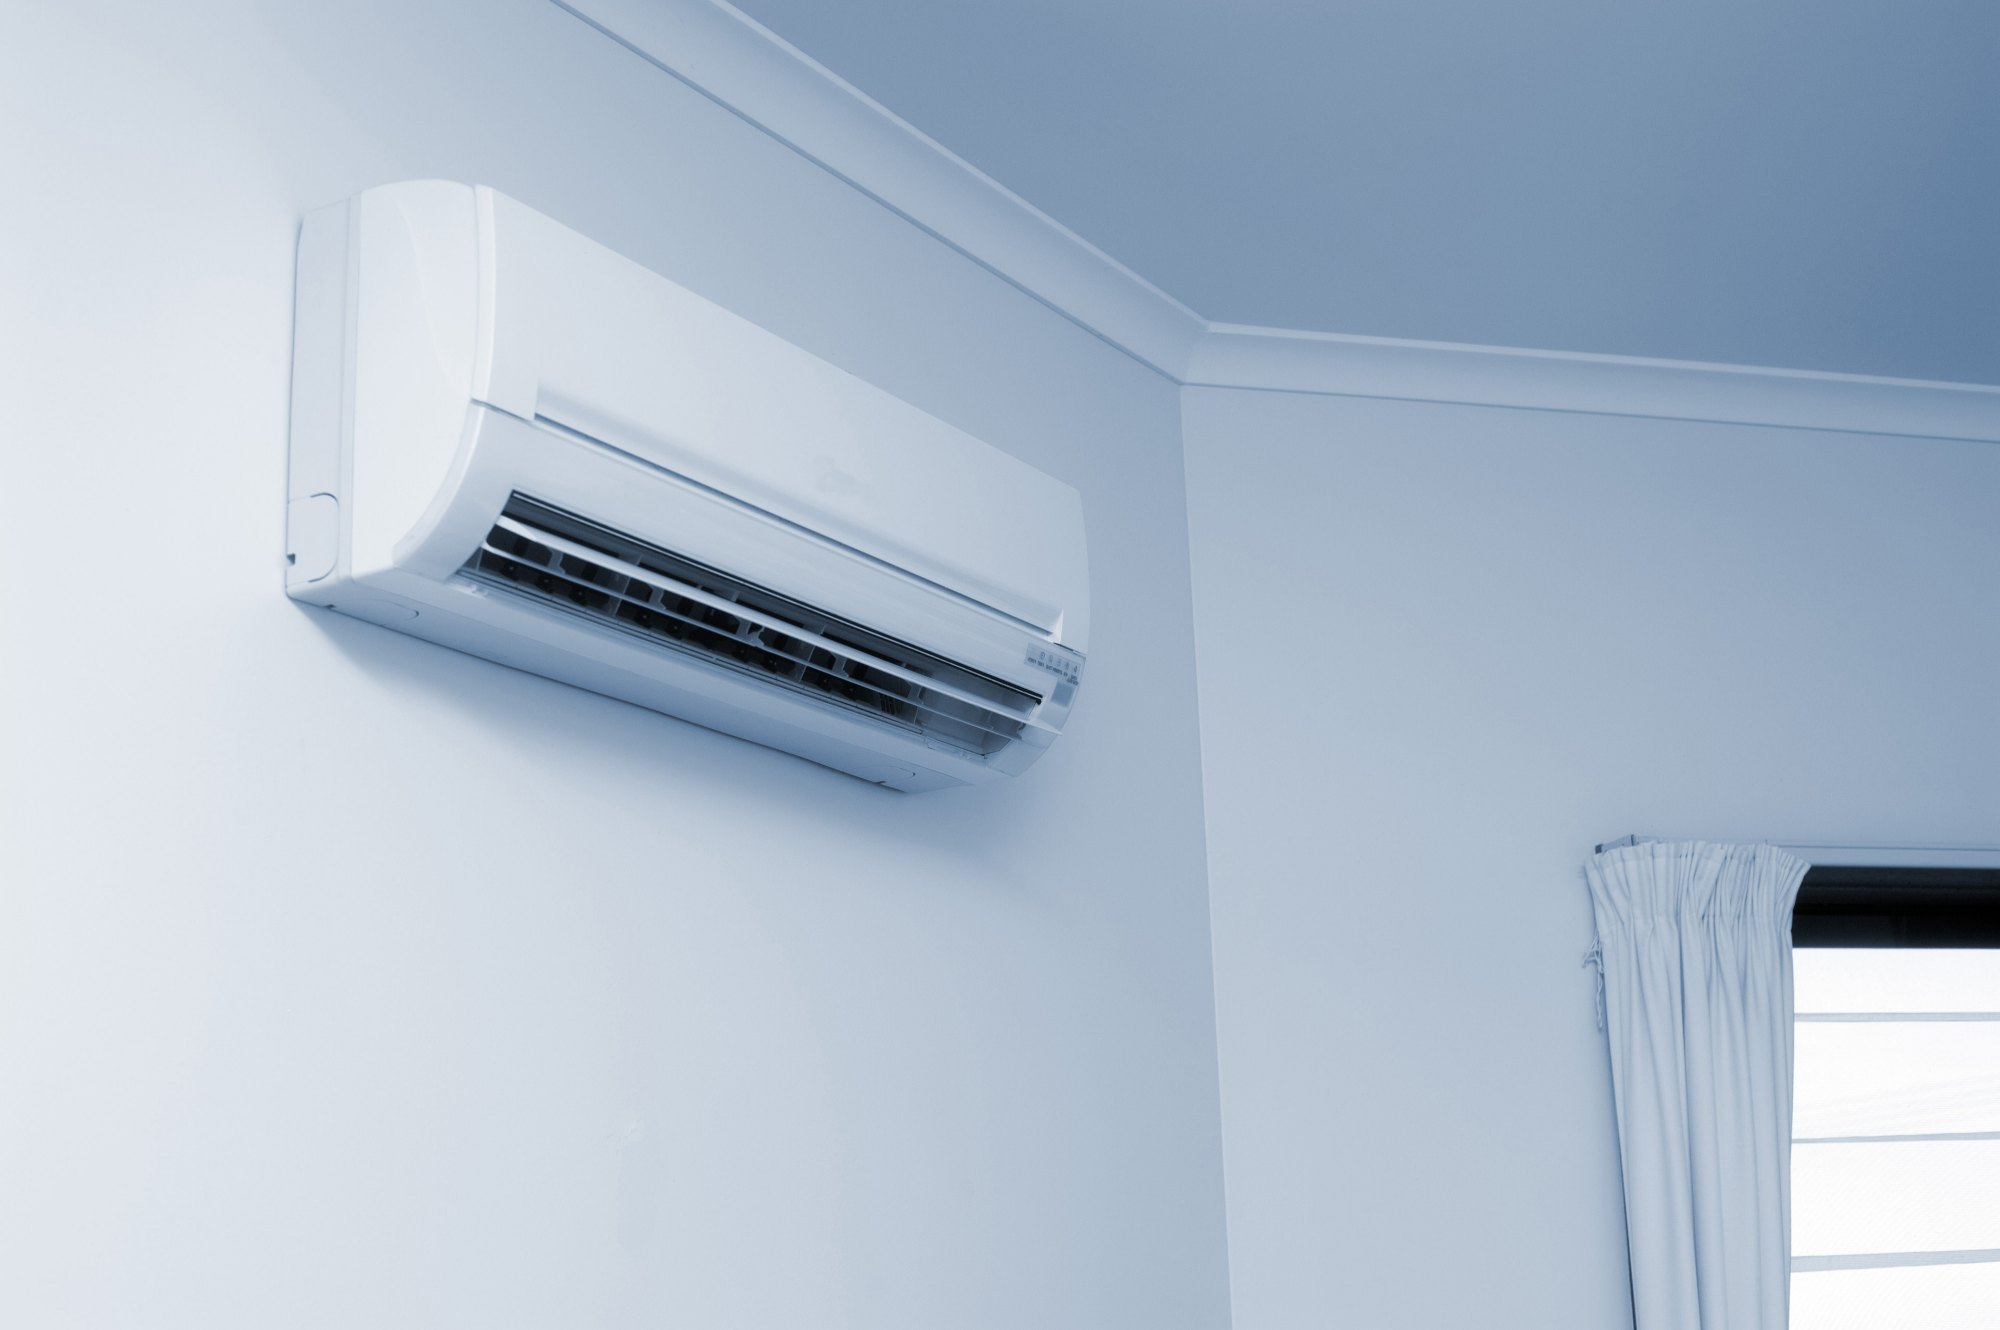
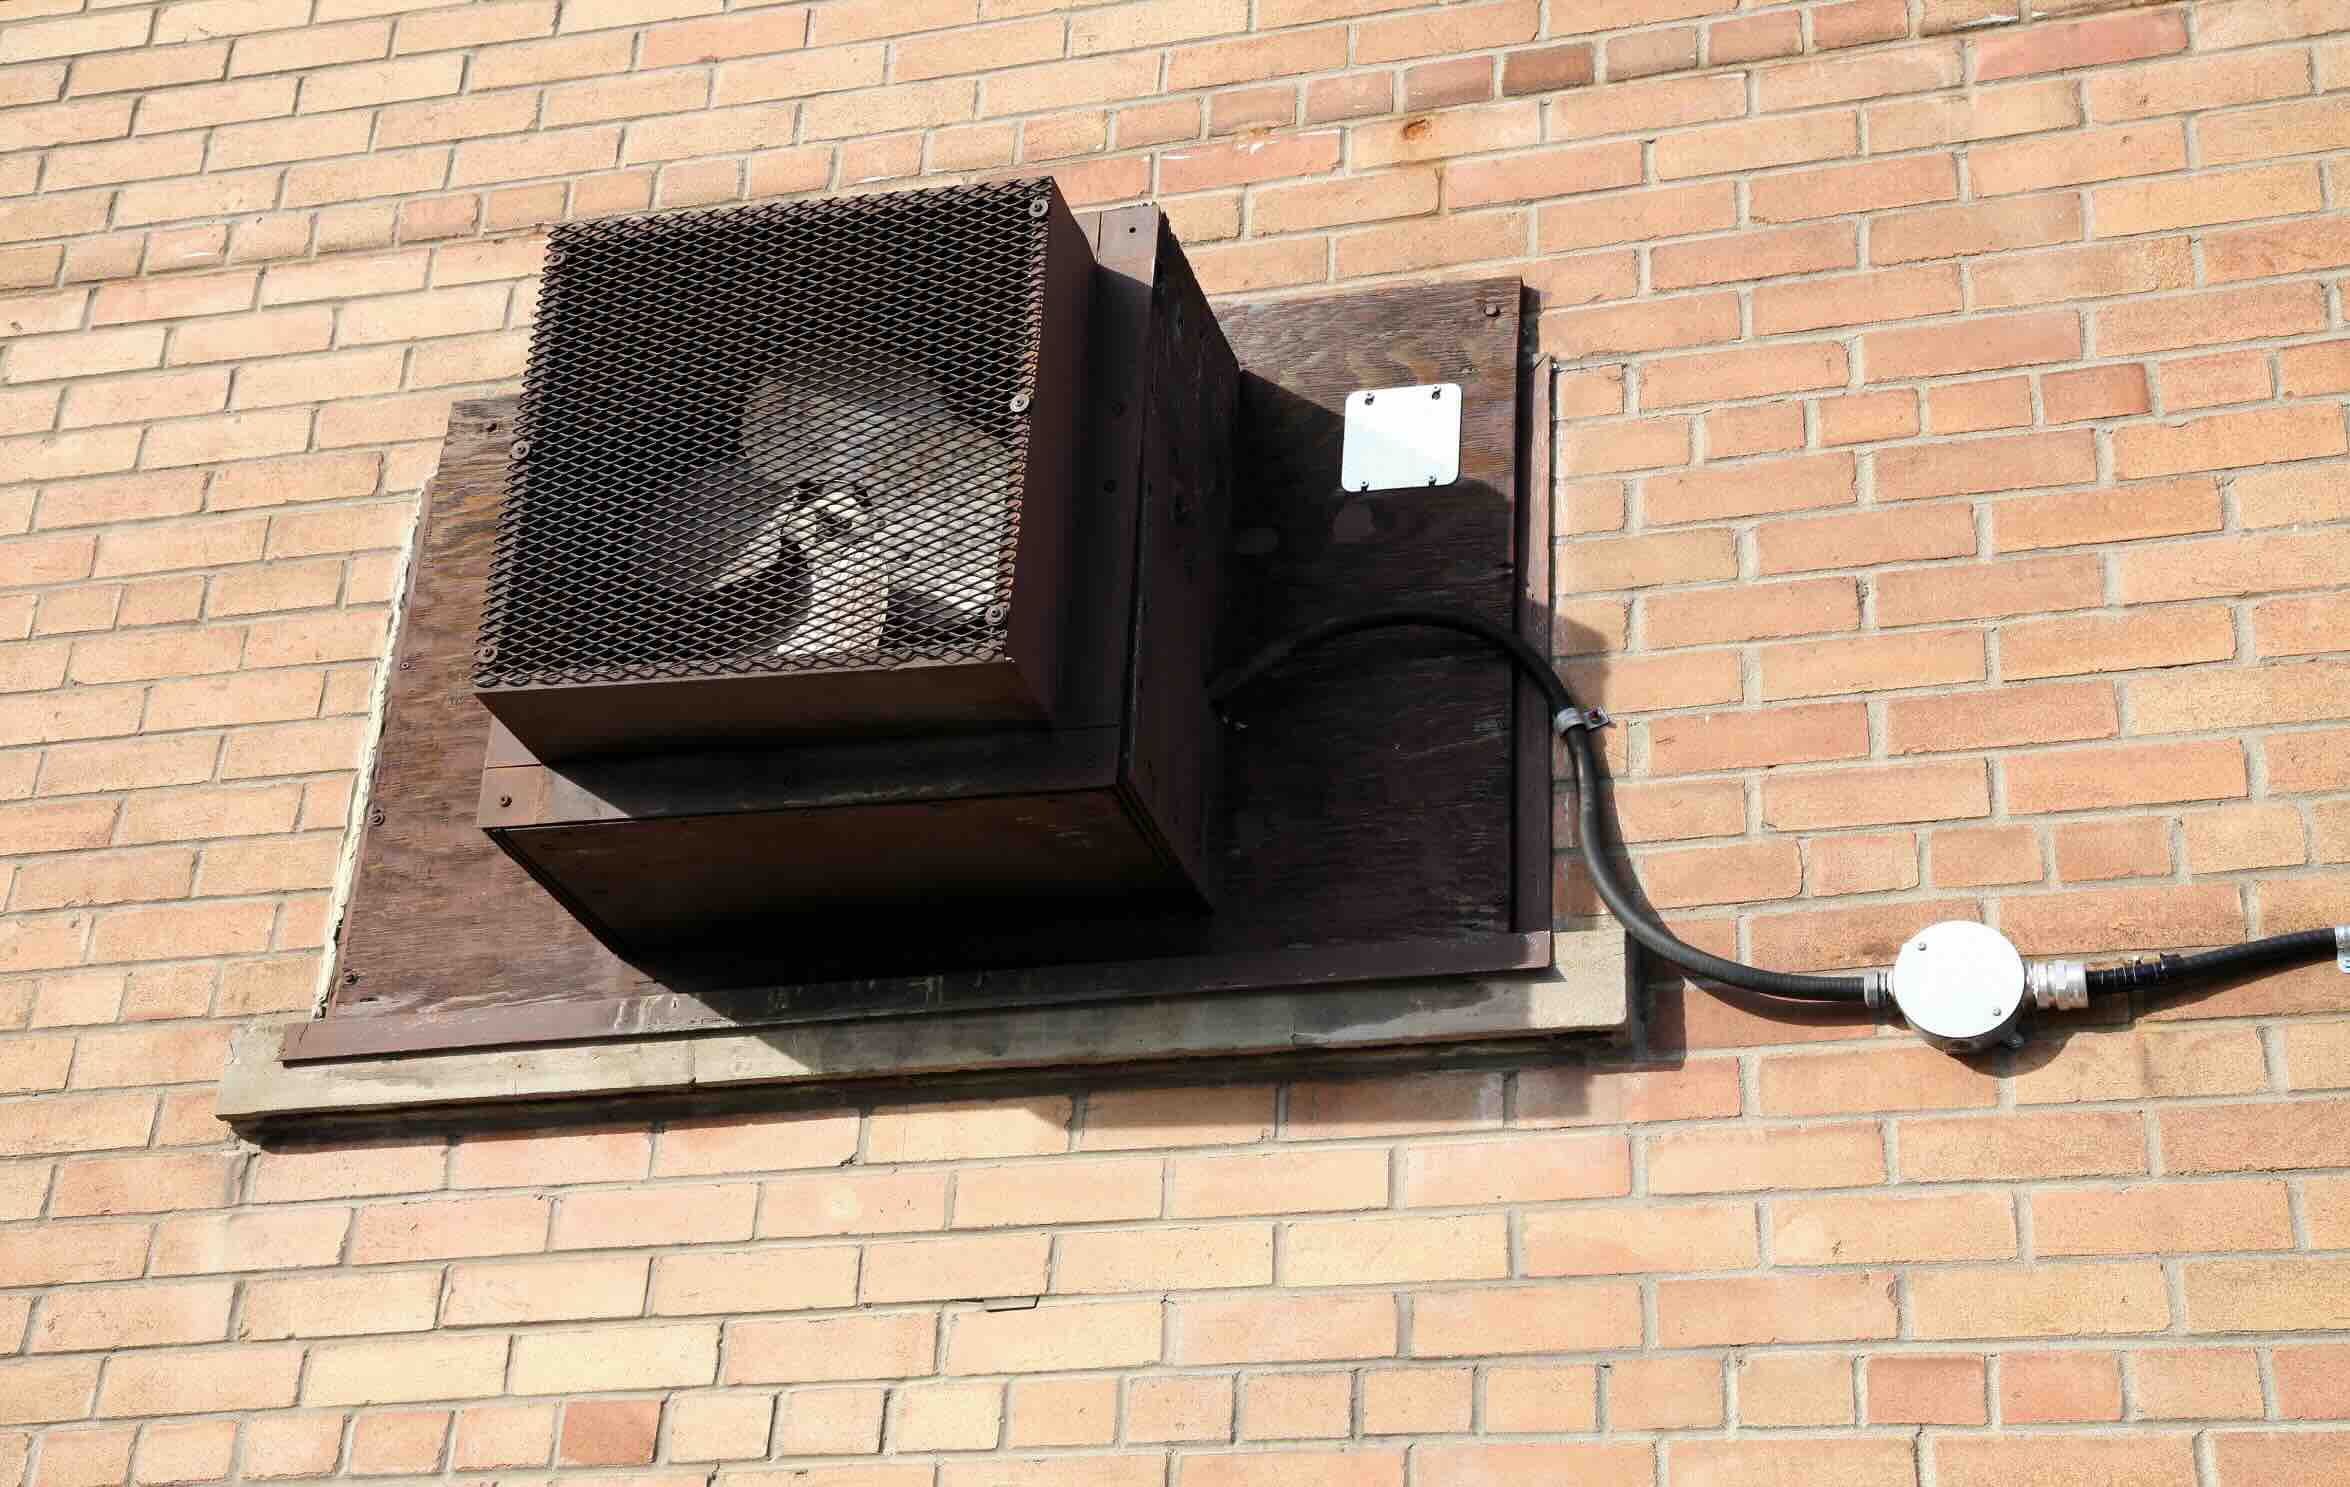
Welcome to this comprehensive guide on how to close a hole in the wall after removing an air conditioner. If you’ve recently taken out an air conditioner unit or any other fixture from a wall, you might be left with an unsightly hole that needs to be repaired.
It’s common to have concerns about how to fix these holes and restore the wall to its original condition. But fear not! With the right materials and techniques, you can easily patch up the hole and make your wall look as good as new.
In this article, we will take you through the step-by-step process of closing a hole in the wall after removing an air conditioner unit. We will provide you with expert tips and tricks to ensure a seamless repair that blends flawlessly with the rest of your wall.
So, let’s get started and learn how to tackle this home maintenance task like a pro!
Key Takeaways:
- Patching a hole in the wall after removing an air conditioner is easy with the right materials and techniques. Assess, clean, patch, sand, prime, paint, and finish for a seamless repair.
- Take your time and follow the step-by-step process to achieve a professional-looking wall repair. From assessing the damage to applying final touches, each step is crucial for a successful outcome.
Step 1: Assess the Damage
Before you begin the repair process, it’s important to assess the extent of the damage and determine the best approach to fix the hole in your wall.
Start by examining the size and shape of the hole. Is it a small hole made by screws or nails, or a larger hole resulting from the removal of an air conditioner unit? Knowing the size of the hole will help you determine the amount of materials you will need.
Next, inspect the surrounding area for any signs of damage or loose debris. It’s possible that the removal of the air conditioner unit may have caused cracks or chips in the surrounding wall. If you notice any additional damage, make a note of it so you can address it during the repair process.
Additionally, consider the type of material your wall is made of. Different materials, such as drywall, plaster, or wood, will require different repair techniques and materials. Understanding the material will help you choose the appropriate patching method.
Finally, assess the condition of the wall’s surface. Is it smooth and even, or does it have texture or patterns? This will affect how well the repaired area will blend with the rest of the wall. If your wall has texture, you may need to recreate the texture in the patched area to achieve a seamless finish.
By thoroughly assessing the damage, you will be better equipped to choose the right materials and techniques to close the hole in your wall. So take your time during this step to ensure a successful repair.
Step 2: Gather necessary materials
Now that you have assessed the damage and understand the scope of the repair, it’s time to gather the necessary materials. Here’s a list of items you will need:
- Patching compound: Choose a patching compound that is specifically designed for your wall material. For example, joint compound or spackling paste is commonly used for drywall repairs, while plaster-based compounds are better for plaster walls.
- Patching tape or mesh: Depending on the size of the hole, you may need to reinforce the patch with a self-adhesive patching tape or mesh. This will provide extra stability and prevent future cracks.
- Putty knife: A putty knife will be used to apply and smooth the patching compound. Make sure to choose a size that is appropriate for the size of the hole.
- Sanding block or sandpaper: Once the patch is dry, you will need a sanding block or sandpaper to smooth out any rough edges and create a seamless transition between the patch and the surrounding wall.
- Primer: A primer is essential to ensure proper adhesion of the paint and create a uniform finish. Choose a primer that is suitable for your wall material.
- Paint: Finally, you will need paint that matches the color and sheen of your existing wall. If you don’t have leftover paint from the original wall, take a small sample to a paint store for color matching.
Before you start the repair process, double-check that you have all of these materials on hand. It can be frustrating to realize mid-repair that you are missing a crucial item.
By gathering the necessary materials in advance, you’ll be well-prepared and can complete the repair process smoothly.
Step 3: Clean the area
Now that you have your materials ready, it’s time to clean the area around the hole in the wall. Cleaning the area is essential to ensure proper adhesion of the patching compound and create a smooth surface for the repair.
Start by removing any loose debris or dust from the hole and the surrounding wall. You can use a brush or a vacuum cleaner with a brush attachment to carefully clean the area. Make sure to be gentle to avoid causing further damage to the wall.
If you notice any grease or grime on the wall, you can use a mild detergent solution and a sponge to gently scrub the area. Rinse the wall with clean water afterward and allow it to dry completely before proceeding.
Once the area is clean and dry, use a sanding block or sandpaper to lightly roughen the edges of the hole. This will help the patching compound adhere better to the wall. Be careful not to over-sand and create grooves or uneven surfaces.
After sanding, wipe away any dust or debris with a clean, dry cloth to ensure a clean surface for the patching compound.
By taking the time to thoroughly clean the area before proceeding, you are setting the stage for a successful repair. A clean surface will allow the patching compound to bond effectively and result in a professional-looking finish.
Step 4: Patch the hole
With the area clean and prepped, it’s time to patch the hole in the wall. Follow these steps to achieve a seamless repair:
- Take a small amount of patching compound onto your putty knife and apply it directly to the hole. Press the compound firmly into the hole, making sure it fills the entire space.
- If the hole is larger, you may need to use patching tape or mesh to reinforce the repair. Cut a piece of patching tape or mesh slightly larger than the hole and press it firmly onto the compound. Smooth out any air bubbles or wrinkles.
- Add an additional layer of patching compound over the tape or mesh, ensuring it covers the entire surface and is flush with the surrounding wall. Use the putty knife to smooth out the compound and feather the edges, blending it seamlessly with the rest of the wall.
- Remove any excess compound using the putty knife, wiping it clean between each pass. The goal is to create a smooth and even surface that is level with the surrounding wall.
- Allow the patching compound to dry completely according to the manufacturer’s instructions. This typically takes a few hours, but may vary depending on the product and the size of the repair.
Remember to follow the instructions on the patching compound regarding drying time and any necessary sanding before proceeding to the next step.
By carefully following these steps, you’ll be able to effectively patch the hole and create a solid foundation for the next stages of the repair process.
Use a putty knife to fill the hole with spackling compound, then smooth it out. Sand the area once dry, and paint to match the wall.
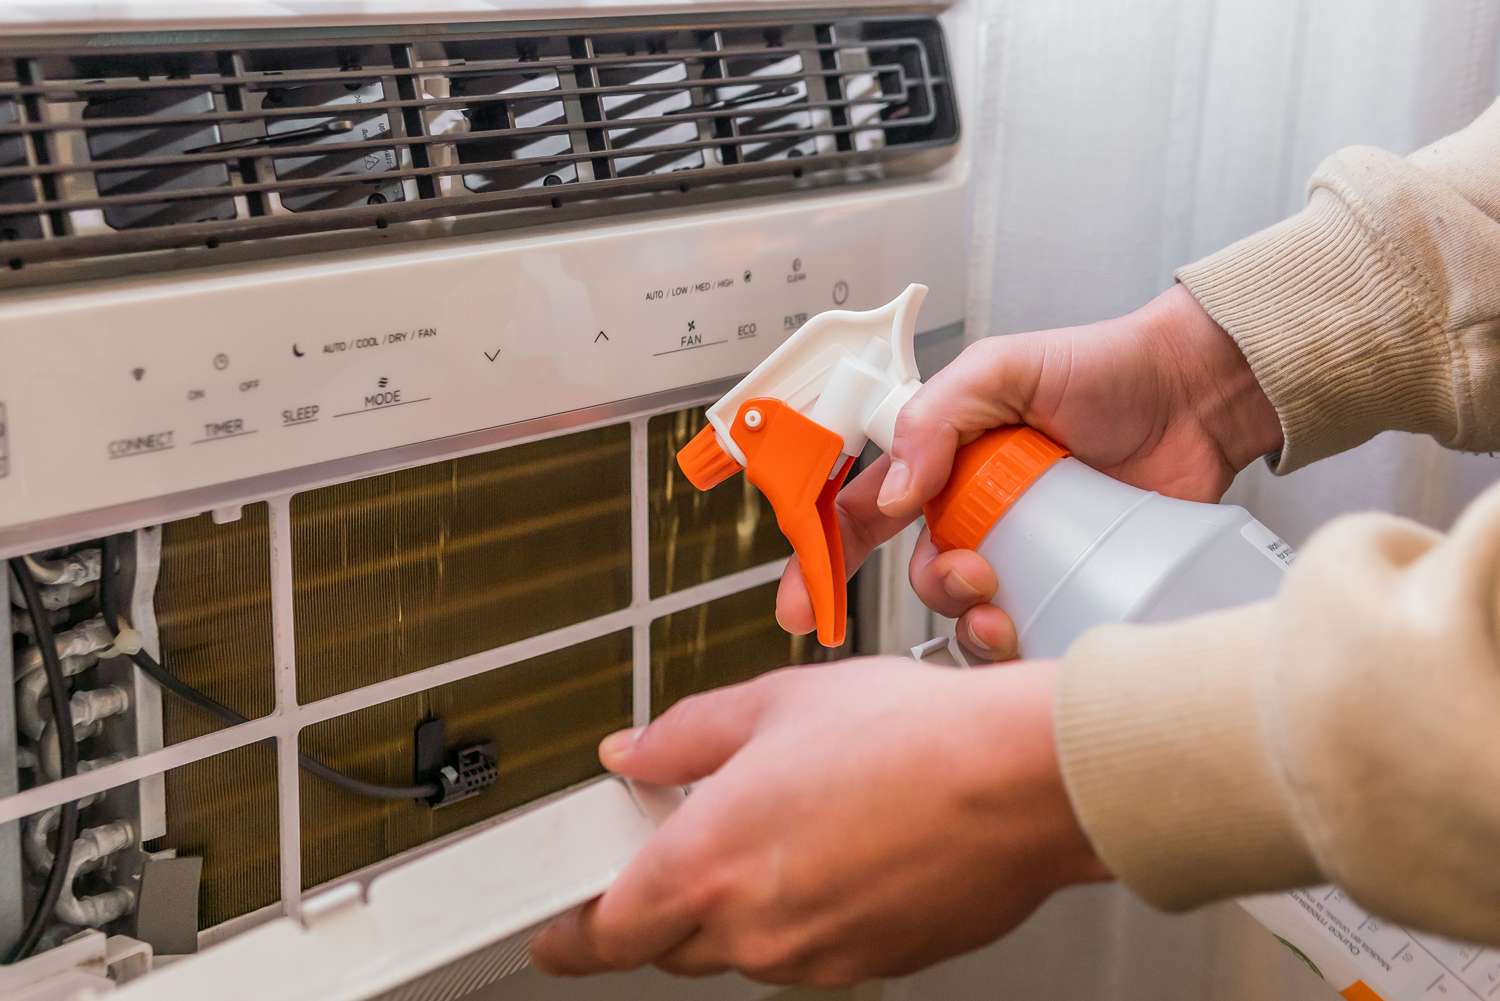
Read more: How To Remove A Window Air Conditioner
Step 5: Sand the patched area
After the patching compound has dried, it’s time to sand the patched area to achieve a smooth and seamless finish. Follow these steps for proper sanding:
- Start by lightly sanding the patched area with a sanding block or sandpaper. Use a fine-grit sandpaper, such as 120-grit or higher, to avoid damaging the surrounding wall.
- Gently sand the edges of the patch, blending it with the rest of the wall. Use smooth, even strokes, applying light pressure. The goal is to create a smooth transition so that the patch is indistinguishable from the rest of the wall.
- Periodically stop sanding to feel the area with your hand. If there are any rough spots or uneven surfaces, continue sanding until everything feels smooth to the touch.
- Wipe away the dust from sanding with a clean, dry cloth or a vacuum cleaner with a brush attachment. Ensure the area is completely clean before moving on to the next steps.
Take your time during this step to achieve the desired level of smoothness. It’s better to sand a little at a time and check the results, rather than sanding too much and creating an uneven surface.
By properly sanding the patched area, you’ll be one step closer to achieving a professional-looking repair.
Step 6: Apply primer
Now that the patched area is smooth and ready for painting, it’s important to apply a primer before applying the final coat of paint. Priming helps to create a uniform surface, enhances paint adhesion, and ensures that the color of the paint appears consistent across the wall.
Follow these steps to properly apply primer:
- Select a primer that is suitable for your wall material and the type of paint you will be using. There are specific primers available for different surfaces, such as drywall, plaster, or wood.
- Using a brush or a roller, apply a thin and even coat of primer over the patched area. Feather the edges to blend with the surrounding wall, ensuring a seamless transition.
- Allow the primer to dry completely according to the manufacturer’s instructions. This typically takes around 1-2 hours, but may vary depending on the brand and conditions.
- Inspect the primed area for any imperfections. If necessary, lightly sand any rough spots or drips and wipe away the dust with a clean, dry cloth.
Priming is an essential step as it helps to create a stable base for the paint and ensures a professional-looking finish. It also helps to seal the patched area, preventing any potential bleeding of the paint color.
By applying primer, you are setting the stage for a successful and long-lasting paint job.
Step 7: Paint the wall
With the primer dry and the patched area prepared, it’s time to paint the wall and achieve a seamless blend with the rest of the surface. Here’s how to proceed:
- Choose a paint color that matches the existing wall color. If you don’t have the exact color, consider taking a sample to a paint store for color matching.
- Stir the paint thoroughly to ensure a consistent color throughout the can.
- Start by cutting in around the edges of the patched area, using a brush to create a clean line where the patch meets the rest of the wall. Take your time and be precise to achieve a professional-looking finish.
- Once the edges are cut in, use a roller to apply paint to the larger areas of the wall. Work in small sections, overlapping each stroke for even coverage.
- Apply multiple thin coats of paint rather than one thick coat to achieve a more even and durable finish. Allow each coat to dry between applications according to the paint manufacturer’s instructions.
- After the final coat, step back and inspect the painted area for any imperfections or uneven coverage. If necessary, touch up any areas with a small brush.
Take your time throughout the painting process to ensure a flawless finish. Keep in mind that the paint may dry slightly differently than the surrounding walls, so it’s important to blend the colors and texture as closely as possible.
By following these steps, you can achieve a beautifully painted wall that seamlessly integrates the patched area.
Step 8: Final touches and clean up
Now that the wall is painted and the repair is complete, it’s time for the final touches and clean up. Follow these steps to ensure a polished and professional finish:
- Inspect the repaired area and surrounding wall for any touch-ups or imperfections. Use a small brush to touch up any areas that need additional paint or blending.
- Once you are satisfied with the repair, clean your brushes, rollers, and any other painting tools with soap and water or according to the manufacturer’s instructions. Properly clean and store your painting supplies for future use.
- Dispose of any leftover paint and empty paint cans according to your local regulations. Do not pour paint down the drain or discard it in regular trash bins.
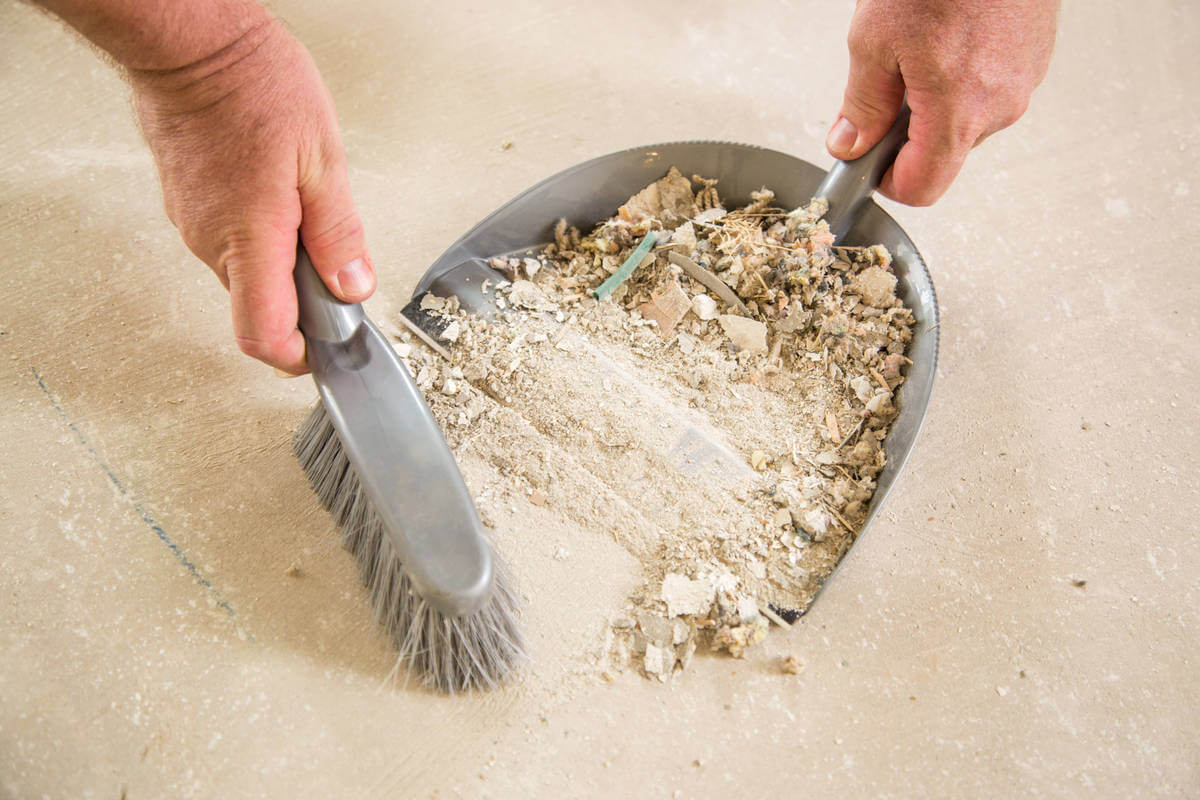
- Remove any drop cloths or protective coverings from the floor or furniture. Vacuum or sweep the area to remove any dust or debris that may have accumulated during the repair process.
- Take a step back and admire your handiwork. The hole in the wall is now expertly patched, and the wall looks as good as new!
By completing the final touches and cleanup, you ensure a neat and tidy finish for your repair project. The room will be ready to enjoy without any evidence of the previous hole in the wall.
Remember, with proper maintenance and care, your patched wall will continue to look great for years to come.
Read more: How To Clean A Wall Air Conditioner
Conclusion
Repairing a hole in the wall after removing an air conditioner unit may seem like a daunting task, but with the right materials, techniques, and a little patience, you can achieve professional results. Taking the time to assess the damage, gather the necessary materials, clean the area, patch the hole, sand the patched area, apply primer, paint the wall, and finish with final touches and clean up, will ensure a seamless and visually appealing wall repair.
Remember to carefully assess the damage, select the appropriate materials, and clean the area before starting the repair process. By doing so, you’ll ensure a solid foundation for your patching compound and the subsequent layers of primer and paint.
As you patch the hole in the wall, take your time to apply the patching compound evenly and blend it with the surrounding wall. Sanding the patched area will further refine the surface, creating a seamless transition. Applying primer and multiple coats of paint will give your repaired wall a professional finish that blends harmoniously with the rest of the room.
Once the repair is complete, don’t forget the final touches and clean up. Take the time to inspect and touch up any areas that may need additional paint and properly clean and store your painting tools. Finishing with a thorough cleanup will ensure a tidy and satisfying end to your project.
By following these steps and techniques, you can successfully close a hole in the wall after removing an air conditioner unit, restoring your wall to its original condition. Remember, practice makes perfect, so don’t worry if it takes a couple of attempts to achieve the desired results. With each repair, you’ll gain experience and grow more confident in your home maintenance skills.
So, roll up your sleeves, gather your materials, and tackle that hole in the wall with confidence. Before you know it, your wall will look as good as new, and you’ll have the satisfaction of a job well done!
Frequently Asked Questions about How To Close Hole In Wall After Removing Air Conditioner
Was this page helpful?
At Storables.com, we guarantee accurate and reliable information. Our content, validated by Expert Board Contributors, is crafted following stringent Editorial Policies. We're committed to providing you with well-researched, expert-backed insights for all your informational needs.