Home>Home Maintenance>How To Set Up Drainage And Watering System For Raised Garden Beds
Home Maintenance
How To Set Up Drainage And Watering System For Raised Garden Beds
Modified: August 30, 2024
Learn how to set up a drainage and watering system for your raised garden beds at home. Improve your home maintenance efforts with these helpful tips and techniques.
(Many of the links in this article redirect to a specific reviewed product. Your purchase of these products through affiliate links helps to generate commission for Storables.com, at no extra cost. Learn more)
Introduction
Welcome to the world of gardening and home maintenance! If you are a gardening enthusiast or simply looking to create a beautiful and productive outdoor space, setting up raised garden beds can be a fantastic addition to your home. Raised garden beds offer numerous benefits, including improved soil quality, better drainage, and easier access for planting and harvesting. One crucial aspect of maintaining raised garden beds is establishing a proper drainage and watering system.
In this article, we will guide you through the steps of setting up a drainage and watering system for your raised garden beds. By following these steps, you will ensure that your plants receive an adequate supply of water while avoiding any issues related to excess moisture in the beds.
Before we get started, it is important to note that raised garden beds come in various shapes, sizes, and materials. The steps outlined here are applicable to most types of raised garden beds, but you may need to make minor adjustments based on your specific setup.
Key Takeaways:
- Proper drainage and watering systems for raised garden beds prevent waterlogged soil, improve aeration, and reduce erosion. They also prevent disease, save time, and ensure efficient water distribution, leading to healthier and thriving plants.
- Choosing the right location, building sturdy beds, installing a drainage system, selecting the proper soil mix, mulching, and setting up an irrigation system are essential steps for maintaining healthy raised garden beds. These steps ensure optimal moisture control, prevent waterlogging, and provide the necessary conditions for plant growth and success.
Benefits of Setting Up Drainage and Watering System for Raised Garden Beds
Setting up a proper drainage and watering system for your raised garden beds offers a range of benefits that contribute to the overall health and productivity of your plants. Let’s explore some of the key advantages:
- Prevents Waterlogged Soil: Adequate drainage is essential to prevent water from accumulating in your raised garden beds. Excess moisture can lead to waterlogged soil, which can suffocate plant roots and ultimately result in poor growth or even plant death. A well-designed drainage system ensures that excess water is efficiently removed, preventing waterlogging.
- Improves Soil Aeration: Proper drainage allows for better air circulation within the soil. This is vital for the health of plant roots, as they require oxygen for respiration. Well-aerated soil encourages root development and overall plant vigor.
- Reduces Soil Erosion: A drainage system helps to control water flow within the raised garden beds, preventing soil erosion that can occur during heavy rain. By minimizing soil erosion, you can maintain the structure and fertility of the soil, ensuring that your plants have a stable foundation for growth.
- Prevents Disease and Fungal Issues: Excess moisture in the soil can create a favorable environment for the growth of diseases and fungi, such as root rot or mildew. By establishing proper drainage, you can minimize the risk of these issues, promoting healthier plants with better disease resistance.
- Ensures Efficient Water Distribution: A well-designed watering system allows for targeted delivery of water directly to the plant root zone. This ensures that plants receive the necessary amount of water without wastage. By optimizing water distribution, you can conserve water, reduce water bills, and promote sustainable gardening practices.
- Convenience and Time-Saving: Implementing a watering system eliminates the need for manual watering with a hose or watering can. This saves you time and effort, especially during hot summer months when regular watering is crucial. With a properly installed system, you can automate the watering process and ensure consistent moisture levels for your plants.
By setting up a drainage and watering system for your raised garden beds, you can unlock these benefits and set the stage for a thriving garden. Now that you understand the advantages, let’s dive into the step-by-step process of establishing a drainage and watering system for your raised garden beds.
Step 1: Choosing the Right Location for Your Raised Garden Beds
The location of your raised garden beds plays a crucial role in their overall success. When choosing a spot for your garden beds, consider the following factors:
- Sunlight: Most vegetables, herbs, and flowers thrive in full sun, which means they need at least 6-8 hours of direct sunlight each day. Choose a location that receives ample sunlight to ensure healthy plant growth and productivity.
- Accessibility: Select a location that is easily accessible and convenient for tending to your garden beds. Consider factors such as proximity to water sources and easy movement around the garden for watering, harvesting, and maintenance tasks.
- Soil Quality: Assess the soil quality of the potential location. Look for a site with well-draining soil that is fertile and rich in organic matter. Avoid areas prone to standing water or heavy clay soil, as these may hinder proper drainage and plant growth.
- Proximity to Trees and Structures: Be mindful of nearby trees or structures that could cast excessive shade, compete for nutrients and water, or obstruct air circulation. Give your raised garden beds enough space away from these potential obstacles.
- Landscaping Considerations: Take into account the existing landscape and aesthetics of your outdoor space. Align the placement of your raised garden beds with the overall design and flow of your garden, creating a visually appealing and harmonious arrangement.
Once you have considered these factors, mark out the chosen location for your raised garden beds. Take measurements and determine the dimensions that work best for your space and gardening needs. Remember to allow enough space between beds for easy access and maintenance.
With the location selected, you can move forward with the next step of building your raised garden beds.
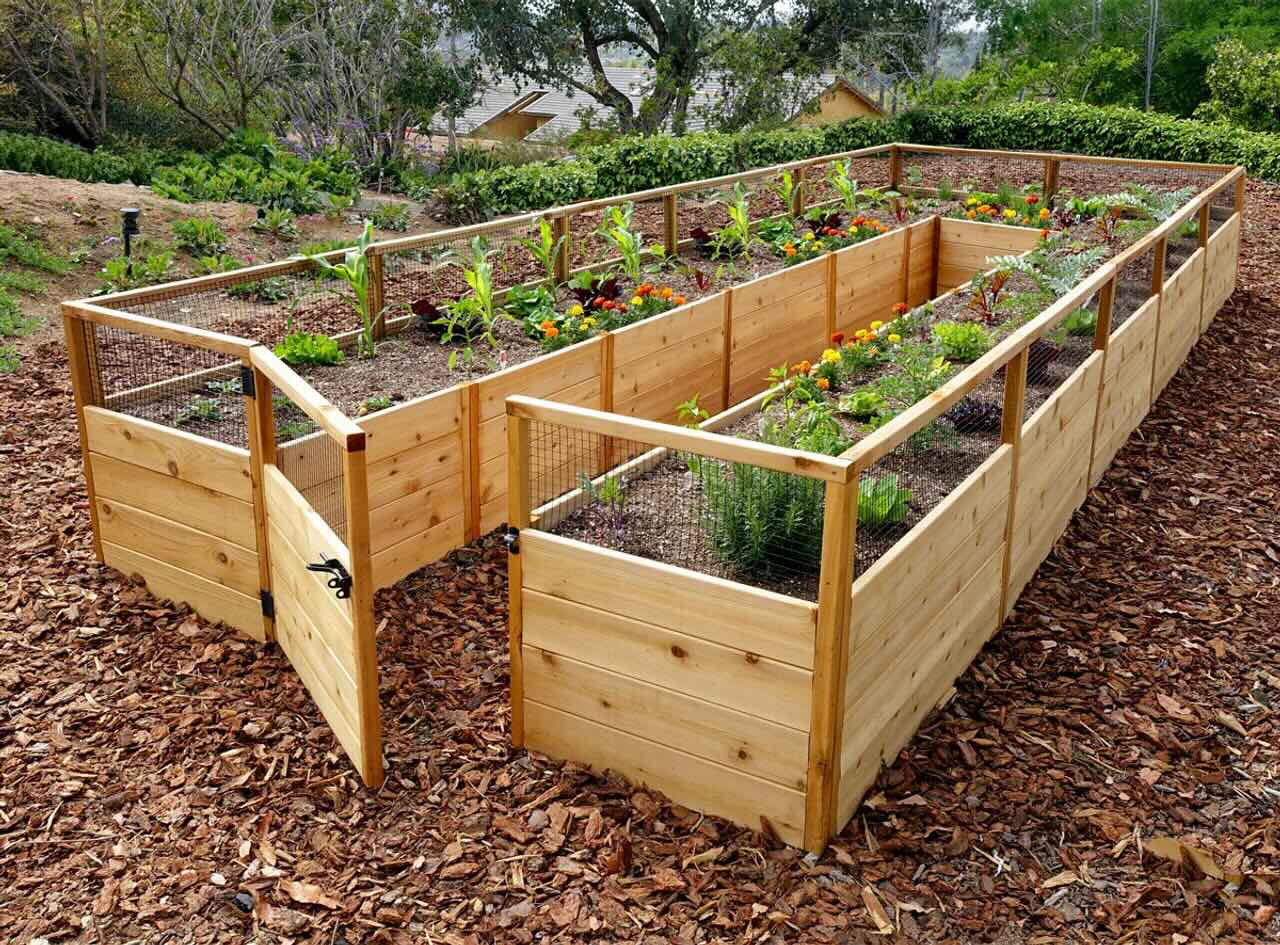
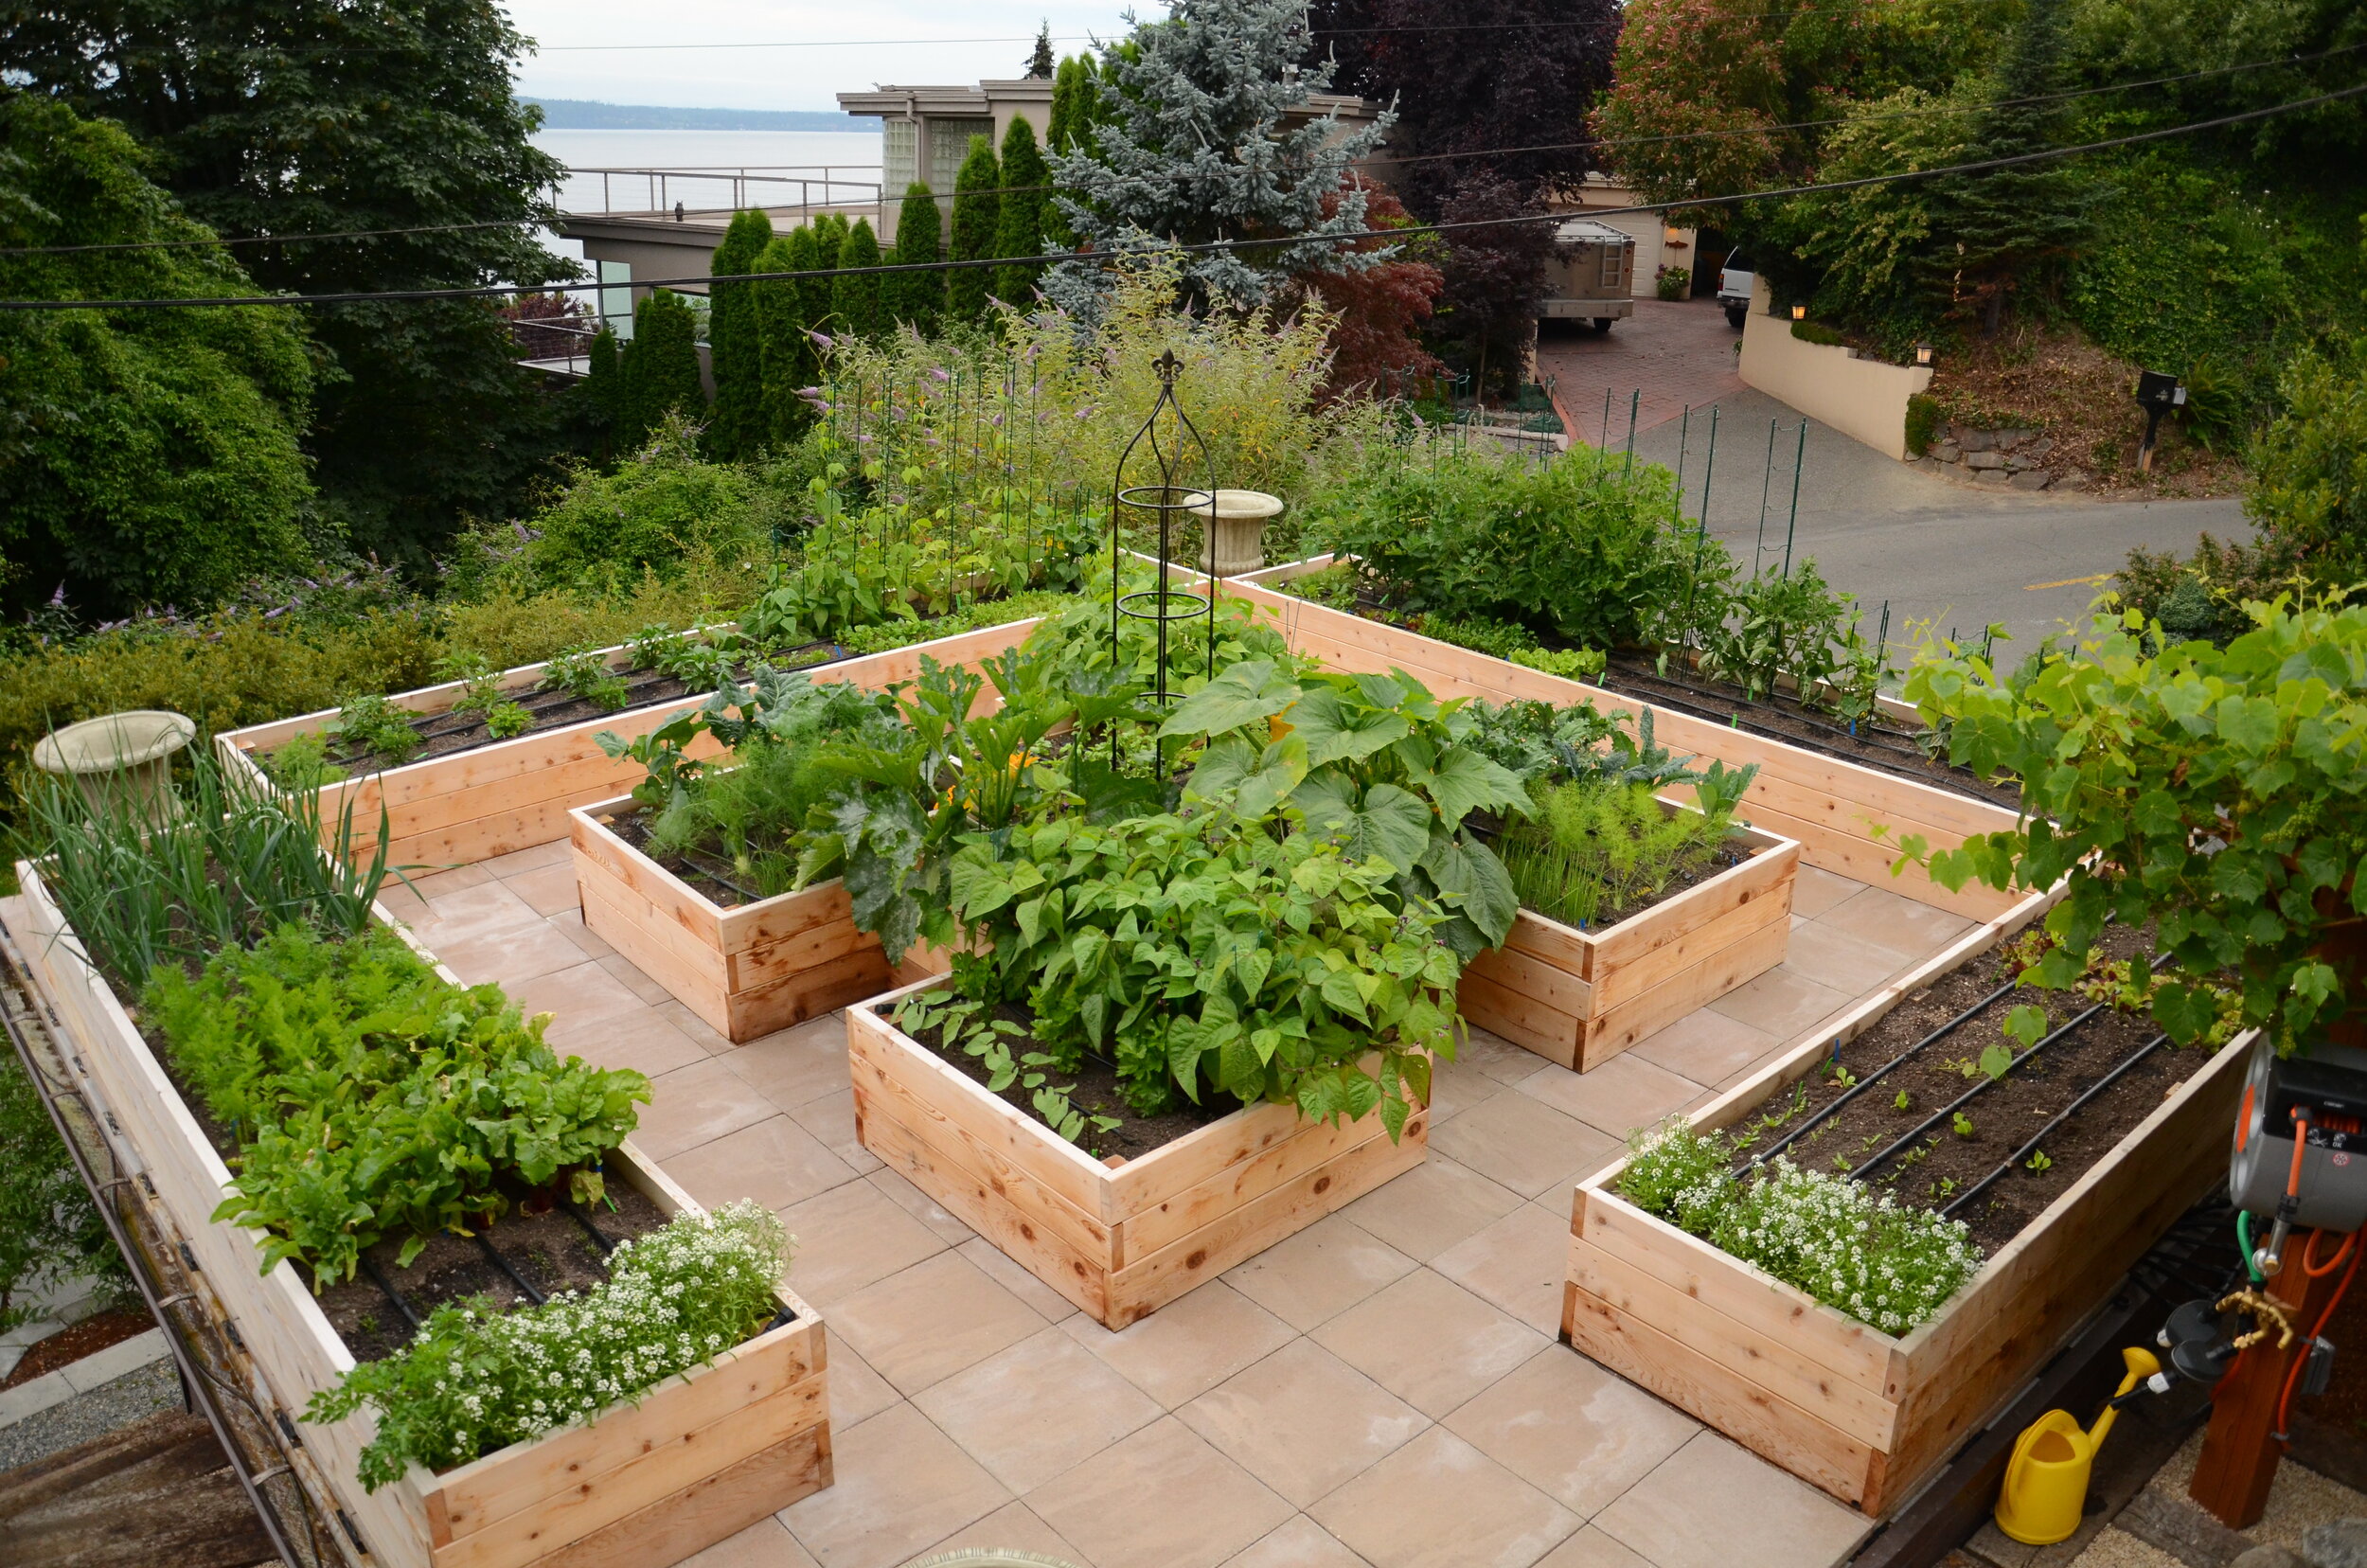
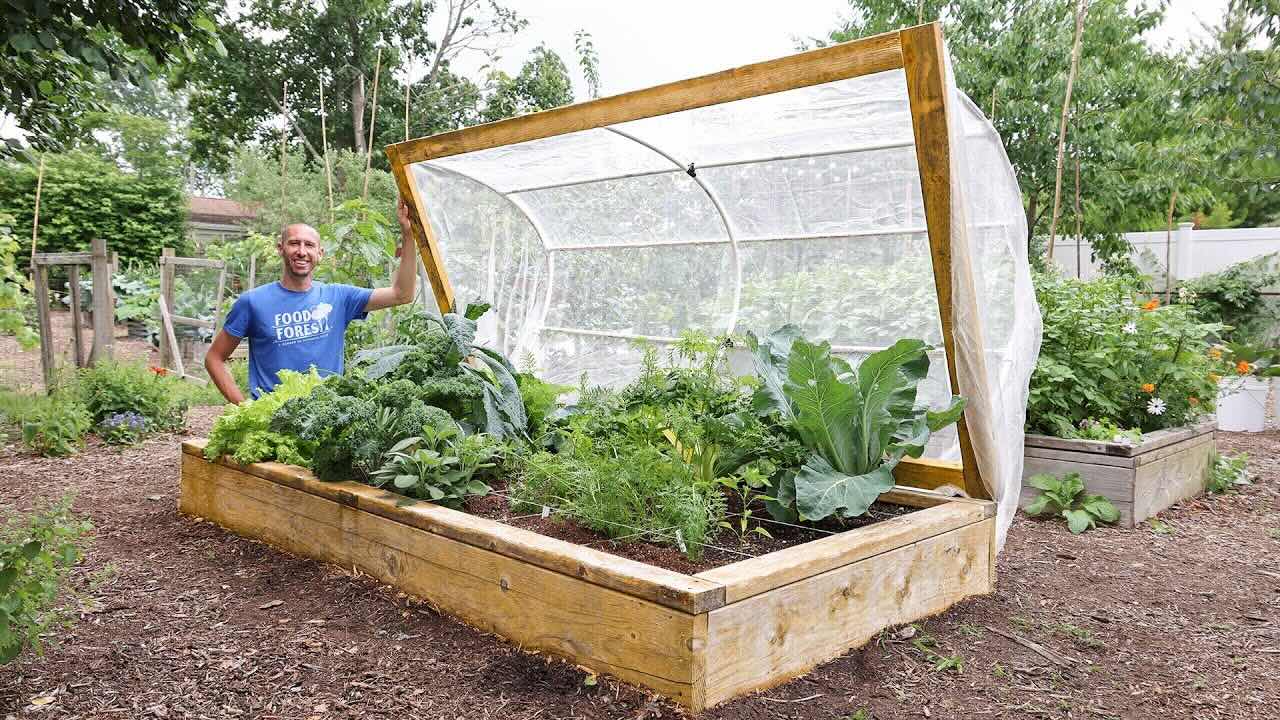
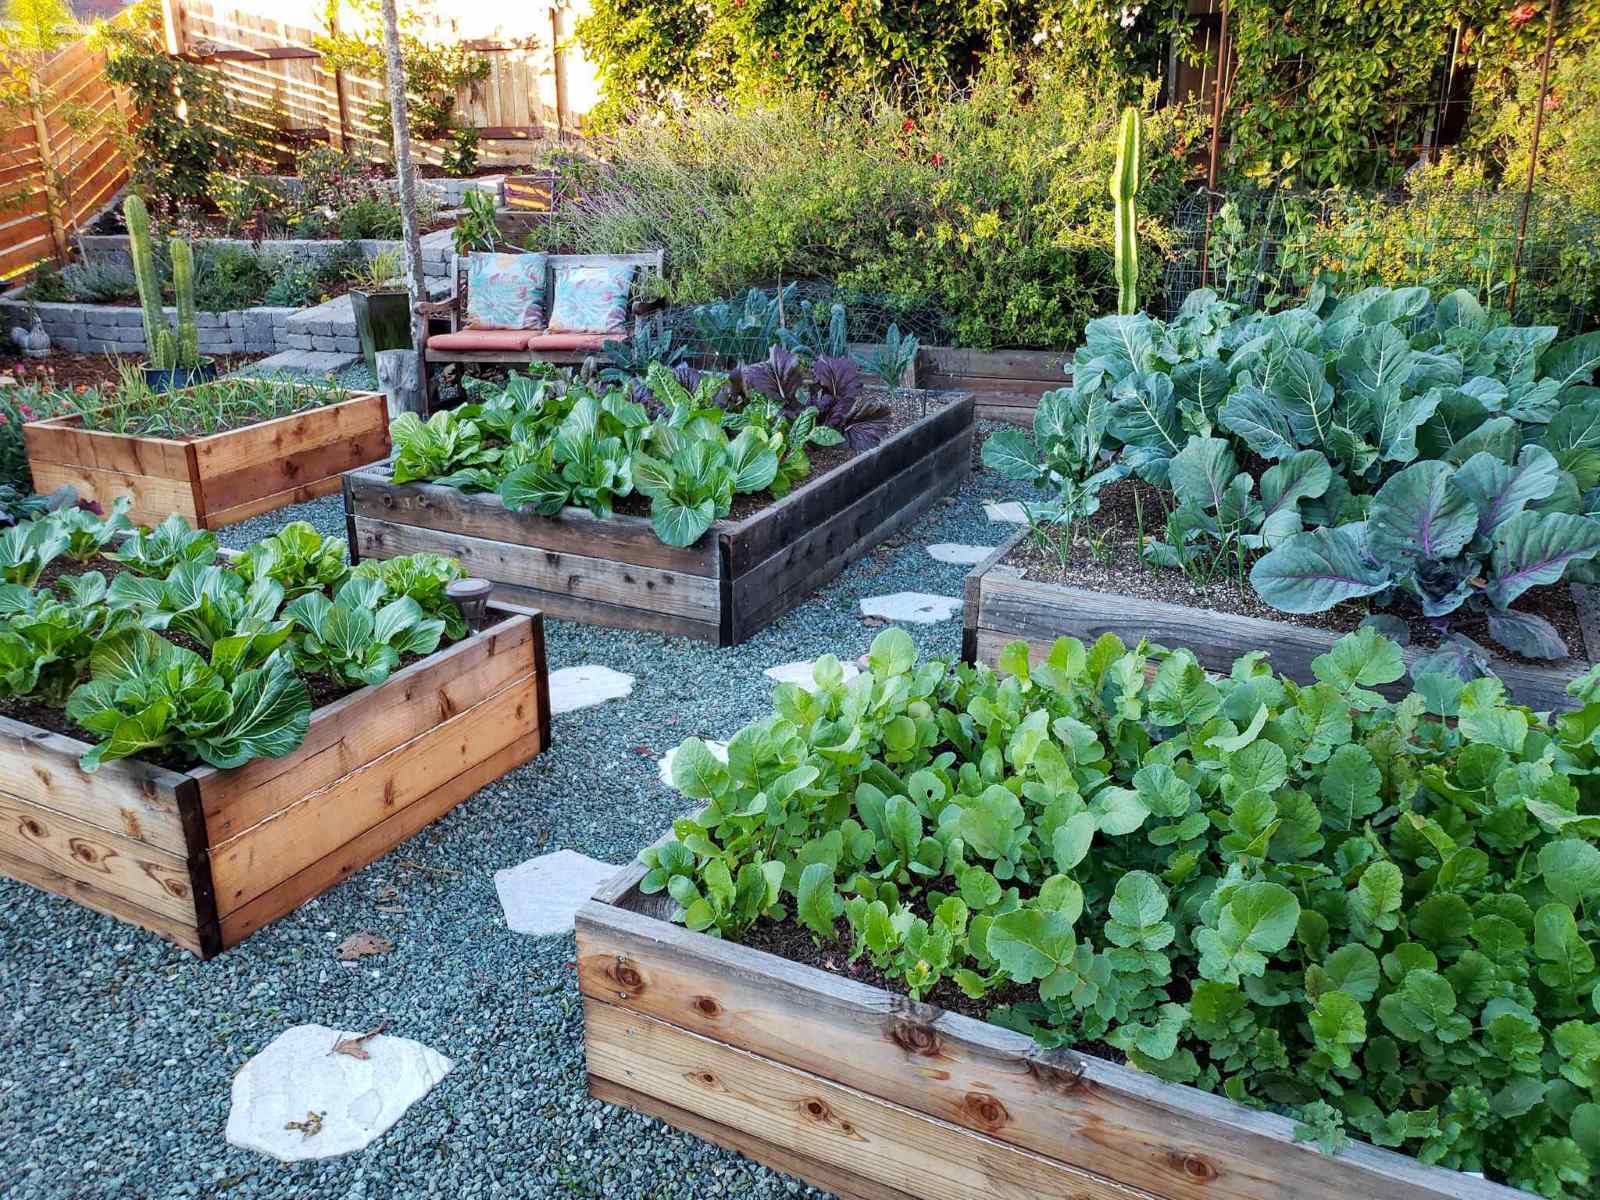
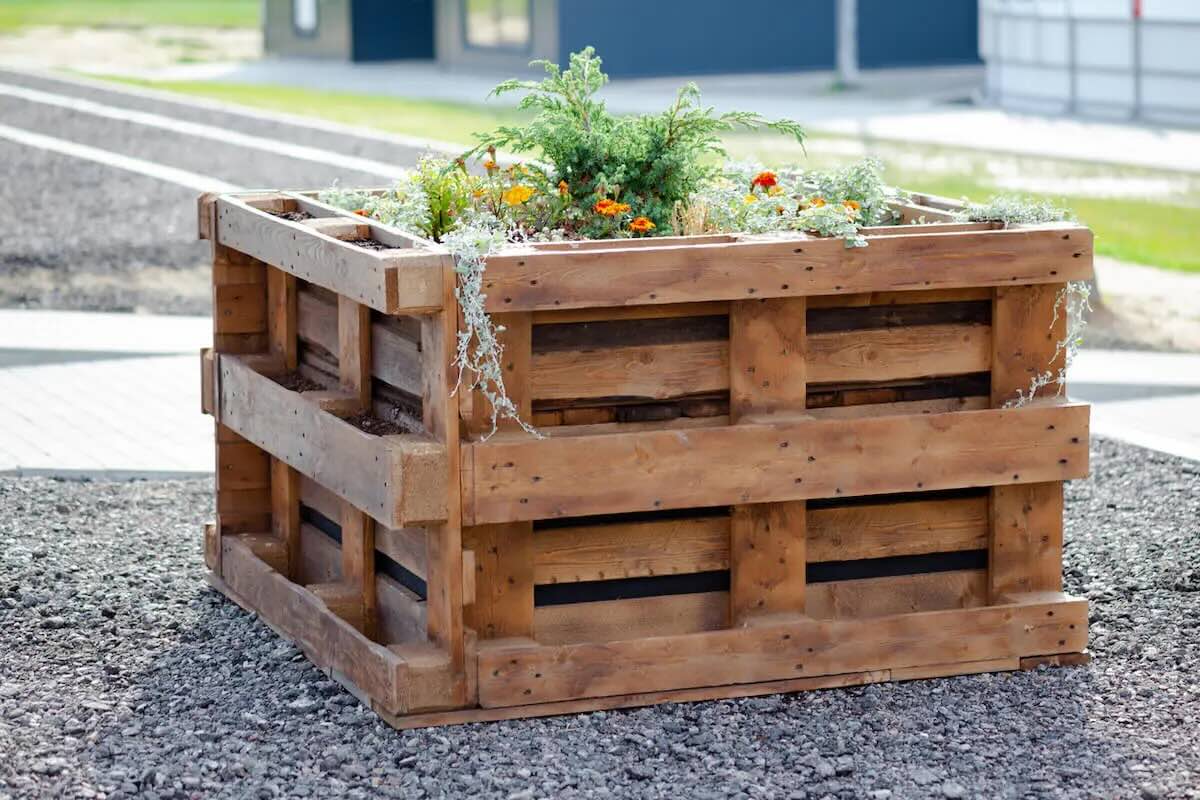
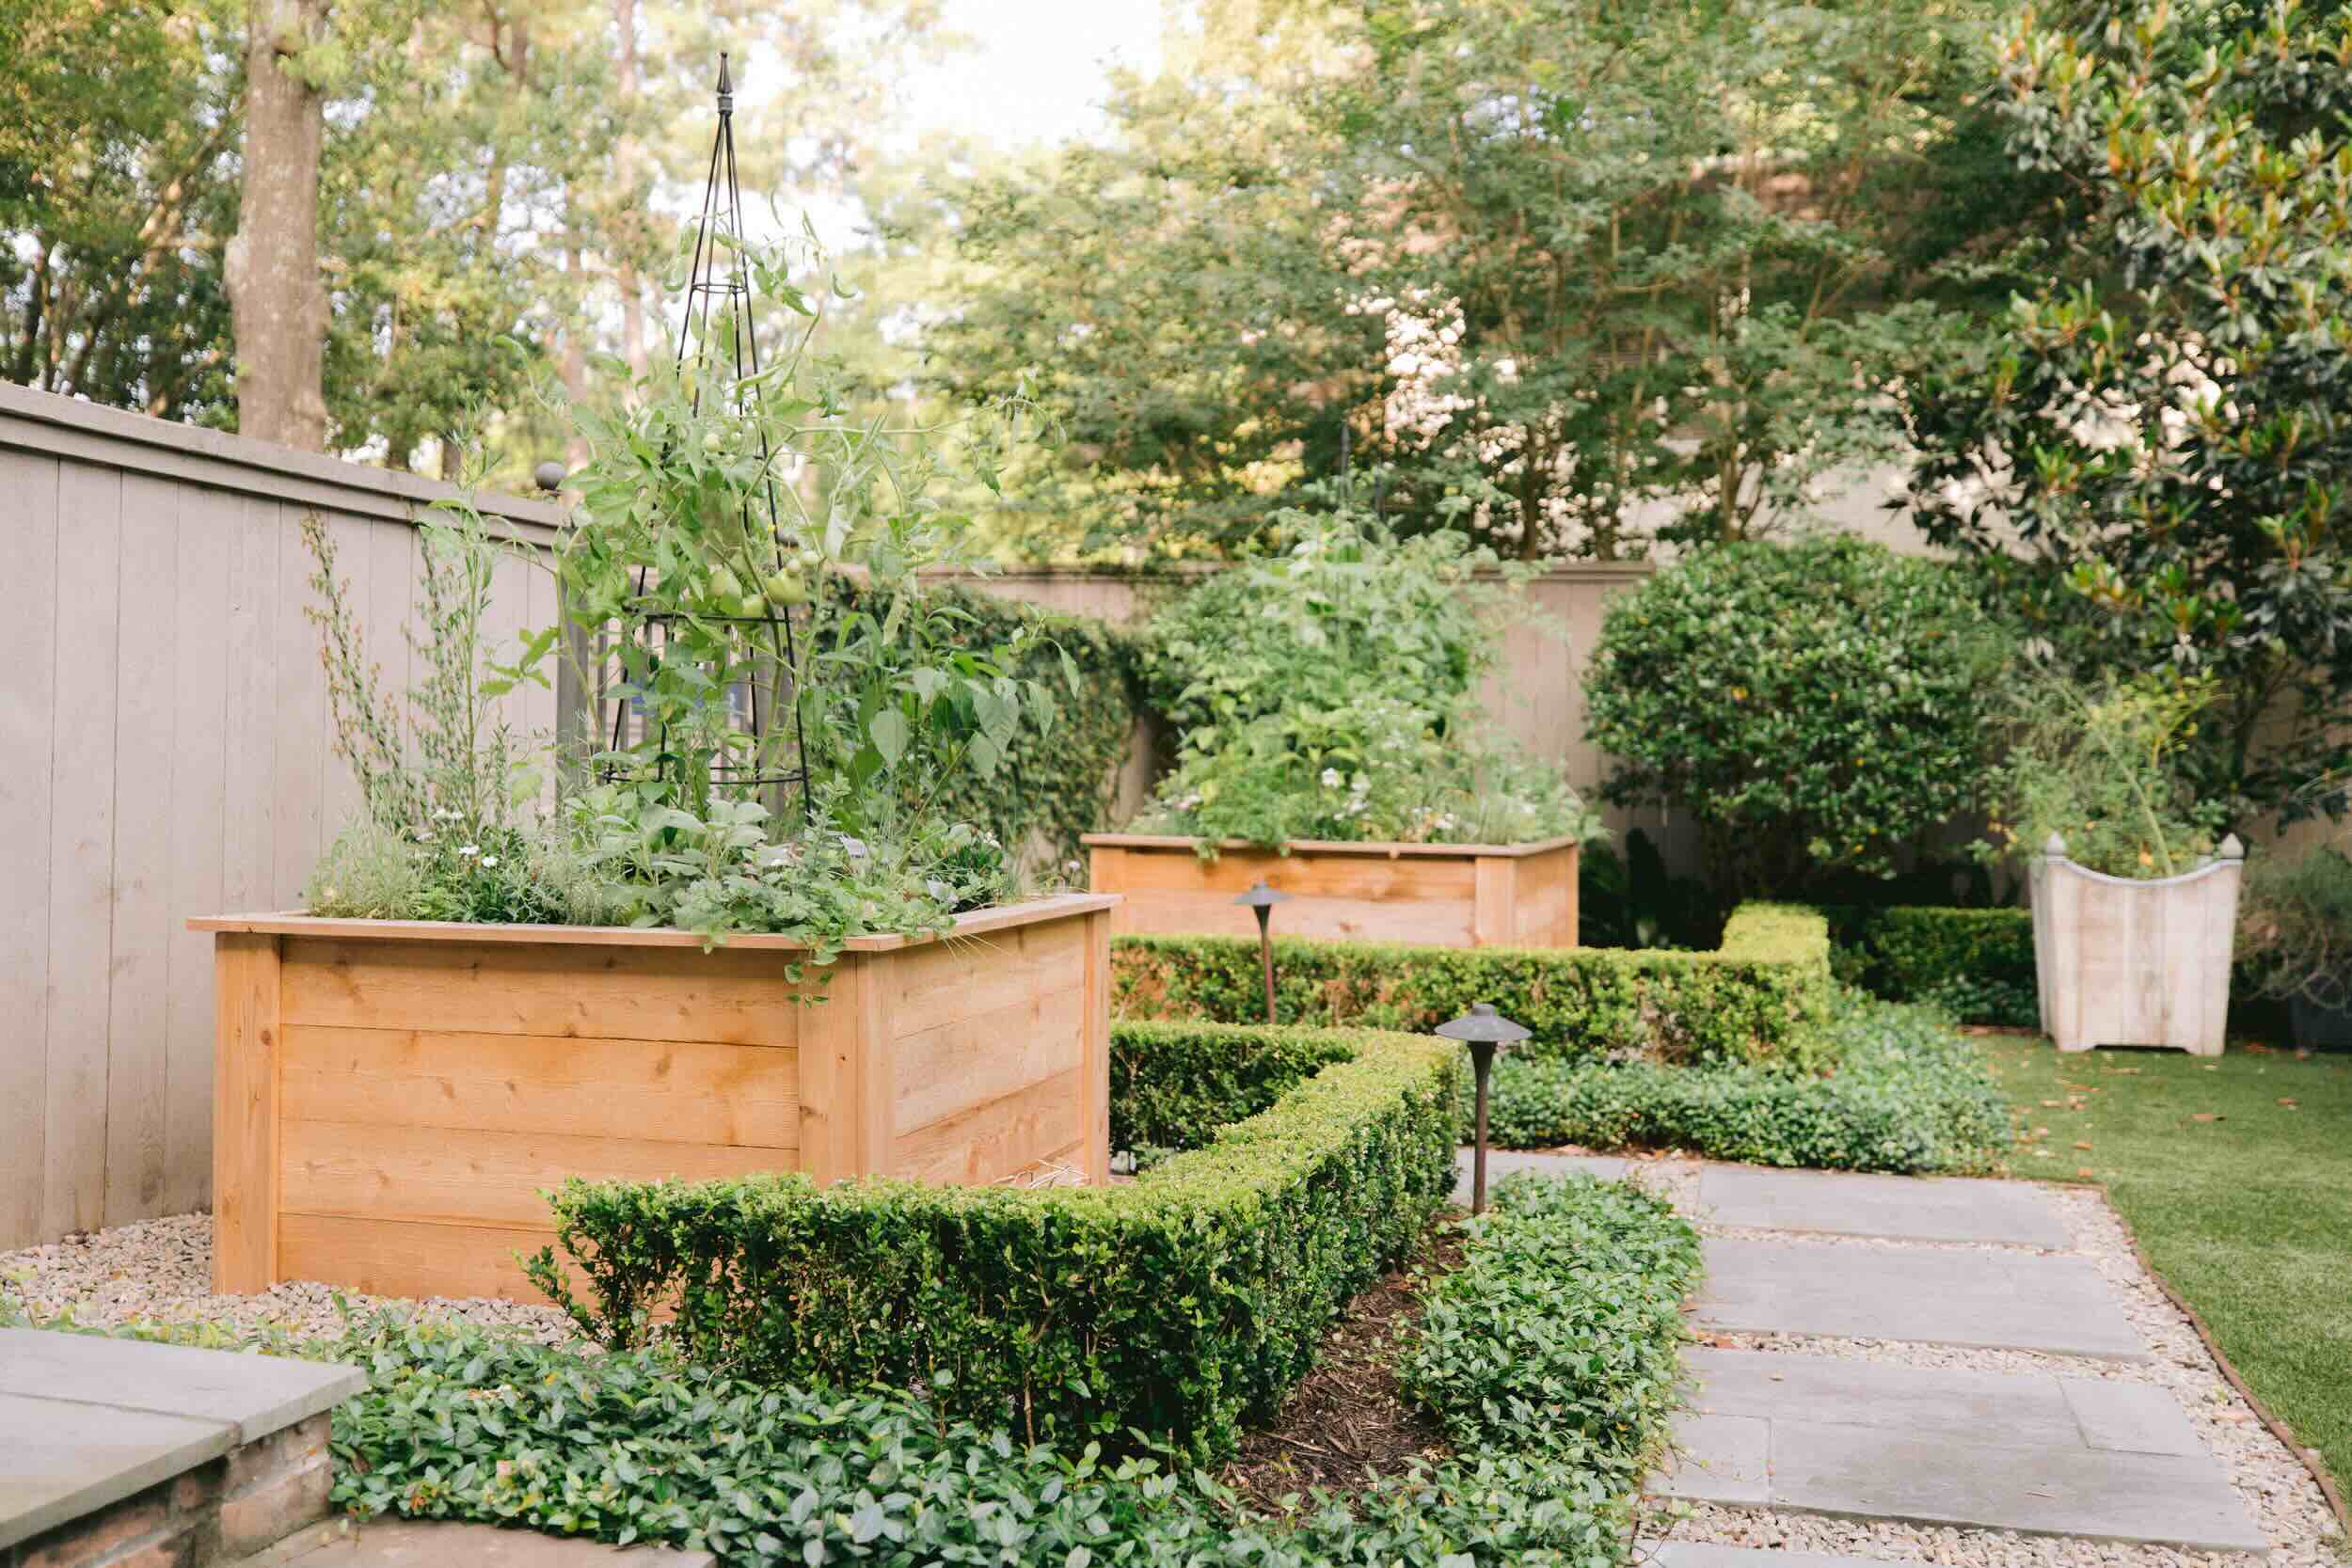
Step 2: Building the Raised Garden Beds
Building the raised garden beds is an exciting step where you can unleash your creativity and customize the beds to suit your preferences. Follow these steps to construct sturdy and functional raised garden beds:
- Choose the Materials: Select the materials for your raised garden beds based on durability, aesthetics, and longevity. Common options include wood (such as cedar or redwood), composite lumber, concrete blocks, or galvanized metal. Avoid treated wood that may contain harmful chemicals.
- Determine the Size and Height: Determine the dimensions and height of your garden beds. The standard width is around 4 feet to allow for easy reaching across the bed. The height can vary depending on your preference, but a height of 12-18 inches typically provides sufficient depth for root growth.
- Prepare the Ground: Clear the area of any weeds, grass, or debris. Level the ground and remove rocks or other obstructions that may interfere with the placement of the garden beds.
- Construct the Beds: Assemble the raised garden beds using the chosen materials. If using wood, cut the boards to the desired length and attach them securely at the corners using screws or nails. If using other materials, follow the manufacturer’s instructions for assembly.
- Stabilize the Beds: To enhance stability, consider adding braces or corner posts to support the structure of the garden beds. This is particularly important for taller beds or those made from lightweight materials.
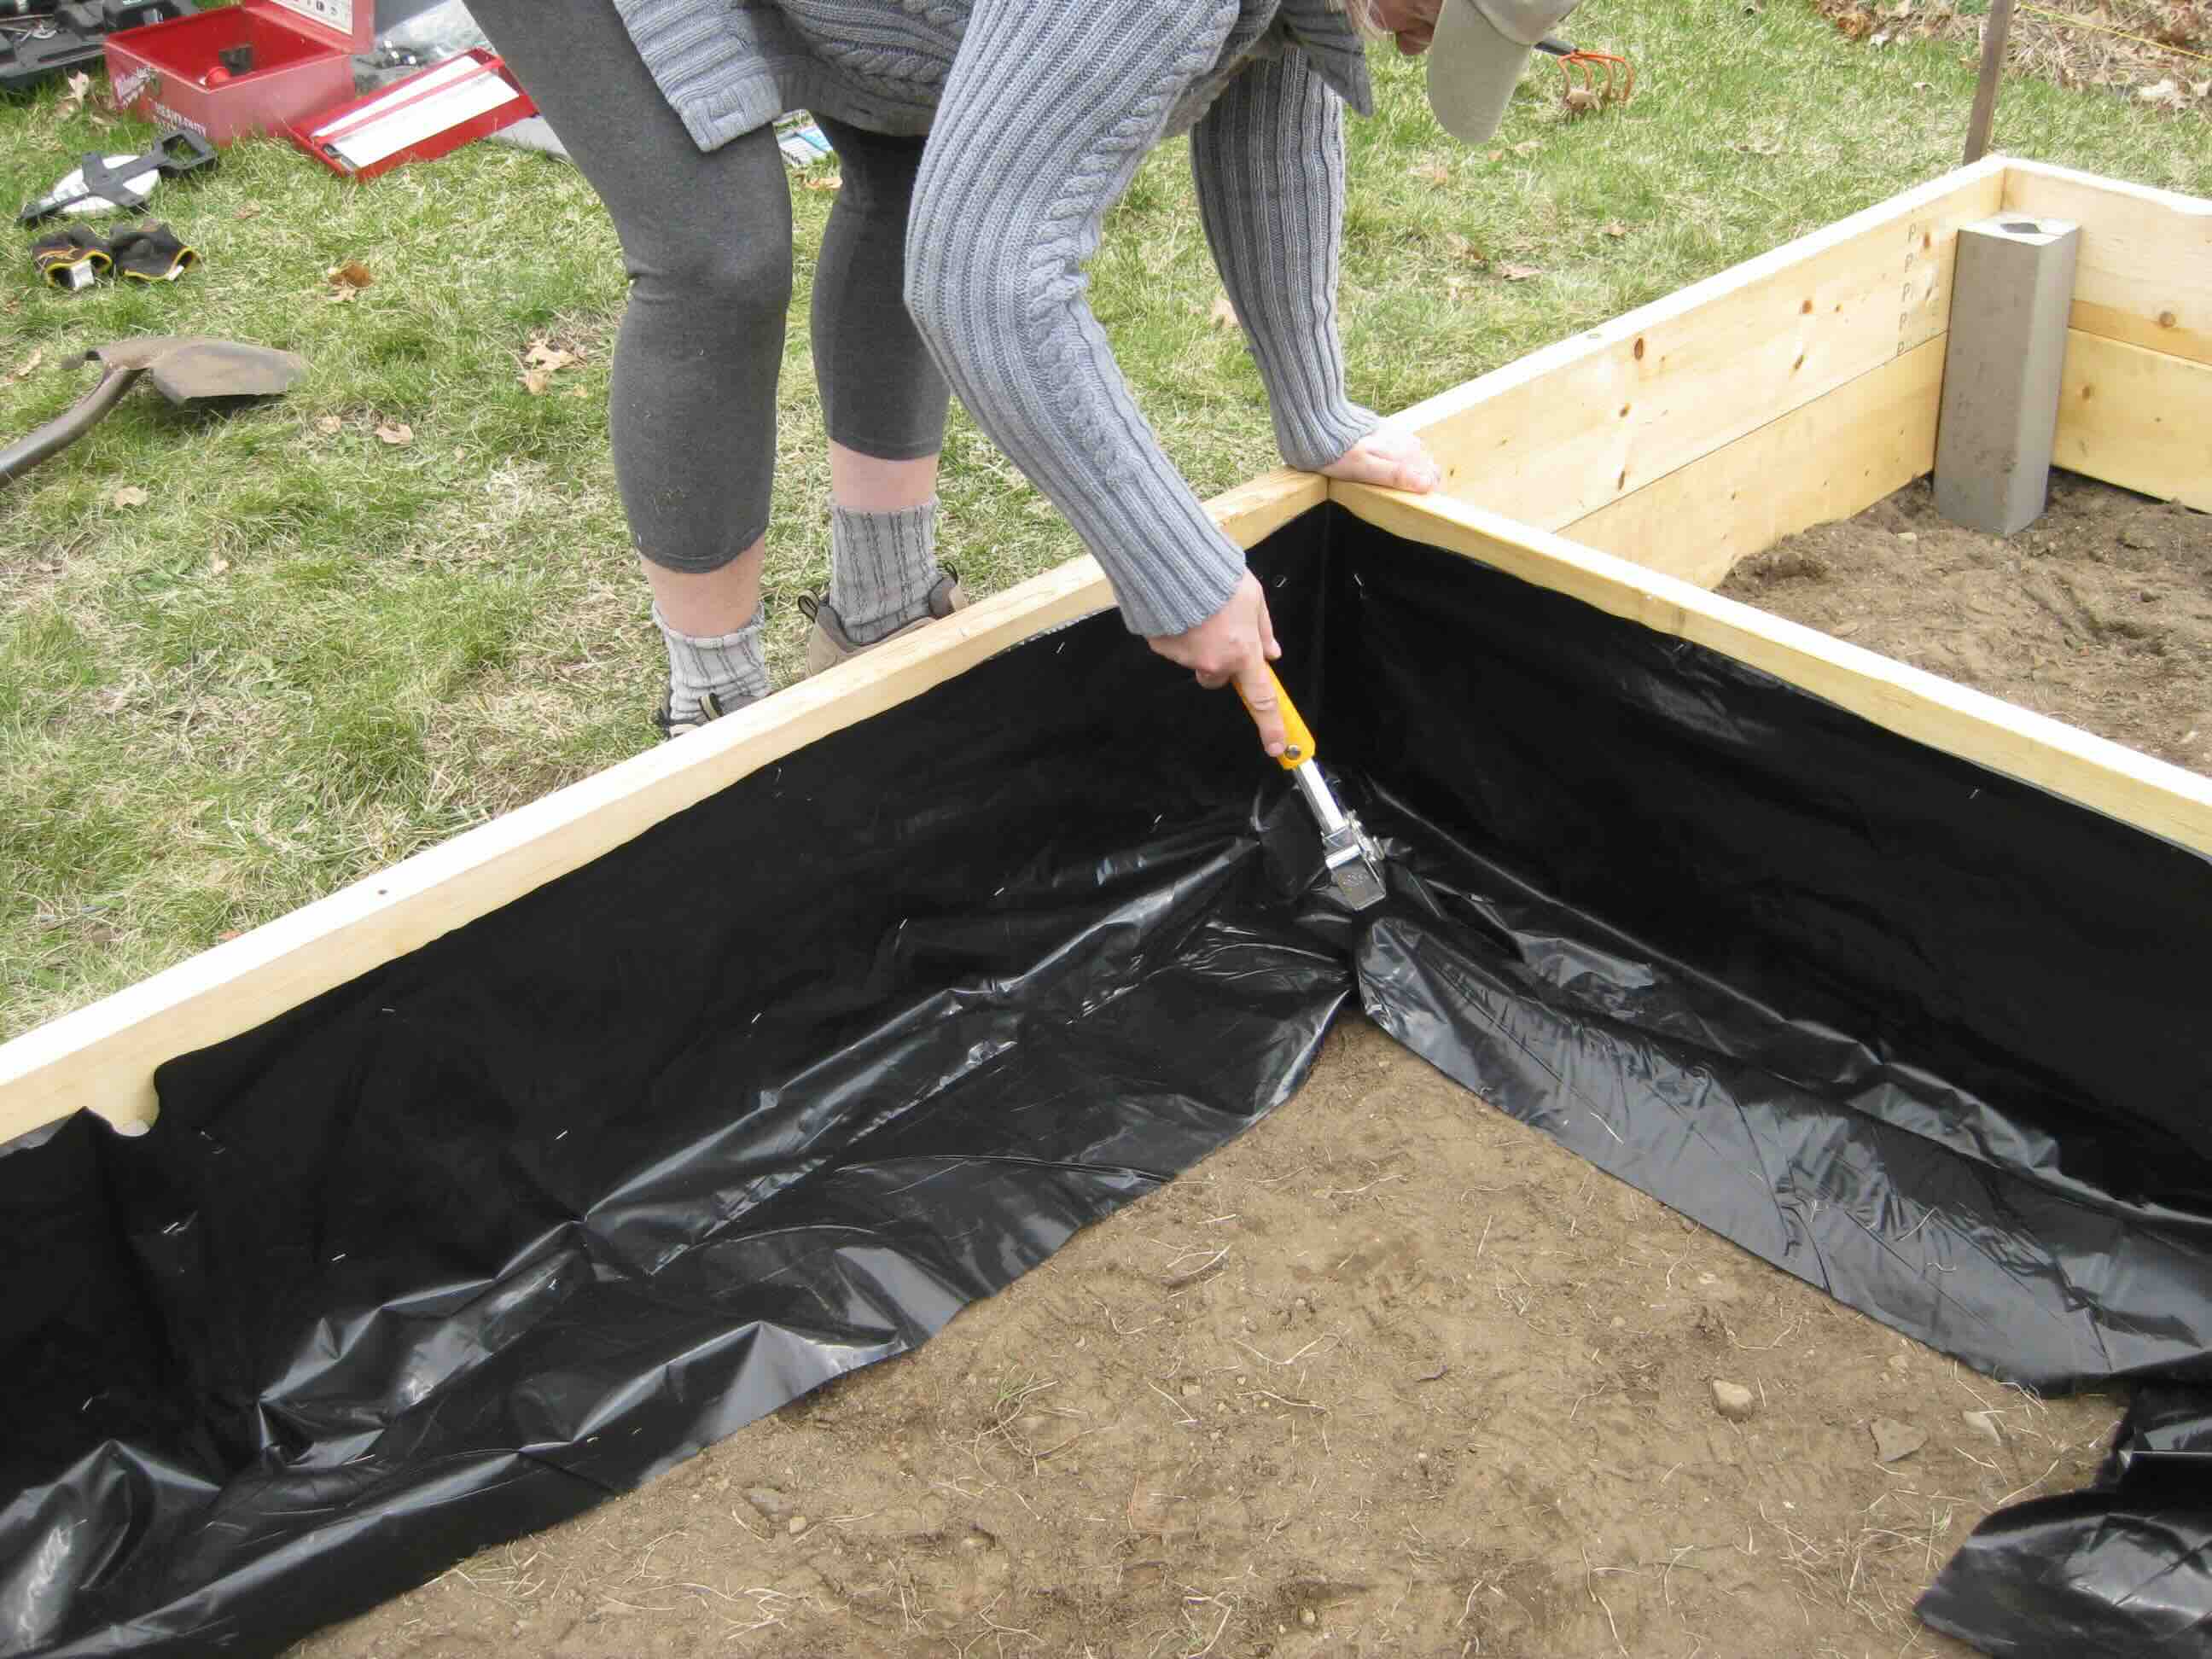
- Line the Beds (optional): Some gardeners prefer to line the inside of the raised garden beds with landscaping fabric or a plastic liner to prevent soil contact with the bed material. This step can help prolong the lifespan of the beds but is not mandatory.
- Place the Beds: Position the constructed garden beds in the previously determined location. Ensure the beds are level and properly aligned.
- Add the Soil: Fill the raised garden beds with a high-quality soil mix, specifically formulated for container gardening or raised beds. This mix should provide good drainage and nutrient retention for optimal plant growth.
- Smooth and Level the Soil: Evenly distribute the soil and use a rake or garden tool to smooth and level the surface. This will create a uniform planting area and facilitate proper water distribution.
With your raised garden beds constructed, you are now ready to move on to the next step: installing a drainage system to ensure optimal moisture control.
Step 3: Installing Drainage System
A well-designed drainage system is essential for maintaining the health of your raised garden beds. It helps to prevent waterlogging and allows excess water to drain away effectively. Follow these steps to install a drainage system for your raised garden beds:
- Create Drainage Holes: Using a drill or a hammer and nail, create drainage holes in the bottom of each raised garden bed. These holes will allow excess water to escape, preventing water from pooling inside the beds. Aim for holes that are evenly spaced, approximately 1/4 to 1/2 inch in diameter.
- Add Drainage Material: Place a layer of gravel or small rocks at the bottom of the raised garden beds, above the drainage holes. This layer acts as a reservoir for excess water, allowing it to gradually drain away. It also provides additional aeration to the soil.
- Install a Drainage Pipe (optional): For larger raised garden beds or those with poor natural drainage, consider installing a drainage pipe. Dig a shallow trench along one side or all sides of the bed, sloping it away from the garden. Place the drainage pipe in the trench, ensuring it is level and properly aligned. Cover the pipe with gravel or rocks and backfill the trench.
- Choose a Drainage Outlet: Decide where the excess water from the drainage pipes will be directed. This could be a nearby drain, a designated garden area, or a gravel pit. Ensure that the outlet allows for proper water dispersion and does not create a problem elsewhere in your garden or yard.
- Test the Drainage: Before proceeding with the next steps, it’s important to test the drainage system. Give your garden beds a thorough watering and observe if the water flows smoothly through the drainage holes and pipes. Adjust the drainage setup if necessary.
Installing a drainage system is a crucial step in maintaining healthy raised garden beds. It ensures that excess water is efficiently drained away, preventing waterlogging and potential damage to your plants. With the drainage system in place, you are now ready to move on to the next step: selecting the right soil mix for your raised garden beds.
When setting up drainage for raised garden beds, make sure to use a layer of gravel at the bottom to prevent waterlogging. For watering, consider installing a drip irrigation system to ensure even and efficient watering.
Read more: How To Set Up A Raised Garden Bed
Step 4: Selecting the Right Soil Mix
The soil mix you choose for your raised garden beds will have a significant impact on the success of your plants. It should provide adequate nutrients, good drainage, and moisture retention. Follow these guidelines to select the right soil mix:
- Avoid Heavy Clay Soil: Heavy clay soil tends to retain water and can become compacted, leading to poor drainage and restricted root growth. Instead, opt for a well-draining soil mix that consists of a combination of organic matter, compost, and other amendments.
- Balance Drainage and Moisture Retention: The ideal soil mix for raised garden beds should strike a balance between drainage and moisture retention. It should allow water to drain freely while also holding enough moisture for plant roots to access. Look for a mix that contains components like peat moss, vermiculite, coco coir, or perlite.
- Consider Nutrient Content: Your soil mix should be rich in nutrients to support healthy plant growth. Incorporate well-aged compost, composted manure, or organic fertilizer into the soil mix to provide essential nutrients for your plants. You can also add slow-release organic fertilizers to ensure a steady supply of nutrients over time.
- Aim for pH Balance: Test the pH level of your soil mix and aim for a neutral to slightly acidic range (around 6.0 to 7.0) for most vegetable and flower plants. Acid-loving plants, such as blueberries, may require a slightly lower pH.
- Consider Local Soil Conditions: Take into account the natural soil conditions in your area. If your native soil is sandy or heavy clay, you may need to adjust your soil mix accordingly. Incorporating native soil along with organic matter can help improve soil structure and drainage.
- Purchase Pre-made Soil Mix: If you prefer a convenient option, you can purchase pre-made soil mixes from garden centers or nurseries. These mixes are specially formulated for raised beds and container gardening, ensuring proper drainage and nutrient content.
- Mix and Fill the Beds: Once you have selected or prepared your soil mix, thoroughly mix it together to ensure uniform distribution of nutrients and amendments. Fill your raised garden beds with the soil mix, leaving some space at the top to allow for settling and watering.
- Level and Amend Soil (optional): Use a garden rake or trowel to level the soil surface in your raised garden beds. If needed, make any amendments based on the specific requirements of the plants you intend to grow. For example, adding lime to adjust the pH or incorporating additional organic matter to improve soil fertility.
Choosing the right soil mix is crucial for providing your plants with the optimal growing conditions in your raised garden beds. Once you have filled the beds with the soil mix, you are now ready for the next step: mulching the raised garden beds.
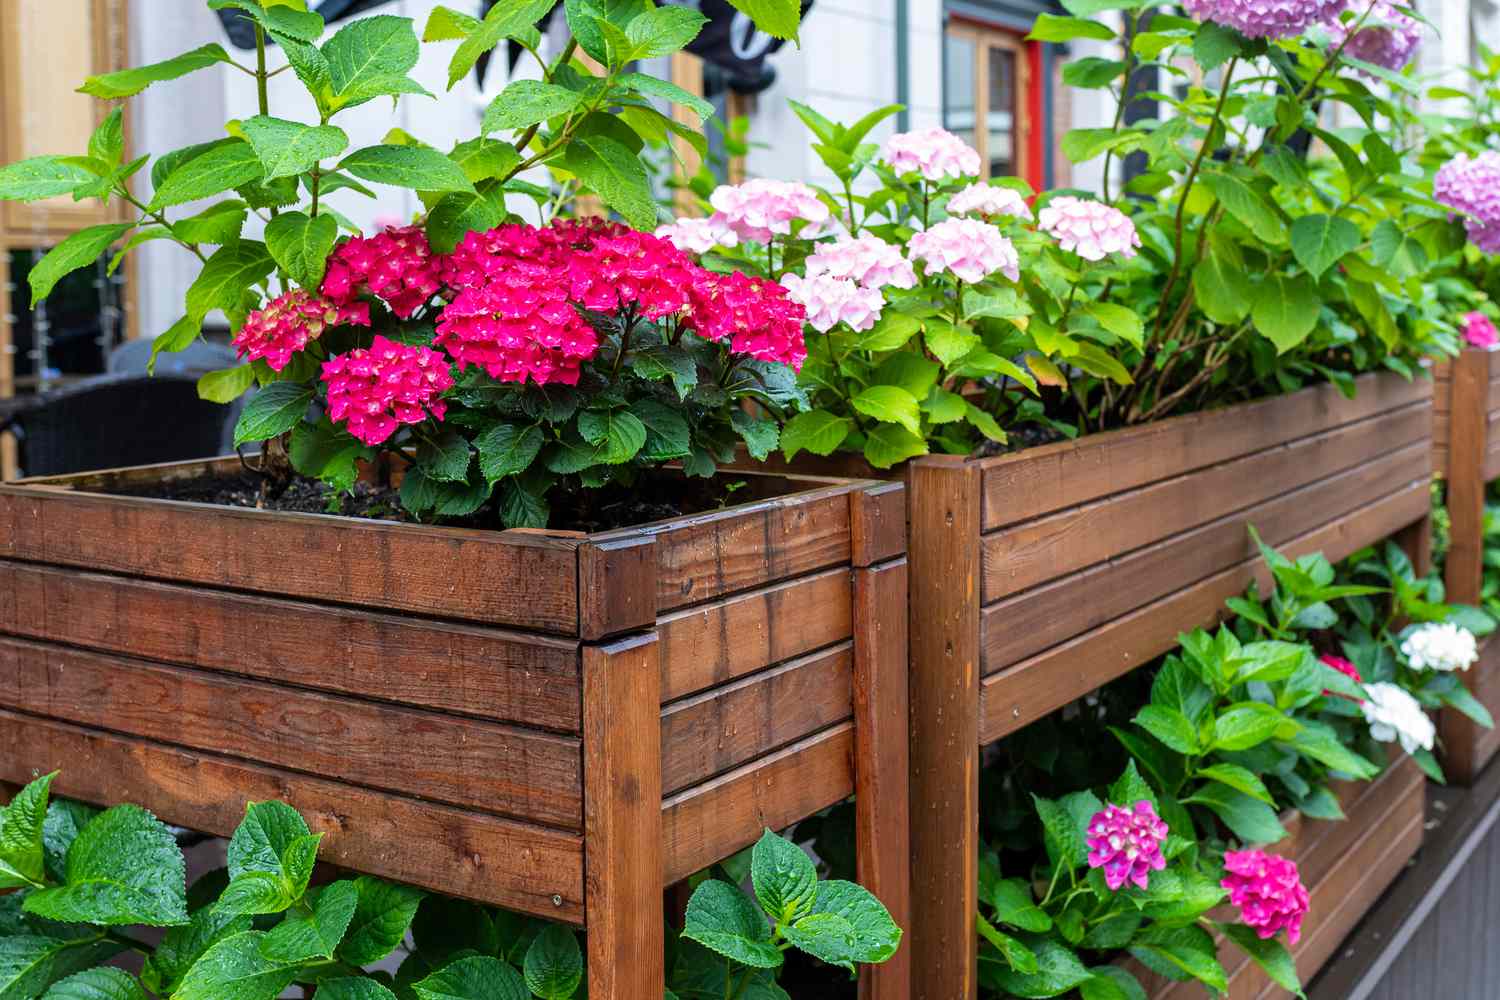
Step 5: Mulching the Raised Garden Beds
Mulching your raised garden beds offers numerous benefits, including weed suppression, moisture retention, and temperature regulation. It also helps to improve soil health and prevent erosion. Follow these steps to effectively mulch your raised garden beds:
- Choose the Right Mulch: There are various types of mulch available, including organic mulch (such as straw, wood chips, or shredded leaves) and inorganic mulch (such as plastic or landscape fabric). Select a mulch that suits your gardening preferences and the needs of your plants.
- Clean the Soil Surface: Before applying mulch, remove any weeds, rocks, or debris from the soil surface. This will create a clean and clear area for the mulch to be spread evenly.
- Apply a Layer of Mulch: Spread a layer of mulch onto the soil surface around your plants in the raised garden beds. Aim for a thickness of about 2-3 inches for organic mulch and adjust accordingly for different types of mulch. Avoid piling the mulch directly against the stems or trunk of plants, as this can create a moist environment that may lead to rot or disease.
- Avoid Over-Mulching: While mulch is beneficial, it is important to avoid over-mulching. Excessive mulch can lead to moisture retention problems or restrict airflow to the soil. Stick to the recommended thickness to maintain a healthy balance.
- Leave Space around the Stem: Create a small gap around the base of each plant to allow for air circulation and prevent the mulch from touching the stem. This helps prevent moisture-related issues and provides protection against pests or diseases.
- Replenish Mulch as Needed: Over time, organic mulch breaks down and decomposes. Periodically check the mulch layer in your raised garden beds and replenish it as needed to maintain the desired thickness and benefits.
- Monitor and Adjust: Observe the mulched areas regularly and make adjustments as necessary. Check for signs of excessive moisture, fungal growth, or any negative effects on plant health. Mulch should enhance plant growth, so make any necessary adjustments to ensure a healthy growing environment.
By mulching your raised garden beds, you create a protective barrier that helps retain moisture, suppress weeds, and maintain a favorable growing environment for your plants. With the beds mulched, you can now focus on setting up an irrigation system to ensure efficient and consistent watering. This will be covered in the next step.
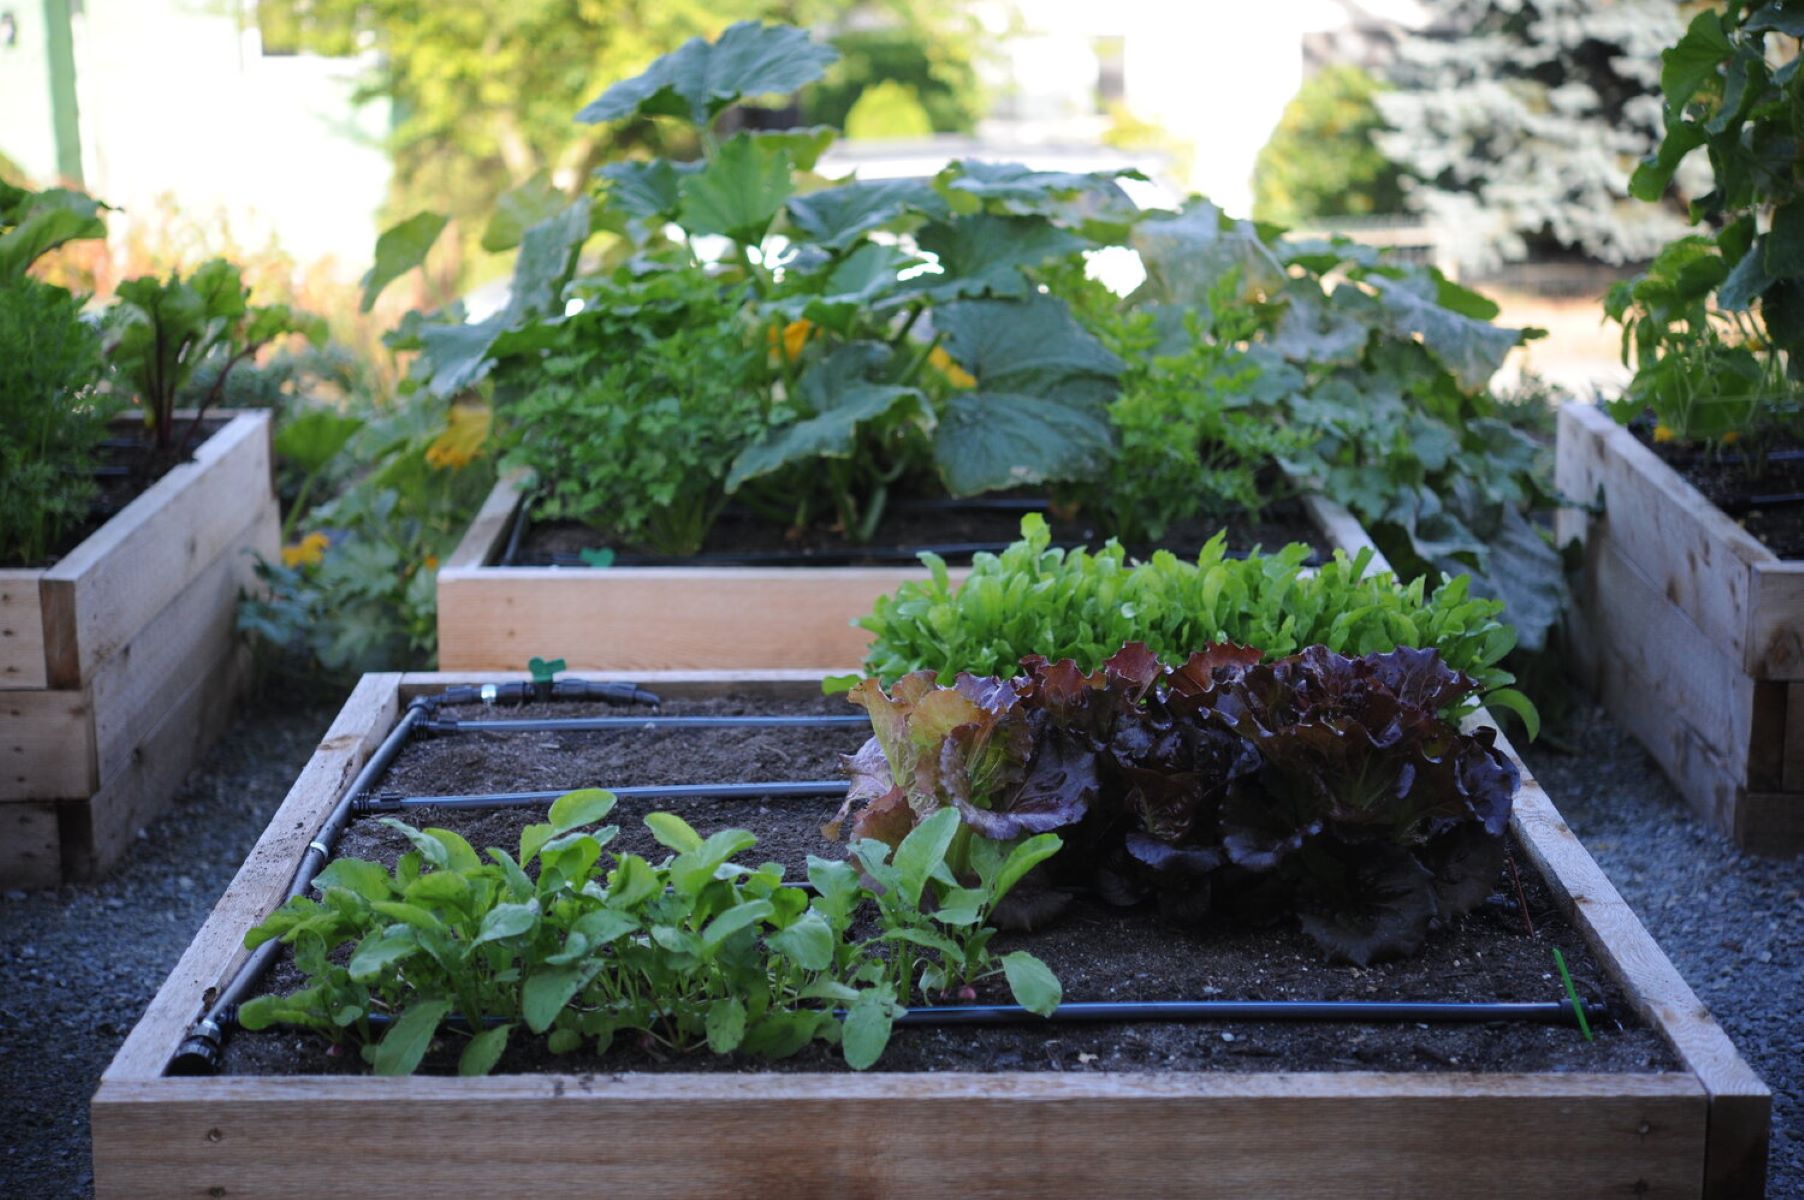
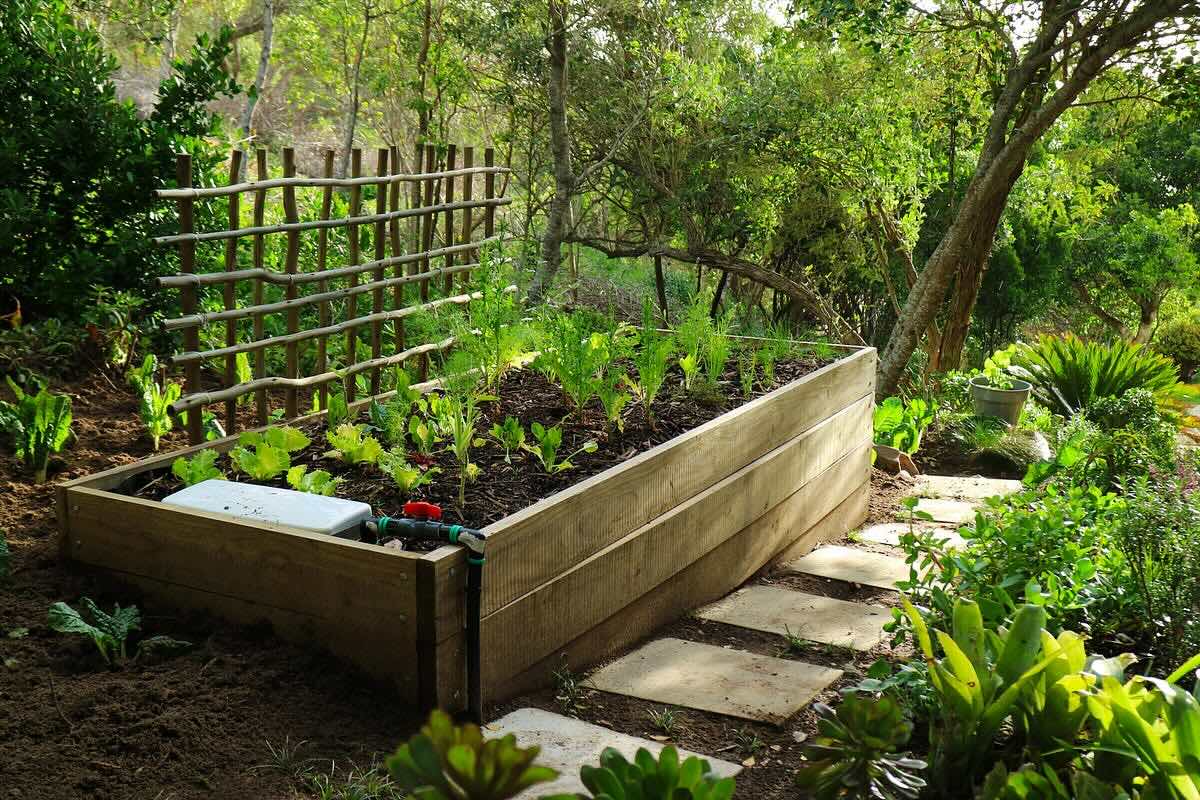
Step 6: Setting Up Irrigation System
An efficient and effective irrigation system is essential for maintaining the proper moisture levels in your raised garden beds. It ensures that your plants receive the necessary amount of water without over- or under-watering. Follow these steps to set up an irrigation system for your raised garden beds:
- Evaluate Your Water Source: Assess the water source available for your garden beds, such as an outdoor faucet, rainwater collection system, or well. Determine the water pressure and flow rate to select the appropriate irrigation system.
- Choose an Irrigation Method: There are several irrigation methods to consider, such as drip irrigation, soaker hoses, or sprinkler systems. Each has its advantages and suitability for different garden setups. Drip irrigation is often preferred for raised garden beds as it delivers water directly to the roots with minimal water loss.
- Plan the Layout: Determine the placement and layout of the irrigation system within your raised garden beds. Consider factors such as the number of beds, spacing between plants, and water requirements of different crops. Ensure that the irrigation system covers the entire bed surface evenly.
- Assemble the System: Follow the manufacturer’s instructions to assemble the chosen irrigation system. Connect the necessary components, such as the mainline tubing, fittings, emitters, or sprinkler heads. Test the system before installation to ensure it is functioning properly.
- Install the System: Place the mainline tubing along the length of your raised garden beds, securing it in place with stakes or clips. Connect the emitters or sprinkler heads to the mainline tubing, positioning them near the base of plants for targeted watering.
- Adjust and Fine-Tune: Once your irrigation system is installed, test it to ensure proper coverage and adjust as needed. Fine-tune the water flow rate, pressure, and placement of emitters or sprinkler heads to ensure each plant receives adequate water.
- Set a Watering Schedule: Develop a watering schedule based on the specific needs of your plants, taking into consideration factors such as weather, season, and soil moisture levels. Ideally, aim for deep, infrequent watering sessions to encourage deeper root growth.
- Monitor and Maintain: Regularly monitor your irrigation system to ensure it is working effectively. Check for leaks, clogged emitters, or any other issues that may arise. Clean and maintain the system as needed to optimize its performance.
By setting up an irrigation system, you can streamline the watering process for your raised garden beds, ensuring consistent moisture levels and maximizing the efficiency of water usage. With the irrigation system in place, you can now move on to the final step: establishing a watering routine and implementing tips for maintaining healthy raised garden beds.
Step 7: Watering Routine and Tips for Raised Garden Beds
A proper watering routine is crucial for the health and productivity of your plants in raised garden beds. Follow these steps and tips to establish an effective watering routine and maintain optimal moisture levels:
- Observe Your Plants: Different plants have different water requirements. Observe your plants closely and learn to recognize signs of water stress, such as wilting leaves, dry soil, or stunted growth. This will help you determine when and how much to water.
- Water Deeply: When watering, aim for deep penetration rather than surface-level wetting. This encourages deeper root growth and helps plants withstand dry periods. Water until the soil is moist, but not waterlogged.
- Water at the Right Time: Water your raised garden beds early in the morning or in the evening when temperatures are cooler. This reduces water loss due to evaporation and allows plants to absorb water more efficiently.
- Avoid Overwatering: Overwatering can lead to root rot, nutrient leaching, and plant diseases. Stick to a watering routine based on the needs of your plants and the moisture levels in the soil.
- Use Mulch: Mulching your raised garden beds helps retain moisture by reducing evaporation from the soil surface. This means you can water less frequently while still maintaining adequate moisture levels.
- Check Soil Moisture: Regularly check the moisture levels of the soil in your raised garden beds. Insert your finger or a moisture meter into the soil to determine if watering is needed. Avoid relying solely on surface appearance, as the top layer may dry out faster than the deeper soil.
- Consider Microclimate Factors: Take into account the microclimate of your garden, including factors like sun exposure, wind, and humidity. These factors can affect the water needs of your plants and may require adjustments to your watering routine.
- Adjust Watering Schedule: Modify your watering schedule based on seasonal changes, weather patterns, and the growth stage of your plants. Plants generally require less water during cooler months and more water during hot and dry periods.
- Consider Self-Watering Systems: If you prefer a low-maintenance option, consider using self-watering systems or drip irrigation systems with timers. These systems can automatically provide water to your raised garden beds based on a preset schedule, ensuring consistent and efficient watering.
- Monitor and Evaluate: Continuously monitor and evaluate the moisture levels and overall health of your plants. Adjust your watering routine as needed to provide optimal conditions for your plants’ growth and well-being.
Establishing a watering routine and following these tips will help you maintain healthy and thriving plants in your raised garden beds. By providing the right amount of water at the right time, you will encourage robust growth, prevent water-related issues, and enjoy the rewards of a flourishing garden.
Now that you have completed all the steps for setting up a drainage and watering system for your raised garden beds, your garden is ready for successful growth and abundant harvests. Happy gardening!
Remember, gardening is both an art and a science, so don’t be afraid to experiment and adapt these steps to best suit your specific gardening needs and conditions.
Conclusion
Setting up a drainage and watering system for your raised garden beds is essential for maintaining healthy and productive plants. By following the steps outlined in this guide, you can ensure optimal moisture control, prevent waterlogging, and provide your plants with the necessary conditions for growth and success.
During the process, you learned the importance of choosing the right location for your raised garden beds, building the beds themselves, and installing a proper drainage system. You also discovered the significance of selecting the right soil mix, mulching the beds, and setting up an efficient irrigation system. Finally, you gained insight into establishing a watering routine and implementing useful tips to maintain ideal moisture levels in your garden.
Remember, gardening is a continual learning process, and each garden is unique. Pay attention to the specific needs of your plants, observe their responses, and make adjustments as necessary. With time and experience, you will develop a deeper understanding of your garden’s requirements and become even more adept at maintaining the health and vitality of your raised garden beds.
So, grab your gardening tools, put your newfound knowledge into practice, and enjoy the beauty and abundance that your raised garden beds will provide. Happy gardening!
Frequently Asked Questions about How To Set Up Drainage And Watering System For Raised Garden Beds
Was this page helpful?
At Storables.com, we guarantee accurate and reliable information. Our content, validated by Expert Board Contributors, is crafted following stringent Editorial Policies. We're committed to providing you with well-researched, expert-backed insights for all your informational needs.


0 thoughts on “How To Set Up Drainage And Watering System For Raised Garden Beds”