Home>Gardening & Outdoor>Landscaping Ideas>How To Set Up A Raised Garden Bed
Landscaping Ideas
How To Set Up A Raised Garden Bed
Modified: August 30, 2024
Learn how to set up a raised garden bed with our expert landscaping ideas. Create a beautiful and functional garden space with our step-by-step guide.
(Many of the links in this article redirect to a specific reviewed product. Your purchase of these products through affiliate links helps to generate commission for Storables.com, at no extra cost. Learn more)
Introduction
Setting up a raised garden bed is an excellent way to elevate your gardening experience. Whether you're a seasoned gardener or a novice with a green thumb, a raised garden bed offers numerous benefits. It provides better drainage, prevents soil compaction, and offers a more comfortable gardening experience by reducing the need to bend or kneel. Additionally, raised garden beds can extend the growing season, making it possible to cultivate a wider variety of plants.
In this comprehensive guide, we will walk you through the step-by-step process of setting up your own raised garden bed. From choosing the perfect location to planting your favorite flowers or vegetables, you'll learn everything you need to know to create a thriving garden oasis.
By following these steps, you'll be able to customize the size and shape of your garden bed to suit your space and preferences. Whether you have a spacious backyard or a compact urban patio, a raised garden bed can be tailored to fit your needs. Not only does it provide a practical solution for limited gardening space, but it also adds a touch of visual appeal to your outdoor area.
As we delve into the details of each step, you'll discover the joy of creating a personalized garden bed that reflects your unique style and preferences. Whether you envision a vibrant flower garden or a bountiful vegetable patch, a raised garden bed offers a versatile canvas for your gardening aspirations.
So, roll up your sleeves, grab your gardening gloves, and let's embark on this enriching journey of setting up a raised garden bed. Get ready to experience the satisfaction of nurturing your plants in a purposefully constructed garden bed that will yield a bountiful harvest and bring joy to your gardening endeavors.
Key Takeaways:
- Setting up a raised garden bed is a fun and rewarding way to grow plants. It’s like creating a special home for your plants, where they can thrive and bring joy to your garden.
- Choosing the right location, gathering materials, building the frame, filling with soil, and planting your garden are the key steps to create a beautiful and productive raised garden bed. It’s like crafting a cozy and colorful home for your plants to grow happily.
Read more: What Is A Raised Garden Bed
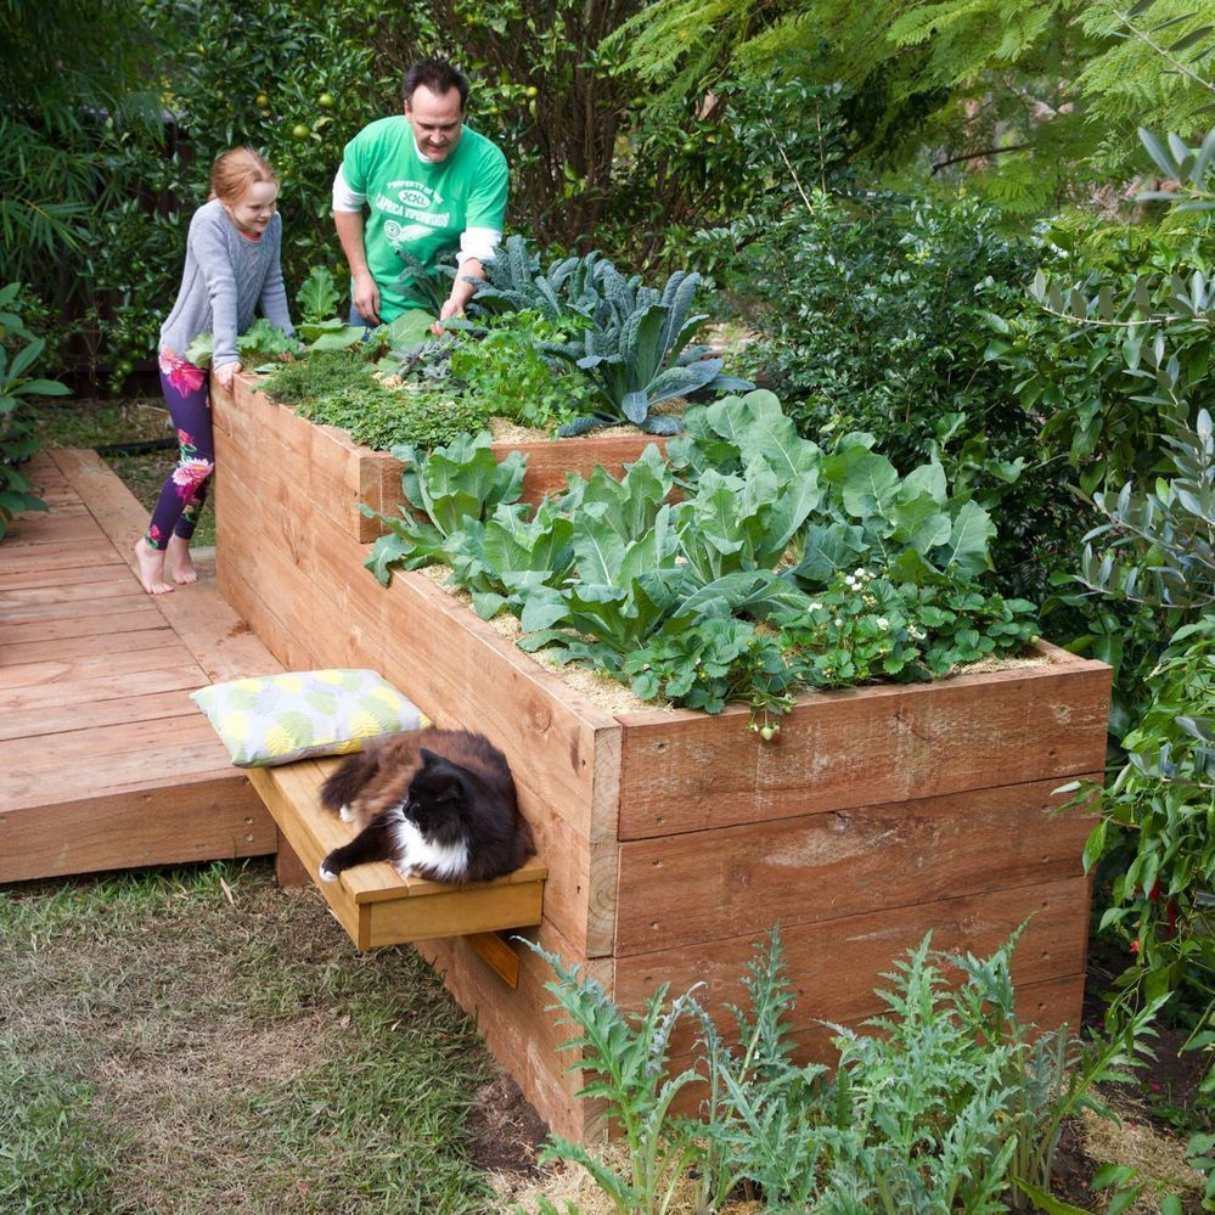
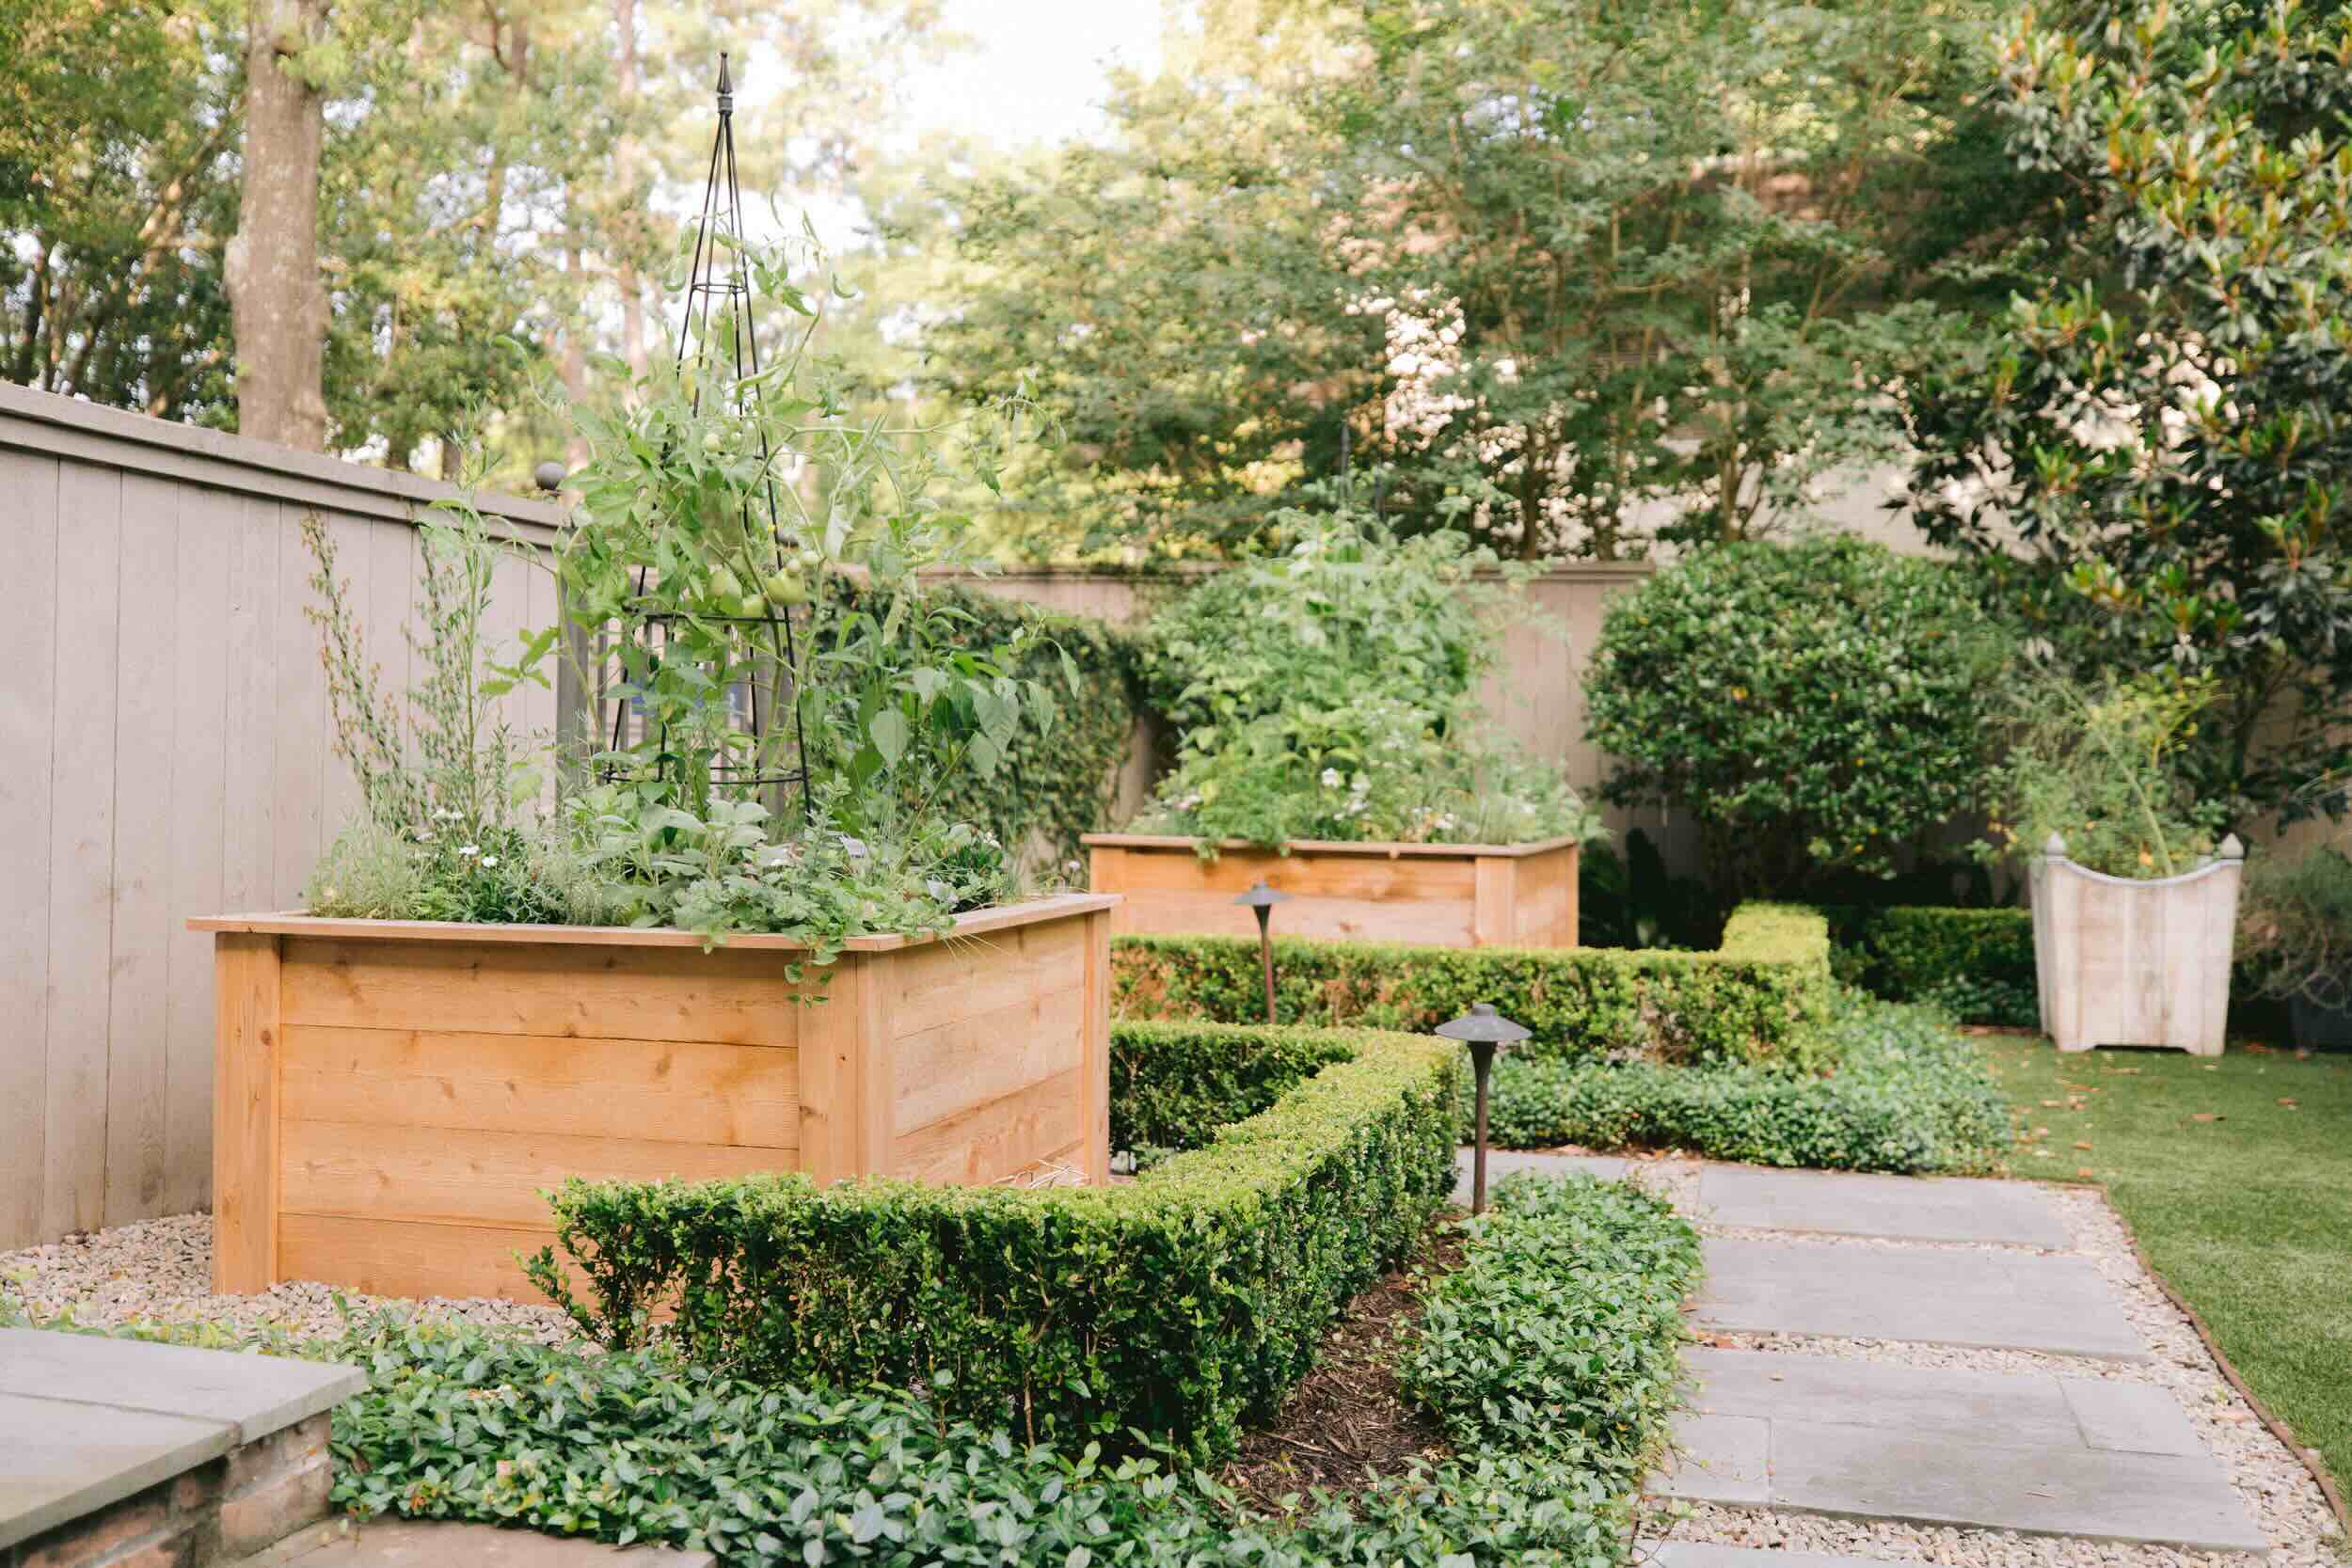
Step 1: Choose the Location
Selecting the ideal location for your raised garden bed is a crucial first step in creating a thriving and productive garden space. The chosen spot should receive an adequate amount of sunlight, typically at least six hours per day, to ensure the healthy growth of your plants. Additionally, it's essential to consider the accessibility of the location, as you'll want to easily tend to your garden without encountering obstacles.
When assessing potential locations, take note of the existing landscape and environmental factors. Ensure that the area is relatively level, as this will facilitate the construction and stability of the garden bed. It's also beneficial to choose a spot with good drainage to prevent waterlogging, which can be detrimental to plant roots.
Consider the proximity of the garden bed to a water source, as easy access to water will simplify the watering process and contribute to the overall health of your plants. Furthermore, if you're planning to grow edible plants, such as vegetables or herbs, selecting a location away from potential sources of contamination, such as chemical runoff or pollutants, is essential for producing safe and healthy crops.
In addition to practical considerations, think about the aesthetic appeal of the location. A well-placed garden bed can enhance the visual appeal of your outdoor space, so consider how it will complement the overall landscape and design of your garden.
Lastly, take into account your own convenience and enjoyment. Choosing a location that is easily visible from your home or outdoor living areas allows you to appreciate and monitor the growth of your garden with ease. This can also serve as a source of motivation and satisfaction as you witness the fruits of your labor taking shape.
By carefully considering these factors, you can select a location that not only meets the practical needs of your plants but also enhances the beauty and functionality of your outdoor space. With the perfect location chosen, you're ready to move on to the next step in setting up your raised garden bed.
Step 2: Gather Materials
To embark on the construction of your raised garden bed, you'll need to gather the essential materials and tools. The following list outlines the items required to build a sturdy and enduring garden bed:
Materials:
-
Lumber: Select high-quality, untreated lumber to construct the frame of your garden bed. Cedar and redwood are popular choices due to their natural resistance to decay and insects. The dimensions of the lumber will depend on the size of the garden bed you intend to build.
-
Fasteners: Choose corrosion-resistant screws or galvanized nails to secure the lumber and ensure the structural integrity of the garden bed.
-
Landscape Fabric: This will be used to line the bottom of the garden bed, preventing weeds from growing up into the soil while still allowing for proper drainage.
-
Soil: Acquire a high-quality soil mix suitable for the types of plants you plan to grow. Consider a blend of topsoil, compost, and other organic matter to provide a nutrient-rich environment for your plants.
-
Compost: If you're aiming to enrich the soil and promote healthy plant growth, incorporating compost into the soil mix is highly beneficial.
-
Mulch: Mulch helps retain moisture, suppresses weed growth, and regulates soil temperature. Organic mulches, such as wood chips or straw, are excellent choices.
-
Gloves and Safety Gear: Ensure you have protective gloves and any necessary safety gear, such as goggles or a dust mask, for handling materials and tools.
Tools:
-
Measuring Tape: Accurate measurements are essential for constructing a well-proportioned and stable garden bed.
-
Saw: A handsaw or power saw will be required to cut the lumber to the desired lengths.
-
Drill or Hammer: Depending on the fasteners you choose, a drill with appropriate bits or a hammer may be necessary for securing the lumber.
-
Level: To ensure the garden bed is even and well-balanced, a level will be indispensable during the construction process.
-
Shovel or Garden Fork: These tools are essential for mixing and amending the soil within the garden bed.
-
Wheelbarrow or Garden Cart: Transporting soil, compost, and other materials will be more manageable with the assistance of a wheelbarrow or garden cart.
By gathering these materials and tools, you'll be well-equipped to proceed with the construction of your raised garden bed. With careful planning and attention to detail, you can create a durable and functional garden bed that will provide a nurturing environment for your plants to thrive.
Read more: Why A Raised Garden Bed
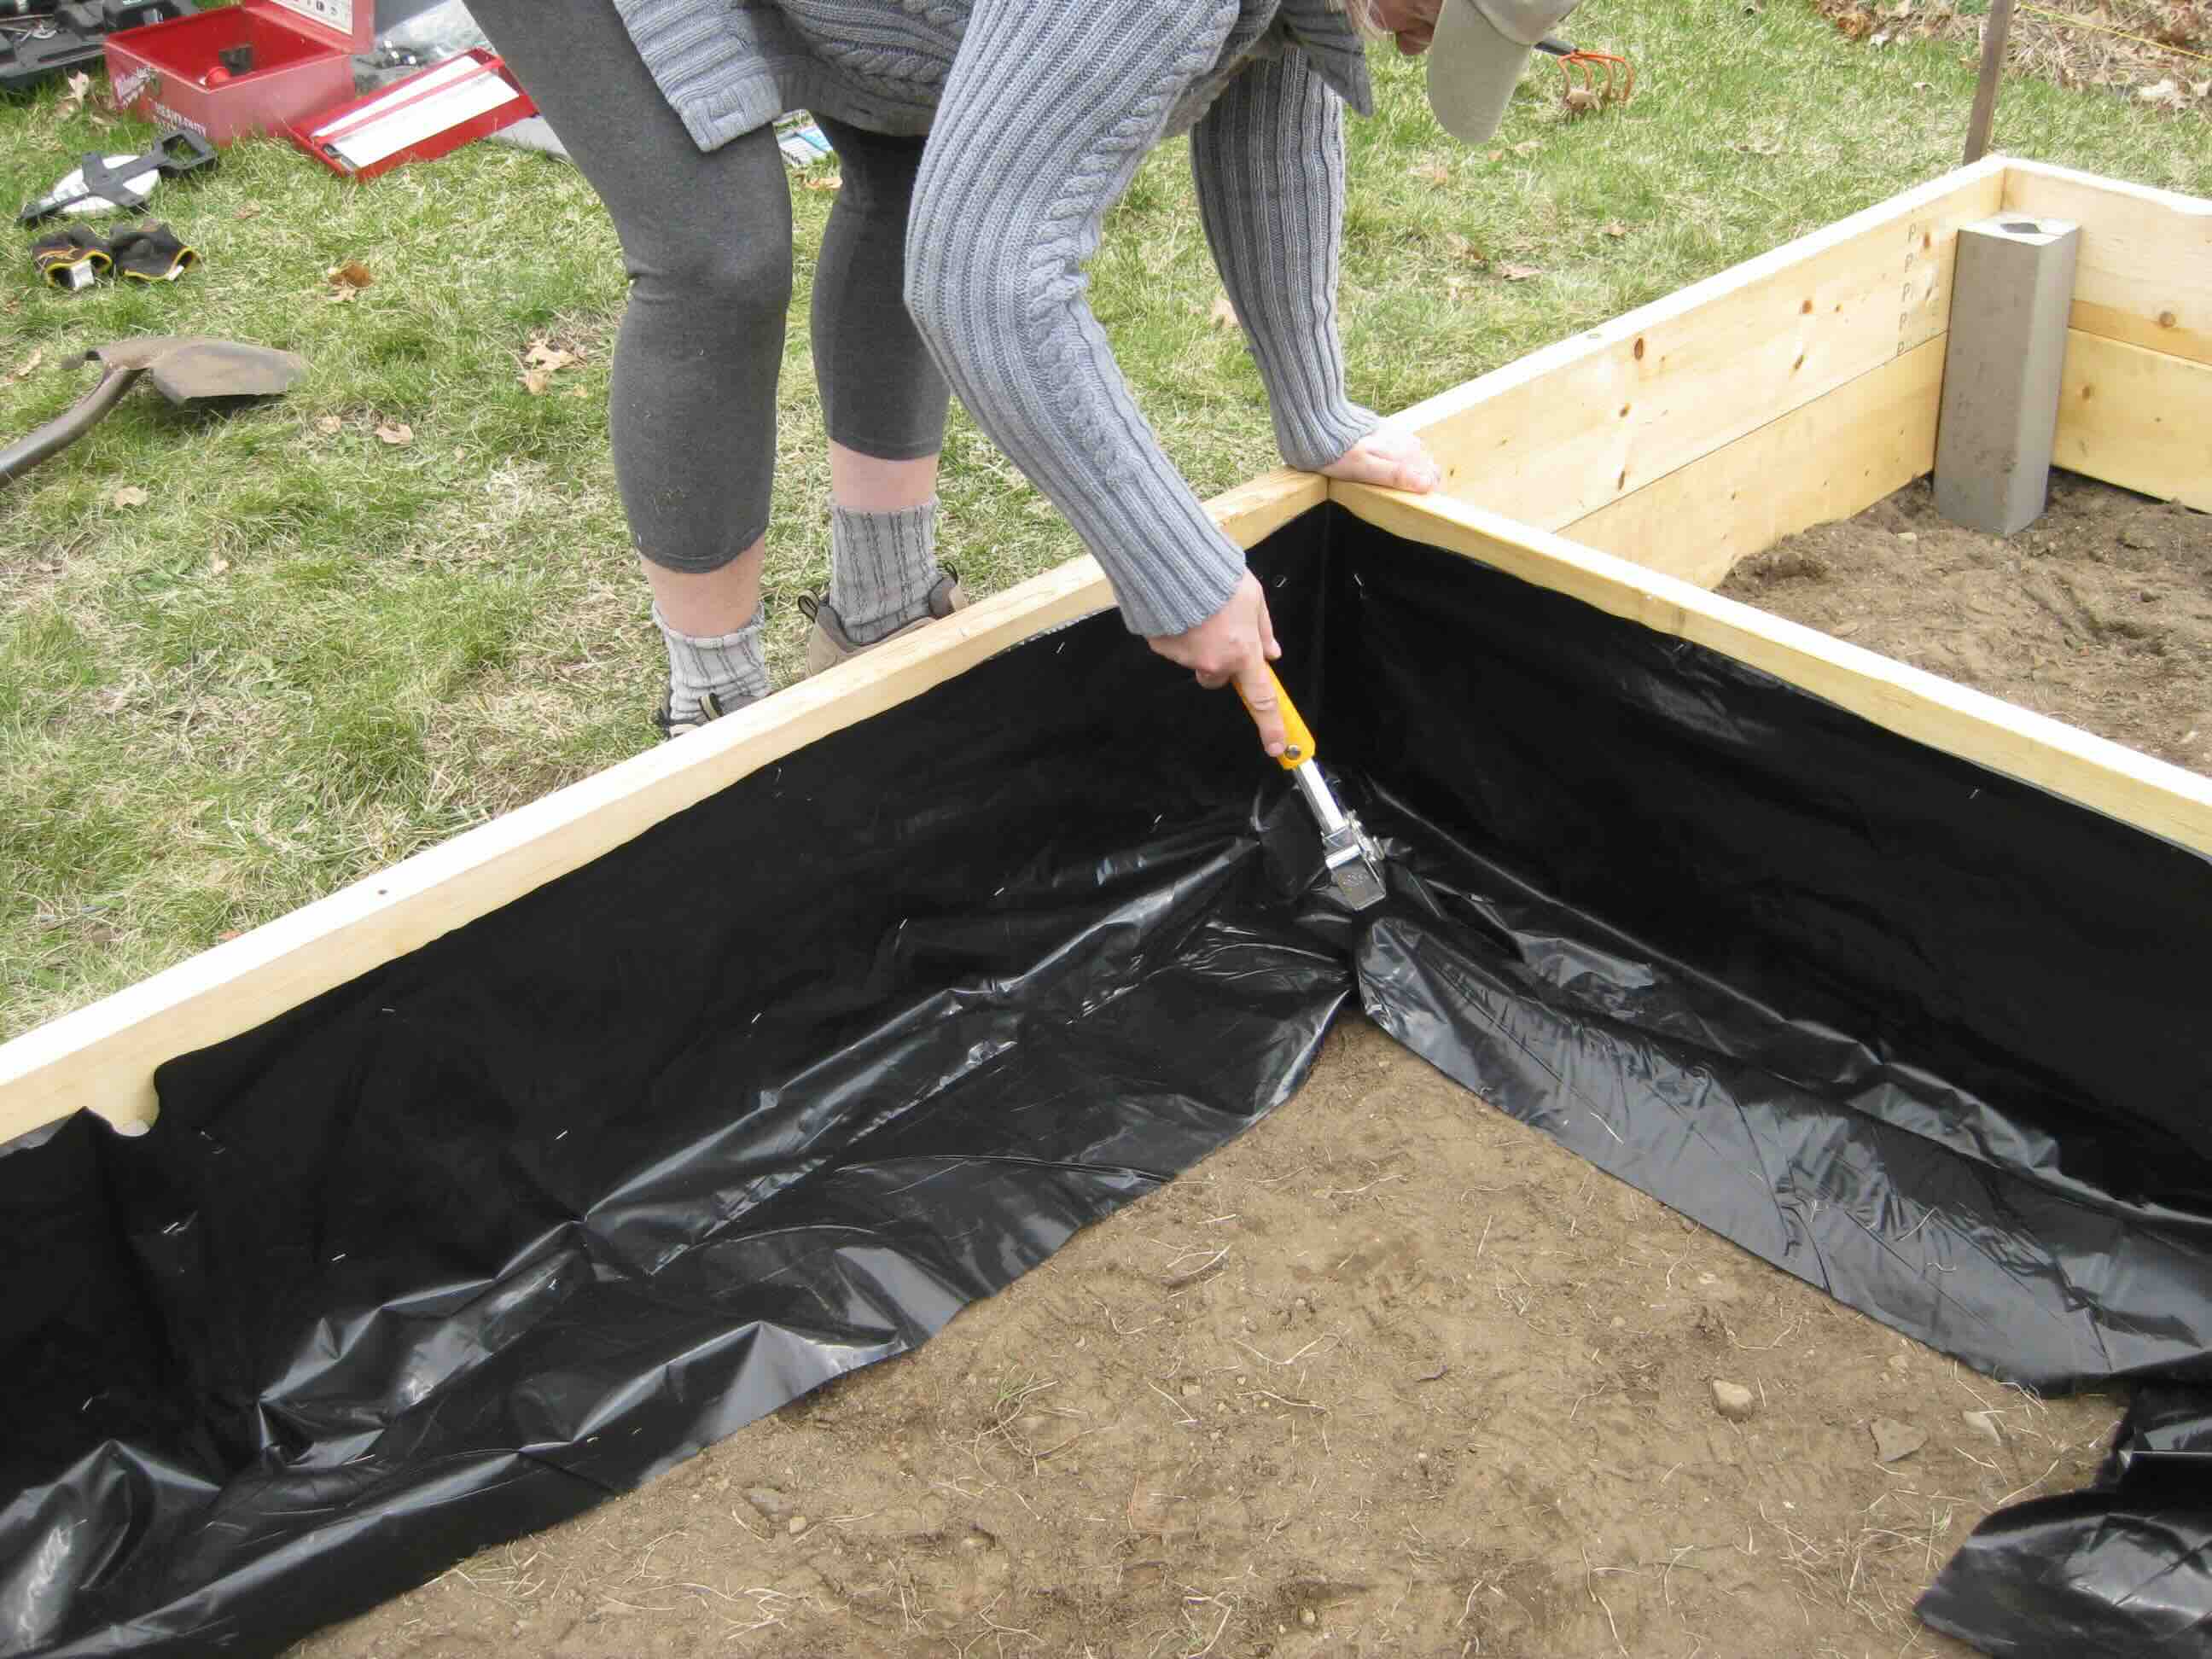
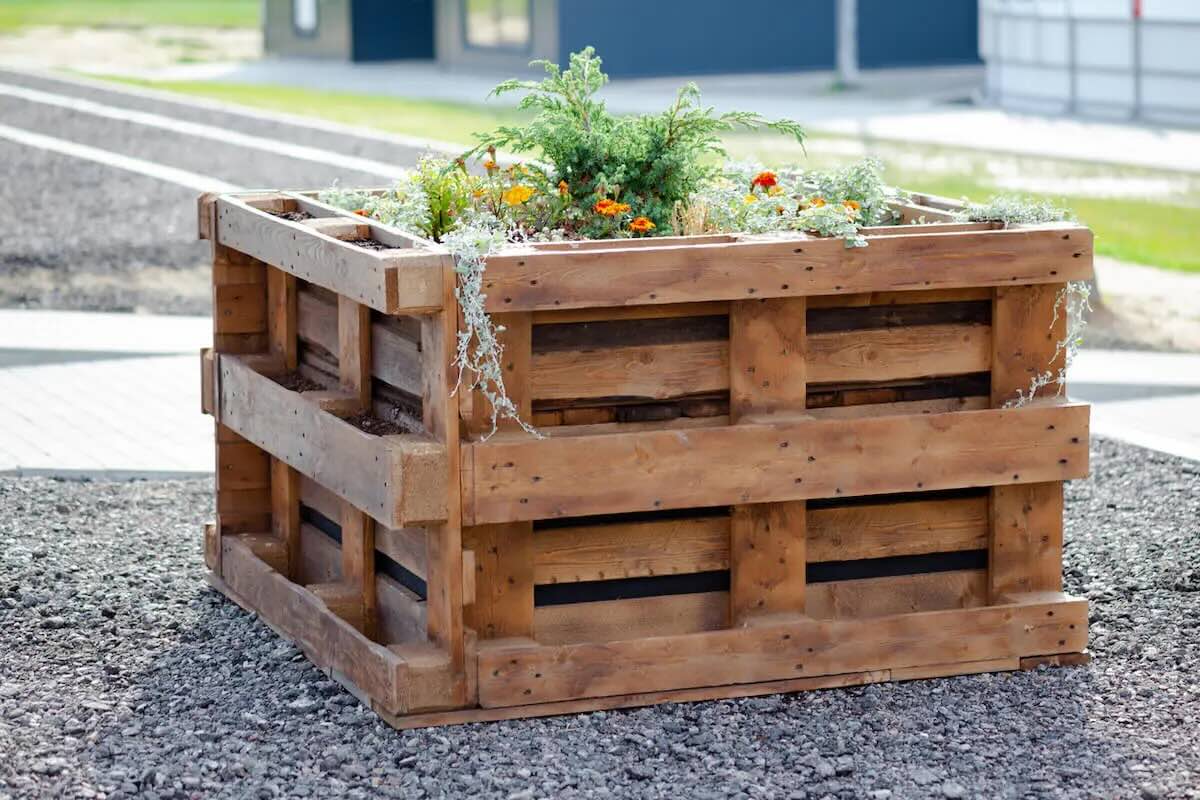
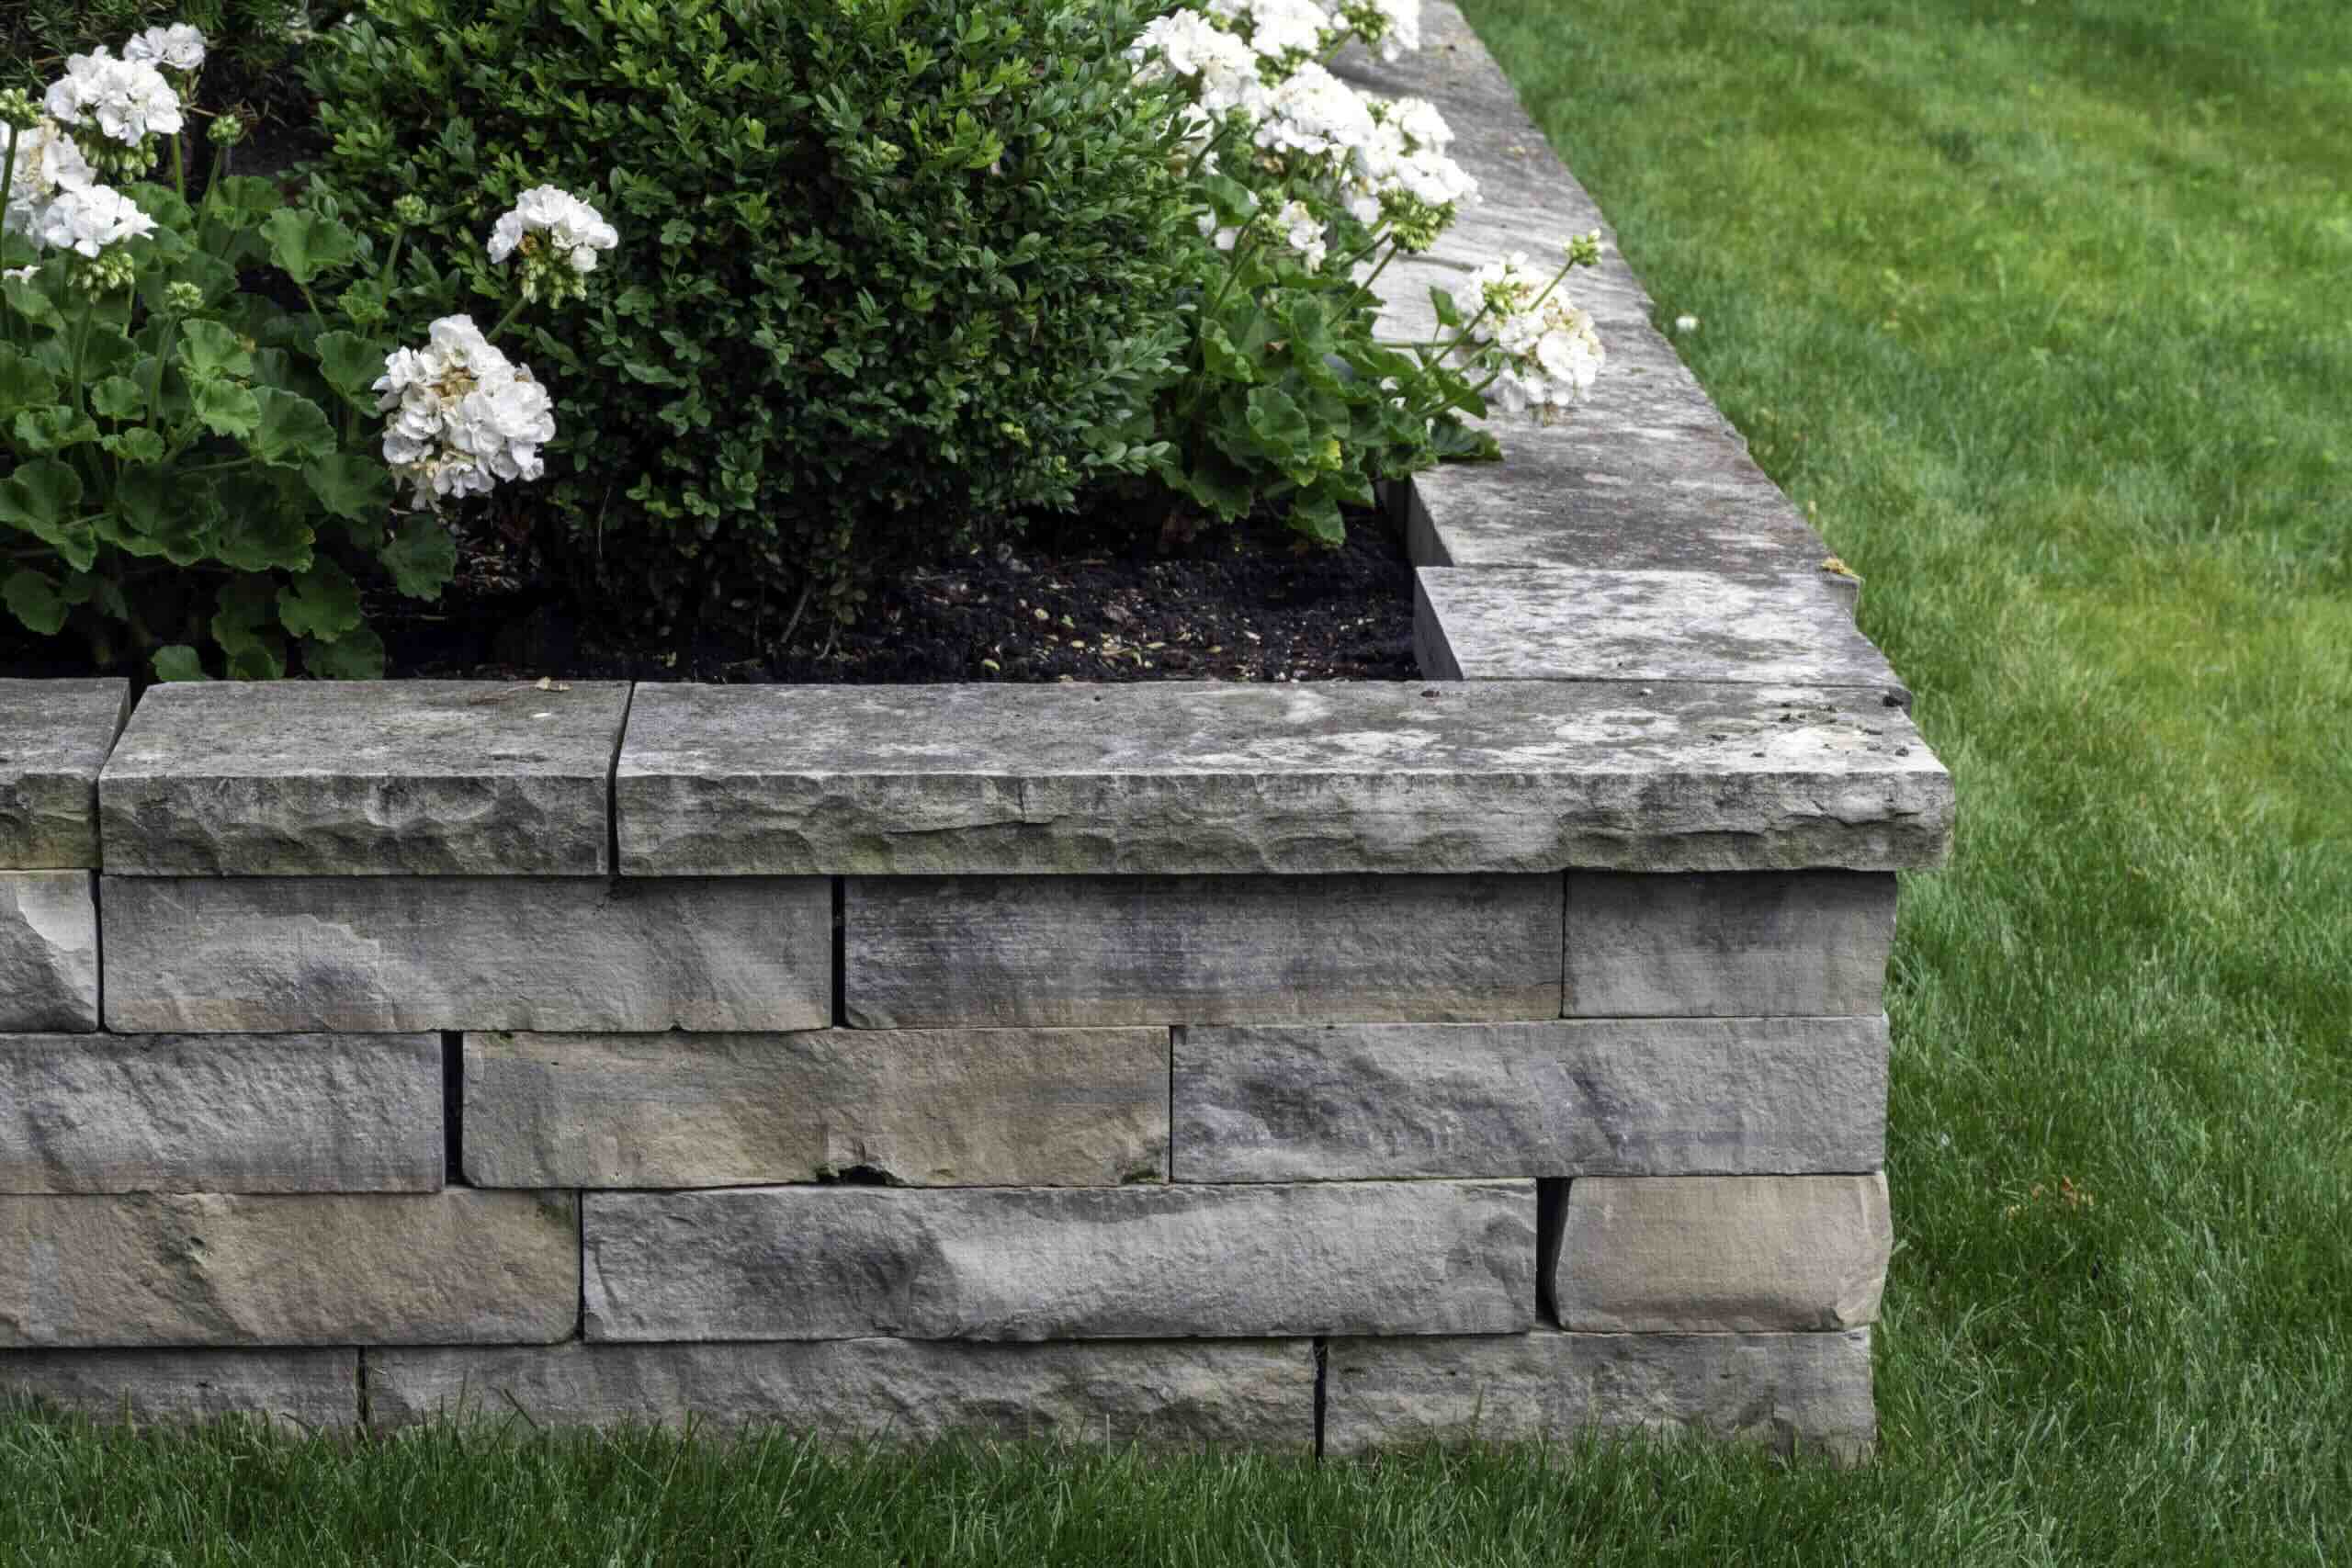
Step 3: Build the Frame
Constructing the frame of your raised garden bed is a pivotal stage that lays the foundation for the overall structure and stability of the garden bed. Follow these steps to build a durable and well-proportioned frame:
-
Cut the Lumber: Begin by cutting the lumber to the desired lengths based on the dimensions of your garden bed. Use a measuring tape to ensure accuracy, and a saw to make clean, precise cuts. If you're using multiple pieces of lumber to create the sides of the frame, ensure that the corners will align seamlessly when assembled.
-
Assemble the Sides: Arrange the cut lumber to form the perimeter of the garden bed. Depending on your design, you may opt for a simple rectangular shape or explore more intricate designs. Use fasteners such as screws or nails to securely join the corners and create a sturdy frame. A level will be indispensable in ensuring that the frame is even and well-balanced.
-
Line the Bottom: Once the frame is assembled, line the bottom with landscape fabric. This will help prevent weeds from encroaching into the garden bed while still allowing for proper drainage. Trim any excess fabric to ensure a neat and tidy appearance.
-
Add Corner Braces (Optional): For added reinforcement, consider installing corner braces to fortify the structure of the frame. This step is particularly beneficial for larger garden beds, as it enhances the overall stability and longevity of the construction.
-
Position the Frame: Carefully move the assembled frame to the chosen location in your garden. Ensure that it is positioned on a level surface, making any necessary adjustments to guarantee its stability.
By meticulously following these steps, you can create a robust and well-constructed frame for your raised garden bed. The careful attention to detail during this stage will contribute to the overall durability and functionality of the garden bed, setting the stage for the subsequent steps in the gardening process.
Step 4: Fill with Soil
Filling your raised garden bed with the right soil is a critical step that directly impacts the health and vitality of your plants. The soil serves as the foundation for their growth, providing essential nutrients, proper drainage, and a conducive environment for root development. Here's a detailed guide on how to fill your raised garden bed with soil to create an optimal growing environment for your plants.
Selecting the Soil Mix
Choosing the right soil mix is fundamental to the success of your garden bed. Opt for a high-quality soil blend that offers a balanced combination of nutrients, aeration, and moisture retention. A typical soil mix for raised beds consists of a combination of topsoil, compost, and other organic matter. This blend provides a fertile and well-structured medium for plant roots to thrive.
Layering the Soil
Begin by layering the soil mix into the raised garden bed, ensuring even distribution and thorough coverage. Fill the bed in increments, gently tamping down each layer to eliminate air pockets and promote stability. Aim for a level surface as you add the soil, periodically using a rake or gardening fork to achieve an even distribution.
Read more: How To Seal A Raised Garden Bed
Amending the Soil
Depending on the specific needs of the plants you intend to grow, consider incorporating additional amendments into the soil mix. This may include organic fertilizers, lime, or specific nutrients tailored to the requirements of your chosen plants. Amending the soil enriches its composition, fostering a nutrient-rich environment that supports robust plant growth.
Mulching the Surface
Once the bed is filled with soil, applying a layer of mulch on the surface offers several benefits. Mulch helps retain moisture, suppresses weed growth, and regulates soil temperature, creating a favorable microclimate for your plants. Organic mulches, such as wood chips or straw, are excellent choices for this purpose.
Watering the Soil
After filling the garden bed with soil and applying mulch, thoroughly water the soil to ensure proper hydration and settlement. Adequate watering helps the soil settle and eliminates any remaining air pockets, promoting a stable and conducive environment for plant roots to establish themselves.
By meticulously following these steps and paying attention to the composition and preparation of the soil, you can create an optimal growing environment within your raised garden bed. The carefully curated soil mix, combined with proper layering and amendments, sets the stage for healthy plant development and a flourishing garden.
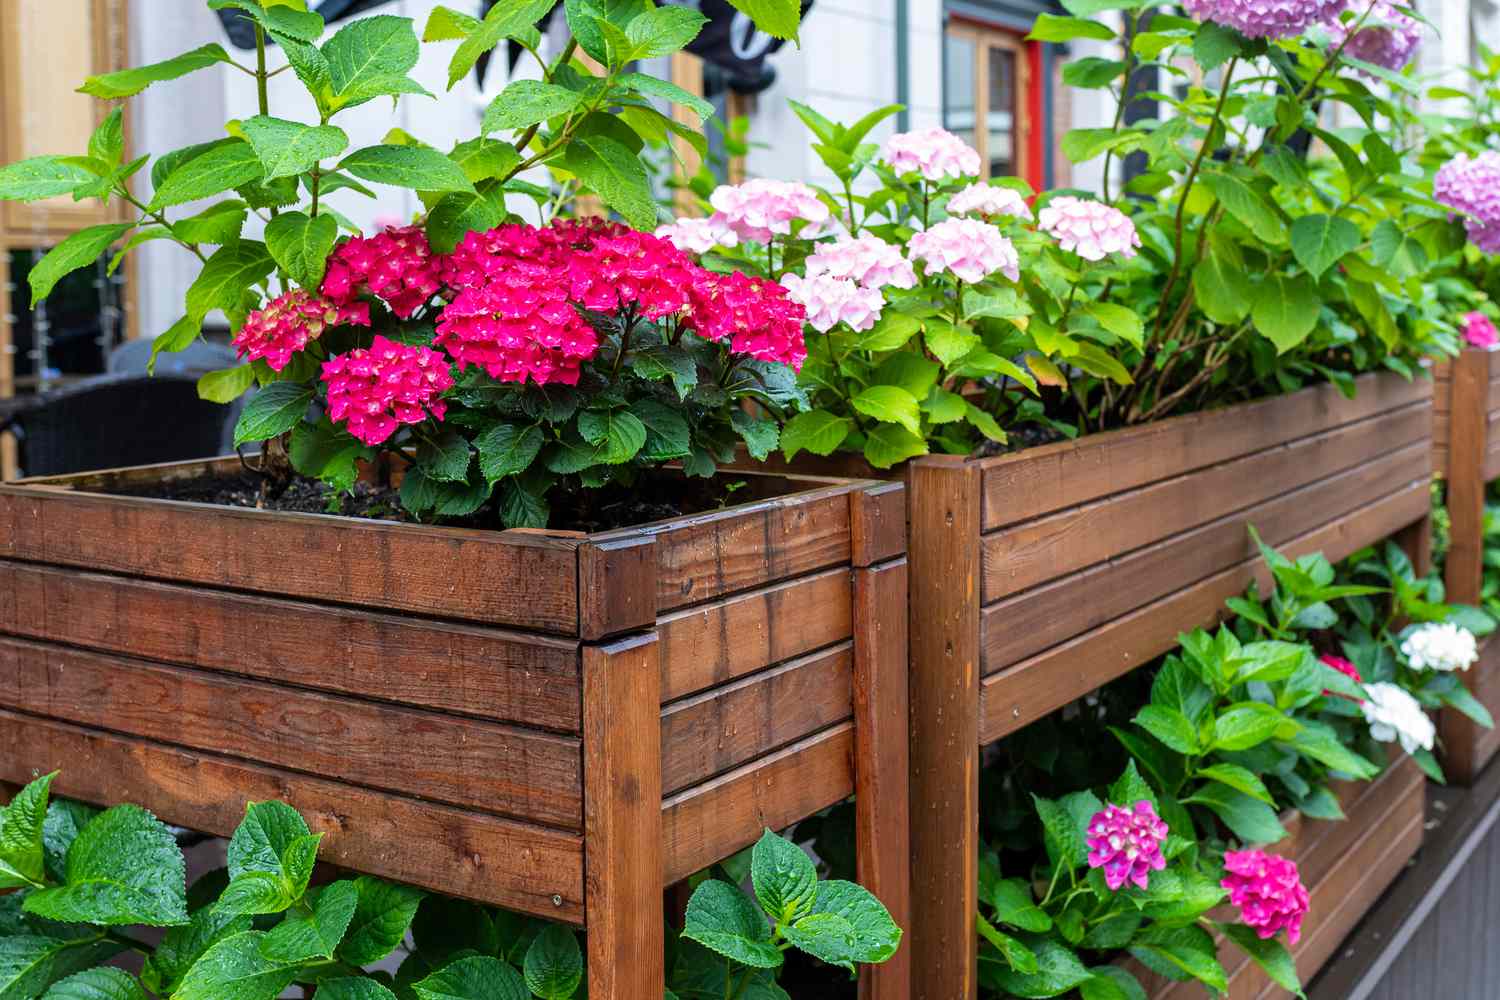
Step 5: Plant Your Garden
With the raised garden bed meticulously prepared, it's time to embark on the exciting phase of planting your garden. This step allows you to bring your vision to life as you carefully select and position your chosen plants within the enriched soil of the garden bed. Whether you're cultivating a vibrant floral display or nurturing a bountiful vegetable harvest, the planting process is where your garden truly takes shape.
Read more: How To Cover A Raised Garden Bed
Selecting Your Plants
Before delving into the physical act of planting, take a moment to consider the selection of plants that will thrive in your raised garden bed. Assess the sunlight and climate conditions of your location, and choose plants that are well-suited to these factors. Whether you opt for colorful annual flowers, perennial shrubs, or a variety of vegetables and herbs, ensure that your selections align with the specific needs of your garden bed.
Planning the Layout
Carefully plan the layout of your garden bed to optimize space and aesthetics. Consider the mature size of the plants, their growth habits, and any potential interactions between different species. Group plants with similar water and sunlight requirements together, and arrange them in a visually appealing manner. This thoughtful approach not only enhances the beauty of your garden but also promotes harmonious growth among the plants.
Planting Techniques
When planting, handle the roots of your chosen plants with care, gently loosening them if they are root-bound. Dig individual holes for each plant, ensuring that they are deep and wide enough to accommodate the root systems. Position the plants at the appropriate depth, backfill the holes with soil, and gently firm the soil around the base of each plant. Water the newly planted garden bed thoroughly to settle the soil and provide essential hydration to the plants.
Caring for Your Garden
After planting, ongoing care is essential to nurture the growth and vitality of your garden. Monitor the moisture levels of the soil, ensuring that it remains consistently moist but not waterlogged. Regularly inspect the plants for signs of pests or diseases, addressing any issues promptly to maintain the health of your garden. As your plants flourish, consider implementing a feeding schedule using organic fertilizers to support their growth and blooming.
Read more: How To Drain A Raised Garden Bed
Enjoying the Fruits of Your Labor
As your garden matures and blooms, take the time to savor the beauty and abundance it brings to your outdoor space. Embrace the joy of witnessing your plants thrive and flourish within the carefully crafted environment of the raised garden bed. Whether you're harvesting homegrown vegetables, delighting in the vibrant colors of your flowers, or simply reveling in the tranquility of your garden oasis, the rewards of your gardening efforts are sure to bring fulfillment and delight.
By following these steps and infusing your personal touch and creativity, you can transform your raised garden bed into a flourishing haven of natural beauty and productivity. With thoughtful plant selection, meticulous planning, and attentive care, your garden will evolve into a captivating and rewarding expression of your gardening passion.
Conclusion
In conclusion, the process of setting up a raised garden bed is a gratifying journey that culminates in the creation of a vibrant and productive garden space. From the initial selection of the perfect location to the meticulous preparation of the soil and the nurturing of thriving plants, every step contributes to the realization of a personalized oasis of natural beauty and abundance.
As you reflect on the journey of establishing your raised garden bed, take pride in the thoughtful considerations that have shaped its creation. The careful selection of the location, taking into account sunlight, accessibility, and environmental factors, has laid the groundwork for a flourishing garden. By choosing a spot that aligns with practical needs and aesthetic appeal, you have set the stage for a visually captivating and functional outdoor space.
The process of gathering materials and constructing the frame of the garden bed has been a testament to your dedication and attention to detail. From selecting high-quality lumber and fasteners to assembling the sturdy frame, each step has contributed to the structural integrity and longevity of the garden bed. The careful planning and execution of this stage have ensured that your garden bed is not only functional but also a visually appealing addition to your outdoor environment.
Filling the garden bed with nutrient-rich soil has been a pivotal step in creating an optimal growing environment for your plants. The meticulous selection and layering of the soil mix, along with thoughtful amendments and mulching, have set the stage for healthy plant development and abundant harvests. The enriched soil serves as a nurturing foundation for your plants, providing essential nutrients and a conducive environment for robust growth.
Finally, the act of planting your garden has brought your vision to life, infusing the raised garden bed with the colors, scents, and flavors of your chosen plants. The thoughtful selection and layout of plants, along with the ongoing care and attention they receive, will ensure that your garden flourishes and evolves into a captivating expression of your gardening passion.
As you embark on this enriching journey of setting up a raised garden bed, may the fruits of your labor bring joy and fulfillment, and may your garden be a source of inspiration and tranquility. Embrace the beauty and abundance that your garden bed offers, and revel in the satisfaction of nurturing a thriving and bountiful outdoor sanctuary. With each season, your raised garden bed will continue to evolve, offering a canvas for your creativity and a haven for nature's splendor.
In the end, the process of setting up a raised garden bed is not just about creating a garden; it's about cultivating a space where nature and creativity intertwine, where the simple act of planting a seed yields a harvest of joy and fulfillment. So, as you embark on this journey, may your raised garden bed become a testament to the beauty and abundance that nature graciously bestows upon those who tend to the earth with care and passion.
Frequently Asked Questions about How To Set Up A Raised Garden Bed
Was this page helpful?
At Storables.com, we guarantee accurate and reliable information. Our content, validated by Expert Board Contributors, is crafted following stringent Editorial Policies. We're committed to providing you with well-researched, expert-backed insights for all your informational needs.


0 thoughts on “How To Set Up A Raised Garden Bed”