Home>Home Security and Surveillance>How Do I Set Up My Arlo Wireless Security System
Home Security and Surveillance
How Do I Set Up My Arlo Wireless Security System
Modified: March 6, 2024
Learn how to set up and install your Arlo wireless security system for home security and surveillance. Keep your property safe with easy step-by-step instructions.
(Many of the links in this article redirect to a specific reviewed product. Your purchase of these products through affiliate links helps to generate commission for Storables.com, at no extra cost. Learn more)
Introduction
Welcome to our comprehensive guide on how to set up your Arlo wireless security system. In today’s digital age, home security and surveillance systems have become increasingly popular, and the Arlo system is known for its advanced features and ease of use. Whether you’re a tech-savvy homeowner or a beginner, this step-by-step guide will walk you through the process of setting up your Arlo system, ensuring that your home remains safe and secure.
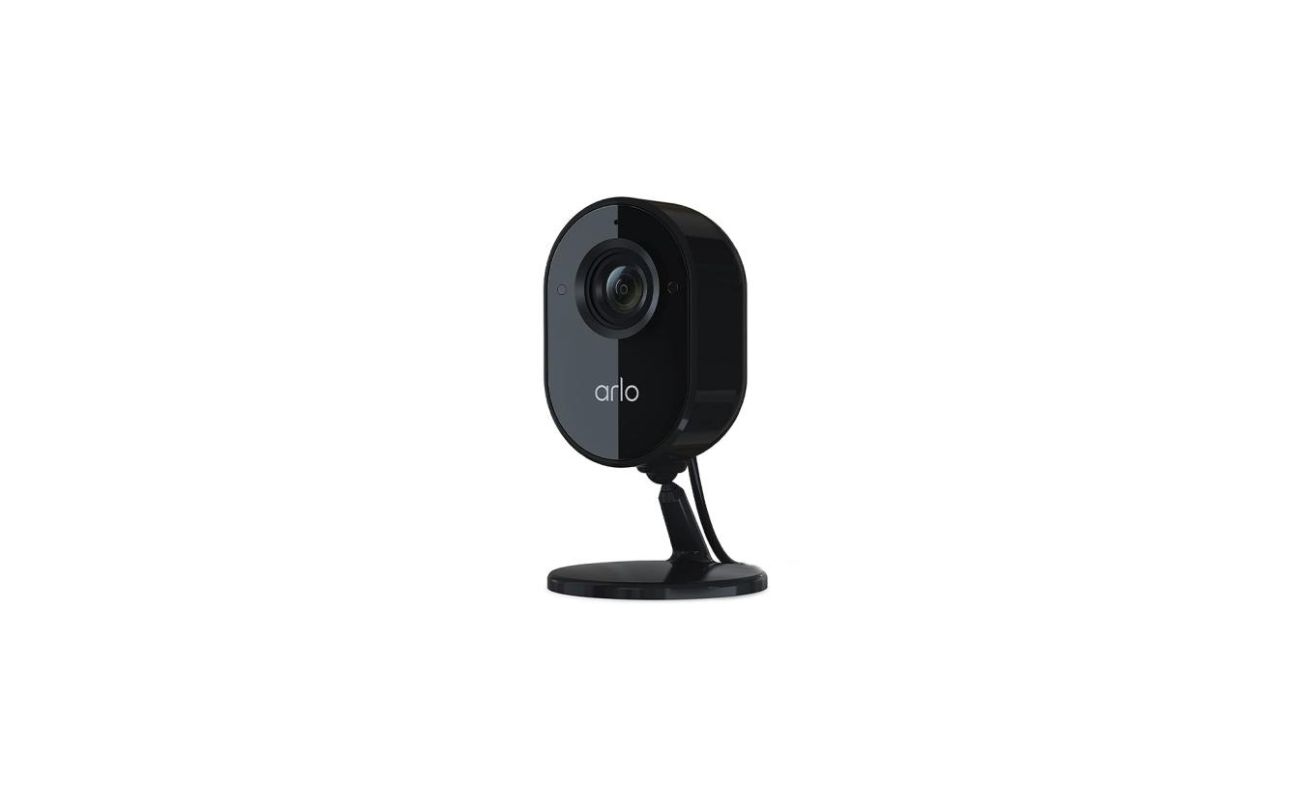
Arlo offers a range of wireless security cameras that can be easily installed both indoors and outdoors, providing you with peace of mind when it comes to protecting your property and loved ones. With features like motion detection, night vision, and two-way audio, the Arlo system offers a comprehensive security solution that can be monitored remotely through a smartphone or computer.
This guide will cover everything from unboxing the Arlo system to positioning and mounting the cameras, configuring the base station settings, and setting up motion detection and alerts. By the end of this guide, you’ll have a fully functional Arlo wireless security system up and running in your home.
Before we dive into the setup process, it’s important to note that the Arlo system requires a stable internet connection and a compatible mobile device or computer. It’s also important to have a clear understanding of your home’s layout and the areas you want to monitor, as this will help you determine the number and placement of the Arlo cameras.
Now, let’s get started with the first step: unboxing the Arlo wireless security system.
Key Takeaways:
- Setting up your Arlo wireless security system is a breeze with this step-by-step guide. From unboxing to positioning the cameras, you’ll have a fully functional system to protect your home and loved ones.
- Customize your Arlo system by configuring motion detection, setting up alerts, and testing its functionality. Enjoy peace of mind knowing your home is monitored with advanced security technology.
Step 1: Unboxing the Arlo Wireless Security System
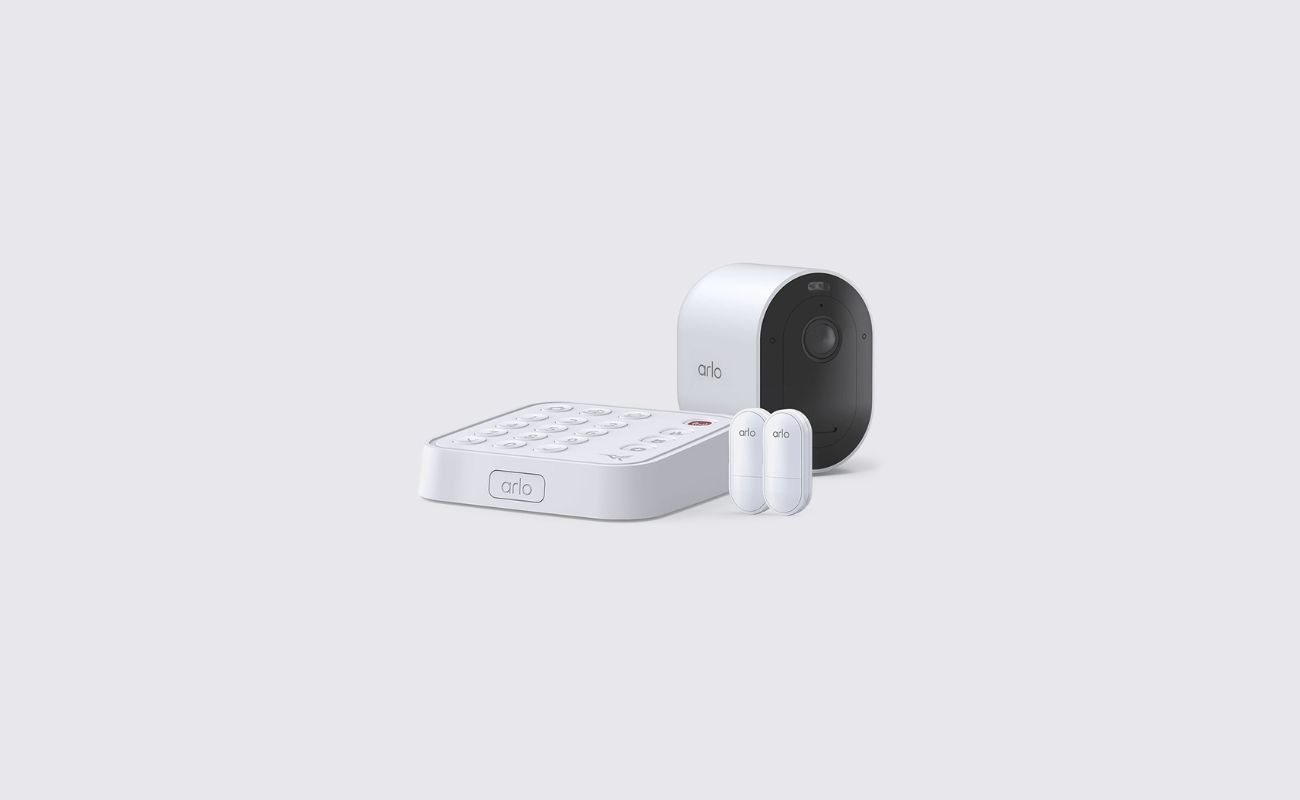
The first exciting step in setting up your Arlo wireless security system is unboxing the package. When you receive your Arlo system, you will find the following components:
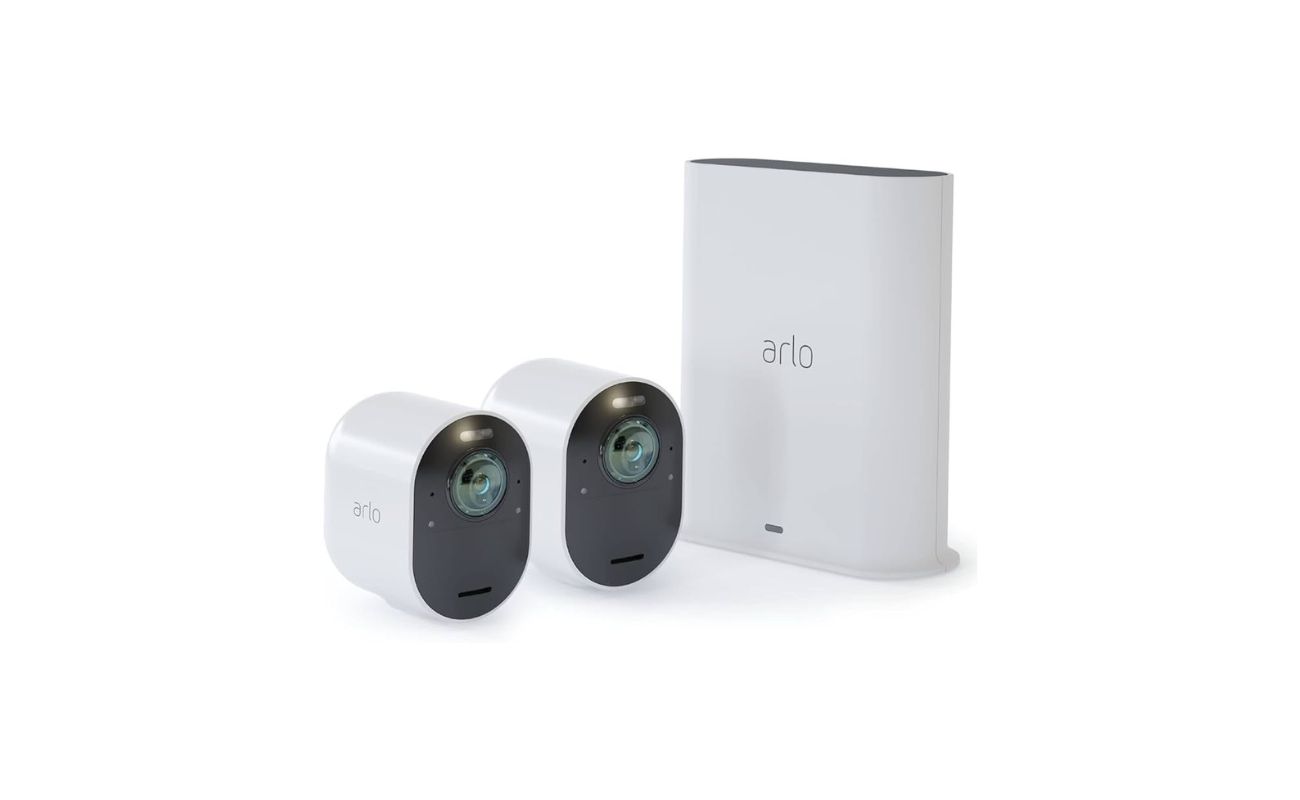
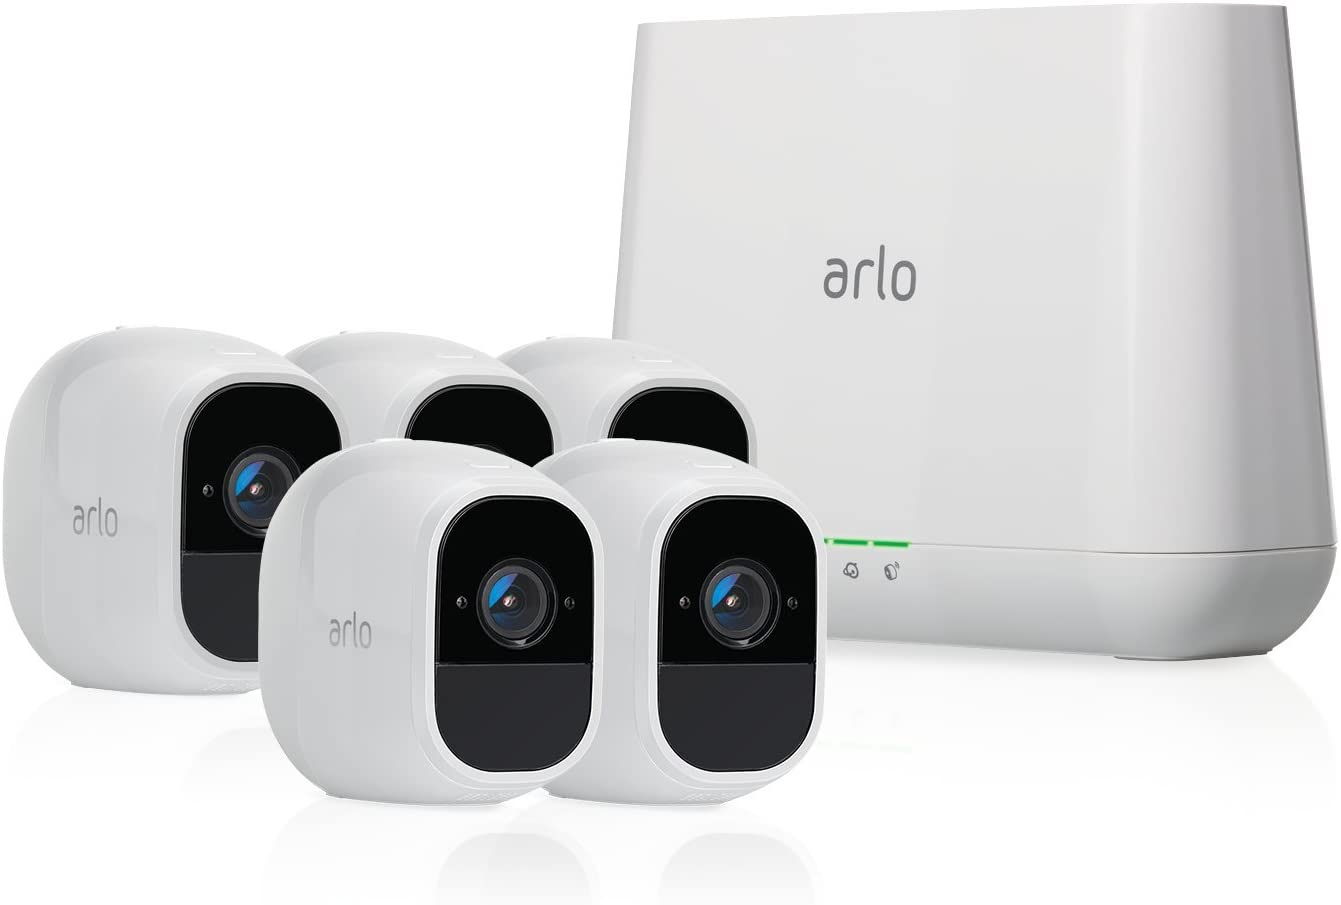
- Arlo Base Station: This is the central hub of your security system. It connects to your home’s Wi-Fi network and communicates with the Arlo cameras.
- Arlo Cameras: These are the wireless cameras that will be placed in different areas of your property to monitor activity.
- Power Adapters: Each Arlo camera and the base station come with their own power adapter for easy installation and charging.
- Mounting Accessories: The kit includes mounting brackets and screws to securely attach the Arlo cameras to walls, ceilings, or any desired surface.
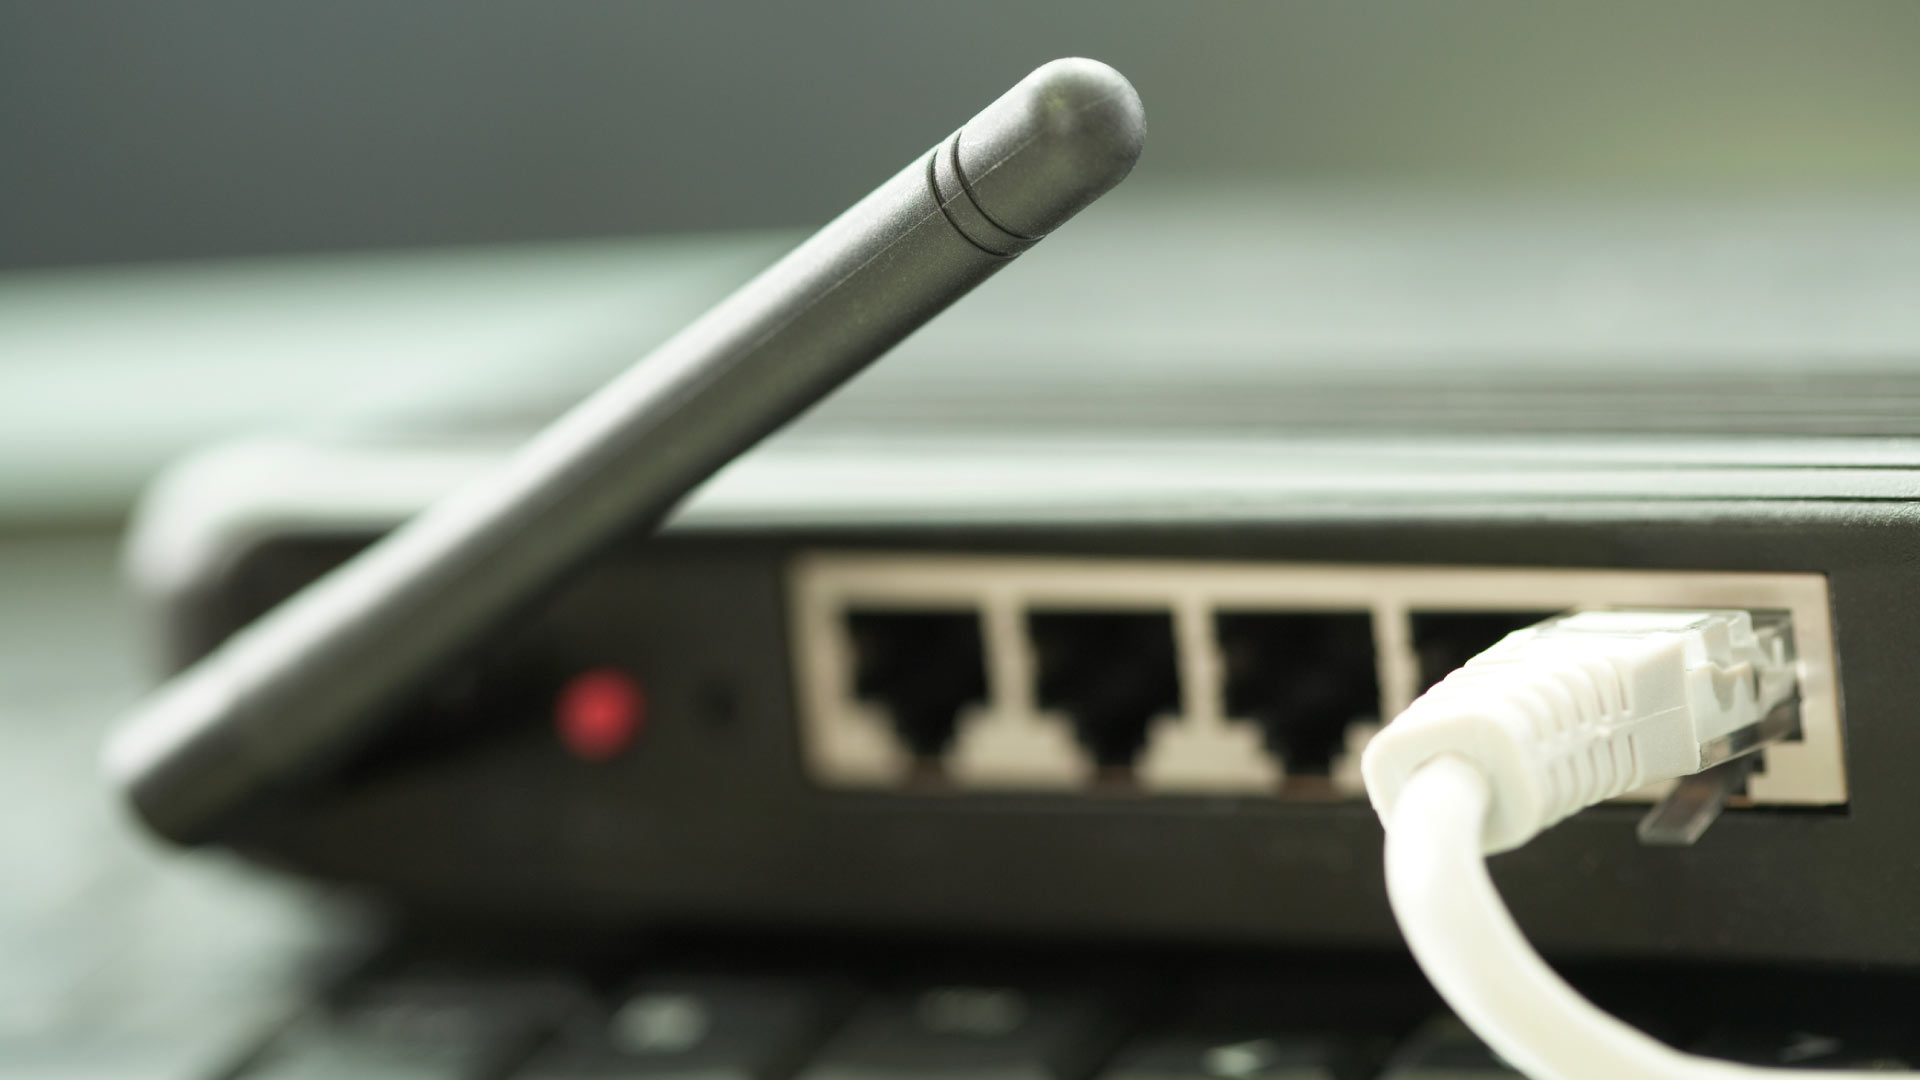
- Ethernet Cable: This cable is used to connect the base station to your router during the initial setup process.
- Batteries: Arlo cameras are powered by batteries, which are included in the package. These batteries eliminate the need for messy wires and provide flexibility in camera placement.
- Quick Start Guide: This handy guide will provide you with step-by-step instructions to quickly set up your Arlo system.
Once you have all the components laid out in front of you, take a few moments to familiarize yourself with them. This will make the setup process smoother and more efficient.
Before proceeding with the installation, it’s important to ensure that all the components are undamaged and in good working condition. Inspect the cameras, base station, and accessories for any signs of damage or defects. If you notice any issues, contact Arlo’s customer support for assistance.
Now that you’ve unboxed and inspected your Arlo wireless security system, you’re ready to move on to the next step: connecting the base station.
Step 2: Connecting the Base Station
With the Arlo base station as the central hub of your wireless security system, it’s crucial to connect it properly to your home’s network. Follow these steps to ensure a seamless connection:
- Choose a suitable location for your base station: Find a central location in your home that is close to your Wi-Fi router. This will ensure a strong and stable internet connection for your Arlo cameras.
- Connect the base station to a power source: Plug the power adapter into an electrical outlet and connect it to the base station. Make sure the power source is within close proximity to the base station for easy access.
- Connect the base station to your router: Use the included Ethernet cable to connect the base station to an available Ethernet port on your router. Ensure that the connection is secure and tight.
- Power on the base station: Press the power button on the back of the base station to turn it on. Wait for the power LED to turn solid green, indicating that the base station is properly powered and connected.
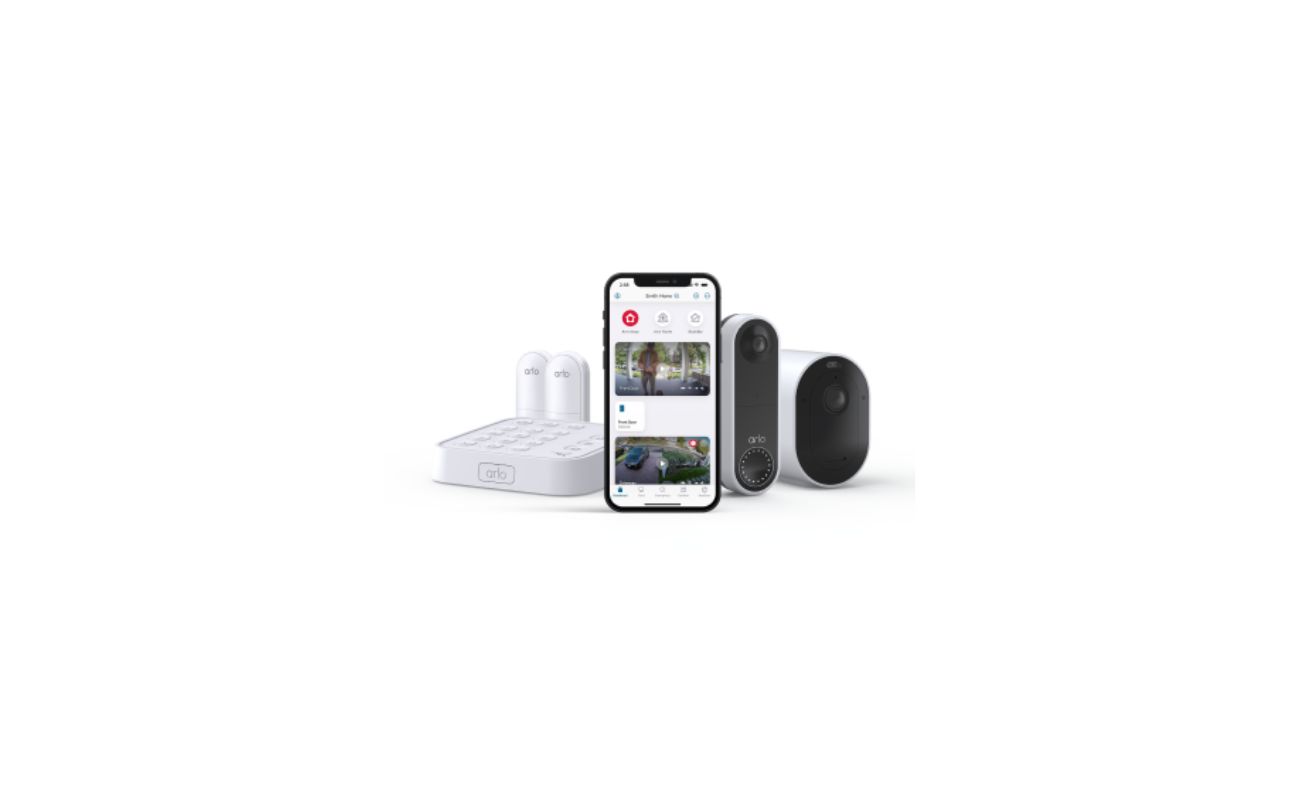
- Install the Arlo app: Download and install the Arlo app on your mobile device from the App Store or Google Play Store. The Arlo app is available for both iOS and Android devices.
- Launch the Arlo app: Open the Arlo app on your mobile device and create a new Arlo account or log in to your existing account.
- Add the base station: In the Arlo app, navigate to the “Settings” tab and select “Add New Device.” Follow the on-screen instructions to add the base station to your account.
- Sync the base station with your account: Press the sync button on the base station until the LED on the front of the base station starts blinking. Then, press the sync button on your Arlo app. The base station and app will sync wirelessly.
- Wait for the base station to connect: The base station will go through a brief syncing process. Once it successfully connects to your account, the LED on the front of the base station will turn solid green.
Congratulations! You have successfully connected the Arlo base station to your home’s network. The base station serves as the backbone of your security system, allowing you to control and monitor your Arlo cameras remotely. Now that your base station is set up, you’re one step closer to having a fully functional Arlo wireless security system.
In the next step, we’ll explore how to configure the base station settings to customize your home security experience.
Step 3: Configuring the Base Station Settings
Now that you have successfully connected the base station, it’s time to configure the settings to customize your Arlo wireless security system. Follow these steps to set up your base station:
- Launch the Arlo app: Open the Arlo app on your mobile device and log in to your Arlo account.
- Select your base station: Tap on the “Settings” tab in the app and select your base station from the list of devices associated with your account.
- Update your base station firmware: It’s essential to keep your base station up-to-date with the latest firmware to ensure optimal performance and security. If an update is available, follow the prompts to update your base station firmware.
- Set up modes: Modes allow you to customize the behavior of your Arlo system based on different scenarios. For example, you can set up a mode for home, away, or night. Tap on “Modes” in the app and set up each mode according to your preferences.
- Configure motion detection settings: Motion detection is a key feature of the Arlo system. In the app, navigate to “Settings” and select “Motion Detection.” Adjust the sensitivity, detection zone, and other settings to fine-tune the motion detection capabilities of your cameras.
- Enable video recording: By default, your Arlo cameras will record video clips when motion is detected. However, you can customize the duration and quality of these recordings. Go to “Settings” and select “Video Settings” to configure the recording options.
- Set up activity zones: Activity zones allow you to specify certain areas within the camera’s view where you want to focus motion detection. This can be useful if you have areas that frequently trigger false alarms. In the app, go to “Settings” and select “Activity Zones” to define and customize your zones.
- Configure other settings: Explore the various settings available in the Arlo app, such as scheduling, audio settings, and notification preferences. Adjust these settings according to your needs and preferences.
Once you have configured the base station settings, your Arlo wireless security system is now personalized to suit your home security requirements. Take some time to familiarize yourself with the app and its features, as it will be your main interface for controlling and monitoring your Arlo cameras.
In the next step, we’ll learn how to add Arlo cameras to your system for comprehensive home surveillance.
Step 4: Adding Arlo Cameras to the System
Now that you’ve configured the base station settings, it’s time to add Arlo cameras to your wireless security system. The Arlo cameras can be placed in various locations around your property to provide comprehensive surveillance. Follow these steps to add Arlo cameras:
- Launch the Arlo app: Open the Arlo app on your mobile device and make sure you are logged in to your Arlo account.
- Select your base station: Tap on the “Settings” tab in the app and select your base station from the list of devices.
- Add a new device: Tap on “Add New Device” or “Add Camera” to start the process of adding a new camera to your system.
- Follow the on-screen instructions: The Arlo app will guide you through the process of adding a new camera. Make sure to follow the instructions carefully.
- Choose camera placement: Decide where you want to place your Arlo camera. It can be indoors or outdoors, depending on your surveillance needs. Consider areas that require monitoring, such as entrances, driveways, or backyard.
- Power on the camera: Install the battery in the Arlo camera or connect it to a power source, depending on the camera model. Follow the specific instructions provided by Arlo for your camera model.
- Sync the camera with the base station: Press the sync button on the camera until the LED on the camera starts blinking. Then, press the sync button on the base station. The camera and base station will sync wirelessly.
- Wait for the camera to connect: The camera will go through a brief syncing process. Once it successfully connects to the base station, the LED on the camera will turn solid green.
- Repeat the process for additional cameras: If you have multiple Arlo cameras, repeat the above steps to add each additional camera to your system.
It’s important to note that Arlo cameras can be added one at a time. This allows you to customize the positioning and surveillance area of each camera. Once you have added all the desired cameras, you can proceed to the next step: positioning and mounting the Arlo cameras.
Stay tuned for Step 5, where we’ll guide you on how to properly position and mount your Arlo cameras for optimal surveillance coverage.
When setting up your Arlo wireless security system, make sure to place the cameras in areas with good Wi-Fi signal and within the recommended range from the base station. This will ensure a strong and reliable connection for your system.
Step 5: Positioning and Mounting the Arlo Cameras
Now that you’ve added the Arlo cameras to your system, it’s time to strategically position and mount them for optimal surveillance coverage. Proper camera placement is crucial to ensure that you capture important details and monitor the desired areas effectively. Follow these steps to position and mount your Arlo cameras:
- Evaluate your surveillance needs: Take a walk around your property and identify the areas that require monitoring. These may include entryways, driveways, backyard, or any other vulnerable spots.
- Determine camera placement: Once you’ve identified the areas that need surveillance, consider the best locations to mount your Arlo cameras. Ensure that the cameras have a clear line of sight to capture the desired angles and avoid obstructions like trees or walls.
- Select the appropriate mount: Depending on where you plan to mount the camera, choose the suitable Arlo mount from the included accessories. The mount options may vary from magnetic mounts for easy installation to adjustable mounts for precise positioning.
- Mount the camera: Follow the instructions provided with the Arlo camera and mount to securely attach the camera in the chosen location. Use the appropriate screws or adhesive pads to ensure stability. Make sure the camera is level and positioned correctly.
- Adjust the camera angle: After mounting the camera, adjust the angle to achieve the desired field of view. Arlo cameras typically offer a wide-angle view, allowing you to monitor a broad area. Fine-tune the camera angle to capture the relevant areas efficiently.
- Consider camera placement indoors: If you’re positioning Arlo cameras indoors, choose locations that offer a clear view of the area you want to monitor, such as entryways, living rooms, or hallways. Mount the camera securely using the appropriate mount or place it on a flat surface.
- Check camera connectivity: Once you’ve positioned and mounted the cameras, ensure that each camera is successfully connected to the base station. The solid green LED on the cameras indicates a stable connection.
- Test the camera’s view: With the cameras in place, test each camera’s view using the Arlo app. This allows you to ensure that the cameras are capturing the desired areas and adjust the angle if necessary.
Remember that proper positioning and mounting of the Arlo cameras are crucial for effective surveillance. Take your time to find the optimal locations and angles for each camera, considering your specific security needs. With the cameras properly positioned and mounted, your Arlo wireless security system is ready to monitor your home and provide peace of mind.
In the next step, we’ll explore how to set up motion detection and alerts to receive notifications about any suspicious activity around your property.
Step 6: Setting up Motion Detection and Alerts
One of the most valuable features of the Arlo wireless security system is its motion detection capability, which helps to identify any suspicious activity around your property. By setting up motion detection and alerts, you can receive timely notifications and stay informed of any potential security threats. Follow these steps to configure motion detection and alerts for your Arlo cameras:
- Launch the Arlo app: Open the Arlo app on your mobile device and ensure that you are logged in to your Arlo account.
- Select a camera: Tap on the “Settings” tab in the app and choose the camera for which you want to set up motion detection and alerts.
- Enable motion detection: In the camera settings, locate the “Motion Detection” option and toggle it on. This will activate the motion detection feature for that specific camera.
- Adjust motion sensitivity: Depending on your preferences, you can adjust the sensitivity level of the motion detection. Determine the level that best suits your environment and the desired range of detection.
- Define activity zones: To specify certain areas where you want the camera to focus motion detection, set up activity zones. By defining these zones, you can reduce false alarms and ensure accurate detection of movement.
- Choose notification preferences: In the Arlo app, navigate to the “Settings” tab and select “Notifications.” Customize your notification preferences, such as receiving push notifications, emails, or SMS alerts when motion is detected.
- Set up a schedule: If you want to schedule specific times for motion detection, such as when you are away from home or overnight, you can do so in the “Settings” tab. This allows you to control when motion detection is active.
- Test the motion detection: Once you’ve configured the settings, perform a test to ensure that the motion detection feature is working correctly. Walk around the areas covered by the camera to trigger motion and verify that you receive the appropriate notifications.
By setting up motion detection and alerts, you’ll have the peace of mind of knowing that your Arlo wireless security system is actively monitoring your home. These features will promptly notify you if any unusual activity is detected, allowing you to take immediate action or alert authorities if necessary.
In the final step of the setup process, we’ll cover some testing and troubleshooting tips to ensure your Arlo system performs optimally.
Step 7: Testing and Troubleshooting
After setting up your Arlo wireless security system, it’s important to perform some tests and troubleshoot any potential issues to ensure that your system is functioning optimally. Follow these steps to test and troubleshoot your Arlo system:
- Test camera functionality: Verify that each Arlo camera is capturing video footage properly by reviewing the live stream in the Arlo app. Check the camera angles, image quality, and night vision capabilities.
- Trigger motion detection: Walk around the monitored areas to ensure that the motion detection feature is accurately capturing any movement. Verify that you receive notifications and recorded footage when motion is detected.
- Check camera positioning: Revisit the placement and mounting of your Arlo cameras to confirm that they provide clear views of the desired areas. Adjust the angles if necessary to optimize coverage.
- Test live streaming: Check the live streaming feature in the Arlo app to ensure a smooth and uninterrupted connection to the cameras. Check the image quality and clarity in real-time.
- Verify remote access: Test the ability to access your Arlo system remotely using the Arlo app or web portal. Make sure you can view live footage, access recorded videos, and adjust settings while away from home.
- Test battery life: Monitor the battery life of your Arlo cameras and ensure that they are holding a charge as expected. If necessary, consider adjusting camera settings or utilizing optional charging accessories.
- Troubleshoot connectivity issues: If you encounter connectivity issues between the cameras and the base station, try resetting the cameras or power cycling the base station. Ensure that your Wi-Fi network is stable and there are no obstructions affecting the signal.
- Update firmware and software: Regularly check for and install any available firmware updates for your Arlo base station and cameras. Also, keep the Arlo app updated on your mobile device to benefit from the latest features and bug fixes.
- Refer to the Arlo support resources: If you encounter any persistent issues or need further assistance, consult the Arlo user manual, knowledgebase, or reach out to Arlo’s customer support for troubleshooting guidance.
By performing these tests and troubleshooting steps, you can ensure that your Arlo wireless security system is fully functional and providing the level of security you desire. Regular maintenance and occasional troubleshooting will help to maintain the optimal performance of your Arlo system.
Congratulations! You have successfully set up and tested your Arlo wireless security system. Enjoy the peace of mind that comes with knowing your home is protected and monitored with advanced security technology.
If you ever need to make adjustments or modify your Arlo system, simply refer back to this comprehensive guide or consult the Arlo app and support resources. Stay vigilant and stay secure!
Conclusion
Setting up a comprehensive and reliable home security system is crucial for ensuring the safety and protection of your property, belongings, and loved ones. The Arlo wireless security system offers advanced features, ease of use, and flexibility that make it an excellent choice for home surveillance. By following the step-by-step guide provided in this article, you have successfully learned how to set up your Arlo system and customize it to meet your specific needs.
From unboxing the Arlo wireless security system to connecting the base station, adding and positioning the cameras, configuring motion detection and alerts, and testing the system, you have now gained a solid understanding of how to harness the power of your Arlo system to enhance your home’s security.
Remember, regular maintenance, firmware updates, and periodic testing will help ensure your Arlo system functions optimally. By staying informed about new features and enhancements provided by Arlo, you can continue to leverage the latest technology to protect your home.
With your Arlo wireless security system in place, you gain peace of mind knowing that your home is monitored around the clock. Whether you are at work, on vacation, or simply resting at home, Arlo provides you with a reliable, remote access to keep an eye on what matters most to you.
Thank you for choosing Arlo and investing in the safety and security of your home. Remember to regularly check the Arlo app and support resources for any additional insights, updates, or troubleshooting assistance. Stay vigilant, stay secure!
Frequently Asked Questions about How Do I Set Up My Arlo Wireless Security System
Was this page helpful?
At Storables.com, we guarantee accurate and reliable information. Our content, validated by Expert Board Contributors, is crafted following stringent Editorial Policies. We're committed to providing you with well-researched, expert-backed insights for all your informational needs.