Home>Home Security and Surveillance>How Would I Hook Up A Wireless Security Camera To My Chrome OS Home Computer
Home Security and Surveillance
How Would I Hook Up A Wireless Security Camera To My Chrome OS Home Computer
Modified: March 6, 2024
Learn how to connect a wireless security camera to your Chrome OS home computer for enhanced home security and surveillance.
(Many of the links in this article redirect to a specific reviewed product. Your purchase of these products through affiliate links helps to generate commission for Storables.com, at no extra cost. Learn more)
Introduction
Welcome to the world of home security and surveillance! As technology advances, so do the methods of protecting our homes and loved ones. One of the key components of a comprehensive security system is a wireless security camera. These cameras are not only effective in deterring potential intruders, but they also provide you with peace of mind by allowing you to monitor your property from anywhere at any time.
In this article, we will delve into the world of wireless security cameras and explore the various ways you can connect them to your Chrome OS home computer. Whether you’re looking to enhance the security of your home or keep an eye on your pets while you’re away, this article will guide you through the process of setting up a wireless security camera to your Chrome OS home computer.
But before we get into the nitty-gritty of connecting a wireless security camera to your Chrome OS home computer, let’s first understand what wireless security cameras are and how they work.
Key Takeaways:
- Setting up a wireless security camera to your Chrome OS home computer is easy and offers peace of mind. You can connect via USB Wi-Fi adapter, NVR, or mobile app, ensuring remote monitoring and surveillance.
- Troubleshooting common issues like Wi-Fi connectivity and software compatibility can help ensure a smooth connection. With a wireless security camera, you can monitor your property and loved ones from anywhere.
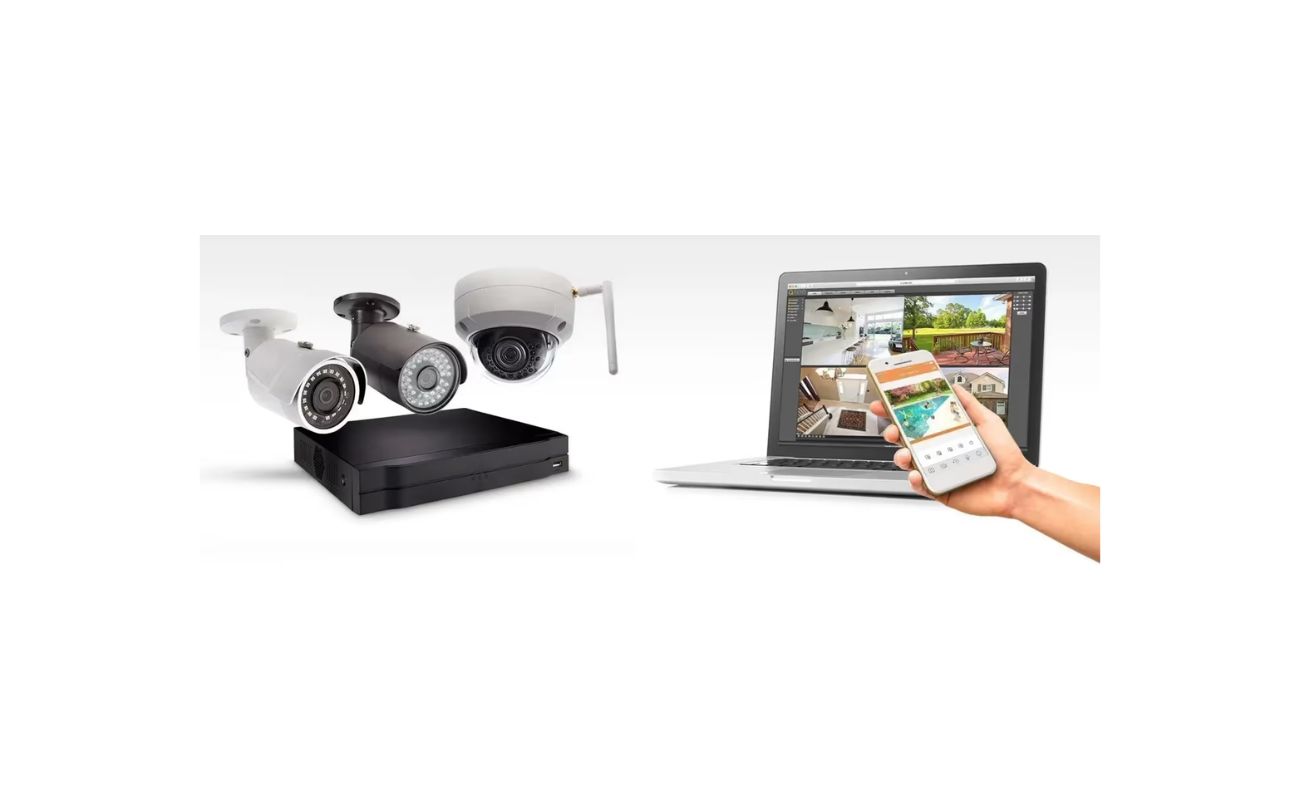
Understanding Wireless Security Cameras
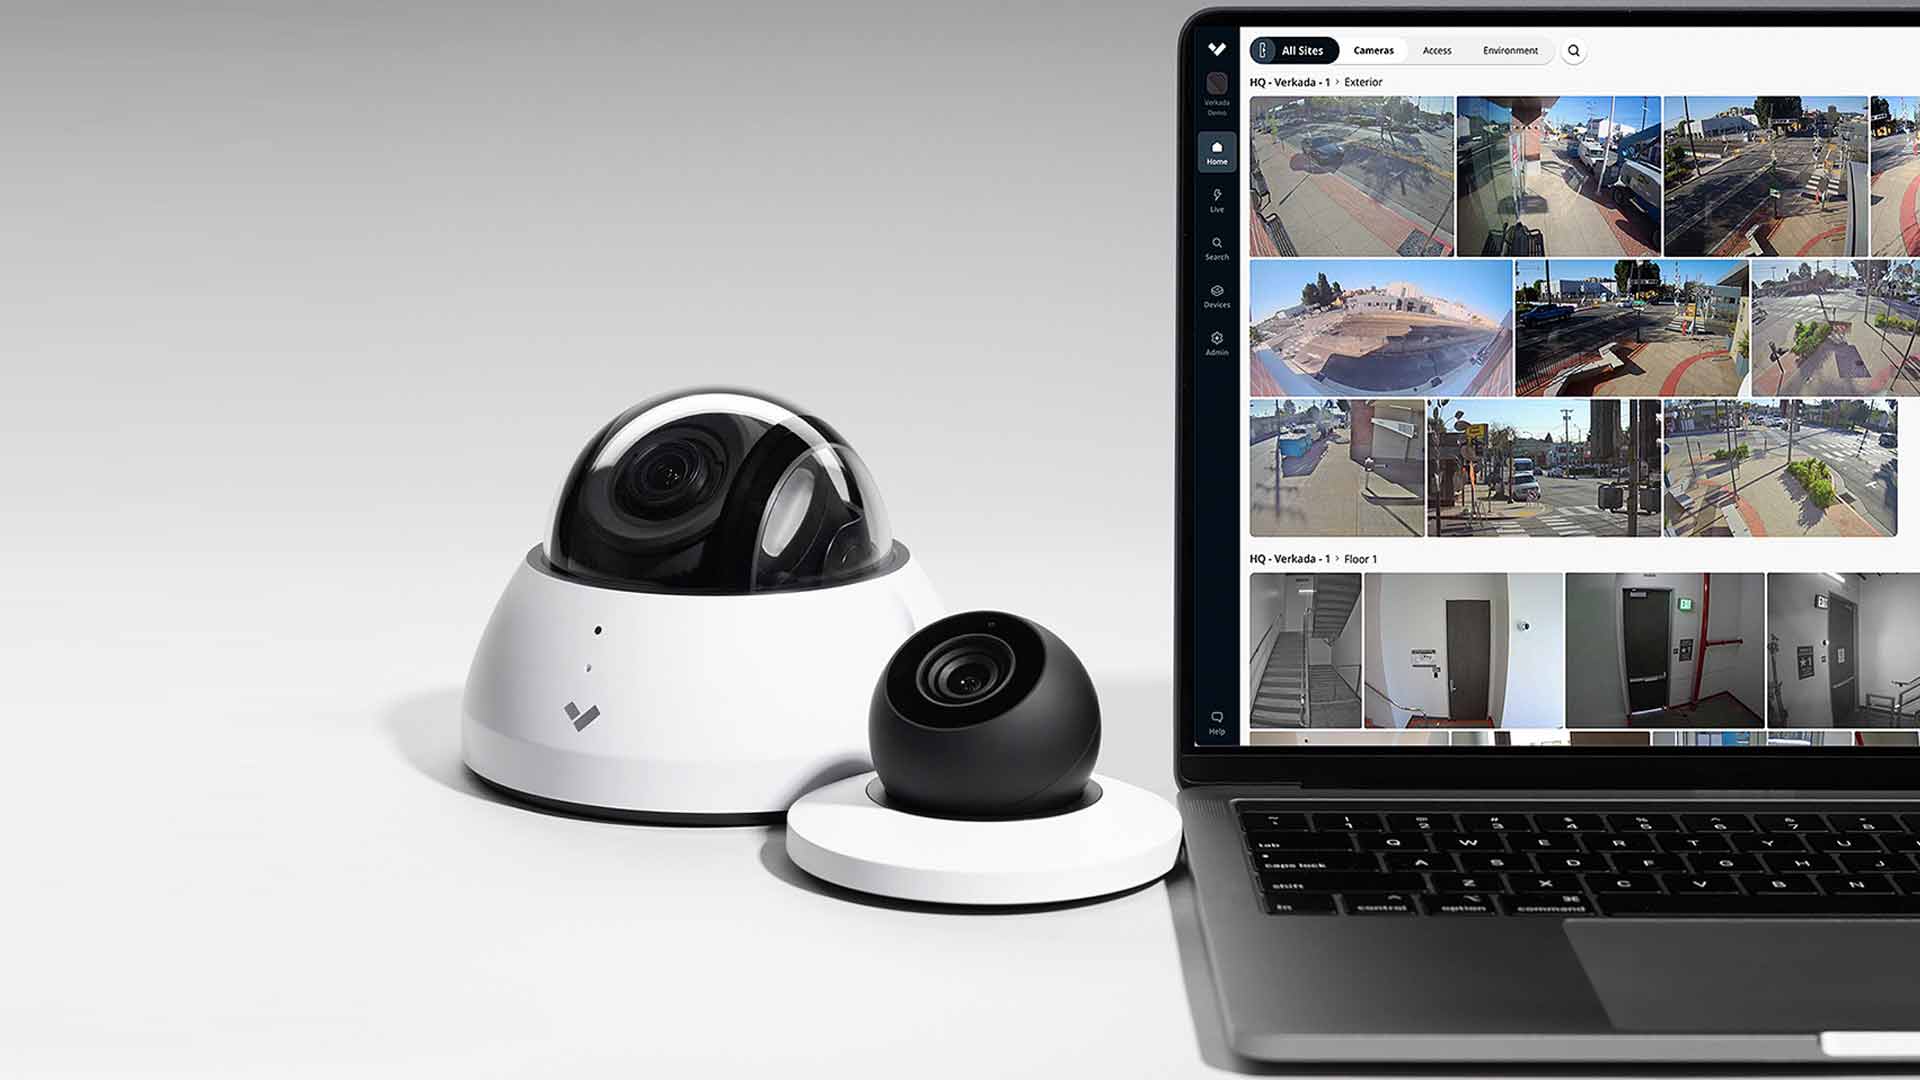
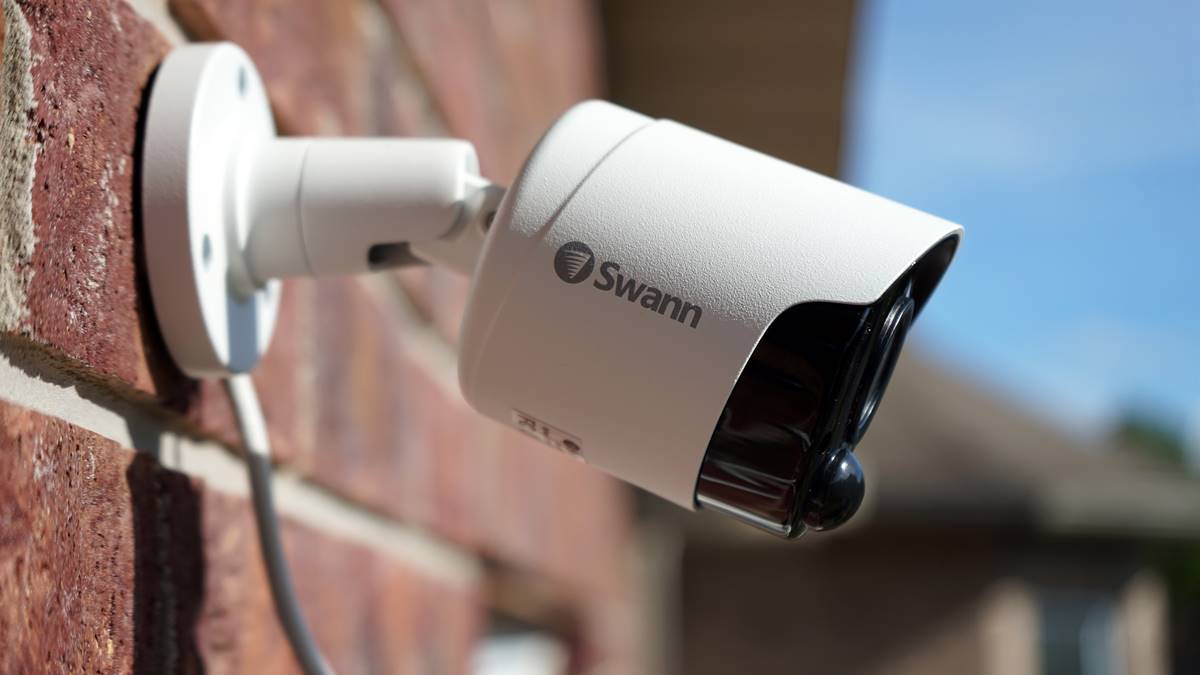
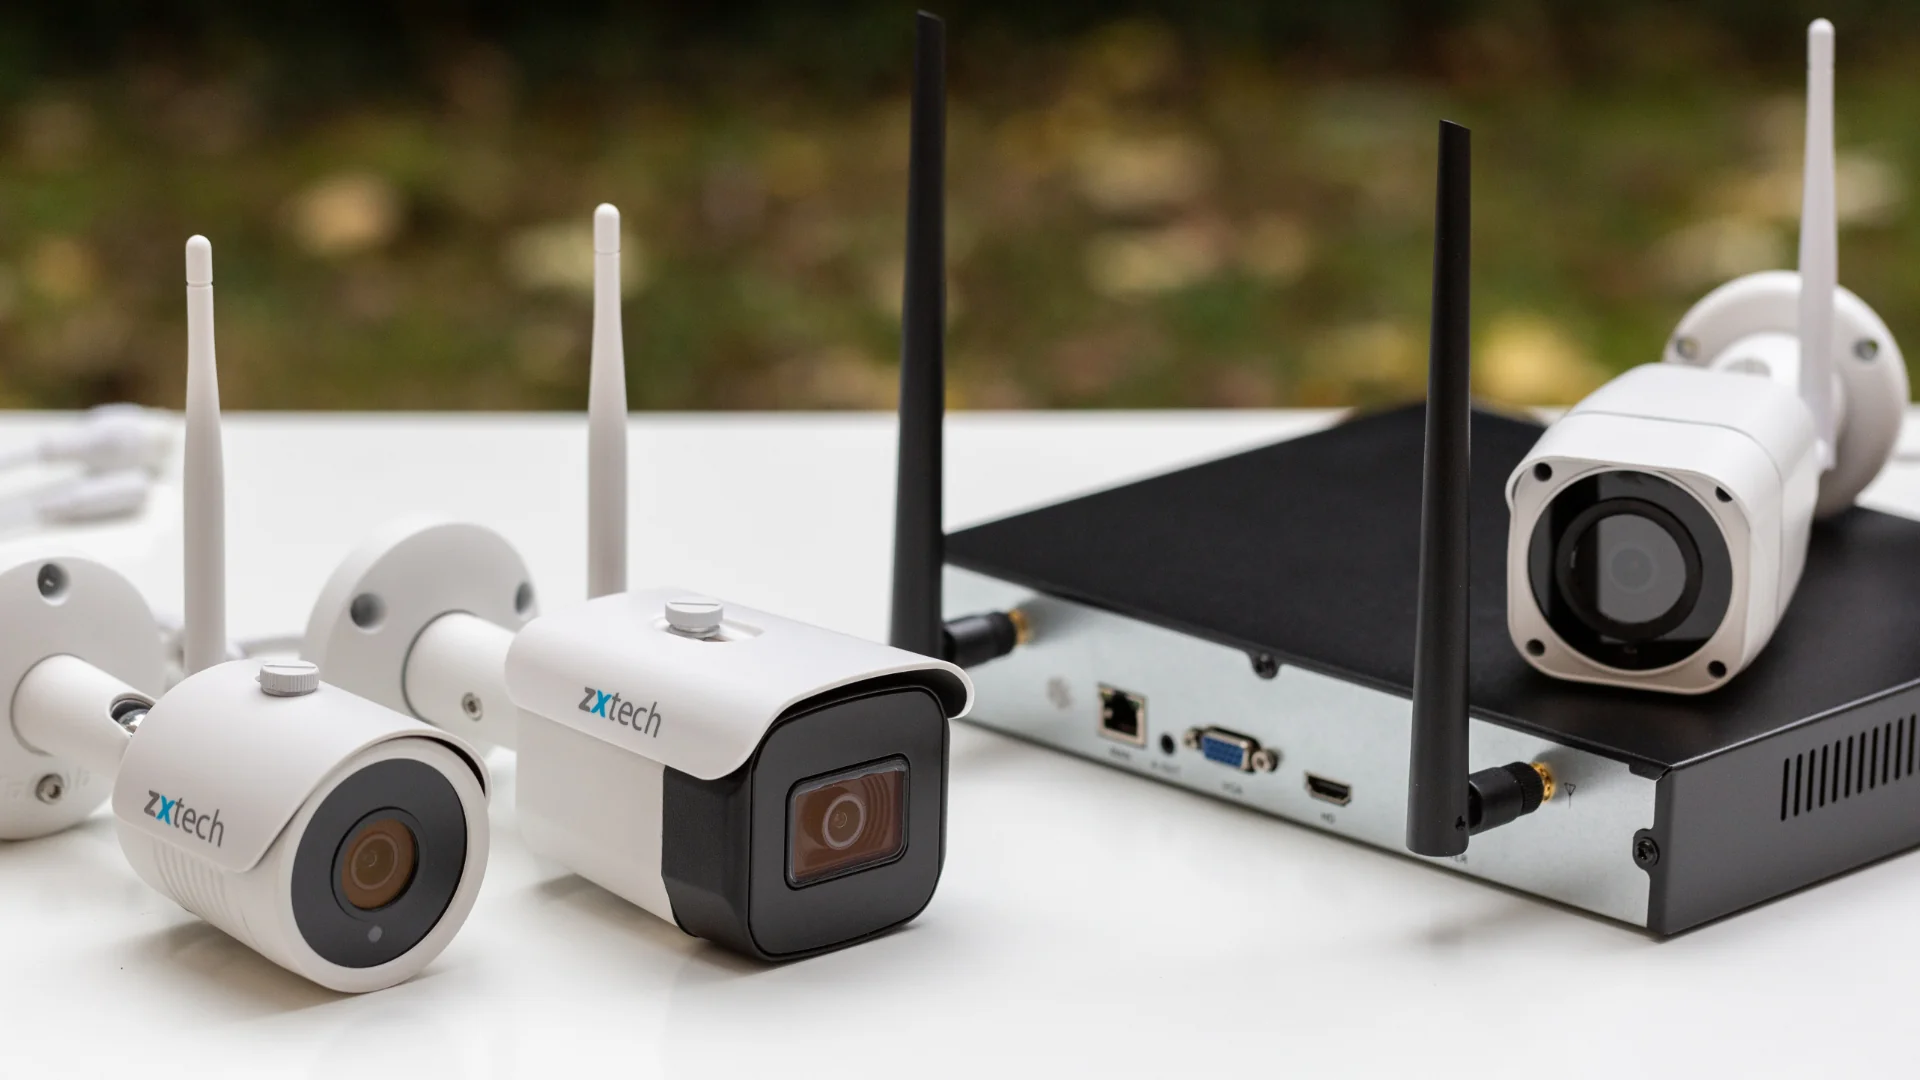
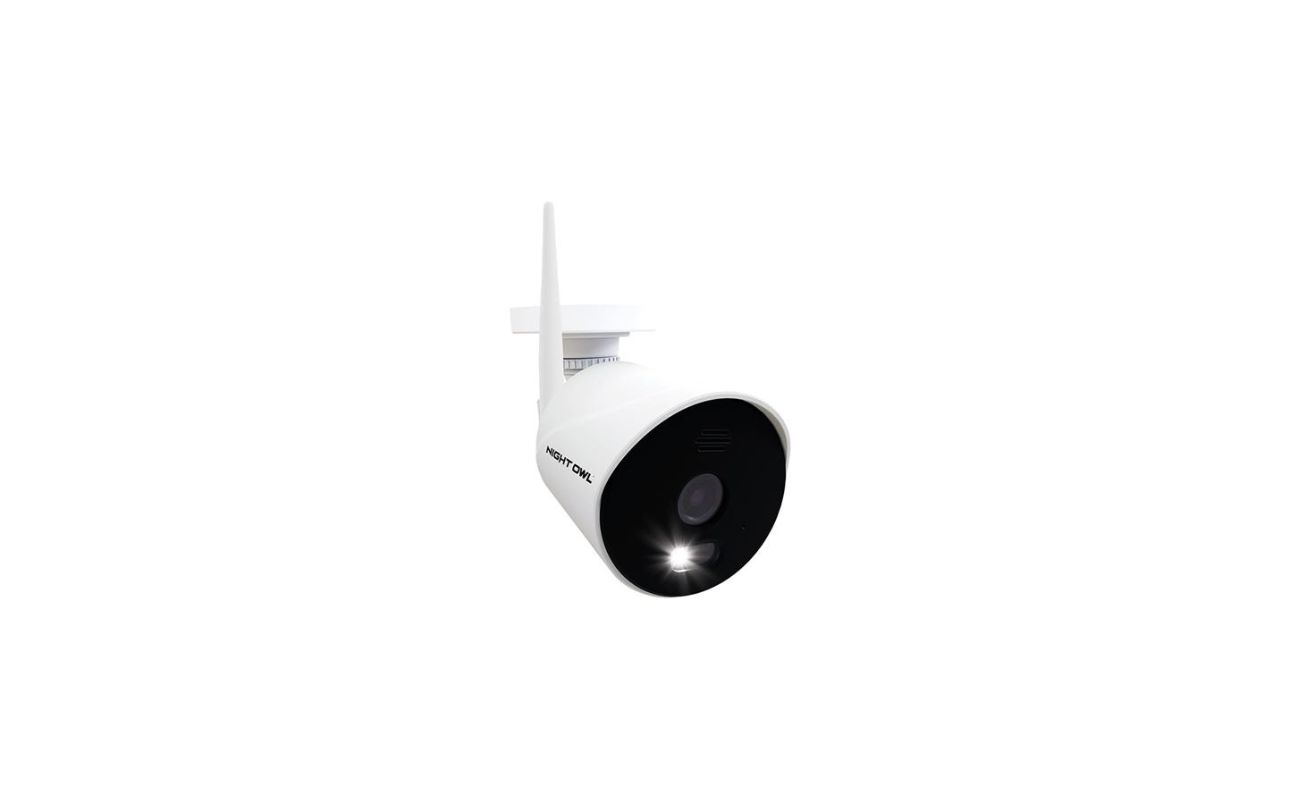
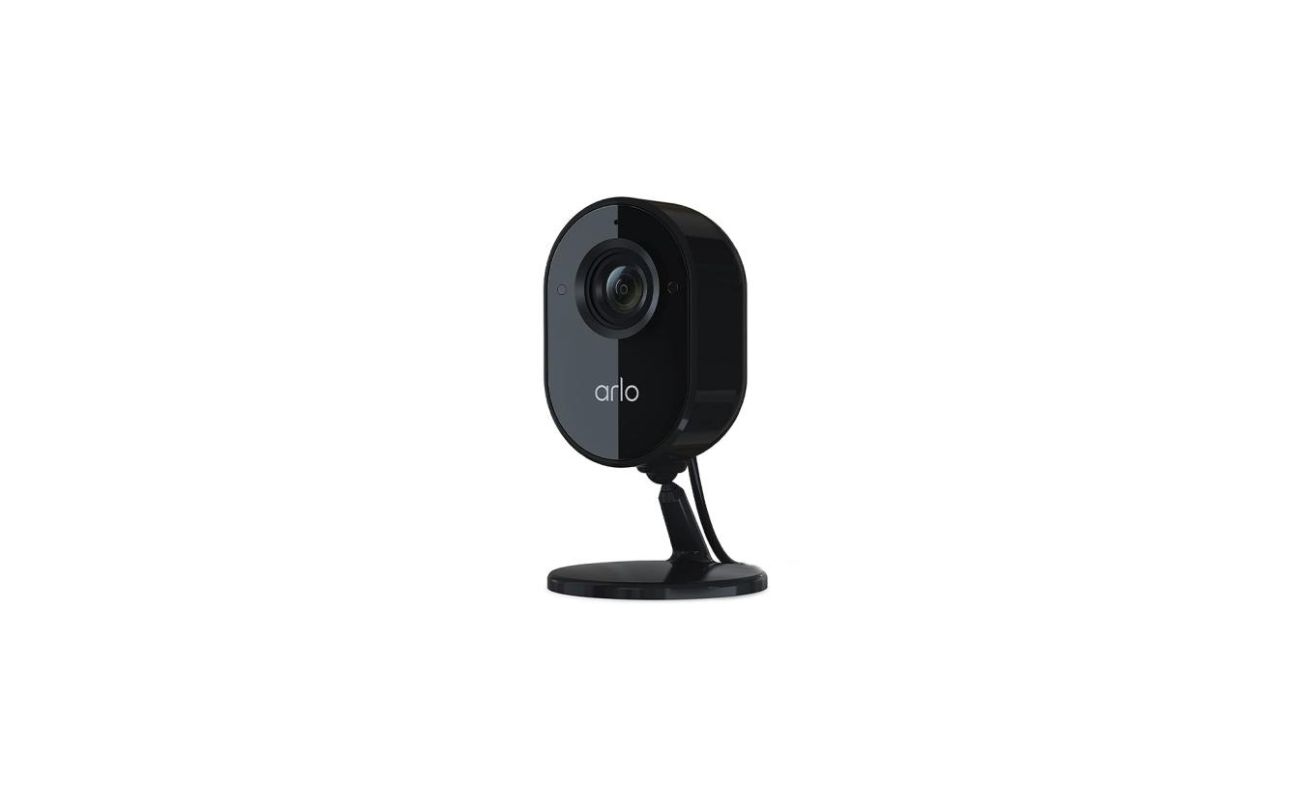
Wireless security cameras, also known as IP cameras or Wi-Fi cameras, are surveillance cameras that transmit video and audio signals wirelessly over a Wi-Fi network. Unlike traditional analog cameras that require physical cables to transmit data, wireless security cameras offer flexibility and convenience by eliminating the need for complex wiring.
These cameras are equipped with built-in Wi-Fi modules that allow them to connect to your home network and transmit video streams directly to your devices, such as computers, smartphones, or tablets. They come in various shapes and sizes, including indoor and outdoor models, with different resolutions and features to suit your specific needs.
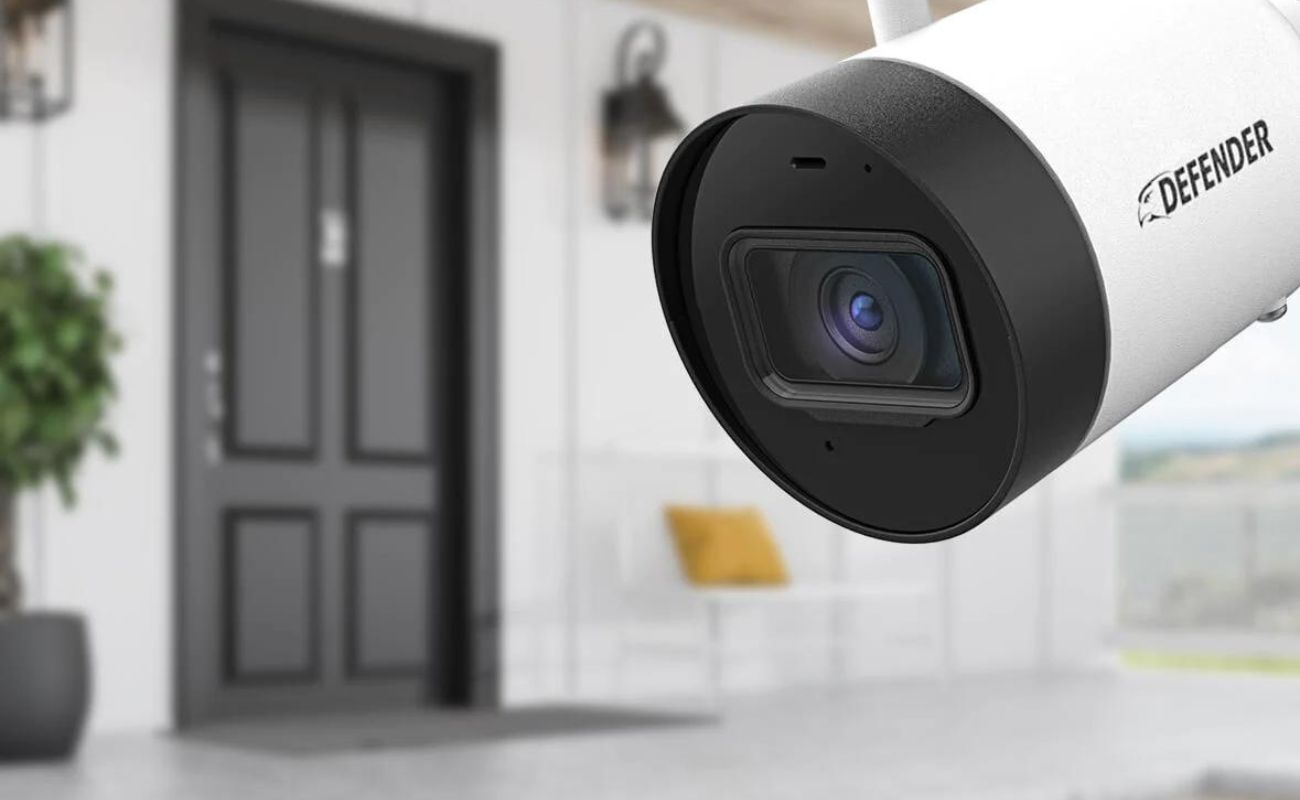
Wireless security cameras typically capture video in high-definition (HD) or even ultra-high-definition (UHD) resolutions, providing sharp and clear footage. Many cameras also come with additional features such as night vision, motion detection, two-way audio, and cloud storage options.
The convenience of wireless cameras lies in their ability to be easily installed and integrated into your existing home security system. With minimal setup required, you can position these cameras in strategic locations to cover vulnerable spots around your property, such as entrances, garages, or backyard areas.
Now that we have a basic understanding of wireless security cameras, let’s explore how compatible they are with Chrome OS.
Compatibility of Wireless Security Cameras with Chrome OS
Chrome OS, developed by Google, is a lightweight operating system designed specifically for Chromebooks and Chromebox devices. While it is primarily web-based and cloud-centric, it is important to determine if wireless security cameras are compatible with Chrome OS before proceeding with the setup process.
The good news is that most wireless security cameras are compatible with Chrome OS. Since Chrome OS supports web-based applications and has a built-in web browser (Google Chrome), you can access the camera’s live feed, settings, and recorded footage through a web interface.
Many manufacturers provide web-based applications or browser plugins that allow you to view your camera’s feed and manage its settings directly from the Chrome browser. These applications usually offer a user-friendly interface where you can customize settings, receive real-time alerts, and playback recorded footage.
It’s important to note that some wireless security cameras may require you to install additional software or plugins on your Chrome OS device to ensure full compatibility. Before purchasing a wireless security camera, check the manufacturer’s website or product documentation to verify that it supports Chrome OS and offers the necessary software or plugins for seamless integration.
Now that we know that wireless security cameras are compatible with Chrome OS, let’s explore the steps to connect them to your Chrome OS home computer.
Steps to Connect Wireless Security Camera to Chrome OS
Connecting a wireless security camera to your Chrome OS home computer involves a few simple steps. Depending on the type of camera you have and its features, you can choose from various options to establish a connection. Here are three common methods:
Option 1: Use a USB Wi-Fi Adapter
- Check if your wireless security camera supports USB connectivity. Some cameras come with a USB port that allows you to connect a Wi-Fi adapter.
- Purchase a USB Wi-Fi adapter that is compatible with Chrome OS. Ensure that it supports the necessary network protocols and encryption standards.
- Insert the USB Wi-Fi adapter into an available USB port on your Chrome OS home computer.
- Follow the manufacturer’s instructions to install any necessary drivers or software for the adapter.
- Configure the USB Wi-Fi adapter to connect to your home network, following the specific instructions provided by the manufacturer.
- Once connected, you can access the camera’s live feed and settings through the web browser or dedicated software.
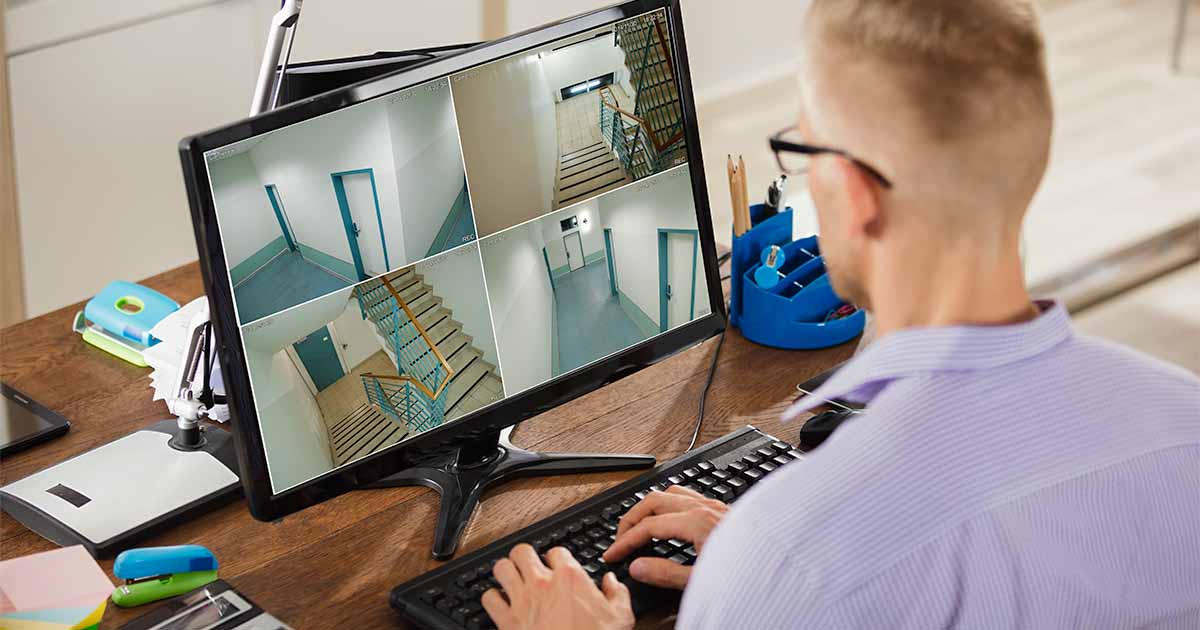
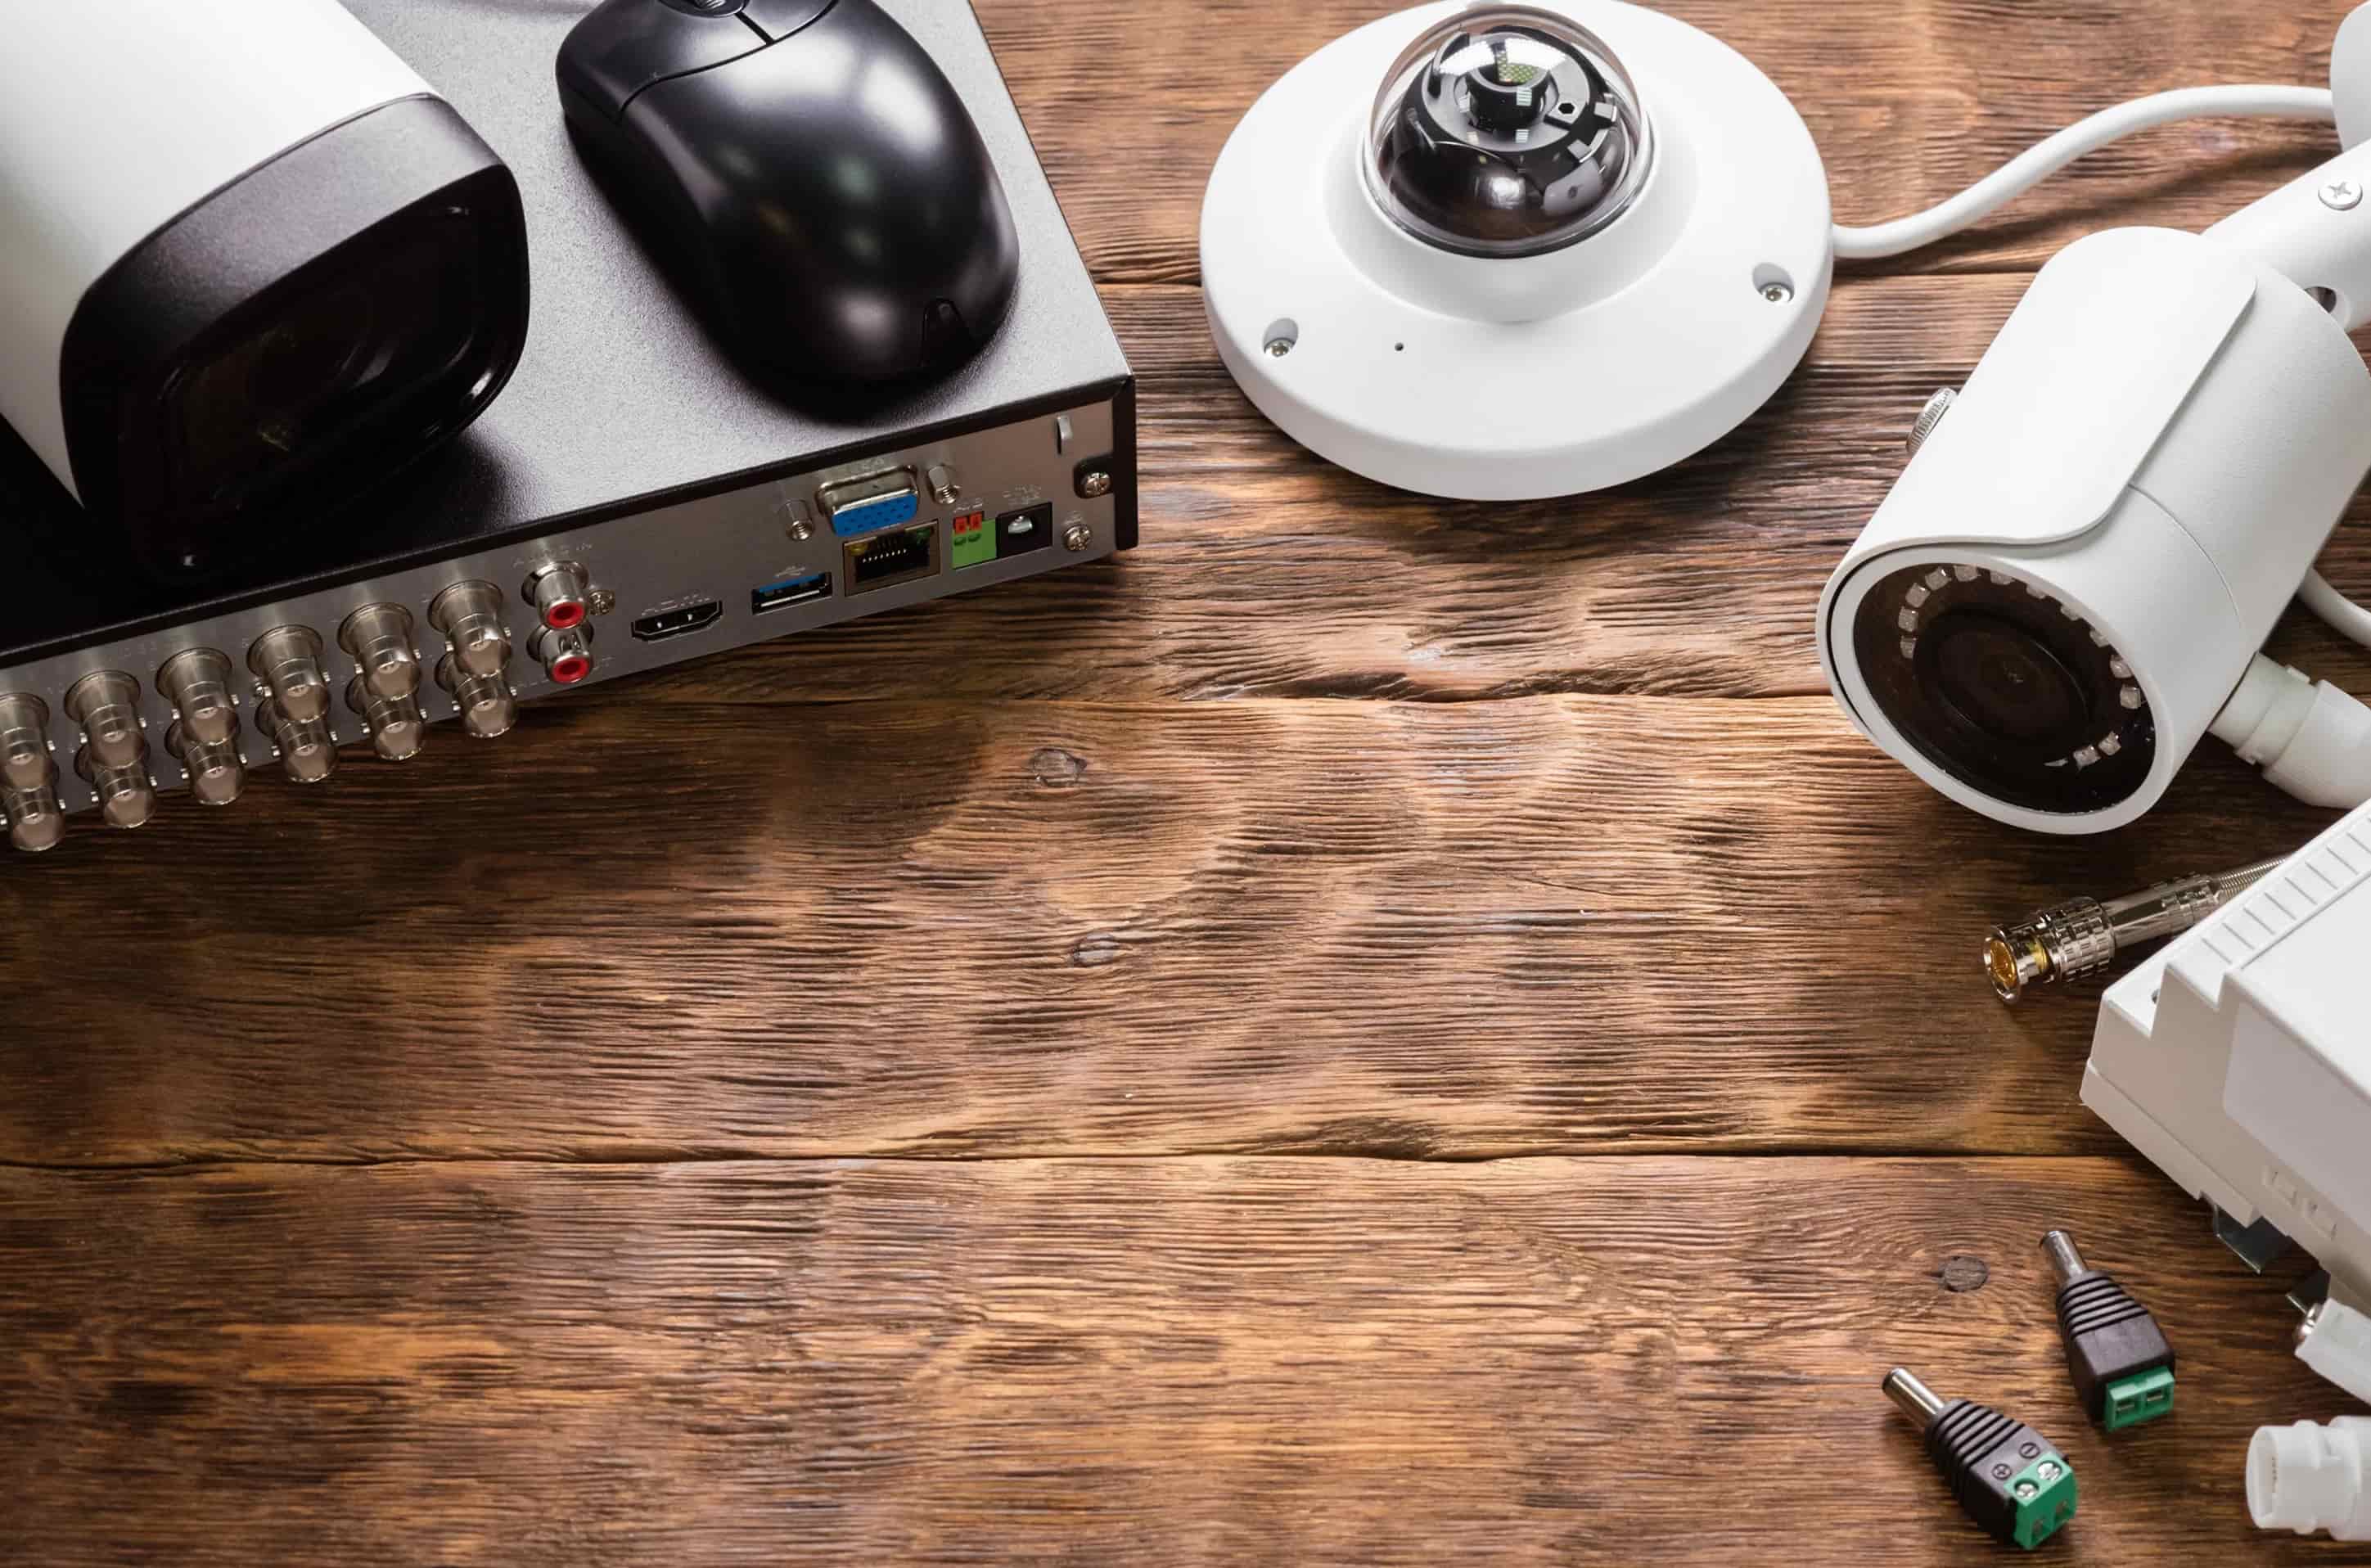
Option 2: Utilize a Network Video Recorder (NVR)
- If your wireless security camera is part of a larger surveillance system that includes an NVR, ensure that the NVR is connected to your network.
- Connect your Chrome OS home computer to the same network as the NVR.
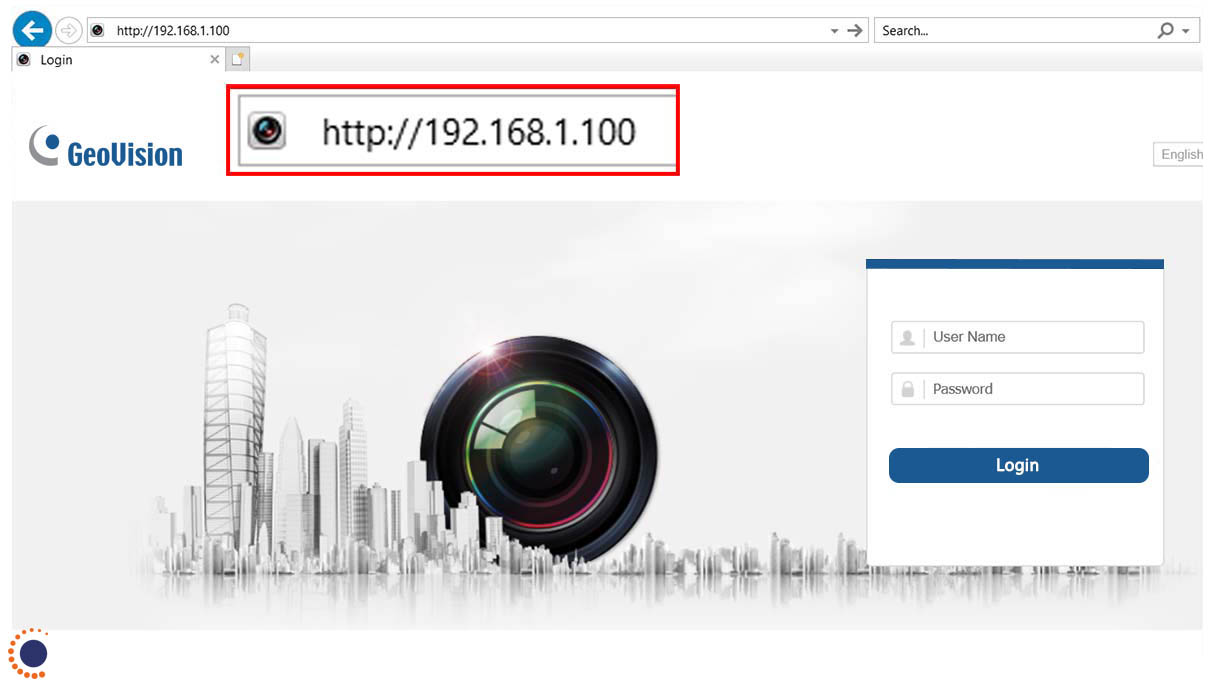
- Access the NVR’s user interface through a web browser. This usually involves typing the NVR’s IP address into the web browser’s address bar.
- Follow the NVR’s instructions to add the wireless security camera to the system. Typically, this involves providing the camera’s unique identifier (such as a MAC address) and configuring settings.
- Once added, you can view the camera’s live feed and recordings through the NVR’s user interface in your Chrome OS browser.
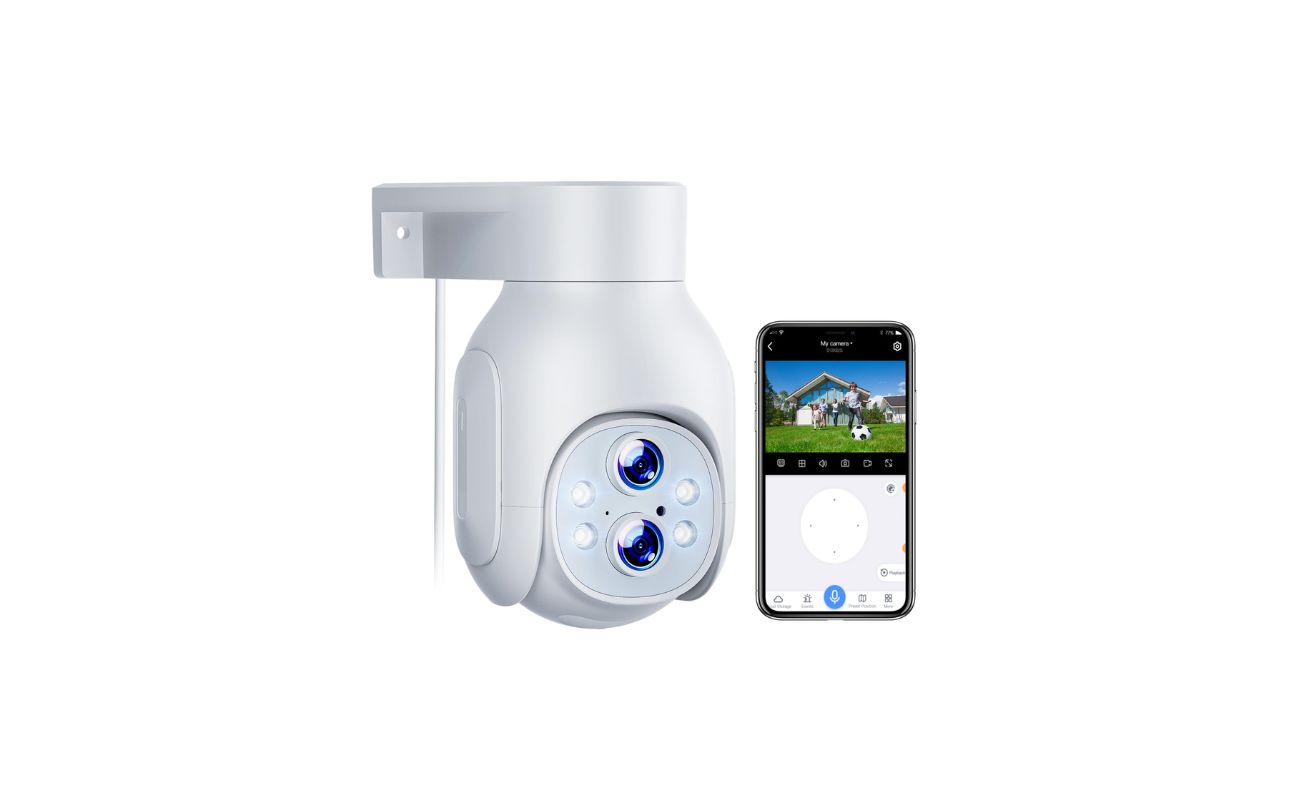
Option 3: Connect via Mobile App
- If your wireless security camera comes with a mobile app, download and install it on your Chrome OS home computer.
- Open the mobile app and follow the instructions to create an account and connect your camera to the app.
- Configure the camera’s settings, such as Wi-Fi connectivity and motion detection, through the mobile app.
- Once connected, you can access the camera’s live feed, receive alerts, and view recordings using the mobile app on your Chrome OS home computer.
These are the basic steps to connect a wireless security camera to your Chrome OS home computer. However, it’s essential to refer to the camera’s user manual or the manufacturer’s website for specific instructions tailored to your camera model.
Now that you know how to connect a wireless security camera to your Chrome OS home computer, let’s discuss some common troubleshooting issues you may encounter during the setup process.
Option 1: Use a USB Wi-Fi Adapter
If your wireless security camera supports USB connectivity, you can utilize a USB Wi-Fi adapter to establish a connection with your Chrome OS home computer. Follow these steps to set it up:
- Check if your wireless security camera has a USB port. This information can usually be found in the camera’s specifications or user manual.
- Purchase a USB Wi-Fi adapter that is compatible with Chrome OS. Ensure that it supports the necessary network protocols and encryption standards.
- Insert the USB Wi-Fi adapter into an available USB port on your Chrome OS home computer. Make sure to use a USB port that is easily accessible and not obstructed by any other devices.
- Follow the manufacturer’s instructions to install any necessary drivers or software for the USB Wi-Fi adapter. In most cases, Chrome OS will automatically recognize and install the necessary drivers upon connecting the adapter.
- Configure the USB Wi-Fi adapter to connect to your home network. This process may vary depending on the adapter’s manufacturer. Typically, you will need to enter your Wi-Fi network name (SSID) and password. Follow the specific instructions provided by the manufacturer to complete the setup.
- Once the USB Wi-Fi adapter is successfully connected to your home network, you can access the wireless security camera’s live feed and settings through the web browser on your Chrome OS home computer.
Remember to consult the instruction manual or the manufacturer’s website for additional guidance specific to your wireless security camera and USB Wi-Fi adapter model.
Using a USB Wi-Fi adapter is a convenient option to connect your wireless security camera to your Chrome OS home computer. It provides a reliable wireless connection and allows you to access the camera’s features and settings without any compatibility issues. With the camera’s live feed directly accessible through your web browser, you can monitor your property, receive alerts, and review recordings effortlessly.
Keep in mind that the range of the USB Wi-Fi adapter may affect the signal strength and performance of your wireless security camera. Make sure the camera is placed within a reasonable distance from your Wi-Fi router to maintain a stable connection.
Now that you have learned how to connect a wireless security camera to your Chrome OS home computer using a USB Wi-Fi adapter, you can explore other options and methods to establish a seamless surveillance system tailored to your needs.
Option 2: Utilize a Network Video Recorder (NVR)
If your wireless security camera is part of a larger surveillance system that includes a Network Video Recorder (NVR), you can utilize the NVR to connect your camera to your Chrome OS home computer. Here are the steps to set it up:
- Ensure that your NVR is connected to your home network. This typically involves connecting the NVR to your router using an Ethernet cable.
- Connect your Chrome OS home computer to the same network as the NVR. This can be done through a wired Ethernet connection or via Wi-Fi, depending on the capabilities of your computer.
- Open the web browser on your Chrome OS home computer.
- Type the IP address of your NVR into the address bar of your web browser. The IP address of the NVR can usually be found in the NVR’s user manual or by checking the network settings of the NVR itself.
- Access the user interface of the NVR through the web browser. The specific steps may vary depending on the brand and model of your NVR. Consult the NVR’s user manual for detailed instructions.
- Once you are logged into the NVR’s user interface, follow the instructions provided by the manufacturer to add your wireless security camera to the system.
- This typically involves providing the camera’s unique identifier, such as a MAC address, and configuring settings like the camera’s name, resolution, and recording settings.
- After adding the camera, you can access its live feed and recorded footage through the user interface of the NVR on your Chrome OS home computer.
Utilizing a Network Video Recorder (NVR) offers a centralized and organized way to connect and manage multiple wireless security cameras. The NVR acts as a hub, allowing you to access all the cameras’ feeds and recordings in one place, making it convenient for monitoring and review.
Before setting up the NVR, ensure that all your wireless security cameras are compatible and supported by the NVR system. Consult the manufacturer’s documentation or website for compatibility information.
Now that you know how to connect your wireless security camera to your Chrome OS home computer using an NVR, you can proceed with the setup process and enjoy the benefits of a comprehensive surveillance system.
Option 3: Connect via Mobile App
If your wireless security camera comes with a dedicated mobile app, you can connect it to your Chrome OS home computer through the app. Here’s how:
- Download and install the mobile app provided by the manufacturer of your wireless security camera. You can usually find the app in the Google Play Store.
- Open the app on your Chrome OS home computer and create an account if required. Follow the on-screen instructions to set up your account.
- Once you have created an account, log in to the app using your credentials.
- Follow the instructions provided by the app to add your wireless security camera to your account. This typically involves scanning a QR code or entering the camera’s unique identifier.
- Once the camera is added, you can configure its settings, such as Wi-Fi connectivity, motion detection, and notifications, through the mobile app.
- After the setup is complete, you can access the camera’s live feed, receive alerts, and view recorded footage through the mobile app on your Chrome OS home computer.
Connecting via a mobile app provides a user-friendly interface and convenient access to your wireless security camera’s features. With the app, you can monitor your property in real-time, receive instant notifications of any detected activity, and review recorded footage whenever needed.
Keep in mind that the availability and functionality of the mobile app may vary depending on the brand and model of your wireless security camera. It’s important to check the manufacturer’s website or product documentation to ensure that the app supports Chrome OS and offers all the necessary features for seamless integration.
Now that you know how to connect your wireless security camera to your Chrome OS home computer via a mobile app, you can take advantage of the convenience and flexibility it offers for monitoring your property and keeping it secure.
Troubleshooting Common Issues
While setting up and connecting your wireless security camera to your Chrome OS home computer, you may encounter some common issues. Here are a few troubleshooting tips to help you resolve them:
No Wi-Fi Signal or Weak Connection
If your wireless security camera is not able to establish a Wi-Fi connection or is experiencing a weak signal, try the following steps:
- Ensure that your camera is within range of your Wi-Fi router. Walls and obstacles can affect the signal strength, so try moving the camera closer to the router.
- Check if your Wi-Fi router is functioning properly. Restarting the router or performing a firmware update can help resolve connectivity issues.
- Verify that the Wi-Fi network name (SSID) and password are entered correctly in the camera’s settings. Double-check for any typos or incorrect characters.
- If possible, change the Wi-Fi channel on your router to avoid interference from other devices or neighboring networks.
Incompatible Software or Plugins
If you are unable to access the camera’s live feed or settings through the web browser on your Chrome OS home computer, it could be due to incompatible software or plugins. Try the following steps:
- Ensure that you are using the latest version of Google Chrome browser on your Chrome OS device. Outdated browser versions may not support the necessary plugins or features.
- Download and install any required software or plugins provided by the camera’s manufacturer. Consult the camera’s documentation or the manufacturer’s website for specific instructions.
- Disable any browser extensions or ad-blockers that may be interfering with the camera’s web interface.
- If the camera’s web interface requires Adobe Flash Player, make sure it is enabled in your browser settings.
Camera Firmware Update
If you experience issues with camera functionality or performance, it may be necessary to update the camera’s firmware. Follow these steps:
- Visit the manufacturer’s website to check if there are any firmware updates available for your camera model.
- Download the firmware update file and follow the instructions provided by the manufacturer to install it on your camera.
- Make sure to follow the firmware update process carefully, as any interruption or incorrect installation can cause issues with the camera.
- After the firmware update is complete, restart the camera and test its functionality.
If you encounter any other issues that are not addressed here, refer to the user manual or contact the manufacturer’s customer support for further assistance. They will be able to provide specific troubleshooting steps based on your camera model and setup.
By following these troubleshooting tips, you can overcome common issues and ensure a smooth connection between your wireless security camera and your Chrome OS home computer.
You can connect a wireless security camera to your Chrome OS home computer by first ensuring that the camera is compatible with Chrome OS. Then, download the camera’s app from the Chrome Web Store and follow the instructions to set it up.
Conclusion
Setting up a wireless security camera to your Chrome OS home computer is a straightforward process that offers numerous benefits in terms of home security and surveillance. Whether you choose to use a USB Wi-Fi adapter, utilize a Network Video Recorder (NVR), or connect via a mobile app, the flexibility of these options allows you to monitor your property and loved ones with ease.
Understanding the compatibility of wireless security cameras with Chrome OS is crucial before making a purchase. Most cameras support web-based applications or browser plugins, enabling you to access the camera’s live feed and settings through the Google Chrome browser on your Chrome OS device.
By following the steps provided for each connection option, you can easily connect your wireless security camera to your Chrome OS home computer and experience the convenience of remote monitoring and surveillance.
In the event of any issues, troubleshooting common problems such as Wi-Fi connectivity, incompatible software or plugins, and camera firmware updates can help resolve the challenges you may encounter during the setup process.
With a wireless security camera connected to your Chrome OS home computer, you gain the ability to monitor your property, receive real-time alerts, and review recorded footage from anywhere, providing you with peace of mind and an added layer of security.
Remember to refer to the camera’s user manual, manufacturer’s website, or contact customer support for any specific instructions or guidance tailored to your camera model.
Now that you have learned how to connect a wireless security camera to your Chrome OS home computer, it’s time to take action and enhance the security of your home with this advanced surveillance solution.
Frequently Asked Questions about How Would I Hook Up A Wireless Security Camera To My Chrome OS Home Computer
Was this page helpful?
At Storables.com, we guarantee accurate and reliable information. Our content, validated by Expert Board Contributors, is crafted following stringent Editorial Policies. We're committed to providing you with well-researched, expert-backed insights for all your informational needs.