Home>Home Security and Surveillance>How To Install Wireless Security System Outside
Home Security and Surveillance
How To Install Wireless Security System Outside
Modified: September 1, 2024
Learn how to install a wireless security system outside your home. Ensure the safety of your property with our step-by-step guide. Home Security and Surveillance at its best!
(Many of the links in this article redirect to a specific reviewed product. Your purchase of these products through affiliate links helps to generate commission for Storables.com, at no extra cost. Learn more)
Introduction
Ensuring the safety and security of your home is a top priority for any homeowner. With advancements in technology, wireless security systems have become an increasingly popular choice. Not only are they easy to install, but they also provide flexibility and convenience without the need for complicated wiring.
In this article, we will guide you through the process of installing a wireless security system outside your home. We’ll cover every step you need to take, from choosing the right system to testing and adjusting it. So, let’s get started and create a secure environment for your family and belongings.
Key Takeaways:
- Choosing the right wireless security system is crucial. Look for outdoor compatibility, high camera resolution, night vision, mobile app integration, and ample storage options to ensure maximum security for your home.
- Proper planning, strategic camera placement, and thorough testing are essential for a successful wireless security system installation. Ensure optimal coverage, stable connections, and reliable functionality for peace of mind.
Step 1: Choosing the Right Wireless Security System
Before diving into the installation process, it’s essential to select the right wireless security system for your specific needs. Here are a few factors to consider:
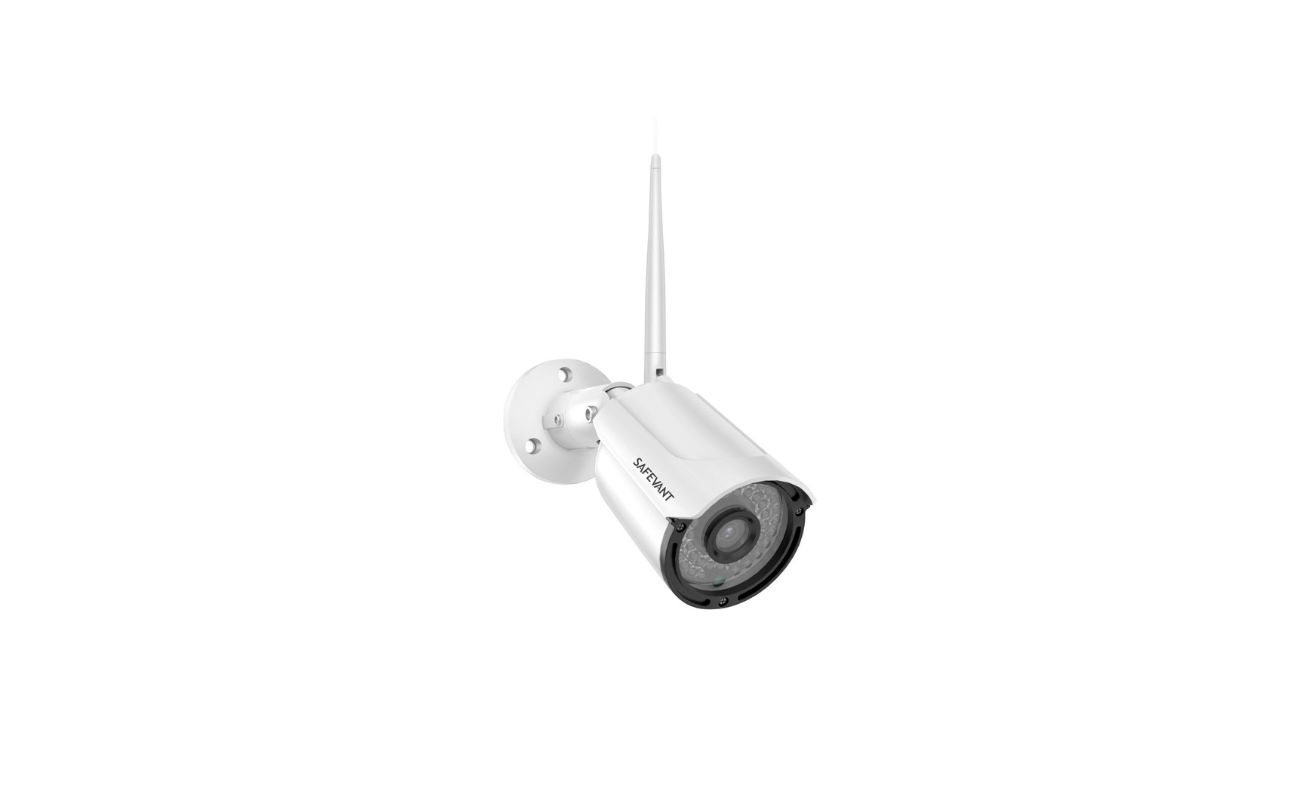
- Outdoor compatibility: Ensure that the wireless security system you choose is specifically designed for outdoor use. Look for systems that are weatherproof and can withstand various environmental conditions such as rain, snow, and extreme temperatures.
- Camera resolution: Opt for cameras with high-resolution capabilities to capture clear and detailed footage. HD (high-definition) or 4K resolution cameras are ideal for identifying faces and license plates, ensuring maximum security.
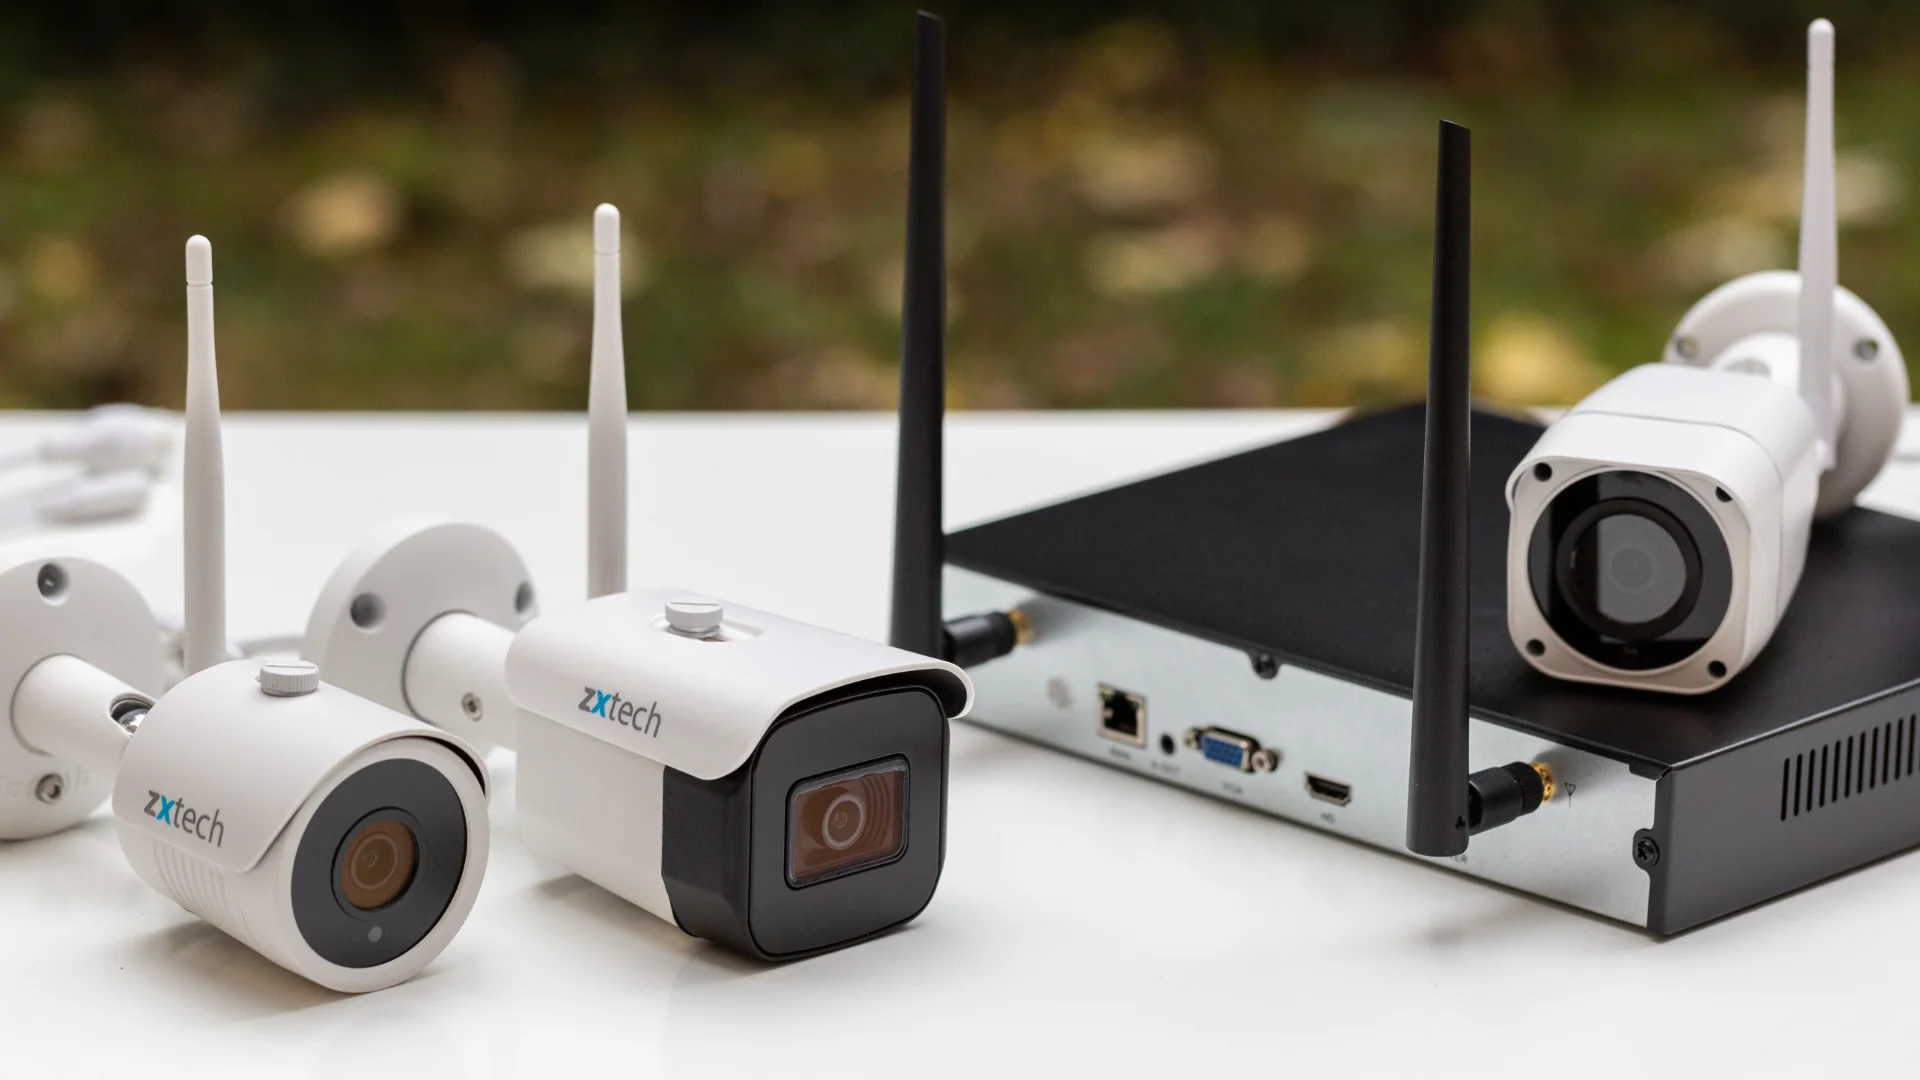
- Wireless range: Check the wireless range of the system to ensure it covers the desired area around your home. A system with a larger range will provide more flexibility in camera placement.
- Night vision: Look for cameras equipped with infrared LEDs or night vision capabilities. This feature allows the cameras to capture clear footage in low-light or complete darkness situations, enhancing the security even during nighttime.
- Mobile app integration: Consider systems that offer mobile app integration, allowing you to monitor your security system remotely through your smartphone or tablet. This feature gives you the convenience of checking on your home’s security anytime and anywhere.
- Storage options: Evaluate the different storage options available for storing recorded footage. Some systems offer cloud storage, while others require local storage devices like microSD cards or hard drives.
Take the time to research and compare different wireless security systems available in the market. Consider your budget, specific security needs, and any additional features that may be important to you. Once you have chosen the right system, you can proceed to the next step: planning the installation.
Step 2: Planning the Installation
Proper planning is crucial for the successful installation of your wireless security system. By taking the time to plan, you can ensure that all necessary equipment is in place, and the cameras are strategically positioned for maximum coverage. Here are the key aspects to consider during the planning phase:
- Identify vulnerable areas: Start by surveying your property and identifying the vulnerable areas that require surveillance. This may include entry points, such as doors and windows, as well as pathways or blind spots around your home.
- Determine camera locations: Once you’ve identified the vulnerable areas, determine the optimal locations for mounting the cameras. Consider factors such as the field of view, camera range, and any obstacles that may obstruct the view.
- Ensure power source availability: Check if there are power outlets near the planned camera locations or consider using wireless cameras with rechargeable batteries. If necessary, you may need to install outdoor power outlets or use extension cords.
- Create a camera placement map: Draw a rough map of your property and mark the planned camera locations. This will help you visualize the coverage areas and ensure that all critical areas are being monitored.
- Consider camera angles: Think about the desired angles for each camera to capture the best footage. Adjust the camera mountings accordingly to achieve the ideal view for each location.
- Check for Wi-Fi signal strength: Ensure that the planned camera locations have a strong Wi-Fi signal to maintain a stable connection. If the signal is weak, consider using Wi-Fi extenders or mesh networks to boost the coverage.
Once you have completed the planning phase, you will have a clear roadmap for installing your wireless security system. With this foundation in place, you can move on to the next step: mounting the cameras.
Step 3: Mounting the Cameras
Mounting the cameras is a critical step in the installation process to ensure proper positioning and optimal coverage. Follow these steps to mount your wireless security cameras:
- Gather the necessary tools: Before starting, gather the tools you’ll need, including a drill, screwdriver, mounting brackets, and screws. Make sure you have the appropriate tools for the type of surface you’ll be mounting the cameras on (e.g., wood, brick, or concrete).
- Refer to the manufacturer’s instructions: Consult the manufacturer’s instructions that came with your wireless security system to understand the specific steps for mounting the cameras. It’s important to follow these instructions carefully to ensure a secure installation.
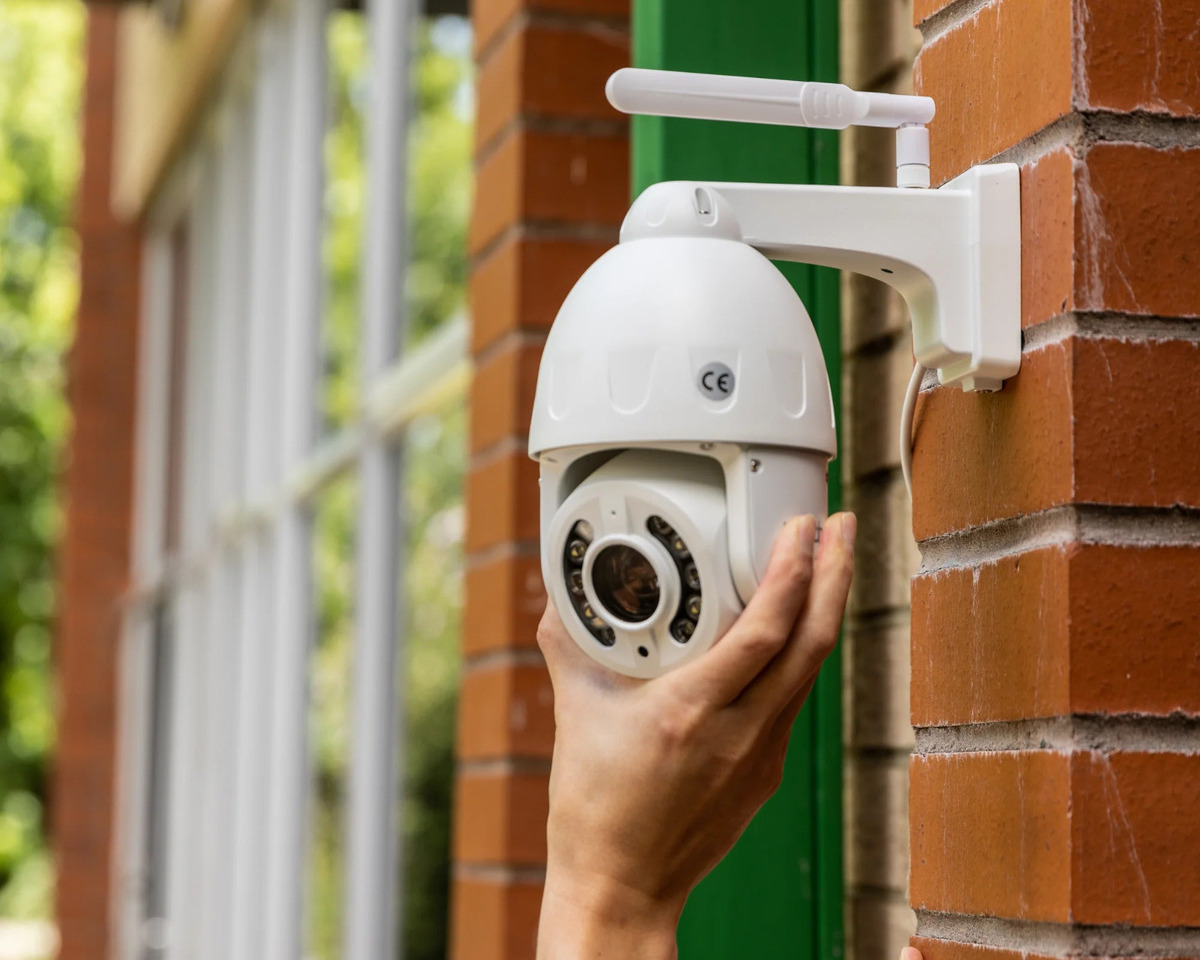
- Position the cameras: Use your camera placement map from the planning phase to guide you in positioning the cameras. Mount them at the predetermined locations, making sure they have a clear view of the targeted areas.
- Secure the mounting brackets: Attach the mounting brackets to the chosen locations using screws and a drill. Ensure that the brackets are securely fastened and stable.
- Attach the cameras: Depending on the type of mounting brackets provided with your cameras, either screw or clip the cameras onto the brackets. Follow the manufacturer’s instructions for attaching the cameras securely.
- Adjust camera angles: Once the cameras are mounted, adjust their angles to capture the desired view. Ensure that the cameras are level and pointing in the right direction to cover the vulnerable areas effectively.
- Test the camera positions: Before moving on to the next steps, test the camera positions by reviewing the live footage on your monitor or mobile app. Make any necessary adjustments to ensure optimal coverage.
Remember to take proper safety precautions while mounting the cameras, especially if you need to use ladders or access high areas. If you’re unsure about any aspect of the installation, it’s recommended to seek professional assistance.
With the cameras securely mounted, you’re now ready to move on to the next step: installing the receiver and monitor.
When installing a wireless security system outside, make sure to place the cameras in high and hidden locations to prevent tampering. Also, ensure that the cameras are weatherproof and have a clear line of sight for optimal coverage.
Step 4: Installing the Receiver and Monitor
Once you have successfully mounted your wireless security cameras, it’s time to install the receiver and monitor, which will allow you to view and record the camera footage. Follow these steps to install the receiver and monitor:
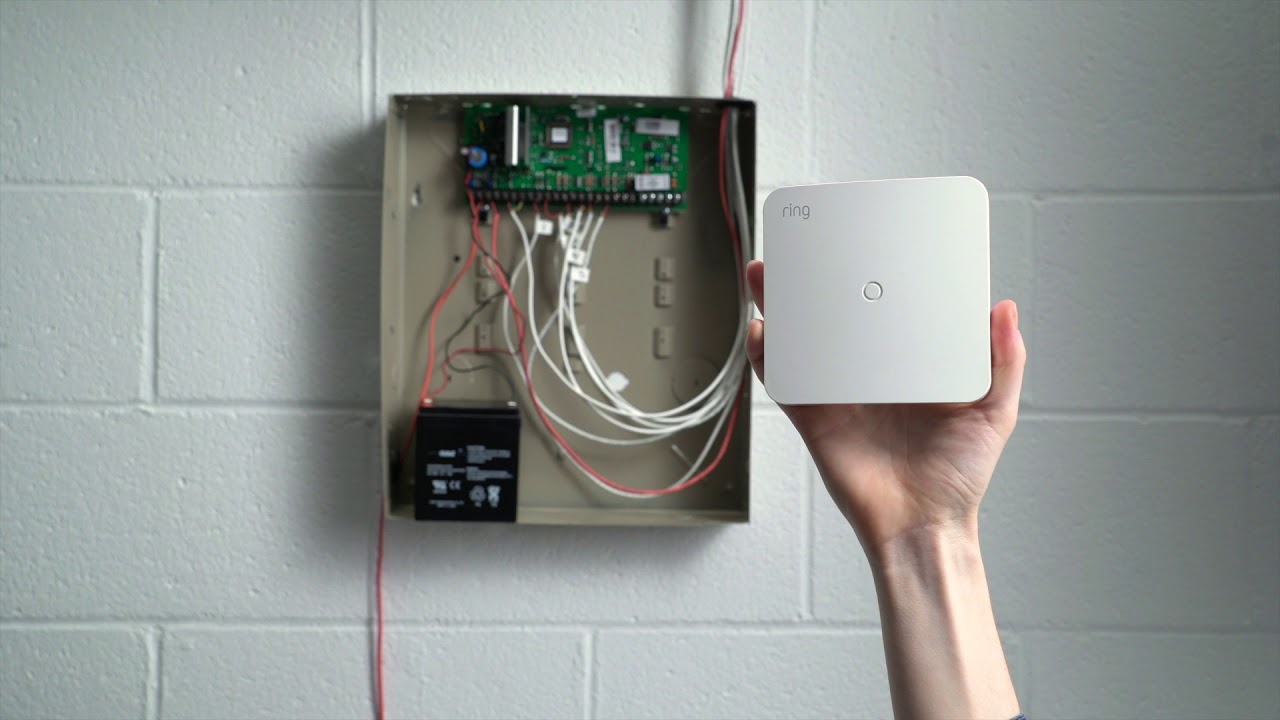
- Choose a central location: Select a central location inside your home where you plan to install the receiver and monitor. This location should be easily accessible and close to a power outlet.
- Connect the receiver: Take the receiver and connect it to a power source. Use the provided cables to connect the receiver to your internet modem or router. This connection will enable you to access the camera feed remotely if supported by your security system.
- Position the monitor: Place the monitor in your chosen location, ensuring that it is within reach and at a comfortable viewing height. Connect the monitor to a power source and use the provided cables to connect it to the receiver.
- Configure the receiver and monitor: Follow the manufacturer’s instructions to configure the receiver and monitor settings. This may involve setting up a Wi-Fi connection, adjusting display settings, and syncing the receiver with the cameras.
- Test the receiver and monitor: Once the installation is complete, test the receiver and monitor by checking the live feed from each camera. Ensure that you can view the footage clearly and that the receiver is picking up the camera signals correctly.
During the installation process, refer to the specific instructions provided by the manufacturer of your wireless security system. They may have additional steps or recommendations tailored to their product.
Once you have successfully installed the receiver and monitor, you can move on to the next step: connecting the cameras to the receiver.
Read more: How To Disarm Wireless Security System
Step 5: Connecting the Cameras to the Receiver
Now that you have installed the receiver and monitor, it’s time to connect your wireless security cameras to the receiver. Follow these steps to establish the connection:
- Power on the cameras: Ensure that all the cameras are powered on and receiving electricity. Double-check that the power supply to each camera is secure and functioning properly.
- Identify the camera channels: On the receiver or monitor, locate the camera channels that correspond to each camera. These channels are usually labeled or numbered for easy identification.
- Pair the cameras with the receiver: Refer to the manufacturer’s instructions to pair the cameras with the receiver. Typically, this involves pressing a specific button or following an on-screen menu to initiate the pairing process.
- Follow the pairing process: Once the pairing process is initiated, the receiver will search for and detect the cameras within range. Allow the pairing process to complete, which may take a few seconds or minutes depending on the system.
- Confirm camera connections: After the pairing process, check the receiver or monitor display to ensure that each camera is successfully connected. You should see live footage from each camera on the assigned channels.
- Test camera functionality: Test the functionality of each camera by adjusting the angles, zooming in, or panning to different areas. Ensure that the cameras respond correctly to the commands and that the footage remains stable.
- Adjust camera settings if needed: If necessary, adjust camera settings such as motion detection sensitivity, recording options, or audio settings. Refer to the manufacturer’s instructions to navigate through the camera settings and make the desired adjustments.
Remember to refer to the specific instructions provided by the manufacturer of your wireless security system for detailed pairing and camera set-up steps. Each system may have different processes or additional features to explore.
Once you have successfully connected the cameras to the receiver, you are ready to move on to the final step: testing and adjusting the system.
Step 6: Testing and Adjusting the System
After completing the installation of your wireless security system, it’s important to thoroughly test and adjust the system to ensure it is functioning optimally. This step will allow you to identify any issues, make necessary adjustments, and verify that the system meets your expectations. Follow these steps to test and adjust your system:
- Verify camera coverage: Go through each camera’s field of view and ensure that all intended areas are captured by the cameras. Adjust the camera angles if necessary to maximize coverage and minimize blind spots.
- Check camera positioning: Verify that the cameras are securely mounted and not prone to unwanted movement or vibration. Make any necessary adjustments to ensure stability.
- Test camera functionality: Activate the various features of your cameras, such as motion detection, night vision, and audio recording. Verify that these features perform as expected and make any necessary adjustments to the settings.
- Review image/video quality: Inspect the quality of the captured images or videos to ensure clarity and resolution. If the quality is not satisfactory, adjust camera settings, such as resolution, frame rate, or exposure, to improve the image/video quality.
- Test remote access: If your wireless security system supports remote access through a mobile app or web portal, test the functionality by accessing the system from your smartphone or computer. Ensure that you can view the live feed, playback recorded footage, and make any necessary system changes remotely.
- Check storage capacity: If your system has local storage capacity or utilizes cloud storage, check the available space to ensure it can accommodate the desired recording duration. Make any adjustments to storage settings or consider upgrading the storage capacity if necessary.
- Test alarm and notification system: If your system includes alarms or notifications for motion detection or other triggers, test them to ensure they function properly. Make sure you receive alerts and notifications when the designated events occur.
- Document your system settings: Take note of all the settings and configurations you have adjusted during the testing phase. This documentation will serve as a reference in case you need to reset the system or make changes in the future.
By thoroughly testing and adjusting your wireless security system, you can ensure its efficiency, reliability, and ability to meet your home security needs. Regularly monitor and maintain your system to address any potential issues and ensure its continued operation.
With the completion of the testing and adjustment phase, you have successfully installed and set up your wireless security system. Congratulations! You can now enjoy enhanced security and peace of mind, knowing that your home is well-protected.
Disclaimer: The above steps are general guidelines to help you install a wireless security system outside your home. Always refer to the specific instructions provided by the manufacturer of your system for accurate installation steps and safety precautions.
Conclusion
Installing a wireless security system outside your home is a proactive step towards ensuring the safety and security of your property. With the advancements in technology, setting up a wireless system has become more accessible and convenient than ever before.
In this guide, we have walked you through the process of installing a wireless security system outside your home. From choosing the right system to testing and adjusting the setup, each step is crucial in creating a robust and reliable security infrastructure.
By selecting a wireless security system designed for outdoor use and considering factors such as camera resolution, wireless range, night vision, mobile app integration, and storage options, you can find a system best suited to your specific needs.
Planning the installation allows you to identify vulnerable areas, determine camera locations, and ensure power source availability. Mounting the cameras in the right positions, adjusting the angles, and testing their functionality will provide optimal coverage and performance.
Installing the receiver and monitor, along with connecting the cameras to the receiver, allows you to view and record the camera footage. Ensure proper pairing, adjust settings, and verify the camera connections to establish a reliable system.
Finally, completing the testing and adjustment phase ensures that your wireless security system functions as intended. Verify camera coverage, check positioning, and test remote access and storage capacity to guarantee the efficiency and effectiveness of your system.
Remember to regularly monitor, maintain, and update your system to address any issues or changing security needs. Stay informed about the latest advancements in wireless security technologies to make informed decisions about system upgrades or expansions.
With a properly installed wireless security system, you can have peace of mind knowing that your home is protected against potential threats and intrusions. The ability to remotely monitor your property and receive alerts provides an added layer of convenience and security.
Take the time to consider your specific requirements, explore different wireless security system options, and follow the installation steps outlined in this guide. By doing so, you can create a secure environment for yourself, your family, and your belongings.
Remember, safety is paramount, and if you are unsure about any aspect of the installation, it is advisable to seek professional assistance to ensure proper installation and optimal functionality of your wireless security system.
Stay vigilant, stay secure, and enjoy the peace of mind that comes with a well-installed and reliable wireless security system.
Frequently Asked Questions about How To Install Wireless Security System Outside
Was this page helpful?
At Storables.com, we guarantee accurate and reliable information. Our content, validated by Expert Board Contributors, is crafted following stringent Editorial Policies. We're committed to providing you with well-researched, expert-backed insights for all your informational needs.