Home>Home Security and Surveillance>How Do I Connect My Wireless Security Light Bulb Camera To Roku TV
Home Security and Surveillance
How Do I Connect My Wireless Security Light Bulb Camera To Roku TV
Modified: September 1, 2024
Connect your wireless security light bulb camera to Roku TV for home security and surveillance. Easily monitor your surroundings with this convenient setup.
(Many of the links in this article redirect to a specific reviewed product. Your purchase of these products through affiliate links helps to generate commission for Storables.com, at no extra cost. Learn more)
Introduction:
Welcome to the world of home security and surveillance! In this article, we will guide you through the process of connecting your wireless security light bulb camera to your Roku TV. With this setup, you can conveniently monitor your home and keep an eye on what’s happening, all from the comfort of your living room.
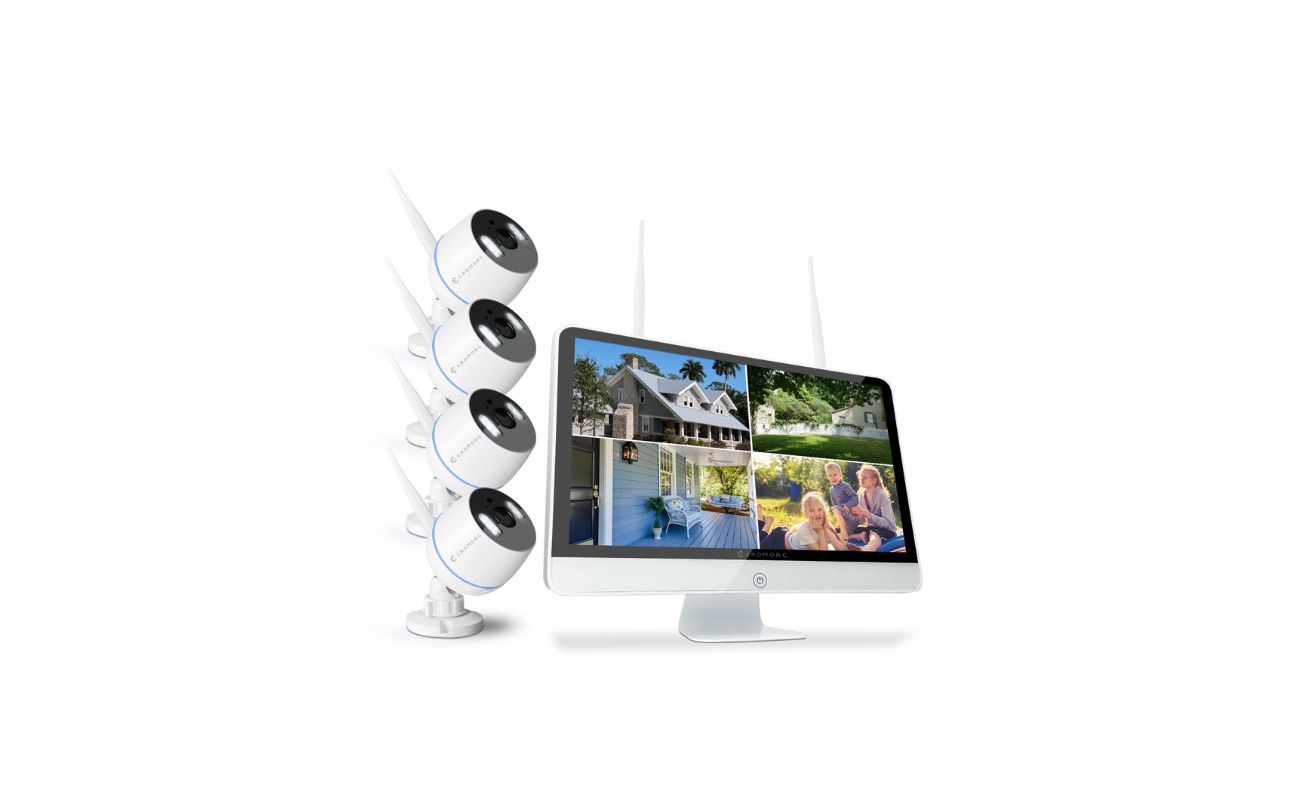
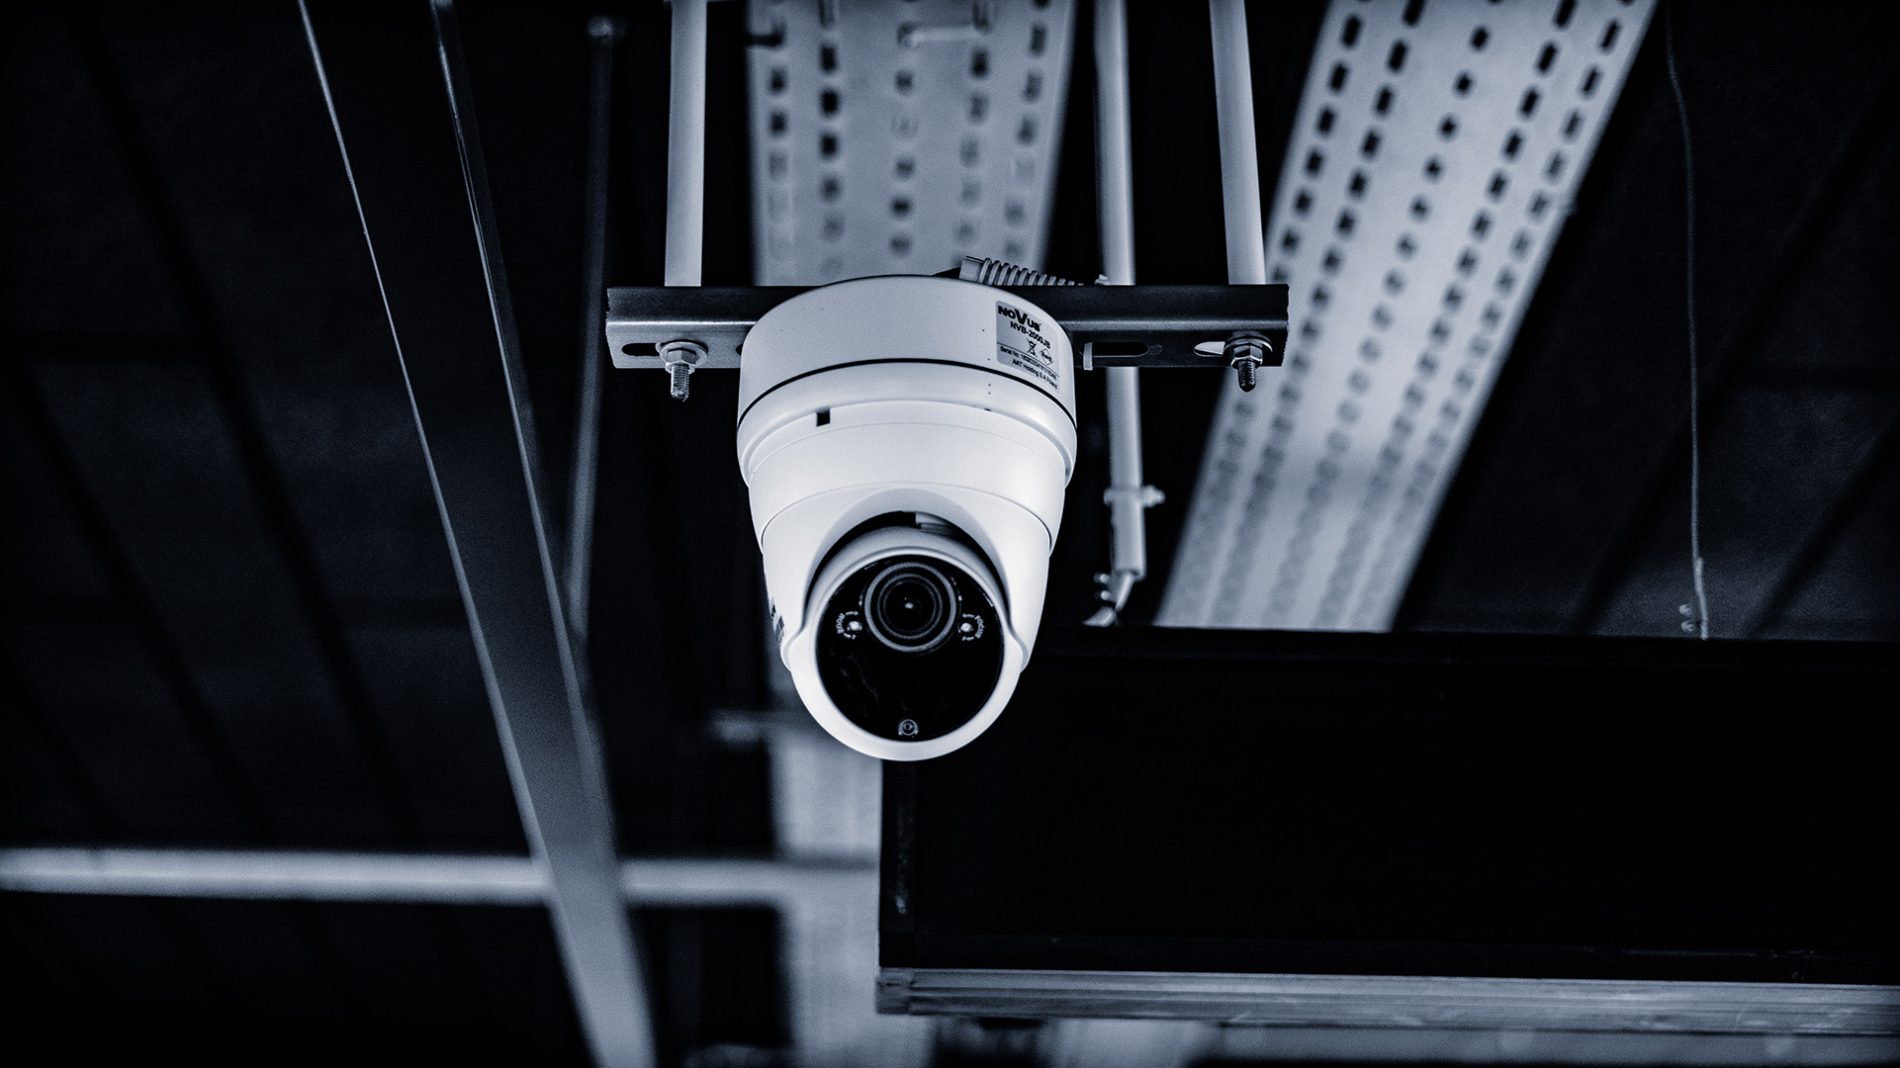
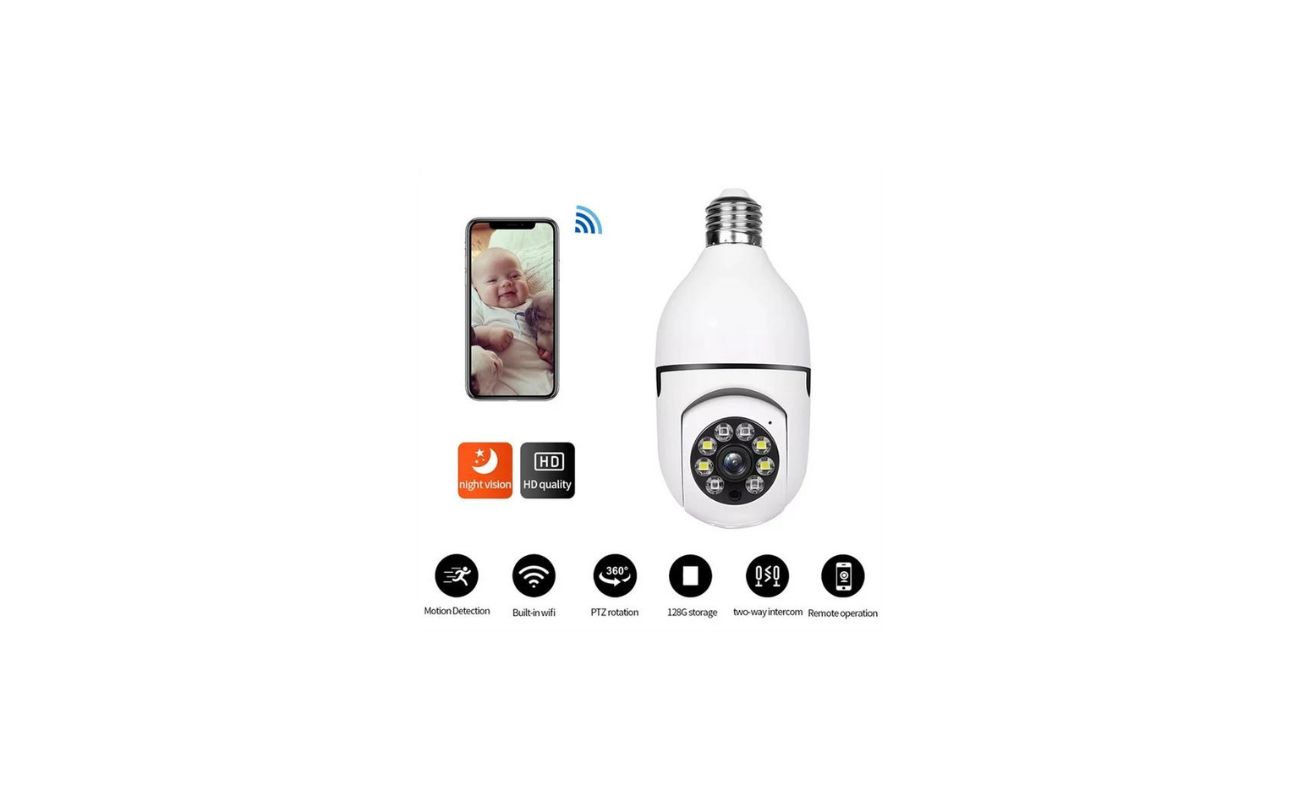
Wireless security light bulb cameras have become increasingly popular for their discreet design and functionality. These innovative devices not only provide ample lighting but also capture high-quality video footage, allowing you to secure your home effectively.
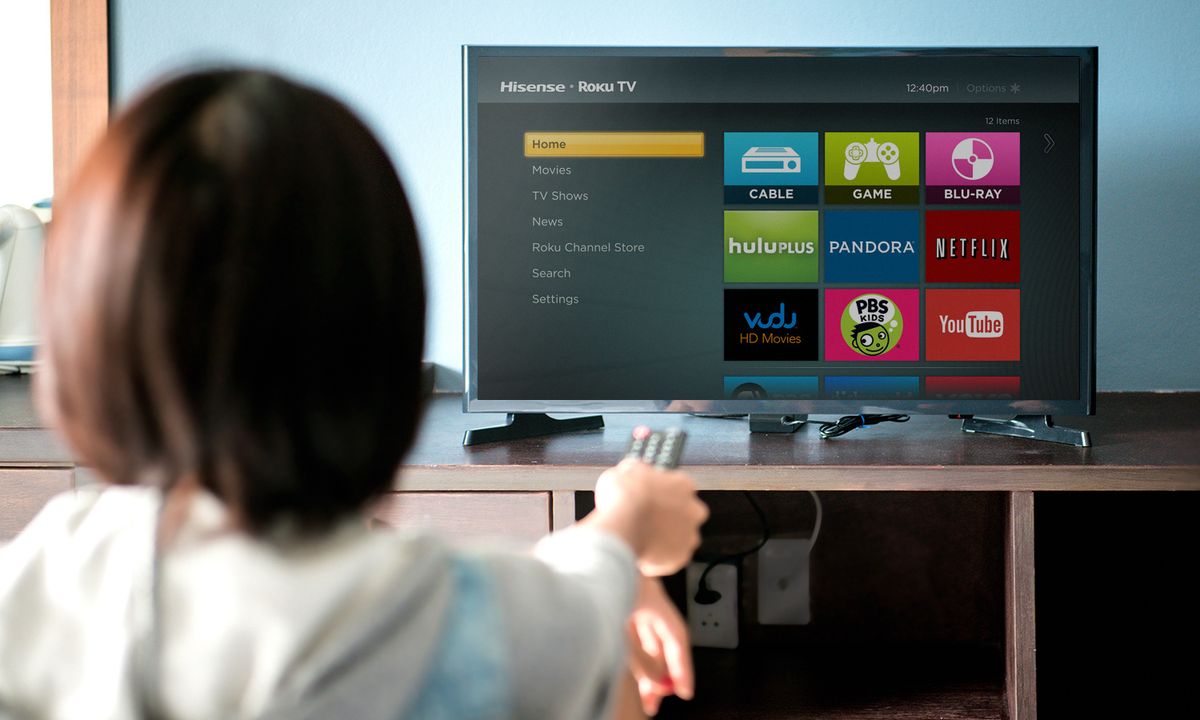
Roku TV, on the other hand, is a smart TV platform that offers a multitude of entertainment options, including streaming services, games, and more. By integrating your wireless security light bulb camera with your Roku TV, you can enjoy the convenience of viewing your security feed directly on your television screen.
Now that you understand the benefits of connecting your devices, let’s dive into the step-by-step process to get them up and running together.
Key Takeaways:
- Connect your wireless security light bulb camera to your Roku TV by checking compatibility, setting up the camera, connecting to Wi-Fi, installing the Roku TV app, and pairing your smartphone. Enjoy monitoring your home from your TV!
- Access the live feed from your wireless security light bulb camera on your Roku TV by ensuring both devices are on the same Wi-Fi network, pairing them using the Roku TV app, and navigating to the camera section. Enjoy peace of mind and convenience!
Step 1: Check the compatibility of your wireless security light bulb camera and Roku TV
Before you begin the setup process, it is essential to ensure that your wireless security light bulb camera and Roku TV are compatible with each other.
First, check the specifications and documentation of your wireless security light bulb camera to see if it supports integration with Roku TV. Look for any specific instructions or compatibility requirements provided by the manufacturer.
Next, examine your Roku TV to see if it supports third-party camera integration. Some Roku TV models have built-in support for certain security cameras, while others may require the use of a compatible app.
If your wireless security light bulb camera and Roku TV are not directly compatible, there may still be alternative ways to connect them. You can explore the option of using a third-party app or device that acts as a bridge between the camera and the TV.
Remember, compatibility is crucial for a smooth and seamless integration. Make sure to do thorough research and consult the user manuals or support resources provided by both the camera and Roku TV manufacturers.
Once you have confirmed the compatibility of your devices, you can proceed to the next steps and set up your wireless security light bulb camera and Roku TV.
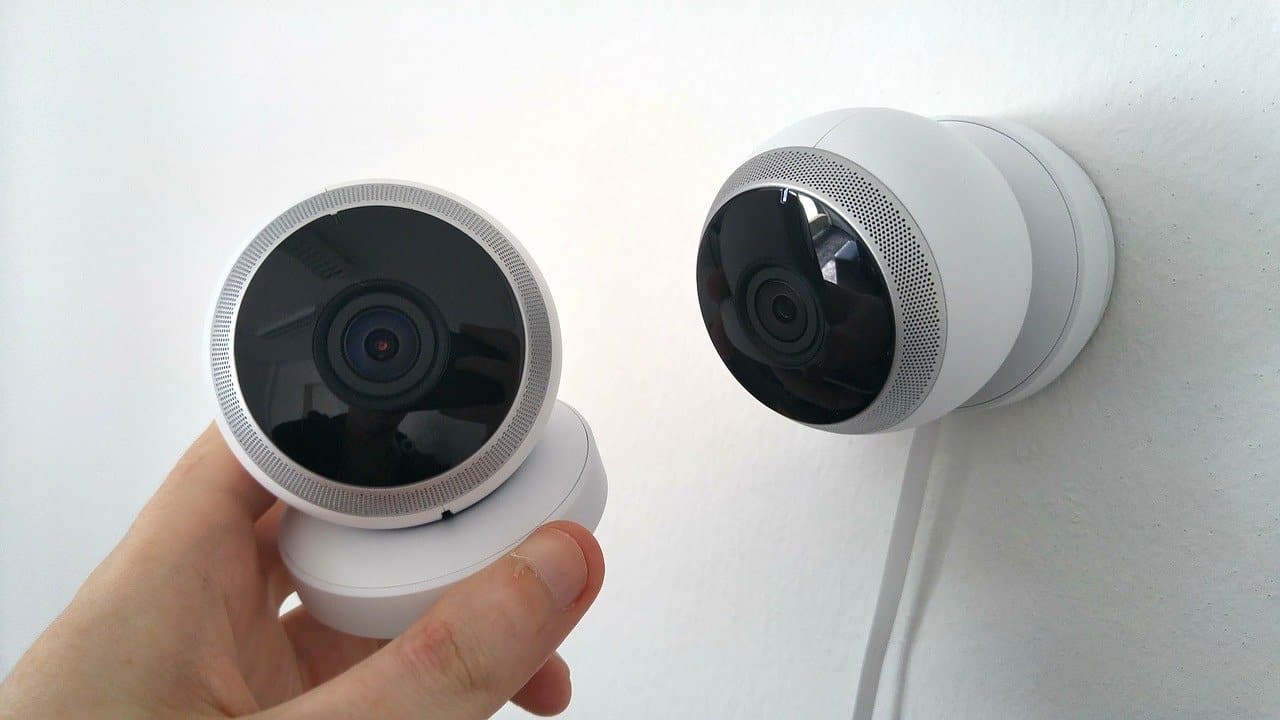
Step 2: Set up your wireless security light bulb camera
Setting up your wireless security light bulb camera is the first step towards connecting it with your Roku TV. Here’s how you can get started:
- Choose the right location: Select a suitable location for your wireless security light bulb camera. Make sure it offers a clear view of the area you want to monitor. Consider factors such as wiring accessibility, Wi-Fi signal strength, and lighting conditions.
- Install the camera: Follow the manufacturer’s instructions to physically install the wireless security light bulb camera. It typically involves screwing the camera into a light fixture socket, ensuring it is securely attached.
- Power up the camera: Connect the camera to a power source. Depending on your camera model, this may involve plugging it into an electrical outlet or wiring it directly into the light fixture. Ensure the camera has a stable power supply to ensure uninterrupted operation.
- Download the camera app: Most wireless security light bulb cameras require a smartphone app for setup and control. Go to the app store on your smartphone and search for the camera manufacturer’s app. Download and install the app onto your device.
- Create an account: Launch the camera app and follow the prompts to create an account. This may involve providing your email address, creating a password, and agreeing to the terms and conditions. Keep this account information secure as it will be used to access your camera’s features and settings.
- Connect the camera to the app: Follow the app’s instructions to connect your smartphone to the wireless security light bulb camera. This typically involves scanning a QR code or entering a unique camera ID or IP address. Make sure your smartphone is connected to the same Wi-Fi network as the camera for a smooth connection process.
- Configure camera settings: Once your smartphone is connected to the camera, you can customize various settings, such as video quality, motion detection sensitivity, and recording preferences. Take the time to review and adjust these settings based on your specific needs and preferences.
- Test the camera: After setting up the camera and configuring the necessary settings, conduct a test to ensure everything is functioning correctly. Check the live video feed and verify that you can access the camera’s features and controls through the app. Make any necessary adjustments to optimize the camera’s performance if needed.
With your wireless security light bulb camera set up and functioning properly, you can proceed to the next step of connecting it to your home Wi-Fi network.
Step 3: Connect your wireless security light bulb camera to your home Wi-Fi network
Now that your wireless security light bulb camera is physically set up, the next step is to connect it to your home Wi-Fi network. This will allow you to access the camera remotely and view the live feed on your Roku TV. Follow these steps to connect your camera to Wi-Fi:
- Access camera settings: Open the camera app on your smartphone and navigate to the settings or configuration section specifically related to Wi-Fi setup.
- Select Wi-Fi setup: Within the app, find the option to set up a Wi-Fi connection. This may be labeled as “Wi-Fi Configuration” or something similar.
- Choose your network: The app should display a list of available Wi-Fi networks. Select your home network from the list.
- Enter your Wi-Fi credentials: Provide your Wi-Fi password when prompted. Double-check the accuracy to ensure a successful connection.
- Wait for connection: The camera will attempt to connect to the Wi-Fi network. This process may take a few moments. Be patient while the camera establishes a secure connection.
- Confirm successful connection: Once connected, the camera app should indicate a successful Wi-Fi connection. You may also see a small Wi-Fi symbol or indicator on the camera itself.
- Test the connection: To verify that the camera is connected to the Wi-Fi network, try accessing the live feed from your smartphone. Ensure that the video is streaming smoothly without any interruptions.
With your wireless security light bulb camera successfully connected to your home Wi-Fi network, you can now move on to the next step of installing the Roku TV app on your smartphone.
Step 4: Install the Roku TV app on your smartphone
In order to connect your Roku TV with your wireless security light bulb camera, you’ll need to install the Roku TV app on your smartphone. This app will act as a bridge between your Roku TV and the camera. Follow these steps to install the Roku TV app:
- Open your app store: Launch the app store on your smartphone. If you are using an iPhone, go to the Apple App Store. If you have an Android device, access the Google Play Store.
- Search for the Roku TV app: In the search bar of the app store, type in “Roku TV” and search for the official Roku TV app. Look for the app with the Roku logo and install it.
- Download and install the app: Tap the “Install” or “Get” button to download and install the Roku TV app on your smartphone. Wait for the installation process to complete.
- Launch the app: Once the app is installed, find its icon on your smartphone’s home screen or app drawer and tap on it to launch the Roku TV app.
- Create or sign in to your Roku account: When opening the app for the first time, you will be prompted to either create a new Roku account or sign in to your existing account. Follow the instructions provided to complete this process.
- Pair your smartphone with your Roku TV: After signing in, the Roku TV app will search for available Roku devices on your home network. Make sure both your smartphone and Roku TV are connected to the same Wi-Fi network. Once the app detects your Roku TV, select it to initiate the pairing process.
- Follow on-screen prompts: The Roku TV app will provide you with on-screen instructions to successfully pair your smartphone with your Roku TV. This may include entering a verification code displayed on your TV screen or confirming the connection on both devices.
- Verify successful pairing: Once the pairing process is complete, the Roku TV app should display a confirmation message indicating successful connection with your Roku TV. You can now move on to the next step of connecting your Roku TV and smartphone to the same Wi-Fi network.
With the Roku TV app successfully installed on your smartphone and paired with your Roku TV, you are one step closer to accessing the live feed from your wireless security light bulb camera on your TV screen.
You can connect your wireless security light bulb camera to your Roku TV by first ensuring that both devices are connected to the same Wi-Fi network. Then, download the camera’s app on your Roku TV and follow the on-screen instructions to complete the setup process.
Step 5: Connect your Roku TV and smartphone to the same Wi-Fi network
In order to seamlessly integrate your wireless security light bulb camera with your Roku TV, it is crucial to ensure that both your TV and smartphone are connected to the same Wi-Fi network. Follow these steps to establish a common network connection:
- Access network settings: On your Roku TV, navigate to the settings menu. This can typically be found by selecting the gear icon or by pressing the home button on your Roku remote and scrolling through the options.
- Select Network: Within the settings menu, locate and select the “Network” or “Wi-Fi” option.
- Connect to Wi-Fi: The network settings will display a list of available Wi-Fi networks. Select your home Wi-Fi network from the list.
- Enter your Wi-Fi credentials: You will be prompted to enter the password for your Wi-Fi network. Carefully enter the correct password to establish a secure connection.
- Confirm the connection: After entering the password, the Roku TV will attempt to connect to your Wi-Fi network. Wait for the confirmation message indicating a successful connection.
- Verify connection on your smartphone: On your smartphone, make sure Wi-Fi is enabled. Go to the Wi-Fi settings and select the same Wi-Fi network that you connected your Roku TV to.
- Test the network connection: Once both your Roku TV and smartphone are connected to the same Wi-Fi network, conduct a quick test. Open a web browser on your smartphone and try navigating to a website to ensure you have internet connectivity.
By connecting your Roku TV and smartphone to the same Wi-Fi network, you have established a common communication pathway that enables the streaming of the live feed from your wireless security light bulb camera to your Roku TV. You’re now ready for the next step – pairing your smartphone with your Roku TV using the Roku TV app.
Step 6: Pair your smartphone with your Roku TV using the Roku TV app
Now that your Roku TV and smartphone are connected to the same Wi-Fi network, it’s time to pair them together using the Roku TV app. This will allow you to control your Roku TV and access the live feed from your wireless security light bulb camera on your TV screen. Follow these steps to pair your smartphone with your Roku TV:
- Open the Roku TV app: Launch the Roku TV app on your smartphone. Make sure you are logged in to your Roku account within the app.
- Tap on “Devices”: In the Roku TV app, look for the “Devices” tab or icon. Tap on it to access the device pairing menu.
- Select your Roku TV: The Roku TV app will scan for available Roku devices on your Wi-Fi network. When your Roku TV appears in the list of devices, select it to initiate the pairing process.
- Enter the pairing code: Your Roku TV will display a unique pairing code on the screen. Enter this code into the Roku TV app on your smartphone when prompted. Make sure to enter the code correctly to establish a successful connection.
- Confirm the pairing: Once you have entered the pairing code, the Roku TV app will verify the connection and confirm that your smartphone is paired with your Roku TV. You should receive a message indicating successful pairing.
- Test the connection: To ensure that the pairing was successful, test the connection by selecting the appropriate options within the Roku TV app. You should be able to control your Roku TV from your smartphone and navigate through its menus.
- Access the live feed from your camera: Within the Roku TV app, navigate to the camera or home security section. Look for the option to access the live feed from your wireless security light bulb camera. Tap on it to view the camera’s video feed on your TV screen.
With your smartphone successfully paired with your Roku TV, you can now enjoy the convenience of accessing the live feed from your wireless security light bulb camera directly on your TV screen. This brings us to the final step of accessing the live feed from your camera on your Roku TV.
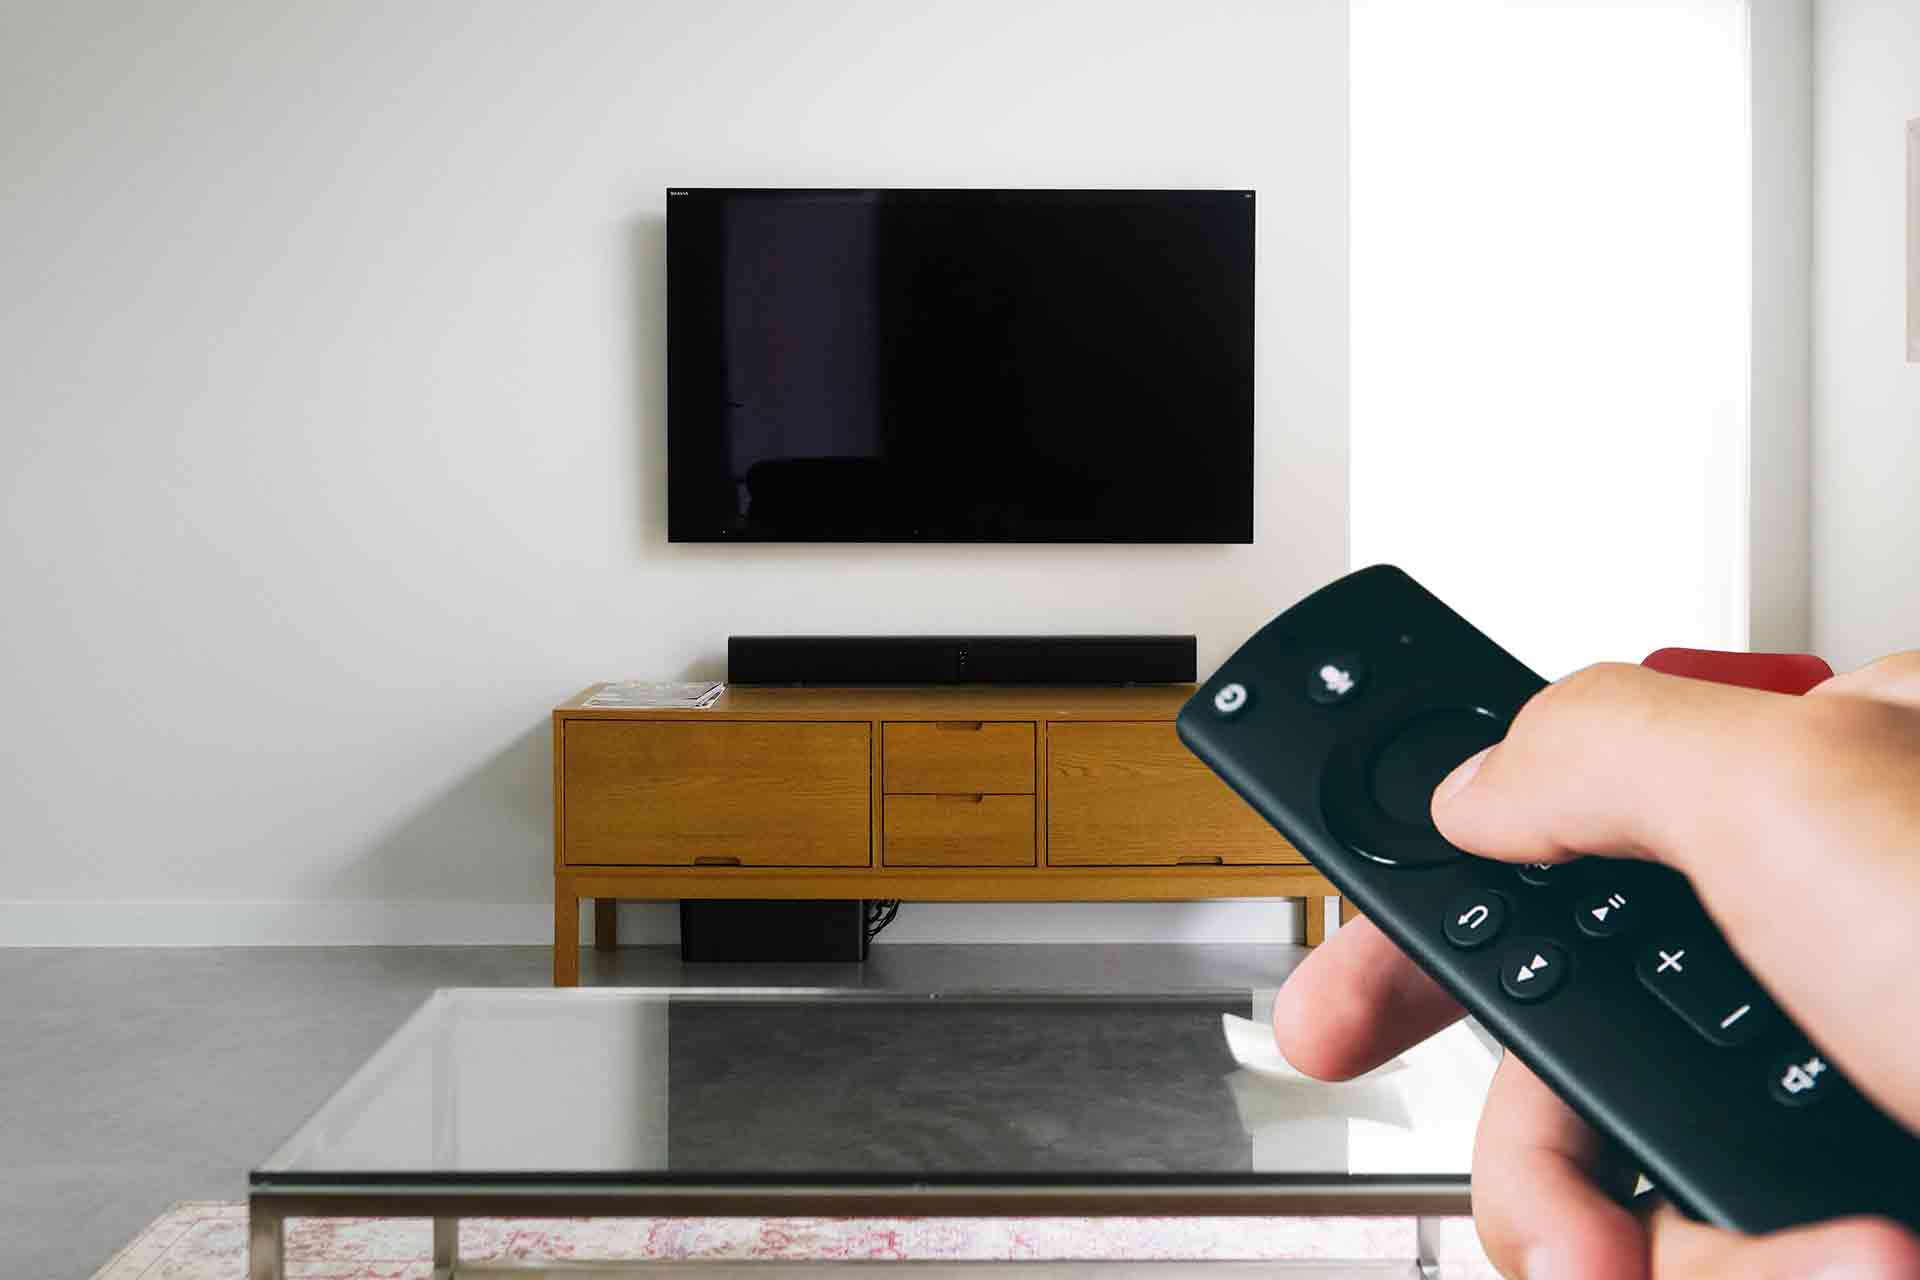
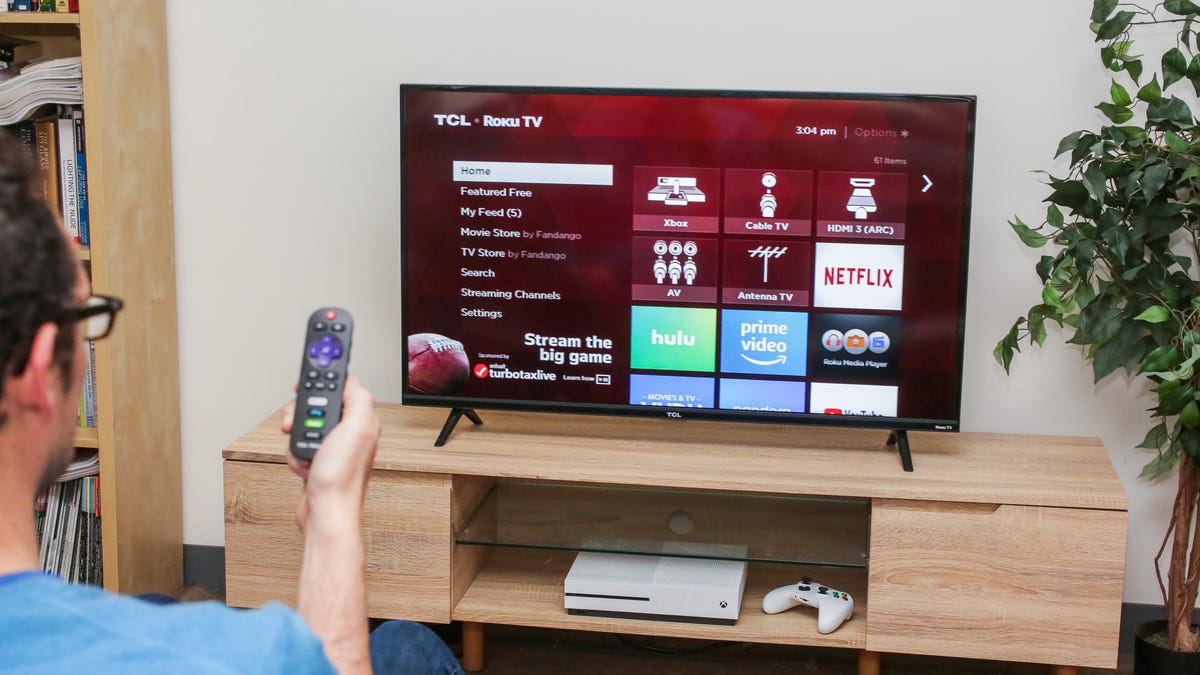
Step 7: Access the live feed from your wireless security light bulb camera on Roku TV
Now that your wireless security light bulb camera is connected to your home Wi-Fi network and paired with your Roku TV, you’re ready to access the live feed from the camera on your TV screen. Follow these steps to view the feed:
- Ensure your Roku TV is turned on: Make sure your Roku TV is powered on and is connected to the same Wi-Fi network as your wireless security light bulb camera.
- Launch the Roku TV home screen: Use the Roku TV remote to navigate to the home screen. You should see the various channels and options available.
- Access the Roku TV app: Locate and select the Roku TV app on your home screen. If you don’t see the app, press the Home button on your Roku TV remote to return to the home screen, and then scroll through the available options to find the app.
- Open the camera or security section: Within the Roku TV app, navigate to the camera or home security section. Look for the appropriate option that allows you to access the live feed from your wireless security light bulb camera.
- Select your camera: If you have multiple cameras connected, choose the specific wireless security light bulb camera you want to view the feed from. Select the camera from the available options.
- View the live feed: Once you have selected your camera, the Roku TV app will display the live feed on your TV screen. You should now be able to view the real-time video footage captured by your wireless security light bulb camera.
- Adjust settings and control: Depending on the Roku TV app and the camera integration, you may have additional options to adjust camera settings, playback recorded footage, or perform other actions. Explore the app interface and consult the camera manufacturer’s documentation for more details.
With these steps, you can effortlessly access the live feed from your wireless security light bulb camera on your Roku TV. Enjoy the peace of mind of having your home surveillance directly on your TV screen!
Remember, it’s important to regularly check the settings and configurations of both your wireless security light bulb camera and your Roku TV to ensure optimal performance and security. If you encounter any issues or need further assistance, refer to the user manuals or reach out to the respective manufacturers’ customer support.
Conclusion
Connecting your wireless security light bulb camera to your Roku TV opens up a whole new world of convenience and security. By following the step-by-step process outlined in this guide, you can seamlessly integrate your camera and TV, allowing you to monitor your home and access the live feed from the comfort of your living room.
Throughout this article, we’ve covered the essential steps, including checking device compatibility, setting up the camera, connecting it to your Wi-Fi network, installing the Roku TV app on your smartphone, pairing your smartphone and TV, and finally, accessing the live feed on your Roku TV. Each step contributes to a smooth and efficient setup process.
Remember to always ensure that your wireless security light bulb camera and Roku TV are compatible with each other before attempting the connection. Additionally, it’s important to choose the right location for your camera, follow the manufacturer’s instructions closely, and correctly configure the camera and app settings for optimal performance.
By integrating your wireless security light bulb camera with your Roku TV, you can have peace of mind knowing that your home is under constant surveillance. Whether you’re at home or away, you’ll have the ability to view the live feed, monitor your property, and keep an eye on any potential security concerns.
Take advantage of the features offered by the Roku TV app, such as adjusting camera settings, reviewing recorded footage, and customizing your home security preferences. With these tools at your disposal, you can tailor your home surveillance system to meet your specific needs and preferences.
Don’t forget to regularly check for software updates for both your wireless security light bulb camera and Roku TV app. Updates often include new features, bug fixes, and improved security measures, ensuring that your system stays up to date and functioning efficiently.
With the integration of your wireless security light bulb camera and Roku TV, you can enjoy the benefits of a comprehensive home security and surveillance solution. From monitoring your home to deterring potential intruders, this setup enhances the safety and comfort of your living space.
Now that you have all the information you need, it’s time to get started. Follow the steps outlined in this article, and soon you’ll be enjoying the convenience and peace of mind that comes with connecting your wireless security light bulb camera to your Roku TV.
Ready to elevate your home security and automation to the next level? After setting up your wireless security light bulb camera with Roku TV, you might wonder what other innovative gadgets are out there. Don't miss our detailed review on the top light bulb cameras available today, ensuring you choose the best for monitoring your space. Also, with home automation technologies rapidly advancing, our roundup of the latest and greatest solutions for 2024 will keep you in the loop on how to smarten up your abode efficiently.
Frequently Asked Questions about How Do I Connect My Wireless Security Light Bulb Camera To Roku TV
Was this page helpful?
At Storables.com, we guarantee accurate and reliable information. Our content, validated by Expert Board Contributors, is crafted following stringent Editorial Policies. We're committed to providing you with well-researched, expert-backed insights for all your informational needs.