Home>Home Security and Surveillance>How To Change Home Security System Battery
Home Security and Surveillance
How To Change Home Security System Battery
Modified: March 6, 2024
Learn how to change the battery in your home security system for optimal performance and peace of mind. Trust in our expertise at home-security-and-surveillance.
(Many of the links in this article redirect to a specific reviewed product. Your purchase of these products through affiliate links helps to generate commission for Storables.com, at no extra cost. Learn more)
Introduction
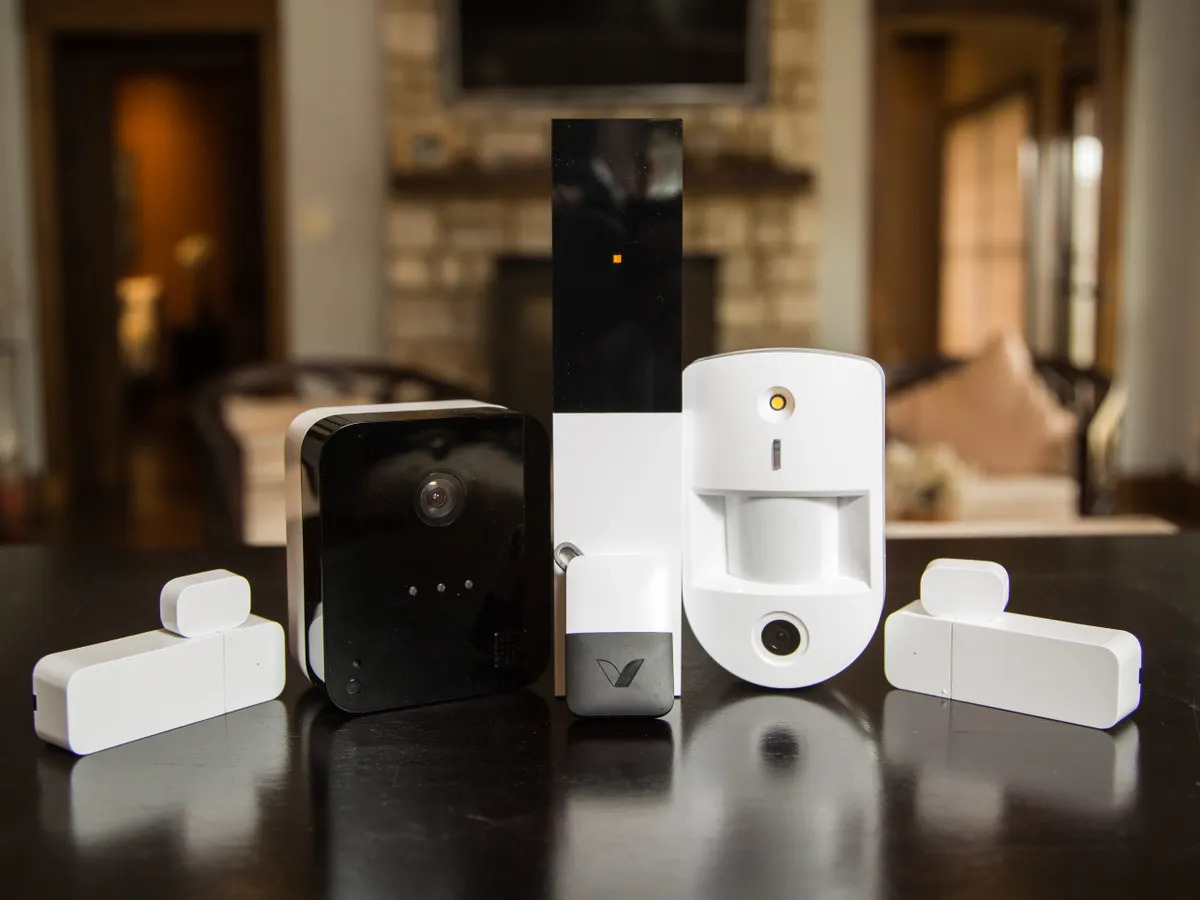
Welcome to our comprehensive guide on how to change the battery in your home security system. A well-functioning battery is vital for ensuring the continuous operation of your security system, providing you with the peace of mind that your home and loved ones are protected.
Over time, the battery that powers your home security system may start to lose its charge, resulting in decreased performance and potential failure. Therefore, it’s essential to regularly check and replace the battery to maintain the effectiveness of your security system.
In this article, we will walk you through the step-by-step process of changing the battery in your home security system. By following these simple instructions, you can ensure that your system is always powered and ready to defend your home from potential threats.
So, let’s get started on replacing your home security system’s battery and keeping your property safe and secure!
Key Takeaways:
- Regularly changing the battery in your home security system is crucial for keeping your home safe. Follow the steps in this guide to ensure your security system is always powered and ready to protect your loved ones.
- After replacing the battery, test your home security system to make sure it’s working properly. By staying proactive and maintaining your system, you can achieve complete peace of mind and protect your home from potential threats.
Read more: How To Change A Burglar Alarm Battery
Step 1: Determine the type of battery required
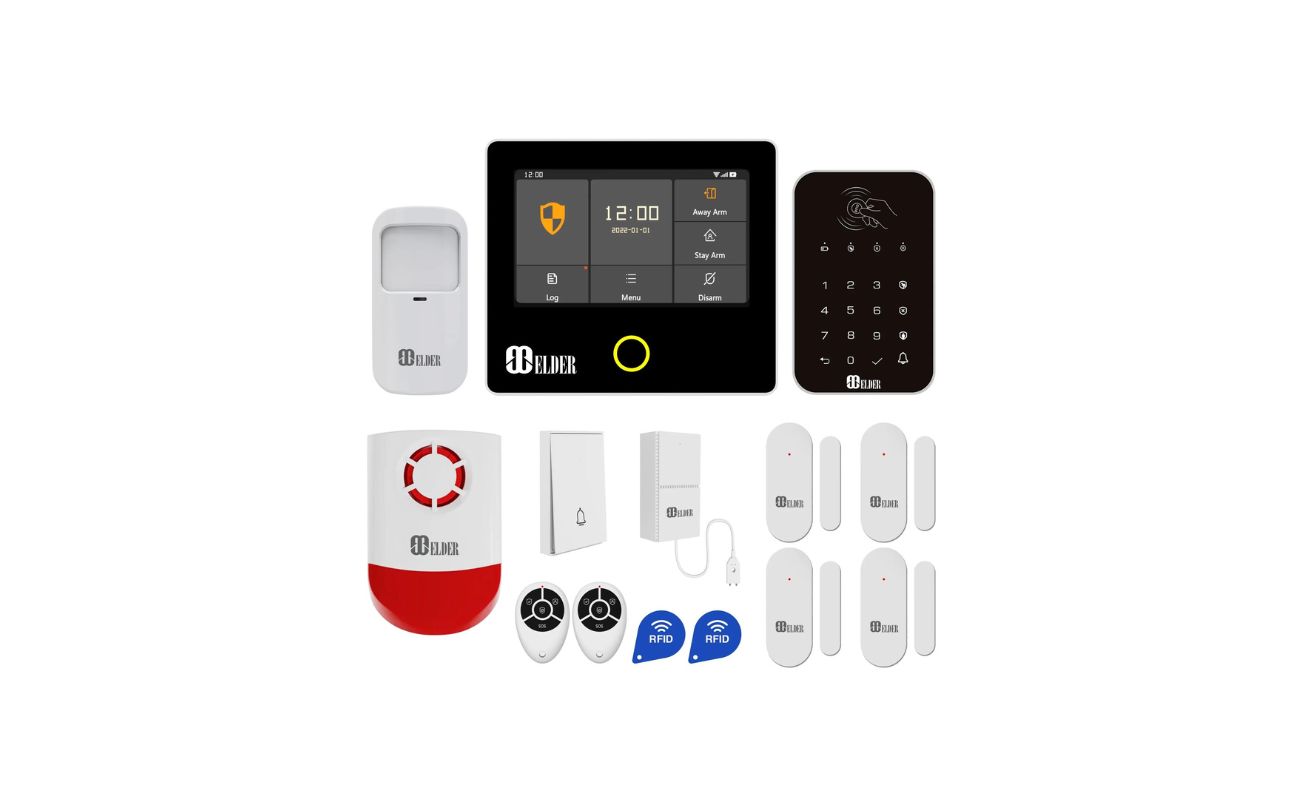
The first step in changing the battery of your home security system is to identify the type of battery you need. Home security systems typically use rechargeable batteries, but the specific battery type may vary depending on the make and model of your system.
To determine the type of battery required, refer to the user manual or documentation provided by the manufacturer. This information will outline the exact specifications and compatible battery types for your home security system.
If you don’t have access to the user manual, you can also check the existing battery in your system. Remove the old battery and look for any identification markings or labels. These markings will usually indicate the battery’s model number or specifications.
Alternatively, you can search for the model number or the specific make and model of your home security system online. This will help you find the exact battery information you need.
Once you have determined the type of battery required, make note of the specifications, such as voltage and capacity. This information will be crucial when purchasing a replacement battery.
It’s important to ensure that you are purchasing the correct battery for your security system to guarantee compatibility and optimal performance. Using the wrong type of battery can lead to system malfunctions or even damage.
With the correct battery type in hand, you’re now ready to proceed to the next step: turning off the security system.
Step 2: Turn off the security system
Before you start handling the battery, it is crucial to turn off the security system to prevent any accidents or false alarms. Disarming the system will ensure that the sensors and alarms are not triggered during the battery replacement process.
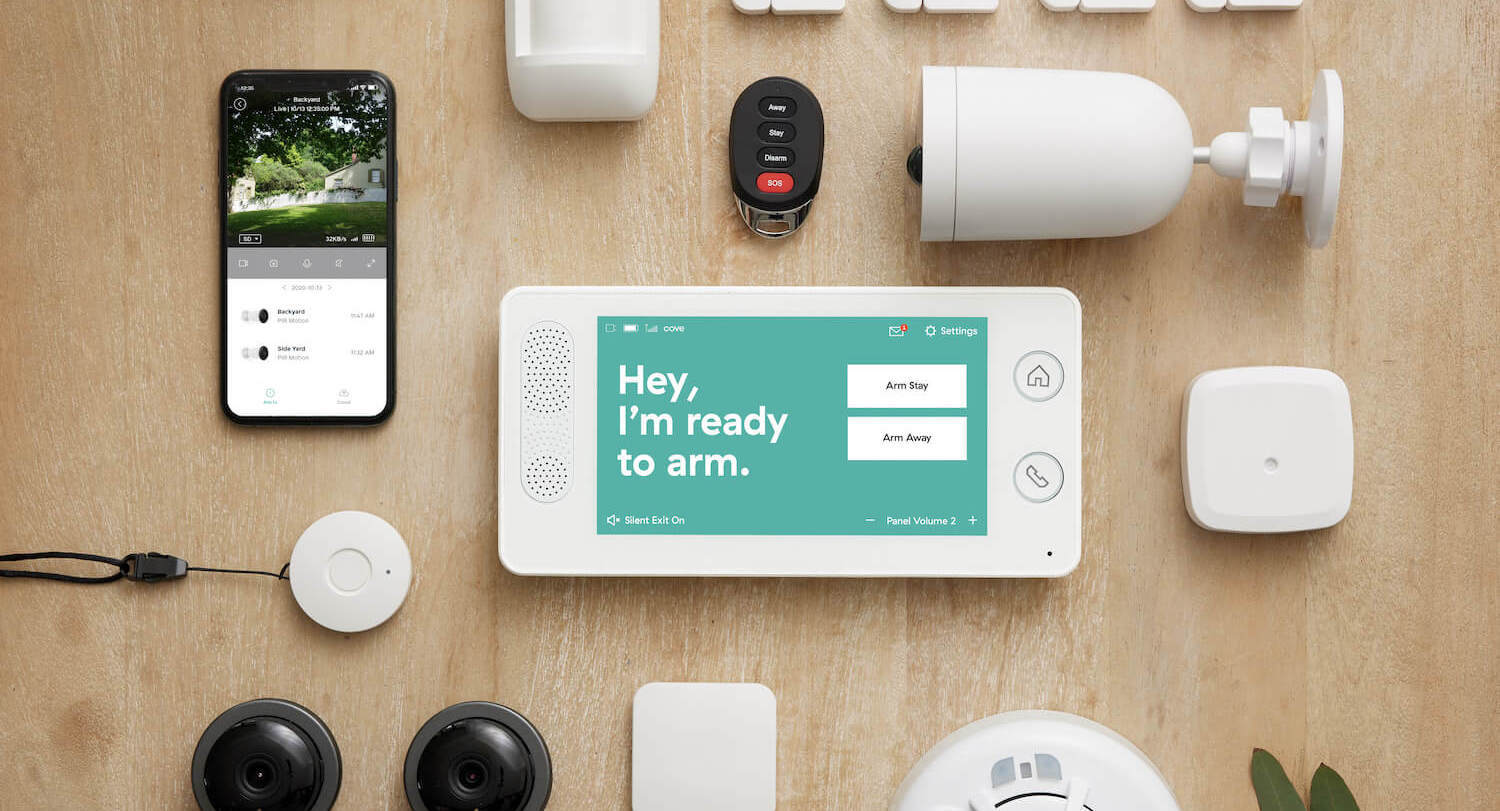
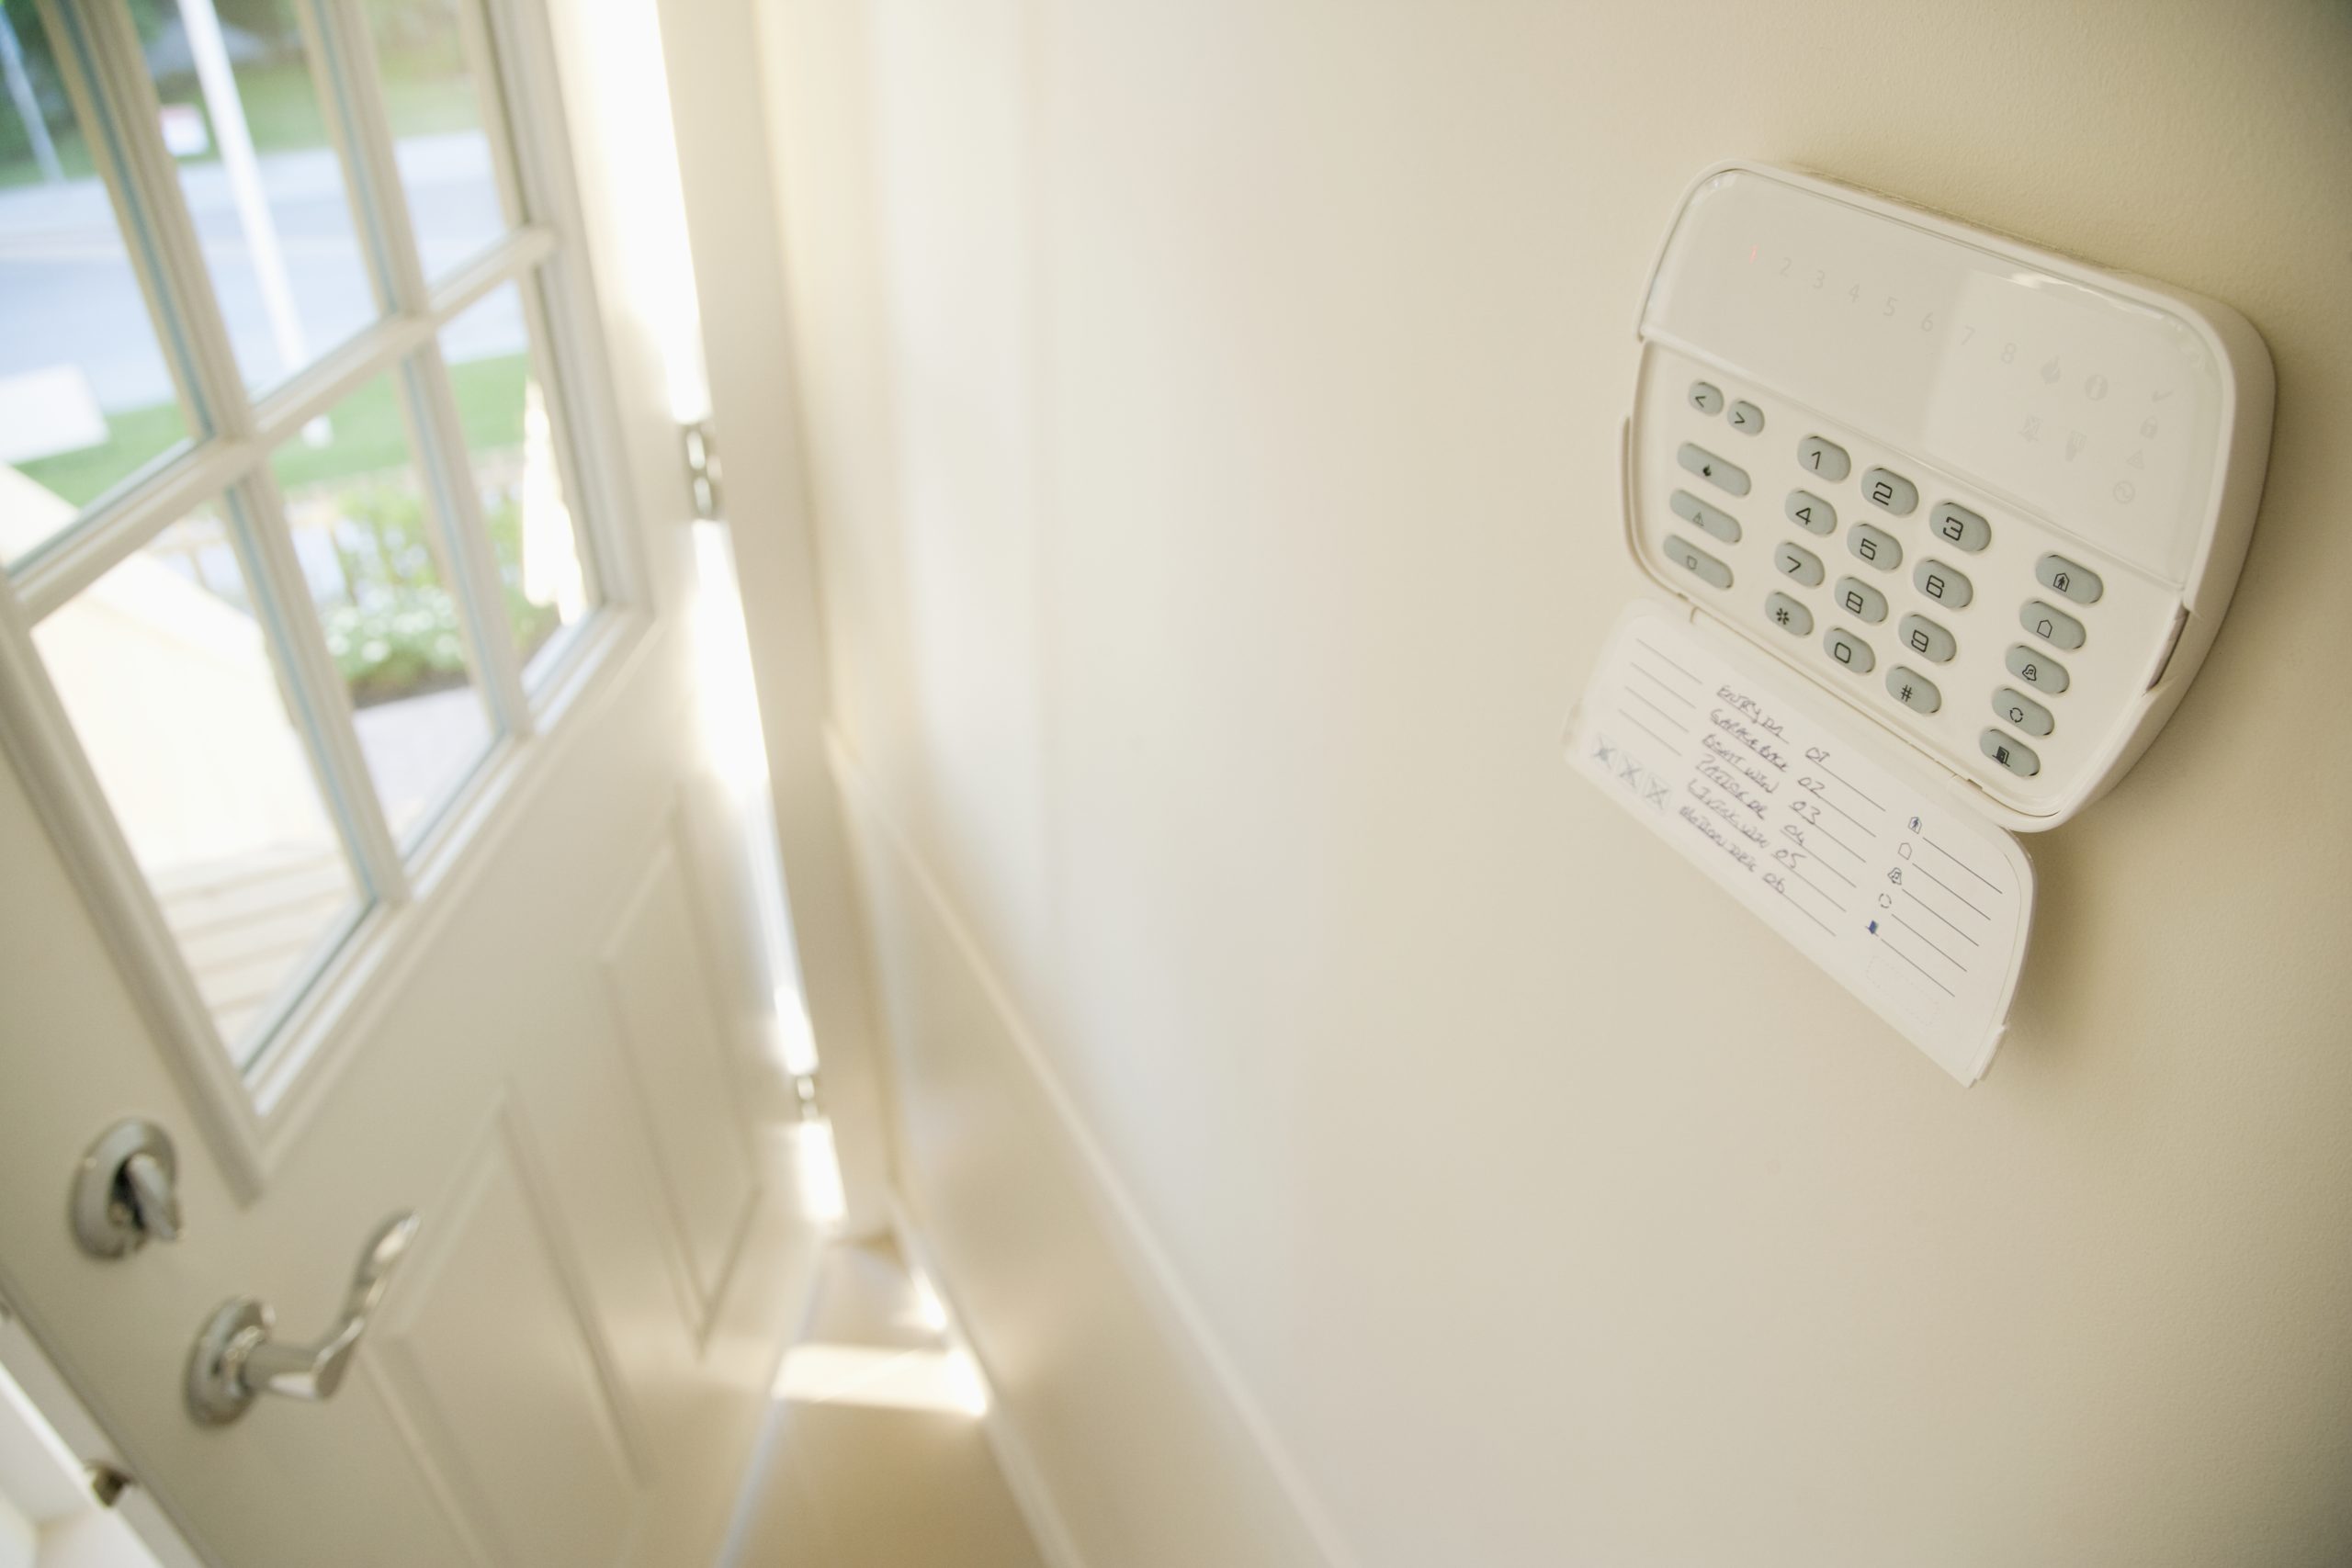
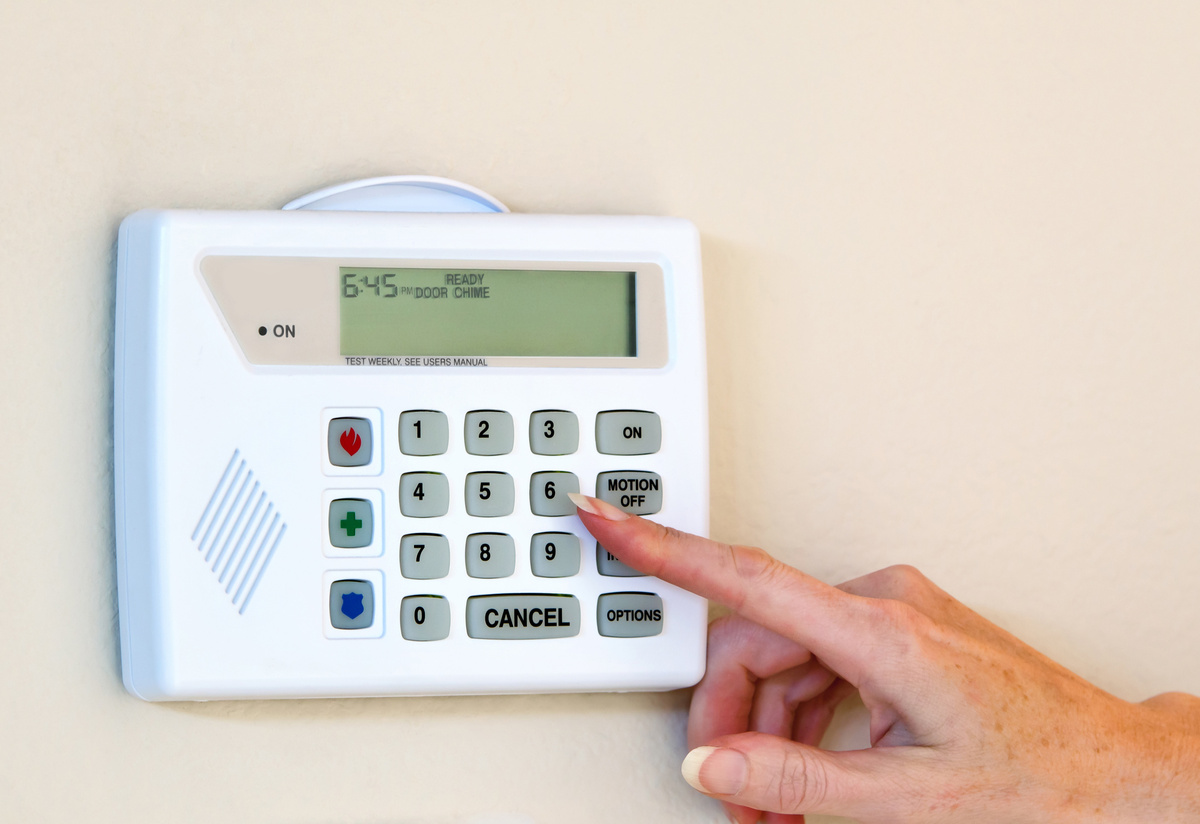
To turn off the security system, locate the control panel or keypad. This is typically found near the main entrance of your home or in a central location. The control panel may require a user code or a specific sequence of buttons to disarm the system.
Consult your user manual or manufacturer’s instructions for the correct procedure to disable the system. If you are unsure, contact your security system provider for assistance.
Once you have successfully disarmed the system, it is a good practice to test the system to make sure it is truly disarmed. Open and close a window or door that is equipped with a sensor, and check if the control panel registers the action without triggering any alarms.
Remember that safety should always be a priority when dealing with home security systems. If you encounter any difficulties or uncertainties during this step, contact your security system provider for guidance.
With the security system turned off, you can now proceed to the next step of the battery replacement process: locating the battery compartment.
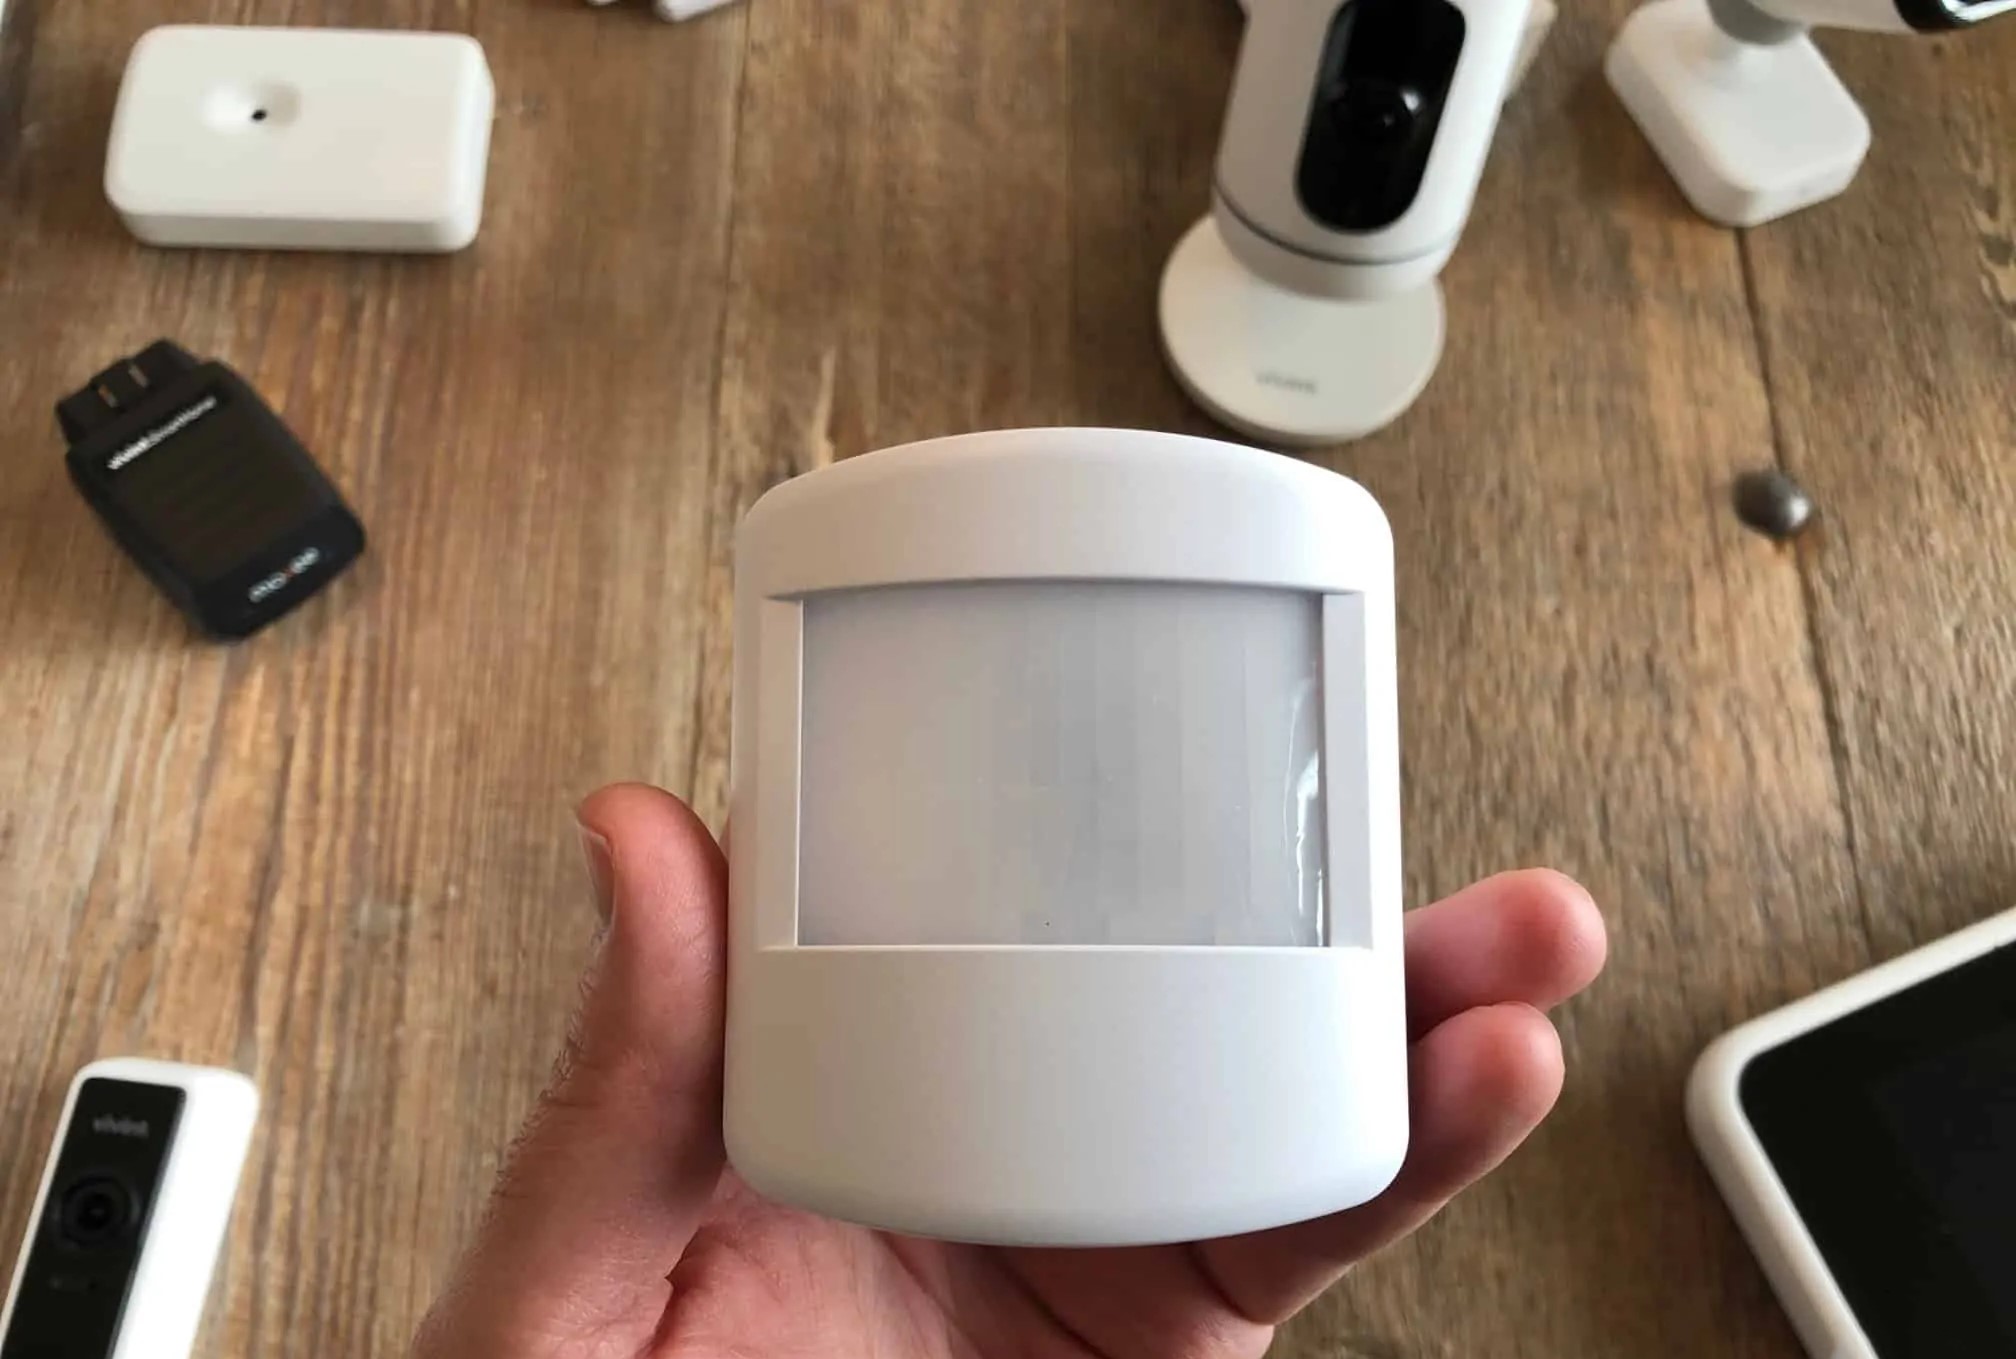
Step 3: Locate the battery compartment
In order to change the battery in your home security system, you will need to locate the battery compartment. The battery compartment is where the old battery is housed and where the new battery will be inserted.
The battery compartment is typically situated on the main control panel or keypad of your security system. However, depending on the design of your system, it may also be located in a separate enclosure or device.
Begin by inspecting the control panel or keypad for any visible compartments or access panels. Look for any screws or fasteners that may need to be removed to open the compartment.
If you’re having trouble finding the battery compartment, consult the user manual or manufacturer’s instructions for your specific security system. These resources will provide detailed information on the location of the battery compartment.
It’s important to note that some security systems may have a tamper-proof design, requiring a special tool or code to access the battery compartment. This is done to prevent unauthorized individuals from disabling or tampering with the system. If this is the case, follow the manufacturer’s instructions or contact your security system provider for assistance.
Once you have located the battery compartment and are ready to proceed, you can move on to the next step: removing the old battery.
Step 4: Remove the old battery
Now that you’ve located the battery compartment, it’s time to remove the old battery from your home security system. Properly removing the old battery is essential for a smooth battery replacement process.
Before unhooking or removing the old battery, ensure that you have a replacement battery ready to go. This will minimize the downtime of your security system and allow for a seamless transition.
First, carefully inspect the battery compartment to identify how the old battery is secured in place. Common methods include clips, connectors, or battery holders.
Follow these steps to remove the old battery:
- Disconnect or remove any connectors or clips securing the battery in place. You may need to gently pull or pry the connectors or clips away from the battery.
- If the battery is held in a battery holder, simply slide or lift the battery out of the holder.
- If the battery is secured with screws, use the appropriate screwdriver to remove the screws and free the battery.
- Handle the old battery with care. If the battery is leaking or appears damaged, take necessary precautions such as wearing gloves or using a plastic bag to protect your hands.
- Place the old battery aside in a safe location for proper disposal. Remember that batteries should not be disposed of in regular trash, as they can be harmful to the environment. Refer to local regulations or designated recycling centers for proper disposal methods.
Once the old battery has been removed and safely set aside, you are now ready to insert the new battery into the battery compartment. This will be covered in the next step.
When changing the battery in your home security system, make sure to power off the system before removing the old battery. Check the user manual for the specific type of battery needed and follow the instructions for proper installation.
Step 5: Insert the new battery
Now that you have successfully removed the old battery, it’s time to insert the new battery into your home security system. Following these instructions will ensure a smooth and secure installation of the replacement battery.
Before inserting the new battery, make sure it matches the specifications and requirements of your security system. Refer to the user manual or manufacturer’s instructions to ensure you have the correct battery for your system.
Follow these steps to insert the new battery:
- Take the new battery and carefully inspect it for any physical damage or defects. If you notice any issues, do not use the battery and contact the manufacturer for a replacement.
- Align the new battery with the battery compartment in the appropriate orientation. Ensure that the positive (+) and negative (-) terminals of the battery match the corresponding markings in the compartment.
- If your security system uses connectors or clips to secure the battery, attach them to the respective terminals on the new battery, making sure they are firmly connected.
- If the battery is held in a battery holder, simply slide or place the new battery into the holder, ensuring a snug fit.
- If the battery compartment requires screws to secure the battery in place, use the appropriate screwdriver to fasten the screws tightly.
Once the new battery is securely in place, double-check that all connections are properly made and that the battery is positioned correctly.
It’s important to note that some home security systems may have a specific sequence or order for connecting the battery terminals. Consult the user manual or manufacturer’s instructions to ensure you follow the correct procedure.
With the new battery successfully inserted, it’s time to move on to the next step: turning on the security system.
Step 6: Turn on the security system
After successfully installing the new battery, it’s time to turn on your home security system. Activating the system ensures that it is ready to monitor and protect your home from potential threats.
Follow these steps to turn on the security system:
- If your security system has a physical power switch, locate it and flip it to the “On” position. This will supply power to the control panel and activate the system.
- If your system is operated through a keypad, enter the appropriate user code or use any required sequence to activate the system. The exact method may vary depending on your specific security system. Refer to the user manual or manufacturer’s instructions for guidance.
- Listen for any audible cues or prompts from the system indicating that it is powered on and ready for operation.
- Observe the control panel or keypad to ensure that it displays the correct status, such as “Ready” or “Armed.” This indicates that the security system is now active and monitoring your home.
Once you have turned on the security system, give it a few moments to complete its initialization process. During this time, the system may perform various checks and configurations to ensure proper functionality.
If any error messages or warnings appear on the control panel or keypad, consult the user manual or contact your security system provider for assistance in troubleshooting the issue.
With the security system successfully turned on, you are now ready to proceed to the final step: testing the new battery.
Step 7: Test the new battery
After replacing the battery in your home security system, it’s essential to perform a test to ensure that the new battery is functioning correctly. Testing the battery will verify that the system is operating as expected and that the battery is providing sufficient power.
Follow these steps to test the new battery:
- Arm your security system by following the appropriate procedure outlined in the user manual or manufacturer’s instructions.
- Trigger a sensor or deliberately open a door or window that is equipped with a sensor to initiate an alarm. This could be done by using a test mode or consulting the user manual for specific instructions on how to trigger a test event without causing a real alarm.
- Observe the response of the security system. Verify that the alarm is triggered, and the appropriate notifications are sent to the control panel, monitoring service, or connected devices.
- Monitor the battery status on the control panel or keypad. Ensure that the battery level is displaying accurately and that there are no warnings or indications of a low battery.
- Listen for any audible alarms or notifications that confirm the system’s proper functioning during the test event.
- If the system did not function as expected during the test event or if there are any concerns about the battery’s performance, consult the user manual or contact your security system provider for further assistance.
Regularly testing your home security system, including the battery, is crucial to ensure the continued protection of your home and loved ones. Performing routine tests can help identify any issues or abnormalities early on, allowing for prompt maintenance or repair.
By following these steps and testing the new battery in your home security system, you can ensure the reliability and effectiveness of your security measures.
With the battery replacement process complete and the new battery tested, you have successfully maintained the functionality of your home security system.
Remember to keep a record of when the battery was changed and track the average lifespan of the battery in your system, as this will help you anticipate future replacements.
Thank you for following this comprehensive guide on changing the battery in your home security system. By staying proactive and taking proper maintenance measures, you can protect your home and achieve complete peace of mind.
Conclusion
Changing the battery in your home security system is an important maintenance task that ensures the continued functionality and reliability of your system. By following the step-by-step guide provided in this article, you can confidently replace the battery and maintain the security of your home.
Remember, the battery replacement process involves determining the type of battery required, turning off the security system, locating the battery compartment, removing the old battery, inserting the new battery, turning on the security system, and testing the new battery.
Regularly checking and replacing the battery as needed will prevent system failures and ensure that your home is consistently protected against potential threats. It’s important to reference the user manual or manufacturer’s instructions specific to your security system for accurate guidance and compatibility.
Additionally, stay proactive by periodically testing your security system, including the battery, to ensure it is functioning correctly. This will provide peace of mind and allow for early detection of any issues that may arise.
Lastly, remember to dispose of the old battery responsibly. Check local regulations or designated recycling centers for proper disposal methods to minimize environmental harm.
By taking these practical steps and paying attention to the maintenance of your home security system, you can keep your loved ones and belongings safe from potential threats. Keep track of the battery replacement dates and set reminders, as the lifespan of the battery may vary depending on usage and system specifications.
We hope this comprehensive guide has equipped you with the necessary knowledge and confidence to change the battery in your home security system. Stay proactive, stay safe!
Frequently Asked Questions about How To Change Home Security System Battery
Was this page helpful?
At Storables.com, we guarantee accurate and reliable information. Our content, validated by Expert Board Contributors, is crafted following stringent Editorial Policies. We're committed to providing you with well-researched, expert-backed insights for all your informational needs.