Home>Home Security and Surveillance>How To Set Up A Home Security System
Home Security and Surveillance
How To Set Up A Home Security System
Modified: March 6, 2024
Learn how to set up a comprehensive home security system with expert tips and advice. Ensure the safety of your home with the latest in home security and surveillance technology.
(Many of the links in this article redirect to a specific reviewed product. Your purchase of these products through affiliate links helps to generate commission for Storables.com, at no extra cost. Learn more)
Introduction
Welcome to the ultimate guide on how to set up a home security system. In today’s world, ensuring the safety and security of our homes and loved ones is a top priority. With the advancements in technology, setting up a home security system has become more accessible and affordable than ever before. Whether you live in a house or an apartment, having a reliable security system can provide peace of mind and protect your most valuable assets.
In this comprehensive guide, we will walk you through the process of setting up a home security system step by step. From assessing your security needs to installing cameras, sensors, and connecting to a monitoring service, we will cover everything you need to know to create a robust and efficient home security system. So, let’s dive in and take control of your home’s security!
Key Takeaways:
- Assess your home’s security needs by considering entry points, lifestyle, and budget. Tailor your security system to match your specific requirements for a robust and effective setup.
- Choose the right security system, strategically place cameras, and connect to a monitoring service for comprehensive home security. Regularly test and fine-tune your system for optimal performance.
Read more: How To Set Up A Webcam As A Security Camera
Step 1: Assess Your Home Security Needs
Before diving into the world of home security systems, it is important to assess your specific security needs. Every home is unique, and understanding the vulnerabilities and potential risks will help you choose the right security measures.
Start by conducting a thorough evaluation of your property. Take note of any potential entry points such as doors, windows, and garage entrances. Consider the layout of your home and identify any blind spots or areas that require extra surveillance. It is also essential to assess the overall level of security in your neighborhood and determine if there have been any past incidents or security concerns.
Next, think about your lifestyle and daily routines. Do you travel frequently? Do you have valuable assets that require extra protection? Answering these questions will help you determine what kind of security system features you need.
Furthermore, consider whether you want a wired or wireless system. Wired systems provide a more reliable connection but may require professional installation, while wireless systems offer flexibility and ease of installation but may be susceptible to signal interference.
Lastly, establish a budget for your home security system. There is a wide range of options available, from basic DIY systems to comprehensive professionally-monitored setups. Setting a budget will help you narrow down your choices and make informed decisions about the features and components you can afford.
By taking the time to assess your home security needs, you can tailor your security system to match your specific requirements. This ensures that you invest in the right components and features to create a robust and effective security setup for your home.
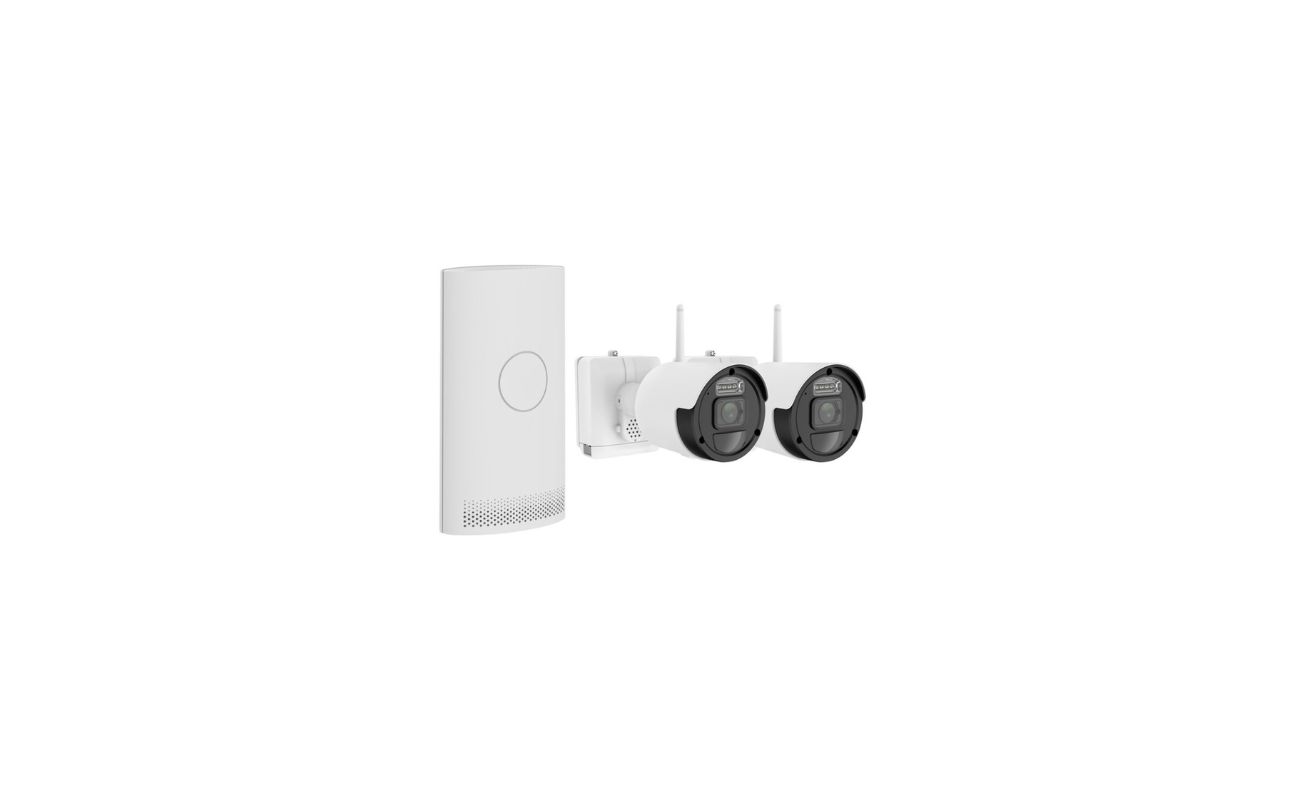
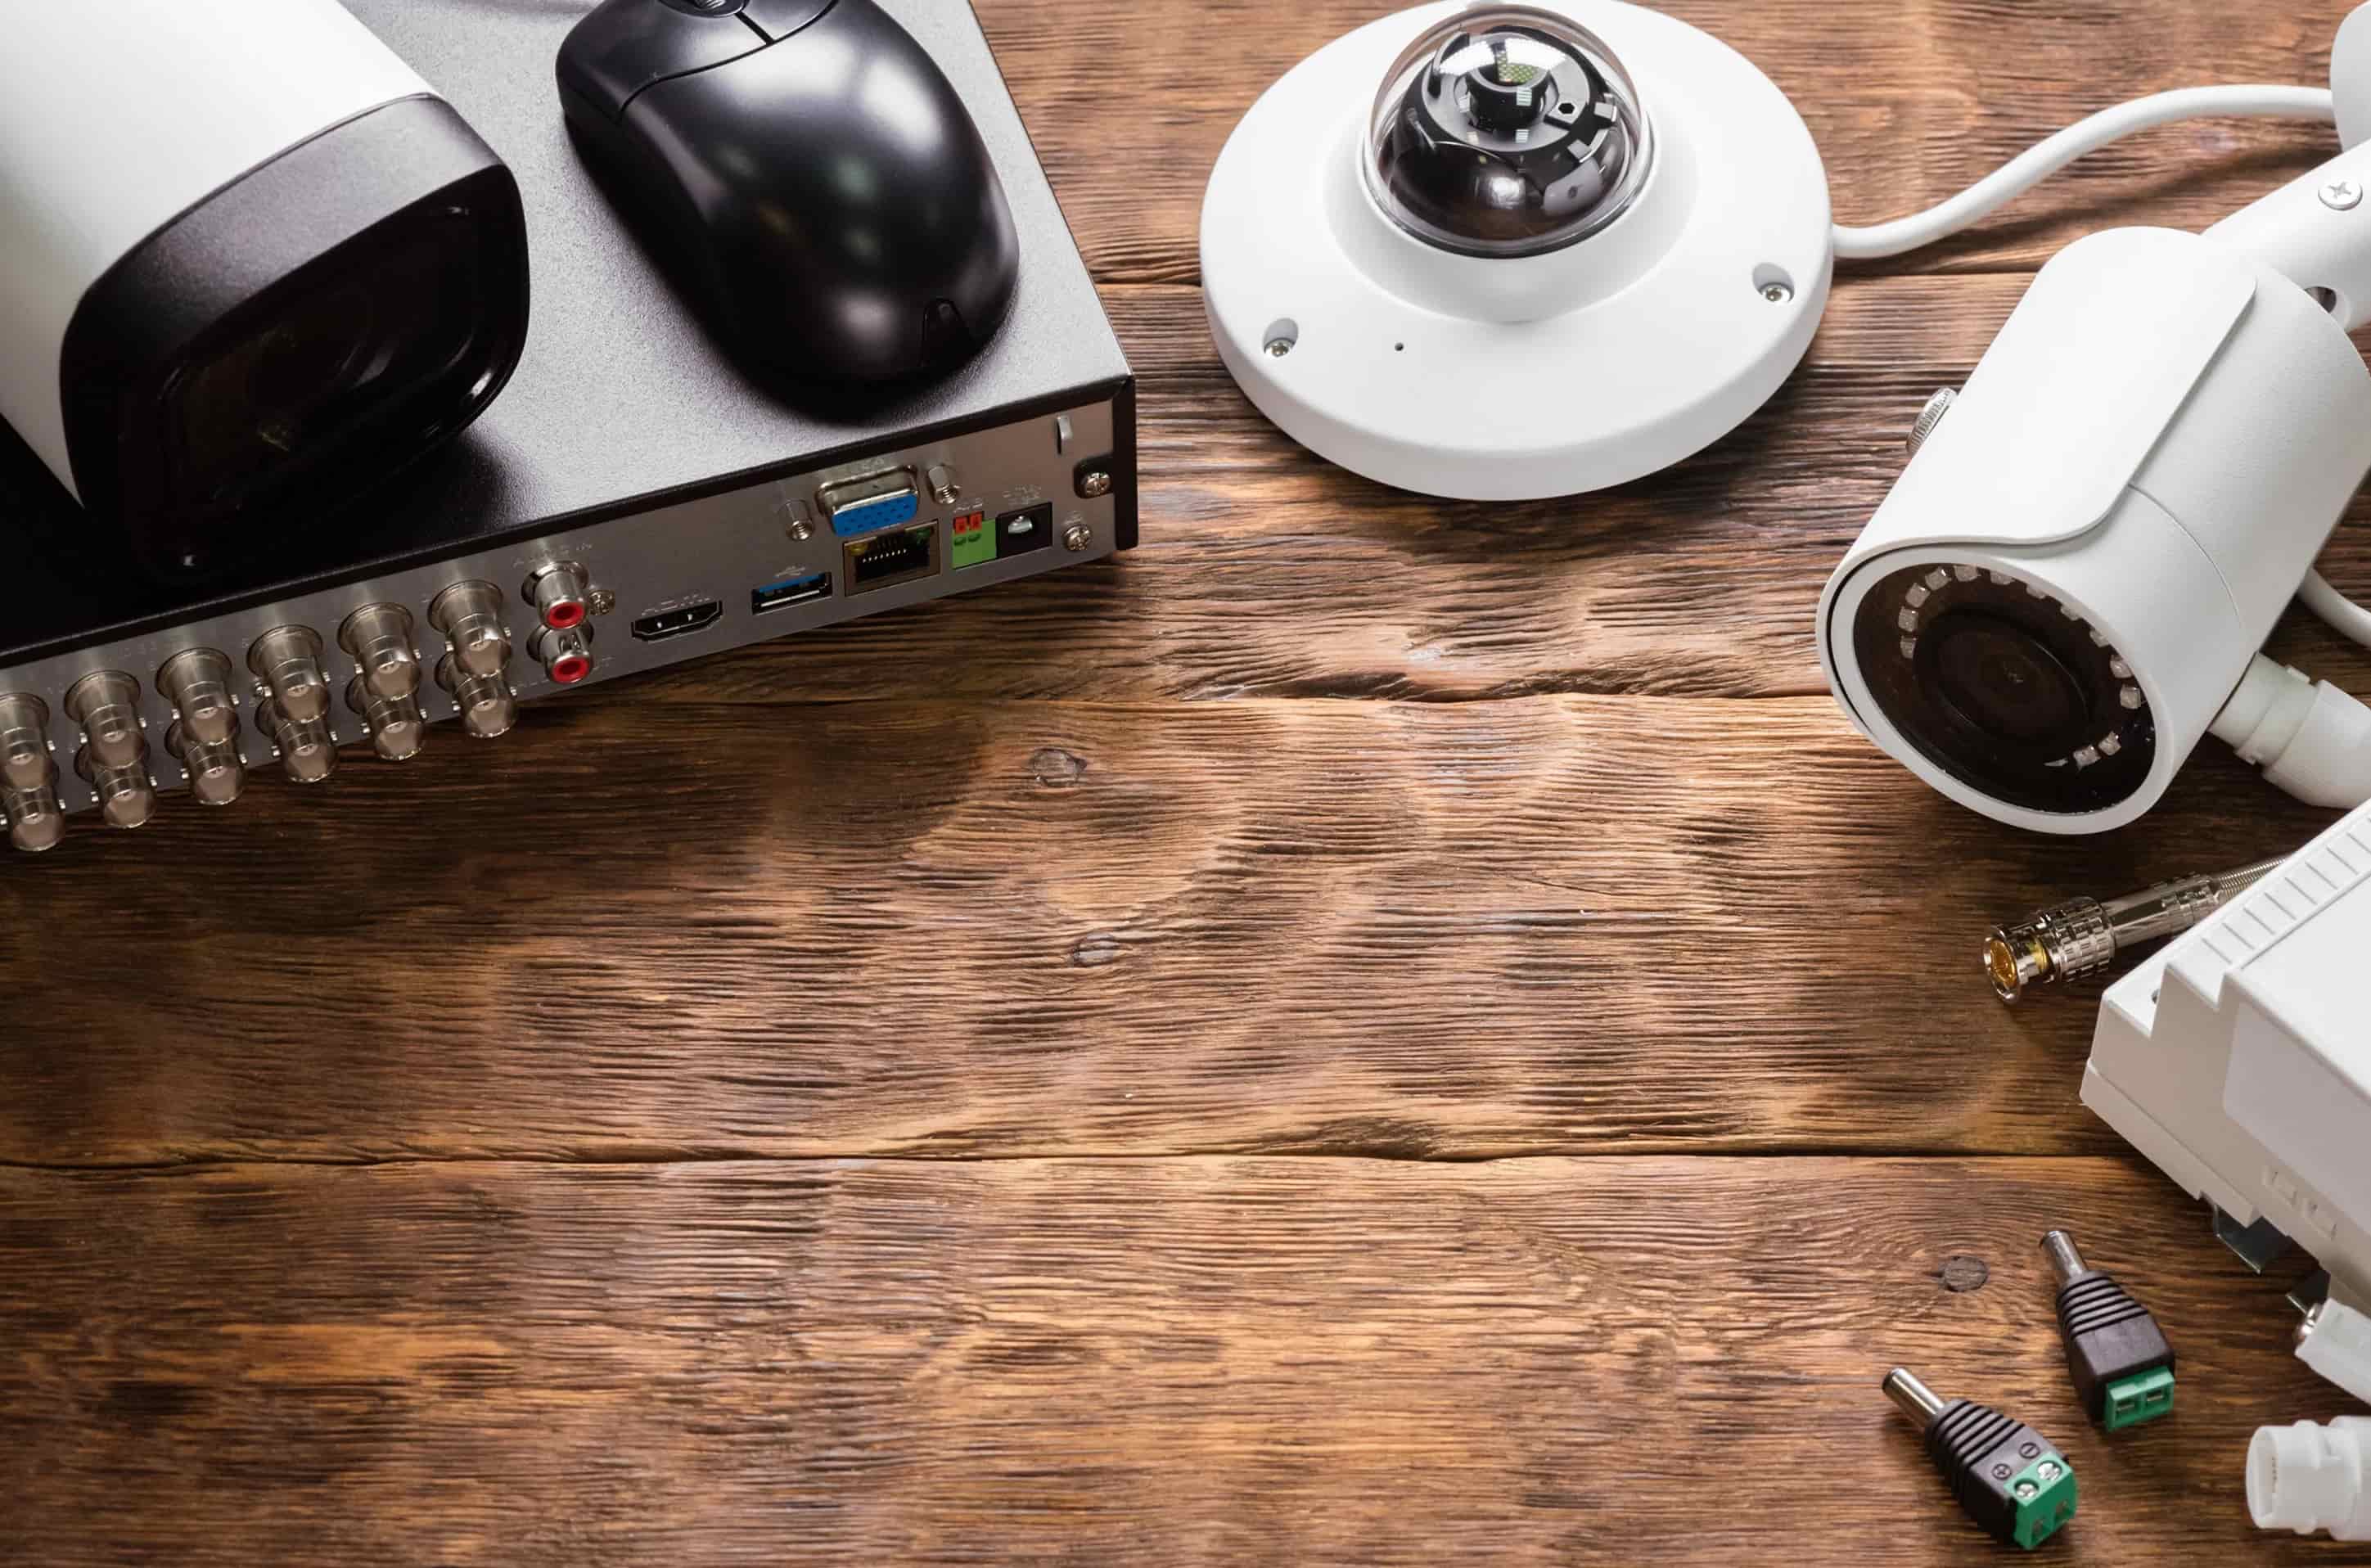
Step 2: Choose the Right Security System
Once you have assessed your home security needs, it’s time to choose the right security system that suits your requirements. With a wide array of options available in the market, it can be overwhelming to make a decision. Here are some factors to consider when selecting your security system:
- Monitoring Options: Decide whether you prefer a self-monitoring system or a professionally monitored one. Self-monitoring systems send alerts to your smartphone when a security event is detected, allowing you to take appropriate action. On the other hand, professionally monitored systems are monitored by a security company and can dispatch authorities in case of an emergency.
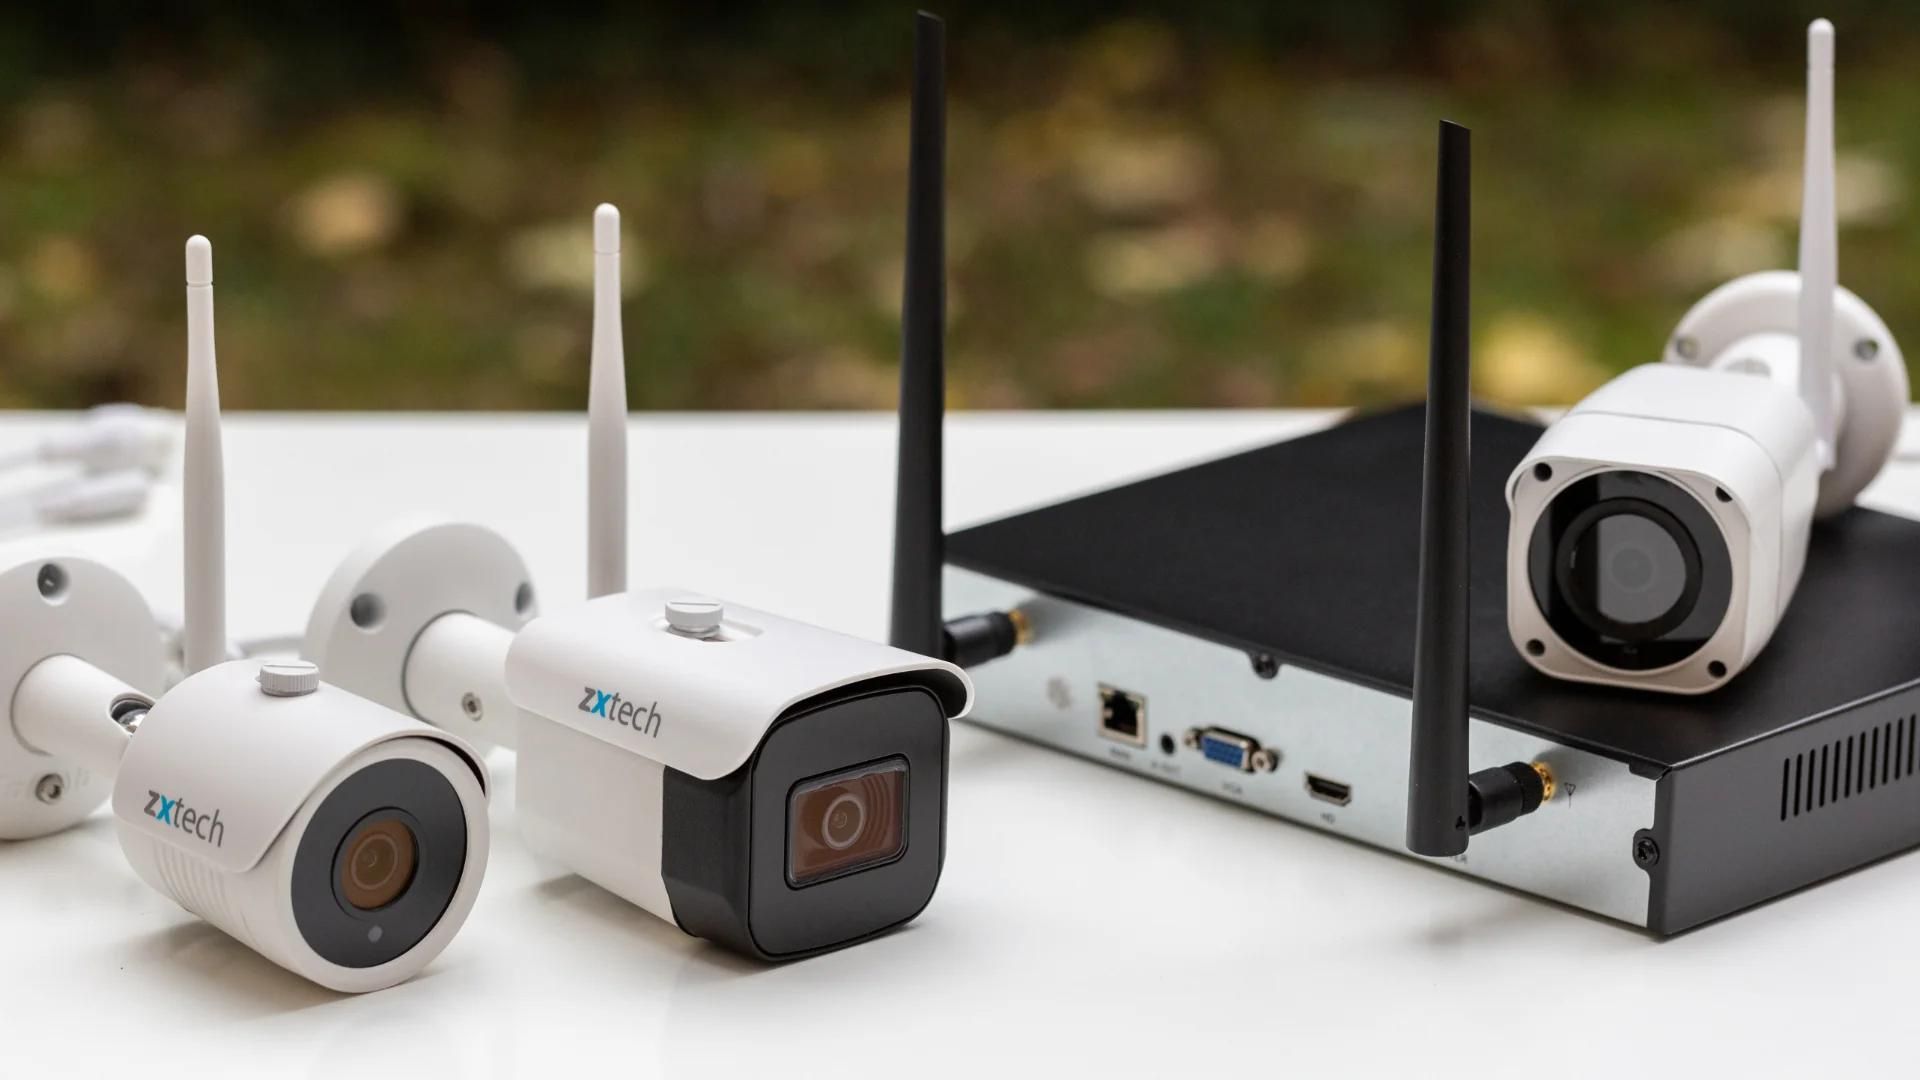
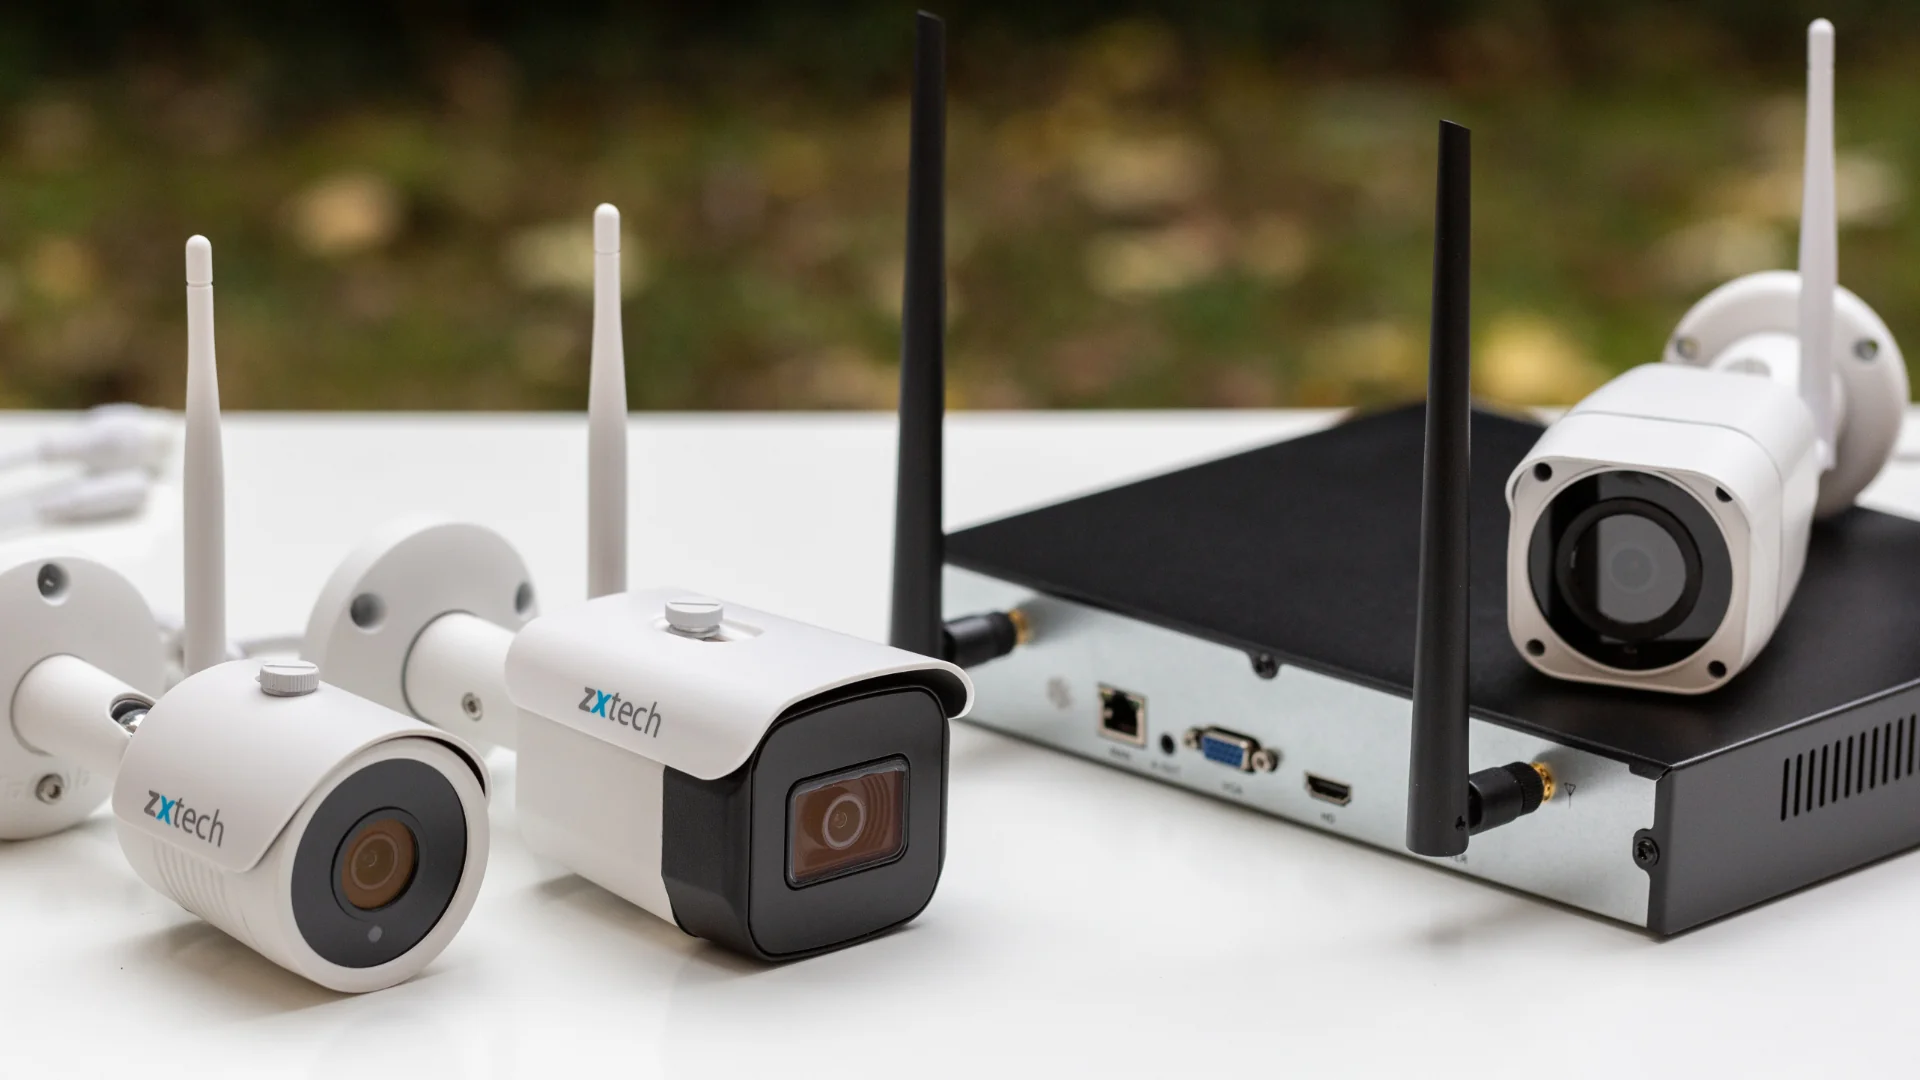
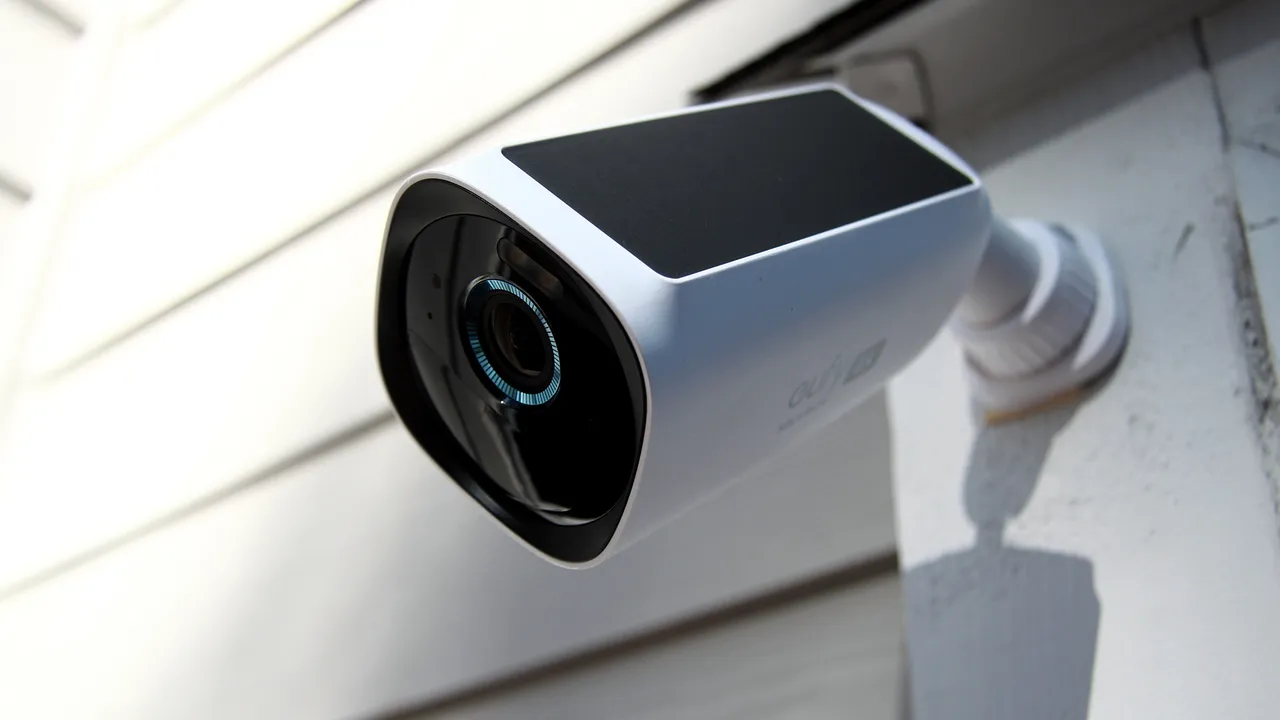
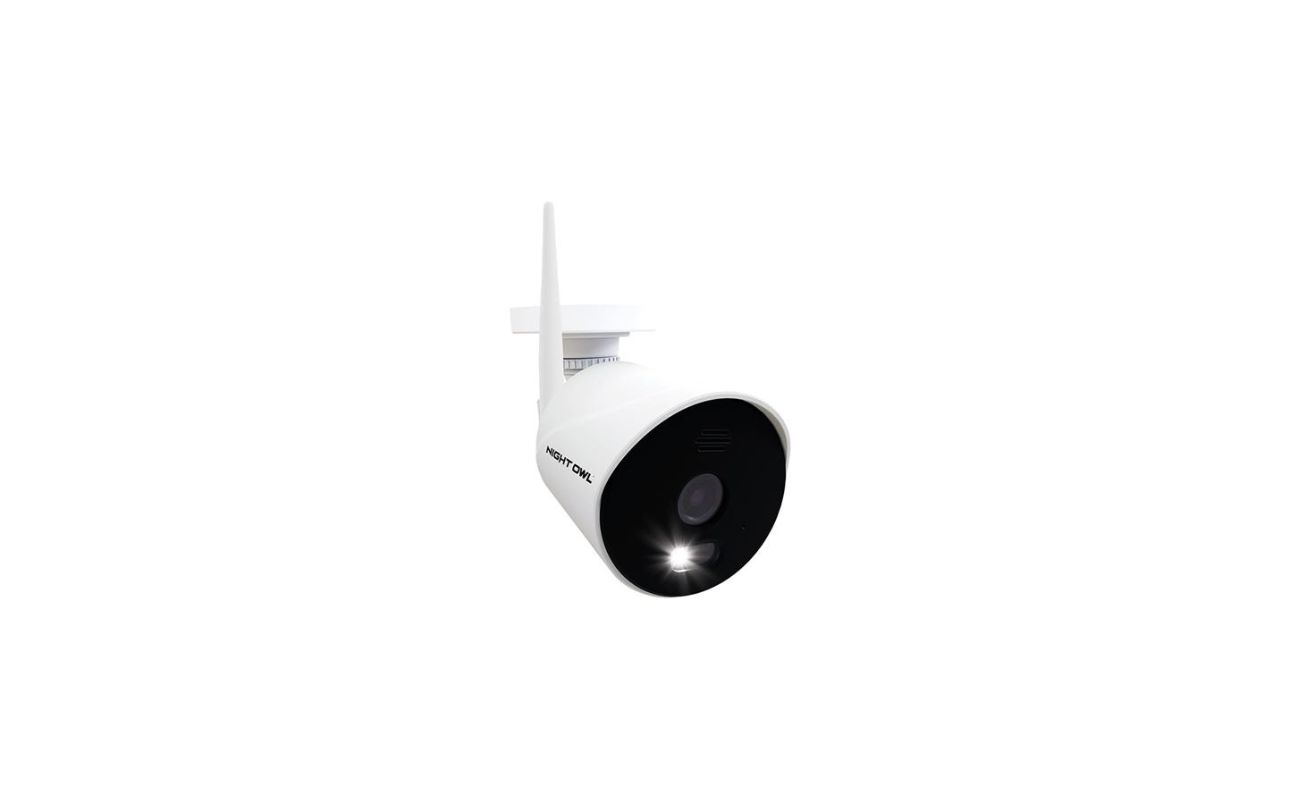
- Camera Types: Determine the type and number of cameras you need for your security system. Options range from indoor and outdoor cameras to dome, bullet, or PTZ (pan-tilt-zoom) cameras. Consider factors such as resolution, night vision capabilities, and field of view. Additionally, look for cameras with motion detection and remote accessibility features.
- Smart Home Integration: If you have a smart home setup, look for security systems that integrate seamlessly with your existing devices and platforms. This allows you to control and monitor your security system alongside other connected devices such as smart locks, lights, and thermostats.
- Alarm Systems: Evaluate whether you want to include an alarm system as part of your security setup. Alarm systems can alert you and deter potential intruders with loud sirens or notifications.
- Expandability: Consider whether the security system allows for future expansion. As your needs change or your home grows, it may be necessary to add additional cameras, sensors, or other components to your system.
- User-Friendly Interface: Look for a security system that offers an intuitive and user-friendly interface for easy setup and monitoring. Mobile apps and online portals should provide clear and accessible control over your system’s features and settings.
Take the time to research and compare different security systems, read reviews, and consult professionals if needed. It’s essential to choose a system that aligns with your needs, budget, and level of technical expertise. By selecting the right security system, you are creating a solid foundation for a reliable and effective home security setup.
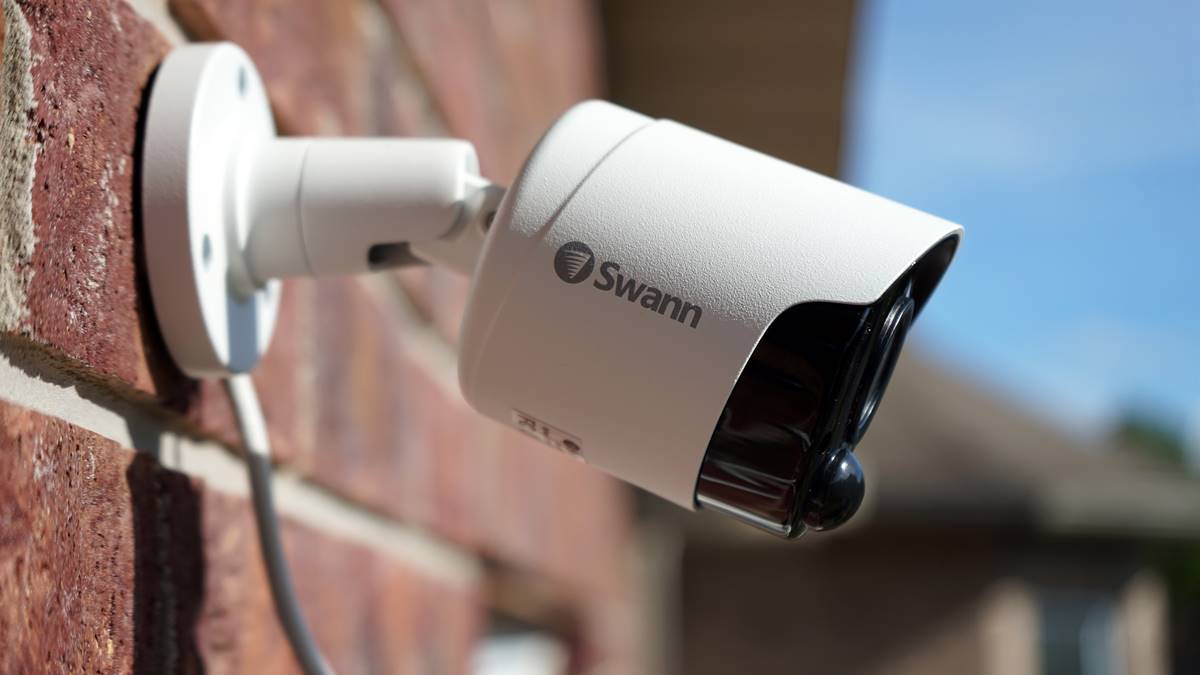
Step 3: Determine the Placement of Security Cameras
Once you have chosen the right security system, the next step is to determine the optimal placement of your security cameras. Proper camera placement is crucial to maximize the effectiveness of your surveillance coverage and ensure that all vulnerable areas are monitored. Here are some tips to help you with camera placement:
- Survey Your Property: Take a walk around your property and identify the areas that require surveillance. These typically include entry points such as doors, windows, and garage entrances, as well as any blind spots or areas with high-value assets.
- Consider Field of View: Understand the field of view of your cameras. This will help you determine how much area each camera can cover and ensure that there are no gaps in the surveillance coverage.
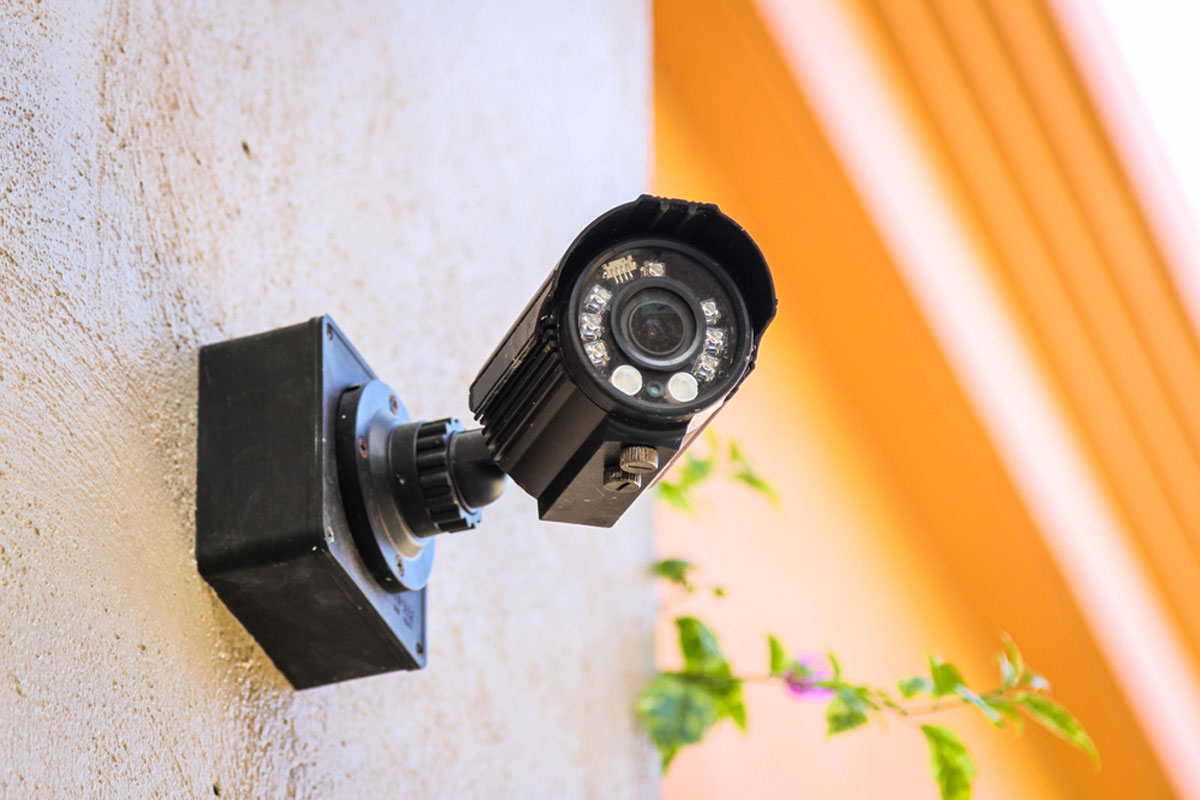
- Position Cameras at Eye-Level: Mount your cameras at eye-level or slightly above. This ensures that the cameras capture clear and detailed images of any potential intruders.
- Place Cameras Out of Reach: Install your cameras in locations that are not easily accessible or tampered with. This prevents potential intruders from disabling or removing the cameras.
- Cover All Entrances: Ensure that all entry points, including front and back doors, windows, and any secondary entrances, are covered by cameras. This provides crucial footage in the event of a break-in or suspicious activity.
- Strategic Outdoor Placement: If you have outdoor cameras, position them in a way that covers the perimeter of your property. This includes the front and back yard, driveway, and any other outdoor areas vulnerable to trespassing or theft.
- Consider Privacy: Be mindful of your neighbors’ privacy and avoid pointing cameras directly into their properties. Instead, focus on capturing the areas within your property boundaries.
- Additional Considerations: Depending on your specific needs, you may need to place cameras in specific locations, such as near a safe or valuable possessions. Consider the layout of your home and any unique security concerns you may have.
Remember, the goal of camera placement is to provide comprehensive coverage of your property and deter potential intruders. By strategically placing your security cameras, you can maximize the effectiveness of your surveillance system and ensure the safety and security of your home.
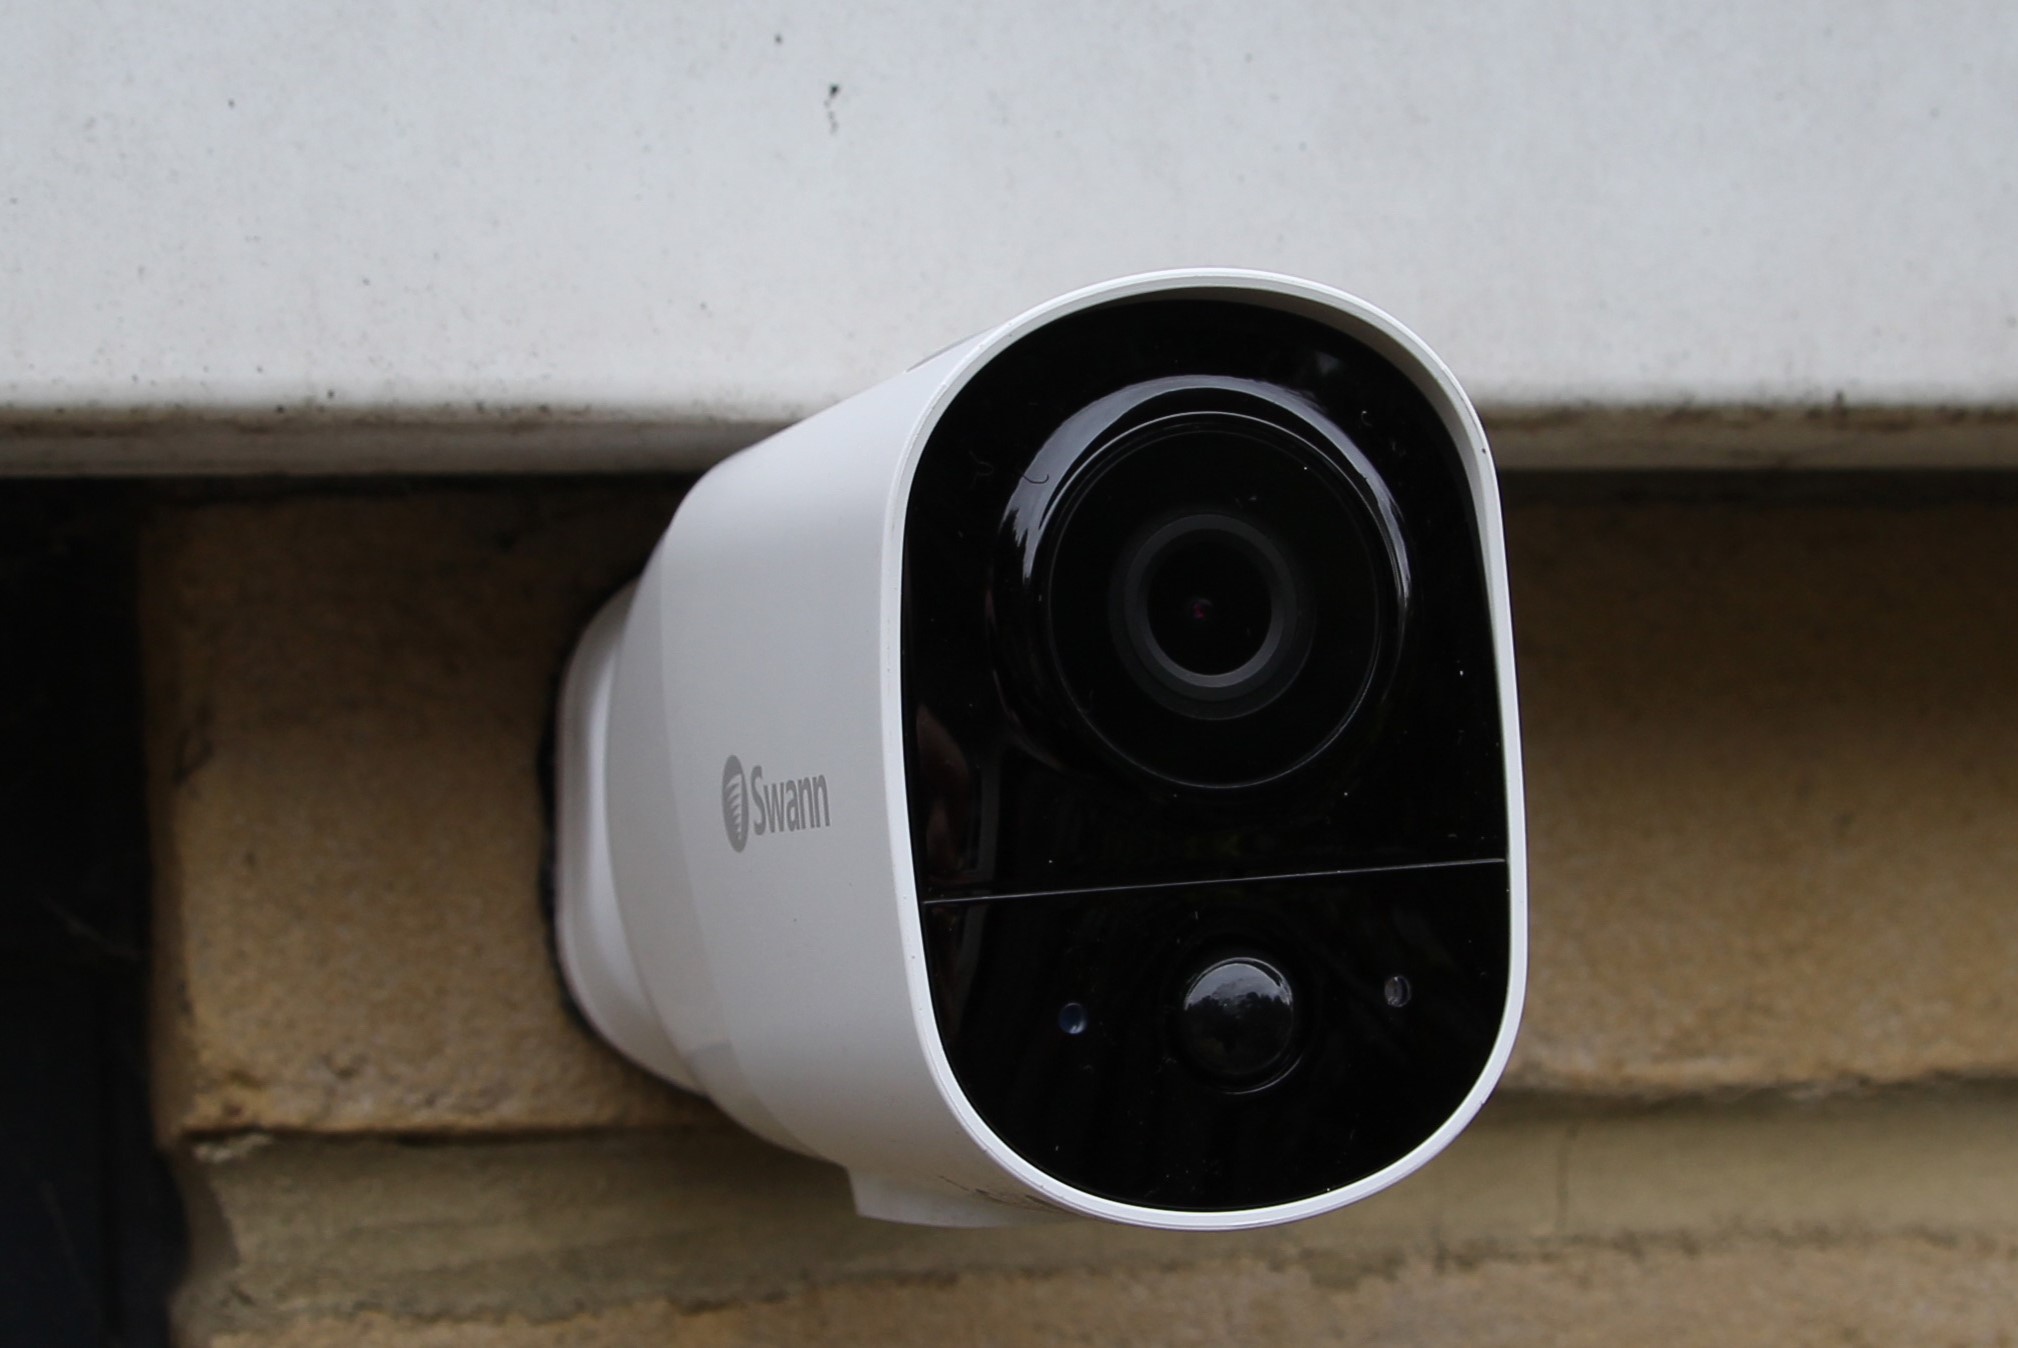
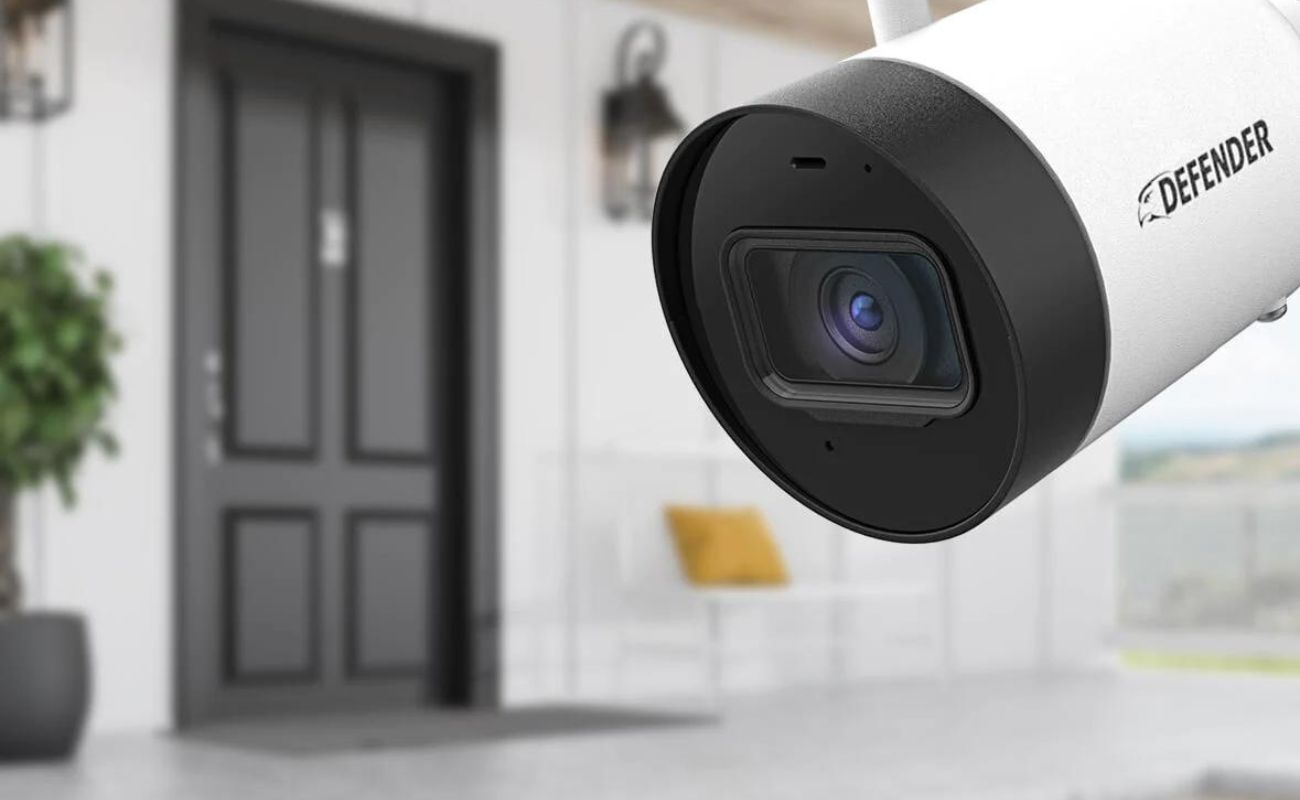
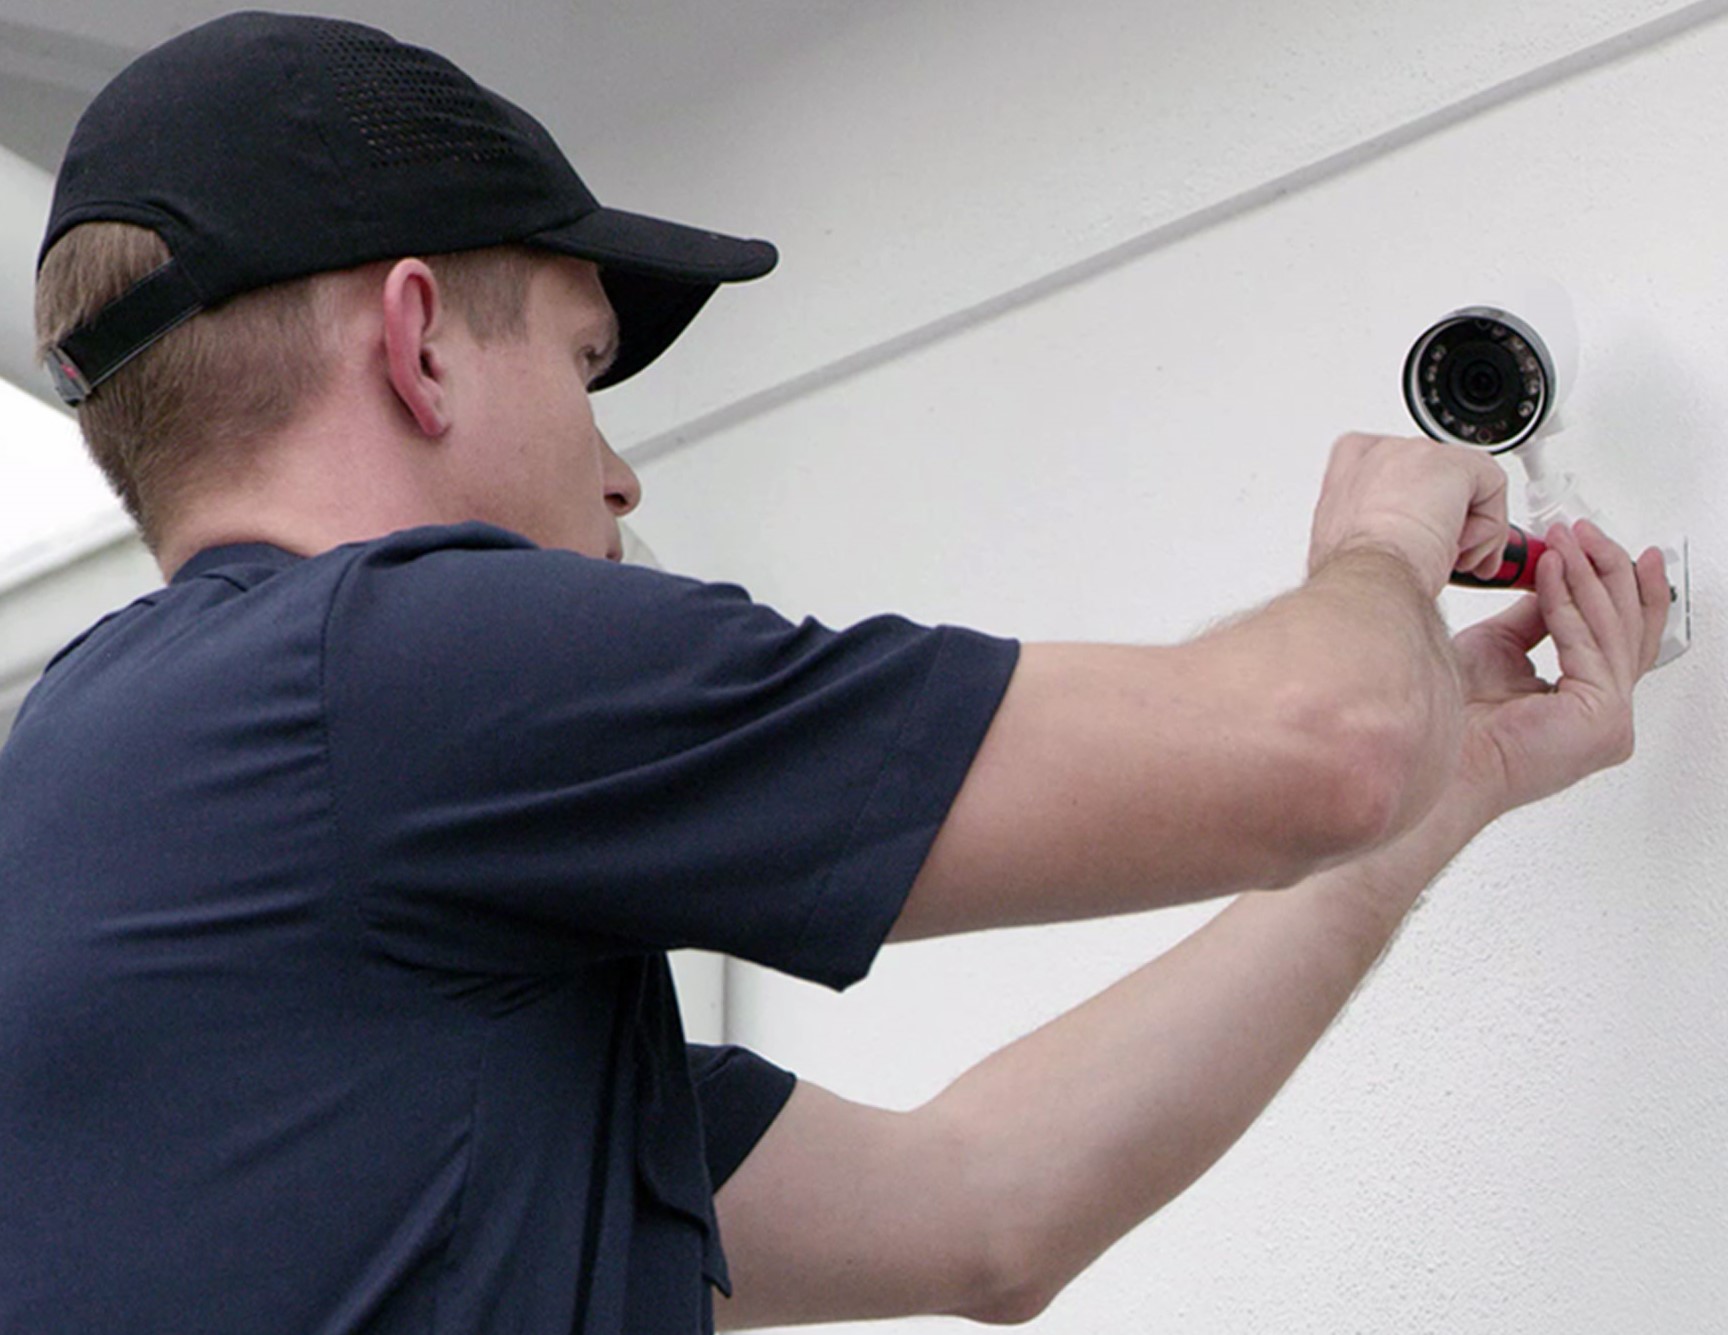
Step 4: Install Security Cameras
Now that you have determined the optimal placement of your security cameras, it’s time to proceed with the installation process. Proper installation is crucial to ensure that your cameras function effectively and provide the desired surveillance coverage. Here is a step-by-step guide to installing your security cameras:
- Gather Tools and Equipment: Before you begin, gather all the necessary tools and equipment. This may include a ladder, drill, screwdriver, cables, connectors, and mounting brackets provided with your cameras.
- Mount the Cameras: Start by mounting the cameras at the predetermined locations. Use the appropriate mounting brackets and hardware provided. Ensure that the cameras are securely fastened and positioned according to your desired field of view.
- Connect the Cameras: Once the cameras are securely mounted, connect them to the power source. If you are using wired cameras, ensure that the cables are properly connected to the cameras and the power source. If you are using wireless cameras, follow the manufacturer’s instructions for connecting to a power source or batteries.
- Adjust and Aim the Cameras: Adjust the camera angles and positions to achieve the desired surveillance coverage. Test the camera angles by reviewing the live feed and make any necessary adjustments.
- Secure and Conceal Wires: If you are using wired cameras, secure and conceal the wires to prevent tampering or damage. Use cable clips or conduit to secure the wires along walls or other surfaces and minimize their visibility.
- Configure Camera Settings: Once the cameras are properly installed, configure the camera settings according to your preferences. This may include adjusting resolution, enabling motion detection, setting recording schedules, and customizing notifications.
- Test the Cameras: Before completing the installation, it’s important to test each camera to ensure it is functioning correctly. Check the live feed, test the motion detection, and verify that the cameras are capturing clear and sharp images.
Keep in mind that if you are not confident in your ability to install the cameras, it is advisable to seek professional assistance. Proper installation is crucial for ensuring the optimal performance of your security cameras and maximizing their effectiveness in providing surveillance coverage for your home.
Read more: How To Start Up A Home Security Business
Step 5: Install Door and Window Sensors
In addition to security cameras, installing door and window sensors is another important step to enhance the overall security of your home. These sensors provide an extra layer of protection by alerting you when a door or window is opened or breached. Follow these steps to correctly install the door and window sensors:
- Choose the Right Sensors: Select the type of sensors that best suit your needs. There are various options available, including magnetic sensors, vibration sensors, and glass break sensors. Consider factors such as the type of doors and windows you have and the level of security you require.
- Read the Installation Instructions: Before starting the installation process, read and understand the manufacturer’s instructions for your specific sensors. Familiarize yourself with the components and ensure you have all the necessary tools and equipment.
- Clean and Prepare the Installation Area: Clean the surface where you will be installing the sensors. This ensures a secure bond and prevents any interference with the adhesive or mounting materials. Remove any debris, dirt, or grease from the area.
- Position the Sensors: Determine the ideal placement for the sensors on your doors and windows. Ensure that they are easily accessible and can detect any opening or tampering. Follow the manufacturer’s guidelines regarding the optimal positioning for each type of sensor.
- Attach the Sensors: Depending on the type of sensors you have, use either adhesive strips or screws provided to attach the sensors to the doors and windows. Make sure the sensors are securely fastened and aligned properly for accurate detection.
- Connect the Sensors to the Security System: Once the sensors are installed, connect them to your existing security system or the designated control panel. Follow the instructions provided with your security system to properly link the sensors and test their functionality.
- Test the Sensors: After installation and connection, thoroughly test each sensor to ensure they are working correctly. Open and close the doors and windows to verify that the sensors trigger the appropriate alerts or notifications.
Remember to regularly maintain and test your door and window sensors to ensure their continued functionality. Replace batteries as needed and update the sensors if any maintenance or repairs are required. By installing door and window sensors, you add an extra layer of security to your home and increase your overall peace of mind.
When setting up a home security system, make sure to place cameras at all entry points and vulnerable areas, such as windows and back doors, to maximize coverage and protection.
Step 6: Install Motion Sensors
Installing motion sensors is a crucial step in creating a comprehensive home security system. These sensors detect motion in specific areas and can trigger alarms or notifications, alerting you to potential intruders. Follow these steps to correctly install motion sensors:
- Choose the Right Motion Sensors: Select the type of motion sensors that best suit your needs. There are various options available, including passive infrared (PIR) sensors, microwave sensors, and dual technology sensors. Consider factors such as the size of the monitored area, the desired range, and the presence of pets or other potential causes of false alarms.
- Read the Installation Instructions: Before starting the installation process, carefully read and understand the manufacturer’s instructions for your specific motion sensors. Pay attention to any special considerations, mounting instructions, or recommended height and positioning for optimal detection.
- Clean and Prepare the Installation Area: Clean the area where you will be installing the motion sensors. Remove any debris or objects that may interfere with the sensor’s field of view. Ensure that there are no obstructions or obstacles obstructing the intended detection area.
- Position the Sensors: Determine the ideal placement for the motion sensors. Consider the areas you want to monitor for motion, such as hallways, staircases, or main entry points. Follow the manufacturer’s guidelines to determine the appropriate height, angle, and range for each sensor.
- Mount the Sensors: Use the appropriate mounting hardware provided with the sensors to securely attach them to the chosen locations. Make sure the sensors are stable and properly aligned with the intended detection area. Double-check that they are installed at the recommended height and angle.
- Connect the Sensors to the Security System: Connect the motion sensors to your home security system or control panel. Follow the instructions provided with your system to properly integrate the sensors. Ensure that they are correctly calibrated and communicating with the rest of the security system.
- Test the Sensors: After installation and connection, thoroughly test each motion sensor to ensure its accuracy and responsiveness. Walk through the detection area and verify that the sensors trigger the appropriate alarms or notifications. Make any necessary adjustments if the sensor’s sensitivity needs to be fine-tuned.
Regularly check and maintain your motion sensors to ensure their continued functionality. Clean the sensors as needed to prevent dust or debris from affecting their detection capabilities. By installing motion sensors, you enhance the security of your home and augment the effectiveness of your overall security system.
Step 7: Connect the Security System to a Monitoring Service
Connecting your home security system to a monitoring service adds an extra layer of protection and peace of mind. A monitoring service can ensure that any alarms or security events are promptly addressed, even when you are away from home. Follow these steps to connect your security system to a monitoring service:
- Research Monitoring Service Providers: Start by researching and evaluating different monitoring service providers in your area. Look for reputable companies with positive reviews and a track record of providing reliable and responsive service.
- Select a Monitoring Plan: Choose a monitoring plan that best fits your needs and budget. Most providers offer various options, including basic monitoring, advanced monitoring with additional features, and 24/7 monitoring with emergency response. Consider the level of protection you require and any specific services you may need.
- Contact the Chosen Monitoring Service Provider: Reach out to the monitoring service provider to inquire about their services and discuss the details of the plan you selected. Ask about the installation process and any additional equipment or setup requirements.
- Make Necessary Equipment and System Upgrades: If required, make any necessary upgrades or modifications to your home security system to ensure compatibility with the monitoring service. This may include adding specific communication devices or upgrading your control panel.
- Schedule the Installation: Coordinate with the monitoring service provider to schedule a convenient time for the installation and connection of your security system to their monitoring center.
- Install Communication Devices: Install any communication devices or modules that allow your security system to communicate with the monitoring center. This may involve connecting your control panel to a landline phone, internet connection, or cellular network.
- Test the Connection: Once the installation is complete, test the connection between your security system and the monitoring center. Confirm that the communication is stable and that the monitoring service receives the appropriate signals and alerts from your security system.
- Activate the Monitoring Service: Activate the monitoring service by following the instructions provided by the service provider. Provide any necessary contact information, emergency response instructions, and other relevant details.
- Notify Emergency Contacts: Inform trusted family members, friends, or neighbors about your newly connected monitoring service. Provide them with any necessary codes or instructions on how to respond in case of an emergency.
Connecting your security system to a monitoring service ensures that any security events are promptly addressed, even when you are unavailable or unable to respond. It provides an added layer of protection and enhances the effectiveness of your overall home security system.
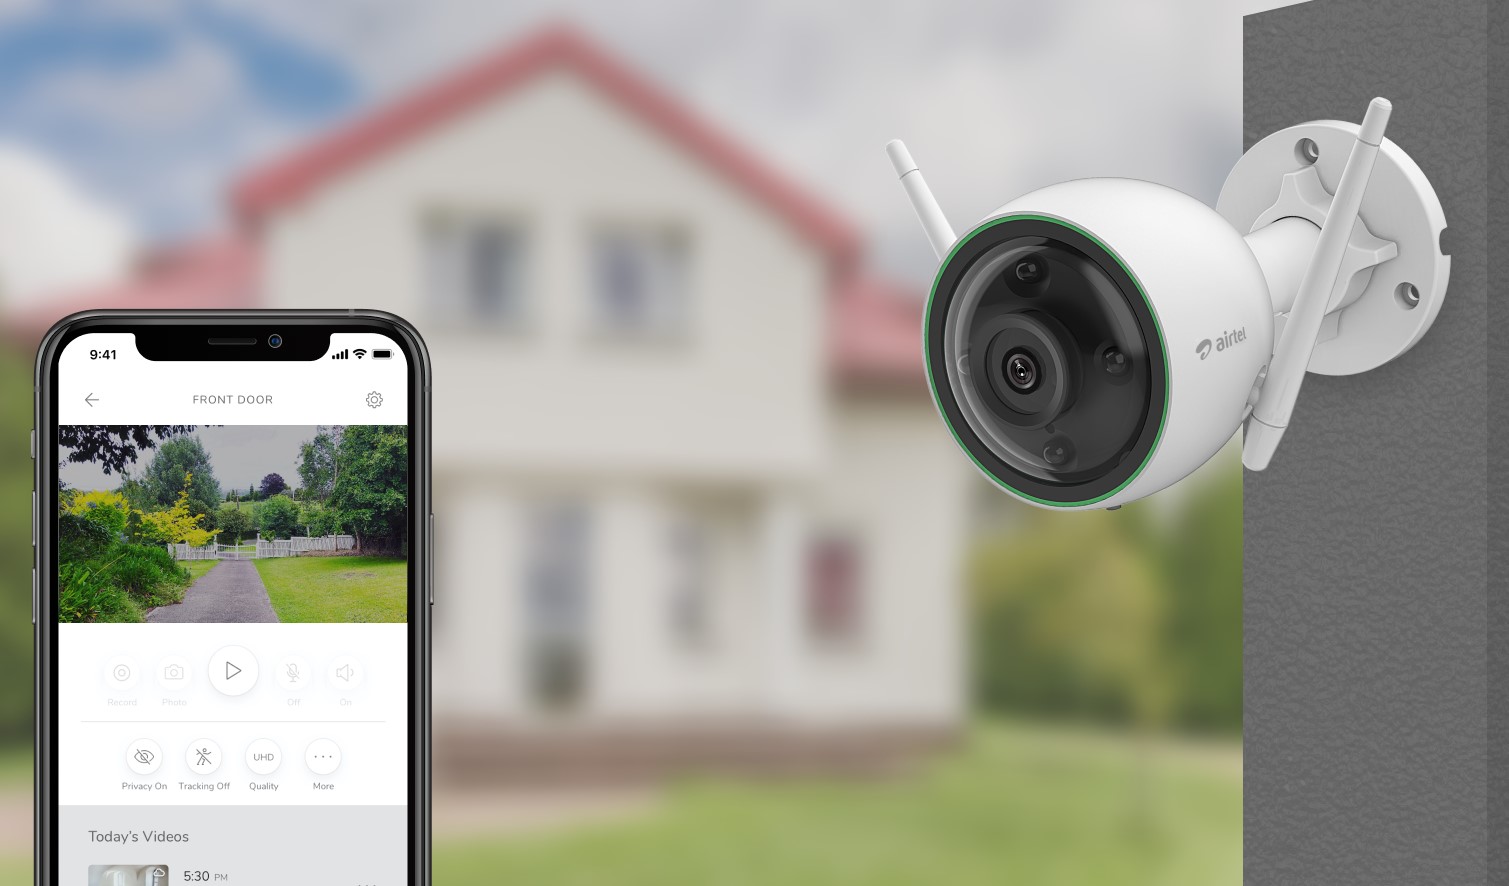
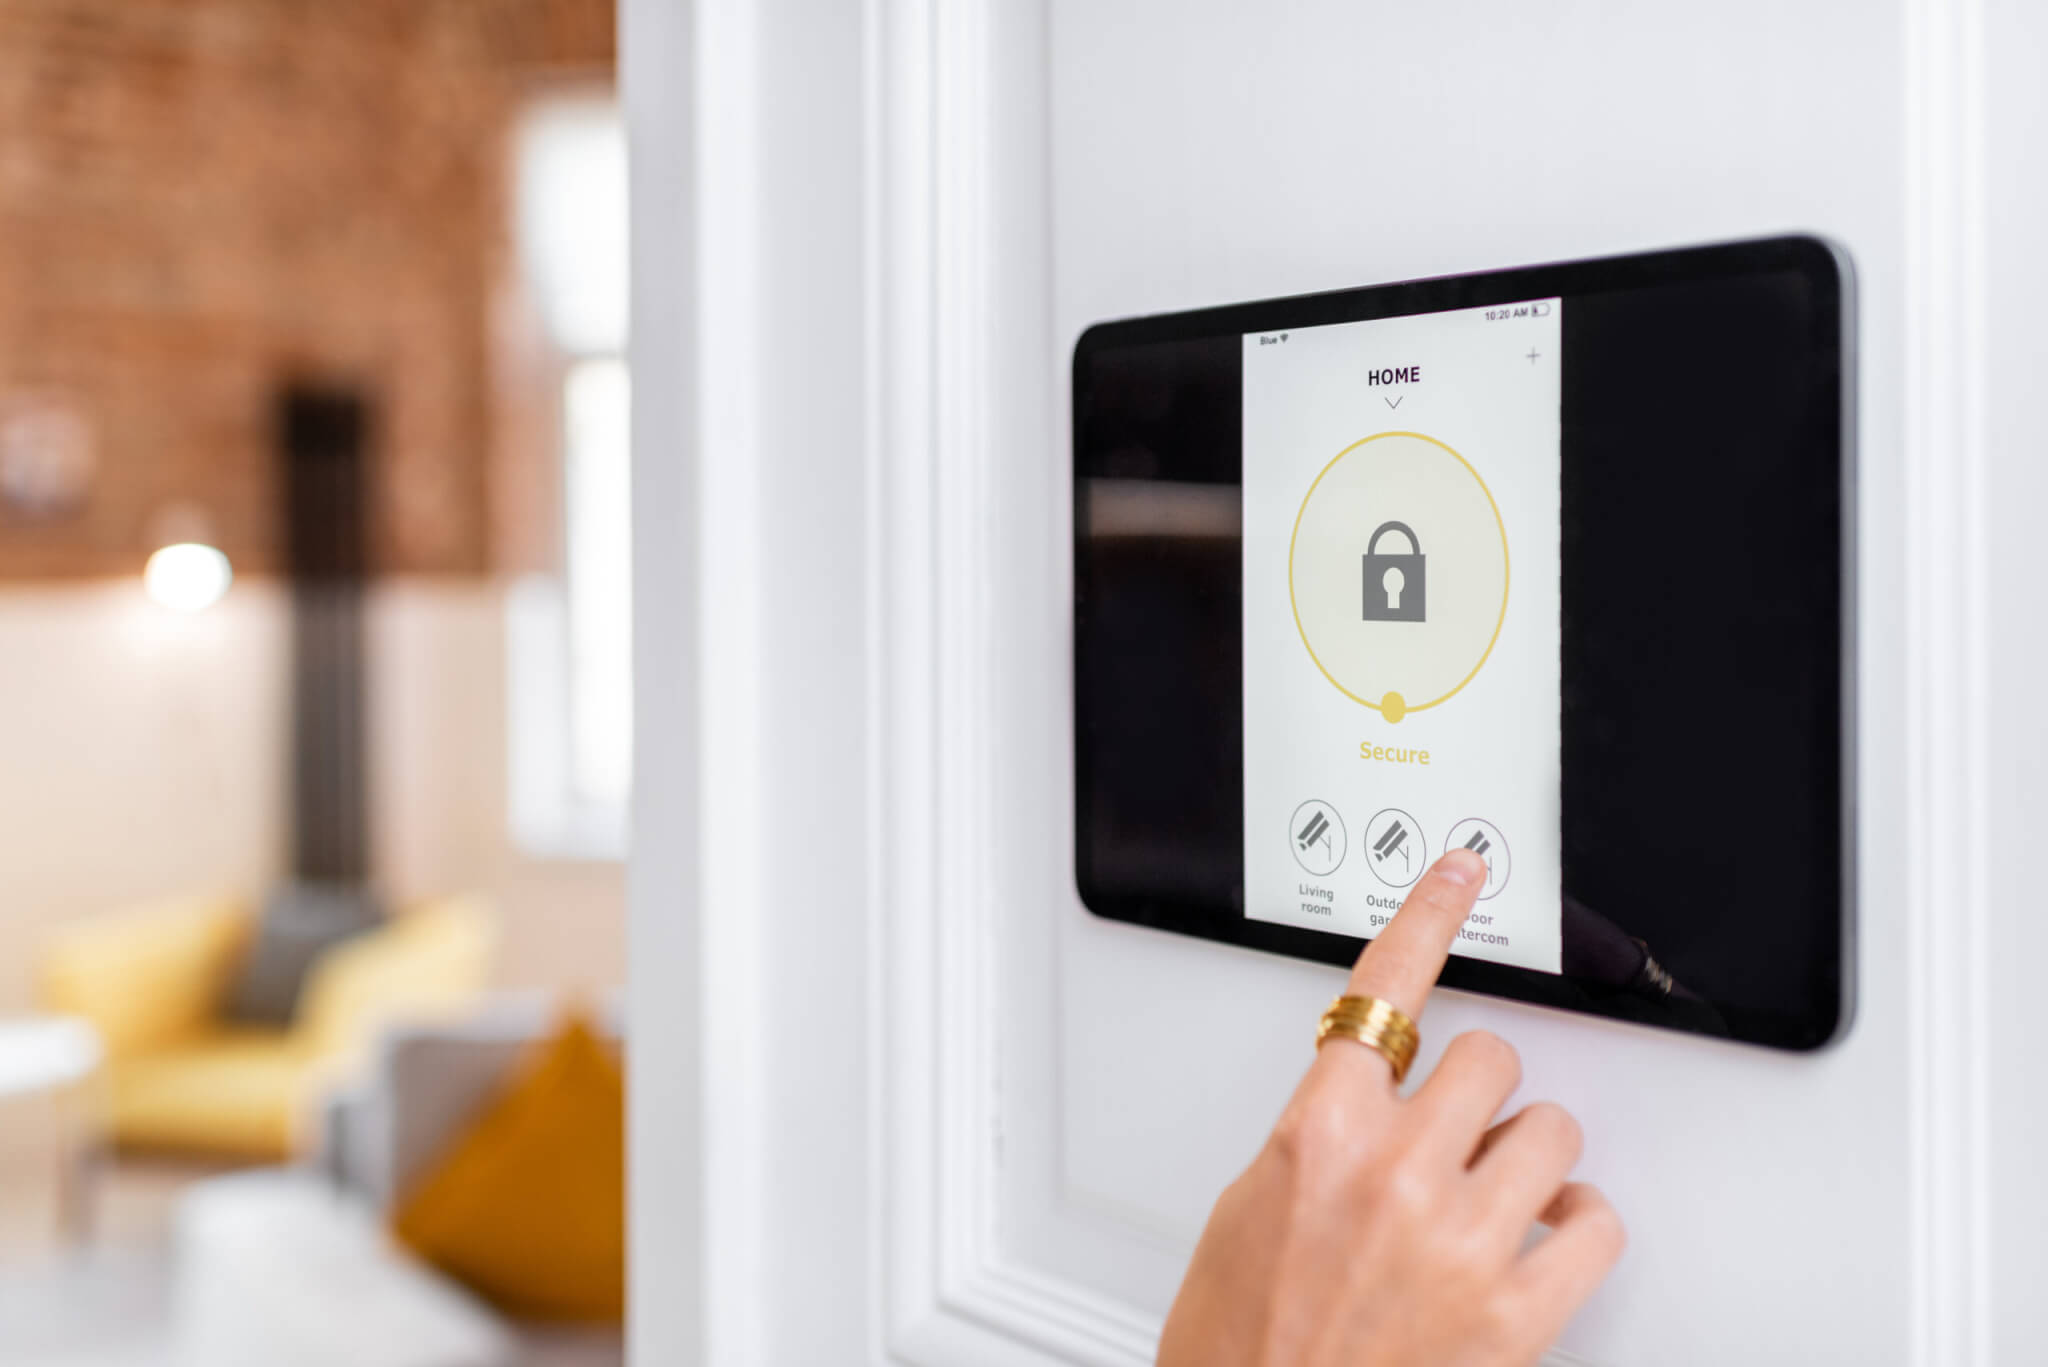
Step 8: Set Up Remote Access to Your Home Security System
Setting up remote access to your home security system allows you to monitor and control your system from anywhere, giving you peace of mind and the ability to stay connected to your home even when you’re away. Follow these steps to set up remote access to your home security system:
- Check Compatibility: Ensure that your home security system supports remote access functionality. Most modern security systems offer this feature, but it’s important to verify compatibility with the manufacturer or your security system provider.
- Create User Accounts: Create user accounts for remote access. This typically involves creating a login ID and password through the security system provider’s website or mobile app. Make sure to choose strong, unique passwords to protect your account.
- Download and Install Mobile Apps: Download and install the mobile app provided by your security system manufacturer or provider. These apps allow you to access and control your security system remotely from your smartphone or tablet.
- Connect Your Security System to the Internet: Ensure that your security system is connected to the internet. This usually involves connecting your control panel to your home Wi-Fi network. Follow the instructions provided by your security system manufacturer or provider for the specific steps to connect your system to the internet.
- Pair Your Security System with the Mobile App: Open the mobile app and follow the instructions to pair your security system with the app. This process may involve scanning a QR code or entering a unique code provided by the manufacturer. Once paired, you will be able to access your security system remotely through the app.
- Configure Remote Access Settings: Access the settings within the mobile app to configure the remote access features. This may include setting up push notifications for security events, adjusting motion detection sensitivity, and customizing user permissions and access levels.
- Test Remote Access: Test the remote access functionality by logging into the mobile app from a different network, such as your cellular data network or a different Wi-Fi network. Verify that you can view live camera feeds, receive notifications, and control your security system remotely.
- Secure Your Remote Access: It’s crucial to secure your remote access to prevent unauthorized access to your security system. Enable two-factor authentication if available, use secure passwords, and keep your mobile devices updated with the latest security patches.
- Train and Educate Users: If other family members or trusted individuals will also have remote access, train them on how to use the mobile app and educate them on best practices for maintaining security and privacy.
With remote access set up, you can stay connected to your home security system at all times, allowing you to monitor and control your system, receive instant notifications, and maintain a sense of security no matter where you are.
Read more: How To Set Up Home Security Camera
Step 9: Test and Fine-tune Your Home Security System
Testing and fine-tuning your home security system is a crucial step to ensure its optimal performance and effectiveness in protecting your home. By conducting thorough tests and making necessary adjustments, you can identify any weaknesses or areas for improvement. Follow these steps to test and fine-tune your home security system:
- Test Each Component: Start by testing each component of your security system individually. This includes security cameras, sensors, motion detectors, and any other integrated devices. Verify that each component is functioning correctly and detects any potential security events.
- Trigger Alarms and Notifications: Familiarize yourself with the alarm and notification features of your security system. Test the alarms by intentionally triggering sensors or motion detectors. Ensure that you receive timely notifications and that the alarms are loud and audible.
- Check Camera Coverage: Review the camera coverage and ensure that the fields of view are capturing the desired areas. Look for any blind spots or areas with insufficient coverage. Adjust camera angles or consider adding additional cameras, if necessary.
- Review Recording Quality: Assess the recording quality of your security cameras. Check if the footage is clear and detailed, especially during low-light conditions. Adjust camera settings or upgrade to higher-resolution cameras, if needed.
- Test Remote Access: Verify that you can successfully access your security system remotely from different locations and networks. Check if the live feeds are accessible, and notifications are received on time. Make any necessary changes to improve the remote access performance.
- Evaluate Response Time: Evaluate the response time of your security system and monitoring service. Test the time it takes for alarms to be triggered, notifications to be received, and emergency response personnel to be notified. Consider any areas where response time can be improved.
- Review False Alarm Triggers: Assess if there are any instances of false alarms triggered by pets, environmental factors, or other non-threatening events. Adjust sensor sensitivity or reposition sensors to minimize false alarms while maintaining security.
- Update System Software: Regularly update the software and firmware of your security system components. These updates often include bug fixes, performance improvements, and enhanced security features. Keep your system up to date to ensure optimal functionality.
- Perform Regular Maintenance: Conduct regular maintenance checks on your security system. Clean cameras and sensors as needed, replace batteries, and ensure that all connections are secure. Address any maintenance issues promptly to prevent interruptions in your system’s performance.
Testing and fine-tuning your home security system is an ongoing process. Regularly reassess the performance of your system and make necessary adjustments to ensure that it remains robust, reliable, and capable of effectively protecting your home and loved ones.
Conclusion
Congratulations! You have successfully completed the steps to set up a comprehensive home security system. By following these guidelines, you have taken significant strides towards protecting your home, loved ones, and valuable possessions. Your dedication to home security will undoubtedly provide you with peace of mind and a heightened sense of safety.
Throughout this guide, you have learned how to assess your home security needs, choose the right security system, determine camera placements, install security cameras, sensors, and motion detectors, connect to a monitoring service, set up remote access, and test and fine-tune your home security system. Each step contributes to the overall effectiveness and functionality of your system.
Remember, as you make your way through the process, always prioritize your unique requirements and preferences. Consider the layout of your home, your specific security concerns, and the level of protection you desire. By customizing your security system to fit your needs, you ensure that it will provide reliable and tailored security solutions.
Additionally, stay proactive and informed about the latest advancements in home security technology. Regularly check for software updates, explore new features offered by your security system provider, and stay vigilant for any potential vulnerabilities.
Lastly, even with a comprehensive security system in place, maintaining a sense of awareness and practicing good security habits is crucial. Lock doors and windows, notify trusted neighbors or family members when you are away, and consider additional measures such as smart locks or video doorbells to enhance your security further.
By taking these steps and continuously investing in the safety of your home, you can enjoy the peace of mind that comes with a robust and reliable home security system. Stay diligent, stay informed, and stay protected!
Frequently Asked Questions about How To Set Up A Home Security System
Was this page helpful?
At Storables.com, we guarantee accurate and reliable information. Our content, validated by Expert Board Contributors, is crafted following stringent Editorial Policies. We're committed to providing you with well-researched, expert-backed insights for all your informational needs.