Home>Home Security and Surveillance>How To Adjust Settings On Leviton Motion Detector
Home Security and Surveillance
How To Adjust Settings On Leviton Motion Detector
Modified: March 6, 2024
Learn how to adjust the settings on your Levitron motion detector for optimal home security and surveillance. Secure your property with easy-to-follow instructions.
(Many of the links in this article redirect to a specific reviewed product. Your purchase of these products through affiliate links helps to generate commission for Storables.com, at no extra cost. Learn more)
Introduction
Welcome to our comprehensive guide on how to adjust the settings on the Levitron Motion Detector. The Levitron Motion Detector is a cutting-edge device that helps enhance home security by detecting any movement in its range and triggering an alert signal. Understanding how to customize and fine-tune the settings of your motion detector is essential to ensure optimal performance and minimize false alarms.
In this article, we will walk you through the step-by-step process of accessing the settings menu and making adjustments to motion sensitivity, detection range, light duration, light sensitivity, and even resetting to default settings. Whether you have just installed a Levitron Motion Detector or want to make some modifications to enhance its functionality, you’ve come to the right place.
Before we dive into the details, it’s crucial to have a basic understanding of how the Levitron Motion Detector works. This device utilizes advanced infrared technology to detect changes in heat signatures caused by moving objects within its field of view. When the detector senses motion, it activates an alarm or triggers a light, depending on the settings you have configured.
Now, let’s explore the step-by-step process of adjusting the settings on your Levitron Motion Detector to optimize its effectiveness and ensure your home or property stays safe and secure.
Key Takeaways:
- Customize your Levitron Motion Detector’s settings to optimize home security. Adjust motion sensitivity, detection range, light duration, and sensitivity for accurate detection and minimal false alarms.
- Easily access and reset your Levitron Motion Detector’s settings to default, ensuring efficient troubleshooting and tailored security solutions.
Read more: How To Adjust Motion Detector Light Settings
Step 1: Understanding the Levitron Motion Detector
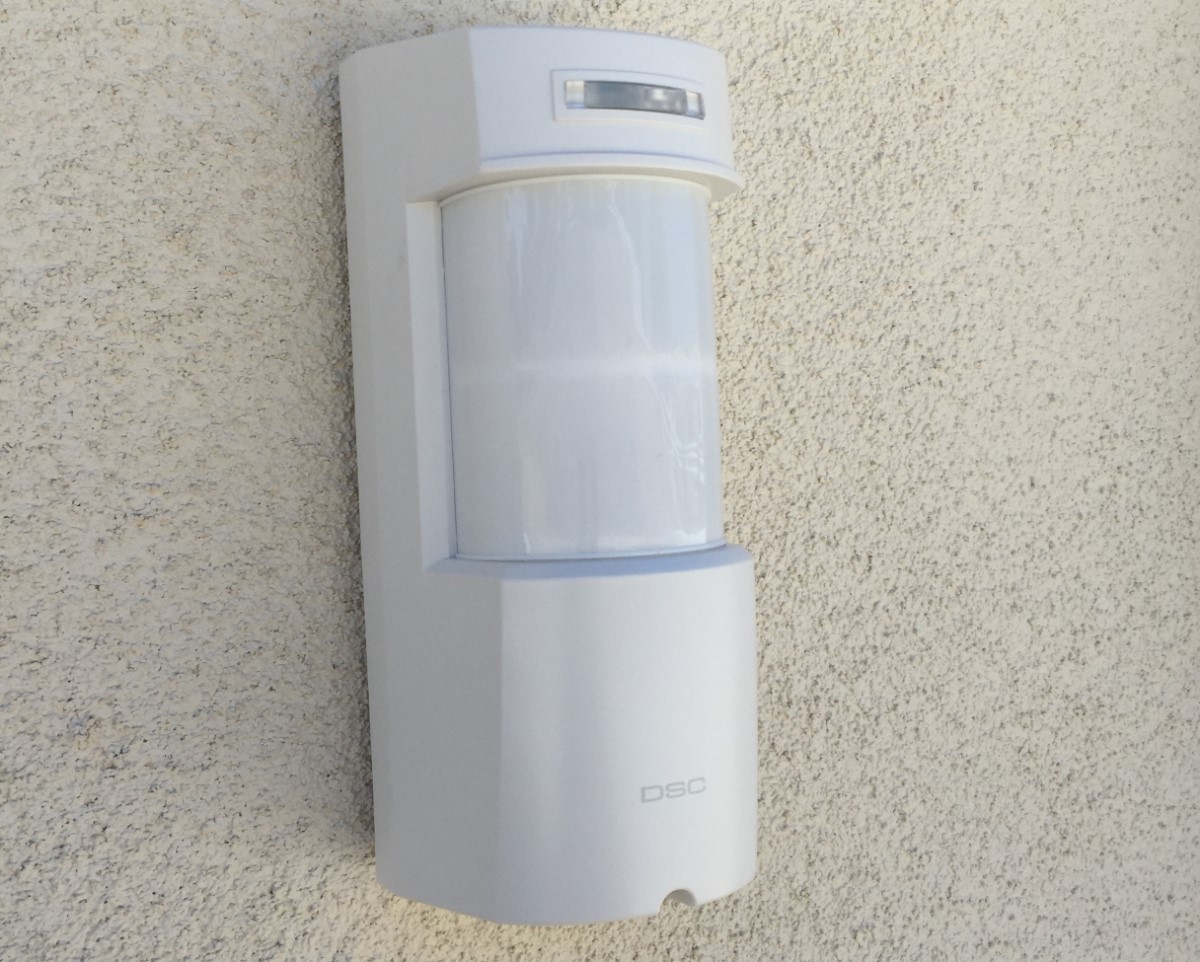
Before you start adjusting the settings on your Levitron Motion Detector, it’s important to familiarize yourself with its components and functions. The Levitron Motion Detector consists of the following key elements:
- Infrared Sensors: These sensors detect changes in heat signatures, which are caused by moving objects. The sensor array typically covers a wide angle to provide a comprehensive view of the surroundings.
- Control Panel: The control panel is where you can access and modify the various settings of the motion detector. It usually includes buttons or a touch screen interface for navigation.
- Alarm/Light Output: The motion detector is designed to trigger an alarm or activate a light when motion is detected. This feature helps alert you to potential intruders or suspicious activity.
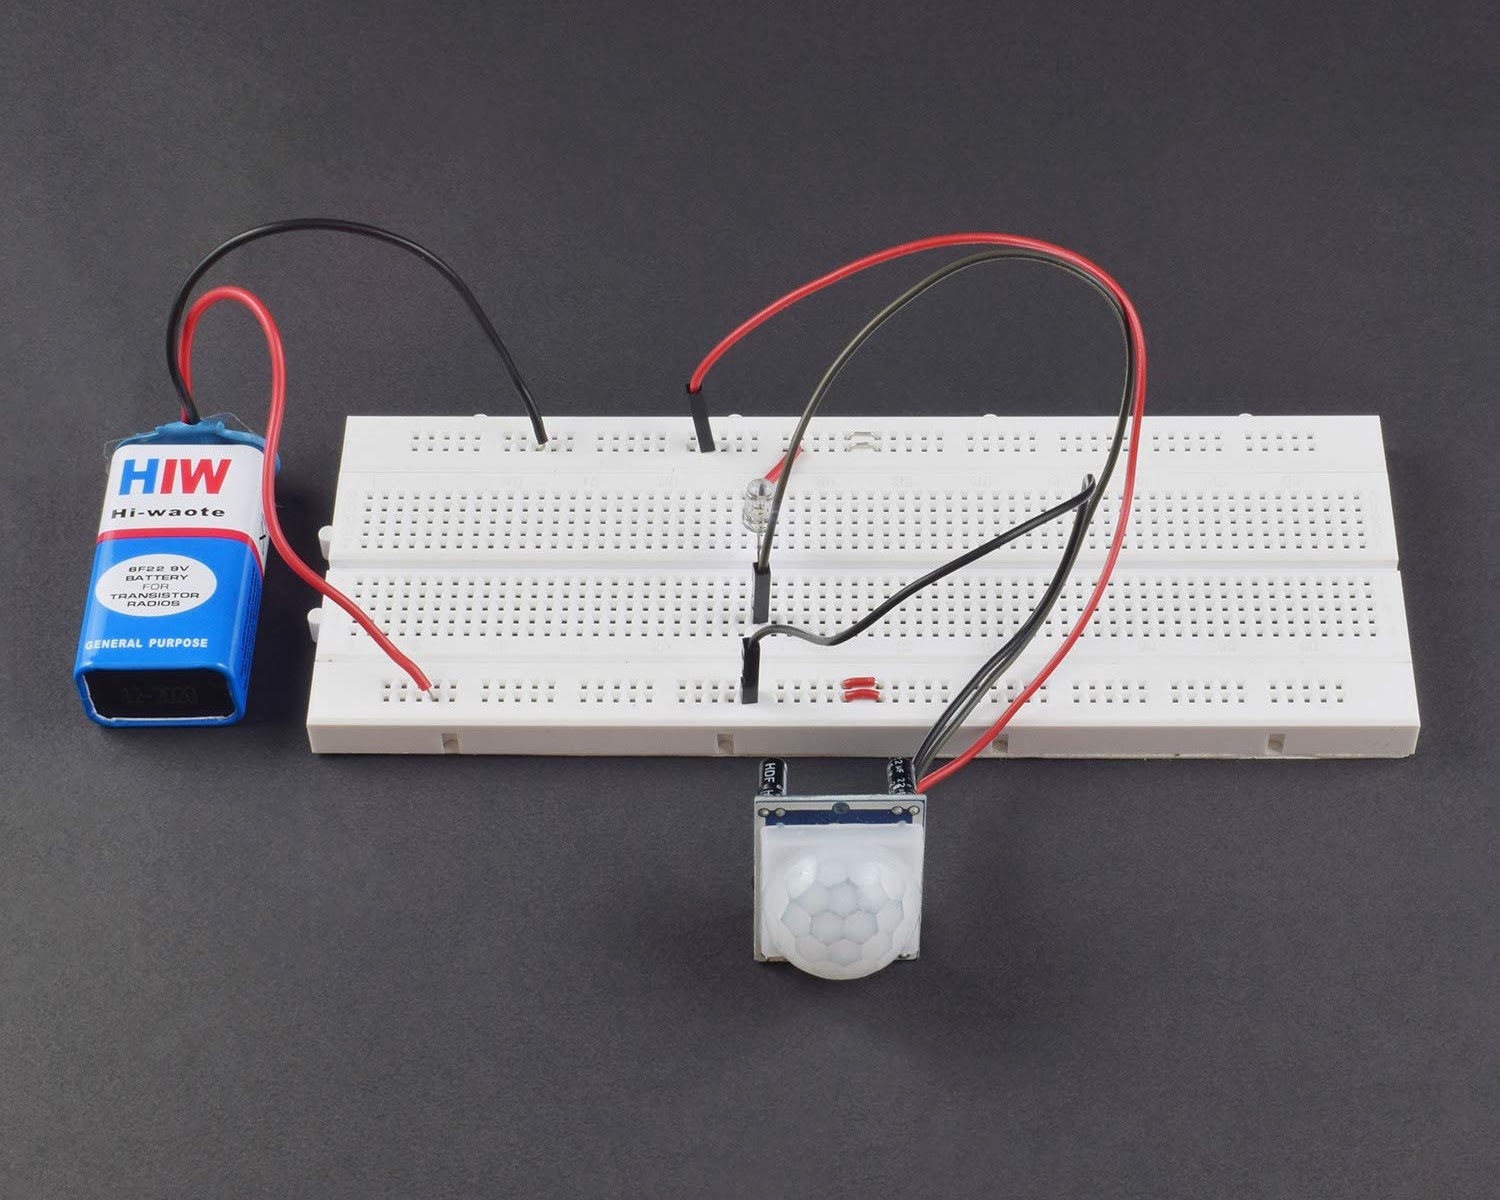
- Power Source: The Levitron Motion Detector is powered by either batteries or an electrical connection. Make sure to check the power source and ensure it is functioning properly.
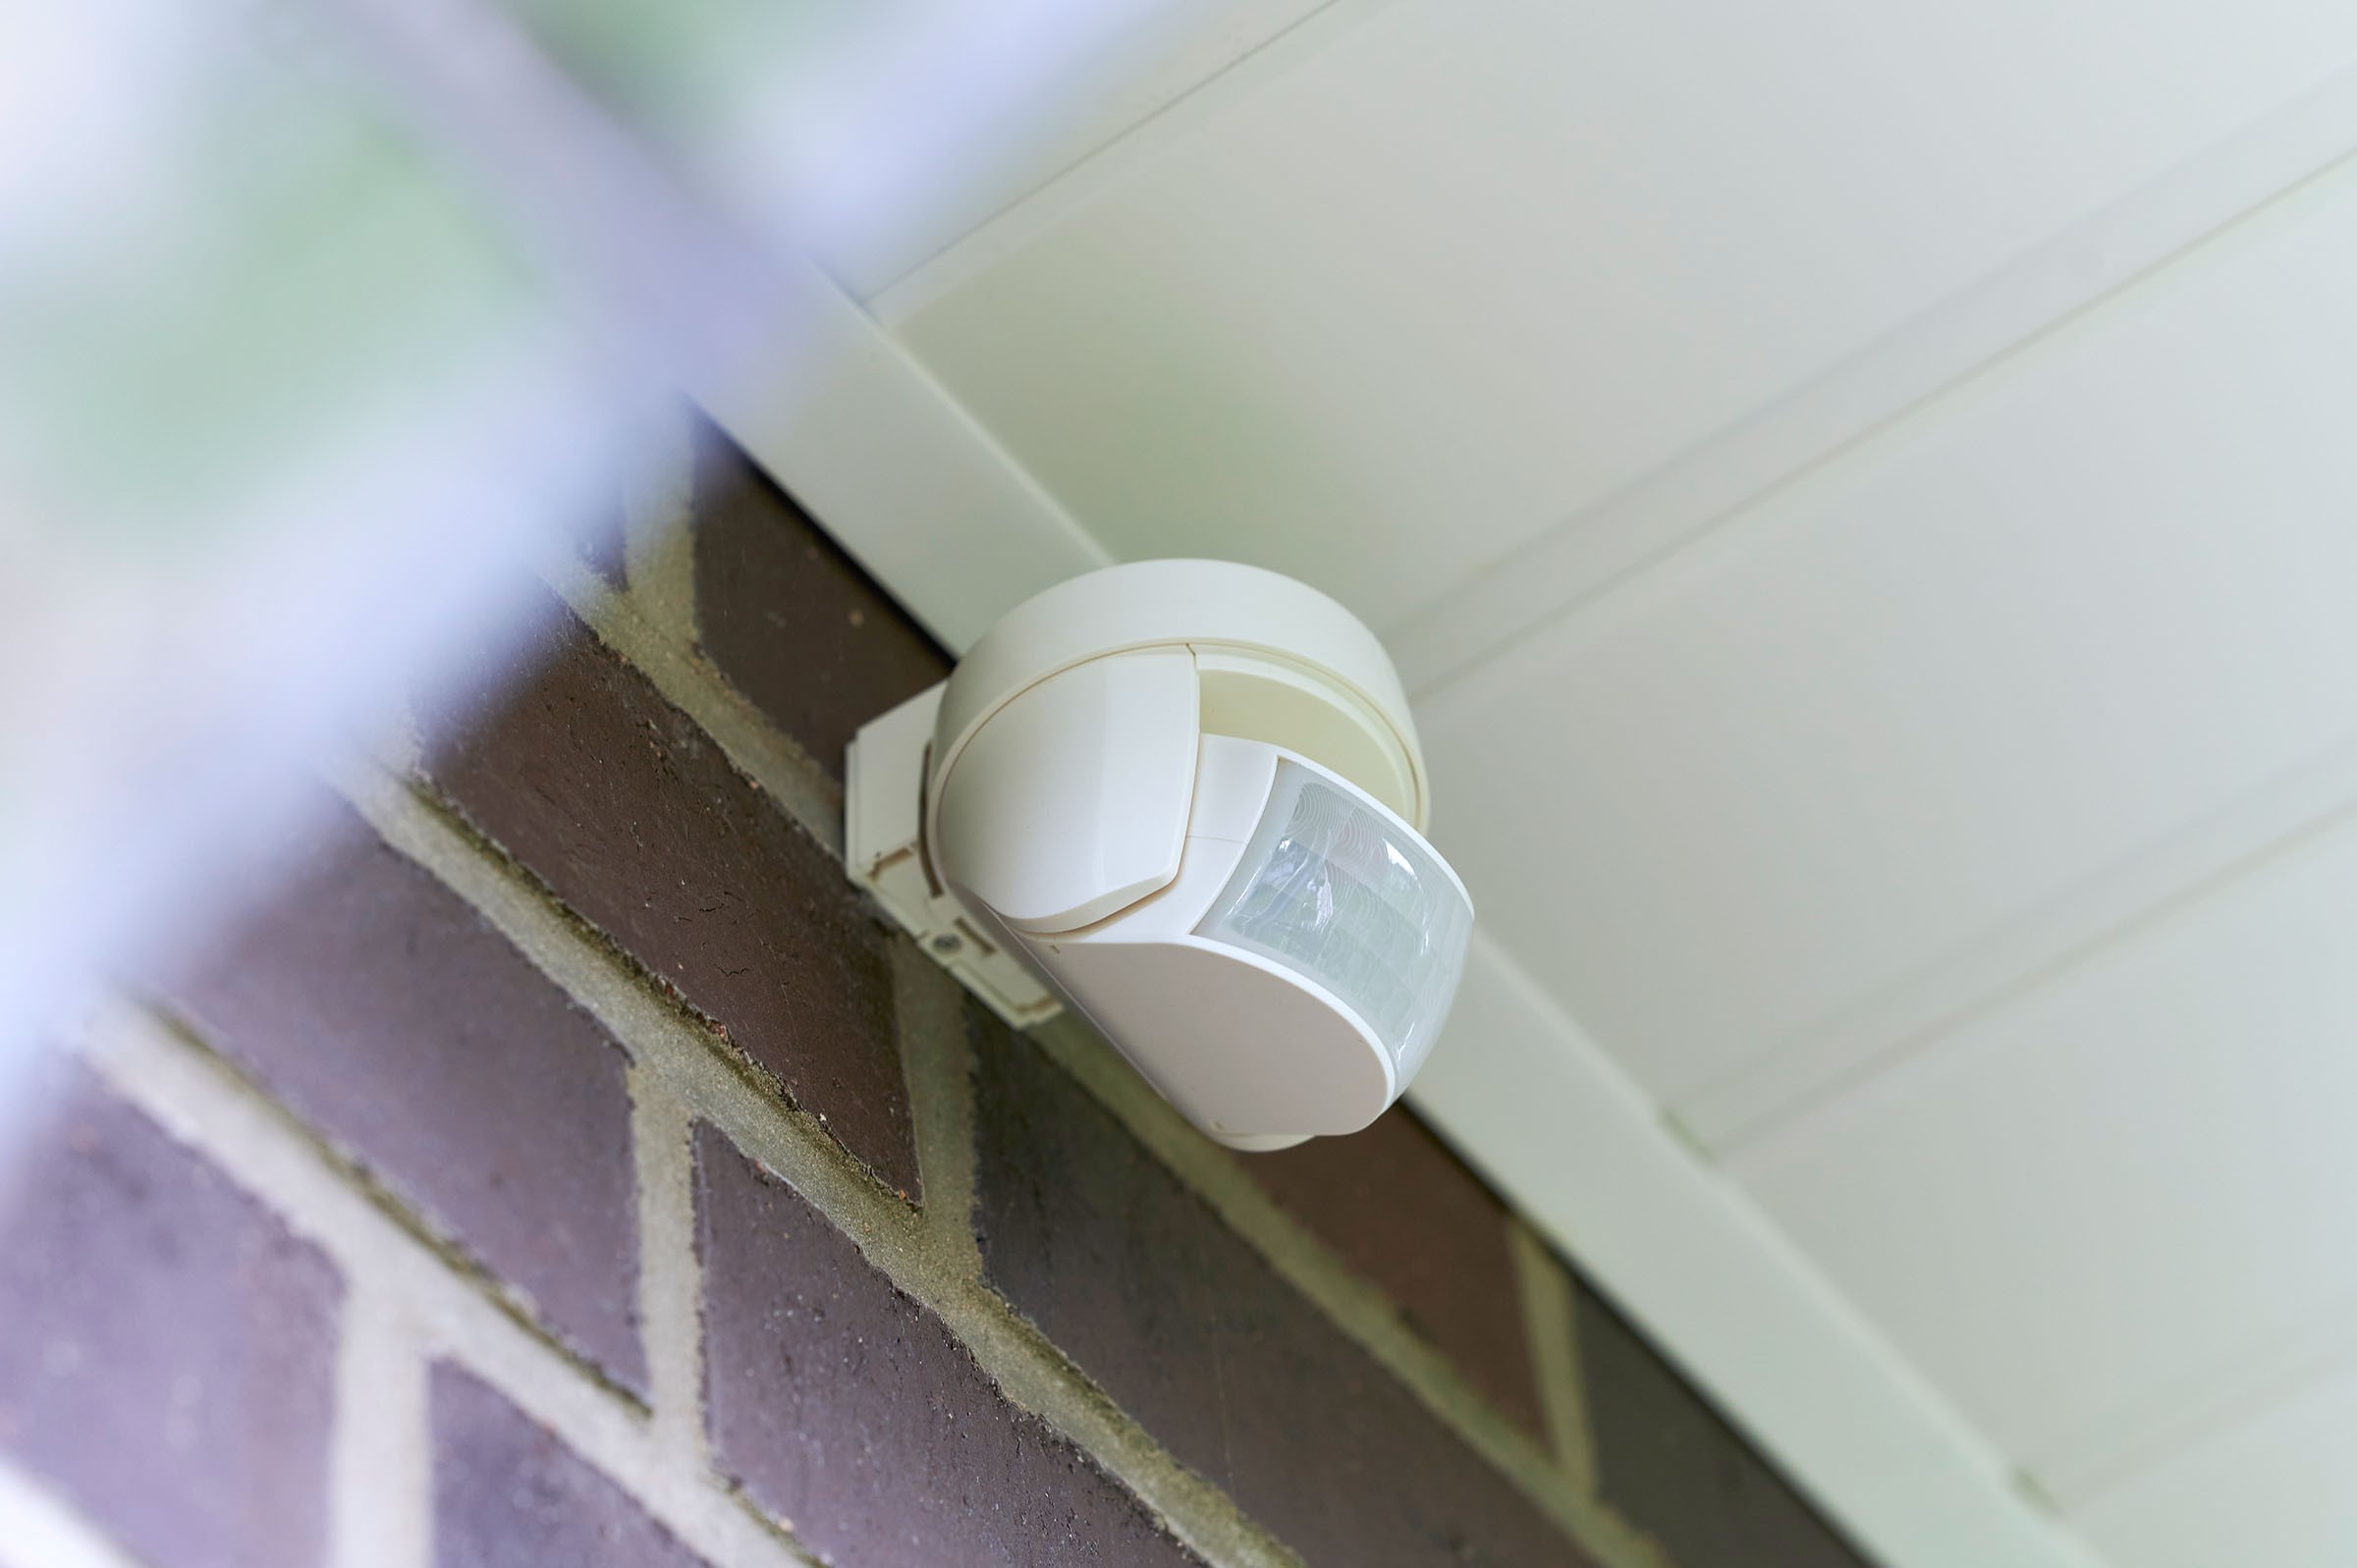
Understanding how these components work together is essential for adjusting the settings effectively. It’s also important to determine the optimal placement for your motion detector. Ideally, you should position it in an area with a clear view of the space you want to monitor, while avoiding any obstructions that could interfere with its functionality.
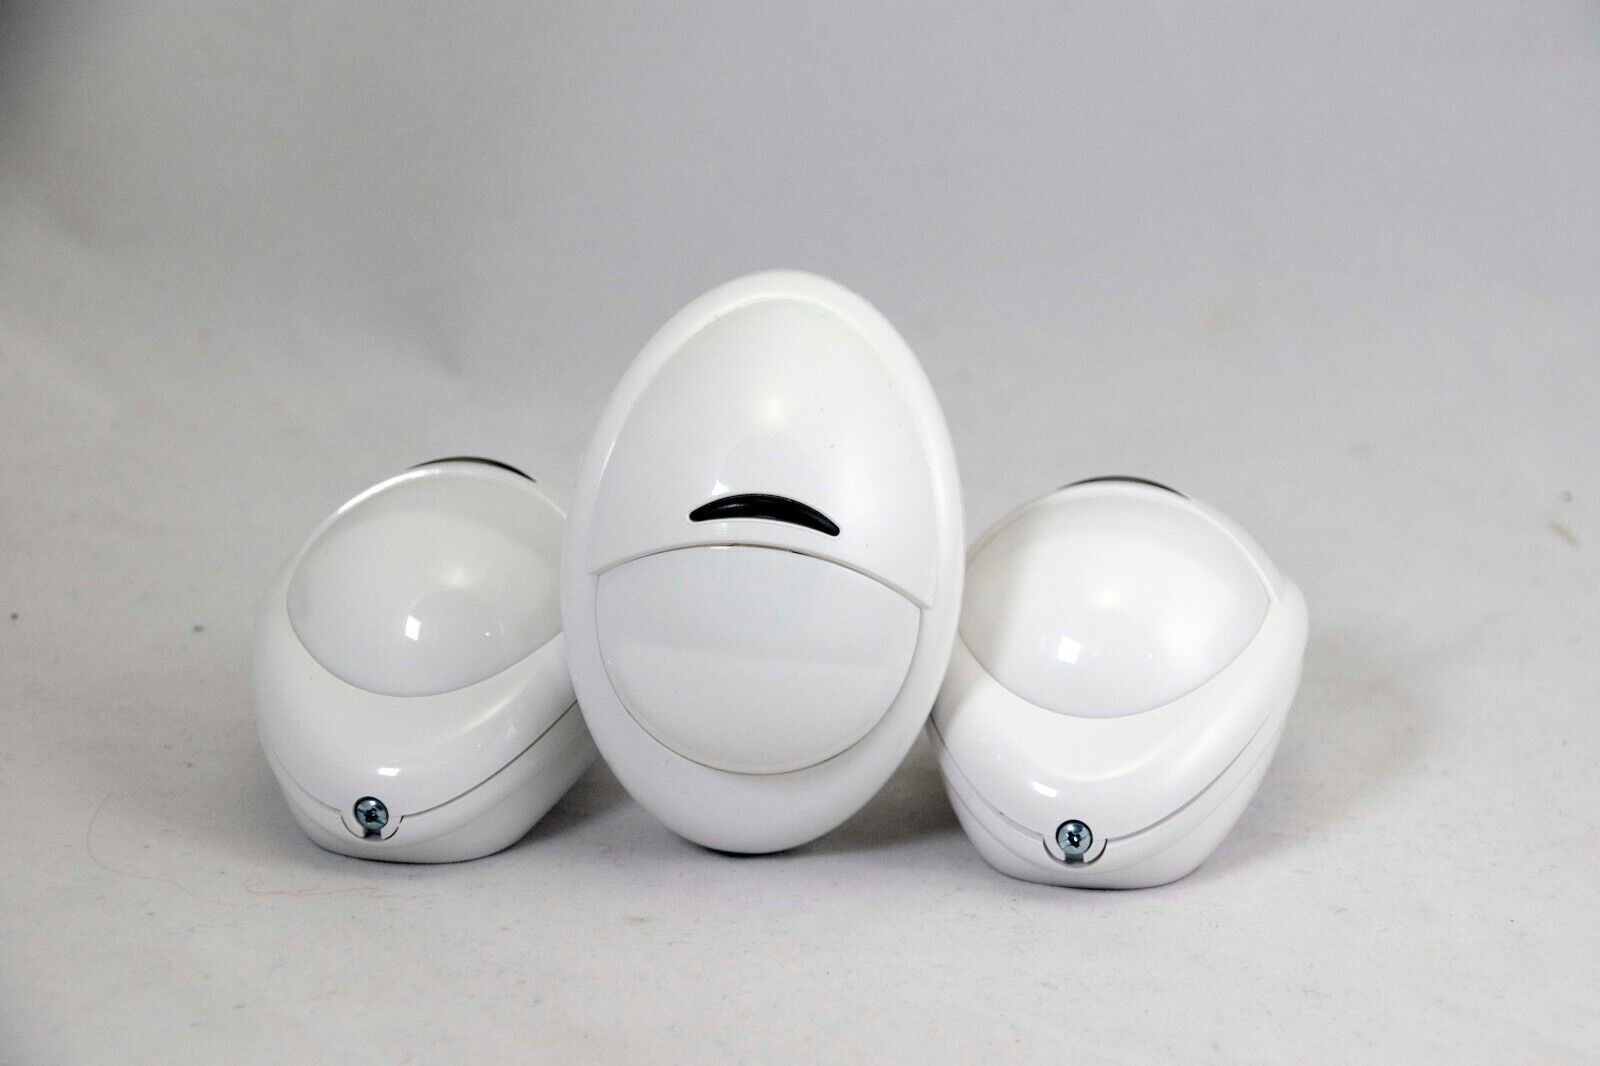
Keep in mind that the specific features and functions of your Levitron Motion Detector may vary depending on the model and manufacturer. Therefore, it is recommended to consult the user manual provided with your device for detailed instructions and specifications.
Once you have a clear understanding of the components and the placement of your Levitron Motion Detector, you can proceed to the next step: accessing the settings menu. This will allow you to customize the device based on your specific needs and preferences.
Step 2: Accessing the Settings Menu
Now that you have a good understanding of your Levitron Motion Detector, let’s move on to accessing the settings menu. This is where you can make adjustments to personalize the device according to your requirements.
The exact method of accessing the settings menu may vary depending on the model of your Levitron Motion Detector. However, there are some general steps that can guide you in the right direction:
- Locate the Control Panel: The control panel is where the settings menu is typically accessible. It is often located on the front or the top of the motion detector. Look for buttons or a touch screen interface that will allow you to navigate through the menu options.
- Power On the Motion Detector: Ensure that your motion detector is powered on and functioning properly. If it is battery-operated, check the battery levels and replace them if necessary.
- Press the Menu/Settings Button: Look for a button labeled “Menu” or “Settings” on the control panel. Press this button to access the settings menu.
- Navigate the Menu: Once you are in the settings menu, you can navigate through the different options using the arrow buttons or touch screen controls. The available options may include motion sensitivity, detection range, light duration, light sensitivity, and more.
It’s important to note that some Levitron Motion Detectors may require a passcode or a security feature to access the settings menu. Make sure to have the passcode handy or refer to the user manual for instructions on how to bypass the security feature.
By following these steps, you should be able to access the settings menu of your Levitron Motion Detector. Now that you’re in the menu, you can begin making adjustments to customize the device’s sensitivity and other settings to best suit your needs. In the next step, we will delve into adjusting the motion sensitivity of your motion detector.
Step 3: Adjusting the Motion Sensitivity
One of the most important settings to adjust on your Levitron Motion Detector is the motion sensitivity. This setting determines the level of movement required to trigger the alarm or activate the light. Adjusting the motion sensitivity ensures that the device detects real threats while minimizing false alarms caused by slight movements or environmental factors.
To adjust the motion sensitivity, follow these steps:
- Access the Settings Menu: As mentioned in Step 2, navigate to the settings menu of your Levitron Motion Detector using the control panel.
- Locate the Motion Sensitivity Option: In the settings menu, look for an option called “Motion Sensitivity” or similar wording. This may be listed under a “Sensitivity” or “Detection” category.
- Select the Desired Sensitivity Level: Depending on your device, you may have preset sensitivity levels to choose from, such as “Low,” “Medium,” or “High.” Alternatively, you may be able to adjust the sensitivity on a numerical scale. Experiment with different levels to find the optimal setting for your specific environment.
- Test and Fine-tune: After making changes to the motion sensitivity, it’s essential to test the detector’s response. Walk through the monitored area and observe if the detector captures movement accurately. If the device is too sensitive, and you’re receiving false alarms, decrease the sensitivity. If it’s not detecting enough motion, increase the sensitivity gradually until the desired level is achieved.
It’s worth noting that the ideal motion sensitivity will vary depending on factors such as the size of the area being monitored, the distance to the objects, the height of the motion detector, and the specific requirements of your security setup. Be patient and give yourself time to find the right balance.
Adjusting the motion sensitivity of your Levitron Motion Detector is crucial for ensuring accurate detection of intruders or suspicious activity while minimizing false alarms. By customizing this setting to your specific needs, you can enhance the effectiveness of your home security system.
Continue to the next step to learn about modifying the detection range of your motion detector.
Step 4: Modifying the Detection Range
Modifying the detection range of your Levitron Motion Detector allows you to adjust the area it covers and fine-tune its monitoring capabilities. By modifying the detection range, you can ensure that the motion detector captures movement within the desired boundaries and avoids unnecessary triggers.
To modify the detection range of your motion detector, follow these steps:
- Access the Settings Menu: Use the control panel to navigate to the settings menu of your Levitron Motion Detector, as explained in Step 2.
- Locate the Detection Range Option: Look for an option in the settings menu that relates to the detection range. This option may be labeled as “Detection Range,” “Coverage Area,” or something similar.
- Adjust the Range Parameters: Depending on your device, you may be able to adjust the range parameters manually or select from preset options. If you can adjust the parameters manually, you will have control over the horizontal and vertical angles that the motion detector covers. If preset options are available, choose the range that best suits your needs.
- Test and Fine-tune: After modifying the detection range, it’s important to test the motion detector to ensure that it covers the desired area. Walk around your monitored space and observe if the detector detects movement accurately within the modified range. Make any necessary adjustments to fine-tune the detection range until you are satisfied with the coverage.
The detection range modification is particularly useful if you have specific areas or zones that you want the motion detector to focus on. For example, you may want to exclude certain areas, such as high-traffic zones or areas where pets frequently roam.
By modifying the detection range of your Levitron Motion Detector, you can customize its monitoring capabilities to align with your specific needs and increase the overall effectiveness of your home security system. With this adjustment complete, we can now move on to customizing the light duration in the next step.
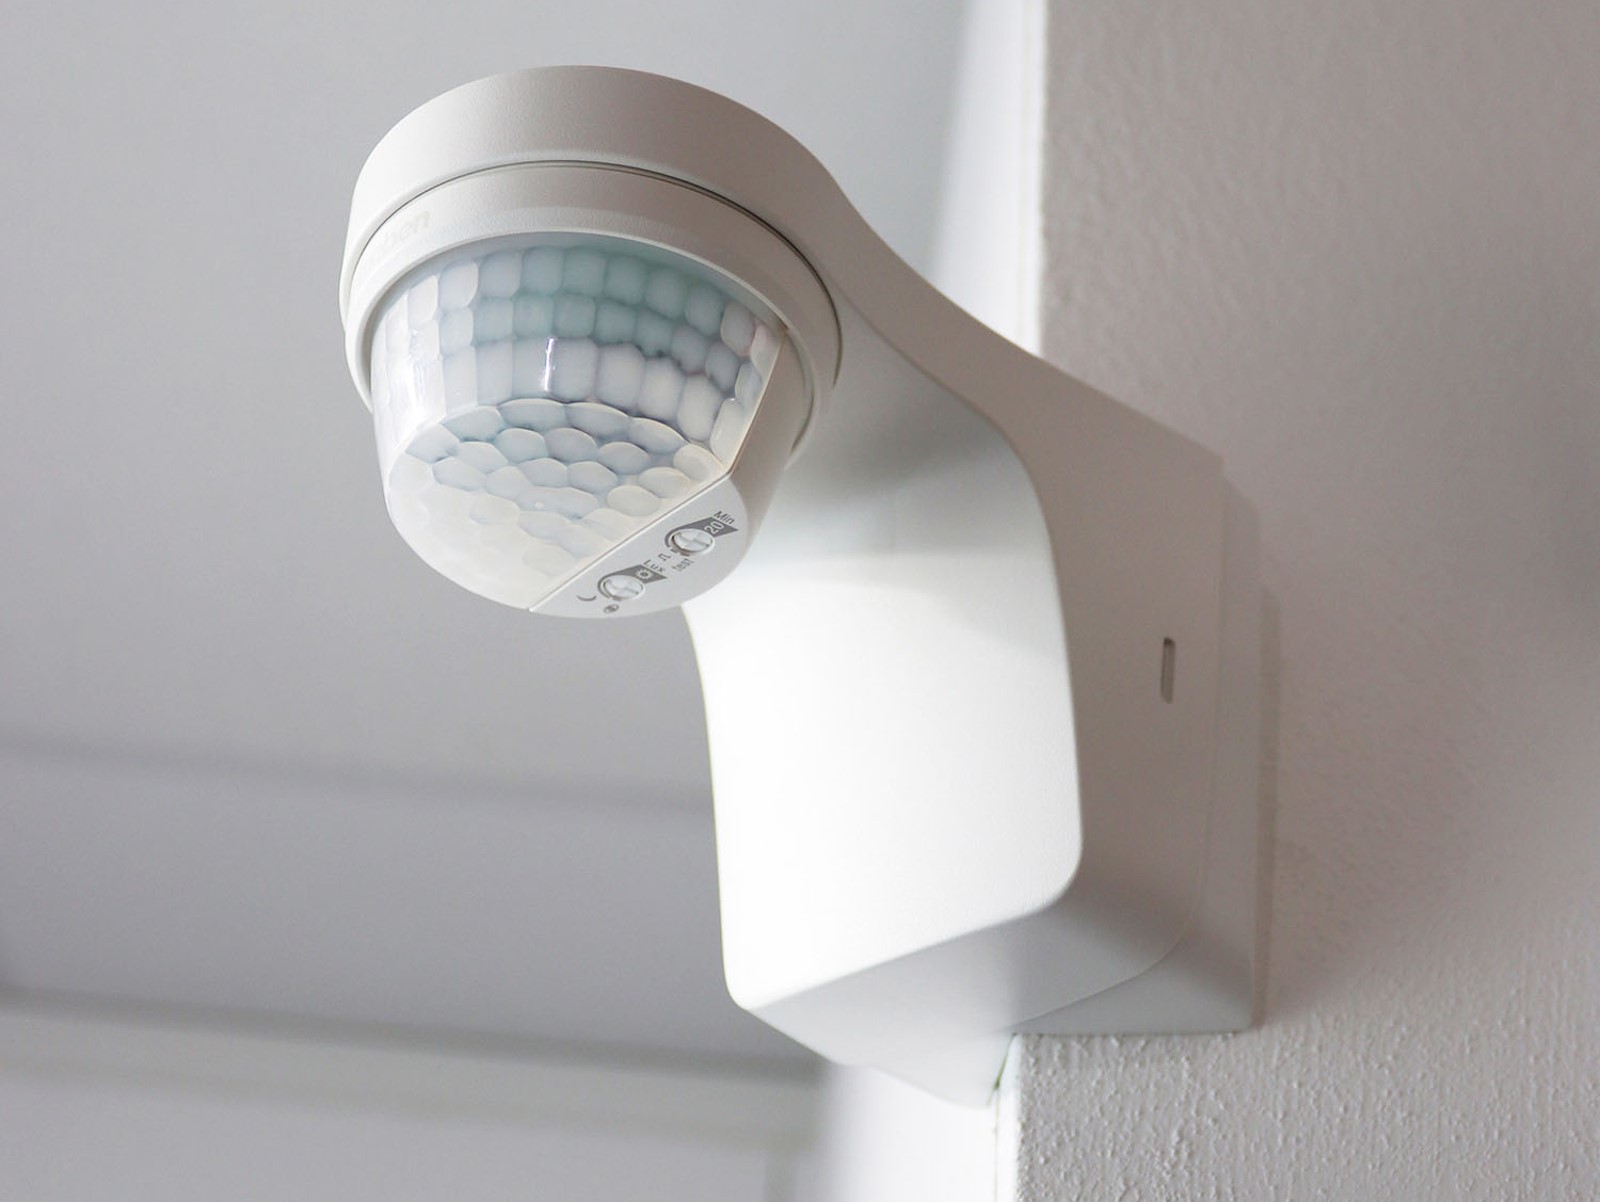
To adjust settings on a Levitron motion detector, locate the sensitivity and time settings on the device. Use a small screwdriver to adjust these settings to your desired level. Test the detector after making adjustments to ensure it is working as intended.
Step 5: Customizing the Light Duration
Customizing the light duration on your Levitron Motion Detector is an important aspect of enhancing the functionality of your home security system. By adjusting the duration that the light remains on after motion is detected, you can ensure that the area stays illuminated for an appropriate amount of time, providing both safety and convenience.
To customize the light duration on your motion detector, follow these steps:
- Access the Settings Menu: Use the control panel to navigate to the settings menu of your Levitron Motion Detector, similar to the steps outlined in Step 2.
- Locate the Light Duration Option: Look for an option in the settings menu that relates to the light duration. This option may be labeled as “Light Duration” or “Light Timer.”
- Select the Desired Duration: Depending on your device, you may have the option to set the light duration in increments of seconds, minutes, or even hours. Choose a duration that suits your preferences and aligns with your security needs. For example, you may want the light to stay on for a longer duration in areas that require extended visibility, such as a driveway or backyard.
- Test and Adjust: After customizing the light duration, test the motion detector to ensure that the light remains on for the desired interval. Walk within the monitored area and observe if the light turns on and stays illuminated for the intended duration. If necessary, go back to the settings menu and make further adjustments until you achieve the desired light duration.
Customizing the light duration is not only important for security purposes but also for convenience and energy efficiency. By setting an appropriate duration, you can ensure that the light remains on for a sufficient time to provide a clear view of the surroundings without wasting unnecessary energy.
With the light duration customized, we can now explore the next step: changing the light sensitivity of your Levitron Motion Detector.
Step 6: Changing the Light Sensitivity
Changing the light sensitivity of your Levitron Motion Detector allows you to adjust how responsive the device is to changes in light levels. By modifying the light sensitivity, you can customize how easily the motion detector is triggered by variations in ambient lighting. This setting can be particularly useful if your motion detector is used in an area with fluctuating light conditions or if you want to avoid false activations caused by minor changes in brightness.
To change the light sensitivity of your motion detector, follow these steps:
- Access the Settings Menu: Use the control panel to navigate to the settings menu of your Levitron Motion Detector, as explained in Step 2.
- Locate the Light Sensitivity Option: Look for an option in the settings menu that relates to light sensitivity. It may be labeled as “Light Sensitivity” or “Light Level.”
- Adjust the Sensitivity Level: Depending on your device, you may have the option to select from preset sensitivity levels or manually adjust the sensitivity on a scale. Preset options often include settings such as “Low,” “Medium,” or “High.” Choose a sensitivity level that best suits your specific needs and environment.
- Test and Fine-tune: After changing the light sensitivity, test your Levitron Motion Detector to ensure that it responds appropriately to changes in light levels. Observe how the device reacts to different lighting conditions and make any necessary adjustments to the sensitivity level until you find the optimal setting.
By changing the light sensitivity, you can ensure that your motion detector is not triggered by minor fluctuations in light levels, reducing false activations and enhancing the reliability and accuracy of your home security system.
Keep in mind that the ideal light sensitivity level will depend on factors such as the environment, the intended use of the motion detector, and personal preferences. Take the time to test and fine-tune the sensitivity level to achieve the best results for your specific situation.
With the light sensitivity adjusted, we can now move on to the final step: resetting the settings to their default values if needed.
Step 7: Resetting to Default Settings
If you ever need to revert your Levitron Motion Detector back to its original factory settings, you can easily reset it to the default values. This can be useful if you have made multiple adjustments and want to start fresh or if you encounter any issues with the device and want to troubleshoot by returning to the default settings.
To reset your motion detector to its default settings, follow these steps:
- Access the Settings Menu: Use the control panel to navigate to the settings menu of your Levitron Motion Detector, just like in the previous steps.
- Locate the Reset or Default Settings Option: Look for an option within the settings menu that allows you to reset the device to its default values. This option might be labeled as “Reset,” “Default Settings,” or something similar.
- Confirm the Reset: Once you have located the reset option, select it, and the motion detector will prompt you to confirm the action. Follow the on-screen instructions to proceed with the reset.
- Wait for the Reset: After confirming the reset, the Levitron Motion Detector will take a few moments to restore the default settings. During this time, avoid interfering with the device or pressing any buttons.
- Verify Default Settings: Once the reset process is complete, verify that the device has returned to its default settings by checking the various options in the settings menu. If all the settings are back to their original values, you have successfully reset your motion detector.
Resetting your Levitron Motion Detector to its default settings can help resolve any issues caused by misconfigurations or incorrect adjustments. It’s a simple yet effective troubleshooting step that can save you time and effort in diagnosing and rectifying problems.
Ensure that you have a backup of any customized settings or preferences before performing a reset, as the process will erase all modifications made to the device.
With the reset complete, you have successfully learned how to adjust the settings on your Levitron Motion Detector. By customizing the motion sensitivity, detection range, light duration, and light sensitivity, you can optimize the performance of your motion detector and enhance the security of your home or property.
Remember to consult the user manual provided with your specific Levitron Motion Detector for any model-specific instructions or additional features. Enjoy the peace of mind that comes with a customized and well-configured home security system!
Conclusion
Customizing the settings on your Levitron Motion Detector is an essential step in maximizing the effectiveness of your home security system. By adjusting the motion sensitivity, detection range, light duration, and light sensitivity, you can tailor the device to your specific needs and ensure accurate detection while minimizing false alarms.
Throughout this comprehensive guide, we have covered the step-by-step process of accessing the settings menu and making adjustments to each setting. Understanding the components and functions of your Levitron Motion Detector is crucial for successfully customizing its settings.
From adjusting the motion sensitivity to fine-tuning the detection range, each setting modification plays a vital role in tailoring the device to your specific requirements. By testing and fine-tuning these settings, you can optimize the motion detector’s performance, ensuring it accurately detects and responds to potential threats.
Remember, if you ever need to start fresh or troubleshoot any issues, you can easily reset your Levitron Motion Detector to its default settings. This can be helpful in resolving misconfigurations or restoring the device to its original state.
As with any home security device, it’s important to refer to the user manual provided by the manufacturer for specific instructions and model-dependent features. This will ensure you make the most of your Levitron Motion Detector and its capabilities.
By customizing and adjusting the settings on your Levitron Motion Detector, you can enjoy enhanced peace of mind knowing that your home or property is protected by an efficient and tailored security solution. Take the time to fine-tune these settings to align with your specific needs and preferences, and enjoy the added security and convenience that your motion detector brings.
Now that you are equipped with the knowledge to adjust the settings on your Levitron Motion Detector, take control of your home security and enjoy the benefits of a well-configured and optimized system.
Frequently Asked Questions about How To Adjust Settings On Leviton Motion Detector
Was this page helpful?
At Storables.com, we guarantee accurate and reliable information. Our content, validated by Expert Board Contributors, is crafted following stringent Editorial Policies. We're committed to providing you with well-researched, expert-backed insights for all your informational needs.