Home>Home Security and Surveillance>How To Configure Thustar Wireless Security Alarm System
Home Security and Surveillance
How To Configure Thustar Wireless Security Alarm System
Modified: March 6, 2024
Learn how to configure the Thustar Wireless Security Alarm System for your home security and surveillance needs. Ensure the safety of your property with this easy-to-install system.
(Many of the links in this article redirect to a specific reviewed product. Your purchase of these products through affiliate links helps to generate commission for Storables.com, at no extra cost. Learn more)
Introduction:
Welcome to the world of Thustar Wireless Security Alarm Systems, where modern technology meets peace of mind. In today’s fast-paced world, ensuring the safety and security of your home is paramount. With the increasing instances of thefts and burglaries, it is crucial to have a reliable security system in place.
Thustar Wireless Security Alarm Systems offer a comprehensive solution to protect your home and loved ones from potential threats. These advanced systems utilize cutting-edge wireless technology to provide real-time monitoring and instant notifications in case of any security breach.
Whether you are a homeowner looking to enhance the security of your residence or a business owner seeking to protect your assets, Thustar Wireless Security Alarm Systems are designed to meet your needs. With their easy installation process, user-friendly interface, and customizable features, these systems provide a seamless and effective security solution.
In this article, we will guide you through the process of configuring your Thustar Wireless Security Alarm System. From setting up the control panel to adding and pairing sensors, configuring alarm zones, programming emergency contacts, and testing the system, we will cover everything you need to know to ensure a successful setup.
So, without further ado, let’s dive into the world of Thustar Wireless Security Alarm Systems and learn how to configure these cutting-edge devices to protect your home and loved ones.
Key Takeaways:
- Setting up a Thustar Wireless Security Alarm System involves configuring the control panel, adding and pairing sensors, and customizing alarm zones. This ensures comprehensive protection for your home and loved ones.
- Regular testing, adjustments, and updates are essential for maintaining the effectiveness of your security system. Stay vigilant, utilize the mobile app for remote monitoring, and enjoy peace of mind knowing your home is well-protected.
Read more: How To Disarm Wireless Security System
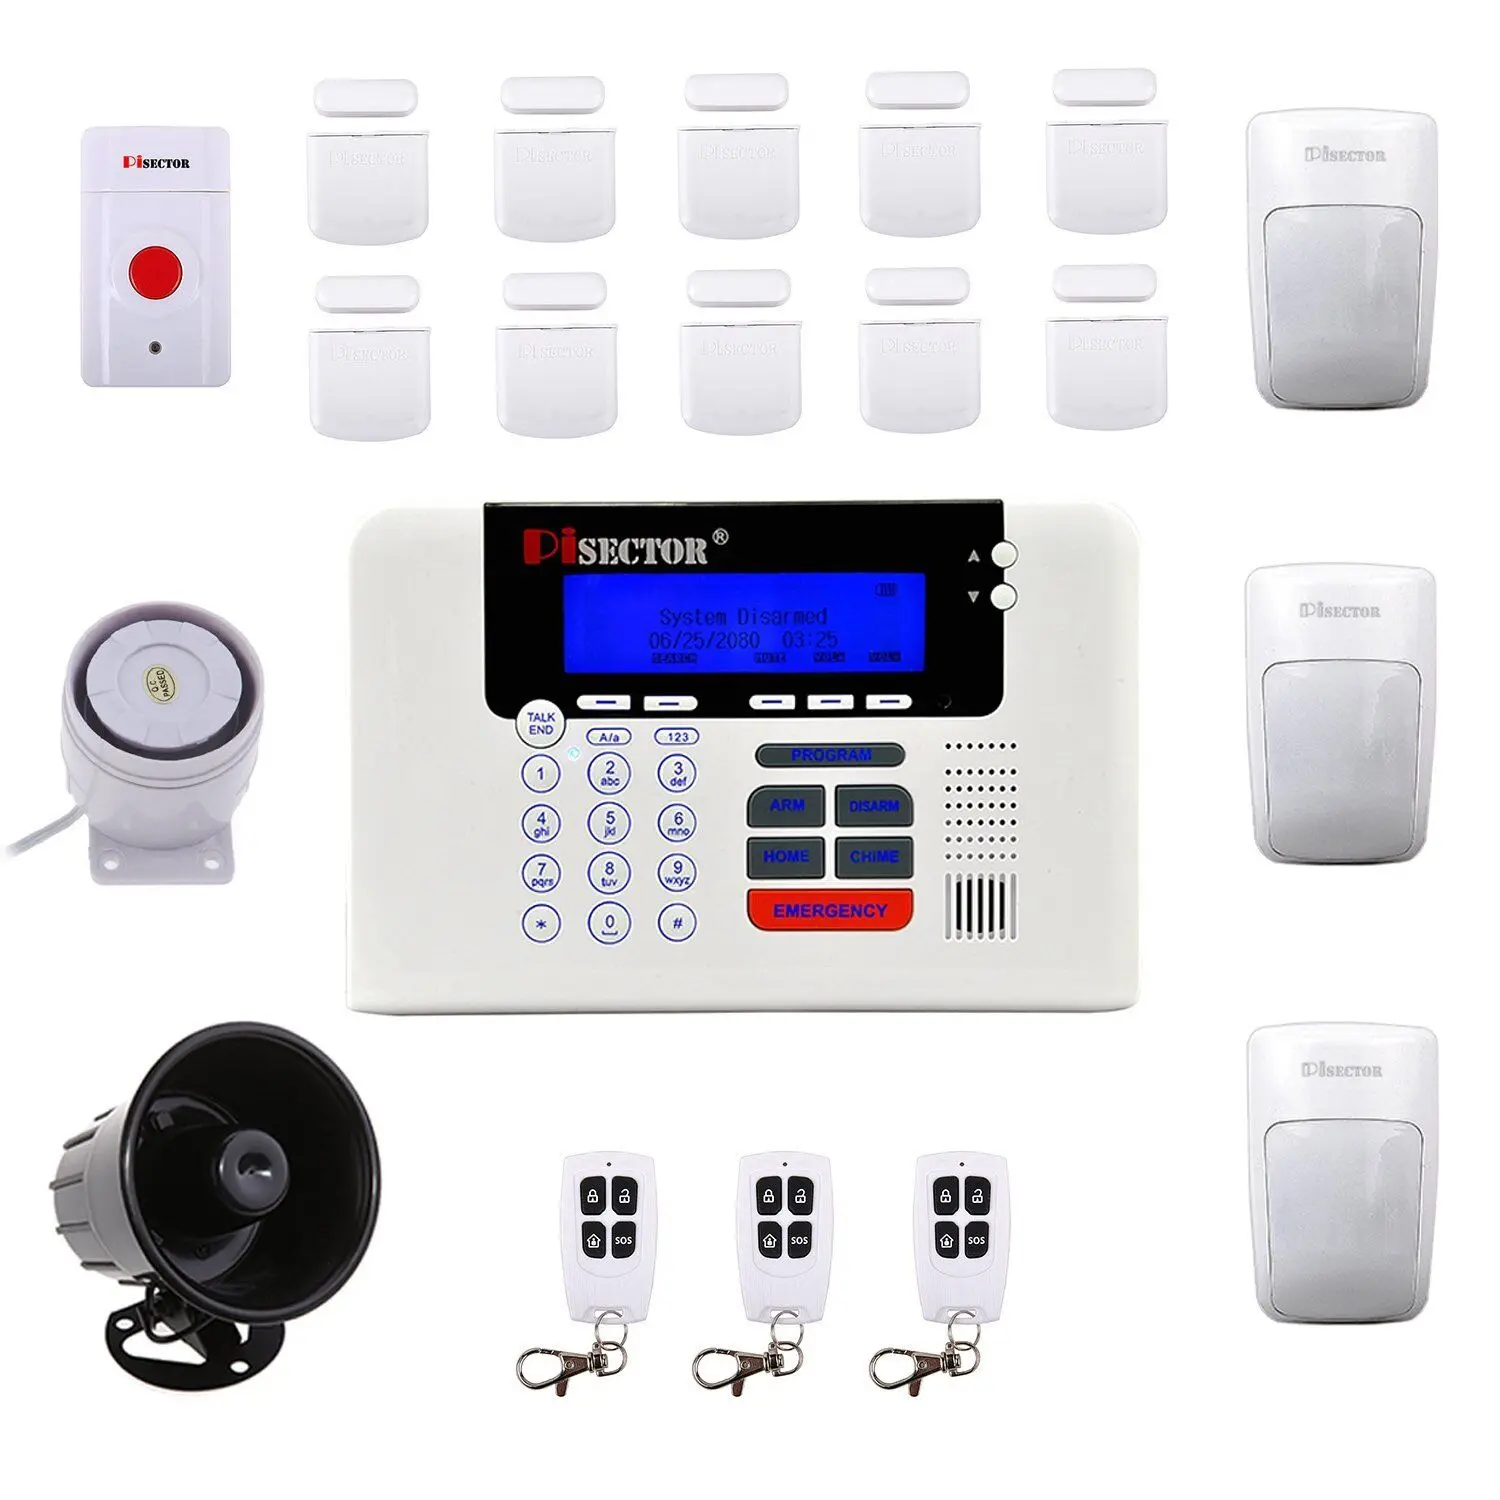
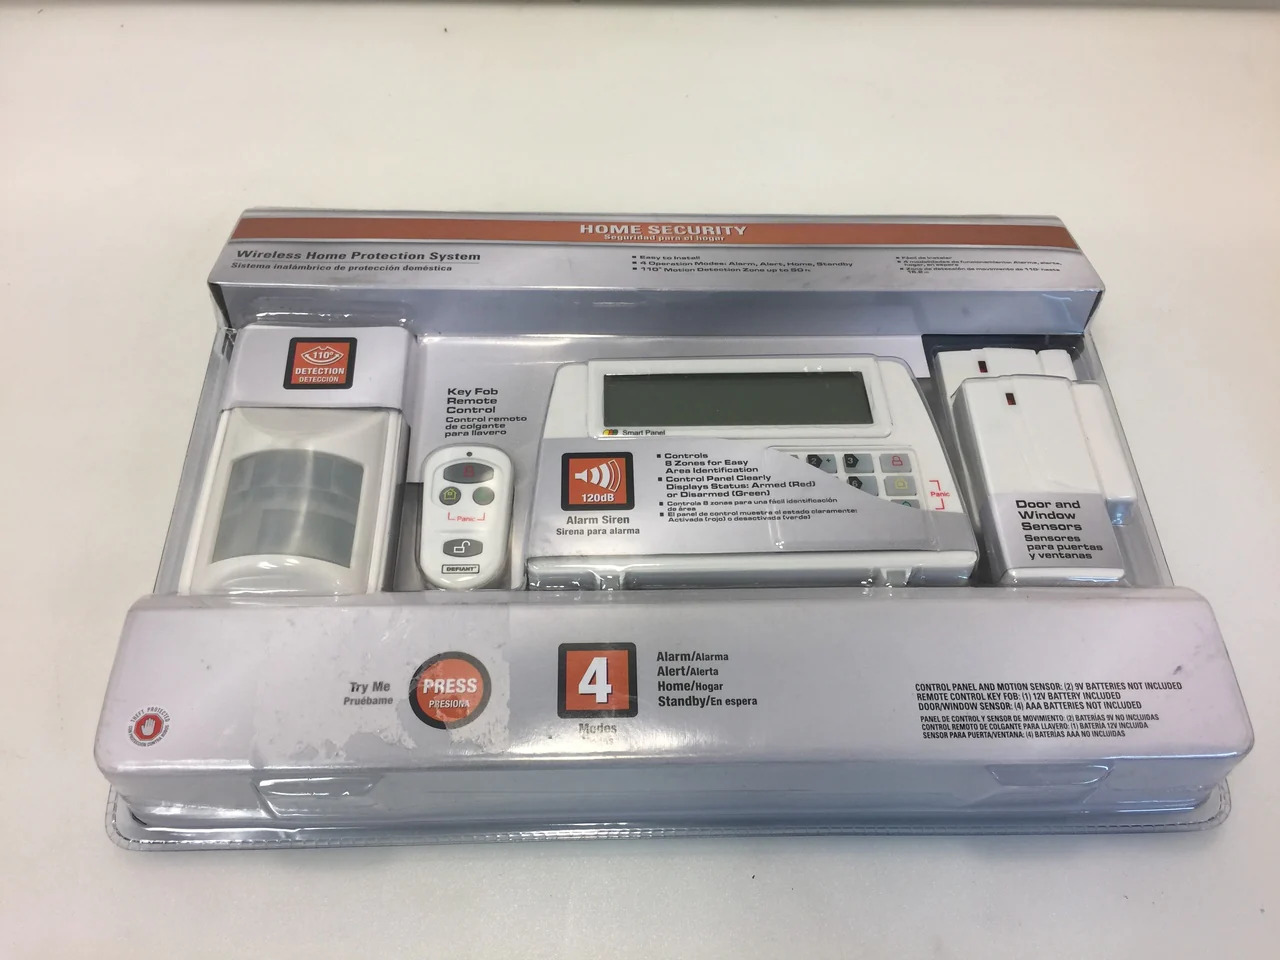
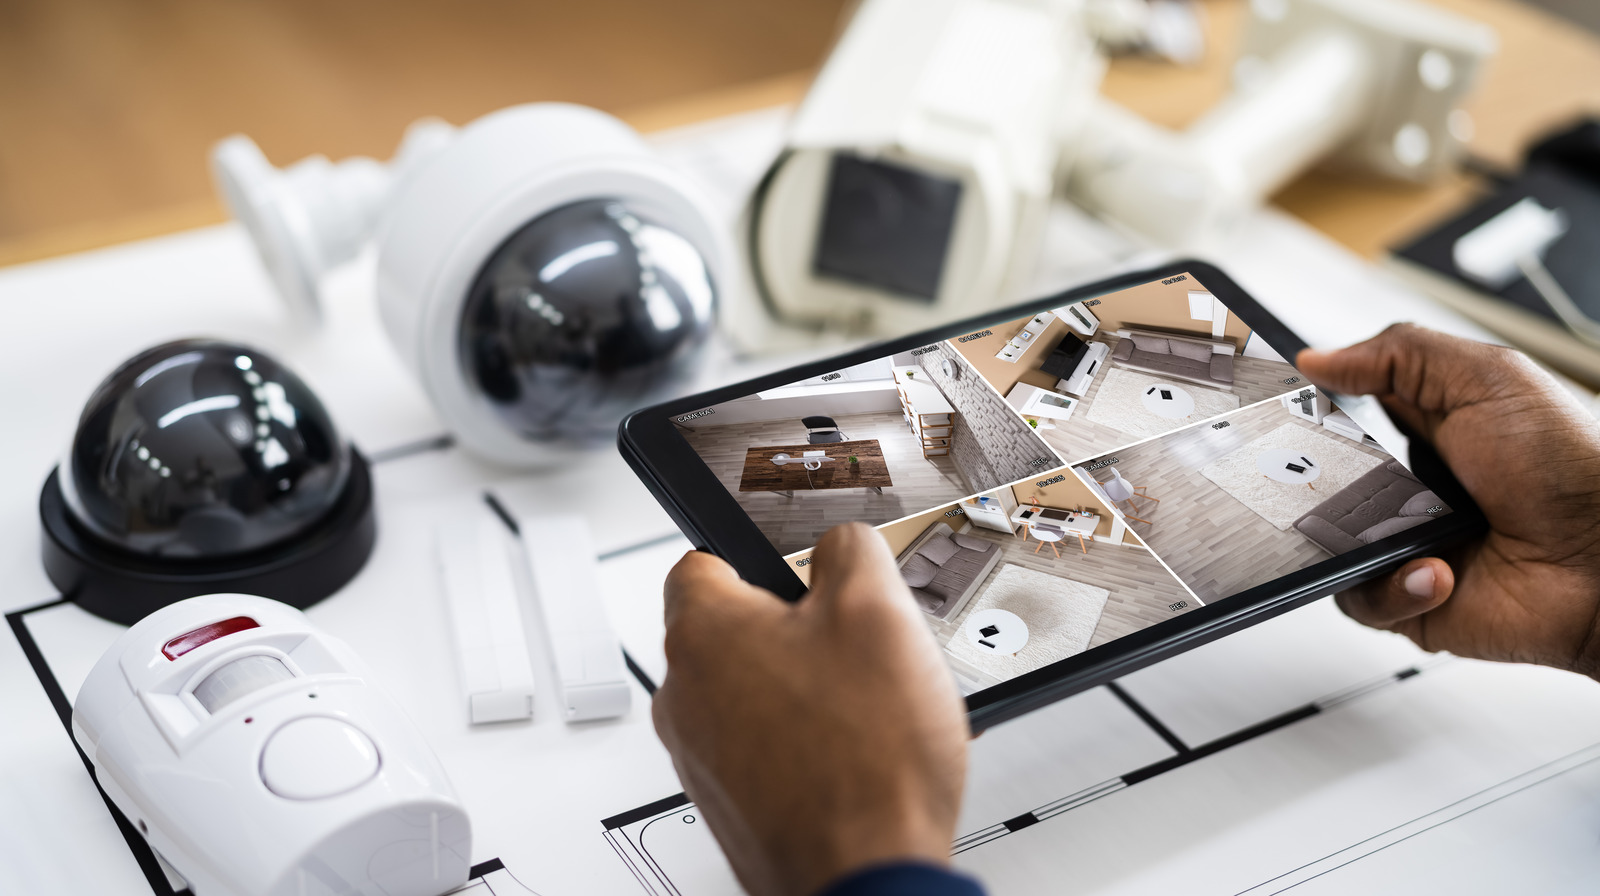
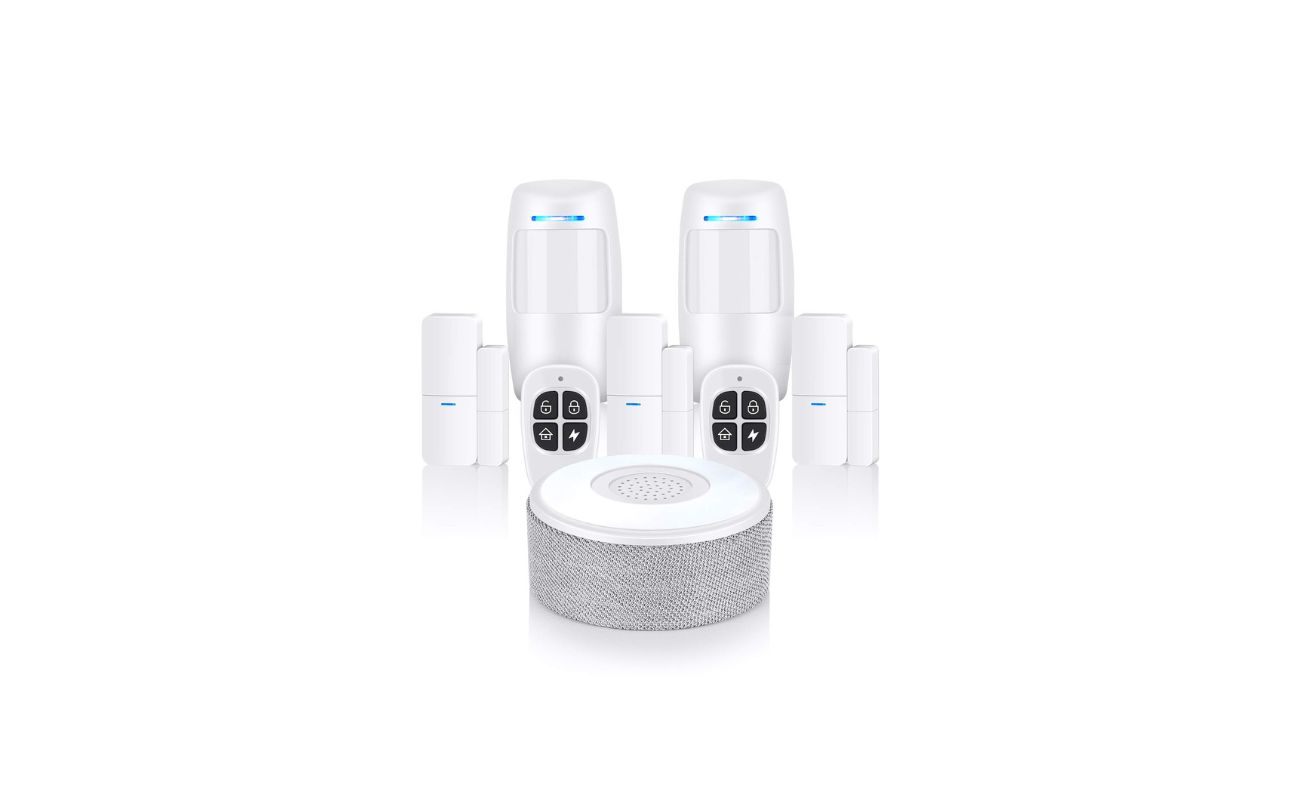
Components of Thustar Wireless Security Alarm System:
Before we dive into the configuration process, let’s familiarize ourselves with the components of the Thustar Wireless Security Alarm System. Understanding these components will help you better understand their roles and functionalities in securing your home:
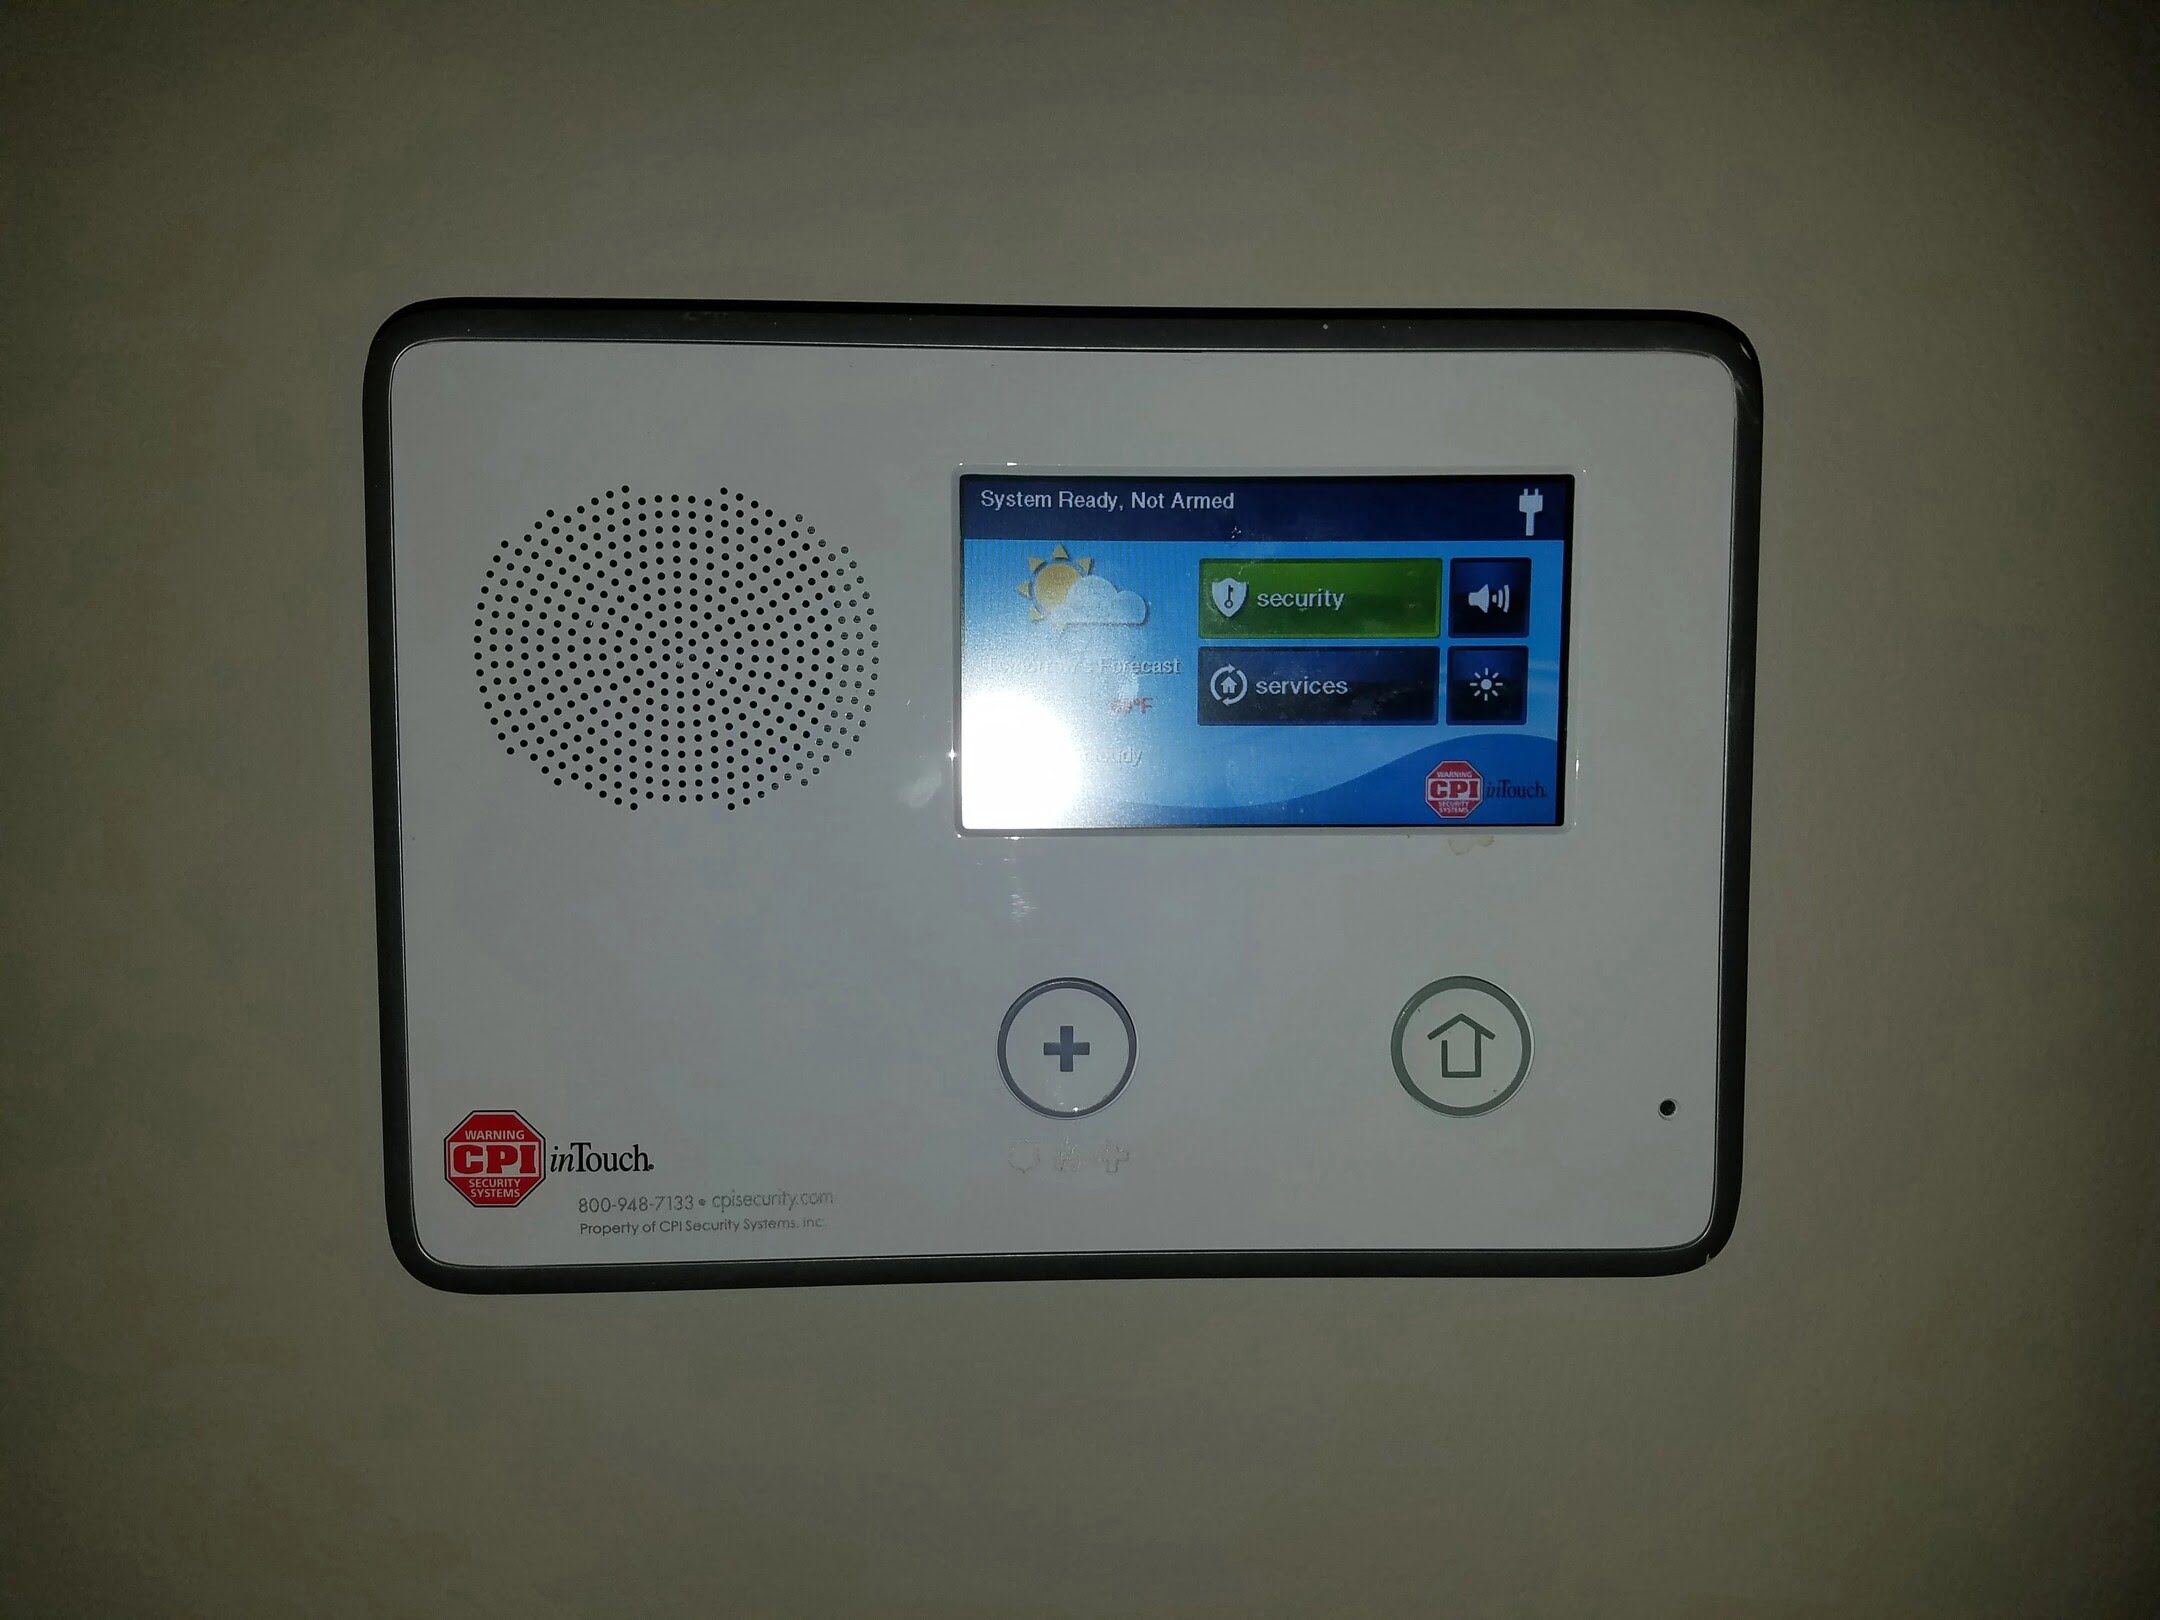
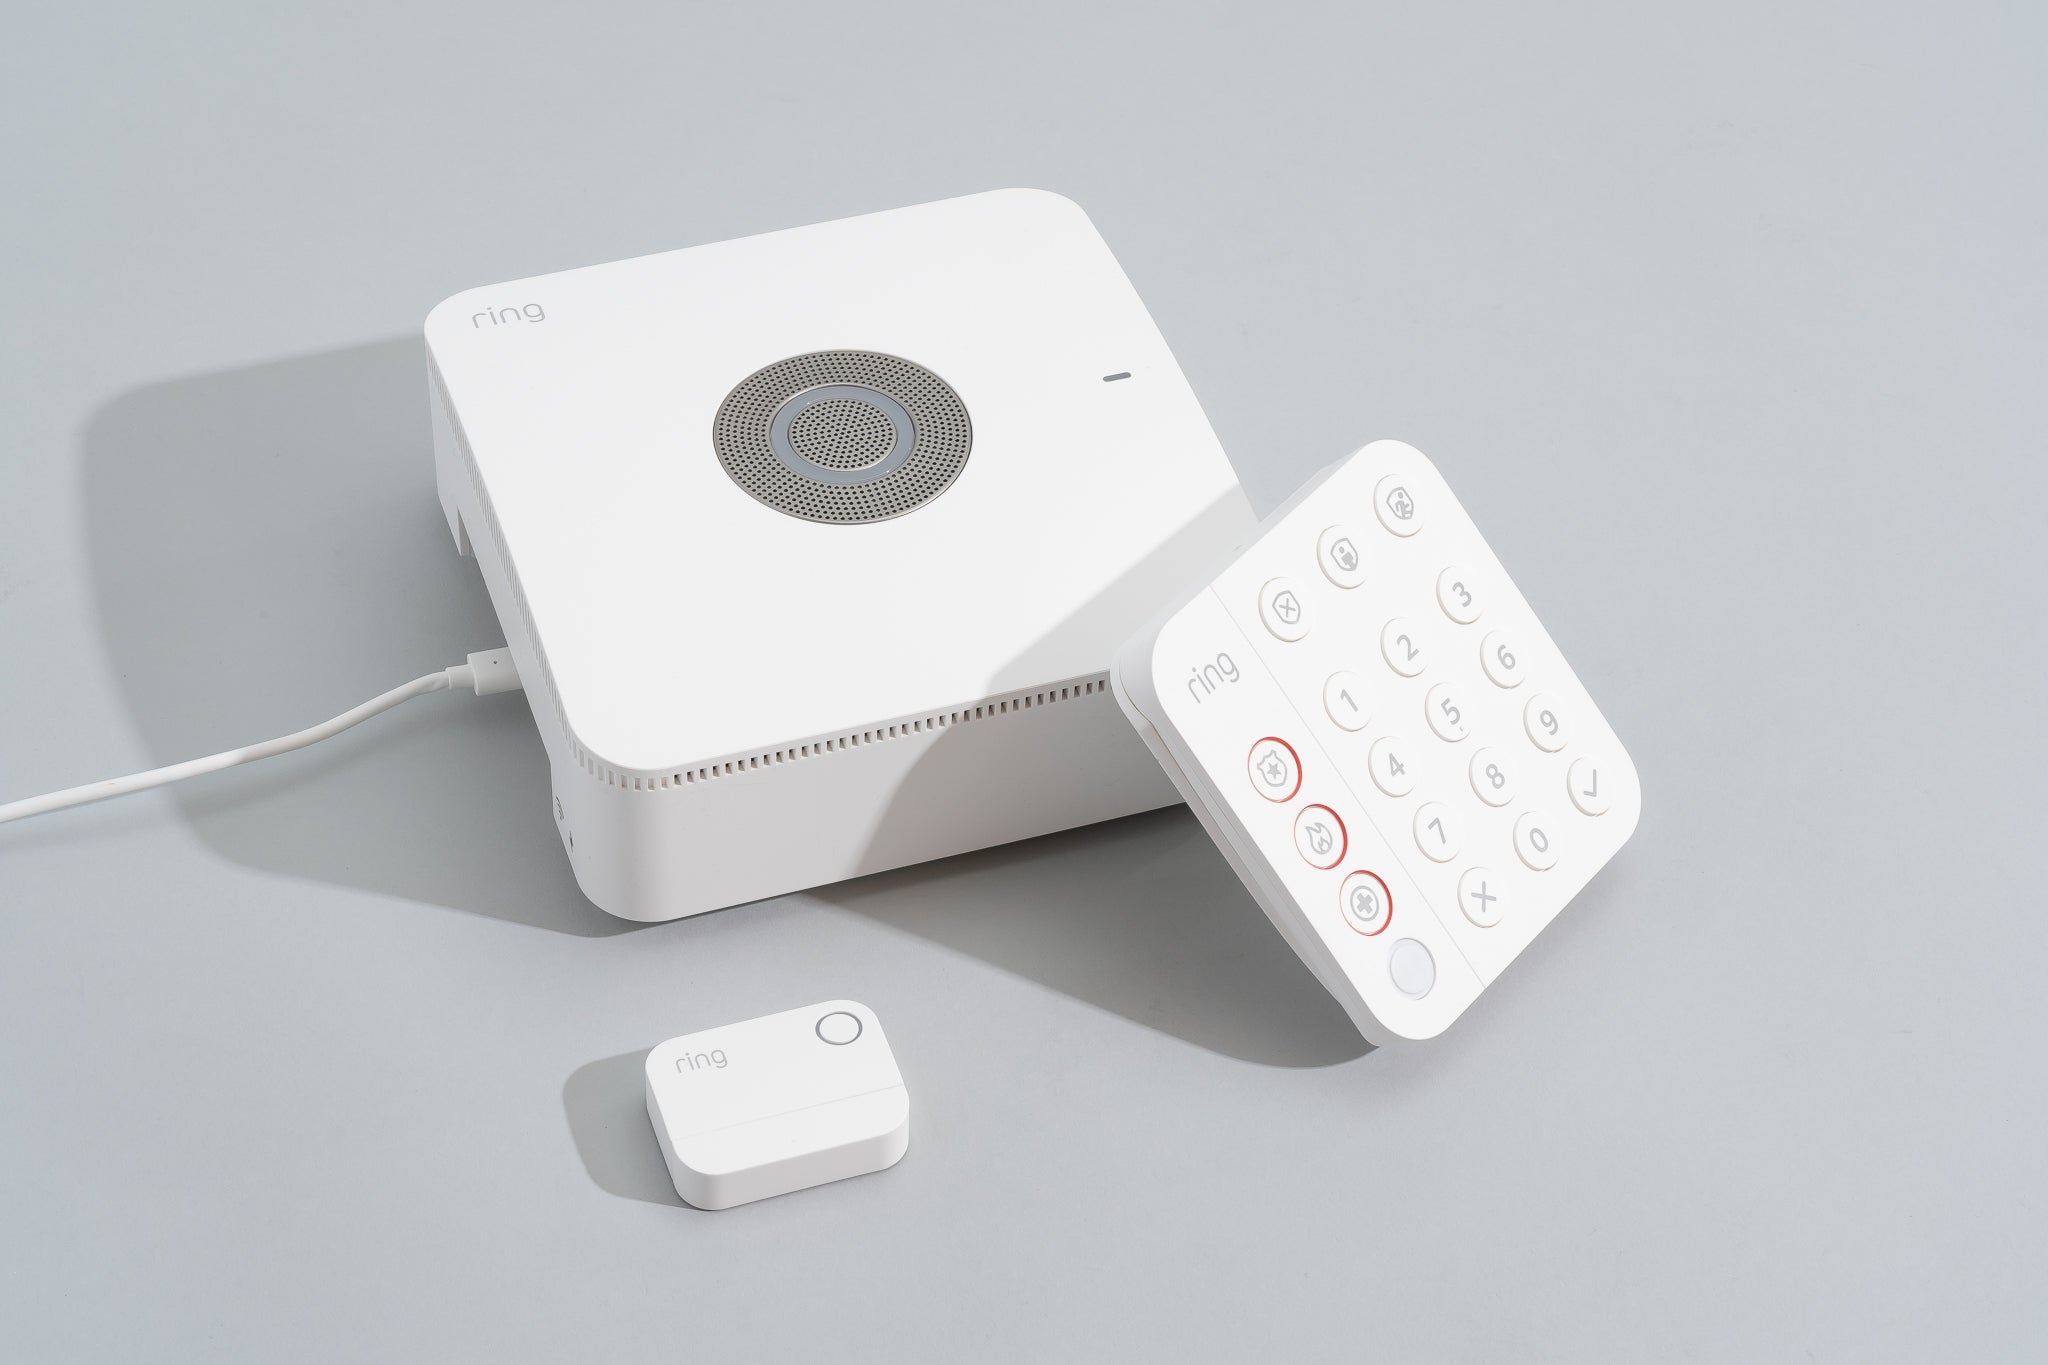
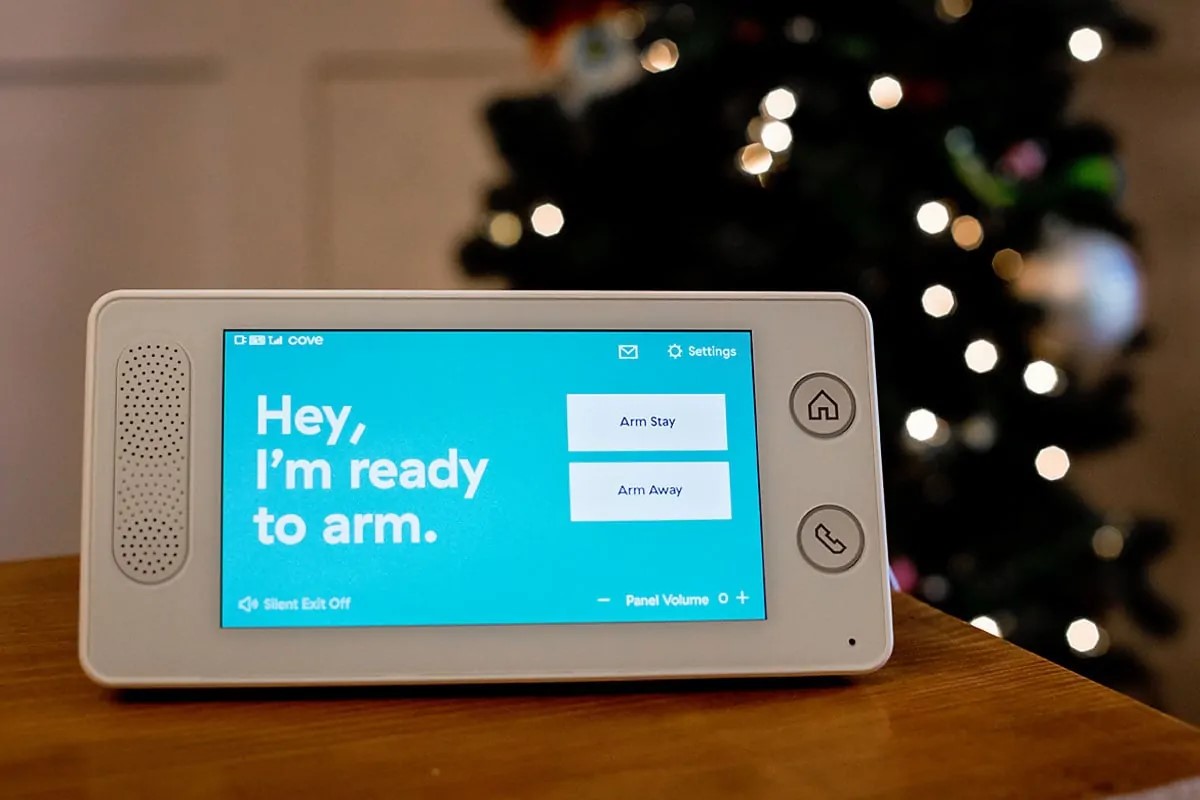
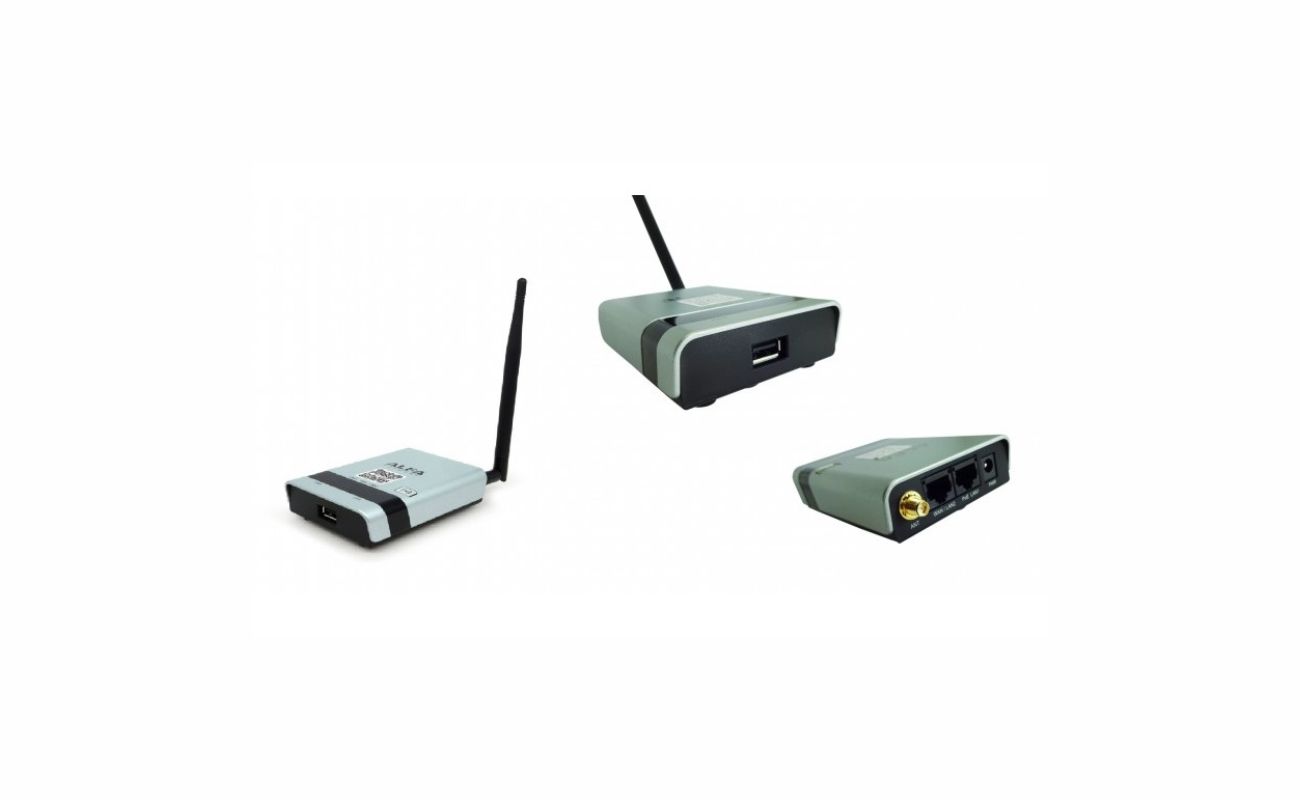
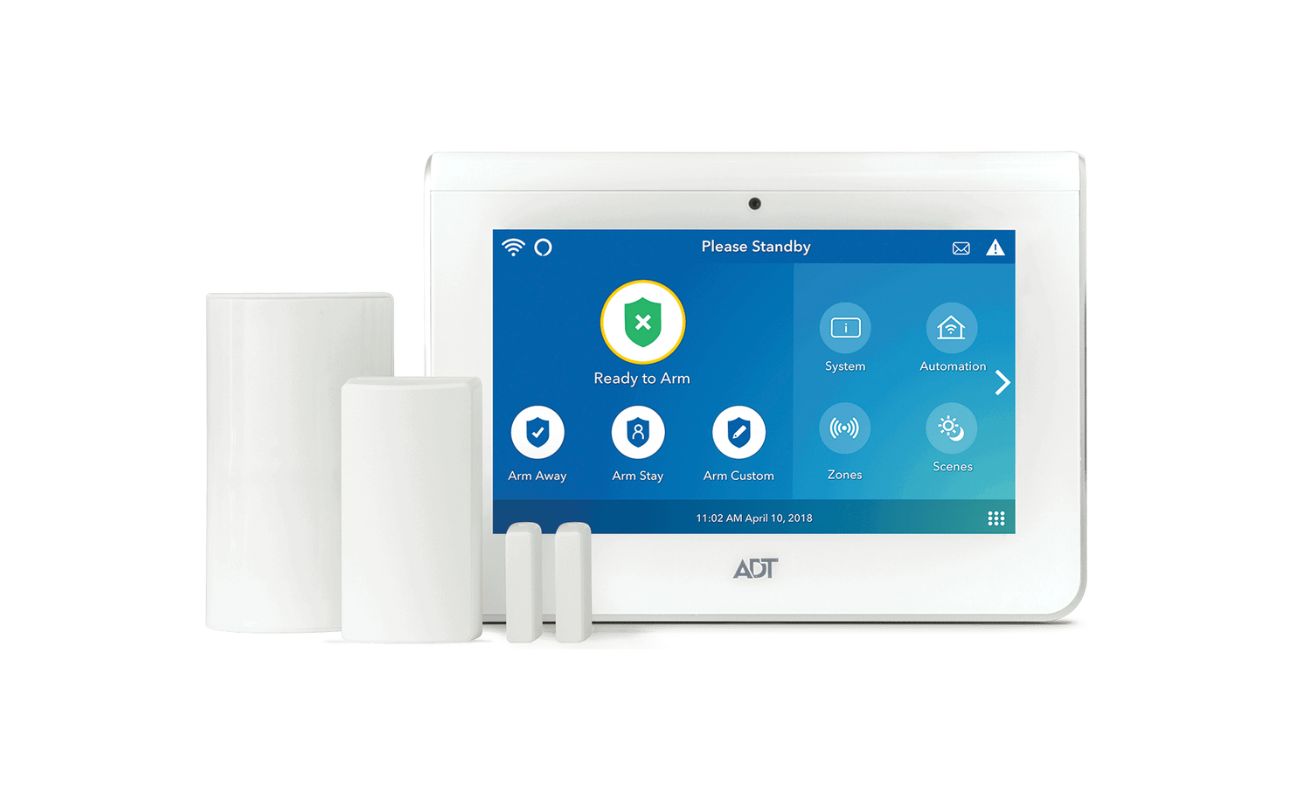
- Control Panel: The control panel serves as the brain of the security system. It allows you to arm or disarm the system, set security modes, and receive notifications. It usually has a keypad for manual control and a display for system status.
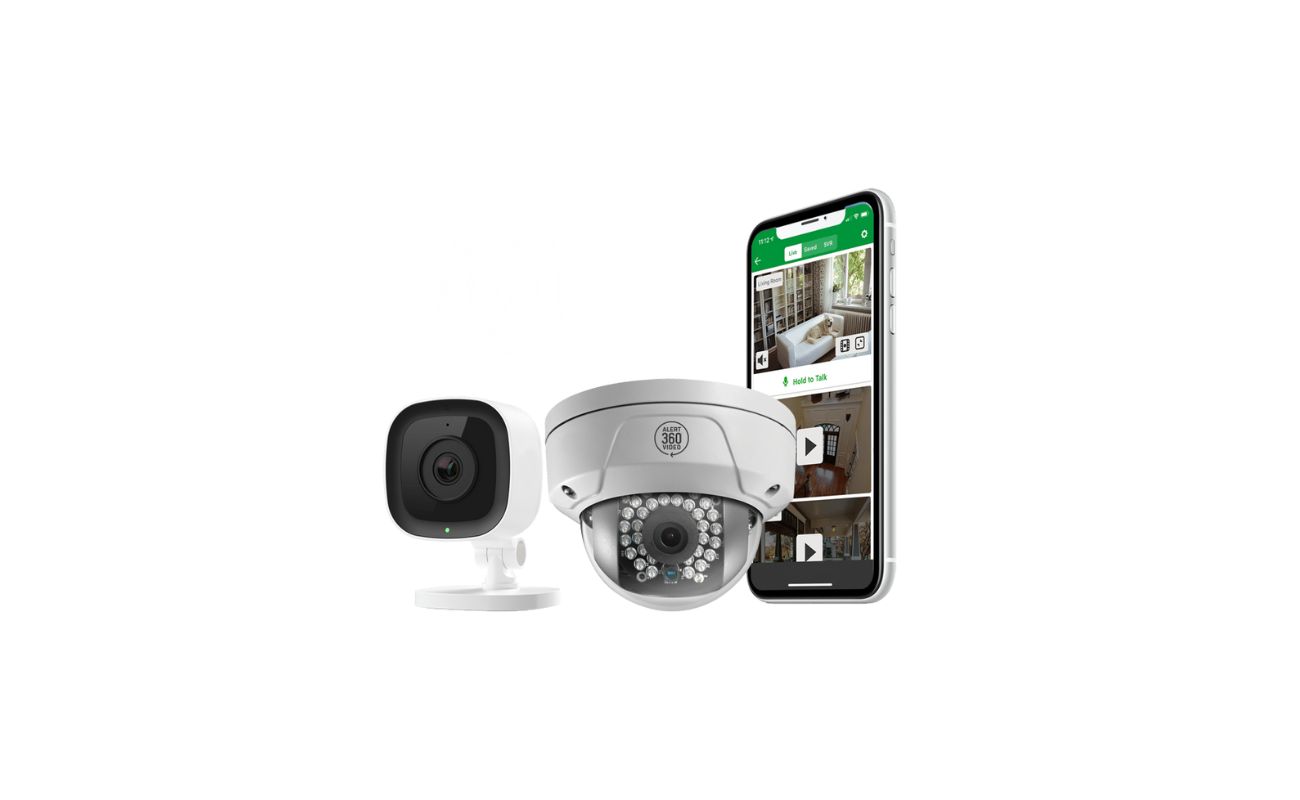
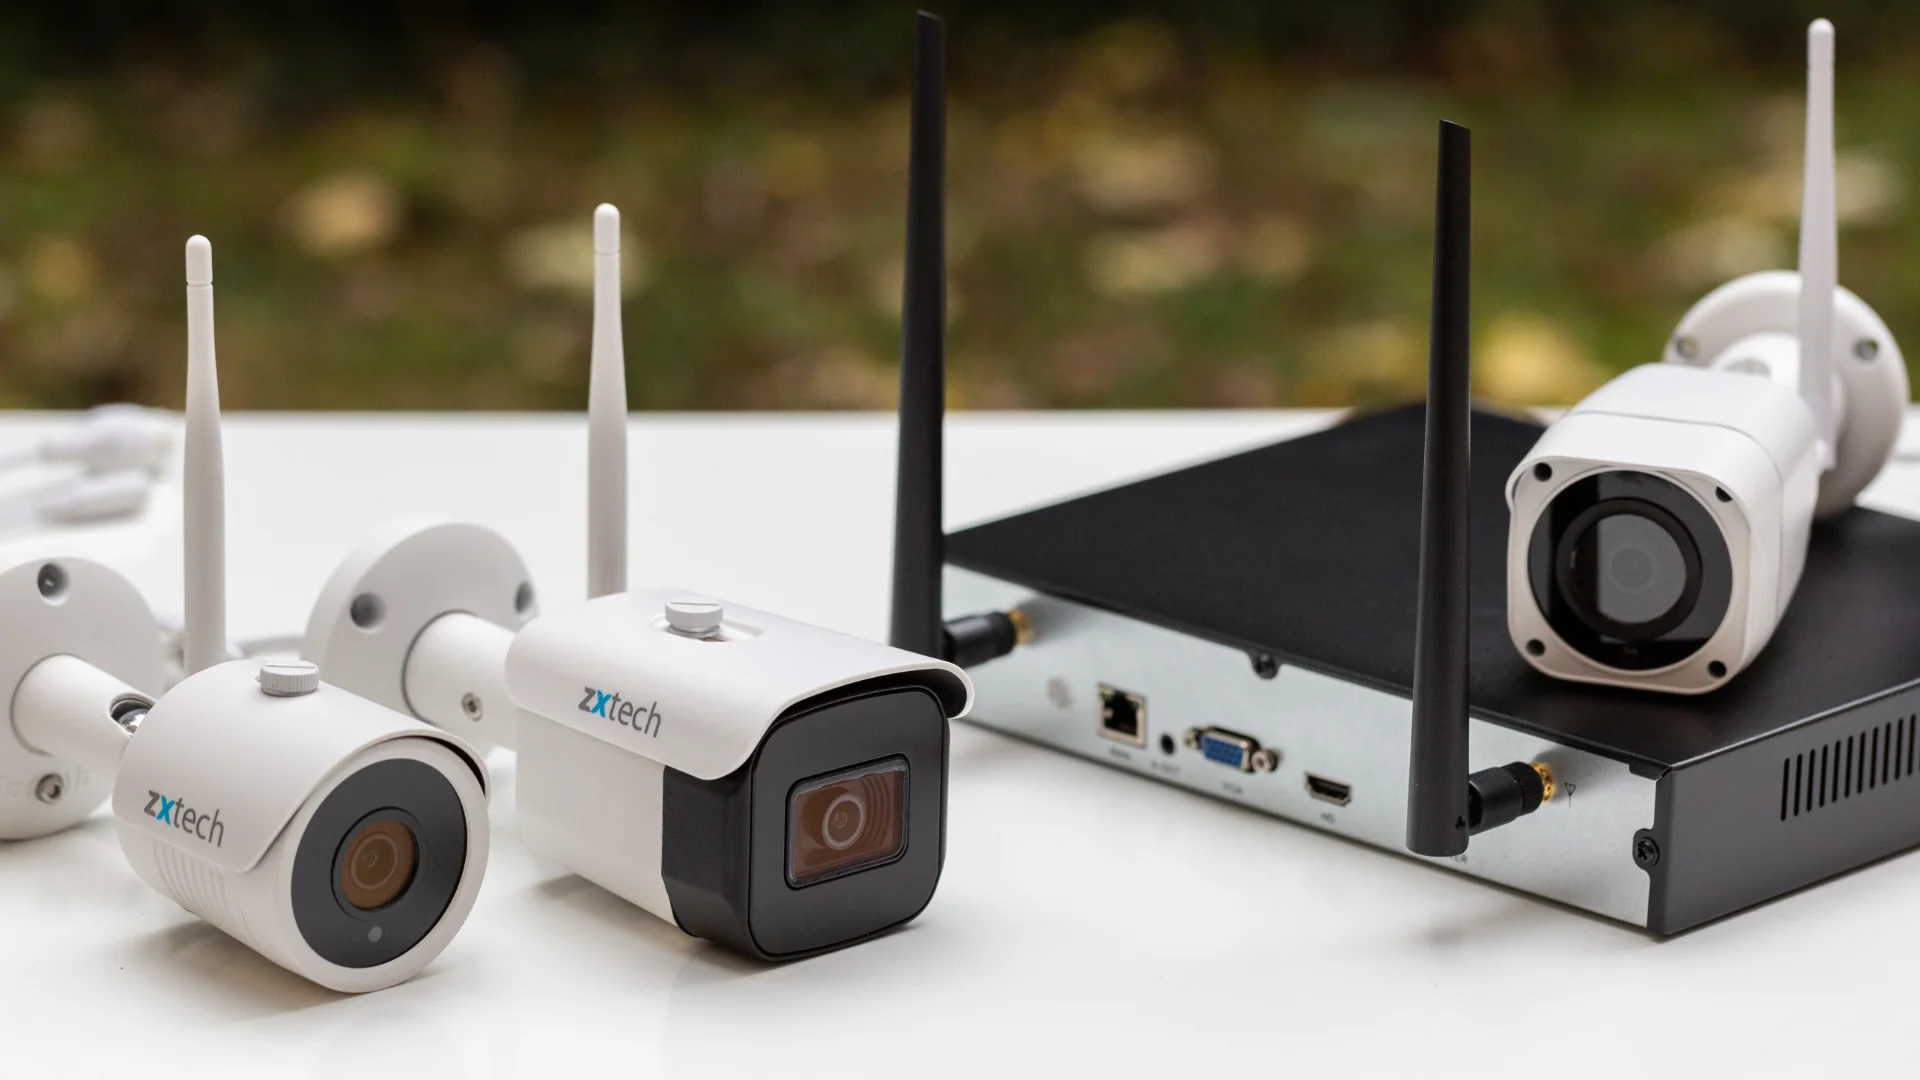
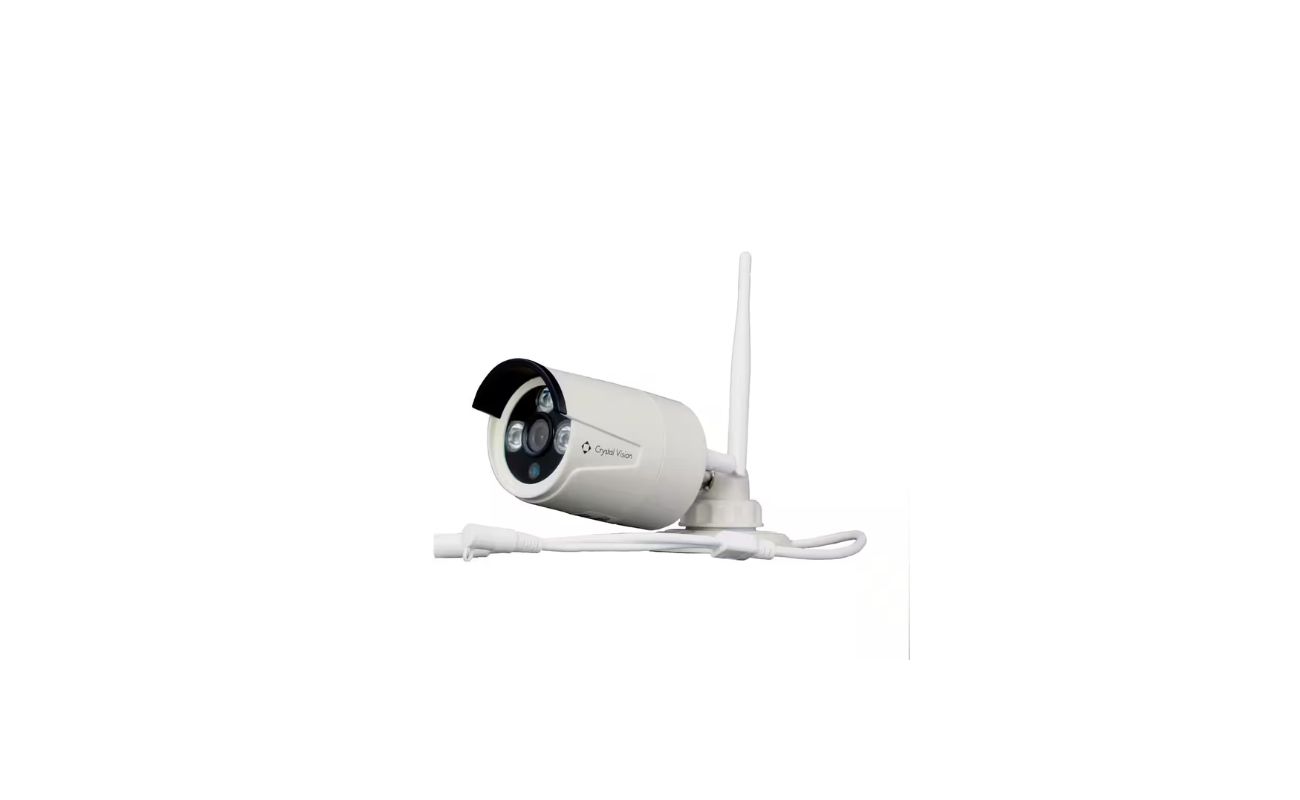
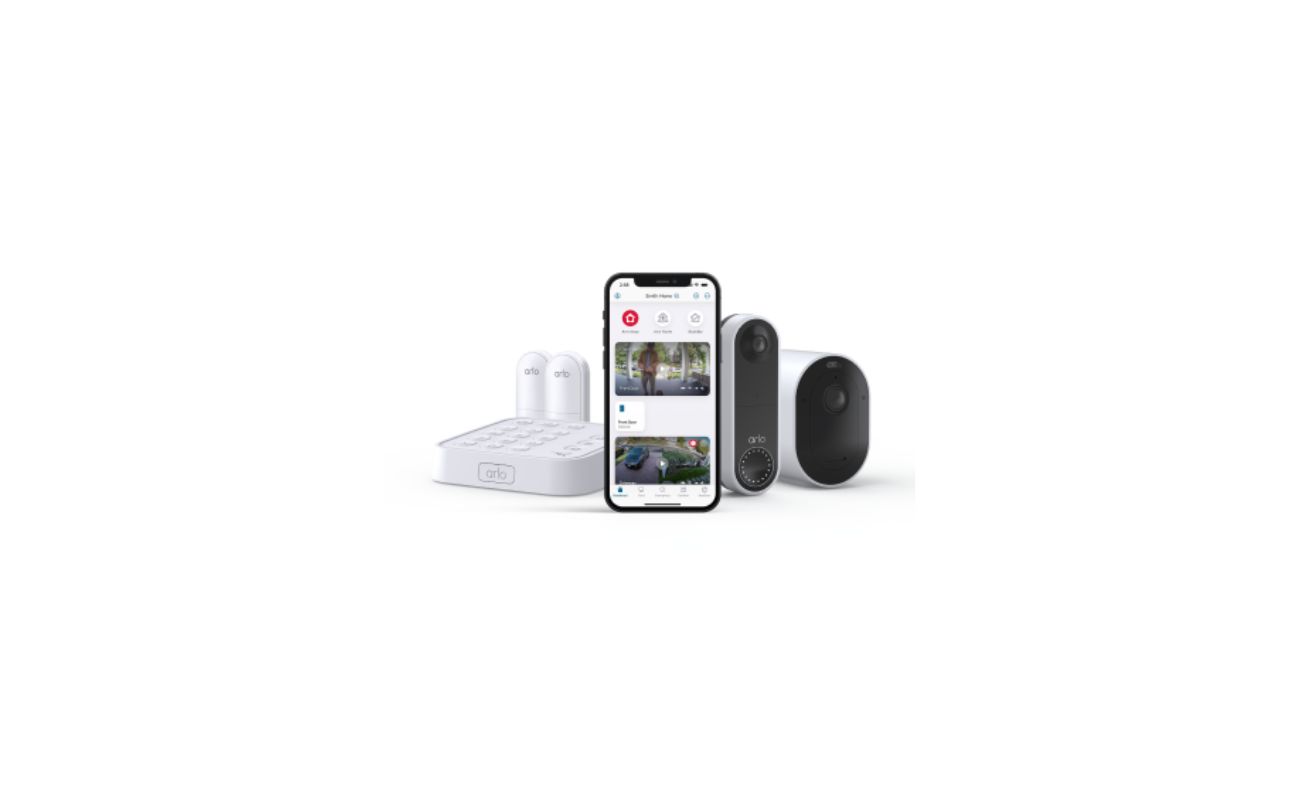
- Sensors: Sensors are the eyes and ears of the security system. They detect and communicate any unusual activities or breaches. The Thustar Wireless Security Alarm System typically includes door/window sensors, motion sensors, and glass break sensors.
- Remote Key Fobs: Remote key fobs allow you to arm or disarm the system remotely. With the press of a button, you can activate or deactivate the alarm system without having to access the control panel.
- Alarm Siren: The alarm siren is a loud and attention-grabbing device that sounds when a security breach is detected. Its purpose is to alert you, your neighbors, and potential intruders of the breach.
- Wireless Signal Repeater: In larger homes or buildings, a wireless signal repeater may be necessary. This device extends the wireless range of the sensors, ensuring that all areas are covered and communication with the control panel is uninterrupted.
- Mobile App: Many Thustar Wireless Security Alarm Systems come with a mobile app. This app allows you to remotely monitor and control the system from your smartphone or tablet. You can receive real-time notifications, view system status, and even access surveillance camera feeds if your system includes such cameras.
These are the main components that make up a Thustar Wireless Security Alarm System. Each component plays a crucial role in ensuring the security of your home or business. Now that we have an understanding of the components, let’s move on to the configuration process.
Step 1: Setting up the Control Panel:
The control panel is the heart of your Thustar Wireless Security Alarm System. It allows you to arm or disarm the system, monitor the status of sensors, and receive alerts. Setting up the control panel is the first step in configuring your security system. Here’s a step-by-step guide:
- Choose a suitable location for the control panel. It should be easily accessible, preferably near the main entrance of your home or business. Ensure that it is mounted securely to the wall using the provided brackets or adhesive.
- Power on the control panel by connecting it to a power source using the provided power adapter. Make sure to connect the power adapter to a reliable power outlet.
- Next, you will need to connect the control panel to your home’s Wi-Fi network. Follow the instructions provided in the user manual to connect the system to your network. This step is crucial for enabling remote control and accessing the system via the mobile app.
- Once connected to the Wi-Fi network, the control panel will guide you through the initial setup process. This usually involves setting the date and time, configuring system preferences, and creating a unique user code or password.
- During the setup process, you may also need to activate cellular monitoring if your system offers this feature. Cellular monitoring ensures that your security system remains connected to the monitoring station even in the event of a power outage or Wi-Fi interruption.
- After completing the initial setup, test the control panel by arming and disarming the system using the keypad or remote key fob. Make sure that the control panel communicates with the sensors and that the alarm siren activates when triggered.
Once the control panel is successfully set up and tested, you are ready to move on to the next step of configuring your Thustar Wireless Security Alarm System.
Step 2: Adding and Pairing Sensors:
Now that you have set up the control panel, it’s time to add and pair the sensors with your Thustar Wireless Security Alarm System. Sensors play a vital role in detecting and alerting you to any potential security breaches. Follow these steps to add and pair sensors:
- Start by identifying the types of sensors you have. Common sensor types include door/window sensors, motion sensors, glass break sensors, and smoke detectors.
- Refer to the user manual to understand the appropriate installation locations for each sensor type. For example, door/window sensors should be placed on entry points, motion sensors in strategic areas for maximum coverage, and glass break sensors near glass windows or doors.
- Position the sensors in their designated locations according to the user manual’s guidelines. Ensure that the sensors are securely attached using the provided adhesive or mounting brackets.
- Once the sensors are in place, activate pairing mode on the control panel. Consult the user manual for instructions on how to enable pairing mode. This step will allow the control panel to detect and add the sensors to the system.
- Follow the specific instructions for each sensor type to pair them with the control panel. This usually involves activating the pairing mode on the sensor itself and then triggering a test signal to establish a connection with the control panel.
- Repeat the pairing process for each sensor you have installed, ensuring that they are successfully connected to the control panel. You may need to test the sensors by opening doors or windows, triggering motion in front of the motion sensors, or using other techniques specific to each sensor type.
- Once all the sensors are paired and functioning correctly, verify their status on the control panel. The control panel should display the status of each sensor and indicate any issues, such as low battery or signal loss.
Adding and pairing sensors is a crucial step in configuring your Thustar Wireless Security Alarm System. Properly installed and paired sensors ensure accurate detection and provide you with reliable security coverage. With the sensors successfully integrated into the system, let’s move on to the next step in the configuration process.
Step 3: Configuring Alarm Zones:
Configuring alarm zones is an essential step in customizing the security settings of your Thustar Wireless Security Alarm System. By assigning sensors to specific zones, you can determine the response of the system to different types of security breaches. Follow these steps to configure alarm zones:
- Access the control panel’s configuration settings by navigating through the menu options or using the provided keypad commands.
- Look for the “Alarm Zones” or “Zone Configuration” submenu within the control panel settings.
- Assign each sensor to a specific zone based on its location and purpose. For example, you may designate a group of door/window sensors as the “Entry Zone” and motion sensors in the living room as the “Living Room Zone.”
- Configure the response settings for each zone. These settings determine what action the system takes when a sensor in that zone is triggered. Common response options include activating the alarm siren, sending notifications to emergency contacts, or activating surveillance cameras.
- Consider setting different response levels for different zones. For instance, you may want the alarm siren to sound immediately when a sensor in the “Entry Zone” is triggered, but prefer to receive a notification first when a sensor in a less critical zone is activated.
- If your system supports it, you can also configure “Stay” and “Away” modes. This allows you to specify which zones are armed and active when you are home (Stay mode) or away (Away mode). For example, in Stay mode, you may only activate sensors in the perimeter of your home, while in Away mode, all sensors are armed.
- Once you have configured the alarm zones and their respective response settings, save the changes in the control panel’s configuration menu.
- Test the configured alarm zones by intentionally triggering sensors in different zones to ensure the system responds as desired.
Configuring alarm zones allows you to tailor your Thustar Wireless Security Alarm System to your specific needs and security requirements. With the zones set up, you can move on to the next step in configuring your security system.
When configuring a Thustar wireless security alarm system, make sure to carefully read the user manual for step-by-step instructions. Take note of the default settings and customize them to fit your specific security needs. Test the system regularly to ensure it is functioning properly.
Step 4: Setting Entry and Exit Delays:
Entry and exit delays are crucial elements in the functionality of your Thustar Wireless Security Alarm System. These delays provide you with a grace period to enter or exit your home without triggering the alarm. Follow these steps to set entry and exit delays:
- Access the control panel’s configuration settings by using the provided keypad or navigating through the control panel’s menu options.
- Look for the “Entry and Exit Delay” or “System Delays” submenu within the control panel settings.
- Set the desired duration for the entry and exit delays. Entry delay is the time you have to disarm the system after entering, while exit delay is the time you have to arm the system and leave the premises without triggering the alarm.
- Consider your typical routine and choose appropriate delay times. Entry delay can be longer if you often need more time to reach the control panel after entering your home, while exit delay can be shorter if you want to secure the premises quickly.
- Some systems may offer the flexibility to set different entry and exit delay times for different zones. This allows you to customize delays based on the urgency or vulnerability of each zone.
- Once you have set the entry and exit delay times, save the changes in the control panel’s configuration menu.
- Test the entry and exit delays by arming and disarming the system. Observe how much time you have to enter or exit before the alarm is activated and adjust the delay times if necessary.
Setting entry and exit delays ensures that you have sufficient time to enter or exit your home without triggering unnecessary alarms. These delays add convenience and flexibility to your Thustar Wireless Security Alarm System, without compromising its effectiveness. With entry and exit delays configured, let’s move on to the next step in the configuration process.
Step 5: Programming Emergency Contacts:
Programming emergency contacts into your Thustar Wireless Security Alarm System is a crucial step to ensure that the proper authorities are notified in case of a security breach or emergency situation. By having a list of trusted contacts programmed in your system, you can quickly alert them and seek assistance when needed. Follow these steps to program emergency contacts:
- Access the control panel’s configuration settings by using the provided keypad or navigating through the control panel’s menu options.
- Look for the “Emergency Contacts” or “Contacts” submenu within the control panel settings.
- Enter the contact details for each emergency contact, such as their name, phone number, and any additional information required by your system.
- Consider the order in which you want the emergency contacts to be notified. Most systems allow you to set a primary contact who will be alerted first, followed by secondary and tertiary contacts if the primary contact is unavailable.
- Specify the notification method for each contact, whether it’s through phone calls, text messages, or both. Some systems also offer the option to send notifications via email or push notifications through a mobile app.
- Save the programmed emergency contacts in the control panel’s configuration menu.
- Test the emergency contact notification feature by triggering a test alarm or contacting the emergency response button (if available). Verify that the programmed contacts receive the notifications and respond accordingly.
Programming emergency contacts ensures that you have a reliable network of individuals who can be notified in case of an emergency. It is essential to keep these contact details updated and inform the contacts about their role in your security system. With emergency contacts programmed, you are one step closer to completing the configuration of your Thustar Wireless Security Alarm System.
Step 6: Testing and Adjusting the System:
Once you have completed the initial configuration of your Thustar Wireless Security Alarm System, it’s crucial to thoroughly test and make adjustments to ensure optimal performance. Testing allows you to identify any issues, fine-tune settings, and familiarize yourself with the system’s operation. Follow these steps to test and adjust your security system:
- Activate the system by arming it using the control panel or remote key fob. Verify that the sensors are effectively detecting any breaches by intentionally triggering them one by one.
- Pay close attention to the response of the system. Ensure that the alarm siren activates when a sensor is triggered and that you receive notifications on your designated contacts. If any issues arise, consult the user manual or contact customer support for troubleshooting assistance.
- Test the entry and exit delays by entering and exiting your premises within the specified timeframes. Verify that the system arms and disarms smoothly without triggering false alarms.
- Verify the effectiveness of your security system by conducting regular system tests. This can include testing the battery life of sensors, checking the connectivity and range of wireless devices, and ensuring the reliability of the notification system.
- Periodically review and adjust the sensitivity settings of your motion sensors and other adjustable features of the system. This will help eliminate false alarms caused by environmental factors or pet movements.
- If you have integrated surveillance cameras into your Thustar Wireless Security Alarm System, ensure that they are properly positioned and capturing high-quality footage. Test the camera feeds and adjust their settings for optimal coverage and clarity.
- Regularly update and maintain your security system by checking for firmware updates provided by the manufacturer. Keeping your system up to date will ensure that you have the latest security features and improvements.
Testing and making necessary adjustments to your Thustar Wireless Security Alarm System are essential for its overall functionality and effectiveness in enhancing your home security. Take the time to familiarize yourself with the system’s operation and address any issues that may arise. By doing so, you can have confidence in the reliability and performance of your security system.
Conclusion:
Congratulations! You have successfully configured your Thustar Wireless Security Alarm System and taken a crucial step towards securing your home and loved ones. By following the step-by-step guide outlined in this article, you have set up the control panel, added and paired sensors, configured alarm zones, set entry and exit delays, programmed emergency contacts, and tested and adjusted the system.
With your Thustar Wireless Security Alarm System in place, you can now enjoy peace of mind knowing that your home is protected from potential threats. The combination of the control panel, sensors, remote key fobs, and alarm siren ensures that any security breaches are immediately detected and appropriate actions are taken.
Remember to periodically review and update your security system to maintain its effectiveness. Perform regular tests to ensure all components are functioning correctly, adjust settings as needed, and stay up to date with firmware updates provided by the manufacturer.
In addition to the security features, don’t forget to leverage other capabilities of your Thustar Wireless Security Alarm System, such as the mobile app integration for remote monitoring and control. This allows you to keep an eye on your home’s security even when you’re away, providing an added layer of convenience and peace of mind.
Investing in a reliable and comprehensive security system like Thustar Wireless Security Alarm System is an investment in the safety and protection of your home and loved ones. By following the configuration steps outlined in this article, you have taken an important step towards achieving a secure and worry-free living environment.
Remember, security is an ongoing commitment. Regularly maintain and update your security system, be vigilant, and stay informed about the latest security practices. With these measures in place, you can enjoy the serenity of a well-protected home.
Frequently Asked Questions about How To Configure Thustar Wireless Security Alarm System
Was this page helpful?
At Storables.com, we guarantee accurate and reliable information. Our content, validated by Expert Board Contributors, is crafted following stringent Editorial Policies. We're committed to providing you with well-researched, expert-backed insights for all your informational needs.