Home>Home Security and Surveillance>How To Connect A Motion Detector To A Sprinkler System

Home Security and Surveillance
How To Connect A Motion Detector To A Sprinkler System
Modified: October 20, 2024
Learn how to connect a motion detector to your sprinkler system for enhanced home security and surveillance. Step-by-step guide for effective home protection.
(Many of the links in this article redirect to a specific reviewed product. Your purchase of these products through affiliate links helps to generate commission for Storables.com, at no extra cost. Learn more)
Introduction
Home security and surveillance are crucial aspects of ensuring the safety and well-being of your loved ones and your property. With advancements in technology, integrating various security systems has become more accessible and efficient. One such integration is connecting a motion detector to a sprinkler system. This innovative setup not only enhances your home’s security but also provides an effective deterrent for potential intruders.
In this article, we will guide you through the process of connecting a motion detector to a sprinkler system. This integration allows your sprinklers to activate when motion is detected, effectively surprising and dissuading any potential intruders. Whether you are a tech-savvy homeowner or a security professional, this step-by-step guide will help you understand and implement the necessary steps to set up this automated security solution.
Before we delve into the installation process, it’s essential to familiarize yourself with the components involved. Let’s take a closer look at both the motion detector and the sprinkler system.
Key Takeaways:
- You can enhance your home security by connecting a motion detector to a sprinkler system. This innovative setup surprises potential intruders and effectively deters them from your property.
- Understanding the components, choosing the right installation location, and adjusting settings are crucial for a successful integration. Regular maintenance ensures the reliable operation of the integrated security system.
Step 1: Understand the Components
To ensure a successful integration, it is essential to have a clear understanding of the motion detector and the sprinkler system.
Motion Detector
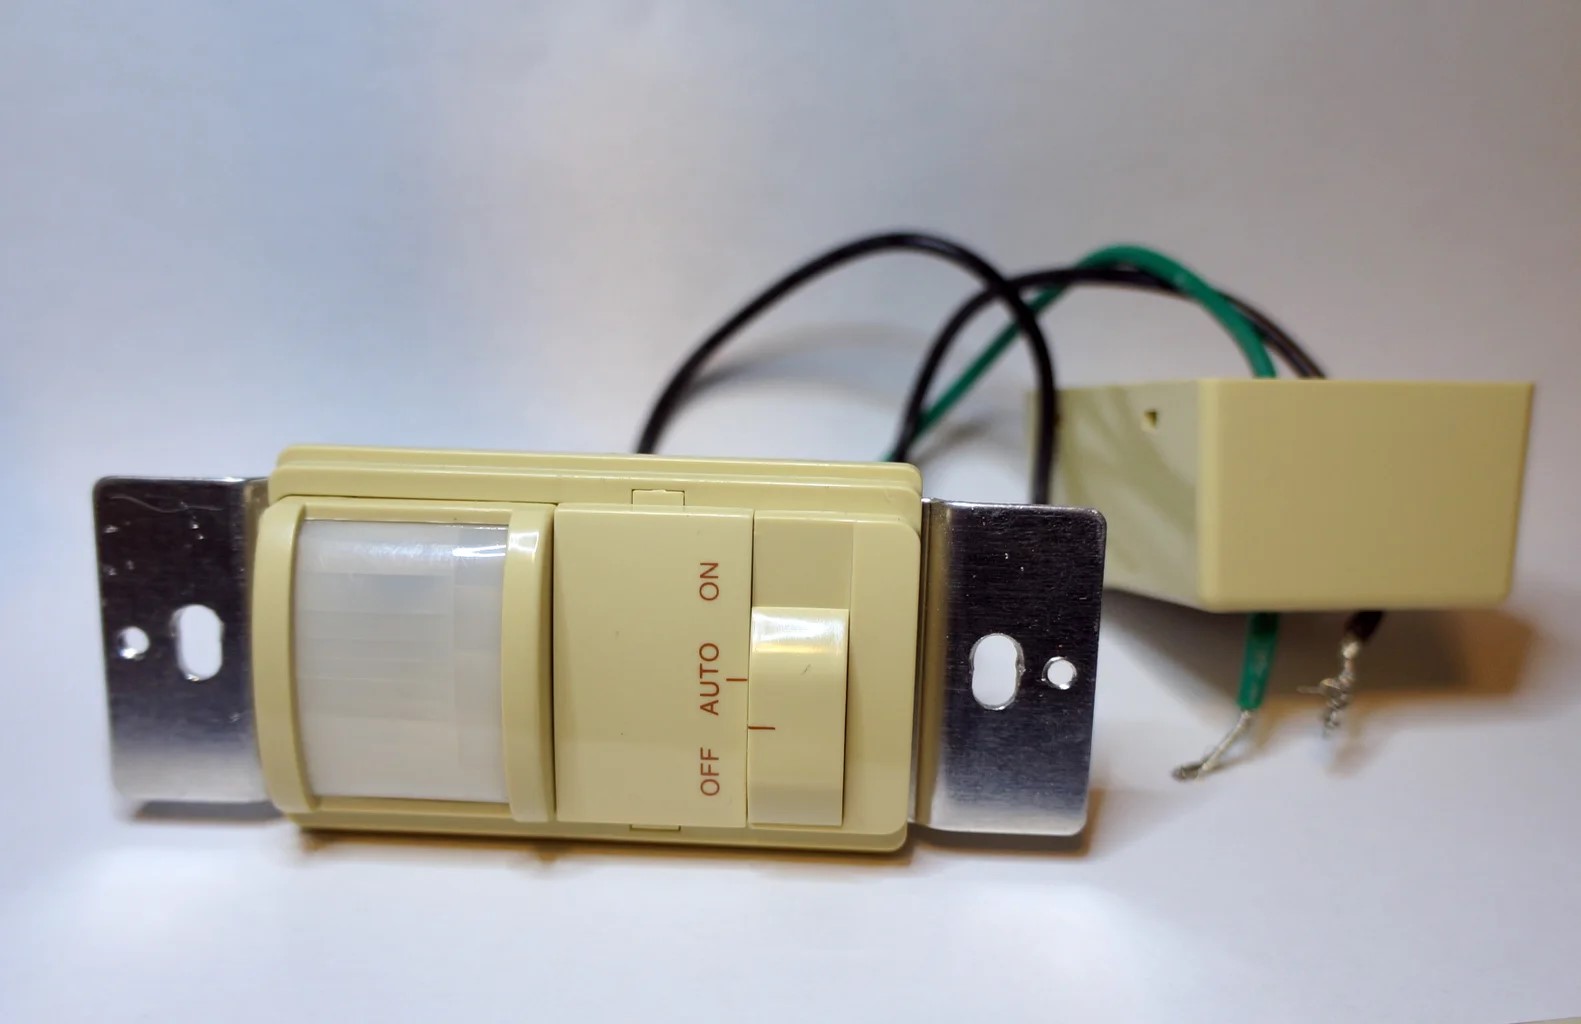
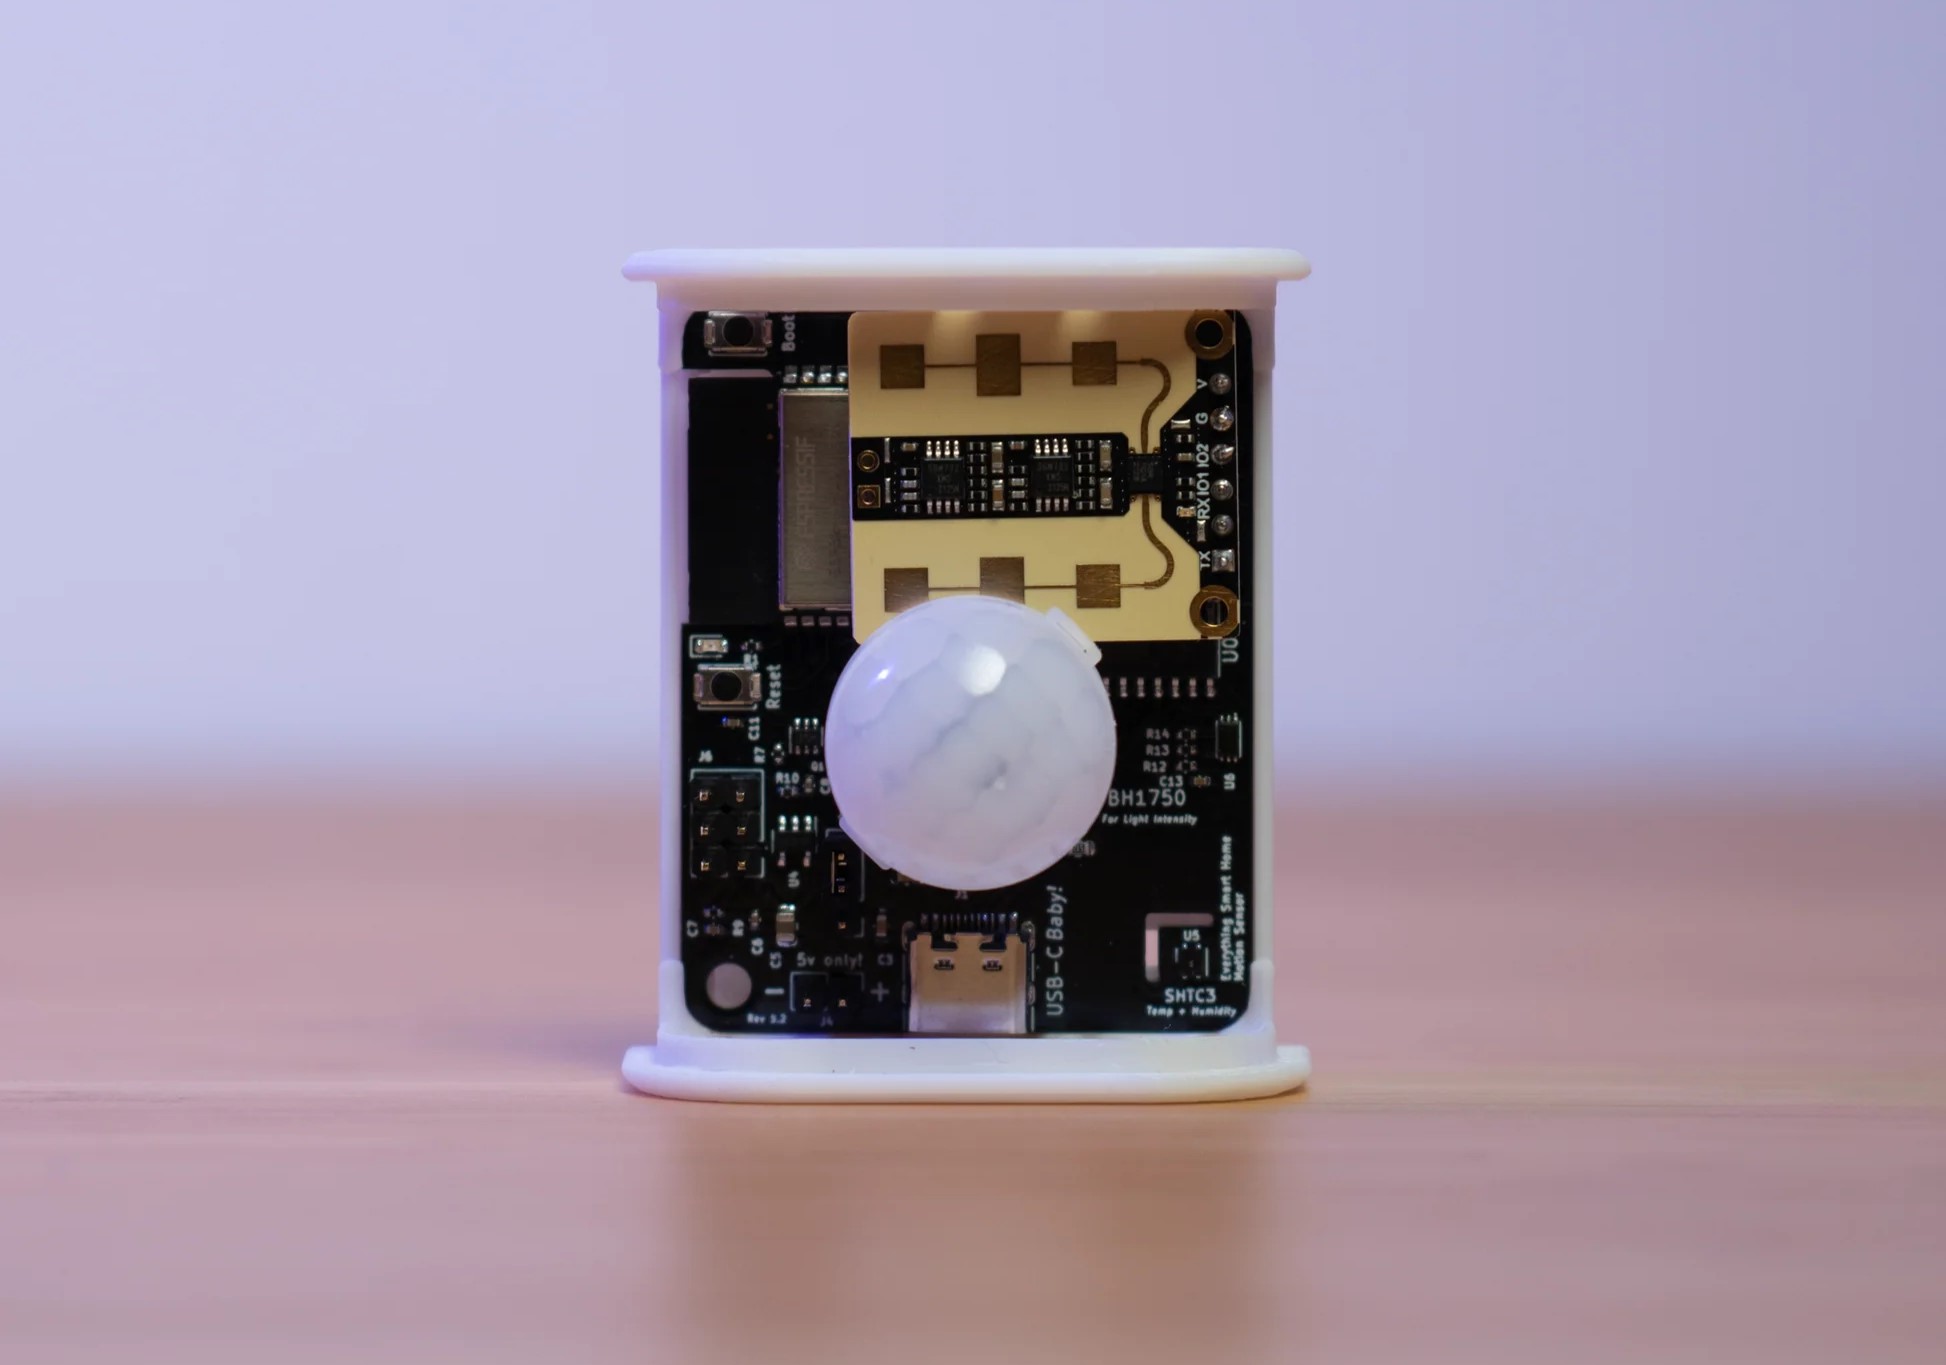
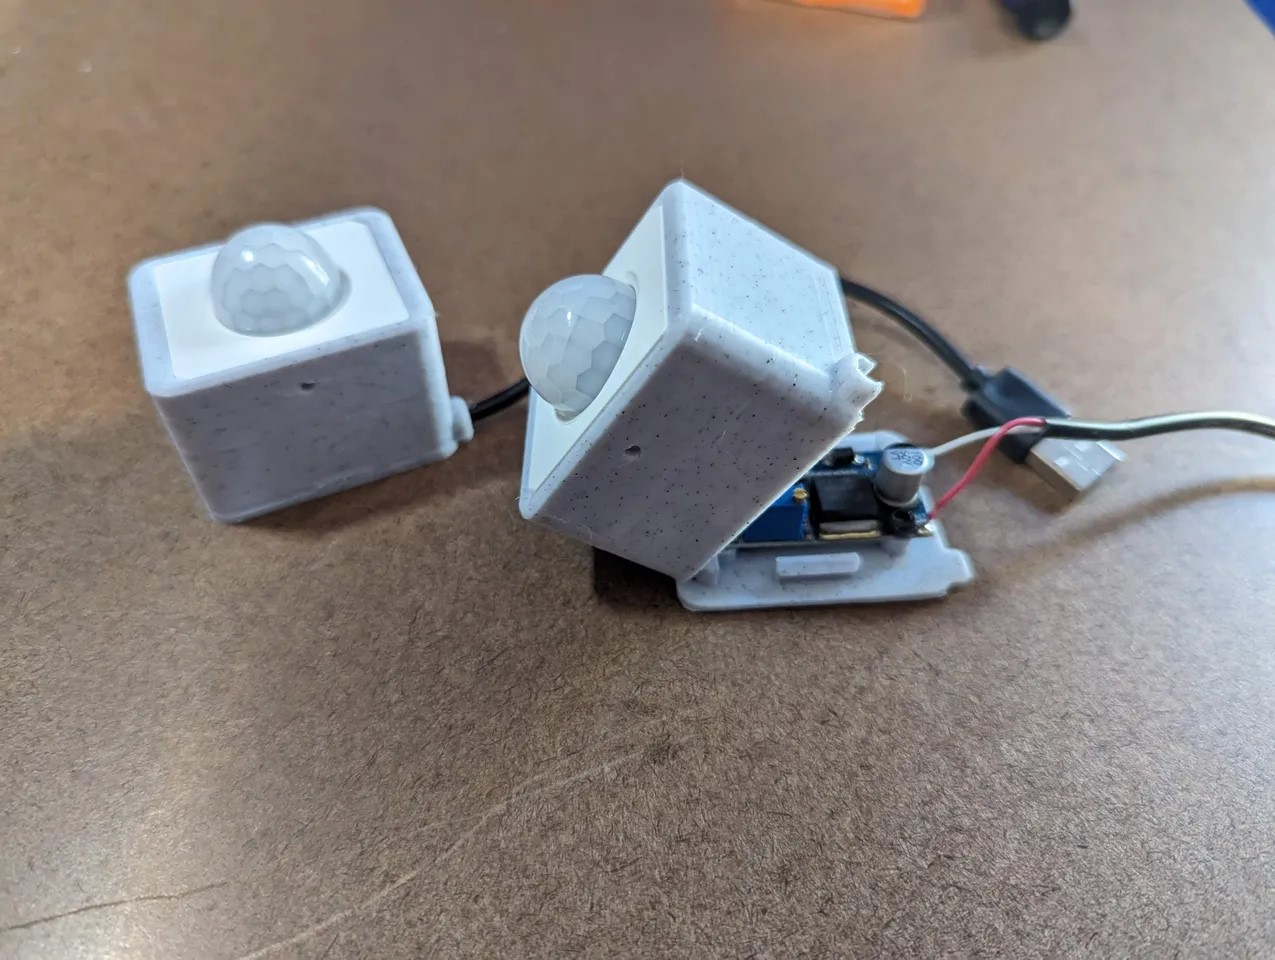
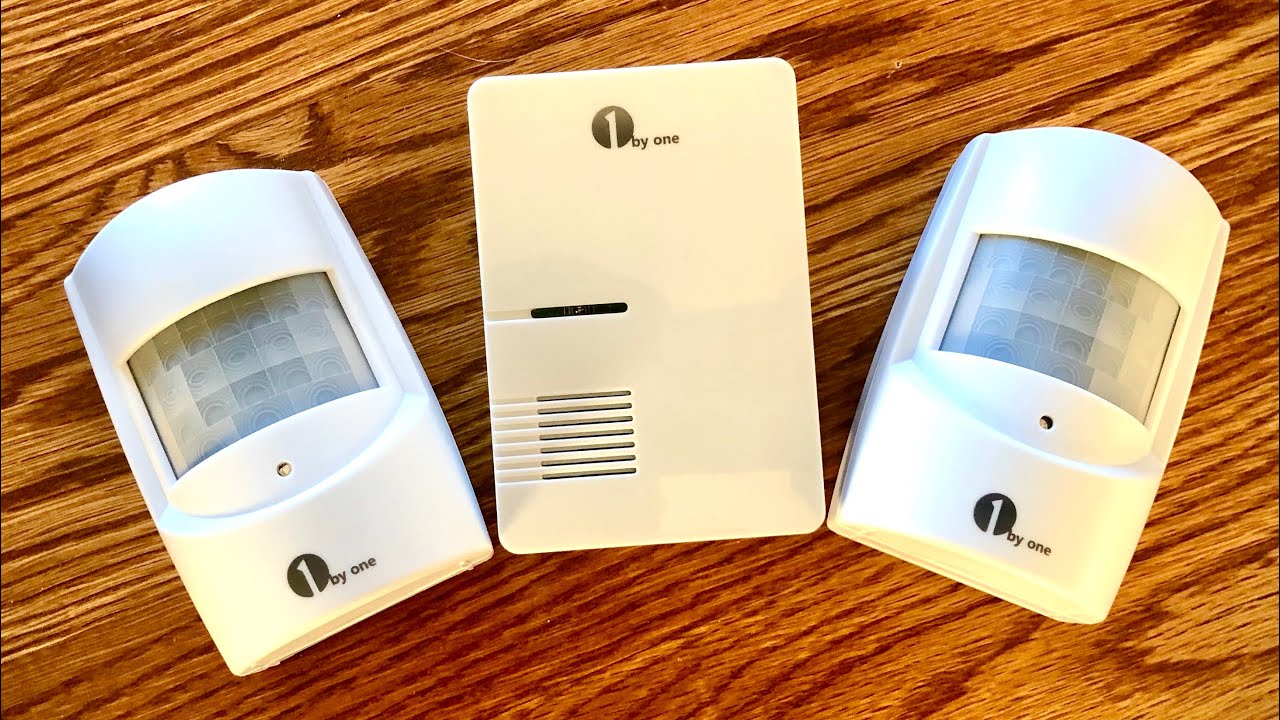
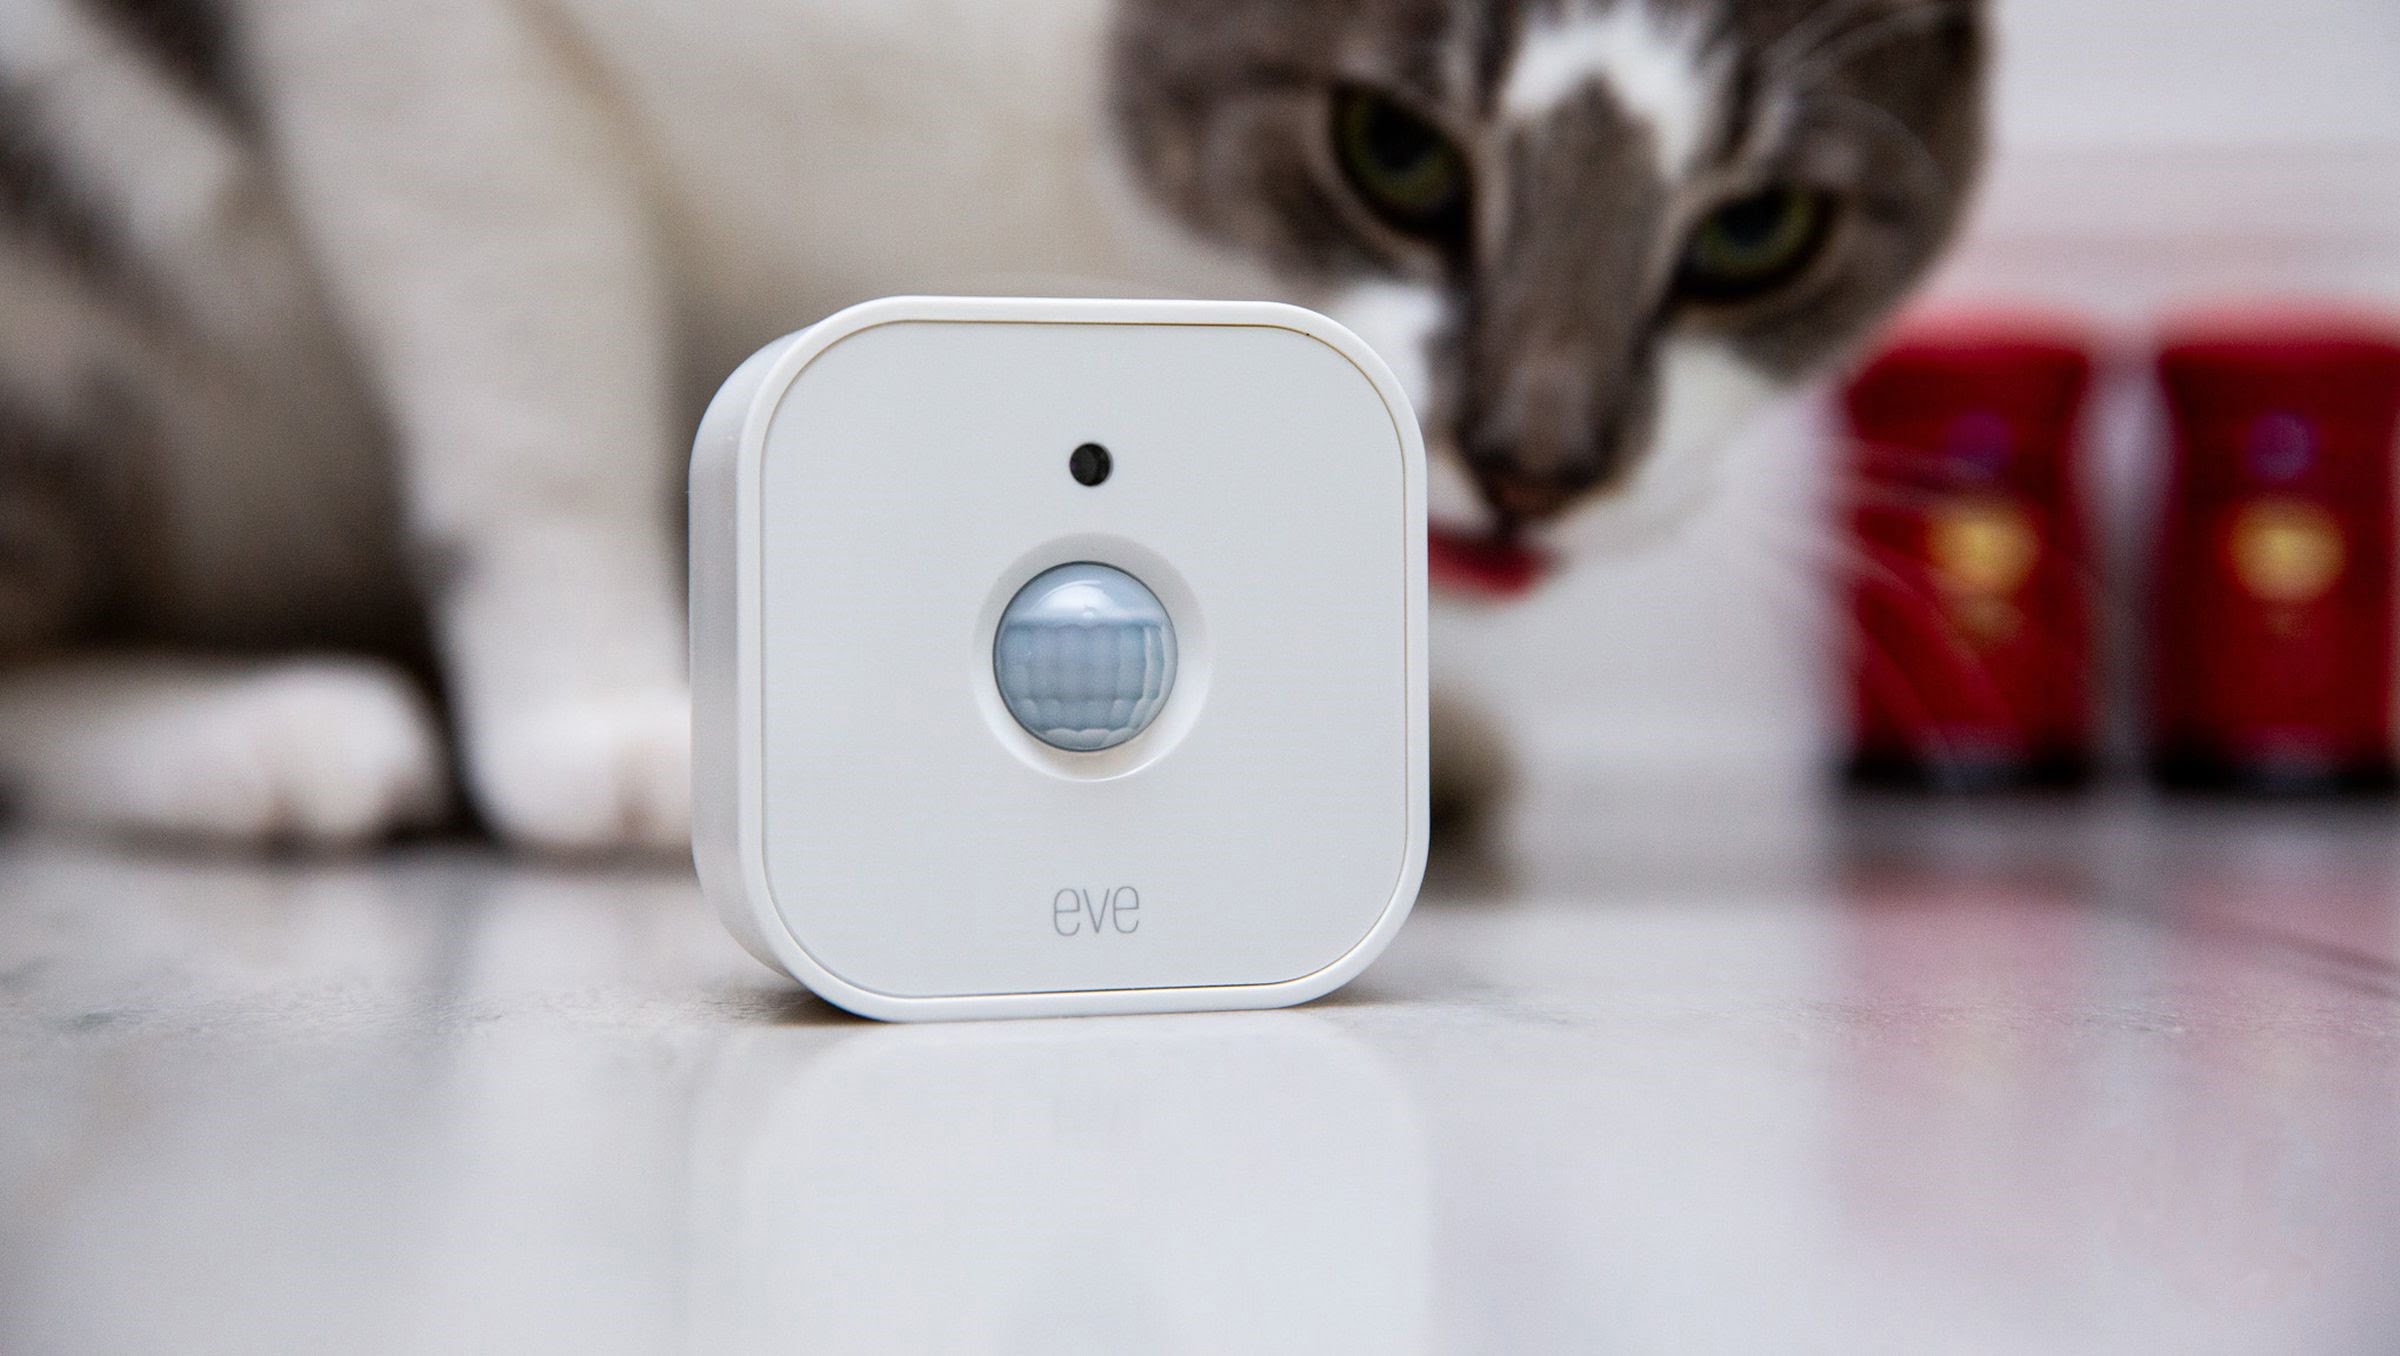
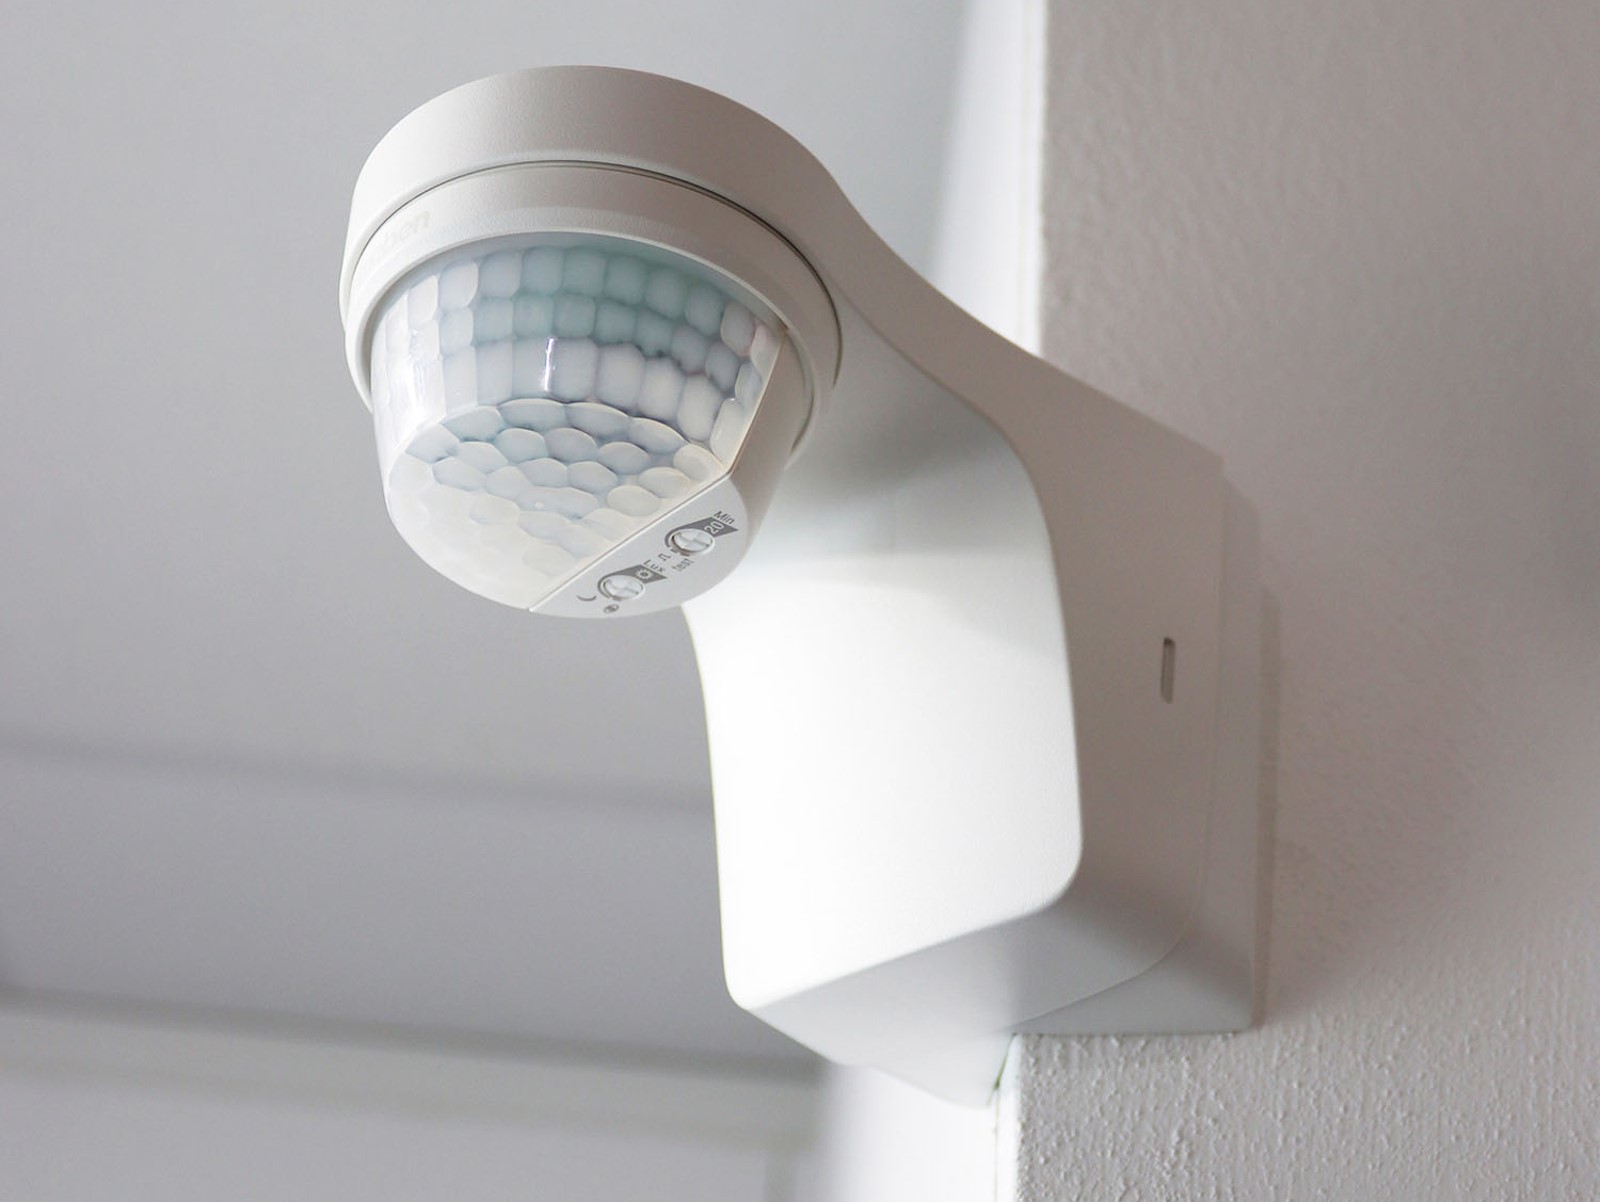
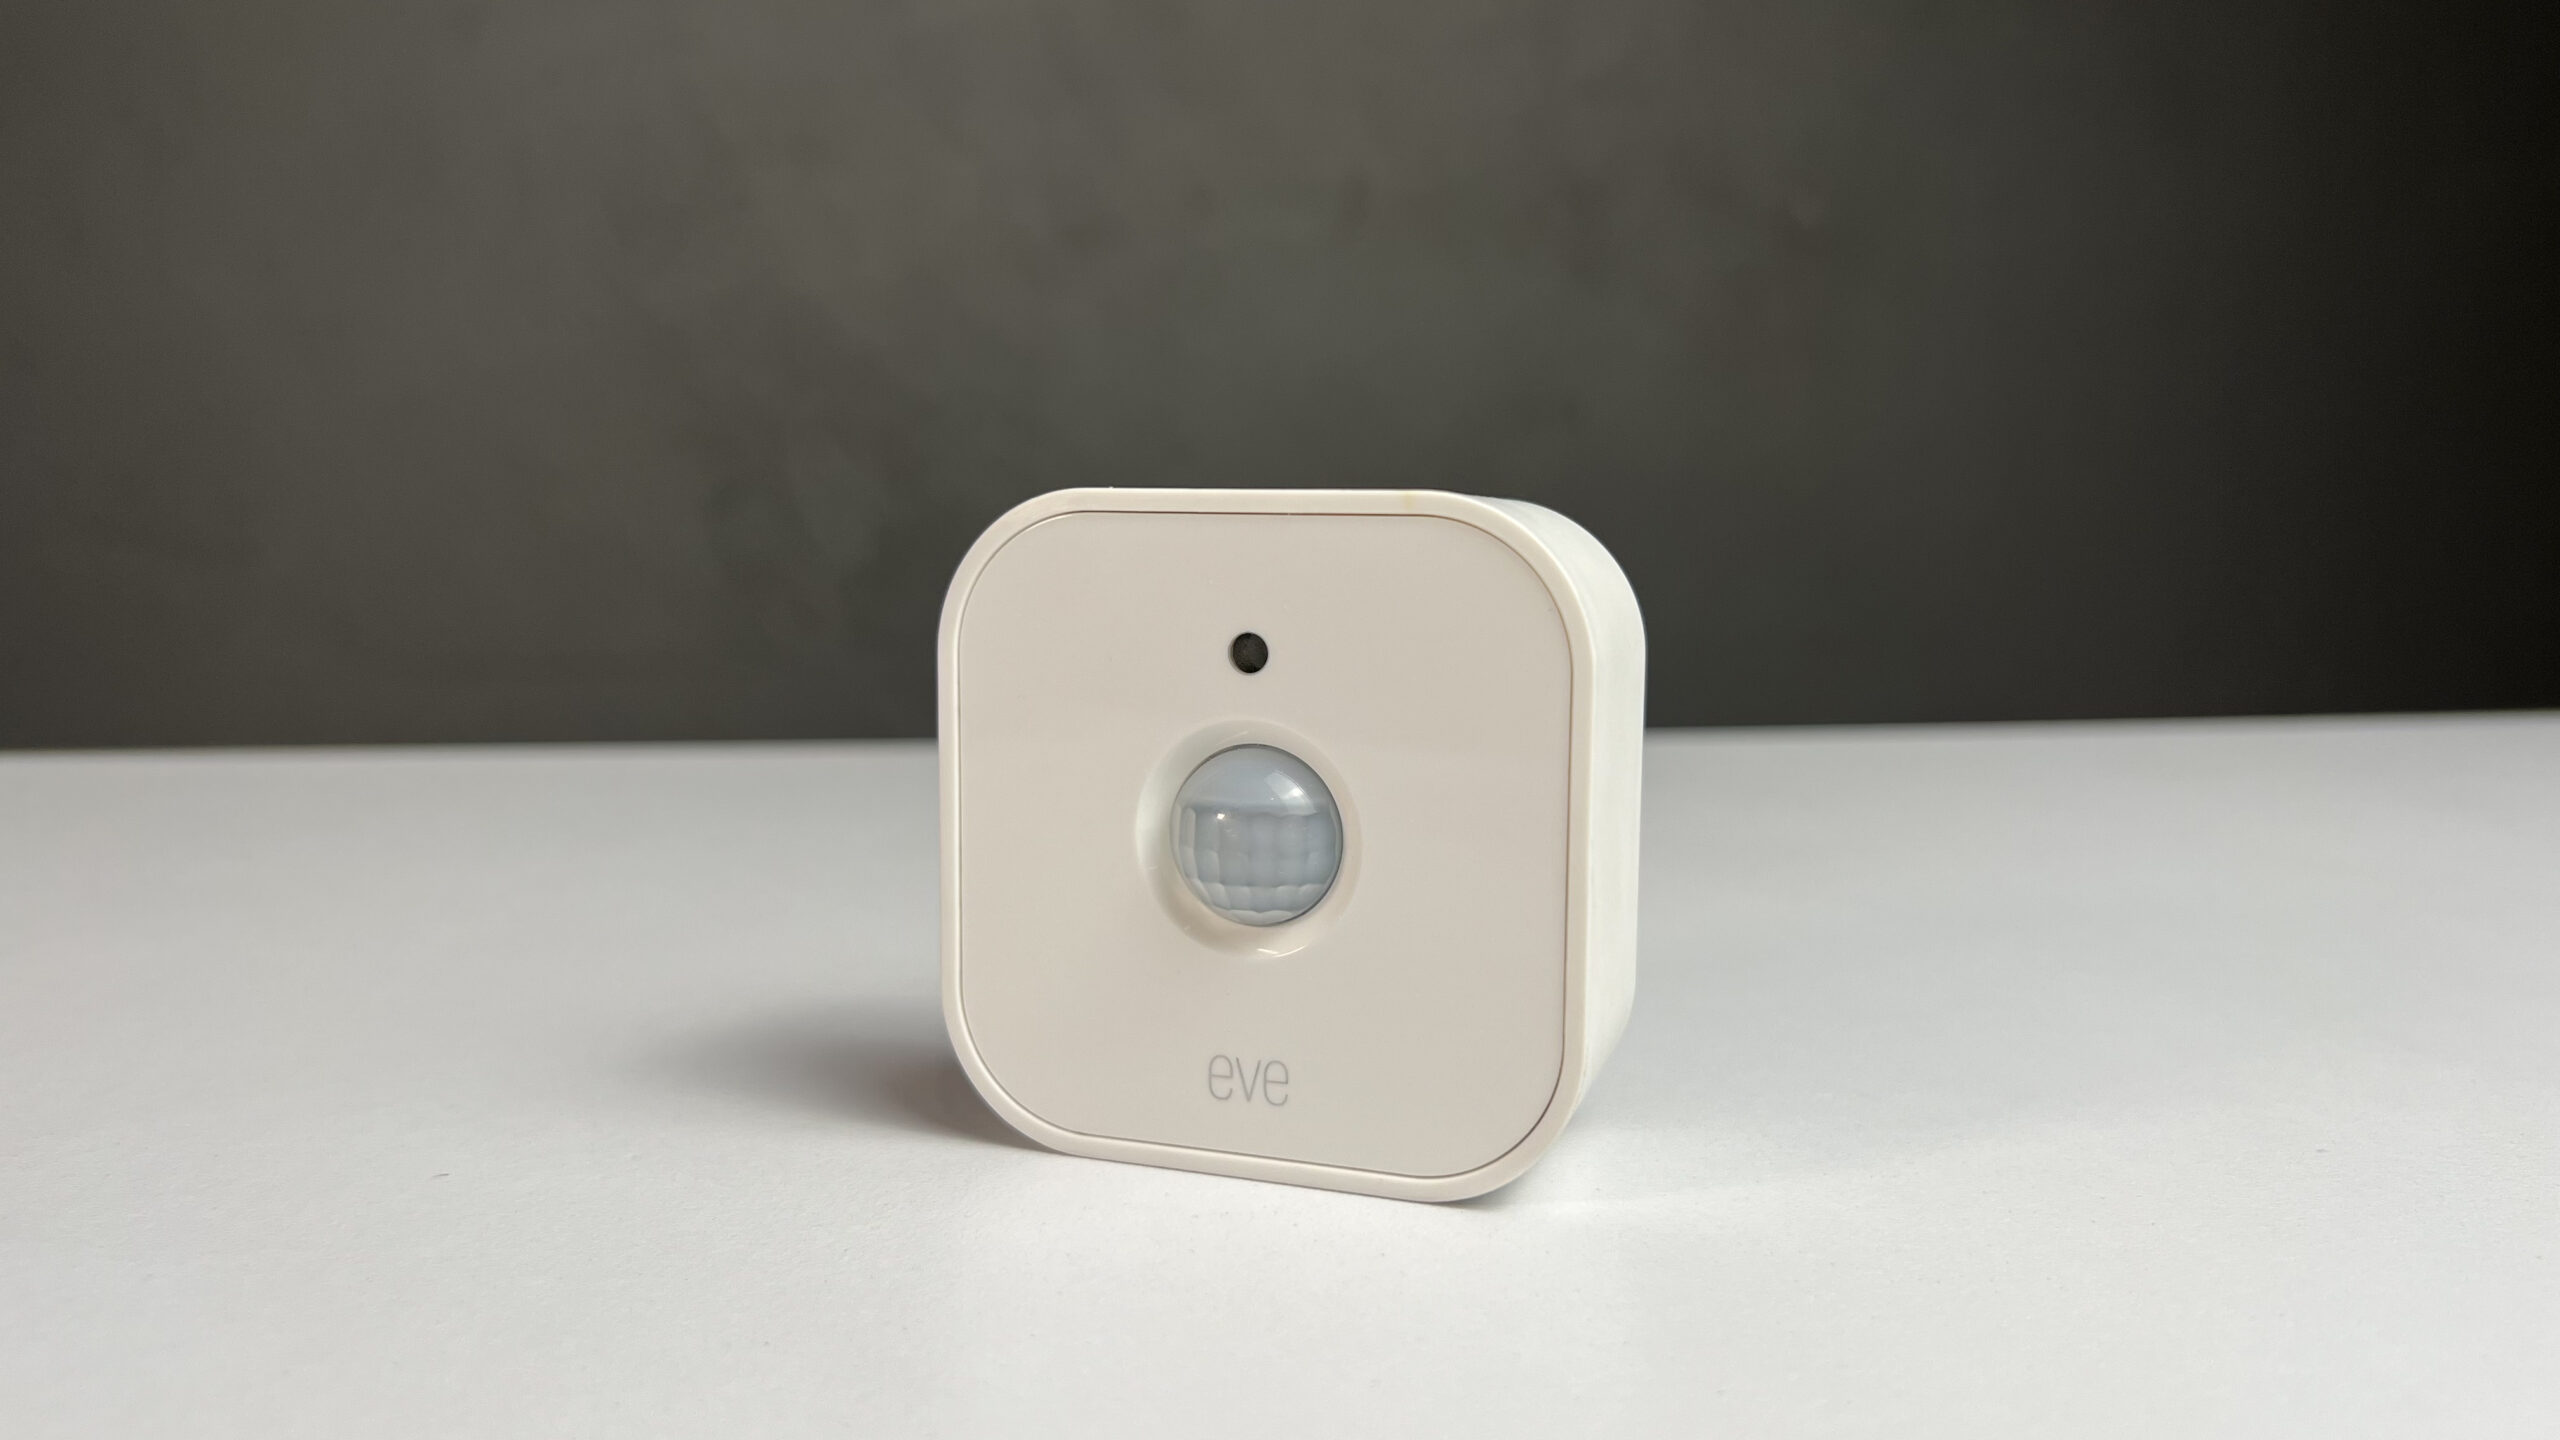
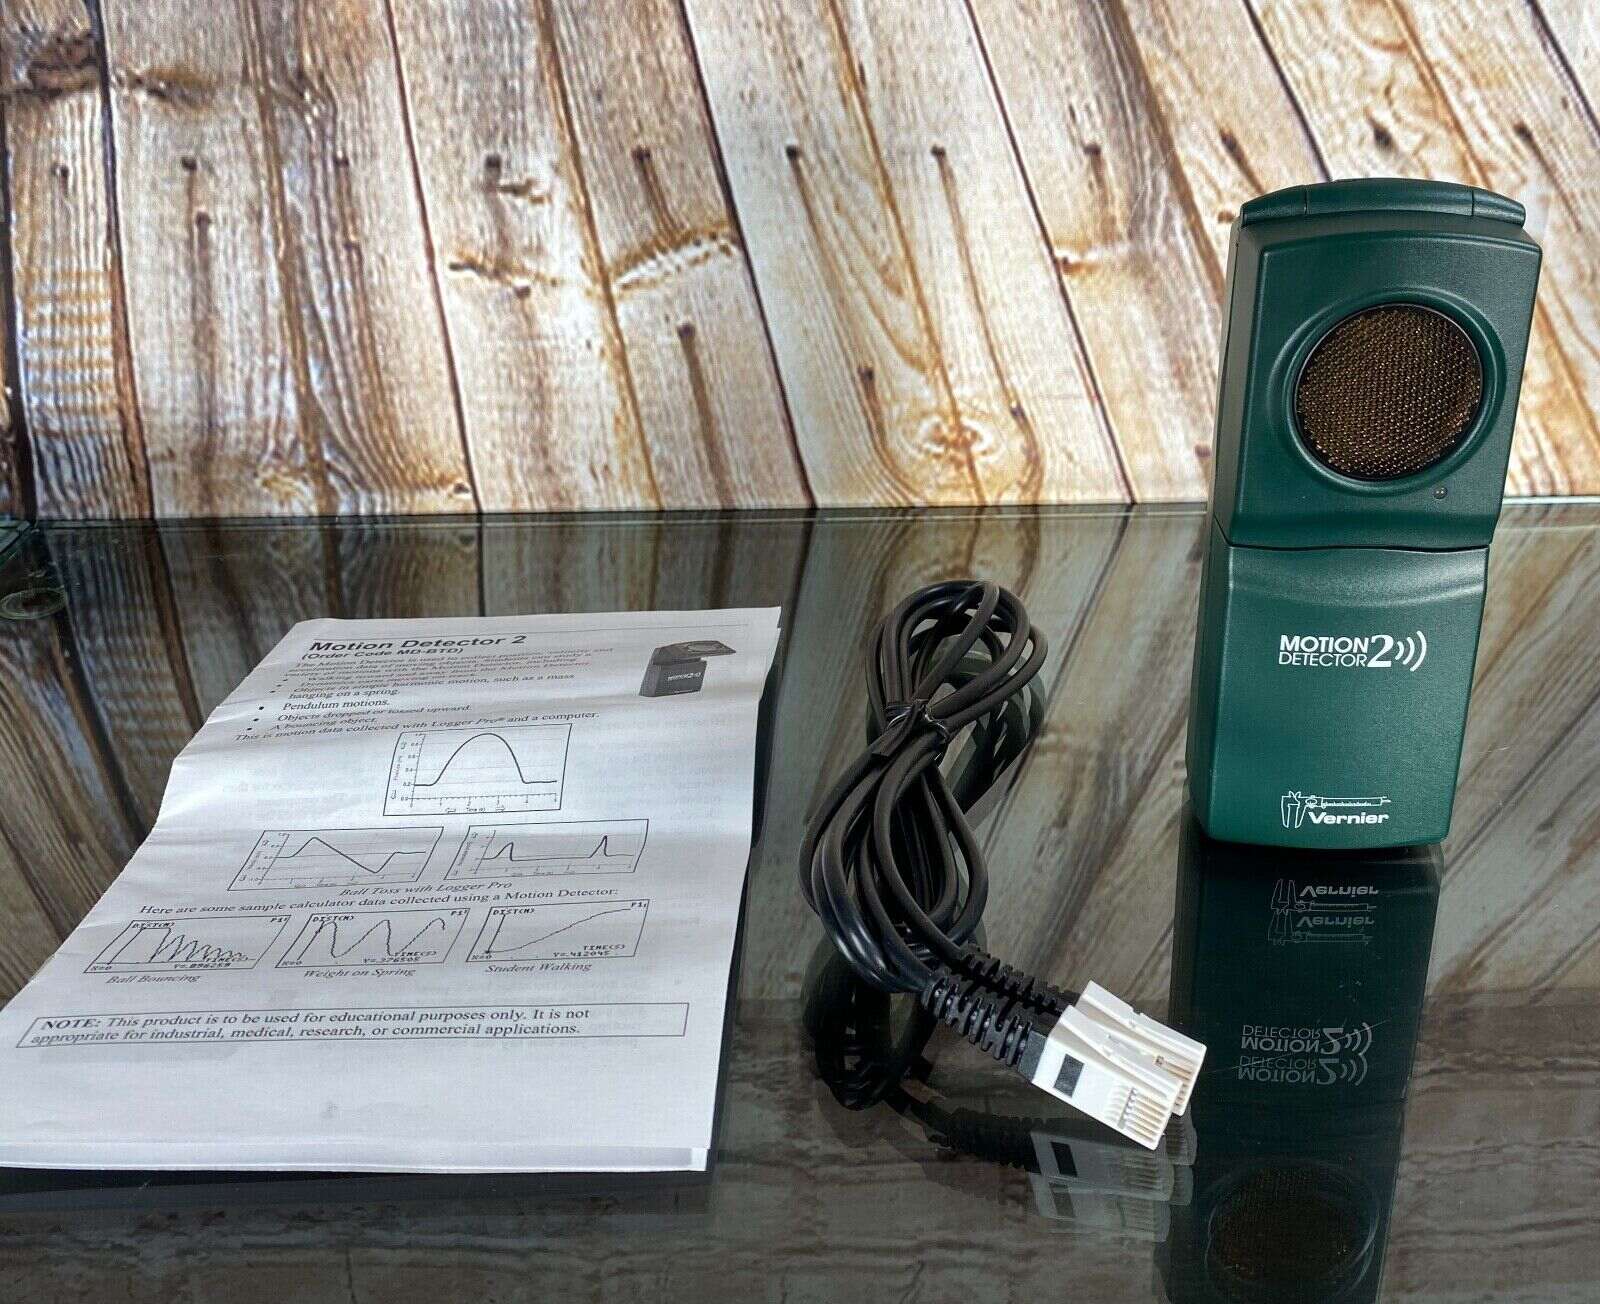
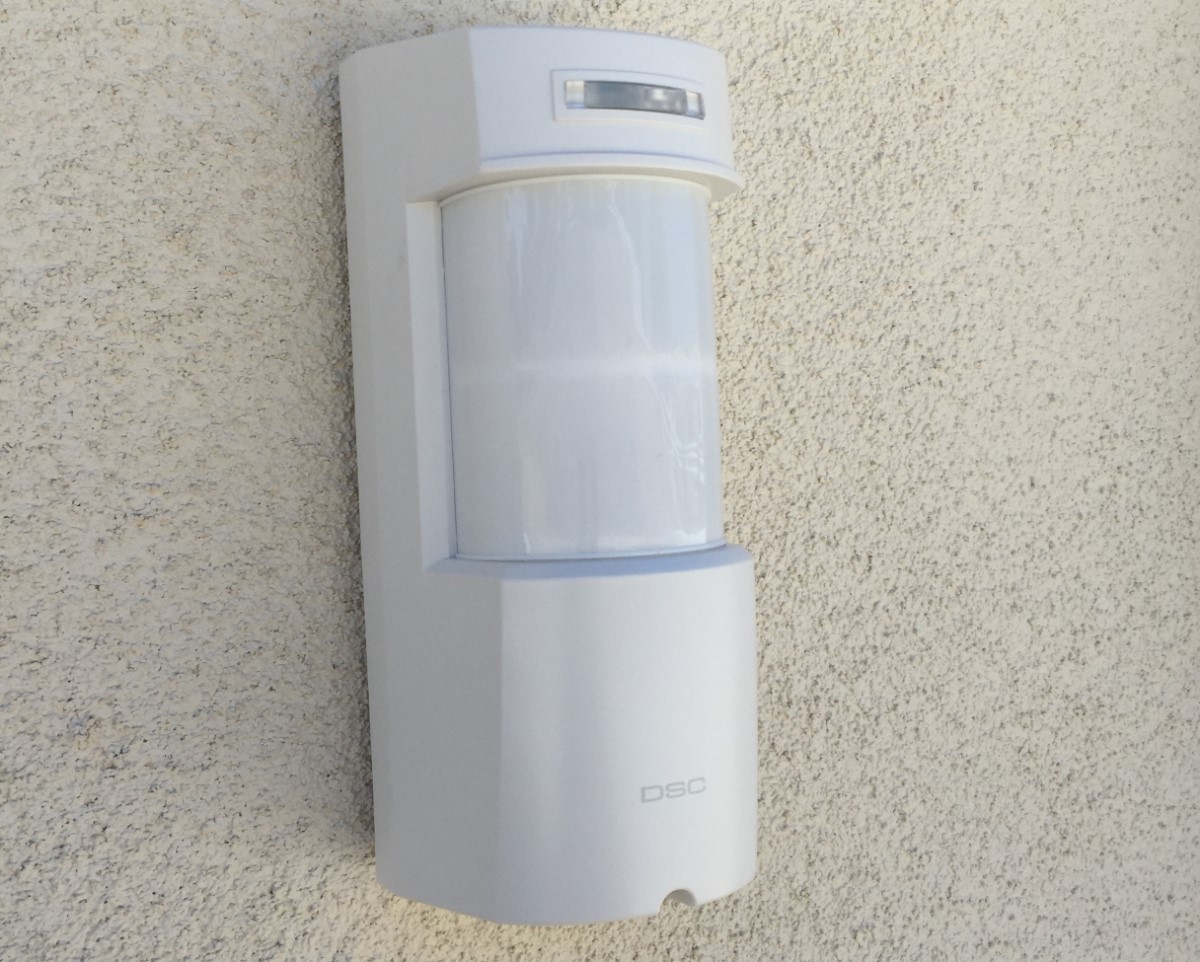
A motion detector, also known as a motion sensor or PIR sensor (Passive Infrared Sensor), is a device that detects motion within its range. It does this by detecting changes in infrared radiation emitted by living beings and objects. When motion is detected, the sensor sends a signal to the connected system, triggering a response.
Sprinkler System
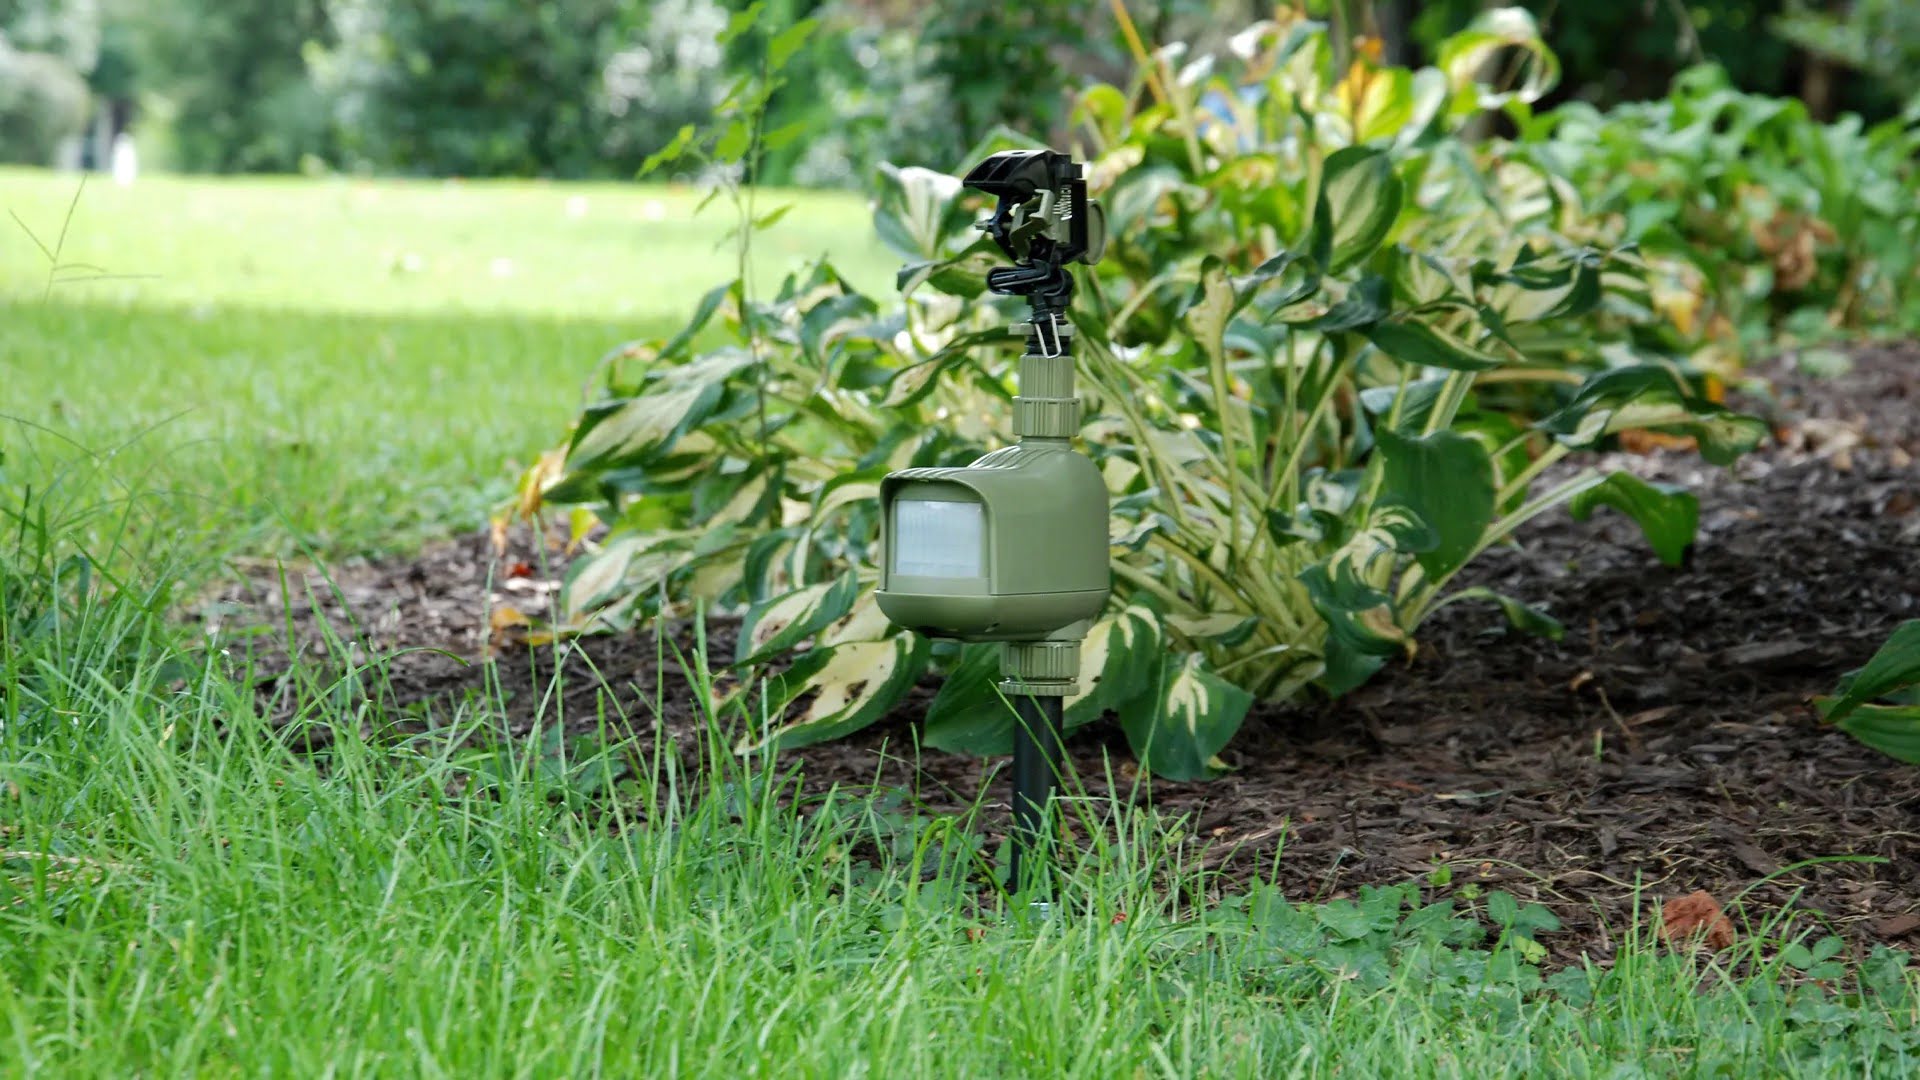
A sprinkler system is designed to water lawns, gardens, and other outdoor areas automatically. It typically consists of sprinkler heads, control valves, and a control panel. The control panel is the brain of the system, responsible for activating and deactivating the sprinklers based on a set schedule or external triggers.
Now that you have a basic understanding of the components let’s move onto the next step of the process.
Step 2: Determine Installation Location
Before installing the motion detector and connecting it to the sprinkler system, you need to determine the ideal location for both. There are several factors to consider when choosing the installation location.
- The motion detector should have a clear view of the area you want to monitor. Ensure there are no obstructions such as trees, bushes, or structures that may interfere with its field of view.
- Consider the range of the motion detector. Choose a location that allows for optimal coverage of the desired area.
Once you have determined the installation location, you can proceed to the next step of the process.
(Please let me know when you are ready for the next step.)
Key Takeaways:
- You can enhance your home security by connecting a motion detector to a sprinkler system. This innovative setup surprises potential intruders and effectively deters them from your property.
- Understanding the components, choosing the right installation location, and adjusting settings are crucial for a successful integration. Regular maintenance ensures the reliable operation of the integrated security system.
Step 1: Understand the Components
To ensure a successful integration, it is essential to have a clear understanding of the motion detector and the sprinkler system.
Motion Detector
A motion detector, also known as a motion sensor or PIR sensor (Passive Infrared Sensor), is a device that detects motion within its range. It does this by detecting changes in infrared radiation emitted by living beings and objects. When motion is detected, the sensor sends a signal to the connected system, triggering a response.
Motion detectors are commonly used in security systems to detect intruders or any suspicious activity around the perimeter of a property. They come in various forms, including wall-mounted, ceiling-mounted, or even integrated into other devices such as security cameras. When choosing a motion detector for your integration with a sprinkler system, ensure that it is compatible with the system and has the necessary features, such as adjustable sensitivity and range.
Sprinkler System
A sprinkler system is designed to water lawns, gardens, and other outdoor areas automatically. It typically consists of sprinkler heads, control valves, and a control panel. The control panel is the brain of the system, responsible for activating and deactivating the sprinklers based on a set schedule or external triggers.
When connecting a motion detector to a sprinkler system, the control panel plays a crucial role. It receives the signal from the motion detector and triggers the sprinklers to activate. Some advanced sprinkler systems may have built-in capabilities to integrate with motion detectors directly. In other cases, additional wiring or modules may be required to establish the connection between the motion detector and the control panel.
Before proceeding with the integration, it is essential to ensure that your sprinkler system is in good working condition. Check for any leaks, clogged sprinkler heads, or damaged wiring that may affect its performance. If necessary, consult a professional to make any necessary repairs or modifications to the system.
Understanding the components involved in the integration process sets the foundation for a successful installation. In the next steps, we will guide you through the process of preparing and connecting the motion detector to the sprinkler system.
(Please let me know when you are ready for the next step.)
Step 2: Determine Installation Location
Once you have a clear understanding of the motion detector and the sprinkler system, the next step is to determine the ideal location for installation. Choosing the right location is crucial to ensure optimal performance and effectiveness of the integrated system.
Read more: How To Build A Motion Detector Alarm System
Factors to Consider
When selecting the installation location, consider the following factors:
1. Field of View: The motion detector should have a clear view of the area you want to monitor. Ensure that there are no obstructions such as trees, bushes, or structures that may interfere with its field of view. A clear line of sight will ensure that the motion detector can accurately detect any movement within its range.
2. Range: Determine the range of the motion detector and choose a location that allows for optimal coverage of the desired area. The range of motion detectors can vary, so it’s essential to select a location that ensures adequate coverage without any blind spots. Consider the size of the area you want to monitor and the range of the motion detector to achieve optimal results.
3. Height: Consider the height at which the motion detector should be installed. Generally, mounting it at a higher elevation allows for better coverage and reduces the risk of tampering or obstruction. However, ensure that the mounting height does not exceed the recommended range specified by the manufacturer.
4. Weather Resistance: If the installation location is exposed to harsh weather conditions, choose a motion detector that is weather-resistant or install it in a sheltered area to protect it from rain, snow, or extreme temperatures. Proper weather protection ensures the longevity and reliability of the motion detector.
Ideal Locations
Here are some common ideal locations for installing a motion detector:
1. Front Entrance: Placing a motion detector near the front entrance provides comprehensive coverage of the main access point of your property. It can detect any approaching individuals or vehicles and trigger the sprinkler system as a deterrent.
2. Backyard: Installing a motion detector in the backyard can help protect the rear of your property. It can detect unauthorized access or any suspicious activity in areas like patios, pools, or storage sheds.
3. Side Entrances: If your property has side entrances or pathways, consider installing motion detectors near these areas. This adds an extra layer of security and ensures comprehensive coverage around your property.
4. Perimeter: Placing motion detectors along the perimeter of your property can create a virtual fence, detecting any movement near the boundaries. This helps to deter potential intruders before they reach the main entrances.
Remember to adhere to any local regulations or legal requirements regarding the placement and use of motion detectors for security purposes.
By carefully considering these factors and selecting suitable installation locations, you can ensure efficient and effective detection capabilities of the integrated system. In the next step, we will guide you through the process of preparing the motion detector for installation.
(Please let me know when you are ready for the next step.)
Step 3: Prepare the Motion Detector
After determining the installation location, it’s time to prepare the motion detector for installation and ensure optimal performance. This step involves mounting the motion detector and adjusting the sensitivity settings to suit your specific needs.
Mounting the Motion Detector
1. Begin by carefully reading the manufacturer’s instructions for mounting the motion detector. Different models may have specific instructions and recommendations for installation.
2. Securely mount the motion detector on a stable surface using screws or mounting brackets provided with the device. Make sure it is firmly attached and positioned as per the recommended guidelines.
3. Aim the motion detector towards the desired area to be monitored. Adjust the angle and tilt of the sensor to ensure optimal coverage within its range. Refer to the device’s user manual for guidance on the ideal mounting position and the recommended angle of coverage.
4. Ensure that the motion detector is installed at the appropriate height as determined in the previous step. Mounting it at the recommended height ensures accurate detection and minimizes the risk of false alarms.
Adjusting Sensitivity Settings
Most motion detectors come with adjustable sensitivity settings to tailor the detection range to your specific requirements. Follow these steps to adjust the sensitivity settings:
1. Refer to the manufacturer’s instructions to access the sensitivity adjustments on the motion detector. This is typically done through control buttons or switches located on the device itself or through a configuration interface if the motion detector is connected to a central control panel.
2. Start with the default sensitivity setting and test the detection range. Gradually adjust the sensitivity settings based on the feedback received from the initial tests.
3. Fine-tune the sensitivity level to avoid false alarms triggered by factors such as small animals, swaying trees, or passing vehicles. Strike a balance between sensitivity and accuracy to ensure that the motion detector detects genuine threats while minimizing false trigger events.
4. Perform multiple tests by walking through the monitored area at various distances and angles to verify the motion detector’s accuracy and make any necessary adjustments.
Remember that finding the optimal sensitivity setting may require some trial and error. Regularly test and adjust the sensitivity to achieve the desired detection performance.
By properly mounting the motion detector and adjusting the sensitivity settings, you ensure that it functions optimally and reliably detects motion within its range. In the next step, we will guide you through connecting the motion detector to the sprinkler system.
(Please let me know when you are ready for the next step.)
Step 4: Connect the Motion Detector to the Sprinkler System
Now that the motion detector is prepared and installed, it’s time to connect it to the sprinkler system. This step involves wiring the motion detector to the control panel and testing the connection to ensure proper functionality.
Wiring the Motion Detector to the Control Panel
1. Start by locating the control panel of your sprinkler system. This is typically housed in a weatherproof enclosure and contains the necessary wiring connections.
2. Check the manufacturer’s instructions for specific wiring requirements and compatibility between the motion detector and the sprinkler system. Ensure that the motion detector is compatible with the control panel or any additional modules or relays required for integration.
3. Identify the appropriate wiring terminals on both the motion detector and the control panel. Most motion detectors have labeled terminals for power, ground, and signal connections.
4. Connect the power and ground wires from the motion detector to their respective terminals on the control panel. Ensure secure and proper connections to avoid any electrical issues.
5. Connect the signal wire from the motion detector to the designated terminal on the control panel. This wire carries the detection signal from the motion detector to trigger the sprinkler system.
6. Double-check all the wiring connections to ensure they are properly seated and secure.
Testing the Connection
Once the wiring is complete, it’s important to test the connection between the motion detector and the sprinkler system to ensure proper functionality.
1. Activate the sprinkler system using the control panel or any associated app or interface.
2. Walk within the detection range of the motion detector to trigger motion. Confirm that the motion detector detects the movement and sends a signal to the control panel.
3. The control panel should receive the signal and activate the sprinkler system as configured. Verify that the sprinklers turn on and off properly based on the detected motion.
4. Repeat the test from various angles and distances to ensure consistent detection and activation of the sprinkler system.
If the connection or functionality is not as expected, double-check the wiring connections, compatibility, and configuration settings. Refer to the manufacturer’s instructions or seek professional assistance if necessary.
By successfully wiring the motion detector to the control panel and testing the connection, you have established a functional integration between the motion detector and the sprinkler system. In the next step, we will guide you through adjusting the settings of the sprinkler system to optimize its effectiveness in deterring potential intruders.
(Please let me know when you are ready for the next step.)
Step 5: Adjusting the Sprinkler System Settings
With the motion detector successfully connected to the sprinkler system, it’s time to adjust the settings of the sprinkler system to optimize its effectiveness in deterring potential intruders. This step involves setting the desired spray radius and adjusting the duration and frequency of irrigation.
Setting the Desired Spray Radius
1. Begin by identifying the sprinkler heads that are connected to the area where the motion detector is installed. These sprinkler heads should cover the desired area that needs protection.
2. Adjust the spray radius of each sprinkler head to cover the intended area. Most sprinkler heads have an adjustable radius, which can usually be adjusted by twisting or turning the nozzles.
3. Gradually increase or decrease the spray radius until it covers the desired area without excessively overlapping or leaving any gaps in the coverage.
4. Keep in mind that the spray radius should align with the detection range of the motion detector. Ensure that the detection range extends slightly beyond the spray radius to provide ample coverage for early detection.
Adjusting the Duration and Frequency of Irrigation
1. Consult the instruction manual or the control panel interface to access the irrigation scheduling settings. These settings determine the duration and frequency of irrigation cycles.
2. Consider the needs of the plants or landscaping within the protected area. Set the irrigation duration based on the watering requirements of the vegetation. Avoid overwatering, as it may lead to unnecessary water wastage and potential damage to the plants.
3. Adjust the frequency of irrigation based on factors such as climate, season, and soil conditions. For example, during hot summer months, you may need to increase the frequency to prevent the vegetation from drying out. In contrast, during cooler seasons, you can decrease the frequency to conserve water.
4. Strike a balance between irrigation frequency and water conservation. Optimize the settings to maintain healthy vegetation while minimizing water usage.
Regularly monitor the vegetation and make adjustments to the settings as needed. Consider factors such as changes in weather patterns, plant growth, or any specific environmental requirements.
By setting the desired spray radius and adjusting the duration and frequency of irrigation, you can ensure optimal coverage and efficient water usage for your protected area. In the next step, we will discuss troubleshooting and maintenance to ensure the smooth operation of the integrated security system.
(Please let me know when you are ready for the next step.)
Step 6: Troubleshooting and Maintenance
To ensure the smooth operation and longevity of your integrated security system, it’s important to be aware of common issues that may arise and implement regular maintenance practices. This step will guide you through troubleshooting common issues and provide tips for ongoing maintenance.
Read more: How To Deactivate A Motion Detector
Common Issues and Solutions
1. False Alarms: False alarms may occur if the motion detector is too sensitive or if there are external factors triggering the motion detection, such as pets or wildlife. Adjust the sensitivity settings to minimize false alarms. If necessary, consider adding additional filters or adjusting the detection zone to reduce unwanted triggers.
2. Inconsistent Activation: If the sprinkler system does not consistently activate upon motion detection, check the wiring connections and ensure they are secure. Also, verify that the control panel settings are properly configured to activate the sprinklers when motion is detected.
3. Irrigation Malfunctions: If you encounter issues with the irrigation portion of the sprinkler system, such as uneven water distribution or clogged sprinkler heads, inspect and clean the sprinkler heads regularly. Ensure that water pressure is adequate and no obstructions are present in the irrigation lines.
4. Power Interruptions: Power interruptions can disrupt the operation of the integrated system. Consider connecting the control panel and motion detector to an uninterrupted power supply (UPS) to ensure continuous functionality even during power outages.
Regular Maintenance Tips
1. Perform routine inspections of the motion detector and sprinkler system to check for any signs of damage, corrosion, or wear. Replace any damaged components or wiring as needed.
2. Clean the motion detector lenses periodically to remove dust, dirt, or debris that can hinder its detection capabilities. Use a soft cloth or non-abrasive cleaner to gently wipe the lenses.
3. Inspect and clean the sprinkler heads regularly to ensure proper water distribution. Remove any obstructions or debris that may be affecting their performance.
4. Test the motion detector and sprinkler system functionality periodically. This can be done by physically triggering motion near the detector and verifying that the sprinklers activate as expected.
5. Keep an eye on the weather conditions and adjust the irrigation settings accordingly. Make seasonal adjustments to irrigation frequency and duration to accommodate changes in temperature and precipitation.
6. Regularly monitor the area being protected by the integrated security system to ensure that it continues to meet your security needs. Make any necessary adjustments or enhancements as required.
By troubleshooting common issues and implementing regular maintenance practices, you can ensure the reliable operation and longevity of your integrated security system. Regular maintenance will help keep the system in optimal condition for enhanced security and peace of mind.
We hope this step-by-step guide has been helpful in assisting you with connecting a motion detector to a sprinkler system. With this integration, you can further enhance the security of your home and deter potential intruders effectively.
If you have any further questions or need additional assistance, do not hesitate to consult the manufacturer’s instructions or seek professional advice.
Stay safe and secure!
Conclusion
Integrating a motion detector with a sprinkler system provides an innovative and effective solution for enhancing home security and deterring potential intruders. By following the step-by-step guide in this article, you can successfully connect a motion detector to a sprinkler system and enjoy the benefits of an automated security system that responds to detected motion.
Understanding the components involved, including the motion detector and the sprinkler system, is crucial to ensure a successful integration. By considering factors such as installation location, field of view, range, and weather resistance, you can determine the ideal placement for the motion detector and optimize its performance.
Preparing the motion detector by securely mounting it and adjusting sensitivity settings is vital for accurate detection and minimizing false alarms. Additionally, connecting the motion detector to the control panel of the sprinkler system ensures seamless communication and effective activation of the sprinklers upon detecting motion.
Adjusting the settings of the sprinkler system, such as the spray radius and irrigation duration and frequency, allows for optimal coverage and water efficiency. Regular monitoring and maintenance of the integrated system, including troubleshooting common issues and performing routine inspections, will help ensure its reliable operation and longevity.
With a well-connected and properly adjusted motion detector and sprinkler system, you can enjoy the peace of mind that comes from an enhanced home security setup. The automated response to detected motion creates a powerful deterrent that can significantly contribute to the overall safety and protection of your property.
Remember to adhere to any local regulations or legal requirements regarding the use of motion detectors and sprinkler systems for security purposes. Continuously evaluate and refine the security measures in place to meet your evolving needs and technology advancements.
By implementing this comprehensive integration, you are taking a proactive step towards safeguarding your loved ones and property. Stay vigilant, maintain regular maintenance, and enjoy the added security and peace of mind that a connected motion detector and sprinkler system can bring.
Now, go ahead and take the plunge into integrating your motion detector with your sprinkler system – a powerful combination that elevates your home security to new heights!
Frequently Asked Questions about How To Connect A Motion Detector To A Sprinkler System
Was this page helpful?
At Storables.com, we guarantee accurate and reliable information. Our content, validated by Expert Board Contributors, is crafted following stringent Editorial Policies. We're committed to providing you with well-researched, expert-backed insights for all your informational needs.
