Home>Home Security and Surveillance>How To Set Up 1Byone Motion Detector That Won’t Connect
Home Security and Surveillance
How To Set Up 1Byone Motion Detector That Won’t Connect
Modified: October 20, 2024
Learn how to set up the 1Byone motion detector for your home security and surveillance needs. Discover solutions for connectivity issues and optimize your safety.
(Many of the links in this article redirect to a specific reviewed product. Your purchase of these products through affiliate links helps to generate commission for Storables.com, at no extra cost. Learn more)
Introduction
Welcome to our guide on how to set up a 1Byone motion detector that won’t connect. Whether you’re a homeowner looking to enhance your home security or a business owner wanting to keep a close eye on your premises, a motion detector is an essential component of any surveillance system. It provides an extra layer of protection by detecting and alerting you to any movement within the designated area.
However, like any technology, motion detectors can sometimes encounter connectivity issues that prevent them from functioning properly. This can be frustrating and leave you wondering how to resolve the problem. But fear not! In this guide, we will walk you through some troubleshooting steps to help you get your 1Byone motion detector up and running again.
Before we delve into the troubleshooting steps, it’s worth mentioning that the 1Byone motion detector is a popular choice among homeowners and businesses alike. It offers advanced features such as adjustable sensitivity, customizable motion zones, and smartphone alerts. With its easy installation process and reliable performance, the 1Byone motion detector is a great addition to any security setup.
So, let’s jump into the troubleshooting steps and get your 1Byone motion detector back online!
Key Takeaways:
- Troubleshooting Steps
If your 1Byone motion detector won’t connect, follow these steps: Check power source, ensure proper placement, reset the detector, verify Wi-Fi connection, update firmware, and contact customer support if needed. - Patience and Persistence
Resolving connectivity issues with your 1Byone motion detector may require patience and thorough troubleshooting. Document the steps taken and details of any issues for future reference.
Read more: How To Set Up A Motion Detector
Troubleshooting Steps
When your 1Byone motion detector is not connecting, there are several steps you can take to troubleshoot and resolve the issue. Follow these steps in order to ensure a comprehensive troubleshooting process:
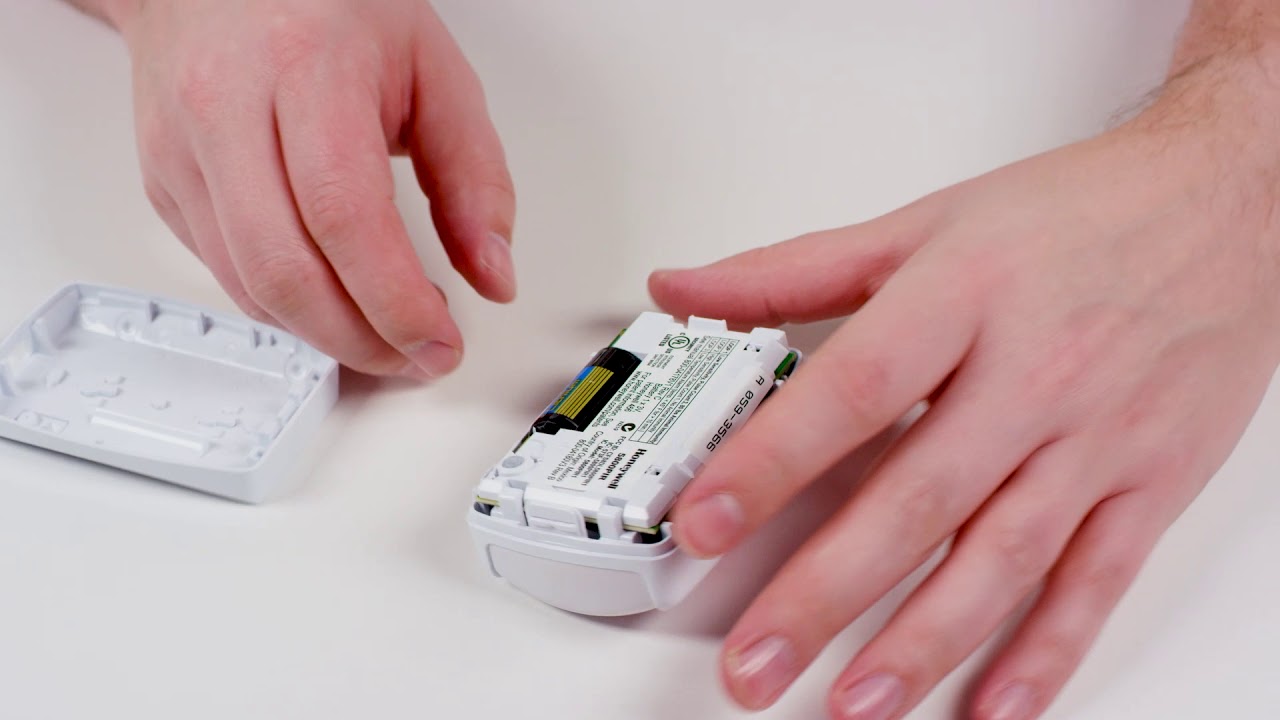
- Check Power Source: The first and most basic step is to check the power source of your motion detector. Ensure that it is properly plugged in and receiving power. If the detector is battery-powered, make sure the batteries are fresh and correctly inserted.
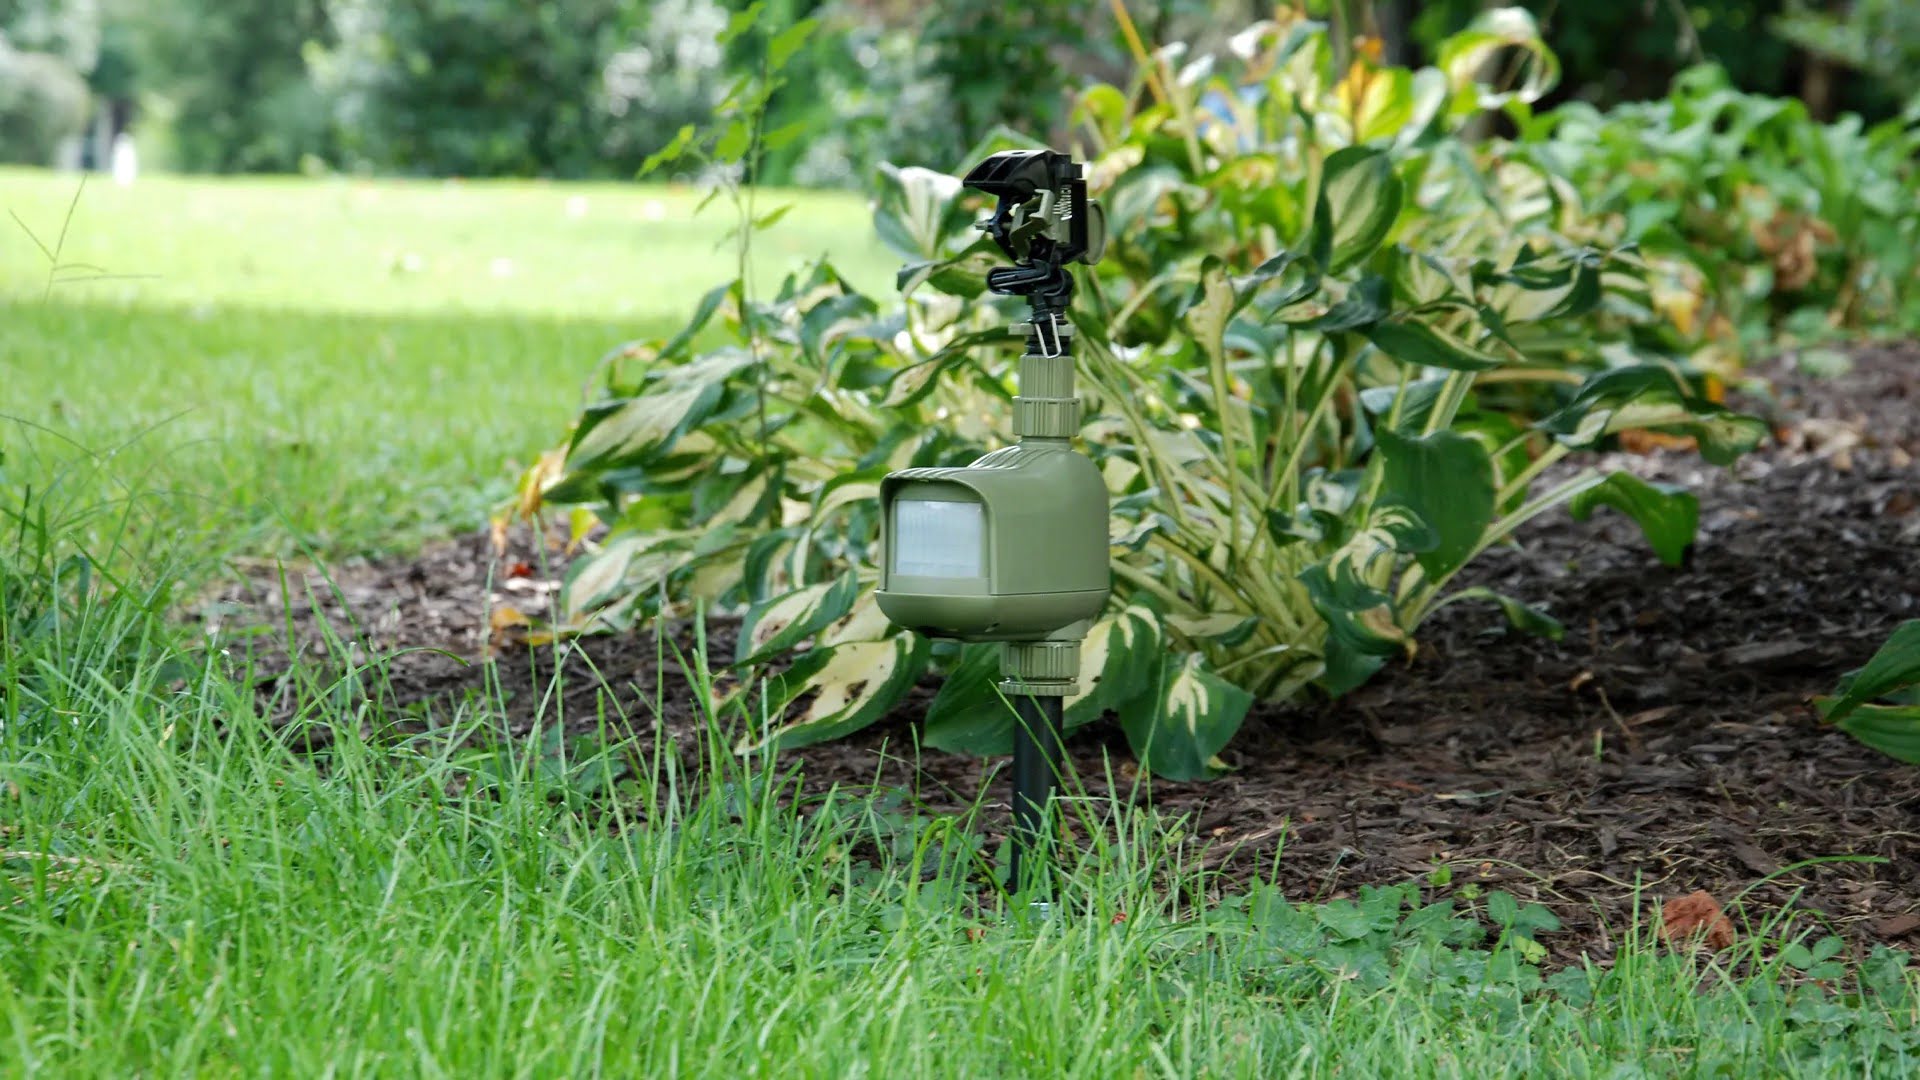
- Ensure Proper Placement: The placement of the motion detector plays a crucial role in its performance. Make sure it is positioned in an optimal location, away from obstructions and at the recommended height. Adjust the angle settings if necessary to ensure maximum coverage of the desired area.
- Reset the Motion Detector: If the previous steps didn’t resolve the issue, try resetting the motion detector. Refer to the user manual or manufacturer’s instructions to find the reset button or process. Press and hold the reset button for a few seconds until the device resets itself. This can help clear any temporary glitches or connectivity issues.
- Verify Wi-Fi Connection: Check the Wi-Fi connection of your motion detector. Ensure that it is connected to a stable and reliable network. If the Wi-Fi signal is weak, consider moving the motion detector closer to the router or installing a Wi-Fi range extender to improve the signal strength.
- Update Firmware: Firmware updates often include bug fixes and improvements that can address connectivity issues. Check the manufacturer’s website or app for any available firmware updates for your 1Byone motion detector. Follow the instructions provided to update the firmware and potentially fix the connection problem.
- Contact Customer Support: If you have exhausted all previous troubleshooting steps and your 1Byone motion detector still won’t connect, it’s time to reach out to customer support. Contact the manufacturer or retailer from whom you purchased the device and explain the issue you are facing. They will have additional troubleshooting steps or may offer a replacement if the device is defective.
By following these troubleshooting steps, you should be able to resolve the connectivity issue with your 1Byone motion detector. Remember to remain patient throughout the process and take note of any error messages or unusual behavior from the device, as these details can be useful when contacting customer support.
Step 1: Check Power Source
When troubleshooting a 1Byone motion detector that won’t connect, the first step is to ensure that the device is receiving power from the appropriate source. Whether your motion detector is powered by batteries or connected to an electrical outlet, checking the power source is essential.
If your motion detector is battery-powered, start by checking the batteries. Ensure they are fresh and properly inserted into the device. Over time, batteries can lose their charge or become loose, causing connectivity issues. Replace the batteries with new ones if necessary.
If your motion detector is plugged into an electrical outlet using a power adapter, check that the adapter is securely plugged in. Sometimes, a loose connection or a faulty power adapter can cause the device to lose power or struggle to maintain a stable connection.
In addition to checking the power source, it’s also important to inspect the power cable for any signs of damage. Examine the cable for frayed wires, cuts, or kinks that may be interfering with the power supply. If you notice any damage, consider replacing the cable to ensure a reliable power source for your motion detector.
Once you have verified the power source and made any necessary adjustments or replacements, attempt to reconnect your 1Byone motion detector. Follow the manufacturer’s instructions for connecting the device to your Wi-Fi network or hub. In some cases, a simple power cycle may also be required. This involves disconnecting the power source for a few seconds and then reconnecting it to initiate a fresh connection.
If your motion detector still won’t connect after checking the power source, don’t worry. There are additional troubleshooting steps to try. Let’s move on to Step 2: Ensure Proper Placement.
Step 2: Ensure Proper Placement
The placement of your 1Byone motion detector is crucial in ensuring its optimal performance and connectivity. If the device is not placed correctly, it may struggle to detect motion or maintain a stable connection, resulting in connectivity issues.
When positioning your motion detector, consider the following points:
- Avoid Obstructions: Ensure that there are no obstructions in the line of sight between the motion detector and the area it is monitoring. Objects such as furniture, curtains, or plants can interfere with the motion detection capabilities of the device, hindering its functionality. Make sure the detector has a clear view of the area you want it to monitor.
- Optimal Height: Position the motion detector at the recommended height, usually around 6 to 8 feet above the ground. This height allows for better coverage and detection range. Avoid mounting it too high or too low, as it may affect its ability to detect motion accurately.
- Angle Adjustment: Most motion detectors allow for angle adjustment, enabling you to focus on specific areas or fine-tune the detection range. Experiment with different angles to find the optimal position that provides the desired coverage while minimizing false alarms.
- Weather Considerations: If you are placing your motion detector outdoors, ensure that it is weatherproof and designed for outdoor use. Also, take into account the climate and weather conditions of your area, as extreme temperatures, rain, or snow can affect the device’s performance. Follow the manufacturer’s guidelines for outdoor installation, including the recommended mounting height and protection from the elements.
Once you have positioned your motion detector correctly, attempt to reconnect it to your Wi-Fi network or hub. You may need to go through the setup process again, following the manufacturer’s instructions. After repositioning, it’s a good idea to test the device by triggering its motion detection and monitoring the response.
If your 1Byone motion detector still won’t connect after ensuring proper placement, proceed to Step 3: Reset the Motion Detector.
Step 3: Reset the Motion Detector
If your 1Byone motion detector is still not connecting, you can try resetting the device to clear any temporary glitches or connectivity issues that may be causing the problem. Resetting the motion detector is a simple process and can often resolve connection-related issues.
The exact method for resetting the motion detector may vary depending on the specific model you have. However, here are general steps that you can follow:
- Refer to the user manual or manufacturer’s instructions: Every motion detector has its own reset procedure. Check the user manual or visit the manufacturer’s website to find the specific instructions for resetting your 1Byone motion detector.
- Locate the reset button: Look for a small button on the device, usually labeled “reset” or depicted with a circular arrow. The button may be located on the back, side, or bottom of the motion detector.
- Press and hold the reset button: Using a small tool such as a paperclip or pen tip, press and hold the reset button for about 10-15 seconds. Be sure to press and hold it firmly but gently.
- Release the reset button: After holding it for the designated time, release the reset button. The motion detector will then reset itself and enter a factory default state.
After completing the reset process, you will need to set up your 1Byone motion detector again. Follow the manufacturer’s instructions for connecting it to your Wi-Fi network or hub. This usually involves using a mobile app or web interface to scan for the device and follow the step-by-step setup process.
If the motion detector still won’t connect after resetting it, proceed to Step 4: Verify Wi-Fi Connection.
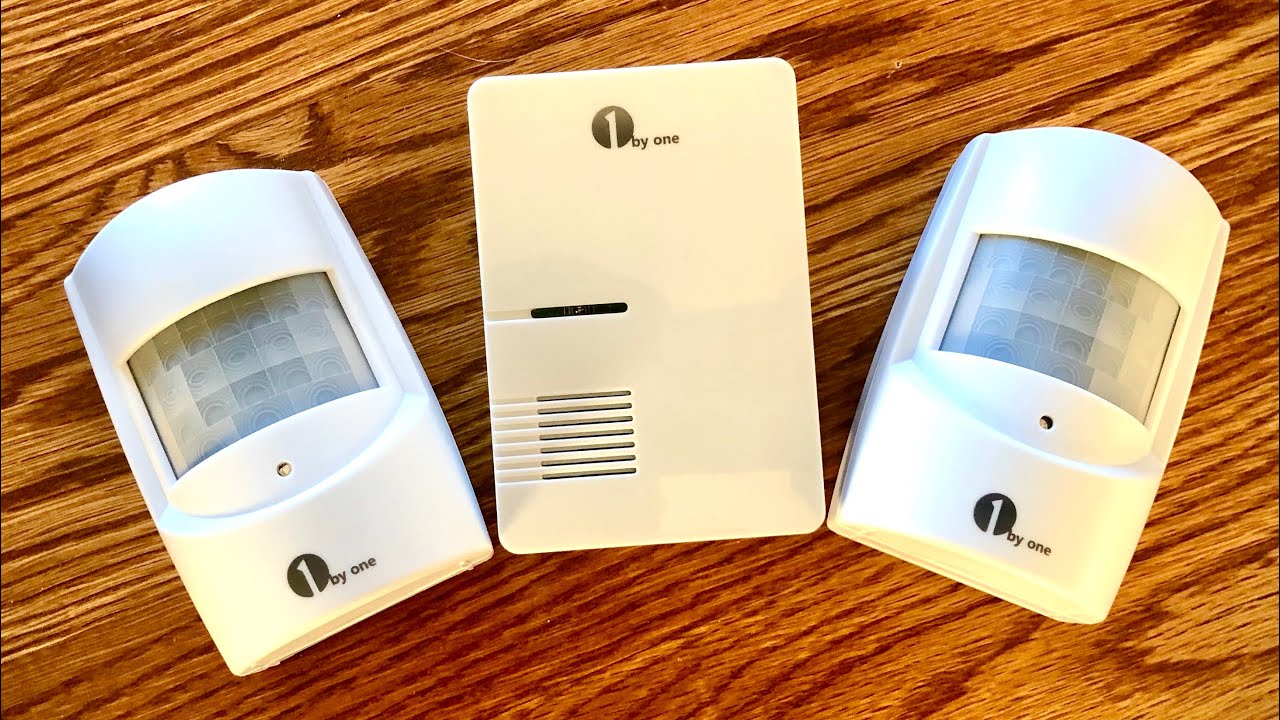
Make sure the motion detector is within range of the receiver and there are no obstructions. Try resetting the detector and receiver, and check the batteries. If it still won’t connect, contact 1Byone customer support for assistance.
Step 4: Verify Wi-Fi Connection
If your 1Byone motion detector is not connecting, it’s important to check the Wi-Fi connection. A stable and reliable Wi-Fi connection is essential for the device to communicate with your network and function properly. Here are some steps to verify and troubleshoot the Wi-Fi connection:
- Check your Wi-Fi network: Make sure that your Wi-Fi network is functioning properly and other devices connected to it are working without any issues. Test the Wi-Fi signal strength in the area where the motion detector is located. Weak Wi-Fi signals can hinder the connection and performance of the device. Consider moving the motion detector closer to the router or installing a Wi-Fi range extender to improve the signal strength.
- Restart your router: Sometimes, the router may encounter temporary issues that affect the Wi-Fi connection. Try restarting your router by unplugging it from the power source, waiting for a few seconds, and then plugging it back in. Allow the router to fully restart and establish a stable connection before attempting to reconnect the motion detector.
- Check Wi-Fi credentials: Double-check the Wi-Fi credentials (network name and password) you are entering during the setup process. Ensure that you are using the correct information to connect the motion detector to your Wi-Fi network. Typos or incorrect credentials can prevent a successful connection.
- Move closer to the router: If you find that the motion detector is struggling to connect to the Wi-Fi network, try moving it closer to the router during the setup process. This will help eliminate any potential distance-related connectivity issues.
- Try a different Wi-Fi network: If possible, try connecting your motion detector to a different Wi-Fi network to determine if the issue lies with your current network. This can help identify whether there is a specific compatibility or configuration problem with your Wi-Fi network.
After verifying the Wi-Fi connection and making any necessary adjustments or troubleshooting steps, attempt to reconnect your 1Byone motion detector to the Wi-Fi network or hub. Follow the manufacturer’s instructions for connecting the device, ensuring that you enter the correct Wi-Fi credentials.
If the motion detector still won’t connect after verifying the Wi-Fi connection, move on to Step 5: Update Firmware.
Step 5: Update Firmware
If your 1Byone motion detector is still experiencing connectivity issues, updating the firmware may help resolve the problem. Firmware updates often include bug fixes, performance improvements, and enhanced compatibility with Wi-Fi networks.
Here are the steps to update the firmware on your 1Byone motion detector:
- Check for firmware updates: Visit the manufacturer’s website or check the mobile app associated with your 1Byone motion detector to see if there are any available firmware updates. Look for the firmware section or update notifications. Download the latest firmware version compatible with your device.
- Read the instructions: With the firmware update file downloaded, carefully read the instructions provided by the manufacturer. They will guide you through the updating process, including any specific steps or precautions to take.
- Connect to the motion detector: Make sure your motion detector is powered on and connected to your Wi-Fi network. Some devices automatically check for firmware updates when connected to the network, while others require you to initiate the update manually via the mobile app or web interface.
- Upload the firmware update: Follow the manufacturer’s instructions to upload the downloaded firmware update file to your motion detector. This usually involves selecting the file from your device and confirming the update process.
- Wait for the update to complete: The firmware update process may take a few minutes. Be patient and allow the motion detector to complete the update. Avoid disconnecting the device or interrupting the update process during this time.
- Restart the motion detector: After the firmware update is complete, restart your 1Byone motion detector. This helps ensure that the updated firmware takes effect and the device is ready to connect to your network.
After updating the firmware, attempt to reconnect your motion detector to your Wi-Fi network or hub. Follow the manufacturer’s instructions for the setup process, making sure to enter the correct Wi-Fi credentials.
If updating the firmware doesn’t resolve the connectivity issue with your 1Byone motion detector, continue to Step 6: Contact Customer Support.
Step 6: Contact Customer Support
If you have followed all the previous troubleshooting steps and your 1Byone motion detector is still not connecting, it’s time to reach out to customer support for further assistance. The manufacturer or retailer of your motion detector should have a dedicated support team that can help you resolve the issue.
Here are the recommended steps to contact customer support:
- Gather information: Before reaching out to customer support, gather all the necessary information about your 1Byone motion detector. This includes the model number, serial number, and any error messages or details about the connectivity issue you are facing. The more information you provide, the better equipped customer support will be to assist you.
- Visit the support website: Check the manufacturer’s website for a support section or customer service page. Many companies provide troubleshooting guides, FAQs, and online forums where you may find solutions to common issues.
- Contact via email or phone: If you can’t find the solution to your problem on the support website, look for contact information such as an email address or phone number. Reach out to customer support with a concise and clear description of the issue you are experiencing. Include all relevant details and the troubleshooting steps you have already taken.
- Follow their instructions: Once you have contacted customer support, they may provide additional troubleshooting steps or specific instructions to help you resolve the connectivity issue. Follow their instructions carefully and document any changes or results.
- Warranty and replacement: If it turns out that your 1Byone motion detector is defective or beyond repair, check if it is still under warranty. Customer support can guide you through the warranty claim process or provide you with information about potential replacements if necessary.
Remember to remain patient and polite when dealing with customer support. They are there to assist you and will do their best to help resolve the issue with your 1Byone motion detector.
Following these troubleshooting steps, you should be able to resolve the connectivity issue with your 1Byone motion detector. Remember to document the steps you have taken and the outcomes for future reference. Good luck!
Conclusion
Setting up a 1Byone motion detector that won’t connect can be frustrating, but by following the troubleshooting steps outlined in this guide, you can resolve the issue and get your device up and running again.
We started by checking the power source and ensuring proper placement of the motion detector. We then moved on to resetting the device and verifying the Wi-Fi connection. If the issue persisted, we recommended updating the firmware. Finally, if all else fails, contacting customer support for further assistance is the best course of action.
Throughout the troubleshooting process, it’s important to remain patient and thorough. Take note of any error messages or unusual behavior from the motion detector, as these details can be helpful when contacting customer support.
The 1Byone motion detector is a reliable and popular choice for enhancing home security and surveillance. By addressing and resolving any connectivity issues, you can fully enjoy the advanced features and benefits it offers.
Remember, each troubleshooting step plays an important role in identifying and resolving the issue. It’s recommended to work through the steps in order and ensure you have followed all the instructions provided by the manufacturer.
We hope this guide has been helpful in troubleshooting your 1Byone motion detector connectivity issues. If you have any further questions or need additional assistance, don’t hesitate to reach out to customer support. Enjoy the enhanced security and peace of mind that your motion detector provides!
Frequently Asked Questions about How To Set Up 1Byone Motion Detector That Won't Connect
Was this page helpful?
At Storables.com, we guarantee accurate and reliable information. Our content, validated by Expert Board Contributors, is crafted following stringent Editorial Policies. We're committed to providing you with well-researched, expert-backed insights for all your informational needs.