Home>Home Security and Surveillance>Where To Connect The Red Wire From The Motion Detector
Home Security and Surveillance
Where To Connect The Red Wire From The Motion Detector
Modified: March 6, 2024
Discover where to properly connect the red wire from the motion detector for your home security and surveillance system. Ensure reliable functionality and peace of mind.
(Many of the links in this article redirect to a specific reviewed product. Your purchase of these products through affiliate links helps to generate commission for Storables.com, at no extra cost. Learn more)
Introduction
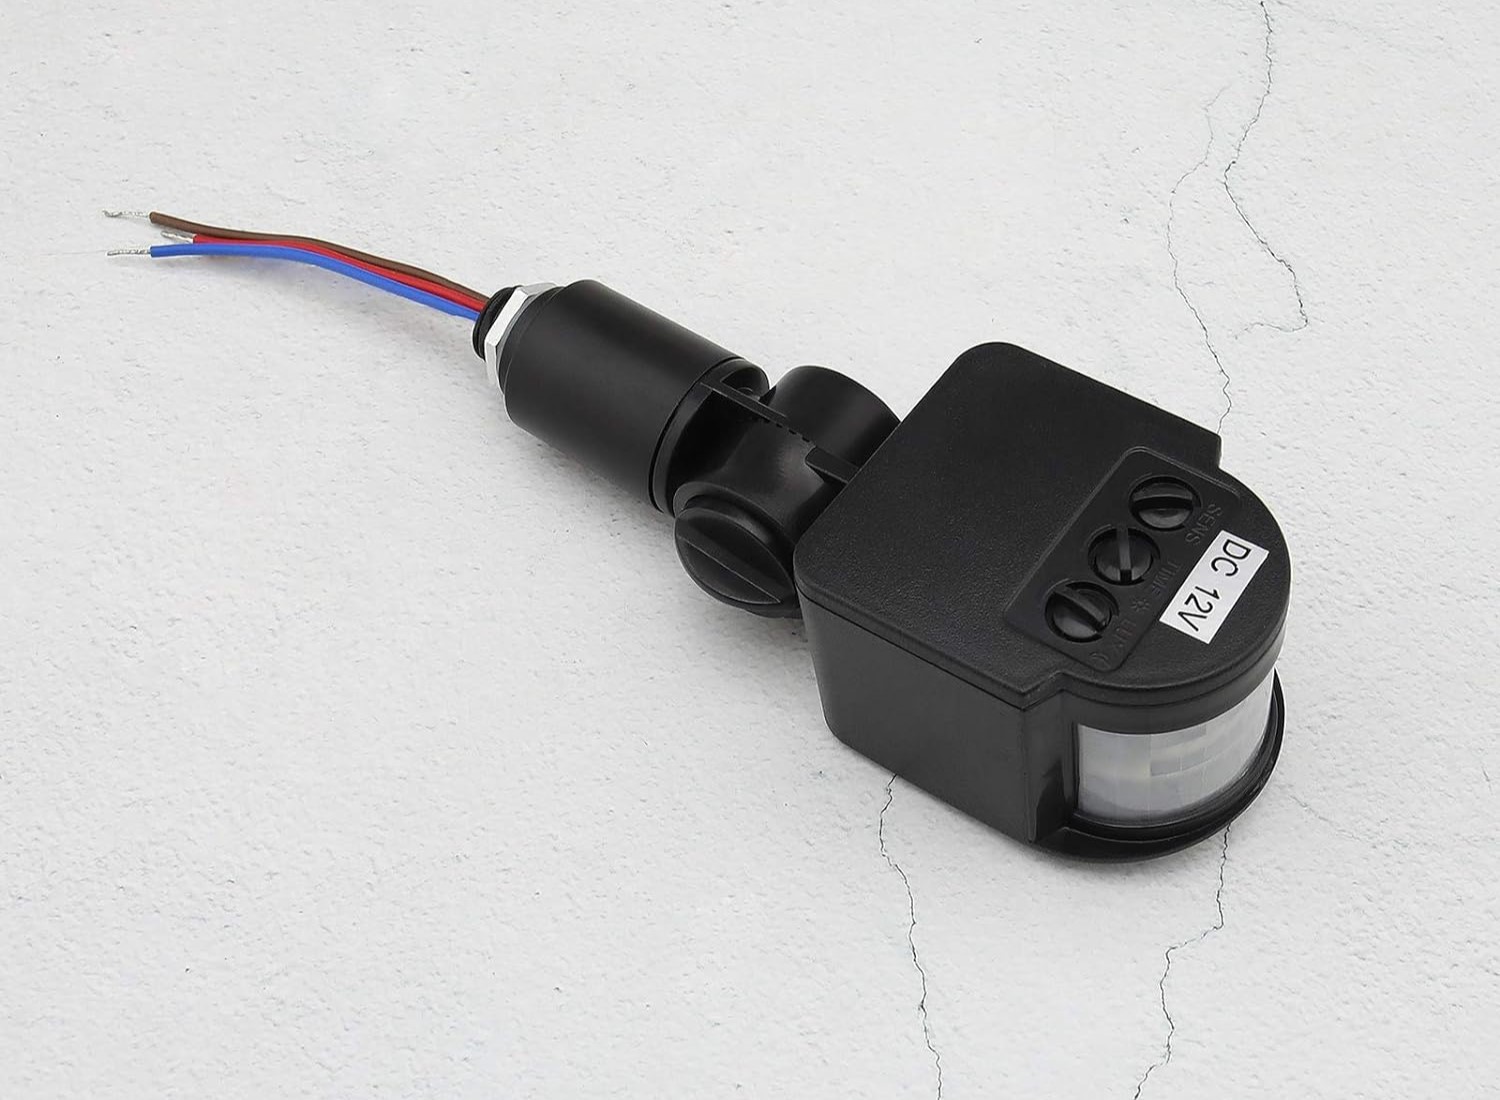
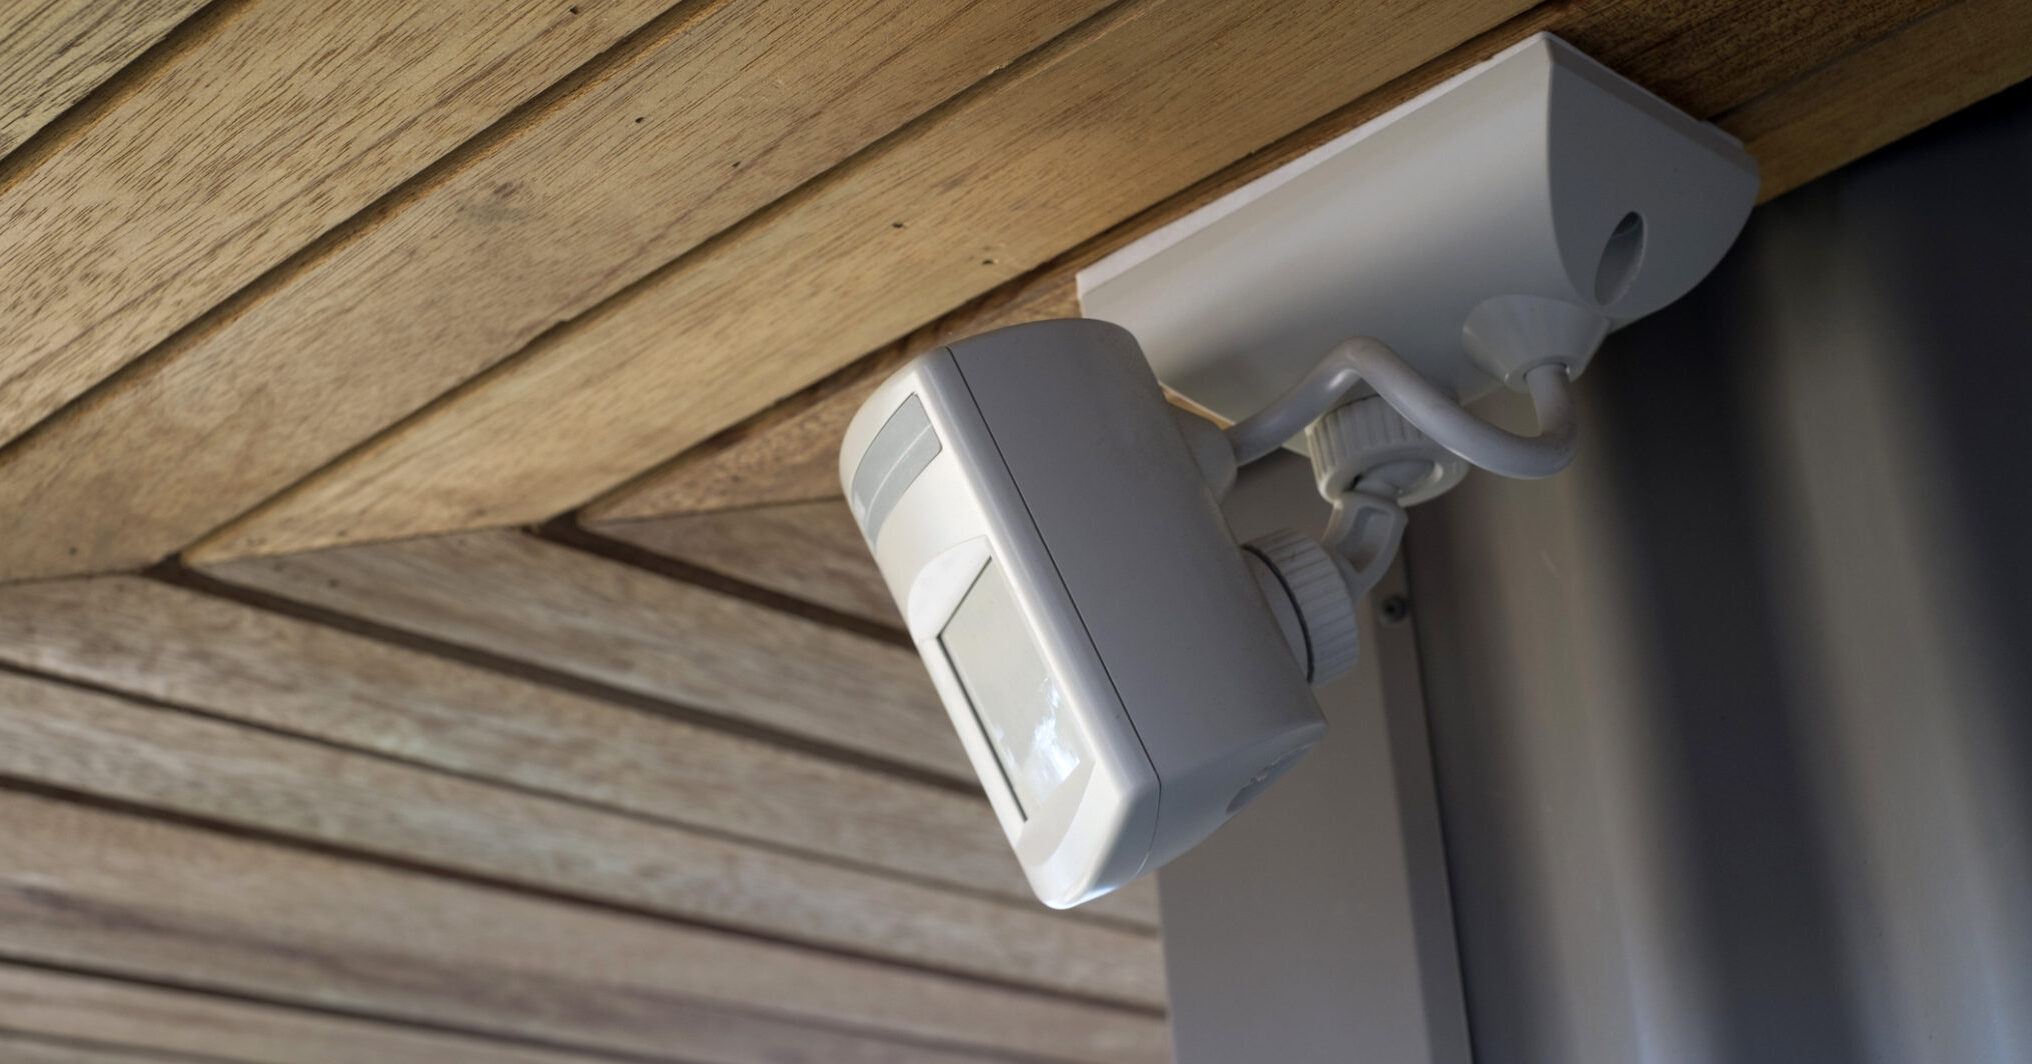
When it comes to home security and surveillance, motion detectors play a crucial role. These intelligent devices can detect movement in specific areas and trigger alarms, lights, or even video recording. If you’ve recently purchased a motion detector, you might have noticed a red wire among its connections. You may be wondering where to connect the red wire from the motion detector to ensure proper functionality and integration with other systems.
In this article, we will explore the different options for connecting the red wire in motion detectors. We will guide you through the process of connecting it to a power source, a switch, an alarm system, a light fixture, and even a control panel. By the end, you will have a clear understanding of where to connect the red wire and how it affects the functionality of your motion detector.
Before diving into the various connection options, it’s important to understand the purpose of the red wire in motion detectors. Typically, the red wire is responsible for supplying power or carrying a specific signal related to the device’s configuration. It’s crucial to identify the exact purpose of the red wire in your motion detector model, as it may vary slightly depending on the manufacturer’s design.
Now, let’s explore the different scenarios for connecting the red wire in motion detectors and how they can enhance your home security and surveillance system. Whether you are an experienced DIY enthusiast or new to the world of home security, this guide will provide the necessary information to successfully connect the red wire in your motion detector and optimize its performance.
Remember, safety should always be your top priority when working with electrical connections. If you are unsure about any steps or encounter any difficulties during the installation process, it is recommended to consult a professional electrician or seek guidance from the motion detector manufacturer. With that in mind, let’s proceed to the next section on understanding the red wire in motion detectors.
Key Takeaways:
- Connecting the red wire in motion detectors is crucial for powering the device and enabling communication with other systems like alarms and lights, enhancing home security and surveillance.
- Safety is a top priority when working with electrical connections. Always follow proper procedures, turn off the power, and seek professional assistance if unsure about any steps.
Understanding the Red Wire in Motion Detectors
Before connecting the red wire in your motion detector, it’s important to understand its purpose and how it contributes to the functionality of the device. The red wire typically serves two main purposes: power supply and signaling.
Power Supply: In some motion detectors, the red wire acts as the primary power source. It carries the necessary electrical current to power the device so that it can function properly. This is especially common in hardwired motion detectors, which are directly connected to the home’s electrical system. In this case, connecting the red wire to a suitable power source becomes essential for the motion detector to receive the power it requires.
Signaling: In certain motion detector models, the red wire is used to transmit a specific signal related to the device’s configuration. This signal may be used to communicate with other components in your home security system, such as an alarm system or a control panel. By connecting the red wire correctly, you ensure that the motion detector can effectively communicate with these external systems and trigger the appropriate actions when motion is detected.
It’s important to note that the exact purpose of the red wire may vary depending on the specific model and manufacturer of your motion detector. Therefore, it is crucial to refer to the product’s user manual or documentation to determine the specific function of the red wire in your particular motion detector.
Additionally, it’s essential to remember that working with electrical connections can be hazardous. Before attempting to connect the red wire in your motion detector, make sure to follow safety precautions, such as turning off the power supply, using appropriate tools, and seeking professional assistance if needed.
Now that you have a basic understanding of the red wire in motion detectors, let’s explore the different options for connecting it to ensure proper functionality and integration with other systems. In the following sections, we will discuss how to connect the red wire to a power source, a switch, an alarm system, a light fixture, and a control panel. Each connection option has its own advantages and considerations, so read on to find the best solution for your specific needs.
Connecting the Red Wire to a Power Source
When connecting the red wire in your motion detector to a power source, it’s important to follow proper electrical wiring practices to ensure a safe and reliable connection. Here’s a step-by-step guide to help you connect the red wire to a power source:
1. Start by identifying a suitable power source: Before proceeding with the connection, you need to identify a power source that can supply the necessary electrical current for your motion detector. This can be an existing electrical outlet or a junction box.
2. Turn off the power: Before working with any electrical connections, ensure that the power is turned off at the breaker panel to prevent any potential accidents or electric shocks. Use a voltage tester or a multimeter to confirm that the power is indeed off.
3. Prepare the red wire: Strip off about half an inch of the insulation from the end of the red wire using wire strippers. Make sure to remove enough insulation to expose the bare wire without damaging the actual wire strands.
4. Connect the red wire to the power source: Depending on the type of power source, there are a few different options for connecting the red wire:
a. Electrical outlet: If you are connecting the red wire to an existing electrical outlet, you can use a wire nut or a terminal block. Remove the cover plate from the outlet and identify the wires. Typically, you will find a black (hot) wire, a white (neutral) wire, and a green or copper (ground) wire. Connect the red wire to the black wire using a wire nut or terminal block, ensuring a secure connection. Finally, secure the wire nut or terminal block by wrapping electrical tape around it.
b. Junction box: If you are connecting the red wire to a junction box, start by removing the cover plate and identifying the wires inside. Similar to connecting to an electrical outlet, you will have a black (hot) wire, a white (neutral) wire, and a green or copper (ground) wire. Connect the red wire to the black wire using a wire nut or terminal block, and secure the connection with electrical tape.
5. Test the connection: Once you have connected the red wire to the power source, it’s crucial to test the connection before proceeding further. Restore the power at the breaker panel and ensure that the motion detector is receiving power. You can do this by turning on the device and checking for any signs of power, such as indicator lights or a display.
6. Secure the connections: After confirming that the red wire is properly connected to the power source, secure the wire nuts or terminal blocks by wrapping them with electrical tape. This helps to protect the connections and prevent any accidental disconnections.
By following these steps, you can successfully connect the red wire in your motion detector to a power source. Remember to always prioritize safety when working with electrical connections and consult a professional if you are unsure about any steps or encounter any difficulties during the installation process. In the next section, we will explore how to connect the red wire to a switch.
Connecting the Red Wire to a Switch
If you want to connect the red wire in your motion detector to a switch, it allows you to manually control the activation and deactivation of the device. This can be useful in situations where you want to temporarily disable the motion detection feature or adjust the sensitivity of the sensor. Here’s a step-by-step guide to connecting the red wire to a switch:
1. Identify the switch: Start by identifying the switch where you want to connect the red wire. This can be an existing switch in the same room or a new switch that you plan to install specifically for controlling the motion detector.
2. Turn off the power: As with any electrical work, always turn off the power at the breaker panel before proceeding. Use a voltage tester or a multimeter to verify that there is no electricity running through the switch.
3. Prepare the red wire: Strip off about half an inch of insulation from the end of the red wire using wire strippers. Ensure that you expose the bare wire without damaging the actual wire strands.
4. Connect the red wire to the switch: There are two common types of switches that can be used for connecting the red wire:
a. Single-pole switch: If you are using a single-pole switch, identify the two terminal screws on the switch. One screw will be marked as the “hot” or “line” terminal, while the other will be the “load” terminal. Connect the red wire to the load terminal by wrapping it around the screw clockwise or inserting it into the slot, depending on the type of switch. Tighten the screw securely to ensure a good connection.
b. Three-way or four-way switch: If you are using a three-way or four-way switch, which allows control from multiple locations, consult the switch’s wiring diagram to determine the appropriate terminals for connecting the red wire. Typically, these switches have specific terminals for connecting the hot (line), load, and traveler wires, and following the wiring diagram is crucial to ensure proper functionality.
5. Secure the connections: After connecting the red wire to the switch, ensure that the connections are secure. Check that the wire is tightly wrapped around the terminal screw or securely inserted into the slot. If necessary, use a small screwdriver or pliers to tighten the screw further.
6. Test the switch: Once the connections are secure, turn on the power at the breaker panel and test the switch to ensure that it controls the motion detector as intended. Flip the switch on and off to activate or deactivate the motion detection feature, and observe how the motion detector responds.
Remember to always prioritize safety when dealing with electrical connections. If you are unsure about any steps or encounter any difficulties during the process, consult a professional electrician for assistance. In the next section, we will explore how to connect the red wire to an alarm system for enhanced home security.
Connecting the Red Wire to an Alarm System
Connecting the red wire from your motion detector to an alarm system allows for seamless integration and enhanced home security. By doing so, the motion detector can communicate with the alarm system, triggering an alarm or alert when motion is detected. Here’s a step-by-step guide on connecting the red wire to an alarm system:
1. Identify the alarm system connections: Start by reviewing the user manual or documentation of your alarm system to identify the appropriate connections for the motion detector. Look for specific terminals or wires labeled for motion detector integration.
2. Turn off the power: As always, turn off the power to the alarm system before working with any electrical connections. This ensures a safe installation process and prevents any accidental triggering of the alarm during the installation.
3. Prepare the red wire: Strip off about half an inch of insulation from the end of the red wire using wire strippers. Make sure to expose the bare wire without damaging the actual wire strands.
4. Connect the red wire to the alarm system: Depending on the type of alarm system and its wiring configuration, there are a few different options for connecting the red wire:
a. Terminal connection: If your alarm system has terminal connections for the motion detector, locate the appropriate terminals and connect the red wire. This is typically done by inserting the bare wire into the designated terminal and tightening the screw to secure the connection.
b. Wire-to-wire connection: In some cases, the alarm system may require a wire-to-wire connection with the motion detector. This involves matching the red wire from the motion detector with a specific wire color or label on the alarm system. Strip off a small portion of the insulation from both wires, twist them together, and secure the connection with a wire nut or electrical tape.
5. Test the connection: Once the red wire is connected to the alarm system, turn on the power and test the integration. Activate the motion detector and observe how the alarm system responds. It should trigger an alarm or alert when motion is detected, indicating a successful connection.
6. Ensure proper configuration: Depending on the alarm system’s settings, you may need to configure it to recognize the connected motion detector and adjust any specific parameters, such as sensitivity or alarm duration. Refer to the alarm system’s user manual for instructions on how to configure the motion detector integration.
It’s important to note that the specific steps may vary based on the type and model of your alarm system. Always refer to the manufacturer’s instructions and documentation for accurate and detailed guidance on connecting the red wire to the alarm system.
By connecting the red wire to your alarm system, you enhance the overall security of your home by integrating the motion detector into the larger system. This allows for seamless communication and coordination, ensuring that any detected motion is promptly alerted and responded to.
Remember to exercise caution and prioritize safety throughout the installation process. If you are unsure about any steps or encounter any difficulties, it’s recommended to consult a professional or seek assistance from the alarm system manufacturer. In the next section, we will explore how to connect the red wire to a light fixture for added functionality.
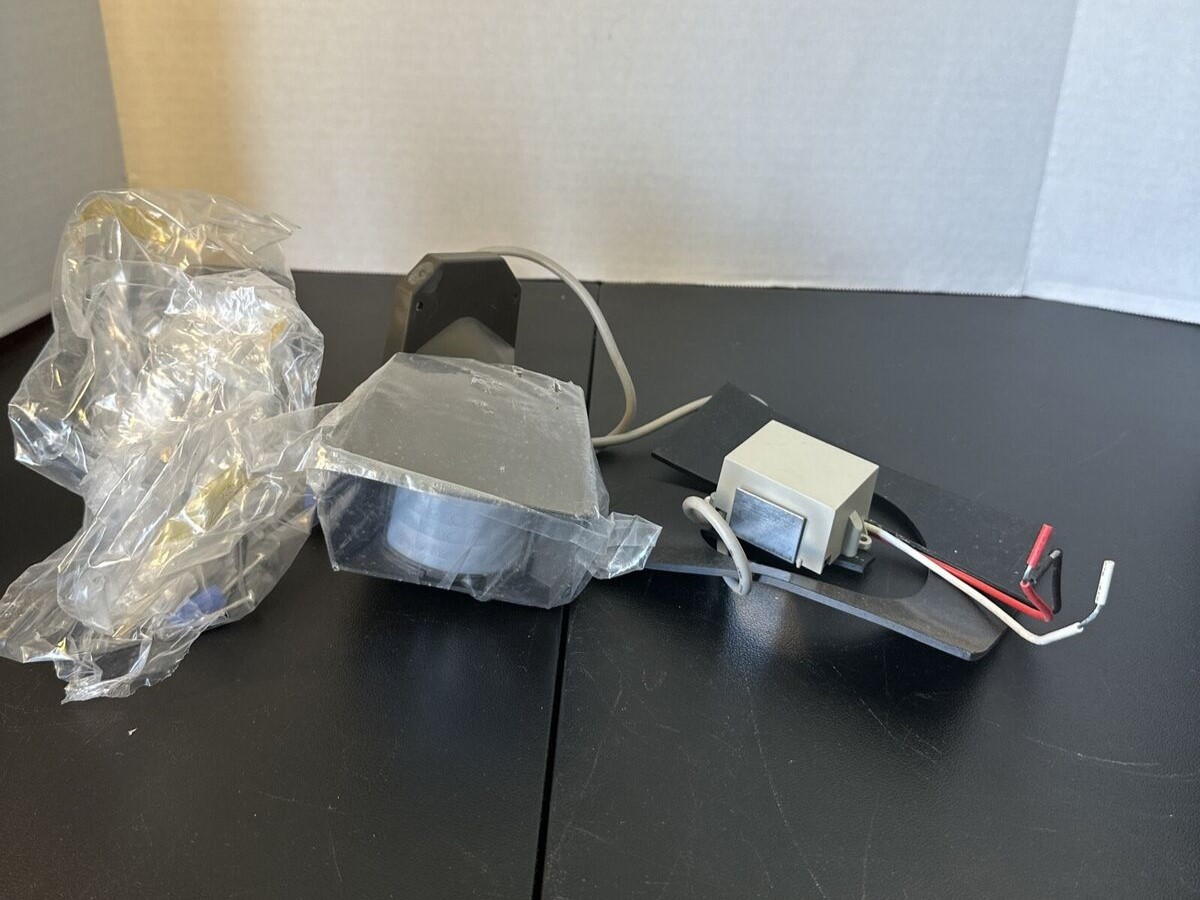
The red wire from the motion detector should be connected to the positive terminal of the power source, typically the red or black wire from the power supply. Always consult the installation manual for specific instructions.
Read more: How To Connect A Wired Smoke Detector
Connecting the Red Wire to a Light Fixture
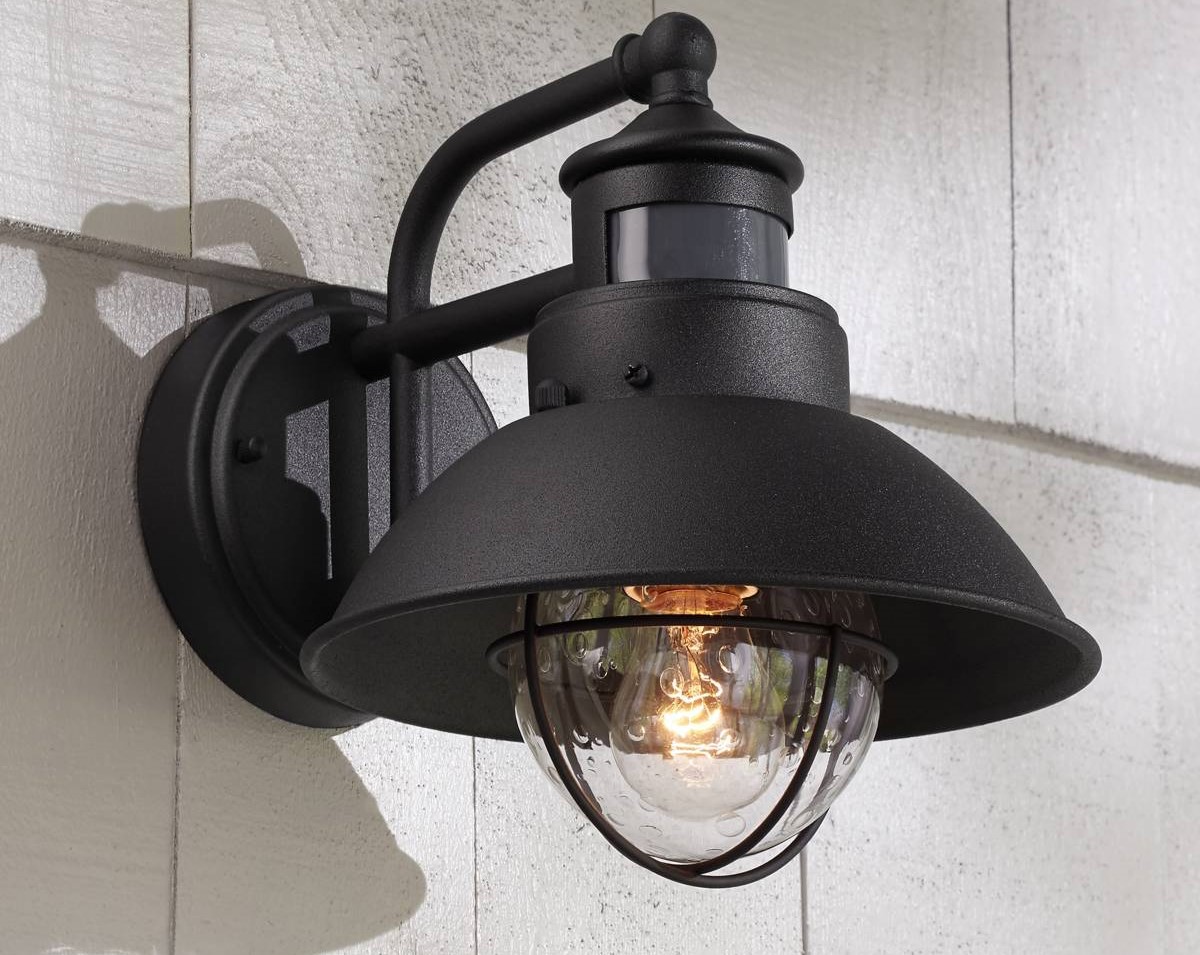
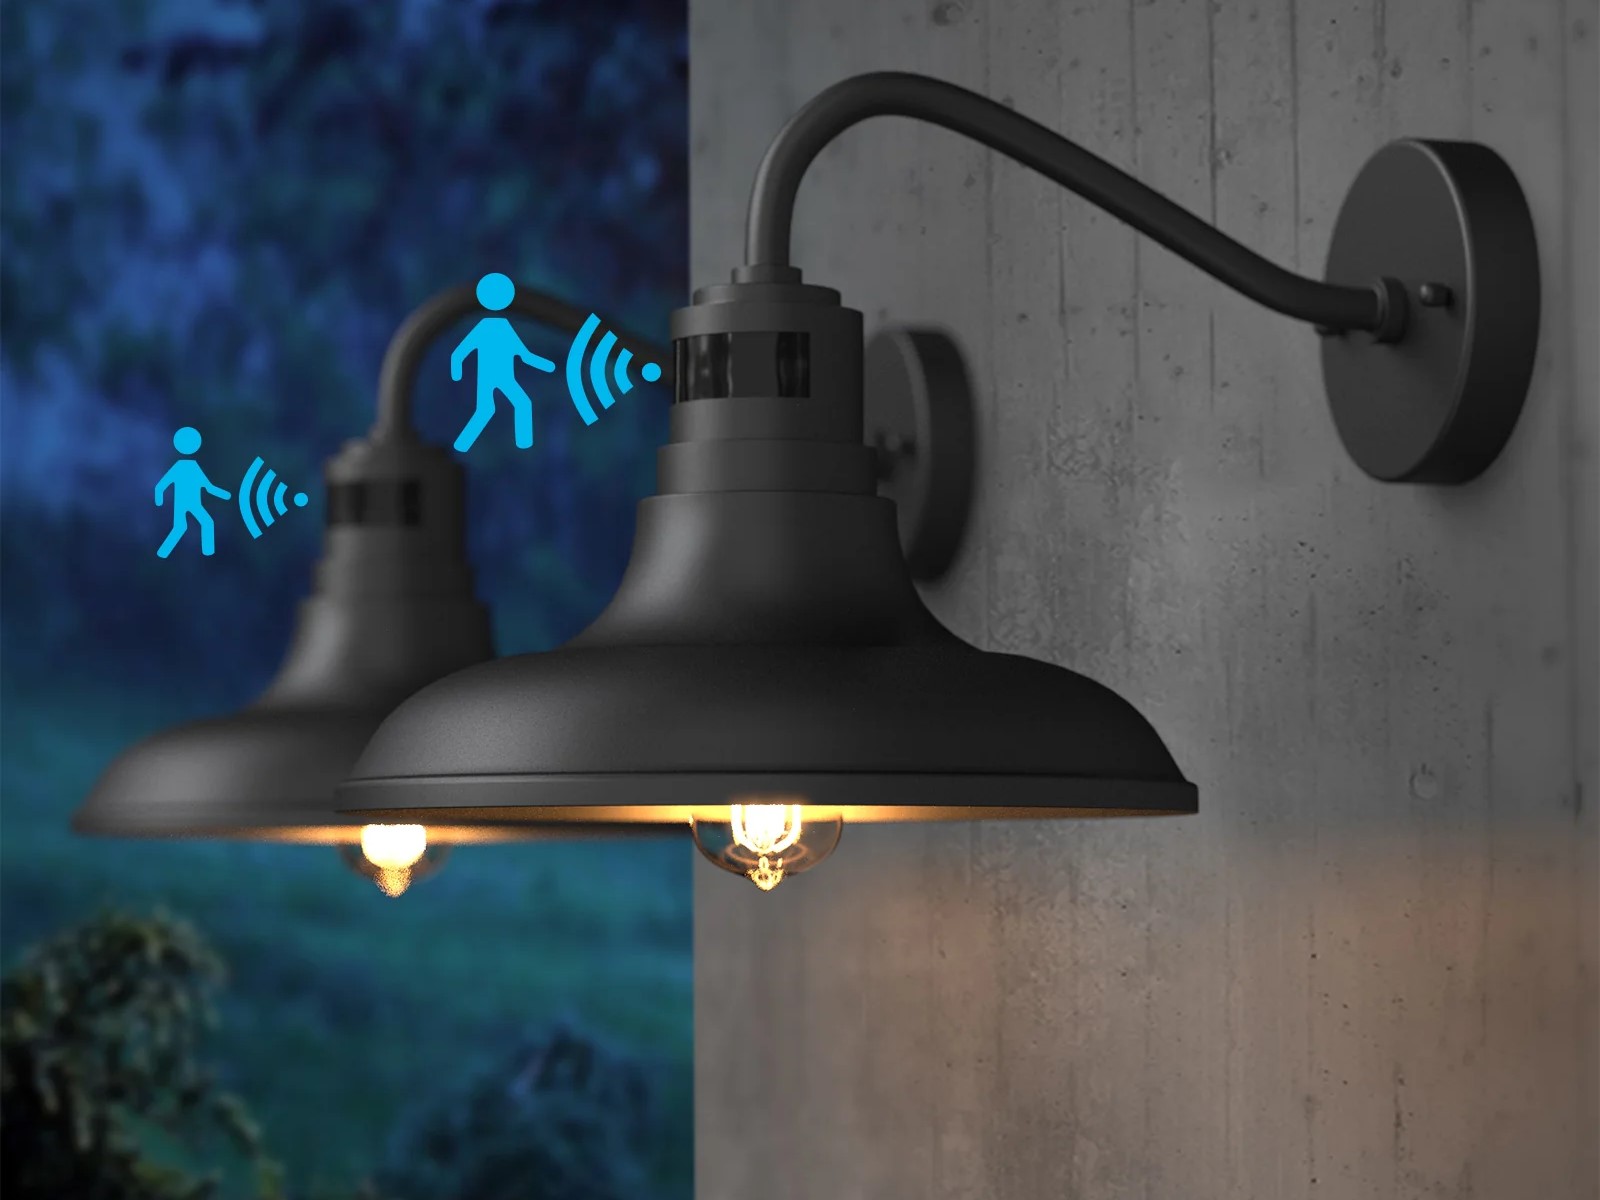
Connecting the red wire from your motion detector to a light fixture can provide added functionality and convenience. By doing so, the motion detector can trigger the light fixture to turn on automatically when motion is detected, providing enhanced security and visibility. Here’s a step-by-step guide on connecting the red wire to a light fixture:
1. Identify the light fixture connections: Start by locating the connections on the light fixture where you will be connecting the red wire. Common connection points include the junction box or wiring terminals of the light fixture.
2. Turn off the power: Before working with any electrical connections, always turn off the power at the breaker panel to ensure safety. Use a voltage tester or a multimeter to verify that there is no electricity flowing to the light fixture.
3. Prepare the red wire: Strip off about half an inch of insulation from the end of the red wire using wire strippers. This will expose the bare wire without damaging the wire strands.
4. Connect the red wire to the light fixture: There are two common methods for connecting the red wire to a light fixture:
a. Junction box connection: If the light fixture has a junction box, you can connect the red wire to the appropriate wires in the junction box. Typically, you will have a black (hot) wire, a white (neutral) wire, and a bare or green (ground) wire. Connect the red wire to the black wire using a wire nut or a terminal block, ensuring a secure connection. Make sure to also connect the white wire to the white wire and the bare/green wire to the corresponding ground wire.
b. Fixture terminals connection: If the light fixture has specific wiring terminals, refer to the manufacturer’s instructions to identify the appropriate terminals for connecting the red wire. Connect the red wire to the designated terminal by wrapping it around the screw clockwise or inserting it into the slot, depending on the type of terminal. Secure the connection by tightening the screw or using any connectors provided by the manufacturer.
5. Test the connection: Once the red wire is connected to the light fixture, turn on the power at the breaker panel and test the motion detection feature. Activate the motion detector and observe how the light fixture responds. It should turn on automatically when motion is detected, indicating a successful connection.
6. Adjust settings if necessary: Depending on your motion detector model, you may have the option to adjust settings such as the duration of the light’s activation or the sensitivity of the motion sensor. Refer to the motion detector’s user manual for instructions on how to make any necessary adjustments.
By connecting the red wire to a light fixture, you can seamlessly integrate your motion detector with the lighting system in your home. This not only enhances security but also provides added convenience, as the light will automatically illuminate when motion is detected.
Remember to prioritize safety throughout the installation process. If you are unsure about any steps or encounter any difficulties, it’s recommended to consult a professional electrician or seek assistance from the manufacturer of the light fixture or motion detector. In the next section, we will explore how to connect the red wire to a control panel for comprehensive surveillance integration.
Connecting the Red Wire to a Control Panel
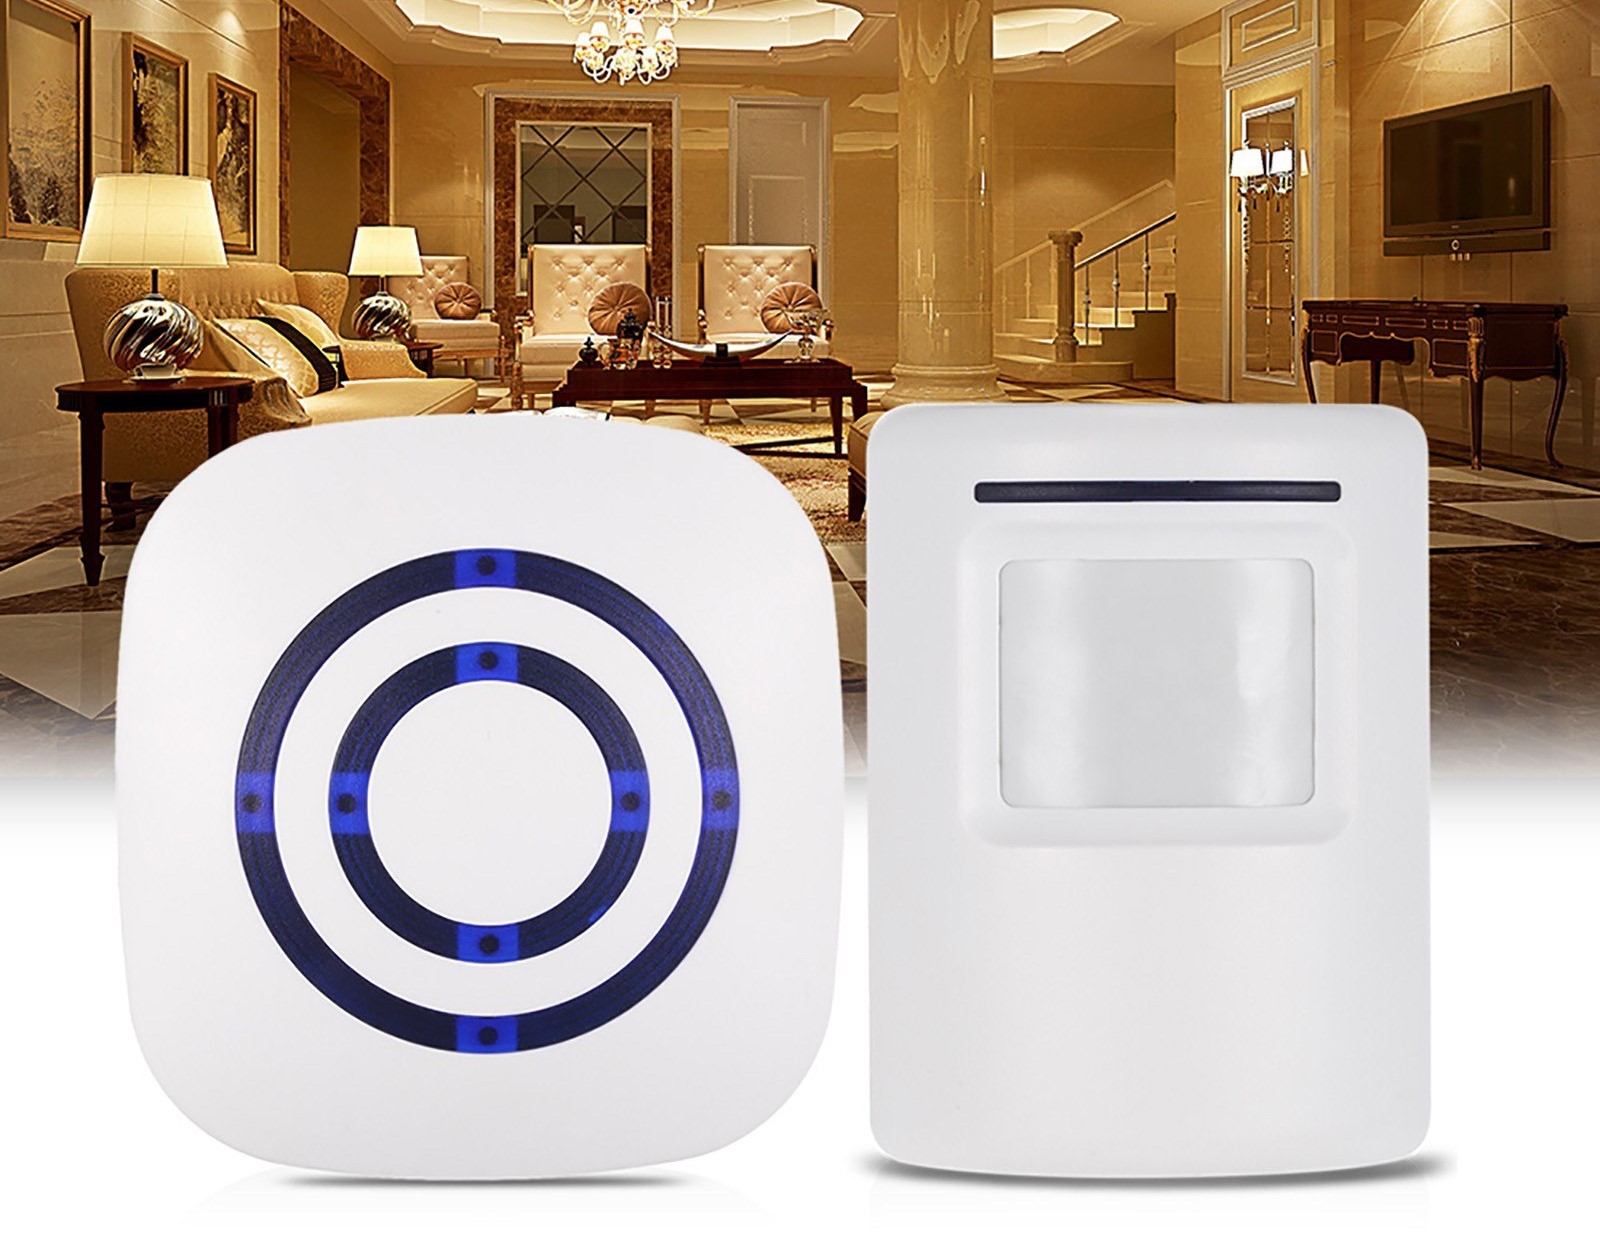
Connecting the red wire from your motion detector to a control panel allows for comprehensive surveillance integration and centralized management of your home security system. By doing this, the motion detector can communicate with the control panel, providing real-time notifications and allowing you to monitor and control your security system from a central location. Here’s a step-by-step guide on connecting the red wire to a control panel:
1. Identify the control panel connections: Start by reviewing the documentation or user manual of your control panel to identify the appropriate connections for the motion detector. Look for specific terminals or wires designated for motion detector integration.
2. Turn off the power: As always, turn off the power to the control panel before working with any electrical connections to ensure safety. Make sure to follow manufacturer guidelines to avoid any damage to the control panel.
3. Prepare the red wire: Strip off about half an inch of insulation from the end of the red wire using wire strippers. This will expose the bare wire without damaging the actual wire strands.
4. Connect the red wire to the control panel: Depending on the control panel’s wiring configuration, there are a few different options for connecting the red wire:
a. Terminal connection: If your control panel has terminal connections for the motion detector, locate the appropriate terminals and connect the red wire. This typically involves inserting the bare wire into the designated terminal and tightening the screw to secure the connection.
b. Wire-to-wire connection: In some cases, the control panel may require a wire-to-wire connection with the motion detector. This involves matching the red wire from the motion detector with a specific wire color or label on the control panel. Strip off a small portion of insulation from both wires, twist them together, and secure the connection with a wire nut or electrical tape.
5. Test the connection: Once the red wire is connected to the control panel, turn on the power and test the integration. Activate the motion detector and monitor the control panel to ensure that it receives the appropriate notifications and responds accordingly to motion detection events.
6. Configure the control panel: Based on your control panel model, you may need to configure its settings for motion detector integration. This may involve enabling motion detection features, setting up notification preferences, or adjusting other parameters. Refer to the control panel’s user manual for detailed instructions on how to configure the motion detector integration.
By connecting the red wire to a control panel, you enhance the functionality and effectiveness of your home security system by centralizing monitoring and controls. This integration allows for real-time notifications, remote access, and better overall management of your security system.
Always prioritize safety when working with electrical connections. If you are unsure about any steps or encounter any difficulties, it’s recommended to consult a professional or seek assistance from the control panel manufacturer. With the red wire successfully connected to the control panel, you can enjoy comprehensive surveillance integration for your home security needs.
In the next section, we will address some frequently asked questions about connecting the red wire in motion detectors to help clarify any concerns or uncertainties.
FAQs about Connecting the Red Wire in Motion Detectors
Here are some frequently asked questions about connecting the red wire in motion detectors:
Q: Can I connect the red wire in my motion detector to any power source?
A: No, it is crucial to connect the red wire to a suitable power source that can provide the necessary electrical current. Refer to the manufacturer’s instructions or consult a professional electrician to ensure the proper power source is used.
Q: What happens if I connect the red wire incorrectly?
A: Connecting the red wire incorrectly can result in malfunctioning motion detection or damage to the motion detector. It is important to follow the instructions provided by the manufacturer or seek professional assistance to ensure proper connections.
Q: Can I connect the red wire to multiple devices?
A: In most cases, the red wire should be connected to a single device. However, some advanced motion detection systems may allow for multiple connections. Always refer to the manufacturer’s instructions to determine the appropriate connections for your specific model.
Q: Can I connect the red wire without turning off the power?
A: No, it is essential to turn off the power at the breaker panel before working with any electrical connections. This is to ensure your safety and prevent any accidents or electric shocks.
Q: Is it necessary to consult a professional for connecting the red wire?
A: While it is possible to connect the red wire yourself, it is recommended to consult a professional electrician, especially if you are unsure about any steps or encounter any difficulties. They have the expertise and knowledge to ensure safe and correct installations.
Q: What should I do if my motion detector doesn’t have a red wire?
A: If your motion detector doesn’t have a red wire, it may operate differently or use alternative wiring configurations. Refer to the manufacturer’s instructions or contact their customer support for guidance on how to properly install and connect your specific model.
Q: Can I extend the red wire if it’s too short?
A: It is generally not recommended to extend the red wire, as it can introduce additional resistance or interference. If the wire is too short, consider contacting the manufacturer or a professional to discuss potential solutions or seek guidance on the best course of action.
Remember, every motion detector model may have unique specifications and requirements for connecting the red wire. Always refer to the manufacturer’s instructions and documentation for accurate and detailed guidance. If you have any specific concerns or questions, it is best to consult the manufacturer’s customer support or seek assistance from a professional electrician.
Conclusion
In conclusion, connecting the red wire in motion detectors plays a crucial role in ensuring proper functionality and integration within your home security and surveillance system. Whether you are connecting it to a power source, a switch, an alarm system, a light fixture, or a control panel, following the correct steps and safety precautions is vital for a successful installation.
Understanding the purpose of the red wire in your motion detector is the first step in making the right connections. It can serve as a power supply or a signaling wire, depending on the specific model and manufacturer. Identifying the correct purpose will guide you in making the appropriate connections and maximizing the device’s performance.
Throughout the installation process, always prioritize safety. Turn off the power at the breaker panel, use proper tools, and seek professional assistance if needed. Safety should always be your top concern when working with electrical connections to prevent accidents or damage to equipment.
By connecting the red wire to a power source, you provide the necessary electrical current for the motion detector to function effectively. Connecting it to a switch allows manual control over the device’s activation and deactivation. Integrating the red wire with an alarm system enhances the security of your home by triggering alerts or alarms when motion is detected. Connecting the red wire to a light fixture adds convenience by automatically illuminating the area when motion is sensed. Finally, integrating the red wire with a control panel provides centralized monitoring and control over your entire security system.
Always refer to the manufacturer’s instructions and documentation for specific guidance on connecting the red wire in your motion detector, as different models may have slight variations in wiring configurations.
Remember, if you are ever unsure about any steps or encounter any difficulties during the installation process, it is recommended to consult a professional electrician or seek assistance from the manufacturer’s customer support. Their expertise and knowledge will ensure a safe and successful connection of the red wire in your motion detector.
By following the proper procedures and making the right connections, you can enjoy improved home security and surveillance, providing peace of mind and protection for you and your loved ones.
Frequently Asked Questions about Where To Connect The Red Wire From The Motion Detector
Was this page helpful?
At Storables.com, we guarantee accurate and reliable information. Our content, validated by Expert Board Contributors, is crafted following stringent Editorial Policies. We're committed to providing you with well-researched, expert-backed insights for all your informational needs.