Home>Home Security and Surveillance>How To Delete Footage From A Security Camera
Home Security and Surveillance
How To Delete Footage From A Security Camera
Modified: March 6, 2024
Learn how to delete footage from your security camera with our step-by-step guide. Enhance your home security and surveillance with these helpful tips.
(Many of the links in this article redirect to a specific reviewed product. Your purchase of these products through affiliate links helps to generate commission for Storables.com, at no extra cost. Learn more)
Introduction
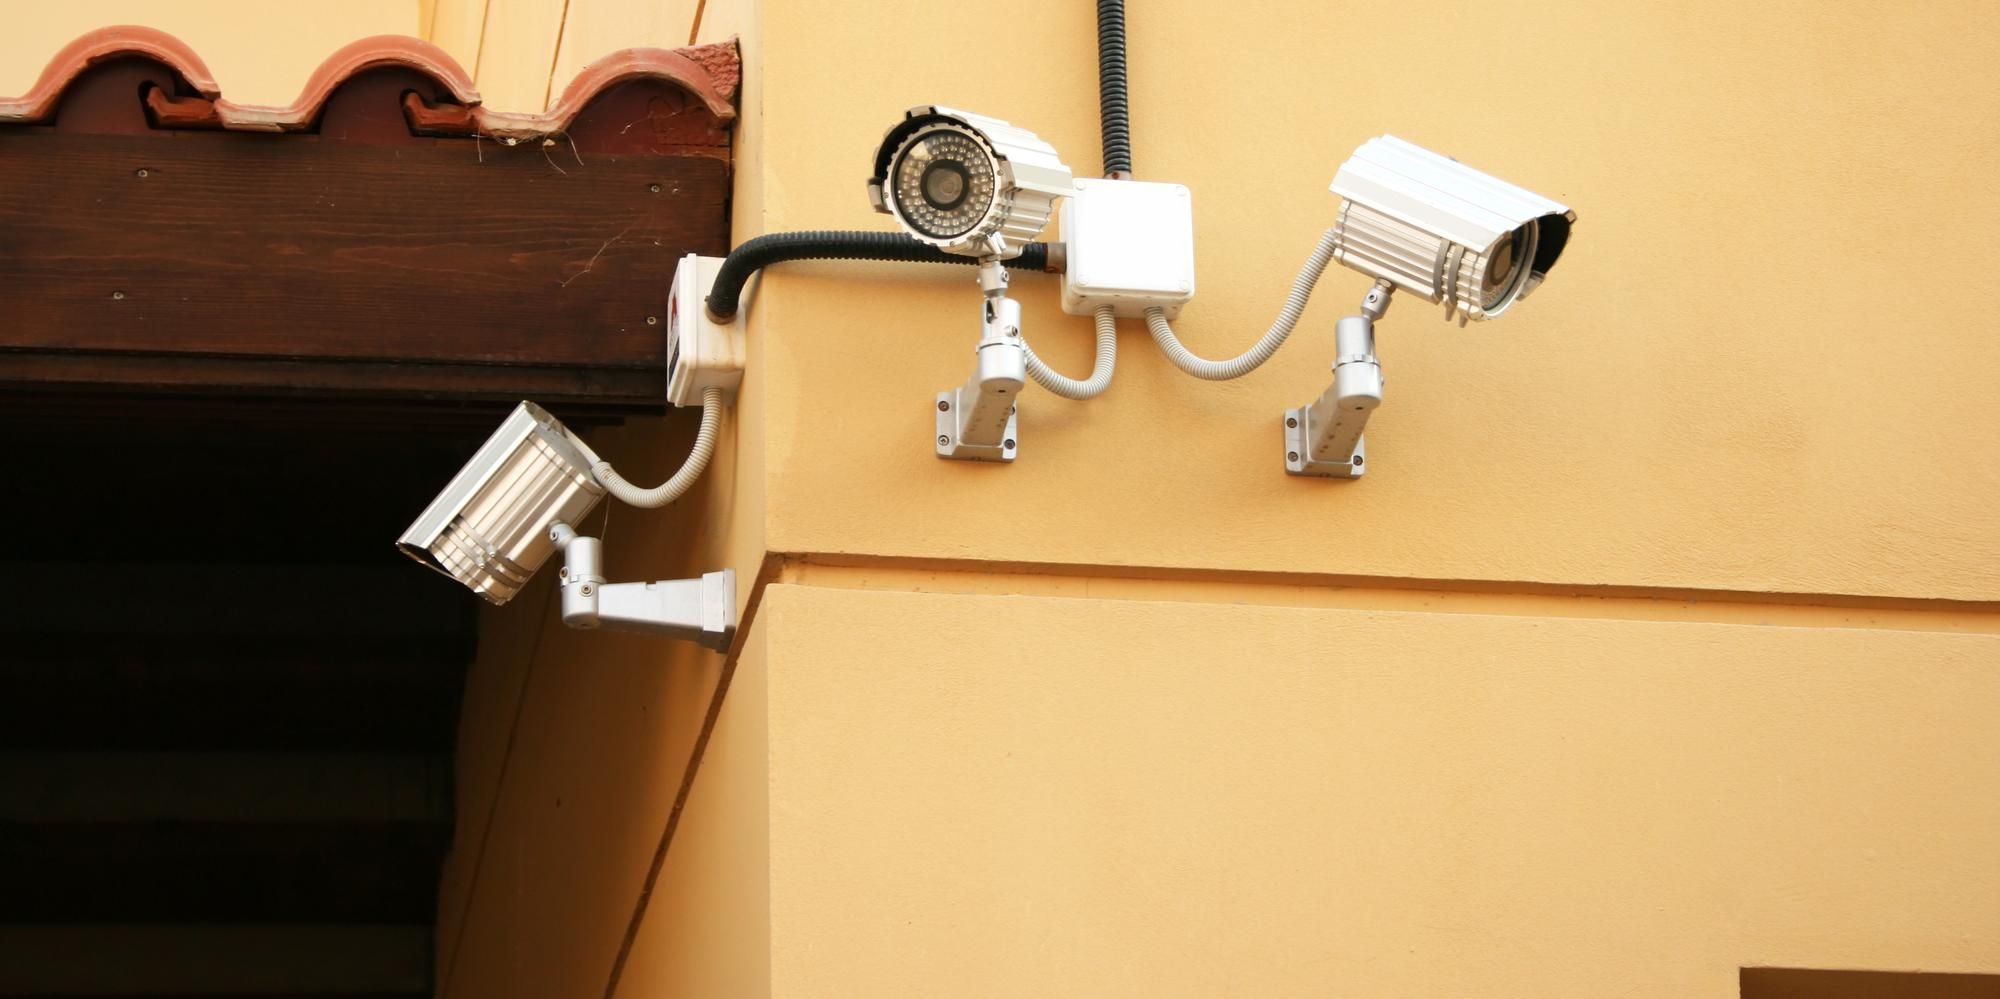
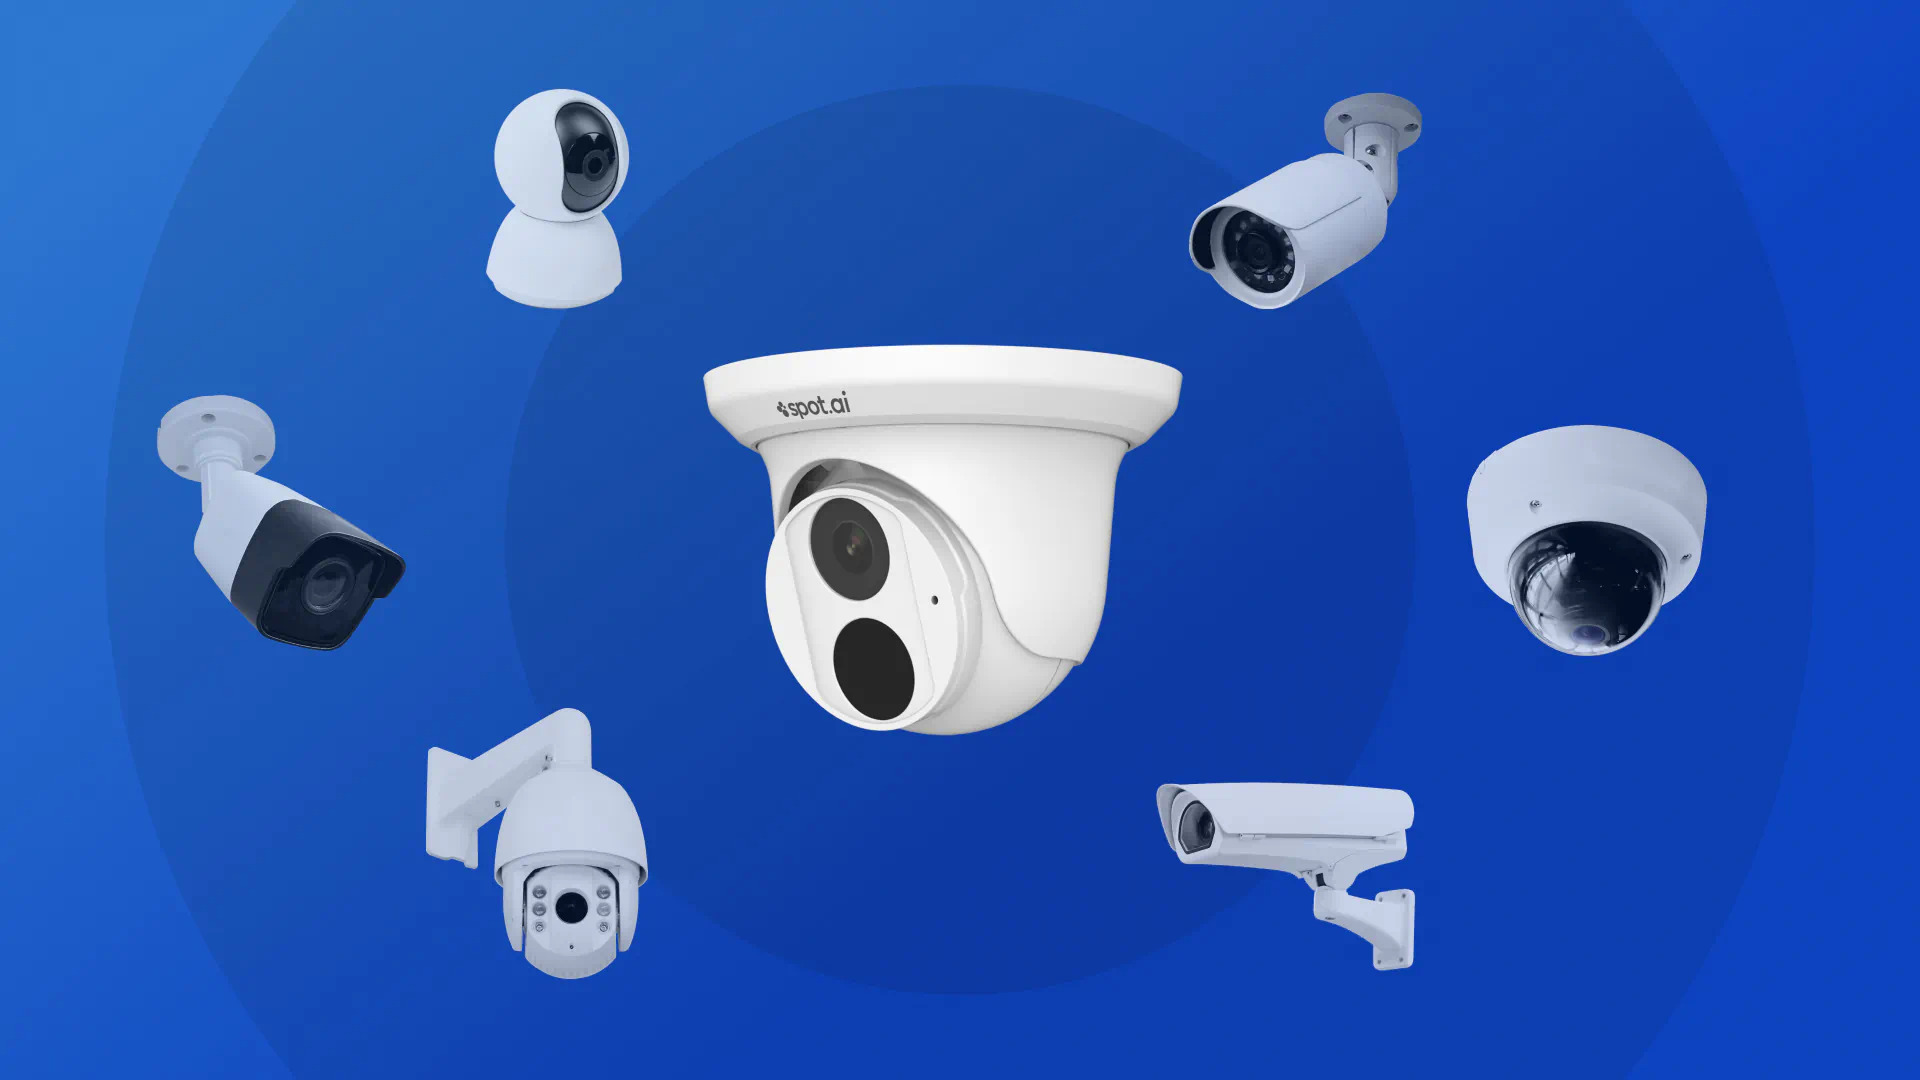
Welcome to the world of home security and surveillance! In this increasingly digital age, it’s crucial to ensure the safety and security of our homes and loved ones. With the advancements in technology, security cameras have become an integral part of our home security systems.
While security cameras provide us with peace of mind and a sense of protection, it’s important to understand how to manage the recorded footage effectively. Whether it’s for privacy concerns or simply to free up storage space, knowing how to delete footage from a security camera is a valuable skill to have.
In this article, we will guide you through the step-by-step process of deleting footage from a security camera system. By following these simple instructions, you’ll be able to confidently remove unwanted footage, ensuring the optimal functioning of your home security system.
Before we dive into the process, it’s essential to note that different security camera systems may have slight variations in their interfaces and functionalities. However, the core principles of deleting footage remain the same across most systems.
Now, let’s get started and learn how to effectively delete footage from your security camera system!
Key Takeaways:
- Deleting footage from a security camera involves accessing the system, locating the files, selecting and deleting them, and confirming the deletion. It’s crucial to check for backups and update system settings for efficient management.
- Regularly maintaining a deletion schedule helps optimize storage space and ensures the smooth operation of your security camera system. Remember to back up important footage and seek manufacturer support if needed.
Read more: How To Store Security Camera Footage
Step 1: Accessing the Security Camera System
The first step in deleting footage from a security camera system is to access the system itself. This can typically be done through a dedicated software application or a web interface, depending on the specific camera system you’re using.
If you have a standalone security camera system, it may require you to connect directly to the system using a monitor, keyboard, and mouse. In this case, simply power on the system and log in using the provided credentials.
For those using IP cameras or cloud-based systems, accessing the camera interface can usually be done through a web browser or a mobile application. Launch the provided software or enter the camera’s IP address in your browser to access the login screen.
Enter your username and password, and you should be granted access to the camera system’s dashboard or control panel.
If you’re unsure about how to access your specific security camera system, consult the user manual or reach out to the manufacturer’s customer support for guidance. They will be able to assist you in accessing the system and navigating to the footage management section.
Once you have successfully gained access to the camera system, you’re ready to move on to the next step and locate the footage files that you wish to delete.
Step 2: Locating the Footage Files
After accessing the security camera system, the next step is to locate the footage files that you want to delete. The exact location of these files may vary depending on the type of camera system you’re using.
In most cases, the footage files are stored in a designated folder within the camera system’s storage or on an external storage device, such as a hard drive or network-attached storage (NAS) device.
If you’re using a standalone security camera system with a local storage device, navigate to the file explorer or storage management section of the system’s dashboard. Look for a folder specifically dedicated to storing recorded footage.
For IP cameras or cloud-based systems, the location of the footage files may differ. Refer to the system’s documentation or settings menu to find the appropriate storage location.
Once you have located the footage folder, you’ll typically find all the recorded video files listed there. These files can be organized by date, time, or camera name, depending on your system’s configuration.
Take your time to review the files and identify the ones you want to delete. Keep in mind that deleting footage files will permanently remove them from the system’s storage, so ensure you’re deleting the correct files and not any important or relevant footage.
With the footage files identified, it’s time to move on to the next step and select the files for deletion.
Step 3: Selecting the Footage to Delete
Now that you have located the footage files, it’s time to select the specific recordings that you want to delete. This step allows you to choose and remove the unwanted footage from your security camera system.
In most camera systems, you can select footage files individually or in bulk to delete them. Here are a few options commonly found in security camera interfaces:
- Selecting Individual Files: If you want to delete specific recordings, navigate to the folder or file list where the footage is stored. Look for checkboxes or selection options next to each file. Tick the boxes for the files you want to delete.
- Selecting All Files: If you prefer to delete all footage within a specific timeframe or from a particular camera, look for a “Select All” feature. This option allows you to choose all the files within a given time range or from a particular camera for deletion.
- Selecting by Date or Time: Some camera systems provide the ability to select footage based on the recording date and time. This feature is especially handy if you want to delete recordings from a specific day or time period.
Take your time to carefully review and select the footage files you wish to delete. Double-check your selections to ensure you’re not deleting important or necessary recordings.
Remember that once the footage files are deleted, they cannot be recovered. So exercise caution when making your selections.
Once you have chosen the footage files for deletion, proceed to the next step to permanently remove them from the camera system’s storage.
Step 4: Deleting the Footage Files
Now that you have selected the footage files you wish to delete, it’s time to proceed with the deletion process. Different camera systems may have varying options and steps to delete the files, so be sure to follow the instructions specific to your security camera system.
In general, the deletion process involves the following steps:
- Right-Click and Delete: If you are using a computer interface or file explorer to manage the footage files, you can typically right-click on the selected files and choose the “Delete” or “Remove” option. Confirm the action if prompted.
- Delete Button: Many camera systems provide a dedicated “Delete” button or icon within the interface. Select the footage files you wish to delete and click on the “Delete” button to remove them from the system’s storage.
- Trash/Recycle Bin: Some camera systems may have a designated trash or recycle bin folder where deleted files are temporarily stored. In this case, deleting the footage files moves them to the trash folder. You may need to empty the trash folder separately to permanently delete the files.
It’s important to note that the deletion process may take some time, especially if you are deleting a large number of files or if the files are stored on a remote storage device.
Once the deletion process is complete, the selected footage files will be removed from the camera system’s storage, freeing up space for new recordings.
Next, let’s move on to the next step and make sure the deleted footage files are not inadvertently backed up or recoverable.
Step 5: Confirming Deletion
After deleting the footage files from your security camera system, it is essential to confirm that the deletion process was successful. Verifying the deletion ensures that the selected files are no longer accessible within the camera system or any associated backups.
To confirm the deletion, you can follow these steps:
- Double-Check the Footage Folder: Return to the location where the footage files were stored and verify that the files you deleted are no longer present. Refresh the file list or navigate back to the folder to ensure they have been removed.
- Search for Recovered Files: Occasionally, deleted files may still be recoverable from the device’s storage or through specialized data recovery tools. Perform a search on your storage device or system to ensure that there are no recoverable copies of the deleted footage files.
- Check Backup Systems: If your camera system has a backup feature or is connected to an external storage device, ensure that the deleted footage files have not been automatically backed up to prevent accidental loss. Confirm that the backup systems are not retaining copies of the deleted files.
By confirming the deletion, you can have peace of mind knowing that the footage files you wanted to delete are permanently removed from the camera system and its associated storage.
It’s important to note that some camera systems may have unique settings or features that impact the deletion process. Consult the user manual or reach out to the manufacturer’s customer support if you have any uncertainties or questions regarding the deletion confirmation process.
Now that you have confirmed the deletion, let’s explore the next step which involves checking for any backups of the deleted footage files.
To delete footage from a security camera, access the camera’s recording system and locate the specific footage you want to delete. Then, follow the system’s instructions to permanently remove the footage from the storage. Be sure to confirm the deletion to ensure it is removed completely.
Step 6: Checking for Backups
After deleting the footage files from your security camera system, it’s important to check for any backups that may exist. Backup systems can automatically create copies of the footage files, ensuring that they are not lost even after deletion from the main storage.
To check for backups of the deleted footage files, follow these steps:
- Review Backup Settings: Access the settings or configuration menu of your camera system to check if there are any backup systems enabled. Look for options related to local backups, cloud storage, or network-attached storage (NAS).
- Check External Storage: If your camera system is connected to an external storage device, such as a hard drive or NAS, navigate to the device’s storage and review if there are any copies of the deleted footage files.
- Cloud Storage: If you are using a cloud-based system, login to the associated cloud storage account and check if the deleted footage files have been synced or backed up to the cloud. Look for specific folders or sections dedicated to backing up footage files.
- Verify Removal from Backups: Ensure that any backup systems have not retained copies of the deleted footage files. Confirm that the backups have been updated and do not contain the deleted files.
Checking for backups of the deleted footage files is crucial to ensure complete removal and avoid unintentional retention of sensitive footage. It helps maintain data privacy and prevents potential unauthorized access to the deleted files.
If you discover backup copies of the deleted footage files, you can manually delete them following the appropriate process within the backup system. Refer to the user manual or contact customer support for further assistance with handling backup files in your specific camera system.
Now that you have checked for backups, let’s proceed to the next step, which involves clearing the recycle bin or trash folder of your camera system.
Step 7: Clearing Recycle Bin or Trash Folder
Clearing the recycle bin or trash folder is an important step in fully deleting the footage files from your security camera system. These folders act as temporary storage for deleted files and can still occupy space on your storage device until they are emptied.
To clear the recycle bin or trash folder, follow these steps:
- Navigate to the Recycle Bin or Trash Folder: Locate the recycle bin or trash folder within your camera system’s interface. This can typically be found within the file management section or storage settings.
- Select All Deleted Files: Once you’re inside the recycle bin or trash folder, select all the deleted footage files that are present. There are usually options to select all files or manually select individual files.
- Empty the Recycle Bin or Trash Folder: After selecting the deleted files, look for an option to “Empty Recycle Bin” or “Empty Trash” within the interface. Click on this option to permanently remove the deleted files from your system’s storage.
Clearing the recycle bin or trash folder ensures that the deleted footage files are not taking up unnecessary space and are completely removed from your camera system’s storage.
Keep in mind that once the recycle bin or trash folder is emptied, the deleted files cannot be recovered. Make sure you have verified the contents of the folder before proceeding with the deletion process.
If your camera system does not have a recycle bin or trash folder, or if the deleted files are immediately permanently deleted upon deletion, you can skip this step.
Now that you have cleared the recycle bin or trash folder, let’s move on to the next step, which involves verifying the successful deletion of the footage files.
Step 8: Verifying Deletion
Verifying the successful deletion of the footage files is crucial to ensure that they are no longer accessible or recoverable within your security camera system. This step provides confirmation that the deletion process has been completed effectively.
To verify the deletion of the footage files, follow these steps:
- Review the Footage Folder: Return to the location where the footage files were originally stored and verify that the files you deleted are no longer present. Refresh the file list or navigate back to the folder to ensure they have been permanently removed.
- Perform a System Restart: In some cases, a system restart may be required to ensure that the deleted footage files are fully cleared from the camera system’s memory and cache. Restart your security camera system and check the footage folder again to confirm complete deletion.
- Test Playback Function: If your camera system offers a playback function, test it by attempting to play the deleted footage files. Verify that the files cannot be played back, as this indicates that they have been successfully deleted.
- Check System Storage Usage: Access the storage settings or system dashboard to review the amount of used storage. Make sure that the storage usage reflects the deletion of the footage files and that the occupied space has been freed up.
By following these verification steps, you can ensure that the footage files you intended to delete have been permanently removed from your security camera system. It’s important to note that different camera systems may have unique features or processes for verifying deletion, so refer to your system’s documentation for specific instructions.
Once you have confirmed the successful deletion of the footage files, you can proceed to the next step, which involves updating your system settings to optimize storage usage.
Read more: How Long Does Security Camera Footage Last?
Step 9: Updating System Settings
Updating your system settings is an essential step to optimize the storage usage and ensure the efficient management of your security camera system. By adjusting the settings, you can customize the recording settings, storage allocation, and retention policies to align with your specific needs.
To update your system settings, consider the following options:
- Adjust Recording Resolution and Quality: Lowering the recording resolution and quality can help reduce the size of the footage files, allowing you to store more recordings on your system’s storage device.
- Configure Motion Detection Settings: Instead of continuous recording, consider utilizing motion detection to trigger recording only when movement is detected. This can help conserve storage space and ensure that only relevant footage is captured.
- Set Retention Policies: Determine how long you want to retain the recorded footage before it is automatically deleted. This can be based on a specific timeframe or the available storage capacity.
- Enable Overwrite Option: If your camera system supports it, enable the overwrite option, which will automatically overwrite the oldest footage files once the storage capacity is reached. This ensures continuous recording without the need for manual deletion.
- Consider Cloud Storage: If you have limited local storage capacity, consider utilizing cloud storage options offered by your camera system. This allows you to store footage files remotely, freeing up local storage space.
Updating your system settings not only helps optimize storage usage but also enhances the overall performance of your security camera system. By customizing the settings to suit your specific requirements, you can ensure efficient management of your recorded footage and maintain adequate storage capacity for new recordings.
Now that you have updated your system settings, let’s move on to the final step, which involves maintaining a regular deletion schedule to keep your system running smoothly.
Step 10: Maintaining a Regular Deletion Schedule
Maintaining a regular deletion schedule is vital to keep your security camera system functioning optimally and ensure efficient use of storage space. By regularly deleting unnecessary footage files, you can prevent the storage from becoming cluttered and potentially impacting the performance of your system.
Follow these guidelines to establish a regular deletion schedule:
- Determine a Frequency: Decide how often you will review and delete footage files. Consider factors such as the storage capacity, the rate of recording, and your specific needs to determine an appropriate schedule.
- Create Reminders: Set up reminders or use calendar notifications to prompt you to perform regular deletion tasks. This ensures that you don’t forget to review and remove unnecessary footage files from your camera system.
- Review and Delete: At the specified intervals, access your security camera system and review the footage files. Select and delete any files that are no longer required, keeping in mind any retention policies you have set.
- Monitor Storage Usage: Keep an eye on the storage capacity of your camera system to ensure it doesn’t reach its limit. If needed, adjust your deletion schedule or system settings to accommodate the storage requirements.
- Regularly Backup Important Footage: While it’s important to delete unnecessary footage, make sure to regularly back up any important or critical recordings. This ensures that they are properly preserved and available for future reference if needed.
By maintaining a regular deletion schedule, you can prevent excessive accumulation of unnecessary footage files, optimize storage usage, and maintain the efficient functioning of your security camera system.
Remember to consult the documentation or contact the manufacturer’s customer support for any specific guidelines or recommendations regarding deletion schedules for your particular camera system.
Congratulations! You have successfully completed the ten steps to delete footage from a security camera. By following these steps, you can effectively manage your security camera system, maintain data privacy, and ensure the smooth operation of your home security and surveillance system.
Keep in mind that the specifics of the deletion process may vary depending on your camera system manufacturer and settings, so always refer to the user manual or seek assistance if needed.
Happy safeguarding of your home and loved ones!
Conclusion
Managing and deleting footage from your security camera system is an essential aspect of maintaining an efficient and effective home security and surveillance setup. By following the ten steps outlined in this guide, you can confidently delete unwanted footage, optimize storage usage, and ensure the smooth operation of your security camera system.
Throughout this article, we covered the key steps involved in deleting footage from a security camera:
- Accessing the Security Camera System
- Locating the Footage Files
- Selecting the Footage to Delete
- Deleting the Footage Files
- Confirming Deletion
- Checking for Backups
- Clearing Recycle Bin or Trash Folder
- Verifying Deletion
- Updating System Settings
- Maintaining a Regular Deletion Schedule
By following these steps, you can ensure that your security camera system remains efficient, your storage space is optimized, and only the necessary and relevant footage is retained.
Remember to consult your specific security camera system’s documentation for any unique features or settings that may affect the deletion process. If you have any uncertainties or questions, don’t hesitate to reach out to the manufacturer’s customer support for assistance.
With proper management and regular deletion of footage, you can ensure the effectiveness of your home security system, maintain data privacy, and provide an extra layer of protection for your loved ones and property.
Thank you for taking the time to learn how to delete footage from a security camera. Stay vigilant and enjoy the peace of mind that comes with a well-managed security camera system!
Frequently Asked Questions about How To Delete Footage From A Security Camera
Was this page helpful?
At Storables.com, we guarantee accurate and reliable information. Our content, validated by Expert Board Contributors, is crafted following stringent Editorial Policies. We're committed to providing you with well-researched, expert-backed insights for all your informational needs.