Home>Home Security and Surveillance>How To Live Stream Outdoor Camera Footage
Home Security and Surveillance
How To Live Stream Outdoor Camera Footage
Modified: March 6, 2024
Learn how to easily live stream outdoor camera footage with our step-by-step guide. Enhance your home security and surveillance system today!
(Many of the links in this article redirect to a specific reviewed product. Your purchase of these products through affiliate links helps to generate commission for Storables.com, at no extra cost. Learn more)
Introduction
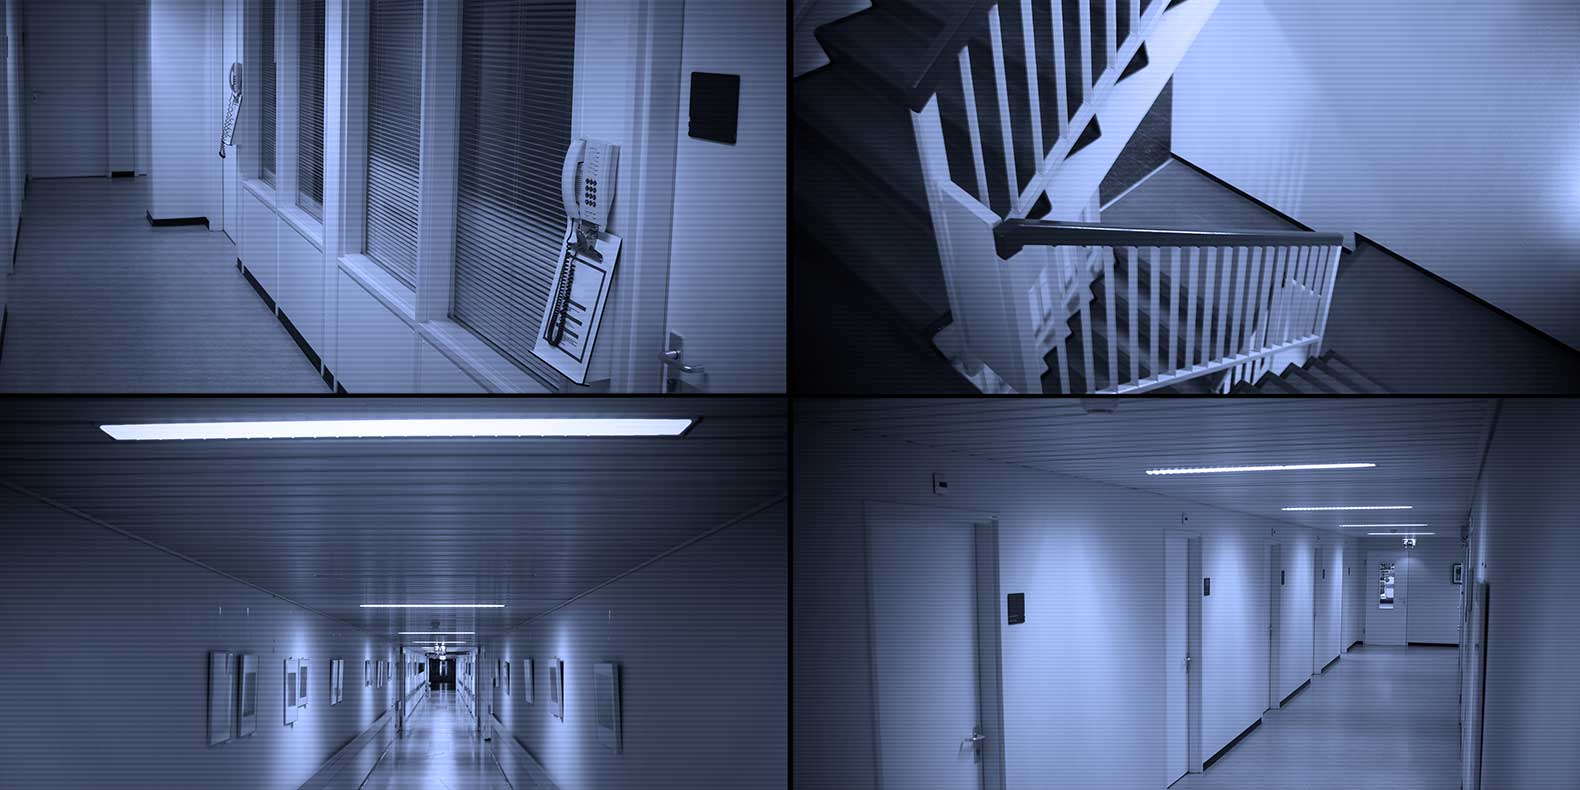
Welcome to the digital age, where the power of technology has revolutionized many aspects of our lives, including home security and surveillance. With the advent of high-quality outdoor cameras and advanced streaming platforms, you can now live stream footage from your outdoor cameras, giving you real-time access to monitor and protect your property.
Live streaming outdoor camera footage offers a multitude of benefits. Whether you want to keep a watchful eye on your home while you’re away, monitor your children playing in the backyard, or simply have peace of mind knowing that your property is secure, live streaming provides a convenient and effective solution.
In this article, we will guide you through the process of setting up and live streaming outdoor camera footage. We will cover everything from choosing the right camera and streaming platform to optimizing the settings for the best streaming quality. So, let’s dive in and explore the steps to successfully live stream your outdoor camera footage.
Key Takeaways:
- You can live stream outdoor camera footage to monitor your property in real-time. Choose the right camera, set it up for streaming, and select a suitable platform to share your live feed with others.
- Promote your live stream on social media, ensure a stable internet connection, and engage with your audience during the stream. Monitor and manage the live feed to provide a positive viewing experience.
Read more: How To Store Security Camera Footage
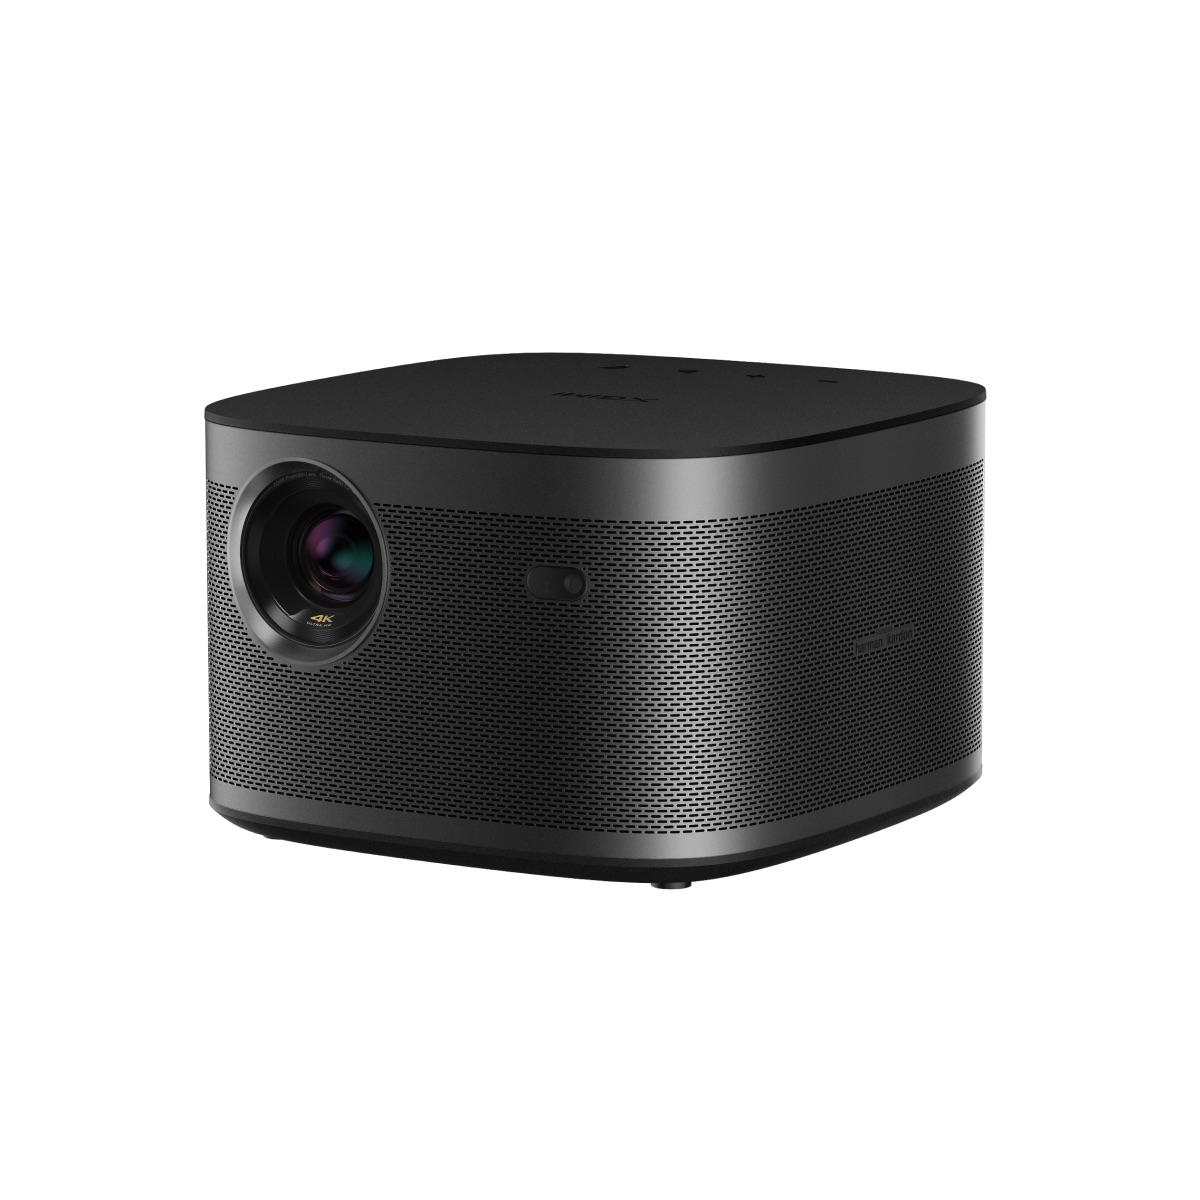
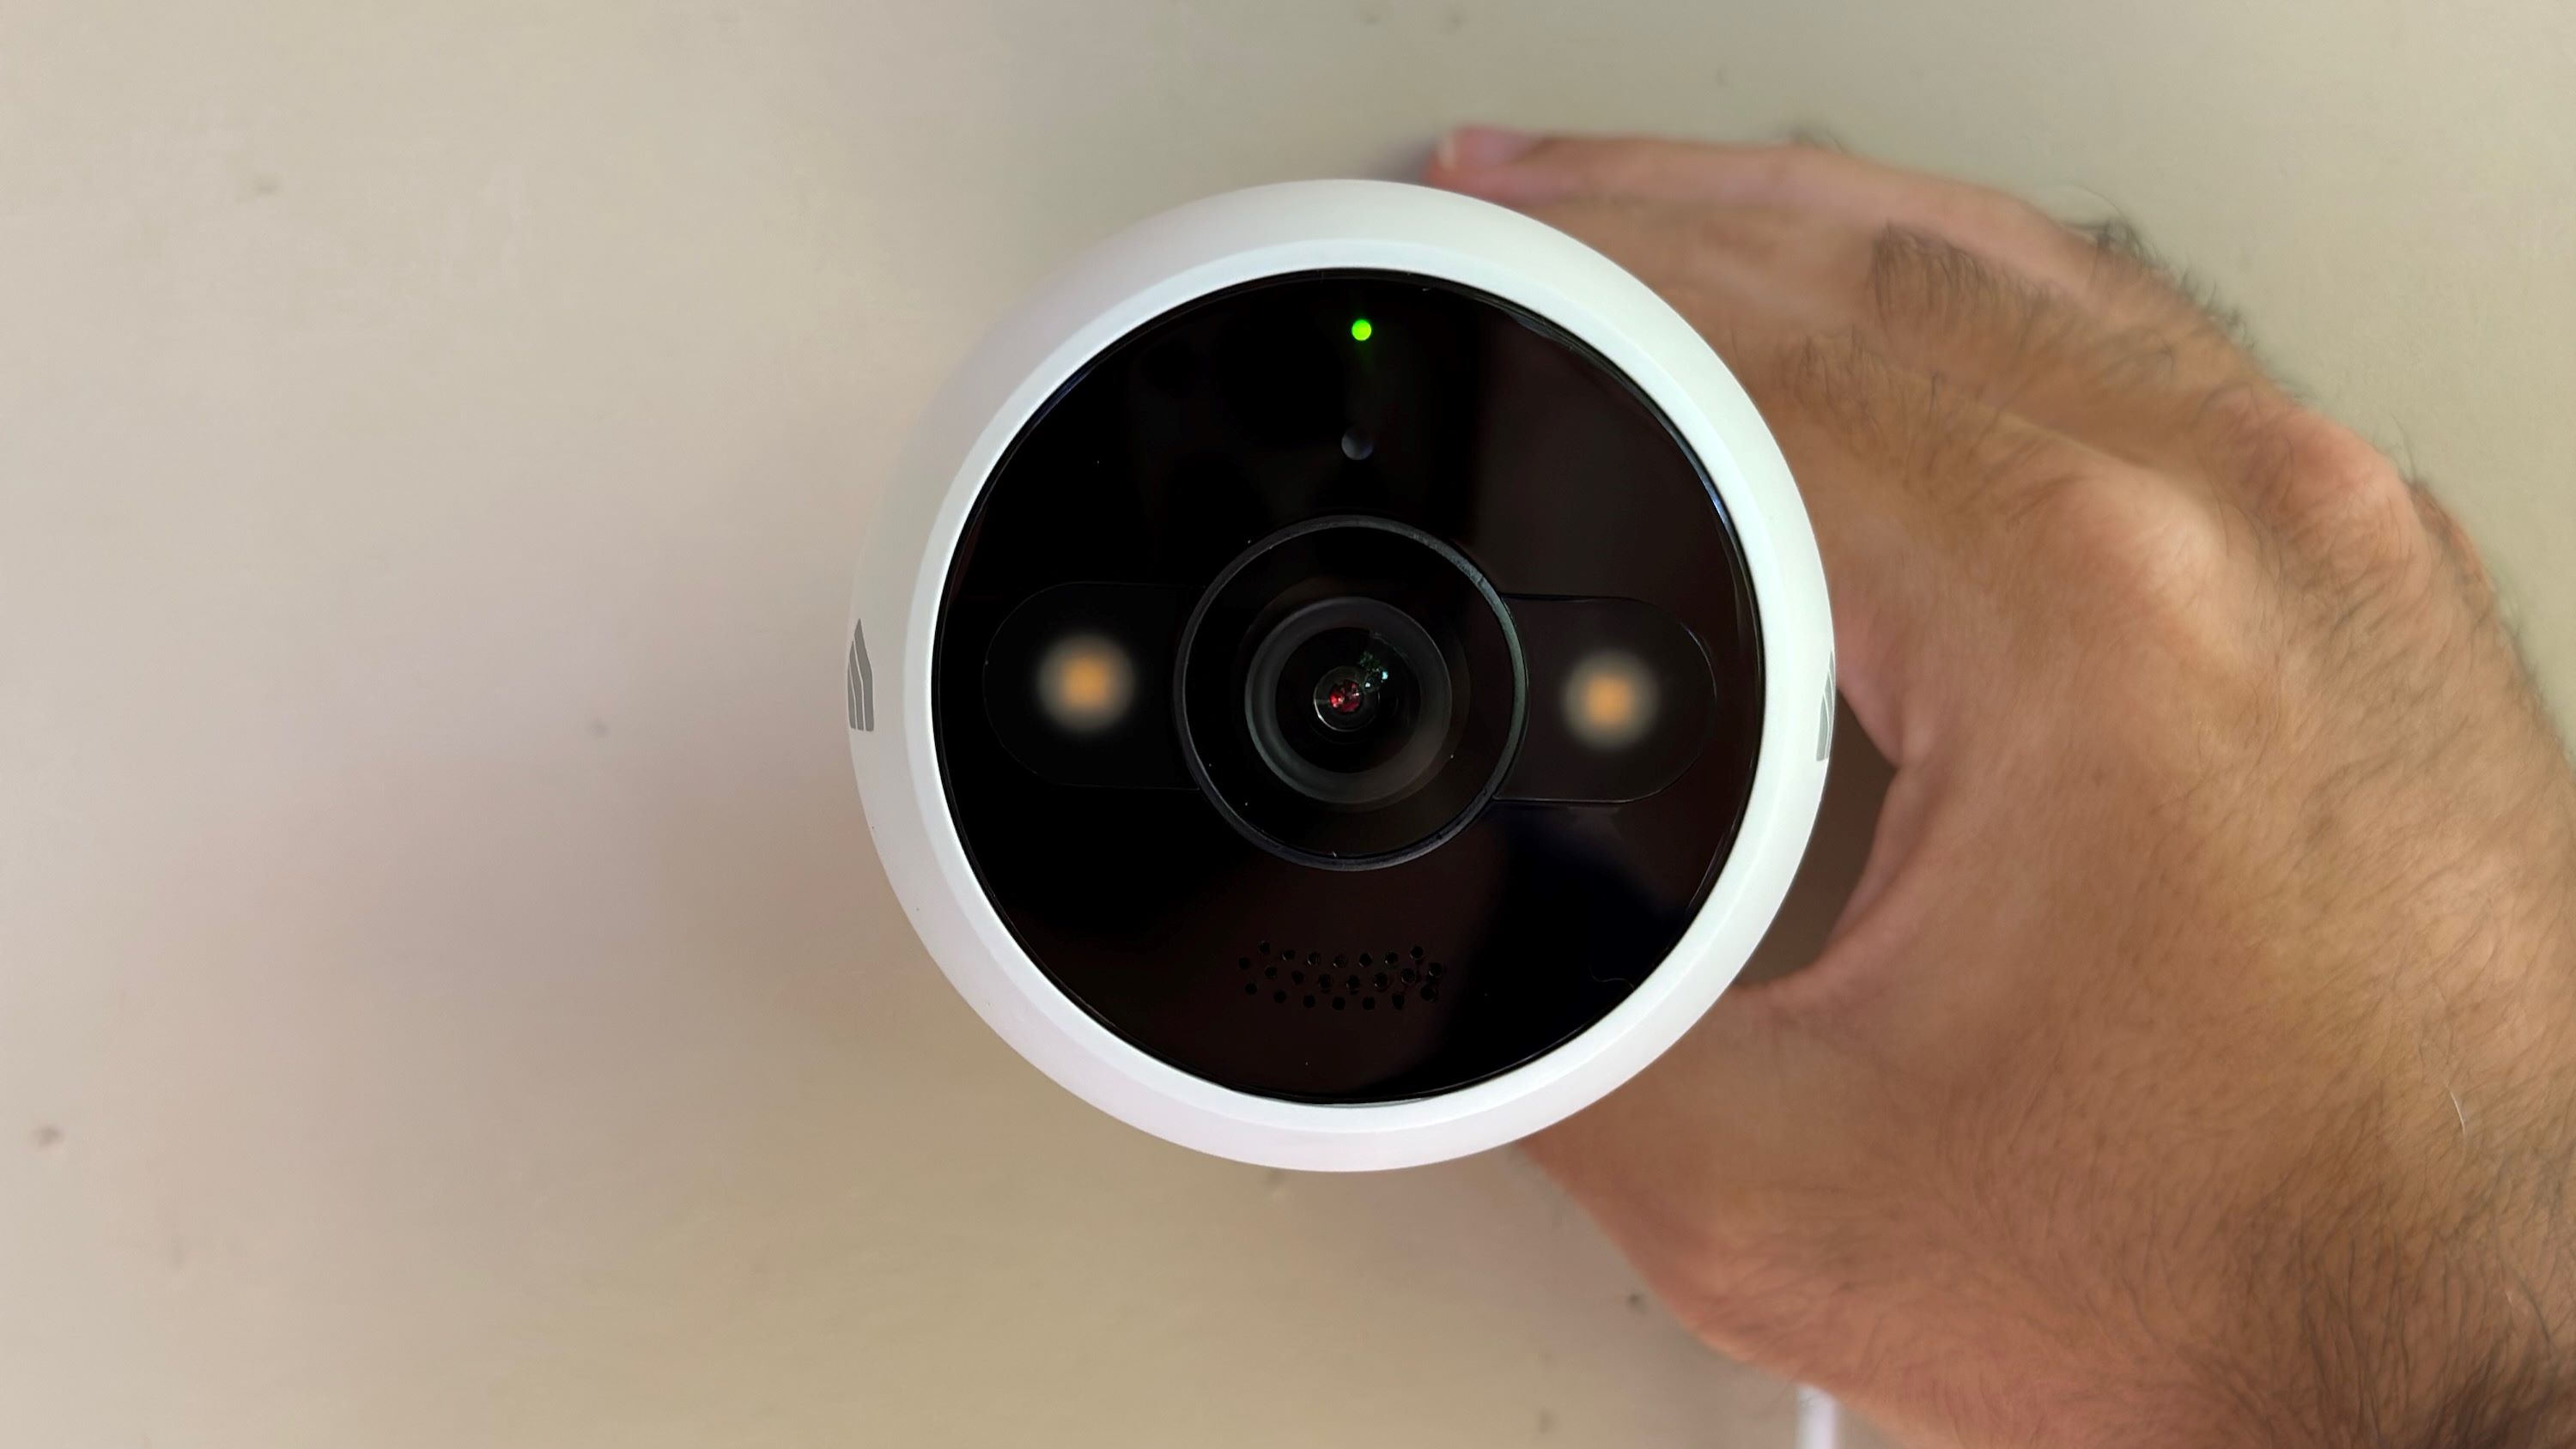
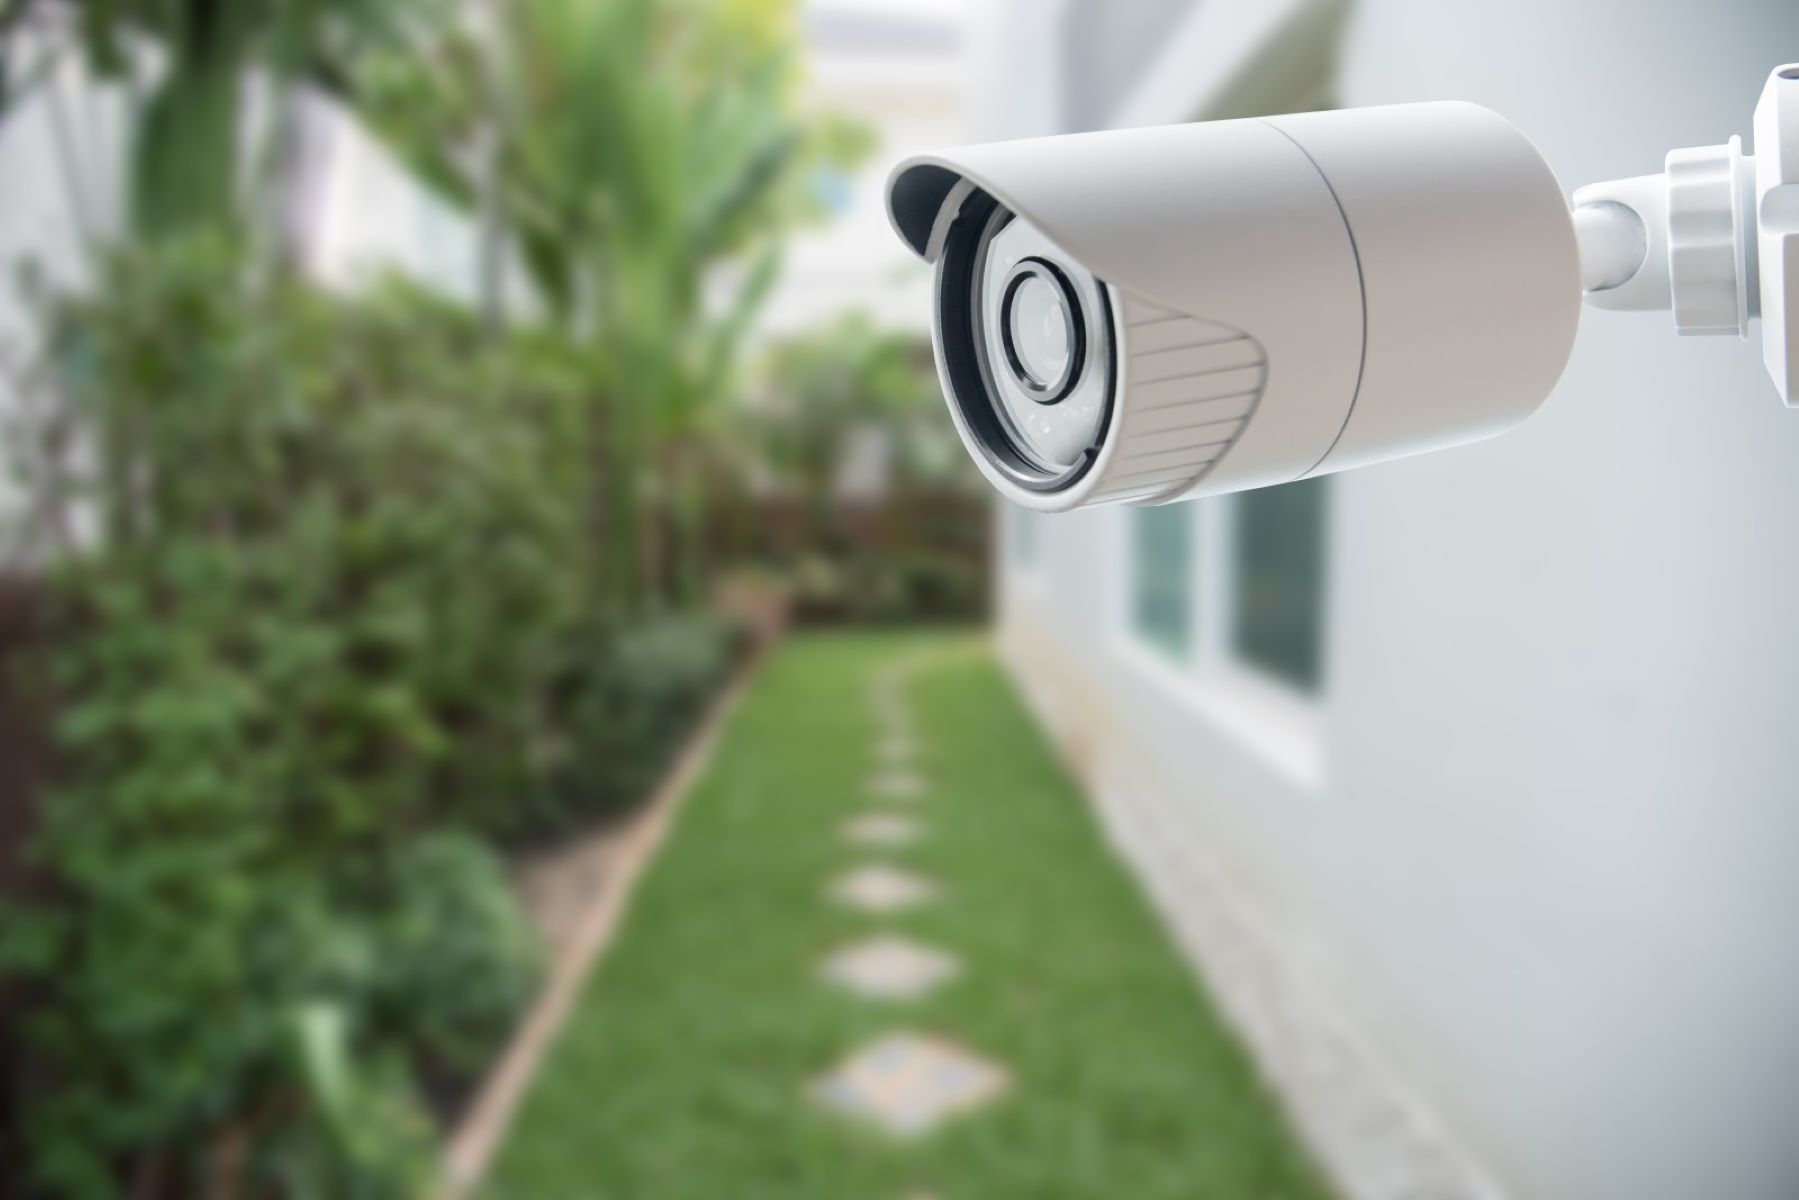
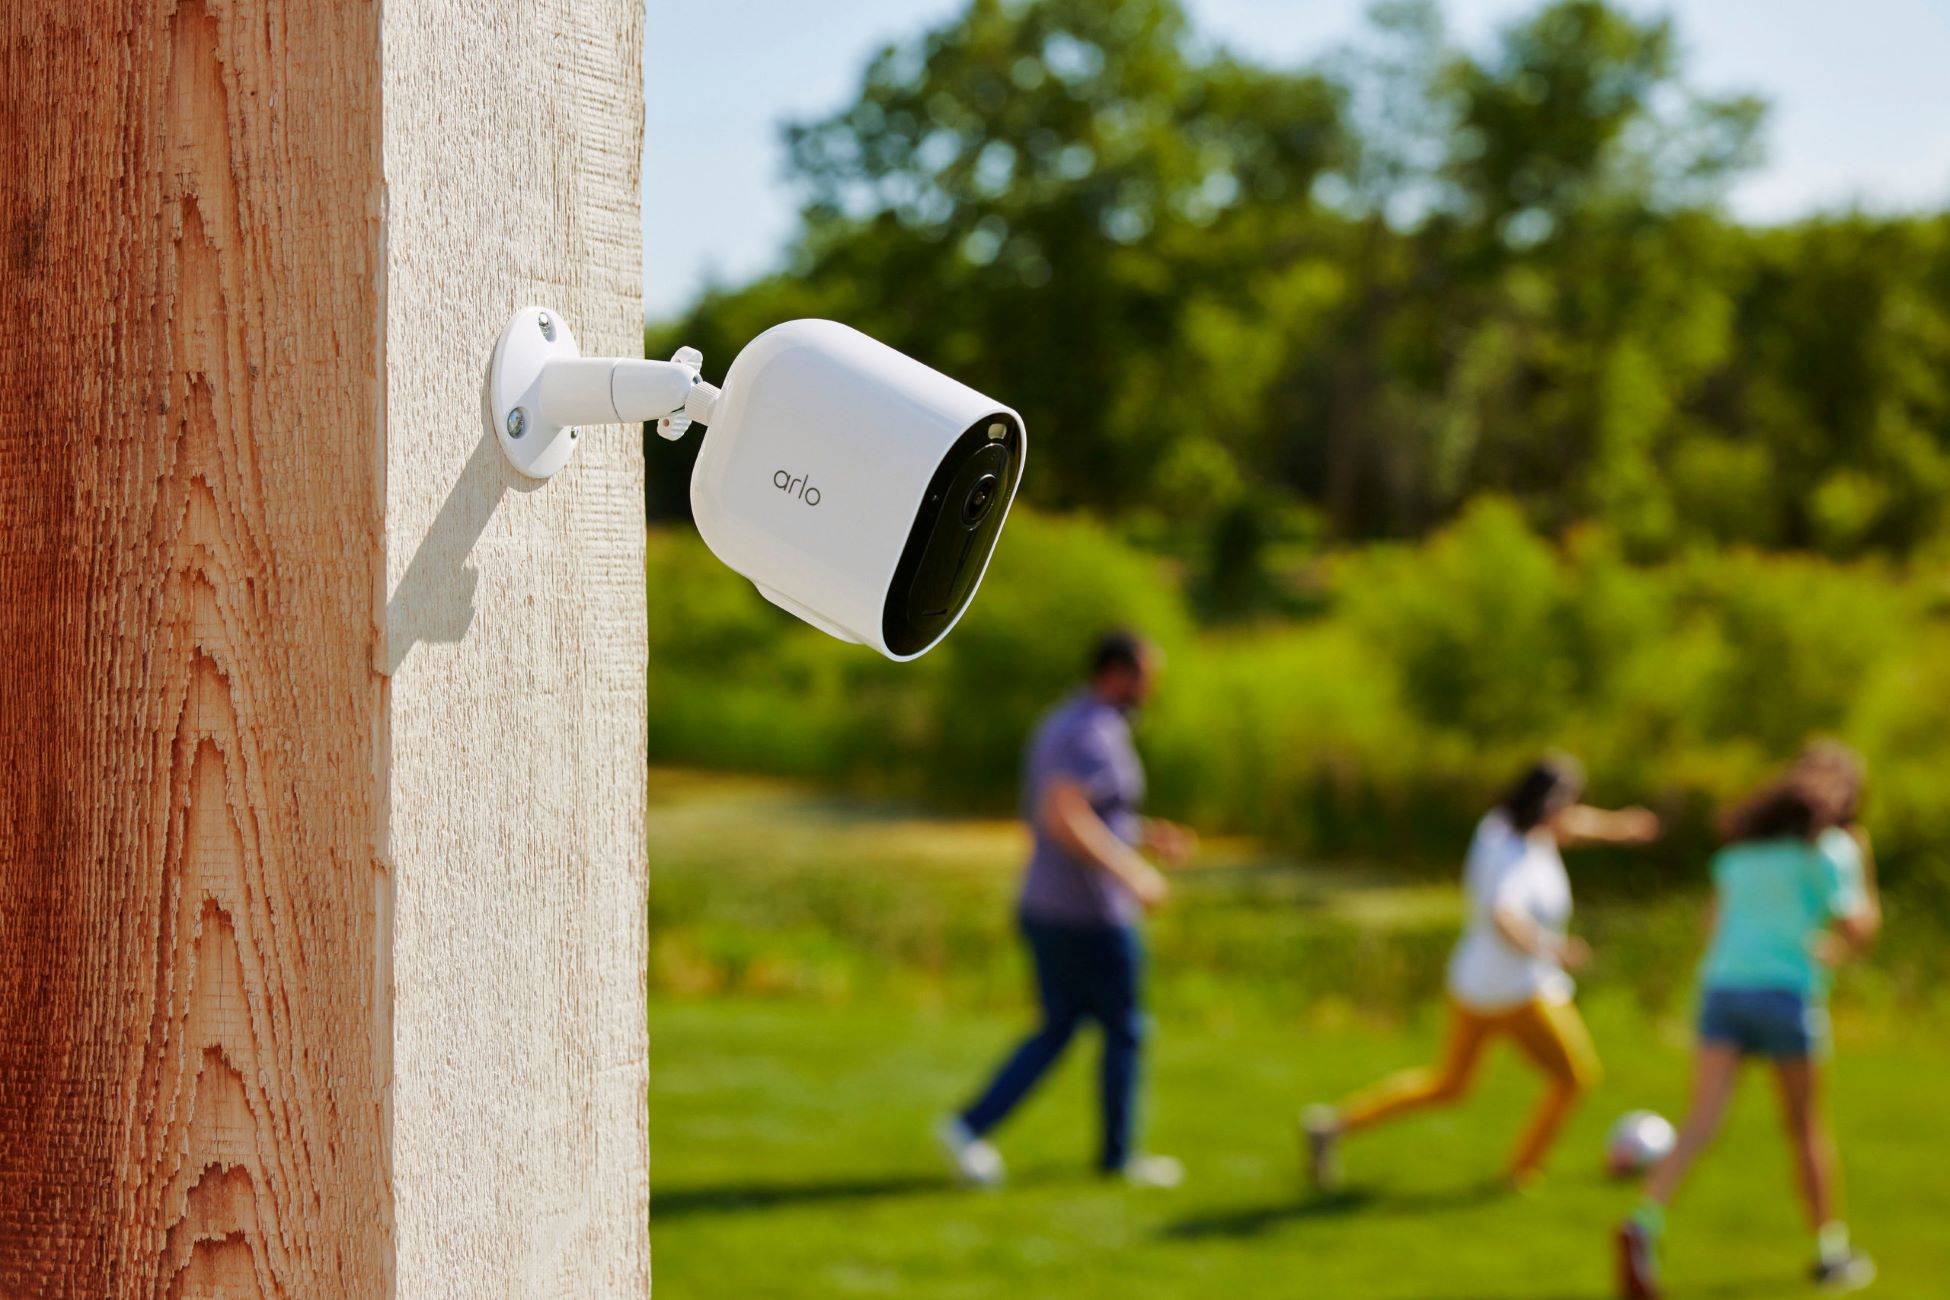
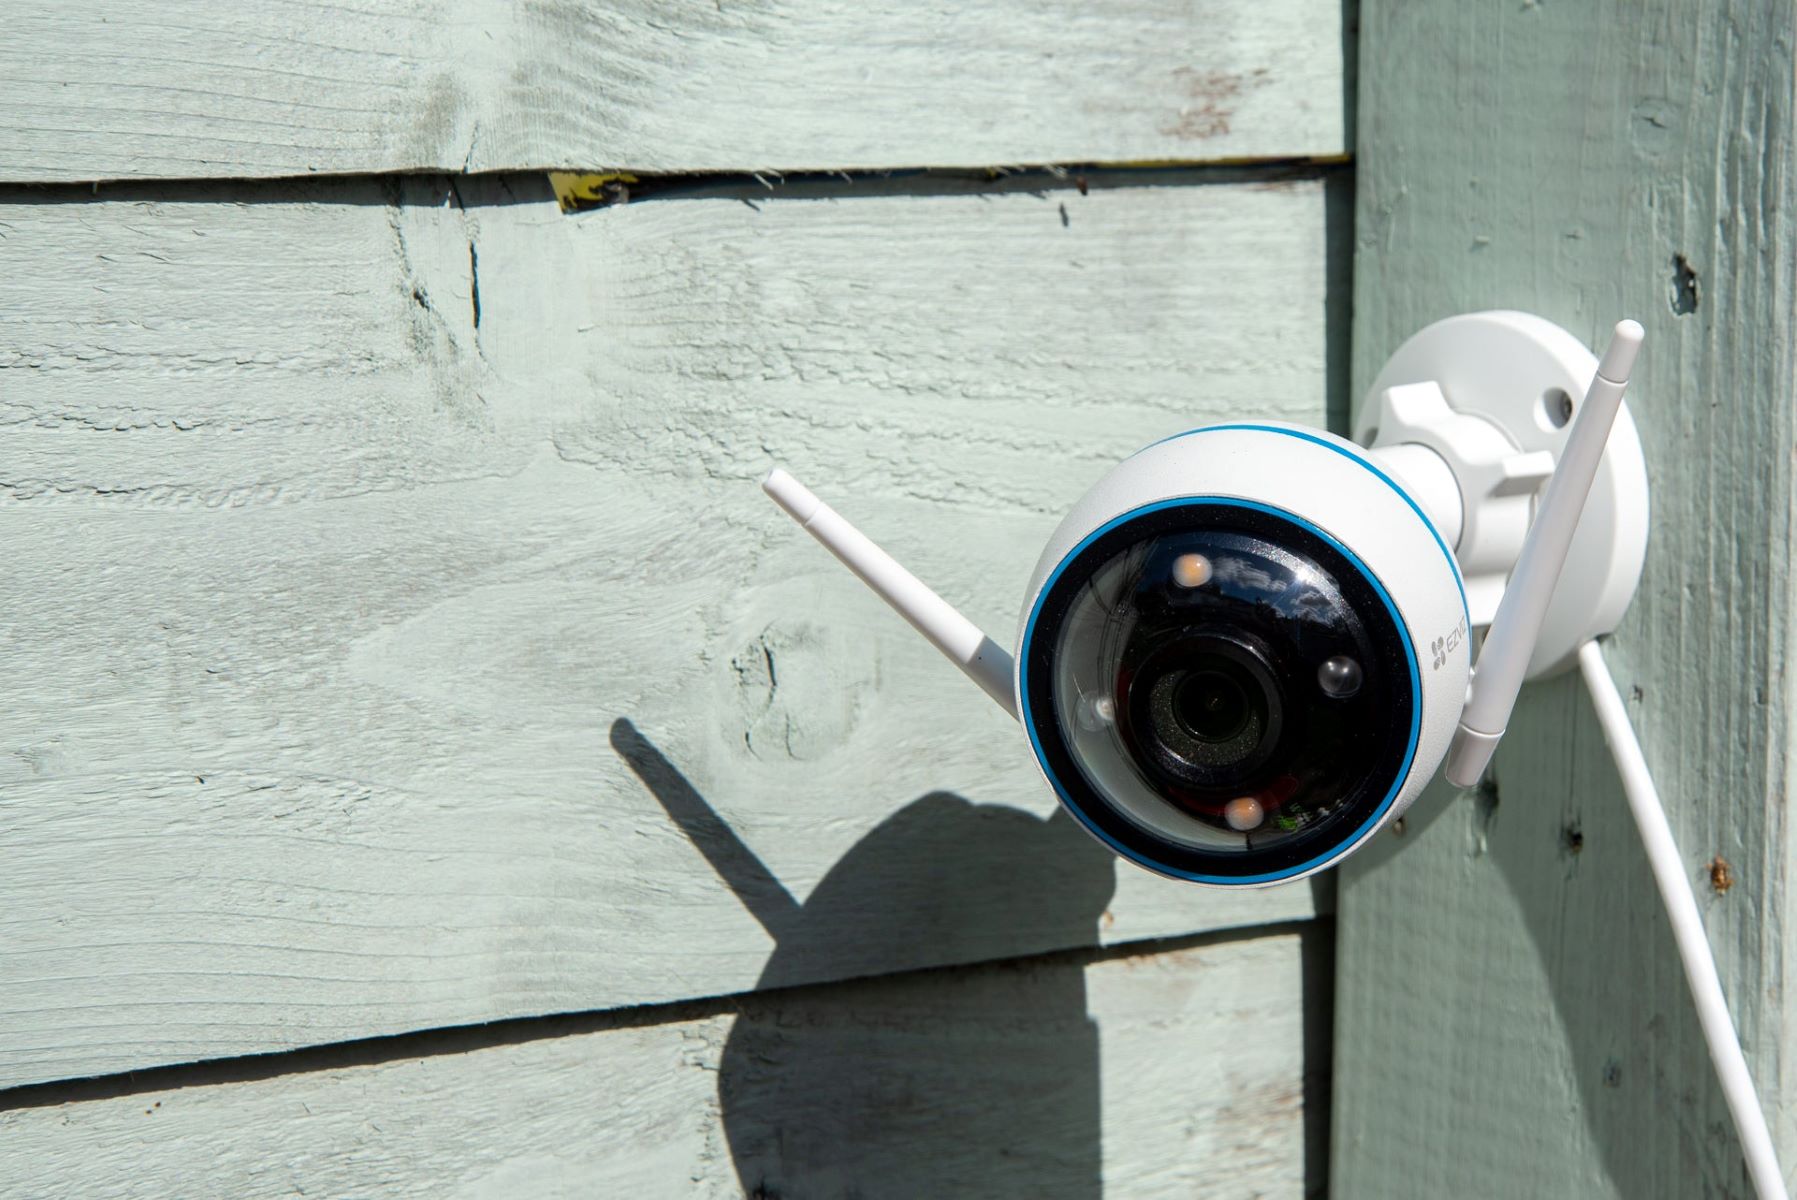
Step 1: Choosing the Right Outdoor Camera
When it comes to live streaming outdoor camera footage, the first and most crucial step is choosing the right camera for your needs. Here are a few key factors to consider:
- Weatherproof and Durability: Since the camera will be exposed to the elements, it is imperative to select a weatherproof and durable camera specifically designed for outdoor use. Look for cameras with an IP65 or higher rating, which indicates their ability to withstand rain, sun, and extreme temperature fluctuations.
- Resolution and Image Quality: Opt for a camera with a high resolution and superior image quality to ensure clear and detailed footage. The higher the resolution, the better the streaming quality. Consider cameras with at least 1080p resolution or higher.
- Night Vision: Ensure that the camera is equipped with infrared (IR) night vision capabilities. This will allow you to capture clear footage even in low-light or complete darkness. Look for cameras with a sufficient night vision range, typically up to 30 meters or more.
- Wide-Angle Lens: A wide-angle lens provides a broader field of view, allowing you to capture more of your surroundings. Look for cameras with a lens angle of at least 90 degrees or wider.
- Power Source: Consider whether you want a camera that operates on battery power or one that requires a constant power supply. Battery-powered cameras offer flexibility but may need frequent recharging, while wired cameras provide a continuous power source but require proper installation.
- Additional Features: Explore additional features that might enhance the camera’s functionality, such as motion detection, two-way audio, pan and tilt capabilities, or integration with other smart home devices.
Take your time to research and compare different outdoor cameras available in the market. Read customer reviews and ratings to gain insights into their performance and reliability. By selecting a camera that meets your specific requirements, you will lay the foundation for a successful live streaming experience.
Step 2: Setting up the Camera for Live Streaming
Once you have chosen the right outdoor camera, it’s time to set it up for live streaming. Here are the steps to follow:
- Choose the Ideal Location: Select an optimal location to mount the camera. Consider factors such as the area you want to monitor and the camera’s field of view. Ensure that the camera is securely placed and angled correctly to capture the desired footage.
- Check Power Source: If your camera requires a constant power supply, ensure that it is connected to a reliable power source. If you’re using a battery-powered camera, make sure the batteries are fully charged.
- Connect to Wi-Fi: Most outdoor cameras need to be connected to a Wi-Fi network for live streaming. Follow the manufacturer’s instructions to connect the camera to your home’s Wi-Fi network. Make sure the camera is within range of the Wi-Fi signal for a stable connection.
- Install the Mobile App: Install the mobile app provided by the camera manufacturer on your smartphone or tablet. This app will enable you to access the camera’s live stream and control its settings remotely.
- Configure Camera Settings: Once the camera is connected to the app, configure the desired settings such as resolution, frame rate, motion detection sensitivity, and night vision. Adjust these settings according to your preferences and the specific requirements of your streaming platform.
- Set Up Cloud Storage: If your camera supports cloud storage, set up an account and configure the camera to save recorded footage in the cloud. This will provide an additional layer of backup and allow you to access and review past recordings if needed.
- Test the Camera: Before moving on to live streaming, ensure that the camera is functioning properly. Test the live stream on the mobile app to check the quality of the footage, audio, and other features. Make any necessary adjustments to optimize the performance of the camera.
By following these steps, you will set up your outdoor camera effectively for live streaming. Double-check that the camera is securely mounted, connected to Wi-Fi, and the necessary settings are configured to capture high-quality footage.
Step 3: Selecting a Streaming Platform
Now that your outdoor camera is set up for live streaming, it’s time to choose the right streaming platform to broadcast your footage. Here are a few considerations when selecting a streaming platform:
- Accessibility: Opt for a streaming platform that is easily accessible to both you and your intended audience. Look for platforms that offer compatibility with various devices, such as smartphones, tablets, and computers. This will ensure that you can monitor your live stream conveniently, and your viewers can access it without any hassle.
- Quality and Reliability: Select a platform that prioritizes streaming quality and offers a reliable streaming service. Look for platforms that support high-resolution streaming and adaptive video streaming, which adjusts the video quality based on the viewer’s internet connection. This ensures a smooth streaming experience for both you and your viewers.
- Privacy and Security: Consider the privacy and security features offered by the platform. Look for platforms that incorporate encryption protocols, password protection, and the ability to control who can access your live stream. This will safeguard your footage and provide you with peace of mind.
- Additional Features: Explore the additional features offered by the streaming platform. Some platforms may provide options for chat or comment moderation, customizable video players, integration with social media platforms, and analytics to monitor your stream’s performance. Consider which features are essential for your streaming goals.
- Cost and Plans: Evaluate the cost and pricing plans of different streaming platforms. Some platforms offer free options with limited features, while others provide more advanced features at a monthly or annual subscription fee. Assess your budget and choose a platform that aligns with your financial requirements.
Research different streaming platforms, read reviews, and assess their features to make an informed decision. Popular streaming platforms such as YouTube Live, Facebook Live, and Twitch are great options to start with, as they offer a wide reach and have a user-friendly interface.
Once you have selected the streaming platform that suits your needs, you can proceed to the next step of setting up your account and connecting your outdoor camera to the platform to start your live stream.
Step 4: Setting Up Your Streaming Platform Account
After selecting the streaming platform for your live stream, the next step is to set up your account. Follow these steps to get started:
- Create an Account: Visit the website or download the mobile app of your chosen streaming platform. Look for the option to create a new account and provide the necessary information, such as your name, email address, and password. Some platforms may also allow you to sign up using your existing social media accounts.
- Verify Your Account: In some cases, the streaming platform may require you to verify your account through a confirmation email or SMS. Follow the provided instructions to complete the verification process.
- Set Up Channel or Page: Once your account is created and verified, you will typically have the option to set up a channel or page where your live stream will be hosted. Customize the channel or page by adding a profile picture, cover photo, and relevant information about your live stream topic.
- Enable Live Streaming: Depending on the streaming platform, you may need to enable the live streaming feature for your account. Follow the instructions provided by the platform to enable this feature. Note that some platforms may have certain eligibility criteria or requirements for enabling live streaming.
- Customize Privacy Settings: Review the privacy settings of your streaming platform account. Decide whether you want your live stream to be publicly accessible or limited to specific viewers. Adjust the privacy settings accordingly to ensure that your footage is shared only with the intended audience.
- Explore Platform Settings: Take the time to familiarize yourself with the settings offered by the streaming platform. Explore options such as live chat moderation, embedding your live stream on your website, and other customizable features. Adjust these settings based on your preferences to enhance your live streaming experience.
By setting up your streaming platform account, you will have a dedicated space to host your live stream and interact with your viewers. Make sure to personalize your channel or page and configure the privacy settings to align with your streaming goals.
Once your account is ready, you can move on to the next step of connecting your outdoor camera to the streaming platform to start live streaming your footage.
Read more: How To Delete Footage From A Security Camera
Step 5: Connecting the Camera to the Streaming Platform
Now that you have set up your streaming platform account, it’s time to connect your outdoor camera to the platform for live streaming. Follow these steps to establish the connection:
- Camera Compatibility: Ensure that your camera is compatible with the streaming platform you have chosen. Some cameras have built-in integration with popular streaming platforms, while others may require third-party software or applications for connectivity.
- Camera Settings: Access the settings of your camera through the manufacturer’s mobile app or web interface. Look for the live streaming or streaming settings option. Depending on the camera model, you may need to input the streaming platform’s credentials or a stream key provided by the platform.
- Stream Key: If your camera requires a stream key, retrieve it from your streaming platform account. Usually, the stream key can be found in the settings or live streaming section of your account dashboard. Copy the stream key and paste it into the camera’s streaming settings.
- Test the Connection: Once the camera is connected to the streaming platform, perform a test to ensure the connectivity is established. Start a live stream from your camera, either through the camera’s mobile app or the streaming platform’s interface. Check if the live stream appears on your streaming platform account and verify its quality.
- Adjust Stream Settings: Explore the streaming settings available on your camera and the streaming platform. Adjust the resolution, bit rate, frame rate, and other settings to optimize the quality and stability of the live stream. Make sure to consider your internet bandwidth and the capabilities of your camera to find the right balance.
- Monitor Live Stream: Once the camera is connected and the settings are adjusted, you can start monitoring your live stream. Use the streaming platform’s interface or app to access your live stream and ensure that the camera is capturing the desired footage. Keep an eye on the streaming quality, audio, and any additional features that you have enabled.
By successfully connecting your outdoor camera to the streaming platform, you are now ready to start streaming your footage live. Be sure to regularly check the connection and settings to ensure a smooth and uninterrupted live streaming experience.
Ensure you have a strong and stable internet connection before live streaming outdoor camera footage to prevent buffering or disconnections. Position the camera to avoid direct sunlight or glare for better image quality.
Step 6: Adjusting Camera Settings for Optimal Streaming Quality
Now that your camera is connected to the streaming platform, it’s time to optimize the camera settings to ensure the best possible streaming quality. Pay attention to the following aspects:
- Resolution and Frame Rate: Adjust the camera’s resolution and frame rate settings to optimize the streaming quality. Higher resolutions such as 1080p or 4K will provide a clearer image, but keep in mind that it may require a stronger internet connection. The frame rate determines the smoothness of the video, so choose a frame rate that balances quality and bandwidth limitations.
- Bit Rate: The bit rate determines the amount of data transmitted per second during the live stream. A higher bit rate generally improves the quality but requires a stronger internet connection. Find the optimal bit rate that delivers good quality without causing buffering or interruptions for your available internet speed.
- Focus and Exposure: Ensure that the camera is properly focused and the exposure settings are adjusted to capture a clear image. Use the camera’s focus feature or auto-focus functionality to ensure that the subject in the frame is sharp and well-defined. Pay attention to the exposure levels to avoid overexposed or underexposed footage.
- Audio Settings: Adjust the audio settings of the camera to provide clear and balanced sound during the live stream. Test the microphone sensitivity and volume levels to ensure that your voice or any other audio captured by the camera is audible without distortion or background noise.
- Motion Detection: If your camera has motion detection capabilities, configure it to optimize its performance during the live stream. Adjust the sensitivity levels to properly detect and capture movement while minimizing false alarms caused by natural elements like tree branches or small animals.
- Night Vision: If you plan to live stream during low-light conditions, configure the camera’s night vision settings. Adjust the sensitivity and range of the infrared (IR) LEDs to capture clear footage in the dark. Test the night vision capabilities to ensure that the image remains visible without significant degradation.
Take the time to experiment with different camera settings and conduct test streams to evaluate the impact on streaming quality. Continuously monitor the stream and make adjustments as necessary to achieve the optimal balance between video quality, bandwidth requirements, and your streaming platform’s capabilities.
By fine-tuning your camera settings, you will significantly enhance the overall streaming experience, providing your viewers with high-quality footage in real-time.
Step 7: Testing the Live Stream
Before you go live with your outdoor camera stream, it is crucial to thoroughly test it to ensure everything is working as expected. Follow these steps to conduct a comprehensive live stream test:
- Prepare a Test Environment: Select a time when you can dedicate some uninterrupted time to conduct the live stream test. Clear the area in front of the camera and ensure that the lighting conditions are representative of what you expect during the actual live stream.
- Check Equipment and Connections: Double-check that all equipment, including the camera, power supply, and internet connection, is properly set up and functioning. Make sure the camera is securely mounted, the power source is stable, and the internet connection is reliable.
- Start the Live Stream: Initiate the live stream from your camera using the streaming platform’s interface or mobile app. Ensure that you have activated the audio, video, and any additional features such as motion detection or night vision that you plan to use during the live stream.
- Monitor the Stream Quality: Keep a close eye on the live stream and assess its quality. Check for any pixelation, buffering, or lagging issues. Verify that the audio is clear and properly synchronized with the video. Monitor the stream for an extended period to identify any potential stability issues.
- Test Different Scenarios: Perform tests under different scenarios to evaluate the camera’s performance. Walk around the area within the camera’s field of view to assess its motion tracking capabilities. Test different lighting conditions, such as turning on/off lights or introducing low-light conditions, to gauge the camera’s responsiveness to varying environments.
- Review the Recorded Stream: After completing the live stream test, review the recorded footage. Pay attention to details such as image quality, audio clarity, and any possible anomalies or technical glitches. Use this feedback to make necessary adjustments and improve the overall live streaming experience.
- Solicit Feedback: Seek feedback from trusted individuals who can watch your test stream and provide honest opinions. Ask them to evaluate the stream quality, audio, and any other aspects that can be improved. Consider their feedback and make necessary tweaks based on their suggestions.
By thoroughly testing the live stream, you can identify and address any potential issues before your actual broadcast. This ensures that your viewers will have a seamless and enjoyable viewing experience during your live stream.
Once you are satisfied with the test results and have made any necessary adjustments, you are ready to move on to the next step: promoting and sharing your live stream to reach a wider audience.
Step 8: Promoting and Sharing Your Live Stream
Now that you have successfully tested your live stream and ensured its quality and stability, it’s time to promote and share it with your intended audience. Here are some effective strategies to promote and maximize the reach of your live stream:
- Create a Promotion Plan: Develop a promotion plan for your live stream that includes a timeline leading up to the broadcast. Decide on the promotional activities you will undertake, such as social media posts, email newsletters, blog articles, or collaborations with influencers or relevant communities.
- Utilize Social Media: Leverage the power of social media platforms to promote your live stream. Create enticing posts and share teasers about your stream on platforms like Facebook, Twitter, Instagram, and LinkedIn. Encourage your followers to engage, like, and share your posts to expand your reach.
- Collaborate with Influencers: Identify influencers or experts in your domain who have aligned audiences and collaborate with them to promote your live stream. Partnering with influencers can help you tap into their engaged followers and increase the visibility of your stream.
- Engage with Your Audience: Prior to the live stream, encourage your audience to participate by asking them to submit questions or topics they would like you to address during the stream. Respond to their comments and engage with them to create anticipation and excitement.
- Use Email Marketing: If you have an email subscriber list, use it to your advantage by sending out dedicated emails highlighting the upcoming live stream. Craft compelling subject lines and use persuasive language to encourage your subscribers to tune in to your stream.
- Embed the Live Stream: If possible, embed your live stream on your website or blog. This allows your website visitors to easily access the stream and provides them with another avenue to discover your content. Promote the embedded stream on your website through banners or pop-ups to catch the attention of your visitors.
- Create a Buzz: Build excitement around your live stream by utilizing tactics such as countdown timers, sneak peeks, or exclusive behind-the-scenes footage. Tease your audience with enticing previews and build anticipation leading up to the broadcast.
- Utilize Paid Advertising: Consider allocating a portion of your marketing budget for paid advertising to boost the visibility of your live stream. Platforms like Facebook Ads, Google Ads, or YouTube Ads offer targeted options to reach specific demographics or interests, allowing you to expand your audience reach.
- Engage During the Live Stream: Once your live stream begins, actively engage with your viewers. Respond to their comments, answer questions, and acknowledge their presence. Encourage them to share the stream with their networks and create a sense of community around your content.
By following these strategies and actively promoting your live stream, you can maximize its reach and attract a wider audience. Remember to maintain a consistent and engaging online presence throughout the promotion period to ensure a successful live stream.
Once you have executed your promotion plan and the live stream is ongoing, it’s essential to ensure a stable and reliable internet connection for uninterrupted broadcasting. This leads us to the next step: managing and monitoring your live stream.
Step 9: Ensuring a Stable and Reliable Internet Connection
A stable and reliable internet connection is crucial for a successful live stream. Here are some steps to help you ensure a seamless streaming experience:
- Bandwidth Requirements: Determine the bandwidth requirements of your live stream. Streaming platforms often have recommended bit rate guidelines based on the resolution and frame rate settings you have chosen. Ensure that your internet connection can support the required upload speed to maintain a consistent stream without interruptions.
- Wired Connection: Whenever possible, use a wired Ethernet connection for your streaming device instead of relying solely on Wi-Fi. A wired connection provides a more stable and reliable connection, reducing the risk of dropouts or fluctuations in streaming quality.
- Optimize Wi-Fi Performance: If a wired connection is not feasible, optimize your Wi-Fi performance by placing the router in a central location within close proximity to your streaming device. Minimize interference by keeping the router away from other electronic devices and obstacles. Consider using Wi-Fi range extenders or mesh network systems to improve coverage in areas with weak signals.
- Internet Speed Test: Conduct regular internet speed tests to ensure that you are receiving the promised bandwidth from your internet service provider. This will help identify any issues and allow you to take the necessary steps to improve your internet connection if needed.
- Limit Bandwidth Usage: Prioritize your live stream by temporarily disabling or reducing the internet usage of other devices in your home. Disconnect or pause any downloads, file uploads, or streaming services that may consume significant bandwidth and impact the stability of your live stream.
- Network Traffic Management: Organize a network traffic management plan to prevent congestion and maintain a stable connection. Prioritize your streaming device’s network traffic in your router settings. This ensures that your live stream is allocated sufficient bandwidth and minimizes potential conflicts with other devices on your network.
- Backup Options: Prepare backup options in case of internet disruptions. This can involve having a mobile hotspot available or identifying alternative internet connections, such as a neighbor’s Wi-Fi or a nearby coffee shop, that you can access in case of an emergency.
- Monitor Signal Strength: Keep an eye on your internet signal strength throughout the live stream. Check if the signal strength remains stable and if there are any fluctuations that may impact the quality of the stream. Consider using network monitoring tools or smartphone apps to evaluate the signal strength in real-time.
- Technical Support: Familiarize yourself with technical support resources provided by your internet service provider. Be aware of their contact information and troubleshooting guidelines in case you encounter any connection issues during your live stream.
By following these steps, you can ensure that you have a stable and reliable internet connection for your live stream. A consistent connection will minimize buffering, freezing, or interruptions, providing your viewers with the best possible streaming experience.
Now that you have taken measures to ensure a stable connection, it’s important to monitor and manage your live stream effectively. This leads us to the final step: managing and monitoring your live stream.
Step 10: Managing and Monitoring Your Live Stream
Managing and monitoring your live stream is crucial to ensure its success and address any issues that may arise during the broadcast. Here are some key steps to effectively manage and monitor your live stream:
- Monitor Viewer Engagement: Keep an eye on viewer engagement by monitoring comments, questions, and interactions during the live stream. Encourage viewers to engage with your content by responding to their comments and addressing their questions. This helps create a sense of community and keeps viewers actively connected.
- Ensure Stream Quality: Continuously monitor the quality of your live stream throughout the broadcast. Keep an eye on factors such as video resolution, frame rate, and audio clarity. Periodically check the stream on different devices to ensure it is displaying properly.
- Deal with Technical Issues: Be prepared to troubleshoot and address any technical issues that may arise during the live stream. Monitor for buffering, freezing, or other disruptions. If technical issues occur, try troubleshooting steps such as refreshing the stream, adjusting settings, or restarting equipment.
- Adapt to Viewer Feedback: Pay attention to viewer feedback and make adjustments if necessary. If viewers are experiencing issues or requesting changes, take that feedback into consideration and make appropriate adjustments to enhance the streaming experience.
- Monitor Performance Metrics: Utilize the performance metrics provided by the streaming platform to monitor the success of your live stream. Pay attention to metrics such as viewer count, average watch time, playbacks, and engagement rates. Analyzing these metrics helps you understand the reach and impact of your live stream.
- Engage with Social Media: While managing your live stream, concurrently engage with your audience on social media platforms. Monitor social media mentions, tags, and comments related to your stream. Respond to these interactions promptly to foster engagement and build a stronger connection with your audience.
- Address Stream Interruptions: In the event of unexpected interruptions, communicate with your viewers openly and transparently. Keep them informed about the issue and provide updates on when the stream will resume. This helps maintain viewer trust and ensures they stay connected even during temporary interruptions.
- Keep a Backup: Have a backup plan in case of any unforeseen circumstances that may disrupt your live stream. This can involve having an alternative streaming device, spare batteries or power supplies, as well as a backup internet connection. Being prepared will help minimize downtime and allow you to quickly recover from any potential issues.
- Evaluate the Post-Stream: After concluding the live stream, evaluate its overall performance and viewer feedback. Review the stream’s analytics, engagement metrics, and viewer comments to understand what worked well and identify areas for improvement in future live streams.
- Learn and Improve: Continuously learn from your live stream experiences and implement improvements for future broadcasts. Consider feedback from viewers, analyze performance metrics, and stay up-to-date with industry trends and best practices to refine your live streaming strategy.
By effectively managing and monitoring your live stream, you can adapt to any issues, provide a positive viewing experience, and build a loyal audience. With each live stream, you will gain valuable insights and improve your ability to engage and connect with your viewers.
Now that you are equipped with the essential steps for live streaming your outdoor camera footage, you are ready to embark on an immersive and interactive journey to monitor your property and engage with your audience in real-time.
Happy live streaming!
Conclusion
Live streaming outdoor camera footage provides a powerful way to monitor and protect your property in real-time. By following the ten steps outlined in this guide, you can successfully set up and live stream your outdoor camera footage with confidence.
We started by choosing the right outdoor camera, considering factors such as weather resistance, image quality, and night vision capabilities. Next, we walked through the process of setting up the camera for live streaming, including connecting it to Wi-Fi and adjusting its settings for optimal performance.
After selecting a streaming platform and creating an account, we explored strategies for promoting and sharing your live stream to reach a wider audience. By utilizing social media, collaborating with influencers, and engaging with your viewers, you can generate excitement and maximize the visibility of your stream.
Ensuring a stable and reliable internet connection is crucial for a seamless live stream. We discussed steps to optimize your connection, including using a wired connection when possible, optimizing Wi-Fi performance, and managing bandwidth usage.
Monitoring and managing your live stream is essential to address any technical issues that may arise and engage with your audience. By monitoring viewer engagement, ensuring stream quality, and adapting to viewer feedback, you can create an enjoyable and interactive experience for your audience.
Throughout the process, it is important to continuously learn and improve. Evaluate performance metrics, solicit feedback, and make adjustments to enhance the quality and reach of your live streams.
With the tools and knowledge gained from this guide, you are now ready to embark on your live streaming journey, connecting with your audience, and keeping a watchful eye on your property with real-time outdoor camera footage. Remember to stay innovative, engage with your viewers, and explore new possibilities in the dynamic world of live streaming.
Best of luck in your live streaming endeavors!
Frequently Asked Questions about How To Live Stream Outdoor Camera Footage
Was this page helpful?
At Storables.com, we guarantee accurate and reliable information. Our content, validated by Expert Board Contributors, is crafted following stringent Editorial Policies. We're committed to providing you with well-researched, expert-backed insights for all your informational needs.