Home>Home Security and Surveillance>How To Hook Up Wireless Security Camera To Computer Monitor
Home Security and Surveillance
How To Hook Up Wireless Security Camera To Computer Monitor
Modified: October 20, 2024
Learn how to easily connect a wireless security camera to your computer monitor for seamless home security and surveillance. Follow our step-by-step guide now!
(Many of the links in this article redirect to a specific reviewed product. Your purchase of these products through affiliate links helps to generate commission for Storables.com, at no extra cost. Learn more)
Introduction
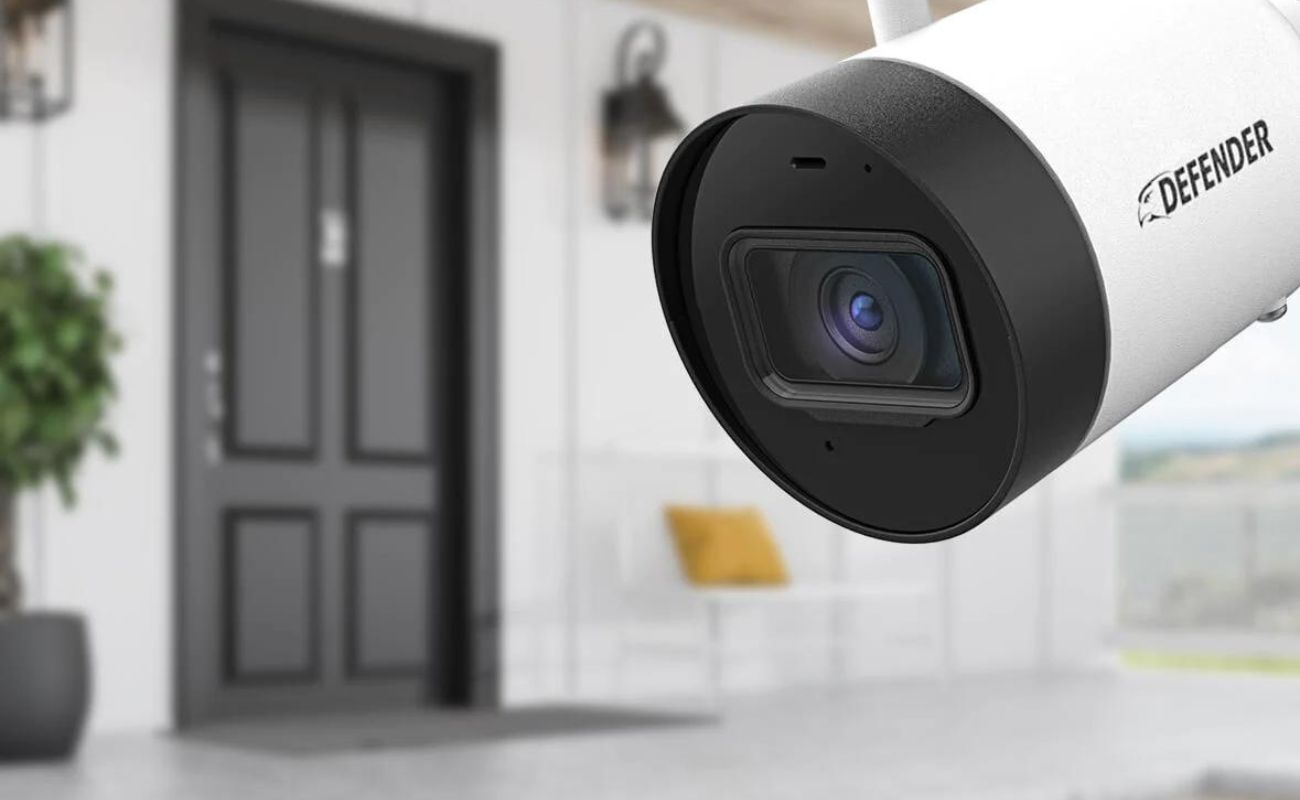
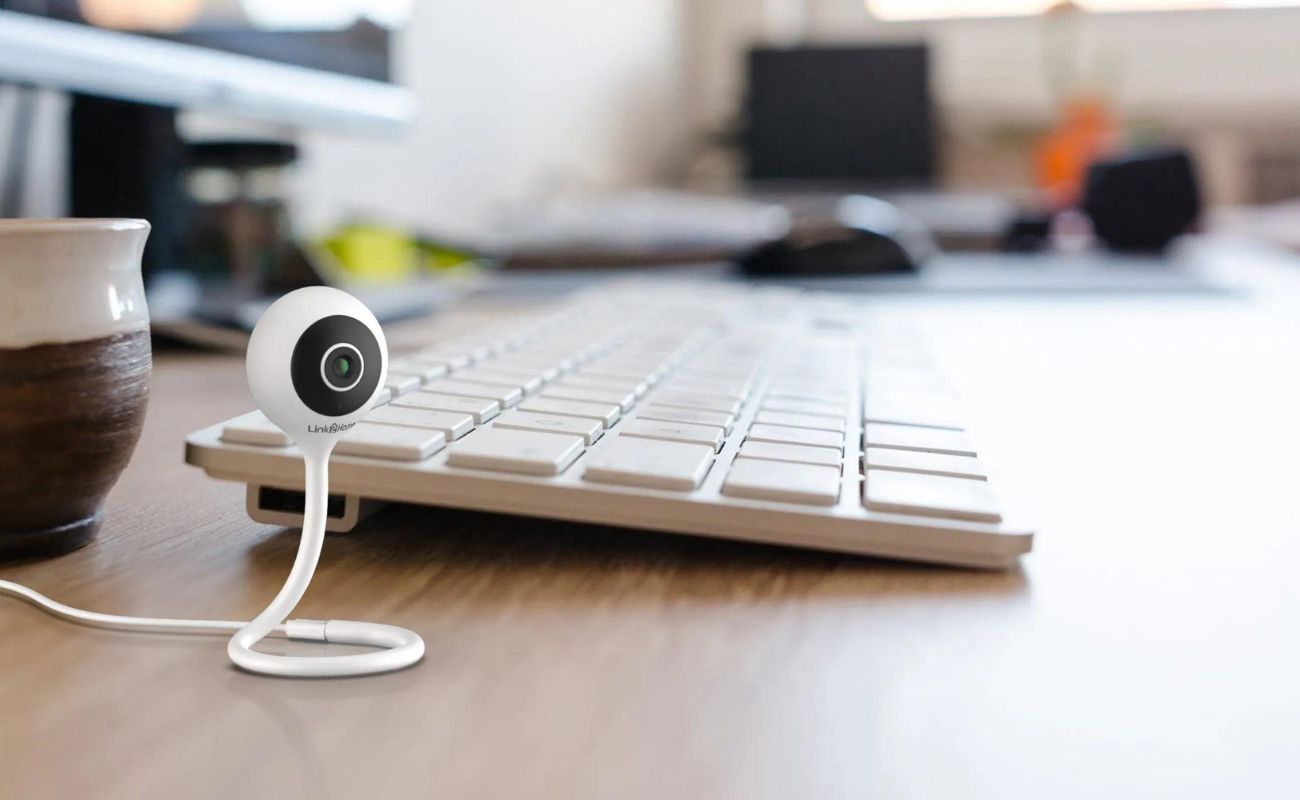
Welcome to the world of home security and surveillance! In today’s fast-paced world, it’s crucial to take steps to protect our homes and loved ones. One of the most effective ways to do this is by installing a wireless security camera system. These innovative devices allow you to monitor your property remotely, giving you peace of mind whether you’re at work, on vacation, or simply in another room.
One question that often arises when setting up a wireless security camera system is how to connect the cameras to a computer monitor. Fortunately, it’s a relatively straightforward process that doesn’t require extensive technical knowledge. In this article, we’ll guide you through the steps to hook up a wireless security camera to your computer monitor, so you can easily view the camera feed and keep an eye on your surroundings.
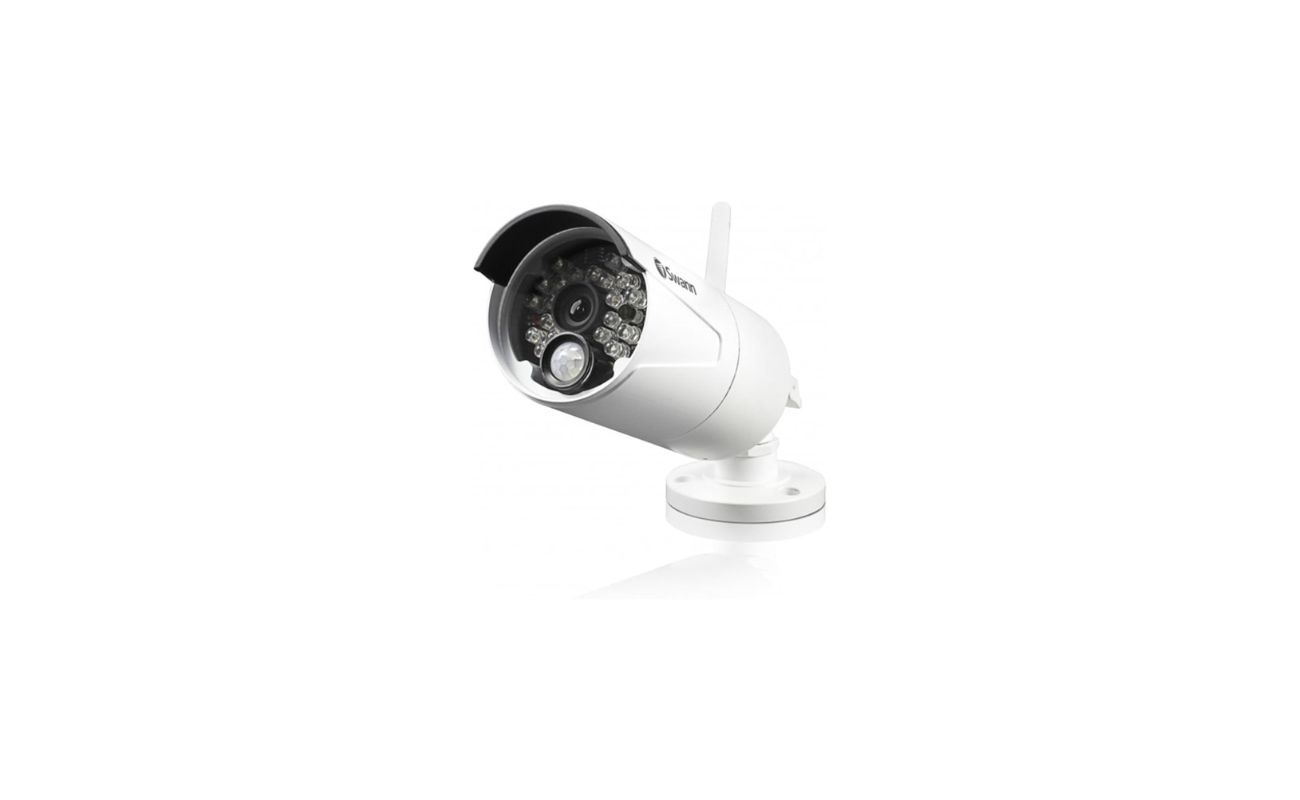
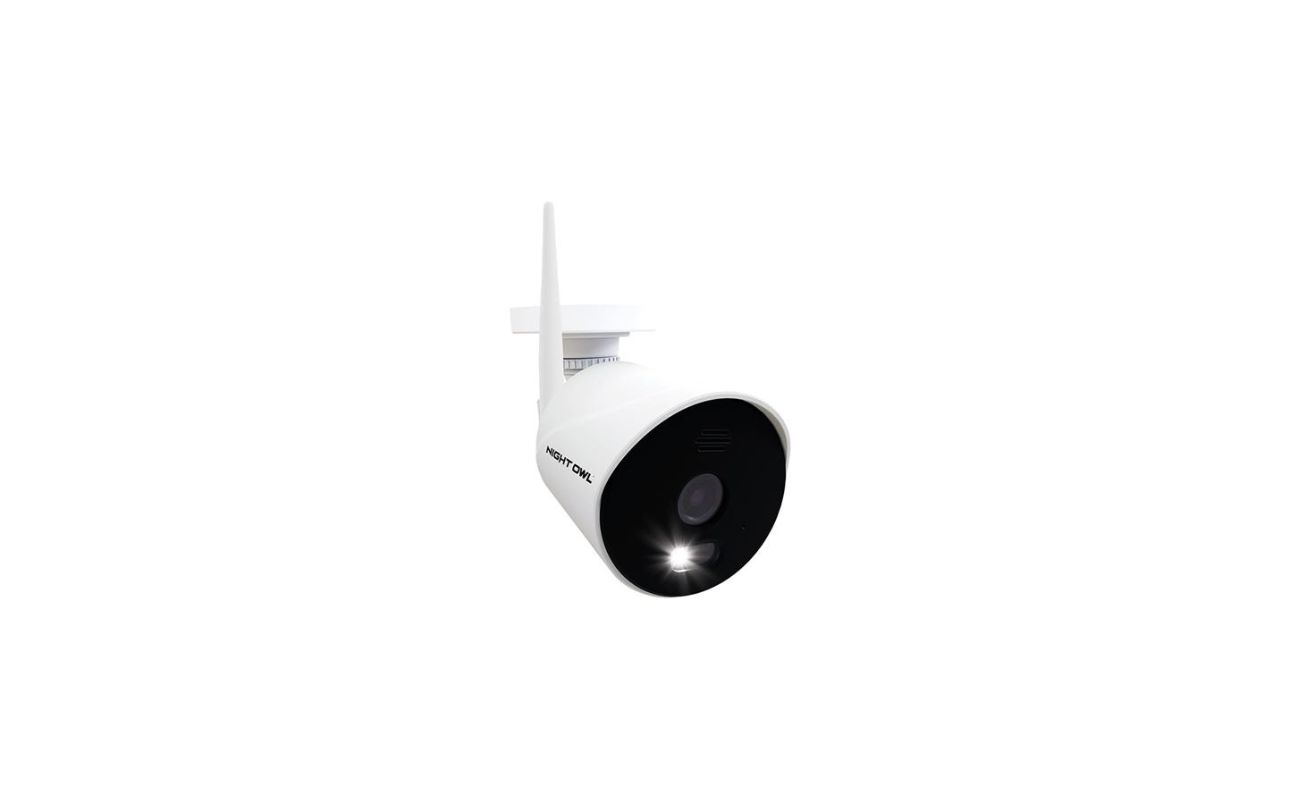
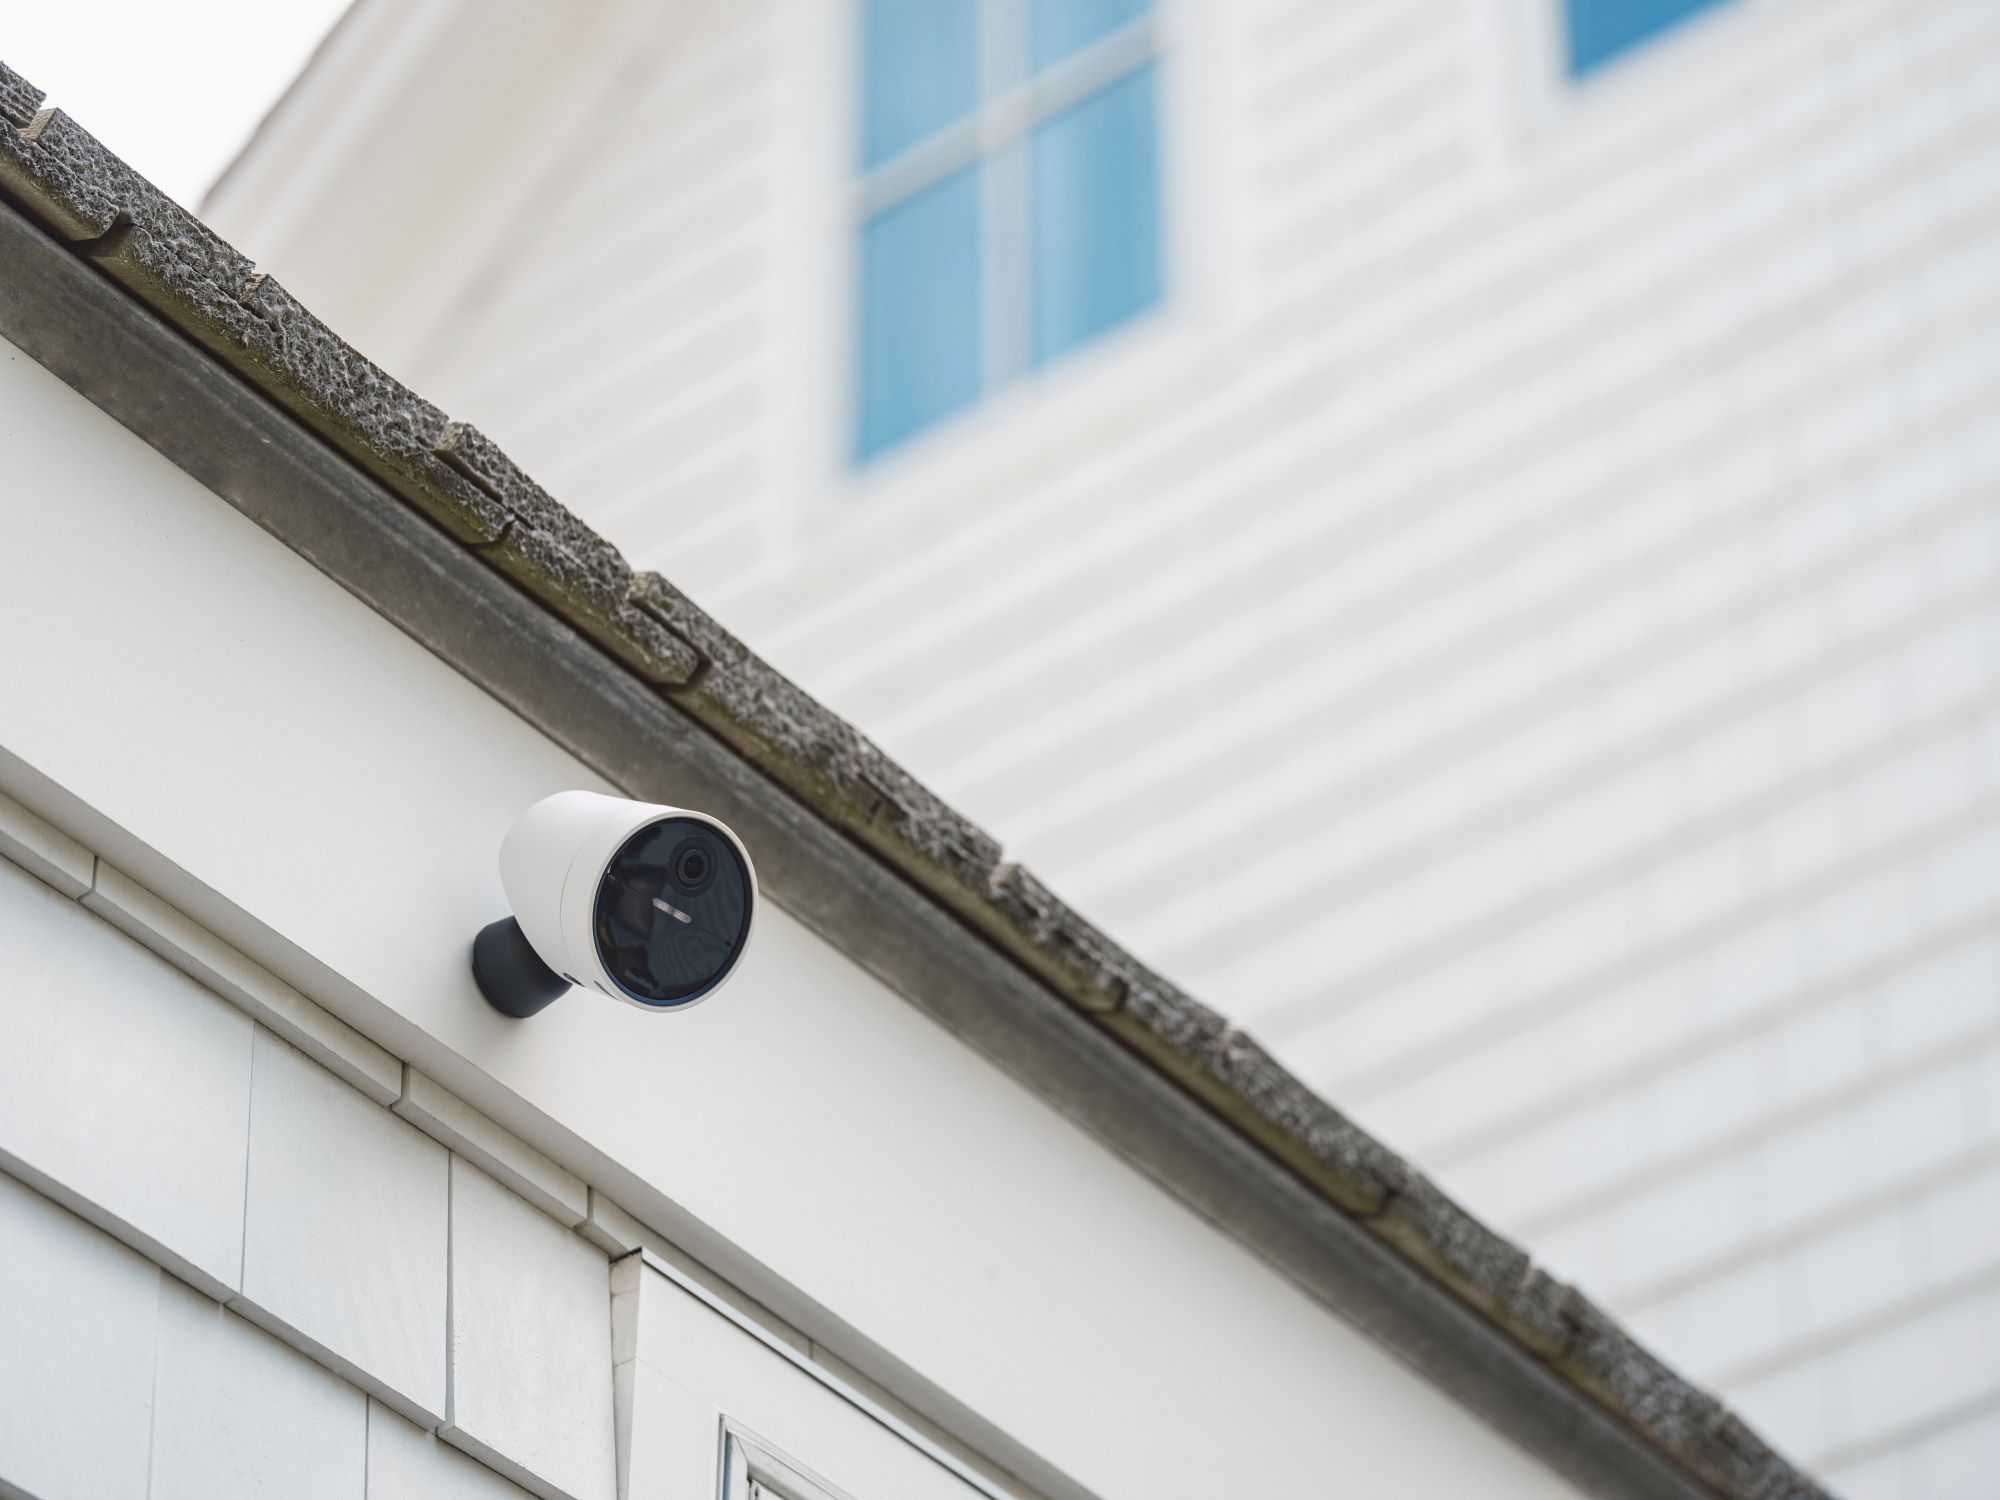
Before we dive into the process, it’s important to note that not all wireless security cameras are compatible with computer monitors. Some cameras only work with proprietary software or mobile applications, while others are specifically designed for integration with computer systems. Before purchasing a wireless security camera, ensure that it supports direct connection to a computer monitor.
Now, let’s move on to the steps involved in setting up your wireless security camera with a computer monitor. With a few simple steps, you’ll be able to enjoy real-time surveillance and keep your home safe and secure.
Key Takeaways:
- Stay vigilant and protect your home by connecting a wireless security camera to your computer monitor. Follow compatibility checks, simple connections, software setup, and troubleshooting for a secure setup.
- Enhance home security with real-time monitoring. Connect your wireless security camera to your computer monitor, configure settings, and troubleshoot common issues for peace of mind and increased safety.
Step 1: Determine the Compatibility of Your Wireless Security Camera and Computer Monitor
Before you begin the setup process, it’s crucial to ensure the compatibility between your wireless security camera and your computer monitor. This will save you time and frustration in the long run. Here’s how you can determine if they are compatible:
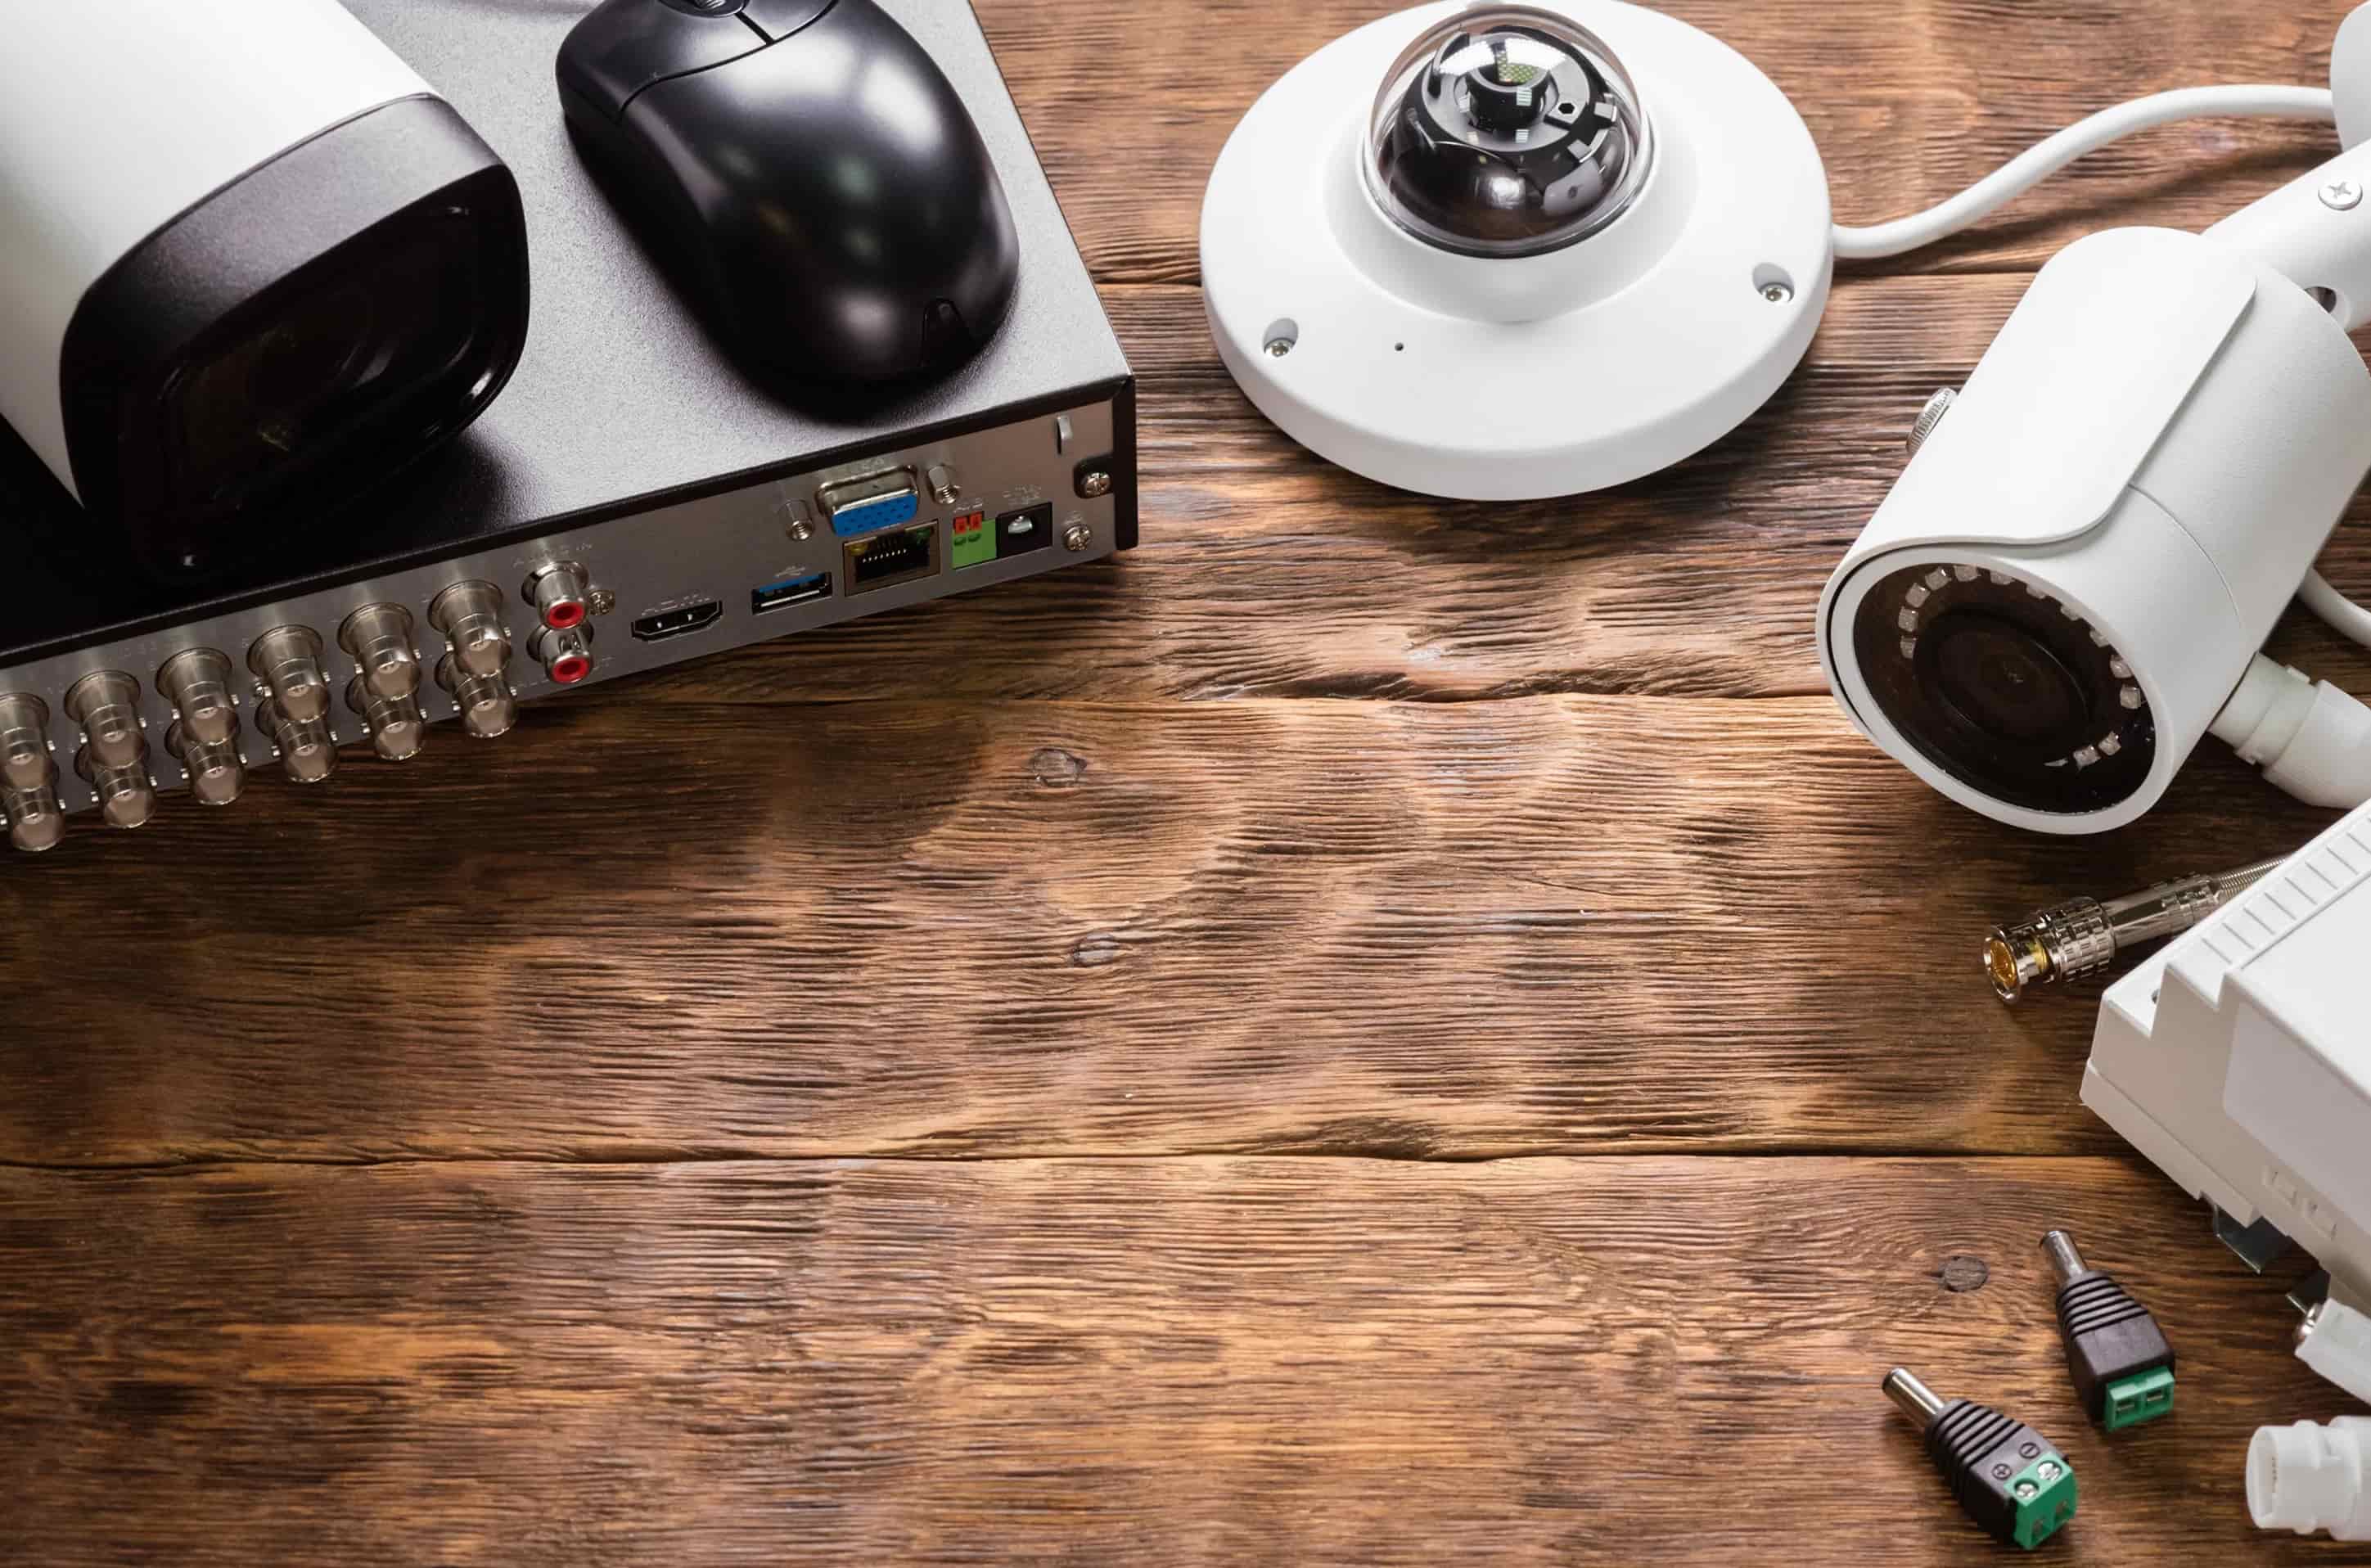
- Check the camera specifications: Look for information on the camera’s packaging, user manual, or the manufacturer’s website. Find out if the camera supports direct connection to a computer monitor. Look for features such as HDMI or VGA output that indicate compatibility with monitors.
- Review the computer monitor’s inputs: Take a look at the ports available on your computer monitor. Check if it has an HDMI or VGA port, as these are the most common connections for video input. If your monitor has neither of these ports, it may not be compatible with the wireless security camera.
- Consider additional hardware: If your camera and monitor aren’t directly compatible, don’t worry! There are additional hardware solutions available to bridge the gap. For example, you can use an HDMI-to-VGA converter if your camera uses HDMI and your monitor only has a VGA port. Research the appropriate converters or adapters needed to connect your camera to the monitor effectively.
By following these steps, you can determine whether your wireless security camera and computer monitor are compatible. If they are, you can proceed to the next step of connecting them. If not, you may need to invest in additional equipment to establish the connection successfully.
Step 2: Connect the Wireless Security Camera to Your Computer Monitor
Once you’ve established the compatibility between your wireless security camera and computer monitor, it’s time to connect them. Here’s a straightforward guide to help you through the process:
- Locate the camera and monitor: Position your wireless security camera in the desired location, ensuring it has a clear view of the area you want to monitor. Place your computer monitor in a convenient spot near the camera.
- Connect the camera to the power source: Most wireless security cameras require a power source for operation. Plug the camera into a power outlet using the provided power adapter or any compatible power source.
- Connect the camera and monitor using the appropriate cable: Depending on the camera and monitor’s compatibility, use either an HDMI or VGA cable to connect them. If both devices have HDMI ports, use an HDMI cable for optimal video quality. If you’re using a VGA cable, make sure to connect the camera’s VGA output to the monitor’s VGA input.
- Power on the camera and monitor: Turn on the camera and monitor to initiate the connection. Wait for both devices to power up and establish a connection.
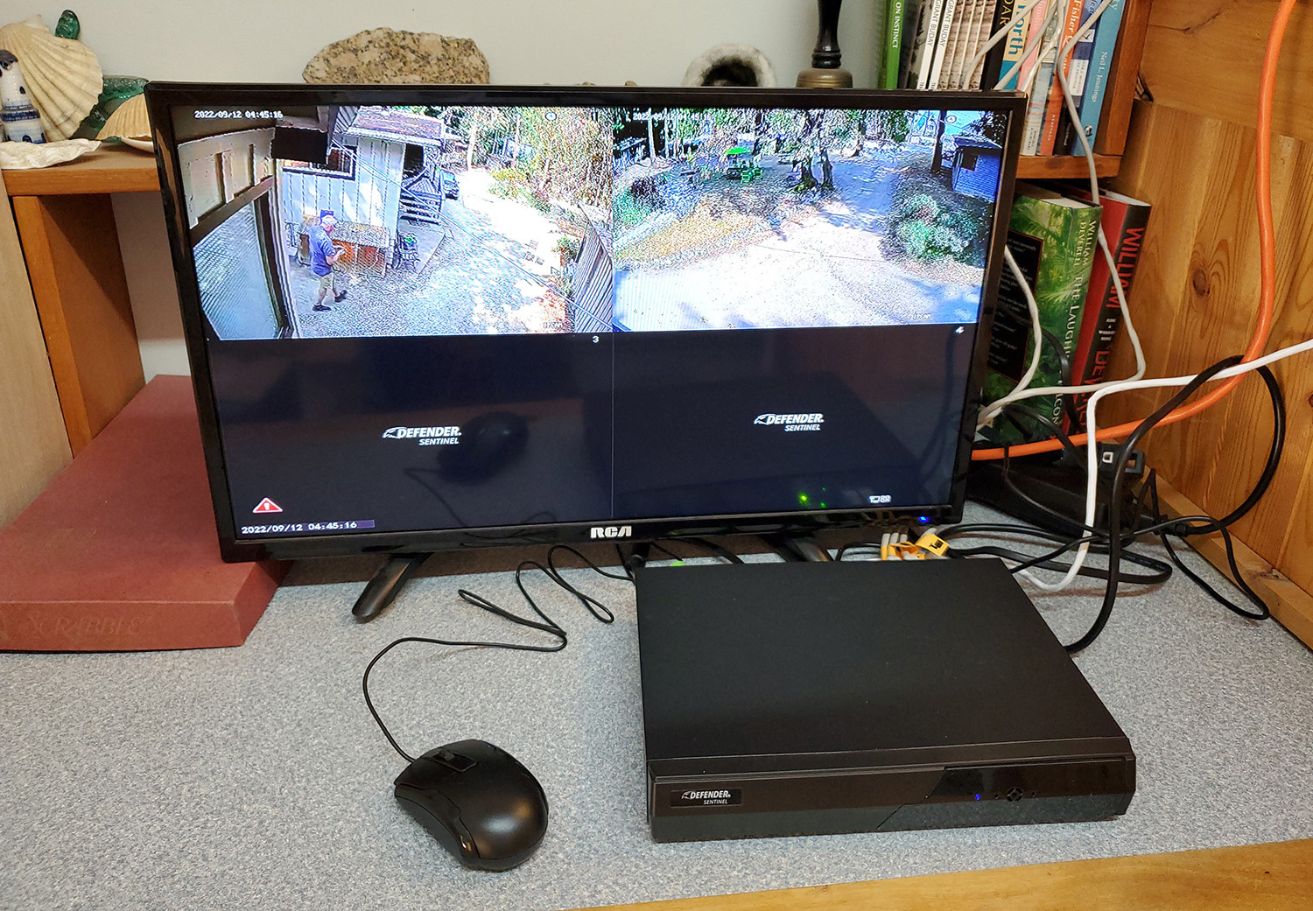
Once you’ve completed these steps, your wireless security camera should be successfully connected to your computer monitor. You should now be able to view the camera feed on the monitor.
It’s important to note that some wireless security cameras may require additional configuration steps to display the video on the monitor. This may involve accessing the camera’s settings or using specific software provided by the manufacturer. Consult the camera’s user manual or manufacturer’s website for instructions on how to configure the camera for connection to a computer monitor.
Now that the camera and monitor are connected, it’s time to move on to the next step of setting up the necessary software and configuring the wireless security camera.
Step 3: Set Up the Software and Configure the Wireless Security Camera
After connecting your wireless security camera to the computer monitor, the next step is to set up the necessary software and configure the camera for optimal performance. Here’s how you can do it:
- Install the camera software: Check if the manufacturer provides any software or apps specifically designed for their wireless security cameras. Visit their website or refer to the camera’s user manual for instructions on how to install the software on your computer.
- Launch the camera software: Once the software is installed, open it on your computer. Follow the prompts to set up a new camera or connect to an existing one. The software interface should guide you through the configuration process.
- Create or log in to your camera account: Some camera software requires you to create an account to access additional features or remote viewing capabilities. Follow the instructions to create a new account or log in to your existing one.
- Configure camera settings: Explore the software interface to access the camera’s settings. Here, you can customize various parameters such as motion detection sensitivity, video quality, recording schedules, and more. Adjust these settings according to your preferences and the specific requirements of your surveillance needs.
- Connect the camera to your wireless network: To enable remote access, connect your wireless security camera to your home’s Wi-Fi network. Look for the network settings within the camera software and follow the instructions to connect to your network. Ensure that your camera and computer are on the same network for seamless connectivity.
- Test the camera feed: Once you’ve completed the software setup and configuration, test the camera feed on your computer monitor. Make sure the video is visible and clear. If you encounter any issues, consult the camera’s user manual or contact the manufacturer’s support for troubleshooting assistance.
By following these steps, you can set up the necessary software and configure your wireless security camera for optimal performance. Take your time to explore the software interface and familiarize yourself with its features. This will allow you to make the most out of your surveillance system and ensure the security of your home.
Now that the software is set up, let’s move on to the next step of adjusting camera settings and monitoring the feed.
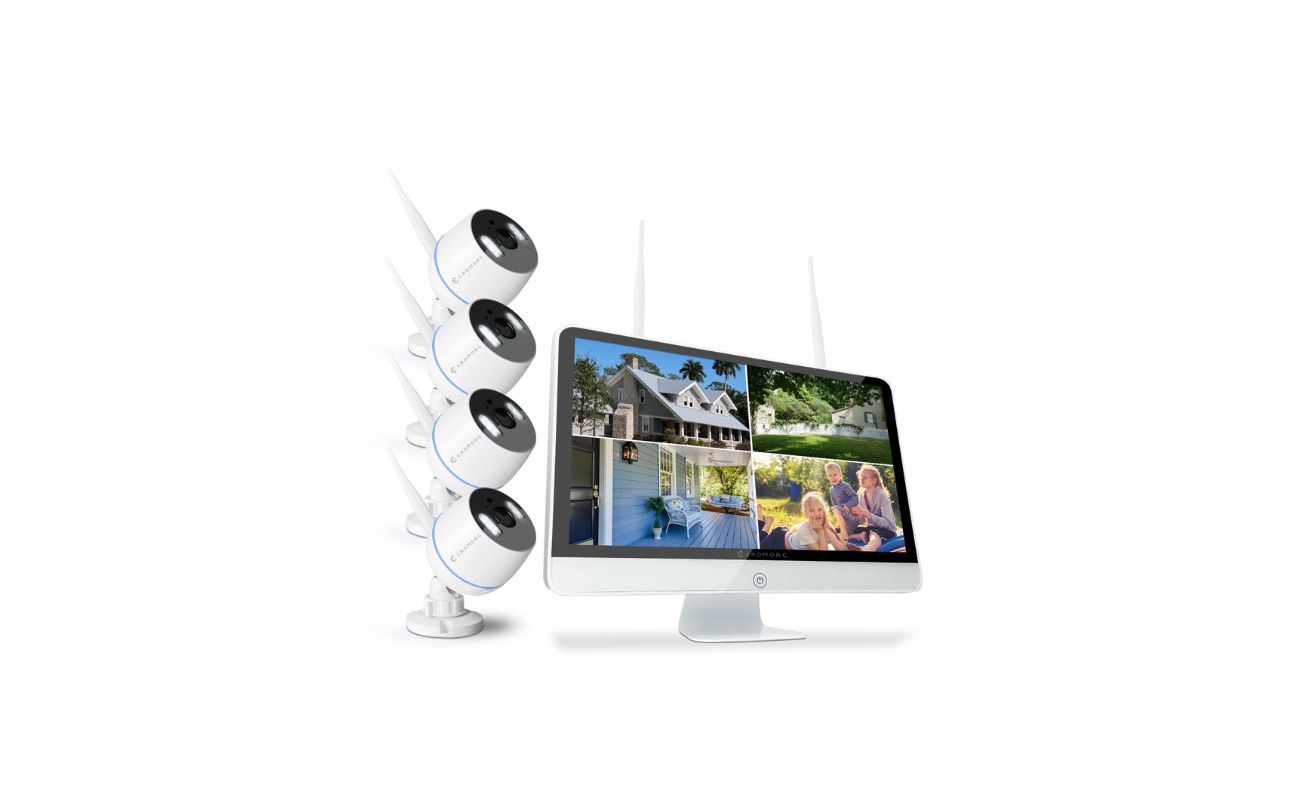
You can connect a wireless security camera to a computer monitor by using a compatible receiver or by accessing the camera’s live feed through a web browser or dedicated software on the computer. Make sure to follow the manufacturer’s instructions for a smooth setup.
Step 4: Adjust Camera Settings and Monitor the Feed
With your wireless security camera successfully connected to your computer monitor and the software configured, you can now adjust the camera settings and start monitoring the live feed. Follow these steps to ensure optimal performance:
- Access the camera settings: Open the camera software on your computer. Navigate to the settings section to access various options for adjusting camera parameters.
- Adjust video quality: Depending on your camera and software, you may have the option to adjust the video quality. Higher-quality video may require more bandwidth and storage, so consider your specific requirements and the capabilities of your system before making changes.
- Enable motion detection: If your camera supports motion detection, you can enable this feature in the settings. Motion detection allows the camera to automatically start recording or send notifications when it detects movement in its field of view.
- Set recording schedules: Some cameras allow you to set specific recording schedules. This can be useful if you only want to record during certain times of the day or week. Adjust the schedules according to your preferences and needs.
- Monitor the live feed: With the camera settings configured, you can now monitor the live feed on your computer monitor. Keep the camera software open and, if necessary, maximize the window to get a clear view of the feed. You can use this setup to watch over your property in real-time, ensuring the safety and security of your home.
- Explore additional features: Take some time to explore the camera software and discover any additional features that may enhance your monitoring experience. Some cameras offer features such as two-way audio, remote pan/tilt/zoom controls, and cloud storage options. Familiarize yourself with these features and utilize them to improve your surveillance capabilities.
By adjusting the camera settings and actively monitoring the live feed on your computer monitor, you can stay on top of any security concerns around your home. It’s important to regularly check the feed to ensure the camera is functioning properly and that you’re receiving the desired level of protection.
Now that you’re familiar with adjusting camera settings and monitoring the feed, let’s move on to the final step of troubleshooting common issues that may arise during the setup process.
Step 5: Troubleshooting Common Issues
During the setup process of connecting your wireless security camera to your computer monitor, you may encounter some common issues. Don’t worry – we’re here to help! Here are a few troubleshooting steps to resolve these issues:
- No video signal: If you’re not seeing any video signal on your computer monitor, double-check that all the cables are securely connected. Make sure the camera and monitor are powered on. If you’re using an HDMI or VGA adapter, ensure that it’s functioning properly. Try reconnecting the cables or using different cables if necessary.
- Poor video quality: If the video quality is not up to your expectations, ensure that your camera and monitor support the same resolution. Adjust the video quality settings in the camera software and monitor settings to achieve the desired clarity. If your wireless network bandwidth is limited, reducing the video quality may help improve the performance.
- Connection issues: If you’re experiencing connection issues between the wireless security camera and your computer monitor, check that both devices are on the same network. Sometimes a simple network restart or resetting the camera and monitor can resolve connectivity problems. Additionally, ensure that your Wi-Fi signal is strong and stable near the camera’s location.
- Software compatibility: If you’re having trouble with the camera software, ensure that you have installed the latest version compatible with your camera model. Check the manufacturer’s website for any software updates or patches. If the software continues to cause issues, try uninstalling and reinstalling it.
- Audio issues: If your camera supports audio but you’re not hearing any sound, check that the audio settings are properly configured in the camera software. Ensure that your computer’s audio settings are not muted or set to low. If you’re using external speakers, ensure they are connected correctly and functioning properly.
- Hardware compatibility: If you’ve followed all the steps and are still encountering issues, double-check the hardware compatibility between your wireless security camera and computer monitor. Ensure that the camera and monitor have compatible ports for direct connection or use the appropriate adapters or converters to bridge the connection.
If you’re still unable to resolve the issue, it is recommended to consult the camera’s user manual or reach out to the manufacturer’s customer support for further assistance. They will be able to provide specific troubleshooting steps tailored to your camera model and address any underlying technical problems.
Don’t get discouraged if you encounter any setbacks during the setup process. With a little patience and troubleshooting, you can overcome these issues and enjoy the benefits of having your wireless security camera connected to your computer monitor.
Congratulations! You now have the necessary knowledge to connect your wireless security camera to your computer monitor, set up the software, configure the camera settings, and troubleshoot common issues. Stay vigilant and protect your home and loved ones with the power of surveillance.
Conclusion
Setting up a wireless security camera and connecting it to a computer monitor can greatly enhance the security and surveillance capabilities of your home. With the ability to monitor your property in real-time, you can have peace of mind knowing that you can keep an eye on your surroundings at any time.
In this article, we walked you through the steps to hook up a wireless security camera to your computer monitor. We discussed the importance of determining compatibility between the camera and monitor, connecting the devices using the appropriate cables, setting up the necessary software, configuring camera settings, and troubleshooting common issues that may arise during the setup process.
Remember, before purchasing a wireless security camera, ensure that it supports direct connection to a computer monitor if that is your intended setup. Take the time to review the camera’s specifications and check the inputs on your computer monitor to ensure compatibility.
Throughout the process, it’s important to follow the manufacturer’s instructions and consult the user manual or website for any specific guidelines or troubleshooting advice. If you encounter any difficulties, reach out to the manufacturer’s customer support for assistance.
By following the steps outlined in this article and staying proactive in securing your home, you can create a robust surveillance system that meets your needs and helps protect your loved ones and valuable possessions.
Remember, home security is an ongoing effort, and it’s essential to regularly check and maintain your wireless security camera to ensure optimal performance. Stay updated with the latest software and firmware updates to benefit from enhanced features and improved functionality.
Now, armed with the knowledge and steps provided, you’re ready to embark on the journey of setting up your wireless security camera system with your computer monitor. Enjoy the peace of mind and increased security that comes with having a reliable surveillance system at your fingertips!
Frequently Asked Questions about How To Hook Up Wireless Security Camera To Computer Monitor
Was this page helpful?
At Storables.com, we guarantee accurate and reliable information. Our content, validated by Expert Board Contributors, is crafted following stringent Editorial Policies. We're committed to providing you with well-researched, expert-backed insights for all your informational needs.