Home>Home Security and Surveillance>How To Install Power Supply For Zmodo Wireless Security Cameras
Home Security and Surveillance
How To Install Power Supply For Zmodo Wireless Security Cameras
Modified: October 19, 2024
Learn how to effectively install a power supply for Zmodo wireless security cameras and ensure optimal home security and surveillance.
(Many of the links in this article redirect to a specific reviewed product. Your purchase of these products through affiliate links helps to generate commission for Storables.com, at no extra cost. Learn more)
Introduction
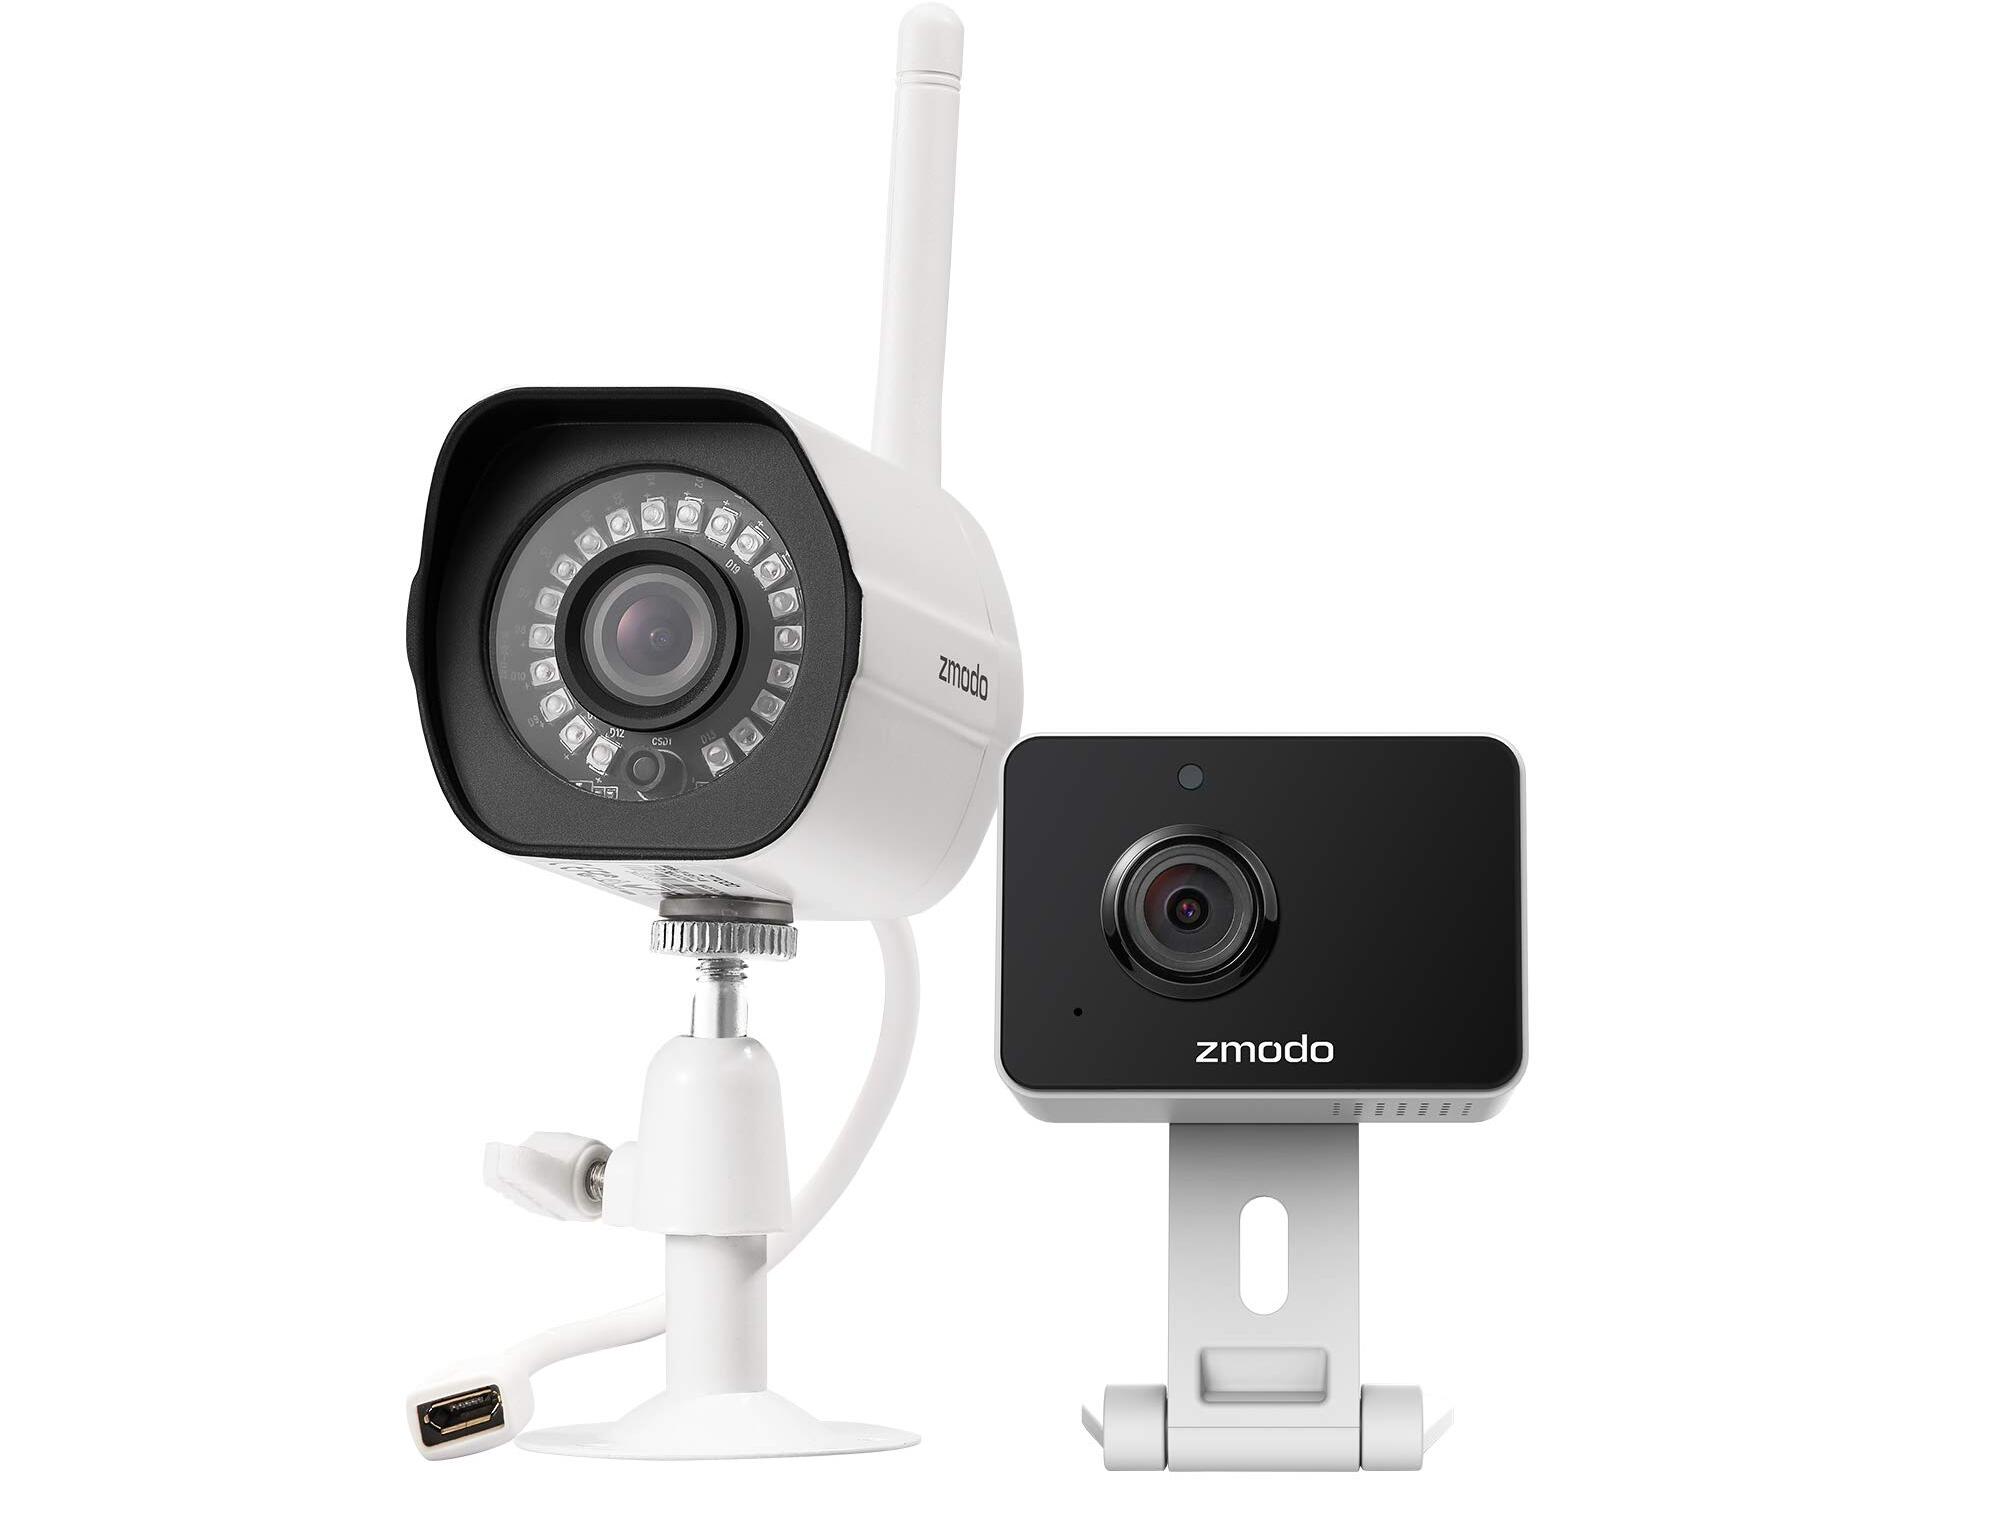
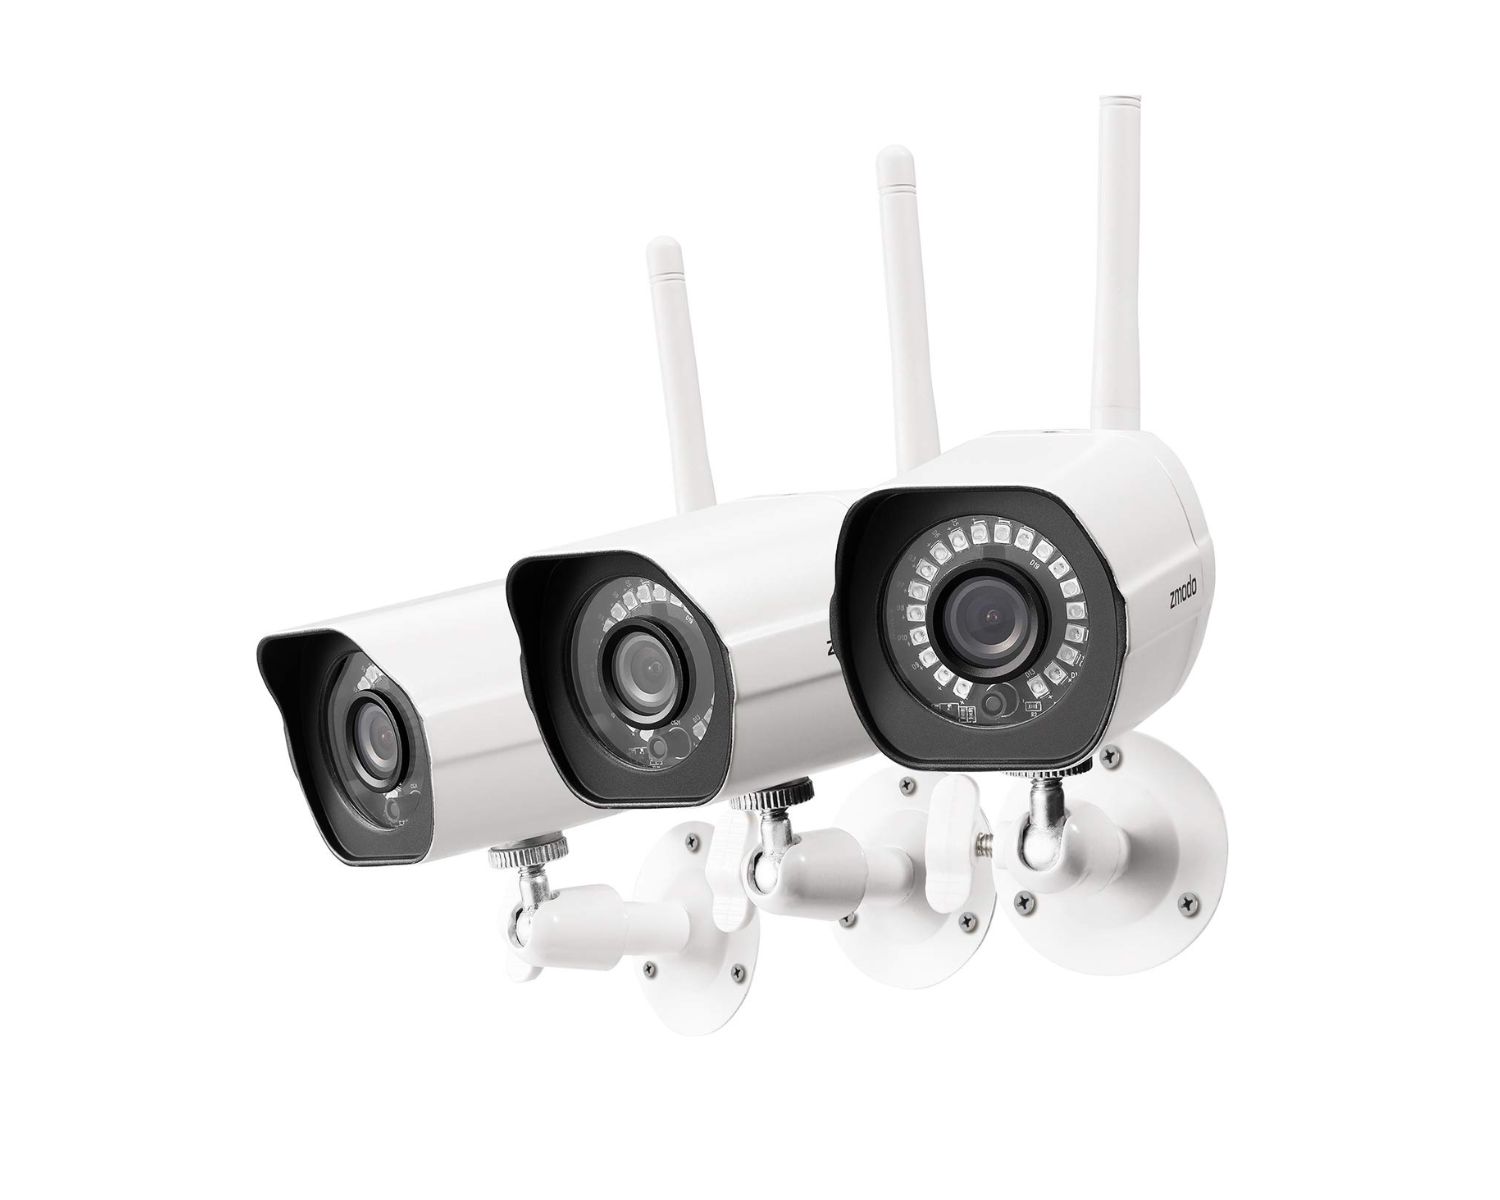
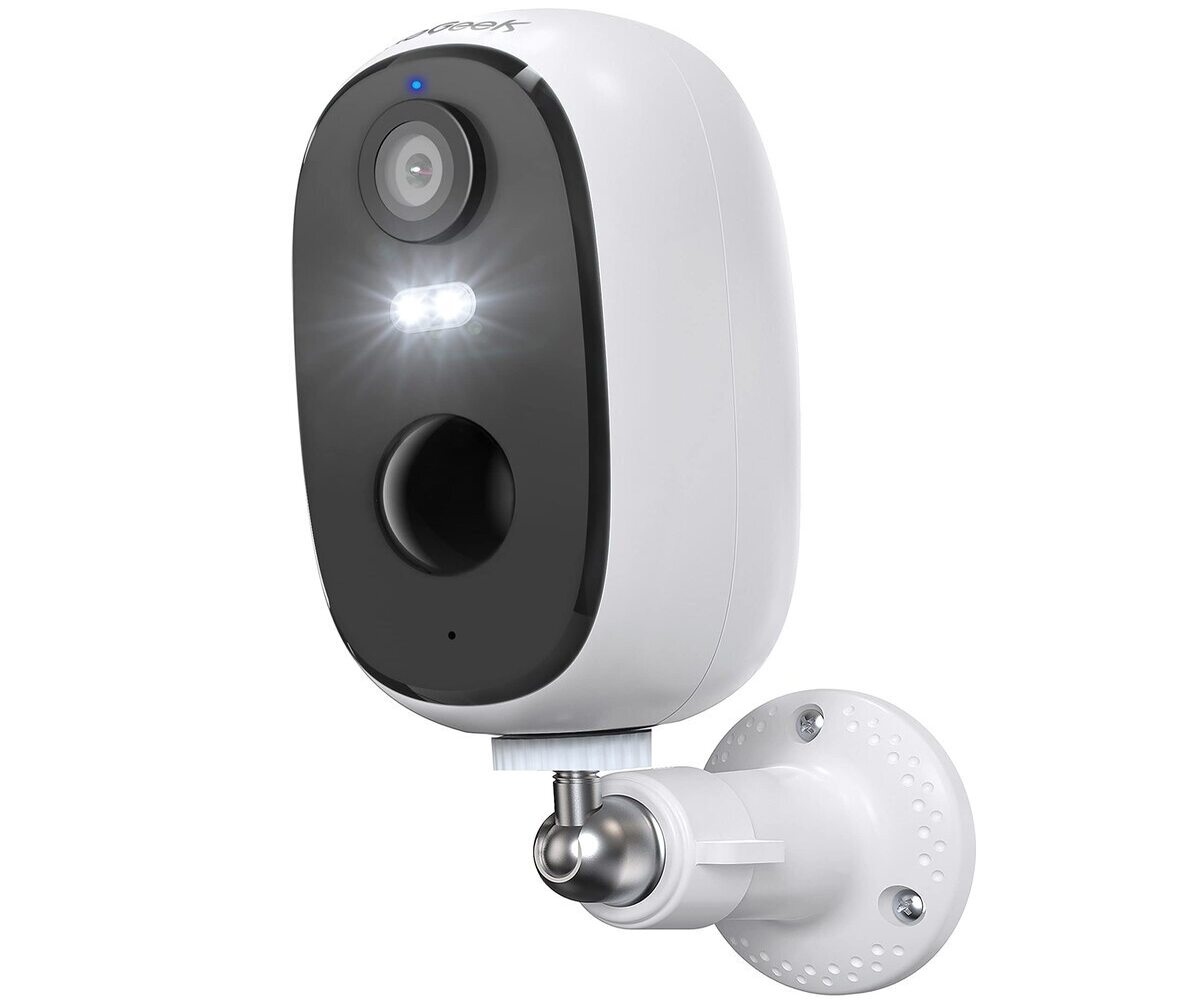
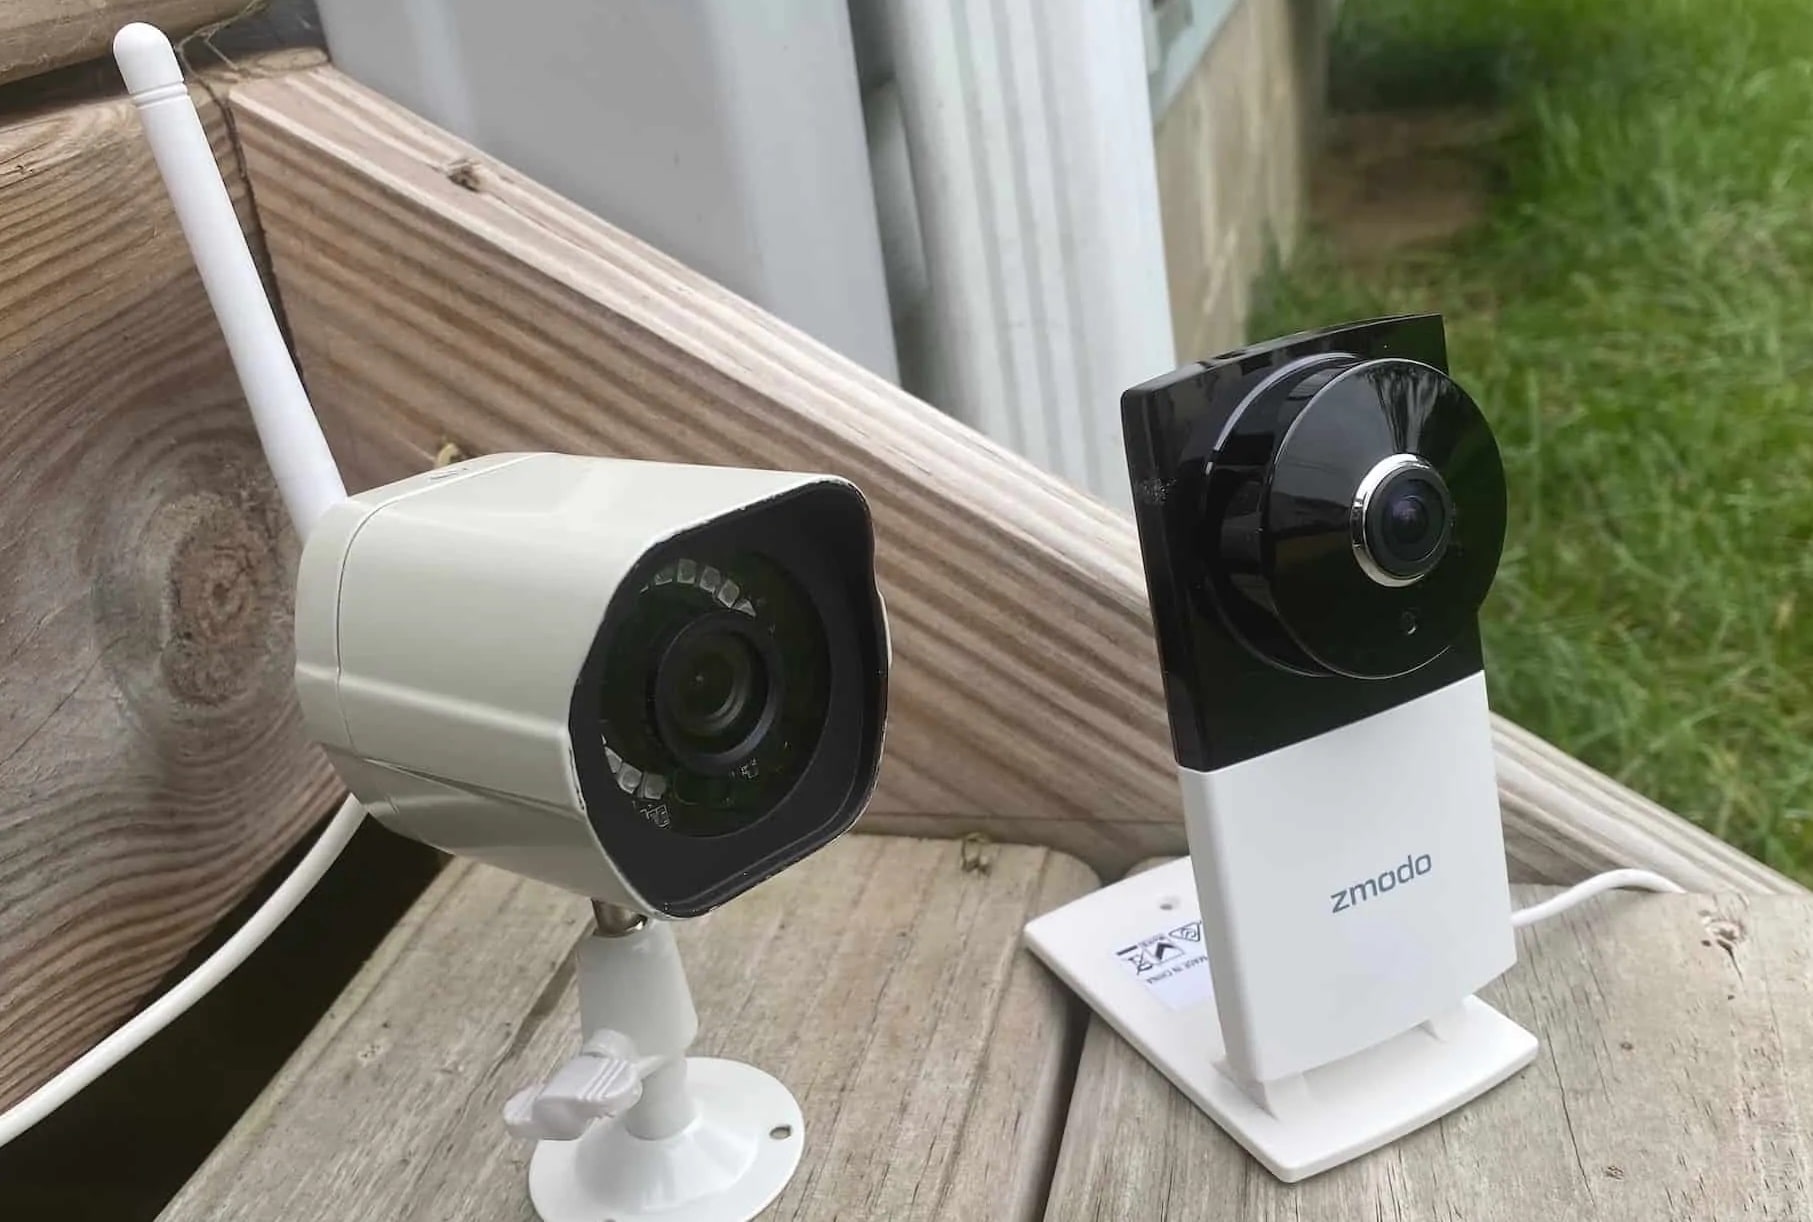
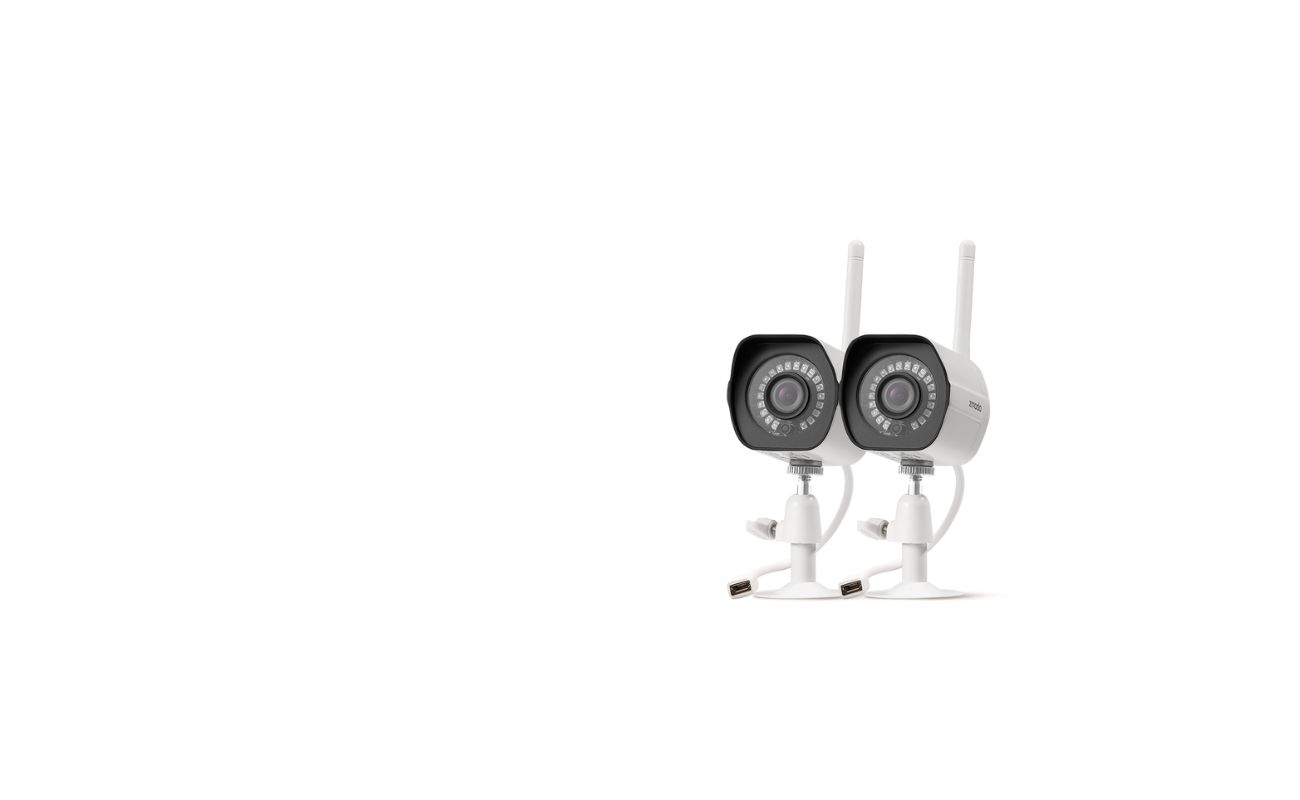
Welcome to this comprehensive guide on how to install a power supply for Zmodo wireless security cameras. When it comes to home security and surveillance, having a reliable power source is crucial for ensuring uninterrupted monitoring and protection. Zmodo wireless security cameras provide a convenient and effective solution for keeping an eye on your property, but they require a proper power supply installation to function optimally.
In this guide, we will walk you through the step-by-step process of installing a power supply for your Zmodo wireless security cameras. We will cover everything from gathering the necessary tools and equipment to testing the installation. By following these instructions, you will be able to set up a reliable and efficient power source for your cameras, allowing you to monitor your home and property with peace of mind.
Before we begin, it’s important to note that safety should always be a top priority when working with electrical components. If you are not comfortable working with electricity, it’s best to consult a professional electrician to ensure the installation is done correctly and safely. Let’s get started!
Key Takeaways:
- Proper power supply installation is crucial for Zmodo wireless security cameras. Follow step-by-step instructions, select the right power supply, and ensure correct connections for reliable surveillance.
- Testing the installation is essential to ensure camera functionality, power stability, and remote access. Prioritize safety and consult a professional if uncomfortable working with electricity.
Step 1: Gathering the Necessary Tools and Equipment
Before you begin the installation process, it’s essential to gather all the required tools and equipment. Having everything you need on hand will ensure a smooth and efficient installation. Here is a list of items you will need:
- Power supply unit: This is the main component that will provide electricity to your Zmodo wireless security cameras. Make sure to choose a power supply that is compatible with your specific camera model and meets the necessary power requirements.
- Power cables: You will need power cables to connect the power supply unit to the cameras. Ensure that the cables are of the appropriate length to reach each camera location.
- Drill and drill bits: A drill will be needed to create holes for mounting the power supply unit. Choose the appropriate drill bit size based on the mounting hardware provided with the power supply.
- Screwdriver: Depending on the type of screws used for the power supply unit, you may require a screwdriver to secure it in place.
- Wire strippers: These are necessary for removing the insulation from the ends of the power cables to make proper connections.
- Electric tape: Electric tape is useful for securely insulating the connections and preventing any short circuits.
- Measuring tape: You will need a measuring tape to ensure accurate placement of the power supply unit.
- Ladder or step stool: If your camera installation requires reaching high spots, a ladder or step stool will be necessary for safe access.
Once you have gathered all the tools and equipment listed above, you are ready to move on to the next step: selecting the suitable power supply.
Step 2: Selecting the Suitable Power Supply
Choosing the right power supply for your Zmodo wireless security cameras is crucial for their proper functioning and performance. The power supply unit should meet the specific power requirements of your cameras and provide a stable and reliable source of electricity. Here are some factors to consider when selecting a power supply:
- Power output: Determine the power consumption of your Zmodo wireless security cameras. This information can usually be found in the camera’s specifications or user manual. Make sure the power supply unit can deliver sufficient power to meet the combined requirements of all the cameras you plan to connect.
- Voltage: Check the voltage requirements of your cameras. Most Zmodo wireless security cameras operate on 12V DC (direct current) power. Ensure that the power supply unit you choose provides the correct voltage to match the cameras.
- Current: Consider the current (measured in amperes or amps) required by each camera. Add up the current requirements of all the cameras to determine the minimum current rating of the power supply unit. It’s advisable to choose a power supply with a slightly higher current rating to allow for any future additions or expansions to your camera system.
- Quality and reliability: Select a power supply unit from a reputable manufacturer to ensure high-quality construction and reliable performance. Look for certifications such as UL (Underwriters Laboratories) or CE (Conformité Européene) to ensure compliance with safety and performance standards.
- Connection compatibility: Check the type of connectors used by your Zmodo wireless security cameras. Ensure that the power supply unit has compatible connectors or comes with adapters for easy and secure connections.
- Weatherproofing: If your cameras are installed outdoors or in exposed areas, consider a power supply unit with weatherproofing features to ensure protection against the elements.
Once you have considered these factors and selected a suitable power supply unit, you can proceed to the next step: understanding the power requirements of your Zmodo wireless security cameras.
Step 3: Understanding the Power Requirements of Zmodo Wireless Security Cameras
Before proceeding with the installation, it’s important to have a clear understanding of the power requirements of your Zmodo wireless security cameras. This will help ensure that you select the appropriate power supply and make correct connections. Here are some important factors to consider:
- Power consumption: Each Zmodo wireless security camera has a specific power consumption rating. This information can usually be found in the camera’s specifications or user manual. It is important to calculate the total power consumption of all the cameras you are planning to connect to ensure that the power supply you choose can handle the load.
- Voltage: Most Zmodo wireless security cameras operate on 12V DC (direct current) power. It’s crucial to verify the voltage requirement of your cameras before selecting a power supply. Using a power supply with the wrong voltage can damage your cameras and potentially void any warranties.
- Current: The current (measured in amperes or amps) requirements of each camera will vary. Make sure to check the individual current rating of your cameras and calculate the total current needed for all the cameras. This will help you choose a power supply unit that can deliver enough current to meet the requirements.
- Cable length: The distance between the power supply unit and the farthest camera location will affect the voltage drop in the power cables. Longer cable lengths can lead to a decrease in voltage, potentially causing issues with camera performance. It’s important to select power cables of an appropriate gauge to minimize voltage drop over longer distances.
- Power supply capacity: When selecting a power supply unit, ensure that it has adequate capacity to handle the power requirements of your cameras. It’s recommended to choose a power supply with a slightly higher power rating than the total power consumption of all the cameras, to allow for any potential power spikes or future expansions.
By understanding and considering these power requirements, you will be better equipped to select the right power supply unit and make proper connections. In the next step, we will guide you through the process of preparing the power supply connection.
Step 4: Preparing the Power Supply Connection
Now that you have gathered the necessary tools and equipment, selected a suitable power supply unit, and understood the power requirements of your Zmodo wireless security cameras, it’s time to prepare the power supply connection. Follow these steps to ensure a proper and secure connection:
- Choose a location: Select a suitable location for mounting the power supply unit. Ideally, it should be near a power outlet and in a well-ventilated area with proper airflow to prevent overheating.
- Prepare the power cables: Measure and cut the power cables to the appropriate length for reaching each camera location. Strip the insulation from the ends of the cables using wire strippers, ensuring that enough bare wire is exposed for making connections.
- Mount the power supply unit: Use the drill and appropriate drill bit to create holes for mounting the power supply unit. Make sure to align the holes with the mounting hardware provided with the unit. Securely fasten the power supply unit to the wall or surface using screws and a screwdriver.
- Connect the power cables: Identify the positive (+) and negative (-) terminals on the power supply unit. Connect the positive wire of each power cable to the positive terminal and the negative wire to the negative terminal. Double-check the connections to ensure they are secure.
- Insulate the connections: To prevent any short circuits or exposed wires, use electric tape to insulate and secure the connections. Wrap the tape tightly around each connection, covering the exposed wires completely.
By following these steps, you will be well-prepared to install the power supply for your Zmodo wireless security cameras. It’s important to ensure that all connections are properly made and securely insulated to avoid any electrical hazards or disruptions in camera performance.
In the next step, we will guide you through the process of mounting the power supply unit.
When installing a power supply for Zmodo wireless security cameras, make sure to use the correct voltage and amperage to avoid damaging the cameras. Also, ensure that the power supply is weatherproof if it will be installed outdoors.
Step 5: Mounting the Power Supply
Now that you have prepared the power supply connection, it’s time to mount the power supply unit in its designated location. Follow these steps to securely mount the power supply:
- Position the power supply: Place the power supply unit in the desired location, ensuring that it is easily accessible for future maintenance or adjustments, if needed.
- Mark the mounting holes: Use a pencil or marker to mark the positions of the mounting holes on the wall or surface. Make sure the marks are accurate and aligned with the holes in the power supply unit.
- Drill the holes: Using a drill bit that matches the size of the mounting hardware provided with the power supply unit, carefully drill holes at the marked positions. Be mindful of the type of surface you are drilling into and adjust the drill settings accordingly.
- Insert anchors (if necessary): If you are mounting the power supply unit on a drywall or other hollow surface, insert anchors into the drilled holes. These anchors will provide additional support and stability for the mounting screws.
- Secure the power supply: Line up the mounting holes on the power supply unit with the drilled holes. Insert the appropriate screws through the holes and into the anchors or directly into the wall/surface. Use a screwdriver to tighten the screws, ensuring that the power supply unit is securely mounted.
It is important to ensure that the power supply unit is firmly mounted to prevent any accidental movement or dislodging. A securely mounted power supply will provide a stable and reliable source of power for your Zmodo wireless security cameras.
Now that the power supply is properly mounted, you are ready to move on to the next step: connecting the power supply to the Zmodo wireless security cameras.
Step 6: Connecting the Power Supply to the Zmodo Wireless Security Cameras
With the power supply unit securely mounted, it’s time to connect it to your Zmodo wireless security cameras. Follow these steps to ensure a proper and efficient power supply connection:
- Identify the camera power input: Locate the power input port on each Zmodo wireless security camera. This port is typically labeled as “Power” or “DC IN” and is usually located on the back or bottom of the camera.
- Prepare the power cables: Take the power cables that you previously cut and stripped. Identify the positive (+) and negative (-) wires of each cable. Ensure that the length of the cable is sufficient to reach from the power supply unit to each camera location.
- Make the power connections: Connect the positive (+) wire of each power cable to the corresponding positive (+) terminal on the power supply unit. Connect the negative (-) wire of each power cable to the corresponding negative (-) terminal on the power supply unit. Ensure that the connections are tight and secure.
- Connect the cameras: Take the other ends of the power cables and connect the positive (+) wire to the power input port of each Zmodo wireless security camera. Connect the negative (-) wire to the corresponding negative (-) terminal on the camera.
- Double-check the connections: Once all the connections are made, double-check that each power cable is securely connected to both the power supply unit and the Zmodo wireless security cameras. Ensure that there are no loose or exposed wires.
By following these steps, you will have successfully connected the power supply unit to your Zmodo wireless security cameras. It’s essential to double-check all the connections to prevent any potential power failures or camera malfunctions.
In the next step, we will guide you through the process of testing the installation to ensure that everything is working properly.
Step 7: Testing the Installation
Now that you have completed the installation of the power supply for your Zmodo wireless security cameras, it’s important to test the setup to ensure that everything is working properly. Follow these steps to test the installation:
- Power on the cameras: Turn on the power supply unit to supply electricity to the Zmodo wireless security cameras.
- Check camera functionality: Monitor the camera feeds on your preferred viewing device, whether it’s a computer, smartphone, or tablet. Ensure that all the cameras are receiving power and displaying clear video footage.
- Verify power stability: Watch the camera feeds for an extended period to confirm that there are no interruptions or fluctuations in the power supply. Look for any signs of instability, such as flickering images or cameras randomly turning off.
- Test camera settings: Access the camera settings, if applicable, and ensure that all desired configurations, such as motion detection or recording schedules, are functioning correctly.
- Check remote access: If you have enabled remote access for your Zmodo wireless security cameras, verify that you can access the camera feeds from an external network or through a dedicated mobile app.
- Inspect power supply temperature: After the cameras have been running for a while, check the temperature of the power supply unit. It should not feel excessively hot to the touch. If it does, ensure that it has proper ventilation and is not overburdened by too many camera connections.
- Monitor power consumption: Use a power monitor or meter to track the power consumption of the entire camera system. Make sure it falls within the expected range based on the specifications provided for the power supply unit and the cameras.
If any issues are identified during the testing process, troubleshoot accordingly. Check the connections, power supply capacity, and camera settings to ensure everything is properly configured. If the problems persist, consult the user manual or contact Zmodo customer support for further assistance.
By testing the installation, you can be confident that your Zmodo wireless security cameras are properly powered and functioning as intended, providing you with the peace of mind you need for your home security.
Finally, congratulations on successfully installing the power supply for your Zmodo wireless security cameras! With this guide, you have gained the knowledge and skills to ensure a reliable and efficient power source for your surveillance system. Now, you can enjoy enhanced security and surveillance capabilities at your home or property.
If you have any further questions or need assistance, feel free to refer back to this guide or reach out to Zmodo customer support. Stay safe and secure!
Conclusion
Installing a proper power supply for your Zmodo wireless security cameras is essential for ensuring a reliable and efficient surveillance system for your home or property. In this comprehensive guide, we have walked you through the step-by-step process of installing the power supply, from gathering the necessary tools and equipment to testing the installation.
By following the steps outlined in this guide, you can ensure that your power supply meets the specific requirements of your Zmodo wireless security cameras. By selecting a suitable power supply, understanding the power requirements of the cameras, and properly preparing the power supply connection, you have taken important steps toward a successful installation.
Mounting the power supply unit securely and making the correct connections to the Zmodo wireless security cameras are crucial for uninterrupted power and functionality. By testing the installation and verifying camera functionality, power stability, remote access, and power consumption, you can have confidence in the reliability and effectiveness of your surveillance system.
Remember, safety always comes first when working with electrical components. If you are not comfortable or experienced in working with electricity, it is highly recommended to consult a professional electrician for assistance.
We hope this guide has provided you with the guidance and knowledge needed to install a power supply for your Zmodo wireless security cameras. By ensuring a reliable and efficient power source, you can enjoy enhanced home security and surveillance capabilities, providing you and your loved ones with the peace of mind you deserve.
If you have further questions or need any assistance, always refer to the user manual or contact Zmodo customer support for expert guidance. Stay safe and secure!
Now that you've got your Zmodo wireless security cameras powered up and ready to keep an eye on your home, why not dive deeper into smartening up your living space? Our next read offers a sneak peek into the latest in smart home technology. You'll discover what gadgets and systems are making homes more connected and intuitive than ever before. So, if you're curious about upgrading your everyday home interactions, don't miss out on our guide to the 12 Best Home Automation systems for the upcoming year.
Frequently Asked Questions about How To Install Power Supply For Zmodo Wireless Security Cameras
Was this page helpful?
At Storables.com, we guarantee accurate and reliable information. Our content, validated by Expert Board Contributors, is crafted following stringent Editorial Policies. We're committed to providing you with well-researched, expert-backed insights for all your informational needs.