Home>Home Security and Surveillance>How To Install Swann Wireless Security Cameras
Home Security and Surveillance
How To Install Swann Wireless Security Cameras
Modified: October 21, 2024
Learn how to easily install Swann wireless security cameras for enhanced home security and surveillance. Step-by-step guide with helpful tips and expert advice.
(Many of the links in this article redirect to a specific reviewed product. Your purchase of these products through affiliate links helps to generate commission for Storables.com, at no extra cost. Learn more)
Introduction
Welcome to the world of home security and surveillance! Whether you want to protect your property from potential burglars or simply keep an eye on your loved ones, installing wireless security cameras can provide you with peace of mind and a sense of security. In this comprehensive guide, we will walk you through the step-by-step process of installing Swann wireless security cameras.
Swann is a leading brand in the home security industry, known for its high-quality products and user-friendly features. Wireless security cameras offer numerous benefits, such as easy installation, flexibility in camera placement, and remote access to live feeds. With Swann wireless security cameras, you can keep a watchful eye on your property from anywhere in the world using your smartphone or computer.
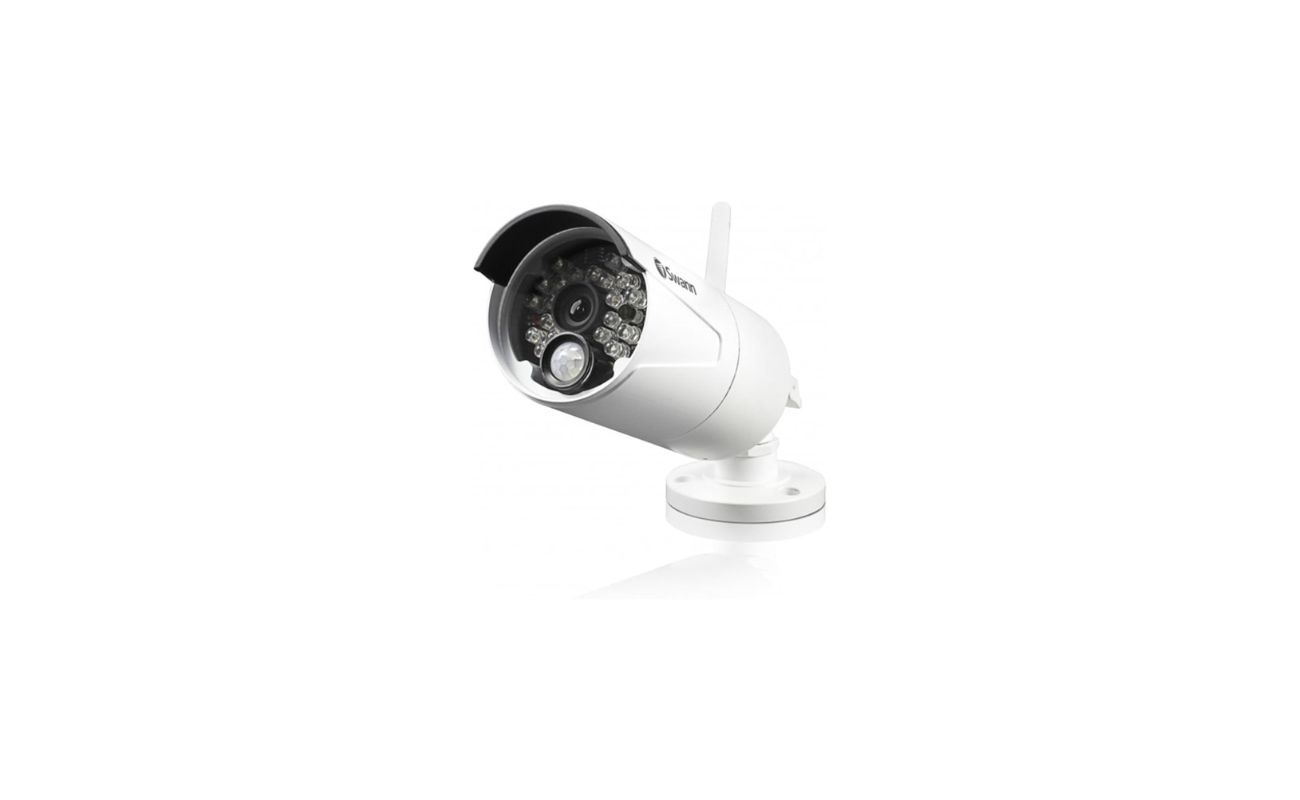
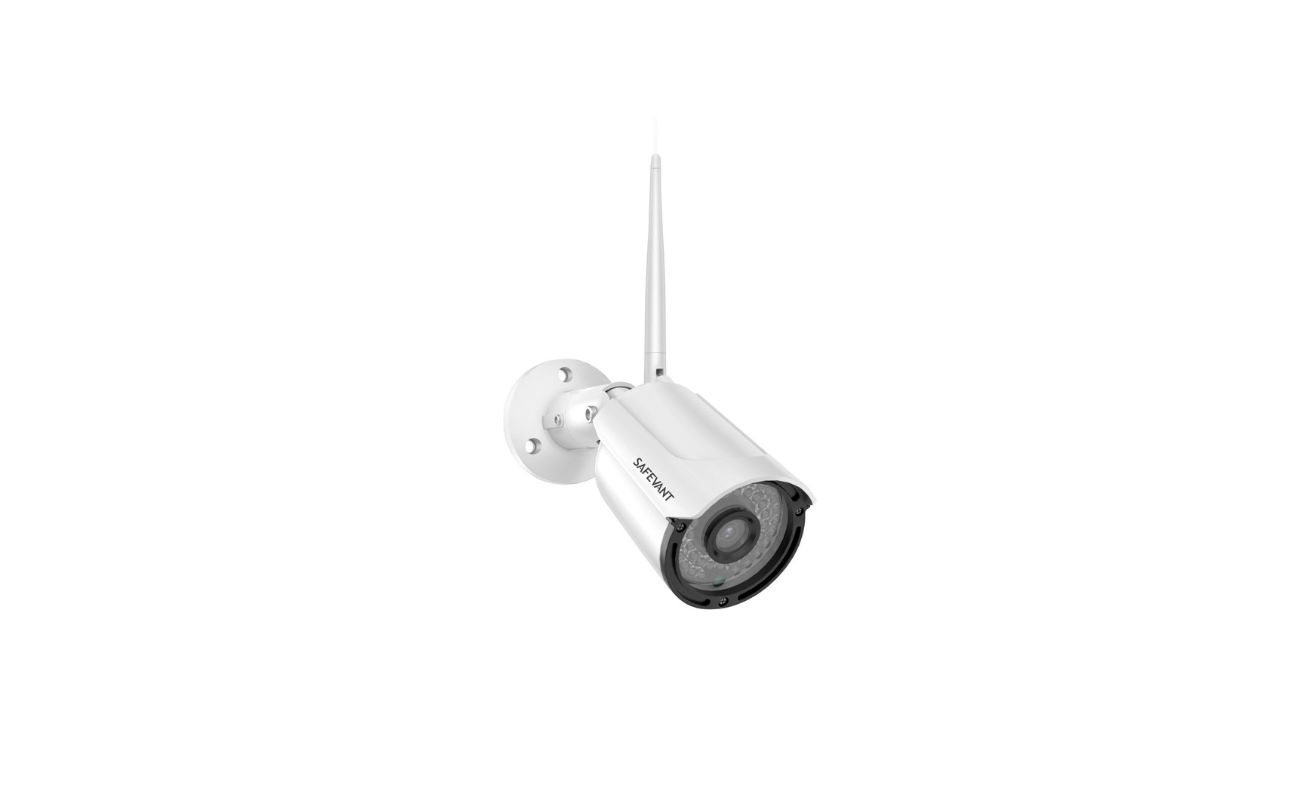
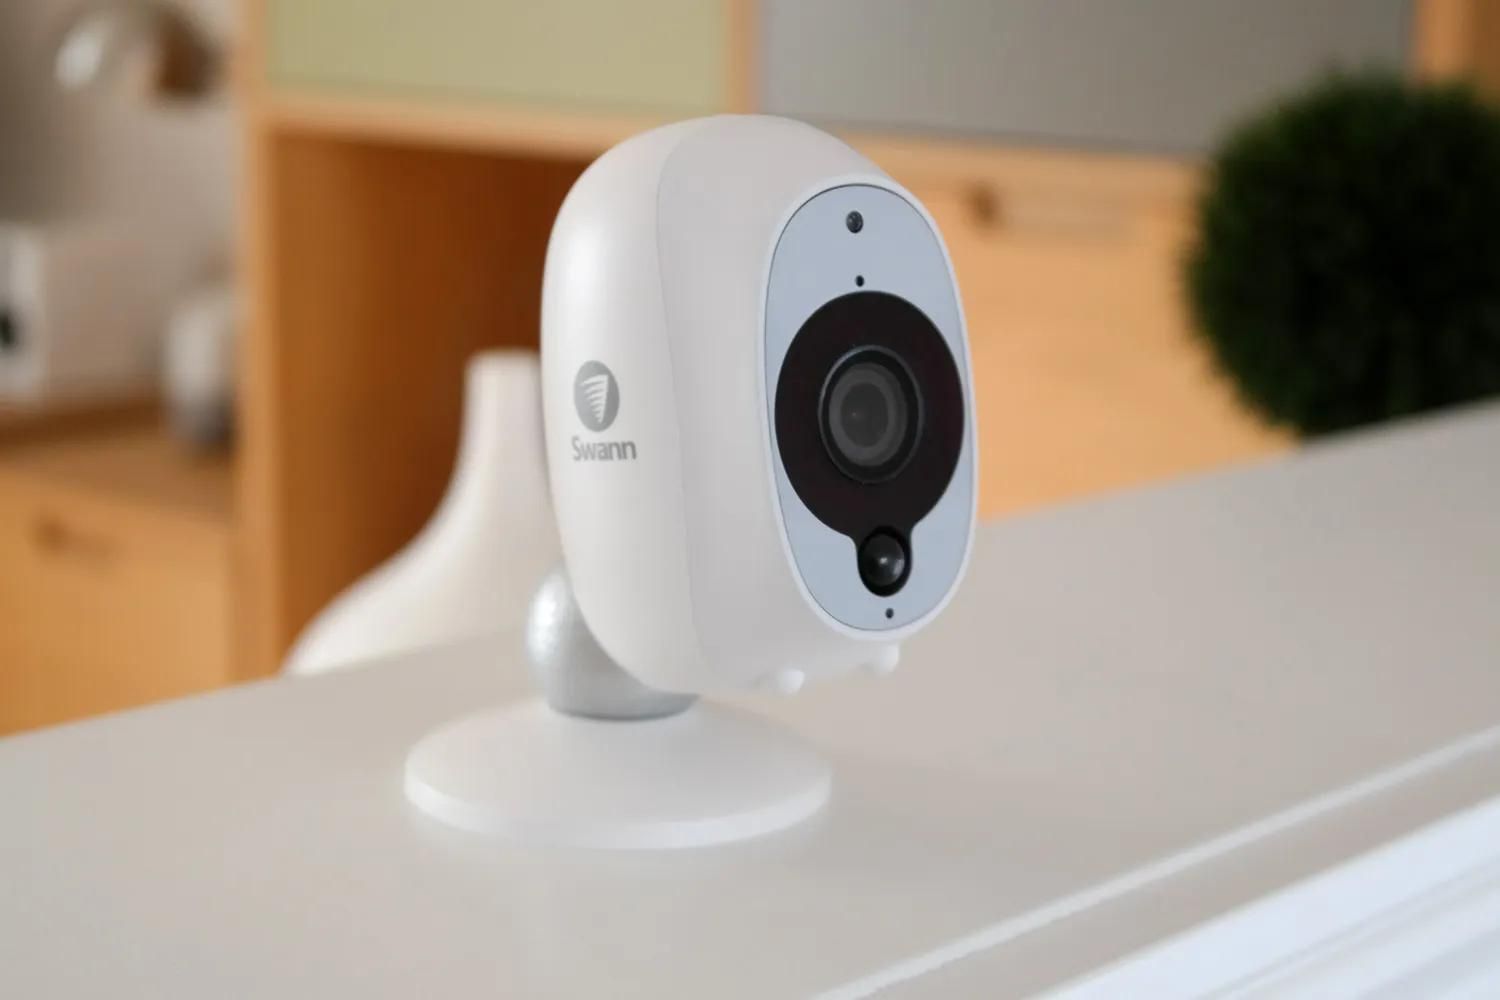
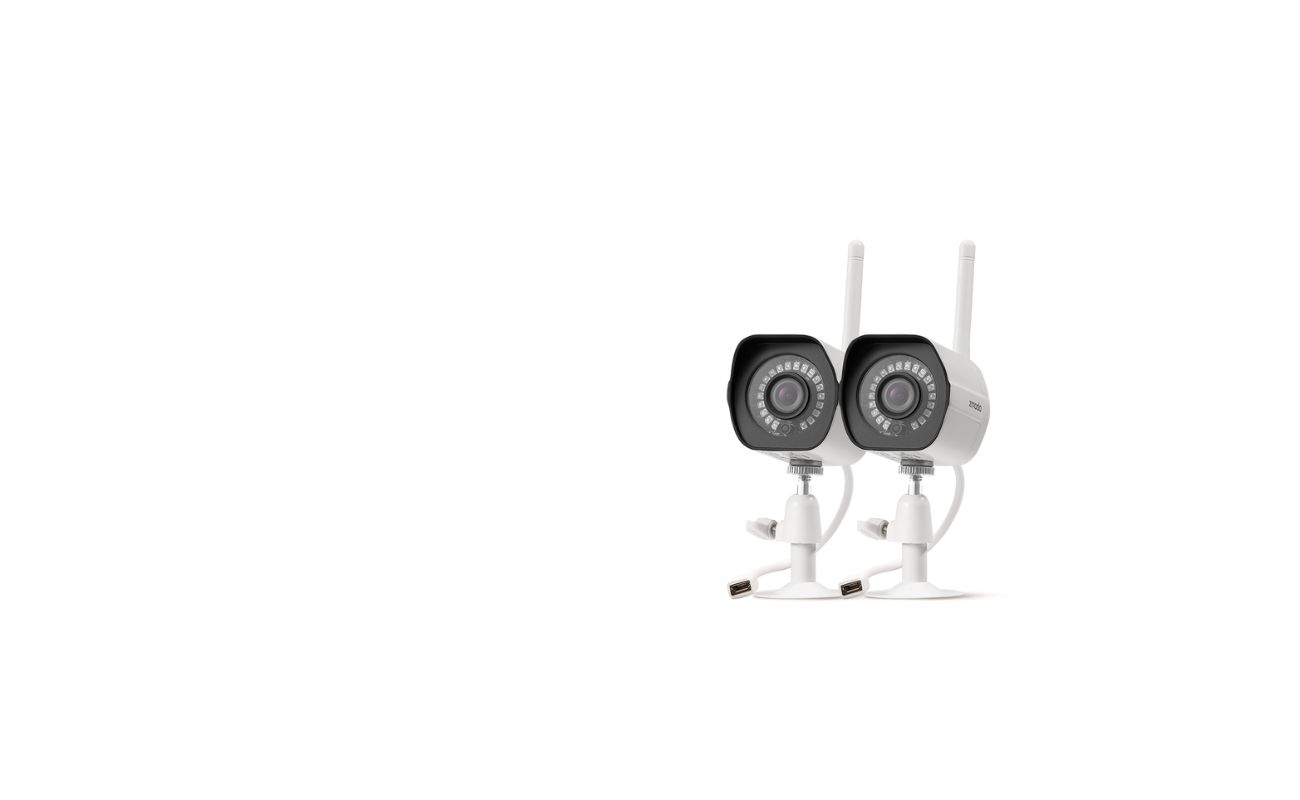
Before we delve into the installation process, let’s briefly discuss some important points to consider. First and foremost, it is crucial to determine the areas you want to monitor and choose the appropriate camera models accordingly. Swann offers a range of wireless cameras, from bullet cameras for outdoor surveillance to dome cameras for indoor monitoring.
Next, make sure you have a stable Wi-Fi connection in the areas where you plan to install the cameras. A weak or unstable Wi-Fi connection can hinder the performance of your wireless cameras. If needed, consider investing in Wi-Fi range extenders to ensure strong signal coverage throughout your property.
Additionally, take into account the power source for your cameras. Swann wireless cameras usually come with rechargeable batteries or require a power outlet. Depending on your preference and the camera model, choose the option that suits your needs best. Keep in mind that battery-powered cameras offer more flexibility in terms of placement, but they need regular recharging.
Now that we’ve covered the basics, let’s dive into the step-by-step process of installing Swann wireless security cameras. Follow these instructions carefully, and in no time, you’ll have your home or business property secured with top-notch surveillance technology.
Key Takeaways:
- Carefully plan the placement of Swann wireless security cameras to cover key areas and minimize blind spots. Consider lighting, weatherproofing, and obstructions for optimal surveillance coverage.
- After installing and pairing the cameras, adjust settings for video quality, motion detection, and night vision. Regularly test the system and secure cables for reliable, long-term security.
Step 1: Determine the Camera Placement
The first step in installing your Swann wireless security cameras is to carefully determine the optimal placement for each camera. This step plays a crucial role in maximizing the effectiveness of your surveillance system.
Start by surveying your property and identifying potential areas that require monitoring. Common areas include entrances, driveways, backyards, and high-traffic areas. Take note of any blind spots or vulnerable points that might need extra surveillance.
Consider the purpose of each camera and the specific features of your Swann model. For example, if you have a camera with a wide-angle lens, you may be able to cover a larger area with a single camera. On the other hand, if you need to monitor a smaller area in detail, you might opt for a camera with a narrower field of view.
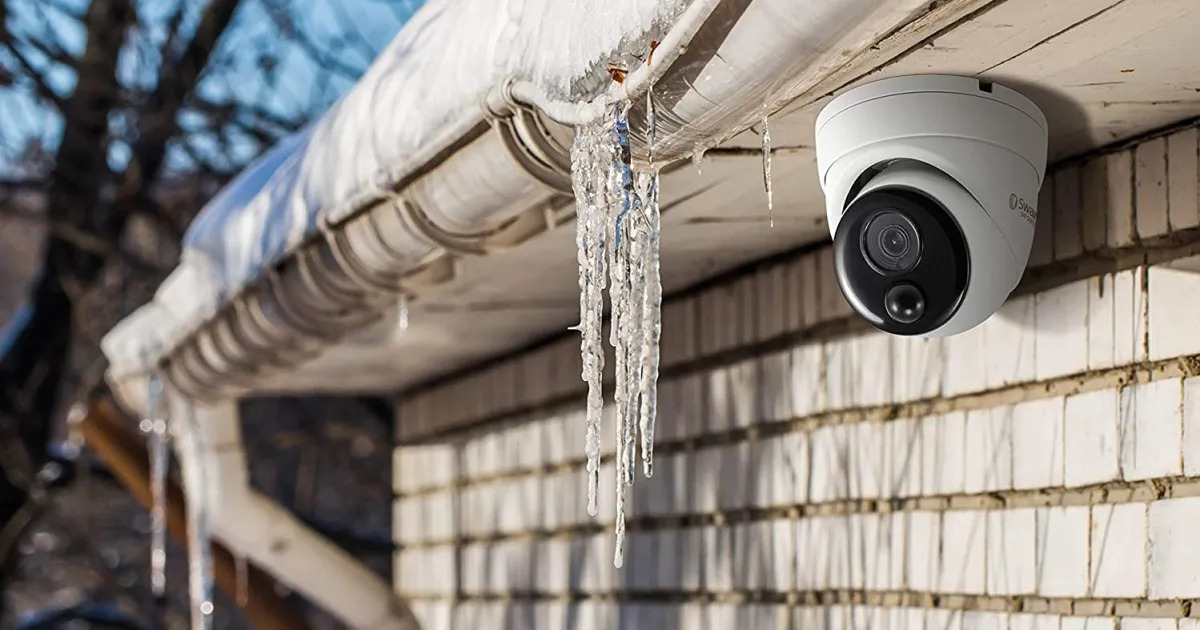
Pay attention to the lighting conditions in each area, as well. If there are areas with poor lighting or frequent changes in lighting, you may want to consider cameras with built-in night vision capabilities or supplemental lighting options.
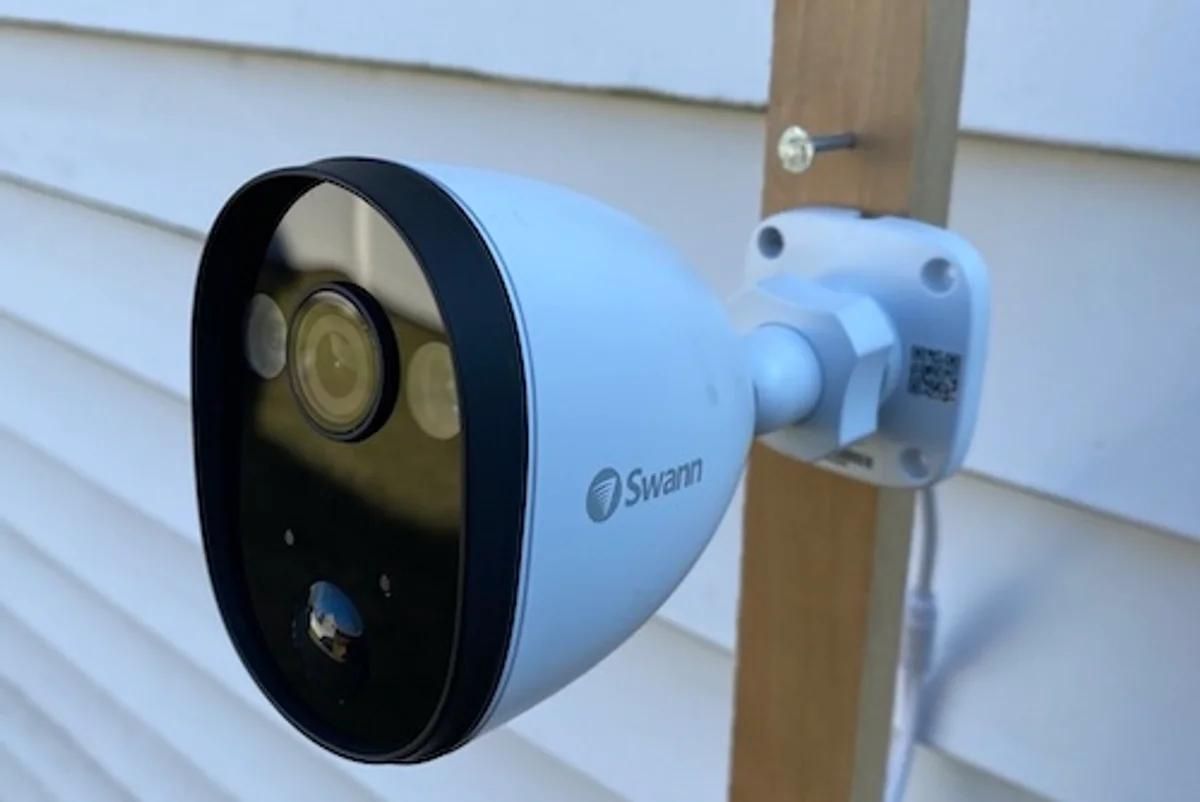
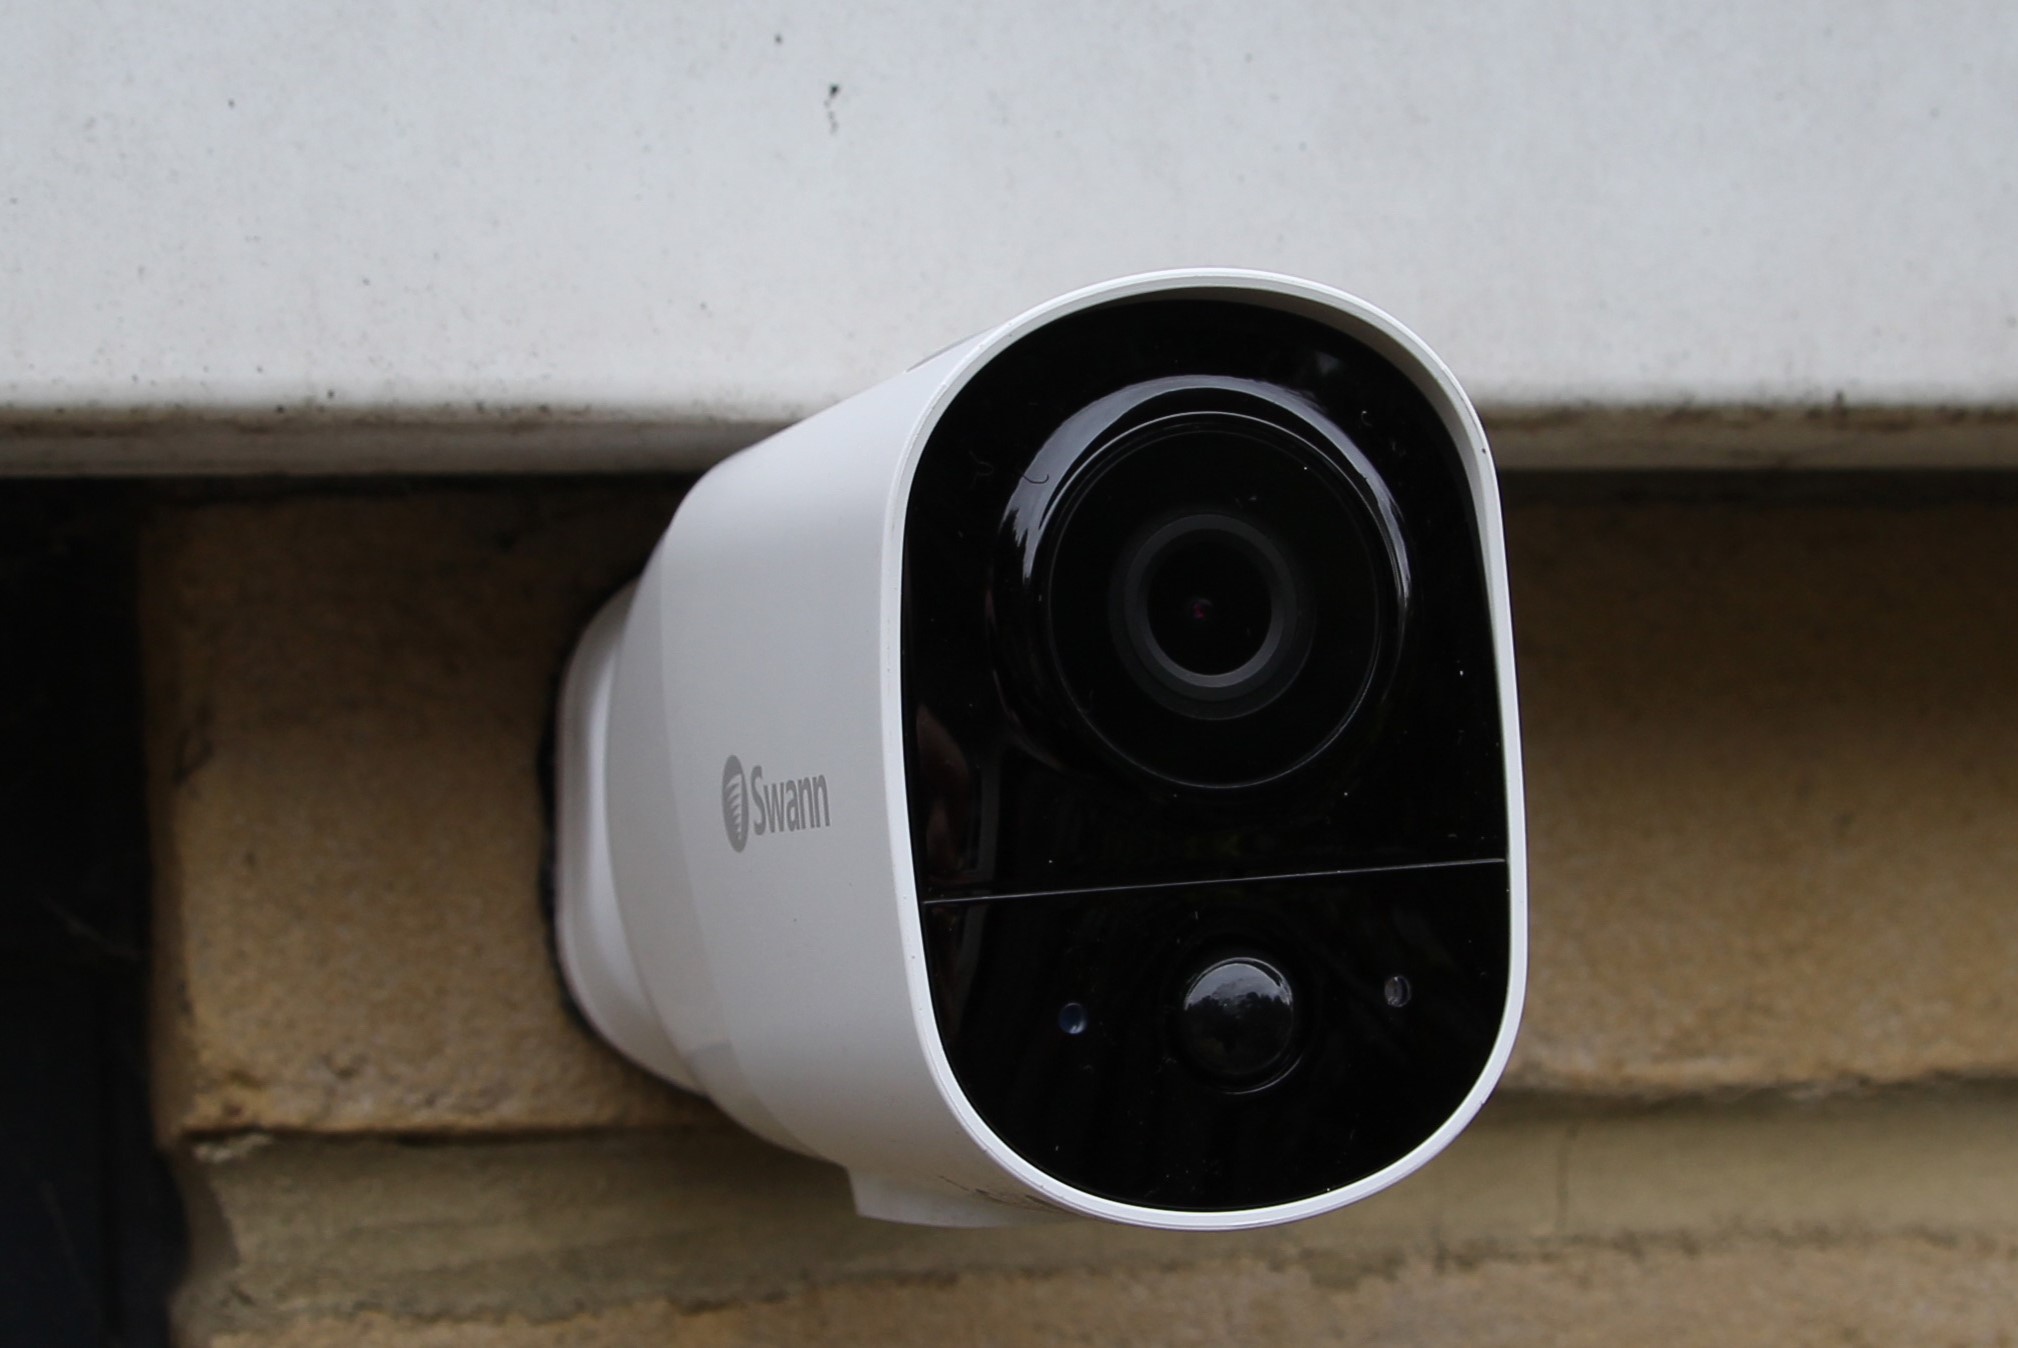
Another key consideration is the camera’s exposure to the elements. Swann offers both indoor and outdoor wireless security cameras. If you plan to install a camera outdoors, make sure it is weatherproof and can withstand various conditions like rain, heat, and cold temperatures.
Take note of any obstructions that may hinder the camera’s field of view or affect its performance. These obstructions can include trees, bushes, walls, or furniture. Make sure the camera has a clear line of sight and is not blocked by any objects that may limit its effectiveness.
Once you have determined the placement for each camera, mark the spots on your property or create a diagram to record the locations. This will serve as a helpful reference during the installation process.
Remember that the goal is to achieve comprehensive coverage of your property while minimizing blind spots. By carefully considering the placement of your Swann wireless cameras, you can optimize the effectiveness of your surveillance system and enhance the security of your home or business.
Step 2: Mounting the Camera Bracket
After determining the ideal placement for your Swann wireless security camera, it’s time to move on to mounting the camera bracket. This step will securely hold the camera in place, ensuring stability and optimal positioning.
Start by selecting a suitable mounting location for the camera bracket. This should be a sturdy surface that can support the weight of the camera. Common options include walls, ceilings, or other flat surfaces.
Before drilling any holes or attaching the bracket, make sure to double-check the camera’s field of view and adjust the angle if necessary. The camera’s lens should be pointing in the desired direction and provide the best coverage for the area you want to monitor.
Once you have determined the position and angle, use a pencil or marker to mark the spots where the bracket will be mounted. Ensure that the marks are level and aligned properly to maintain a straight and balanced installation.
Next, grab your drill and the appropriate drill bit for the surface you are mounting the bracket on. Start by making pilot holes at the marked spots. These pilot holes will serve as guides for the screws that will secure the bracket.
Align the bracket over the pilot holes and use screws to attach it securely to the surface. Make sure to tighten the screws properly, but be cautious not to over-tighten and damage the bracket or the surface.
For added stability, you can also use anchors or wall plugs if you are mounting the bracket on a hollow or uneven surface. These will provide additional support and prevent the bracket from coming loose over time.
After mounting the bracket, give it a gentle tug to ensure it is securely attached. It should not wobble or move. If it feels loose, remove the screws and reposition the bracket or consider adding additional anchors for a more secure installation.
Remember, a properly mounted camera bracket is essential for ensuring accurate positioning and stability of your Swann wireless security camera. Take your time during this step to guarantee a solid foundation for your surveillance system.
Step 3: Adjusting the Camera Angle
Now that the camera bracket is securely mounted, it’s time to adjust the camera angle to achieve the desired field of view. This step is crucial for capturing the best footage and maximizing the effectiveness of your Swann wireless security camera.
First, loosen the screws or locking mechanism on the camera bracket. This will allow you to freely adjust the camera’s position and angle. Be careful not to loosen them too much as you don’t want the camera to accidentally move or fall during the adjustment process.
Next, stand back and assess the camera’s position in relation to the area you want to monitor. Pay attention to any obstructions that may hinder the camera’s view, such as walls, fences, or objects in the foreground. Make any necessary adjustments to ensure that the camera has an unobstructed line of sight.
Consider the camera’s field of view and the specific surveillance needs of the area. If you need to monitor a wider area, you may need to adjust the camera angle to capture a broader view. Conversely, if you need to focus on a specific spot or narrow area, you can adjust the camera angle to zoom in and capture more detail.
Take the time to fine-tune the camera’s position by making small adjustments and testing the view. It’s helpful to have someone else view the live feed on a mobile device or monitor while you make these adjustments. They can provide feedback on the camera’s position and ensure that you achieve the desired coverage.
Consider environmental factors like lighting conditions and potential glare. Adjust the camera angle to minimize glare or reflections that could affect the quality of the recorded footage. Swann wireless security cameras often come with features like advanced image sensors or built-in IR LEDs to optimize image quality in various lighting conditions.
Once you are satisfied with the camera angle, tighten the screws or locking mechanism on the camera bracket to secure the camera in place. Give it a gentle tug to ensure that it is stable and won’t move or shift over time.
Remember, adjusting the camera angle is a crucial step in capturing clear and effective surveillance footage. Take the time to carefully fine-tune the camera’s position to ensure optimal coverage of the area you want to monitor with your Swann wireless security camera.
Step 4: Installing the Camera Mounting Plate
With the camera angle adjusted, it’s time to install the camera mounting plate. This plate will serve as the connection point between the camera and the bracket, ensuring a secure and stable installation of your Swann wireless security camera.
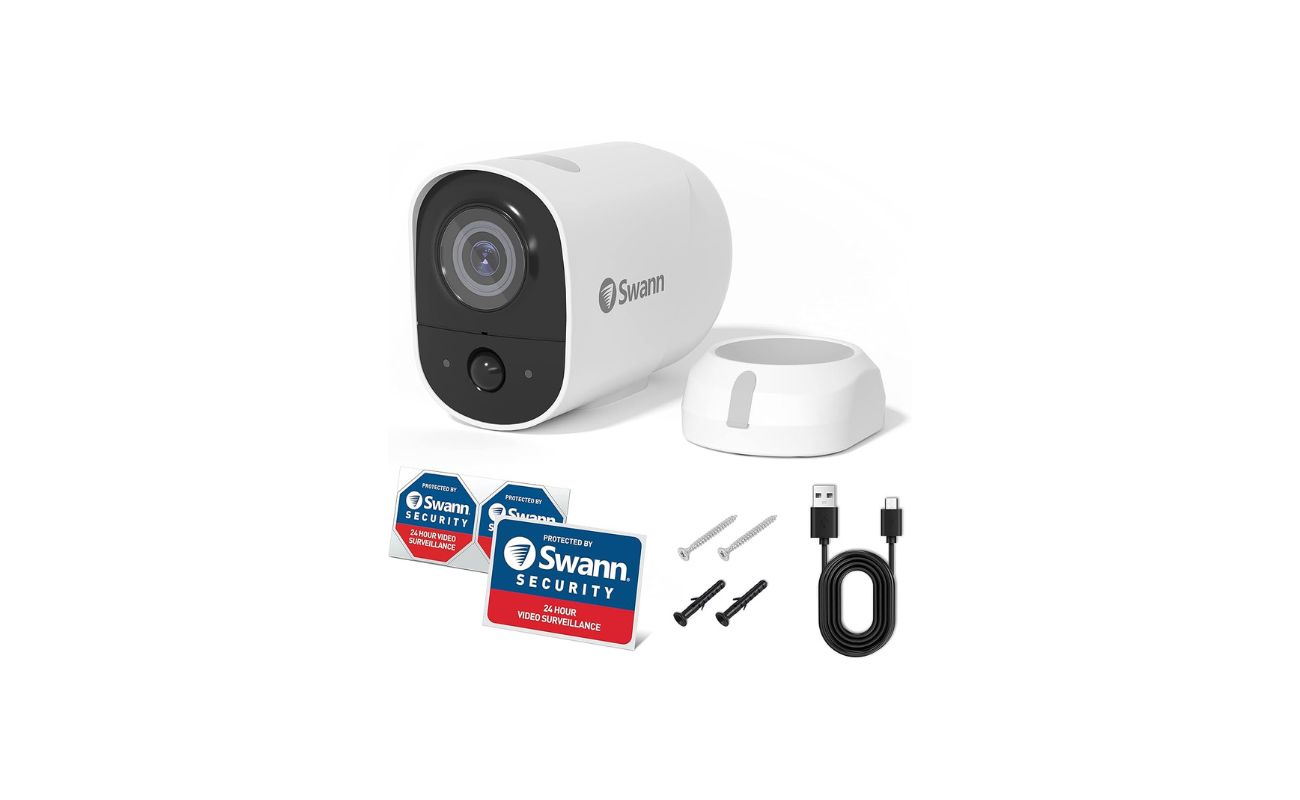
Start by removing the camera from the packaging, taking care not to damage any components. Locate the mounting plate included with the camera and ensure that it is compatible with your specific camera model.
Align the holes on the camera’s base with the corresponding holes on the mounting plate. Make sure the plate is securely attached to the camera by tightening any screws or locking mechanisms provided. Double-check that the camera is properly aligned and firmly attached to the plate.
Now, carefully position the camera and mounting plate assembly onto the previously installed camera bracket. The holes on the mounting plate should align with the holes on the bracket. Align the assembly properly and ensure it sits evenly on the bracket.
Use the screws provided to secure the camera mounting plate to the bracket. Check that all screws are tightened but be cautious not to overtighten and risk damaging the camera or the bracket.
Gently give the camera a slight tug to ensure it is securely attached to the bracket. It should not wobble or move. If you notice any instability, recheck the screws to ensure they are tightened properly.
Once you have installed the camera mounting plate, test the camera’s movement and adjustability. Confirm that the camera can be rotated or adjusted within the bracket as needed. This will allow for fine-tuning of the camera angle even after the initial installation.
Remember, a properly installed camera mounting plate is crucial for ensuring a secure and stable attachment of your Swann wireless security camera to the bracket. Take the time to carefully align and tighten all components to guarantee a reliable and long-lasting surveillance system.
Step 5: Connecting the Camera to Power
With the camera securely mounted, it’s time to connect it to a power source. Swann wireless security cameras typically come with two power options: battery-powered or requiring a power outlet. Follow the steps below based on the power source you have chosen.
If you have a battery-powered camera:
- Ensure that the camera’s battery is fully charged or insert new batteries as recommended by the manufacturer.
- Locate the battery compartment on the camera. It is usually located on the back or bottom of the camera.
- Open the battery compartment and insert the batteries according to the polarity markings indicated inside the compartment.
- Securely close the battery compartment to ensure a proper connection.
- Double-check that the camera turns on and is operational. Some models may have a power button or switch on the camera itself. If necessary, refer to the manufacturer’s instructions for powering on the camera.
If you have a camera that requires a power outlet:
- Identify the power cable that came with your Swann wireless security camera. It typically has a plug on one end and a power adapter on the other.
- Locate a nearby power outlet that is within reach of the camera’s power cable.
- Connect the power adapter to the camera’s power port, ensuring a secure fit.
- Plug the other end of the power cable into the power outlet.
- Check that the camera powers on and is functioning properly. Some models may have indicator lights or LEDs that confirm power connection and camera status.
Once the camera is connected to a power source, ensure that the power cable is neatly organized and secured to prevent any tripping hazards or accidental disconnection. You may use cable clips, ties, or even conduit to keep the cables tidy and out of sight.
Note that the battery life of battery-powered cameras will vary depending on usage and camera settings. Regularly check the battery level and recharge or replace batteries as needed to ensure uninterrupted surveillance.
By properly connecting your Swann wireless security camera to a power source, you can ensure continuous operation and reliable performance. Follow the appropriate steps based on your camera’s power requirements, and soon you’ll have a fully functioning surveillance system to protect your home or business.
When installing Swann wireless security cameras, make sure to position them in a location with a strong Wi-Fi signal to ensure a reliable connection.
Step 6: Pairing the Camera with the Receiver
After connecting the camera to power, the next step is to pair the camera with the receiver. This process allows the receiver to receive the camera’s video feed and enables remote viewing on your preferred device, such as a smartphone or computer. Follow these instructions to successfully pair your Swann wireless security camera with the receiver:
- Power on the receiver and ensure it is connected to a display device, such as a TV or monitor, using the provided cables.
- Within a few moments, the receiver should start scanning for available cameras. Wait for it to complete the scanning process.
- Meanwhile, locate the pairing button or pairing mode on the camera. This button is typically located on the camera or near the camera’s power port. Refer to the camera’s user manual for the specific location of the pairing button.
- Press and hold the pairing button for a few seconds until the LED indicator on the camera starts blinking. This indicates that the camera is in pairing mode.
- Go back to the receiver and look for the camera’s signal on the display device. The receiver should detect and display the camera’s video feed.
- Select the camera’s signal on the receiver using the provided remote control or buttons on the receiver itself. This will establish the pairing between the camera and the receiver.
- Once the pairing is successful, the LED indicator on the camera should stop blinking and remain solid. This indicates that the camera and receiver are successfully paired.
- Test the camera’s video feed on the display device to ensure that it is clear and properly displayed. Adjust the camera’s angle if necessary to optimize the view.
It’s important to note that the pairing process may vary slightly depending on the specific model of your Swann wireless security camera and receiver. Always refer to the manufacturer’s instructions and user manual for detailed guidance.
Once the camera has been successfully paired with the receiver, you can begin to enjoy remote viewing on your smartphone, computer, or other devices through the Swann app or software. This allows you to monitor your property, view live footage, and access additional features and settings from anywhere at any time.
By following the pairing process, you can ensure a seamless connection between your Swann wireless security camera and receiver, enabling you to conveniently monitor your property with ease and peace of mind.
Step 7: Adjusting Camera Settings
Once your Swann wireless security camera is paired with the receiver, it’s time to adjust the camera settings to optimize its performance and customize your surveillance experience. By adjusting these settings, you can tailor your camera’s functionality to suit your specific needs. Follow these steps to adjust the camera settings:
- Access the camera’s settings menu or interface through the receiver or the Swann app/software on your smartphone or computer.
- Explore the available settings options and features. These can include video quality, resolution, motion detection, night vision settings, audio recording, and more.
- Adjust the camera’s video quality and resolution based on your preferences and storage capacity. Higher quality settings will result in clearer images but may require more storage space.
- Configure the motion detection settings to suit your needs. You can adjust the sensitivity level, set specific motion detection zones, and customize notifications for any detected movement.
- If your camera has night vision capabilities, adjust the night vision settings to optimize visibility in low-light conditions. Some cameras offer different modes, such as automatic, manual, or scheduled night vision.
- Enable or disable audio recording based on your preferences and legal considerations. Remember to comply with applicable laws and regulations regarding audio recording in your area.
- Explore additional camera settings and features, such as scheduled recording, privacy masking, or remote access settings.
- Save and apply your desired settings. Give the camera a moment to process the changes before testing the updated configuration.
Remember to refer to the camera’s user manual or the manufacturer’s website for specific instructions regarding the available settings and their functionalities. Each Swann wireless security camera model may have unique features and settings.
Take the time to familiarize yourself with the camera settings and experiment with different configurations to find the optimal setup for your surveillance needs. Regularly review and adjust the settings as required to maintain an efficient and effective surveillance system.
By adjusting the camera settings, you can customize your Swann wireless security camera to best suit your preferences and optimize its performance for your specific surveillance requirements.
Step 8: Testing the Camera and Wireless Connection
With the camera settings adjusted, it’s time to test the camera and ensure that the wireless connection is strong and reliable. This step will help confirm that your Swann wireless security camera is functioning properly and that you are able to view the live feed without any issues. Follow these steps to test the camera and wireless connection:
- Ensure that your receiver or display device is powered on and ready to receive the camera’s video feed.
- Monitor the display device and verify that the camera’s video feed is being received and displayed correctly.
- Walk around the monitored areas to test the camera’s coverage. Observe whether the live feed remains clear and stable as you move throughout the property.
- Check for any potential interference or signal loss. Make sure there are no obstructions or sources of interference, such as thick walls, large metal objects, or other electronic devices that may disrupt the wireless connection.
- Test the camera’s night vision capabilities by turning off the lights in the monitored area. Allow the camera’s infrared LEDs or other night vision features to provide clear visibility in low-light or dark conditions.
- Verify that motion detection is working correctly. Walk within the camera’s field of view and observe whether it triggers motion alerts or recordings as expected.
- Confirm that the camera’s audio feature is capturing clear and audible sound, if applicable.
- Ensure that the camera’s wireless connection remains stable and reliable. Monitor for any signal drops or interruptions that may affect the quality of the live feed.
- If any issues are encountered during testing, refer to the camera’s user manual or the manufacturer’s troubleshooting guide for guidance on resolving common problems. Troubleshoot any connectivity or performance issues to ensure optimal camera functionality.
Testing the camera and wireless connection is essential for evaluating the performance of your Swann wireless security camera and ensuring that it meets your expectations. By conducting thorough tests, you can identify any potential issues and address them promptly to maintain a reliable surveillance system.
Remember to periodically test the camera and wireless connection to ensure continued functionality and address any changes in your environment that may affect the performance of your Swann wireless security camera.
Step 9: Securing the Camera Cables
Securing the camera cables is the final step in the installation process of your Swann wireless security camera. Properly securing the cables will not only enhance the aesthetics of your surveillance system but also prevent any accidental damage or interference with the camera’s performance. Follow these steps to securely manage and hide the camera cables:
- Start by organizing the cables near the camera bracket. Gather them together neatly so they are easy to manage.
- Use cable clips or cable ties to secure the cables to the camera bracket or any nearby structures. This will prevent them from dangling or getting tangled.
- If you have excess cable length, coil it up neatly and secure it with cable ties or Velcro straps. This will prevent any loose cables from becoming a tripping hazard or being accidentally snagged.
- Consider utilizing cable conduits or channels to hide the cables along the walls or ceilings. These can be affixed using adhesive or mounting screws, and they provide a clean and professional look for your surveillance system.
- Avoid running the camera cables parallel to electrical lines or other sources of interference to minimize any potential signal degradation or interference issues.
- Make sure the camera cables are protected from the elements if the camera is installed outdoors. Consider using weatherproof cable covers or conduits to shield the cables from rain, dust, or extreme temperatures.
- If your camera requires a power outlet, ensure that the power cable is properly connected and secured to the outlet. Use electrical tape or a cord cover to prevent accidental disconnections.
- Regularly inspect the camera cables for any signs of wear or damage. Replace any frayed or damaged cables immediately to maintain the integrity of your surveillance system.
- Test the camera and wireless connection after securing the cables to ensure that there are no signal disruptions or issues caused by the cable management.
Properly securing the camera cables not only improves the overall appearance of your Swann wireless security camera installation but also ensures the reliability and longevity of your surveillance system. Taking the time to neatly manage and protect the cables will help maintain a professional and effective security setup.
Remember to regularly check and re-secure the camera cables as needed, especially in outdoor installations where exposure to the elements may require occasional maintenance.
Conclusion
Congratulations! You have successfully installed your Swann wireless security camera and taken a significant step towards enhancing the security and surveillance of your property. By following the step-by-step guide provided in this article, you have learned the essential processes involved in setting up and optimizing your wireless security system.
Throughout the installation process, we discussed the importance of carefully determining the camera placement to maximize coverage and minimize blind spots. We also covered the steps for mounting the camera bracket securely, adjusting the camera angle for the best field of view, installing the camera mounting plate, connecting the camera to power, pairing the camera with the receiver, adjusting camera settings, testing the camera and wireless connection, and securing the camera cables.
It’s essential to note that the instructions provided in this guide are general in nature and may vary depending on your specific Swann wireless security camera model and the features it offers. Always refer to the manufacturer’s instructions and user manual for precise guidance on installation and customization.
Now that your Swann wireless security camera is installed and functioning, take the time to regularly maintain and monitor your surveillance system. Periodically check the camera’s positioning, clean the lens, and test the functionality of the camera and wireless connection. Stay updated with any firmware or software upgrades provided by Swann to ensure that your system is running on the latest version.
Remember to balance your security needs with privacy considerations and comply with applicable laws and regulations in your region. It’s always a good idea to inform people on your property that surveillance cameras are in use.
By installing a Swann wireless security camera system, you have taken a proactive step towards safeguarding your home or business. Enjoy the peace of mind that comes with knowing you have a reliable security solution in place.
Keep in mind that home security is a comprehensive approach, and a wireless camera system is just one aspect of it. Consider complementing your surveillance system with other security measures such as alarms, locks, and motion-sensor lighting to create a robust and well-rounded security ecosystem.
Thank you for trusting us as your guide throughout this installation process. We hope this article has been informative and has empowered you to set up your Swann wireless security cameras successfully.
Stay vigilant, stay secure!
Now that you've mastered installing Swann wireless security cameras, consider enhancing your peace of mind by exploring why robust home security is vital. Safety isn't just about installation; it's about understanding and implementing comprehensive protection strategies. On the other hand, if you're looking to upgrade your living space with the latest advancements, dive into our insights on the top smart home technology set to redefine everyday convenience in 2024. Both guides offer practical advice to secure and modernize your home effortlessly.
Frequently Asked Questions about How To Install Swann Wireless Security Cameras
Was this page helpful?
At Storables.com, we guarantee accurate and reliable information. Our content, validated by Expert Board Contributors, is crafted following stringent Editorial Policies. We're committed to providing you with well-researched, expert-backed insights for all your informational needs.