Home>Home Security and Surveillance>How To Install Zmodo Wireless Security Camera
Home Security and Surveillance
How To Install Zmodo Wireless Security Camera
Modified: September 1, 2024
Enhance your home security and surveillance with Zmodo wireless security camera. Learn how to install it easily and efficiently for added peace of mind.
(Many of the links in this article redirect to a specific reviewed product. Your purchase of these products through affiliate links helps to generate commission for Storables.com, at no extra cost. Learn more)
Introduction
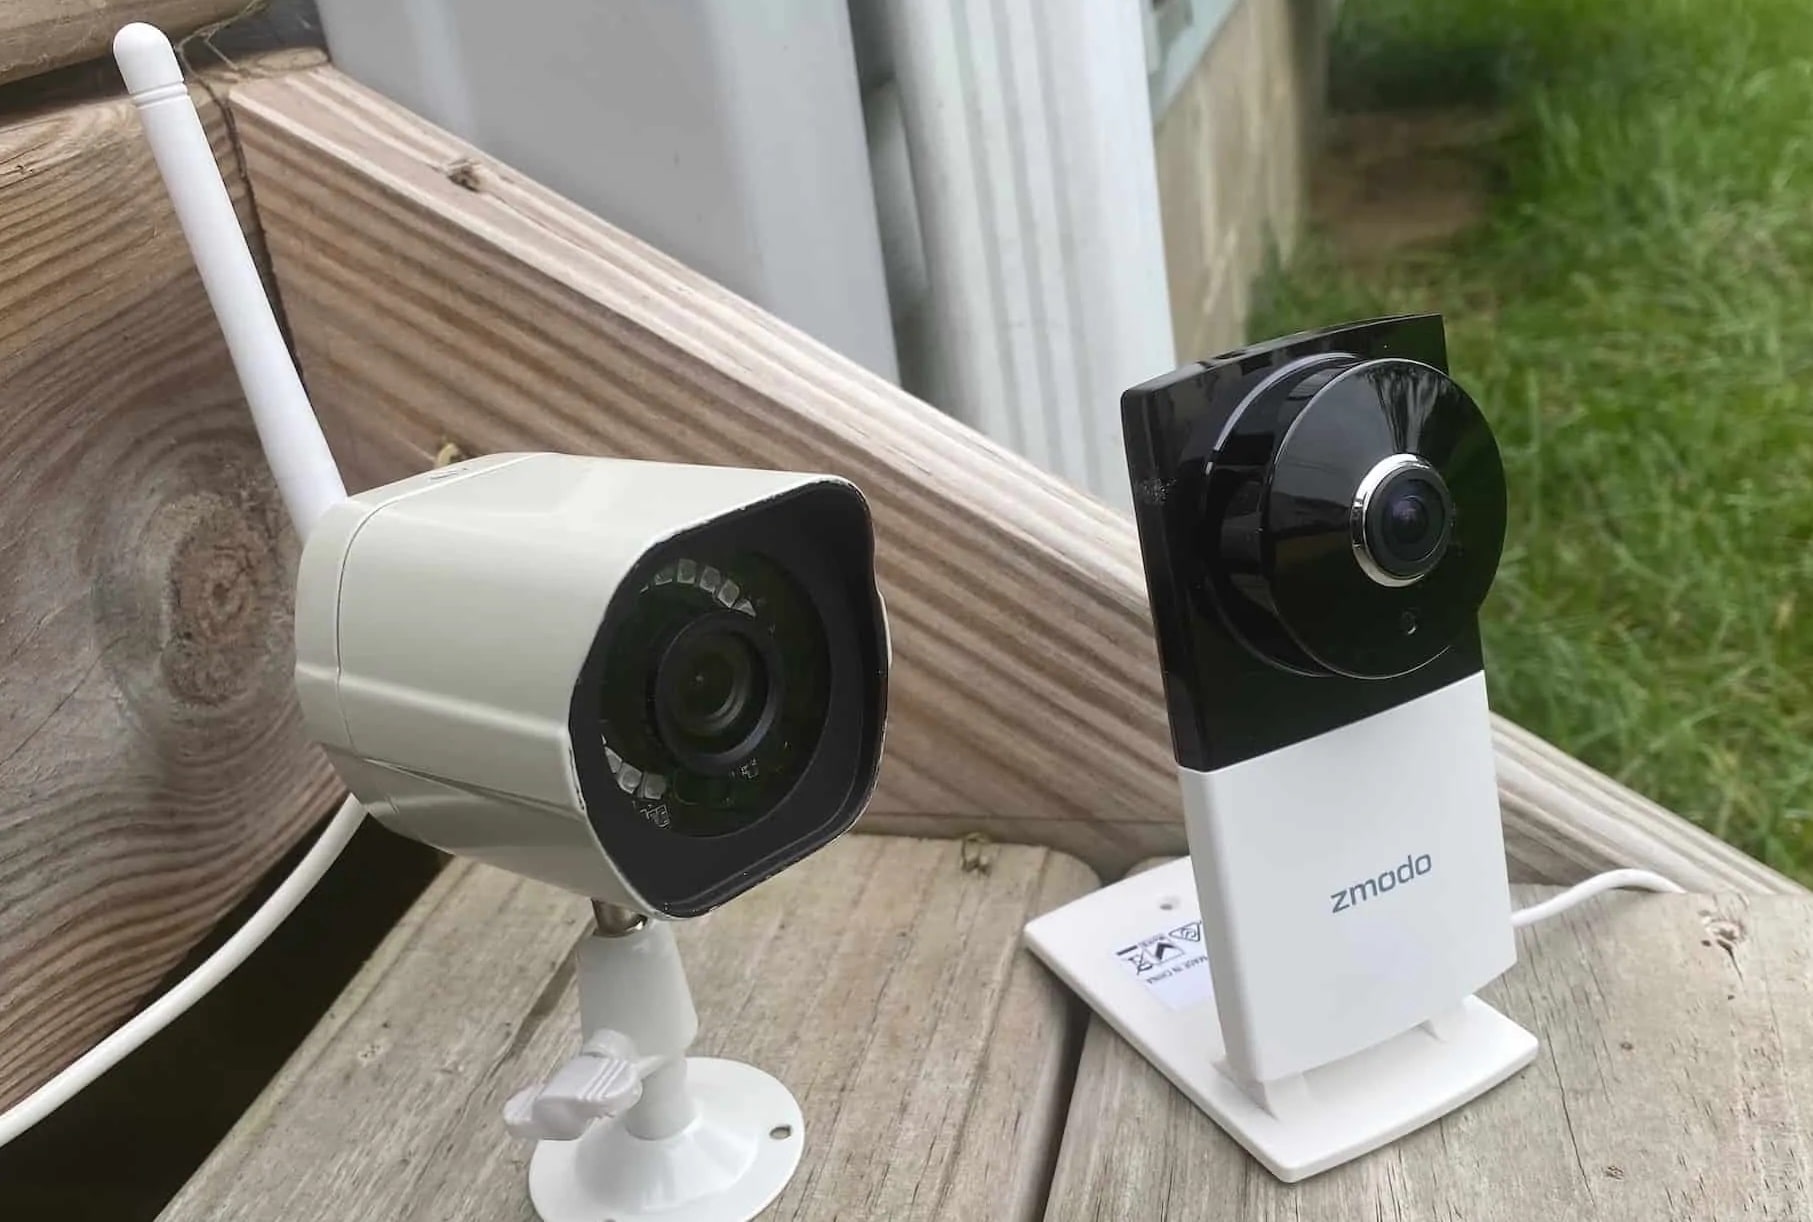
Welcome to our comprehensive guide on how to install a Zmodo wireless security camera. In today’s world, home security is a top priority for many homeowners. With the advancements in technology, wireless security cameras have become a popular choice for those looking to monitor their homes and keep their loved ones safe.
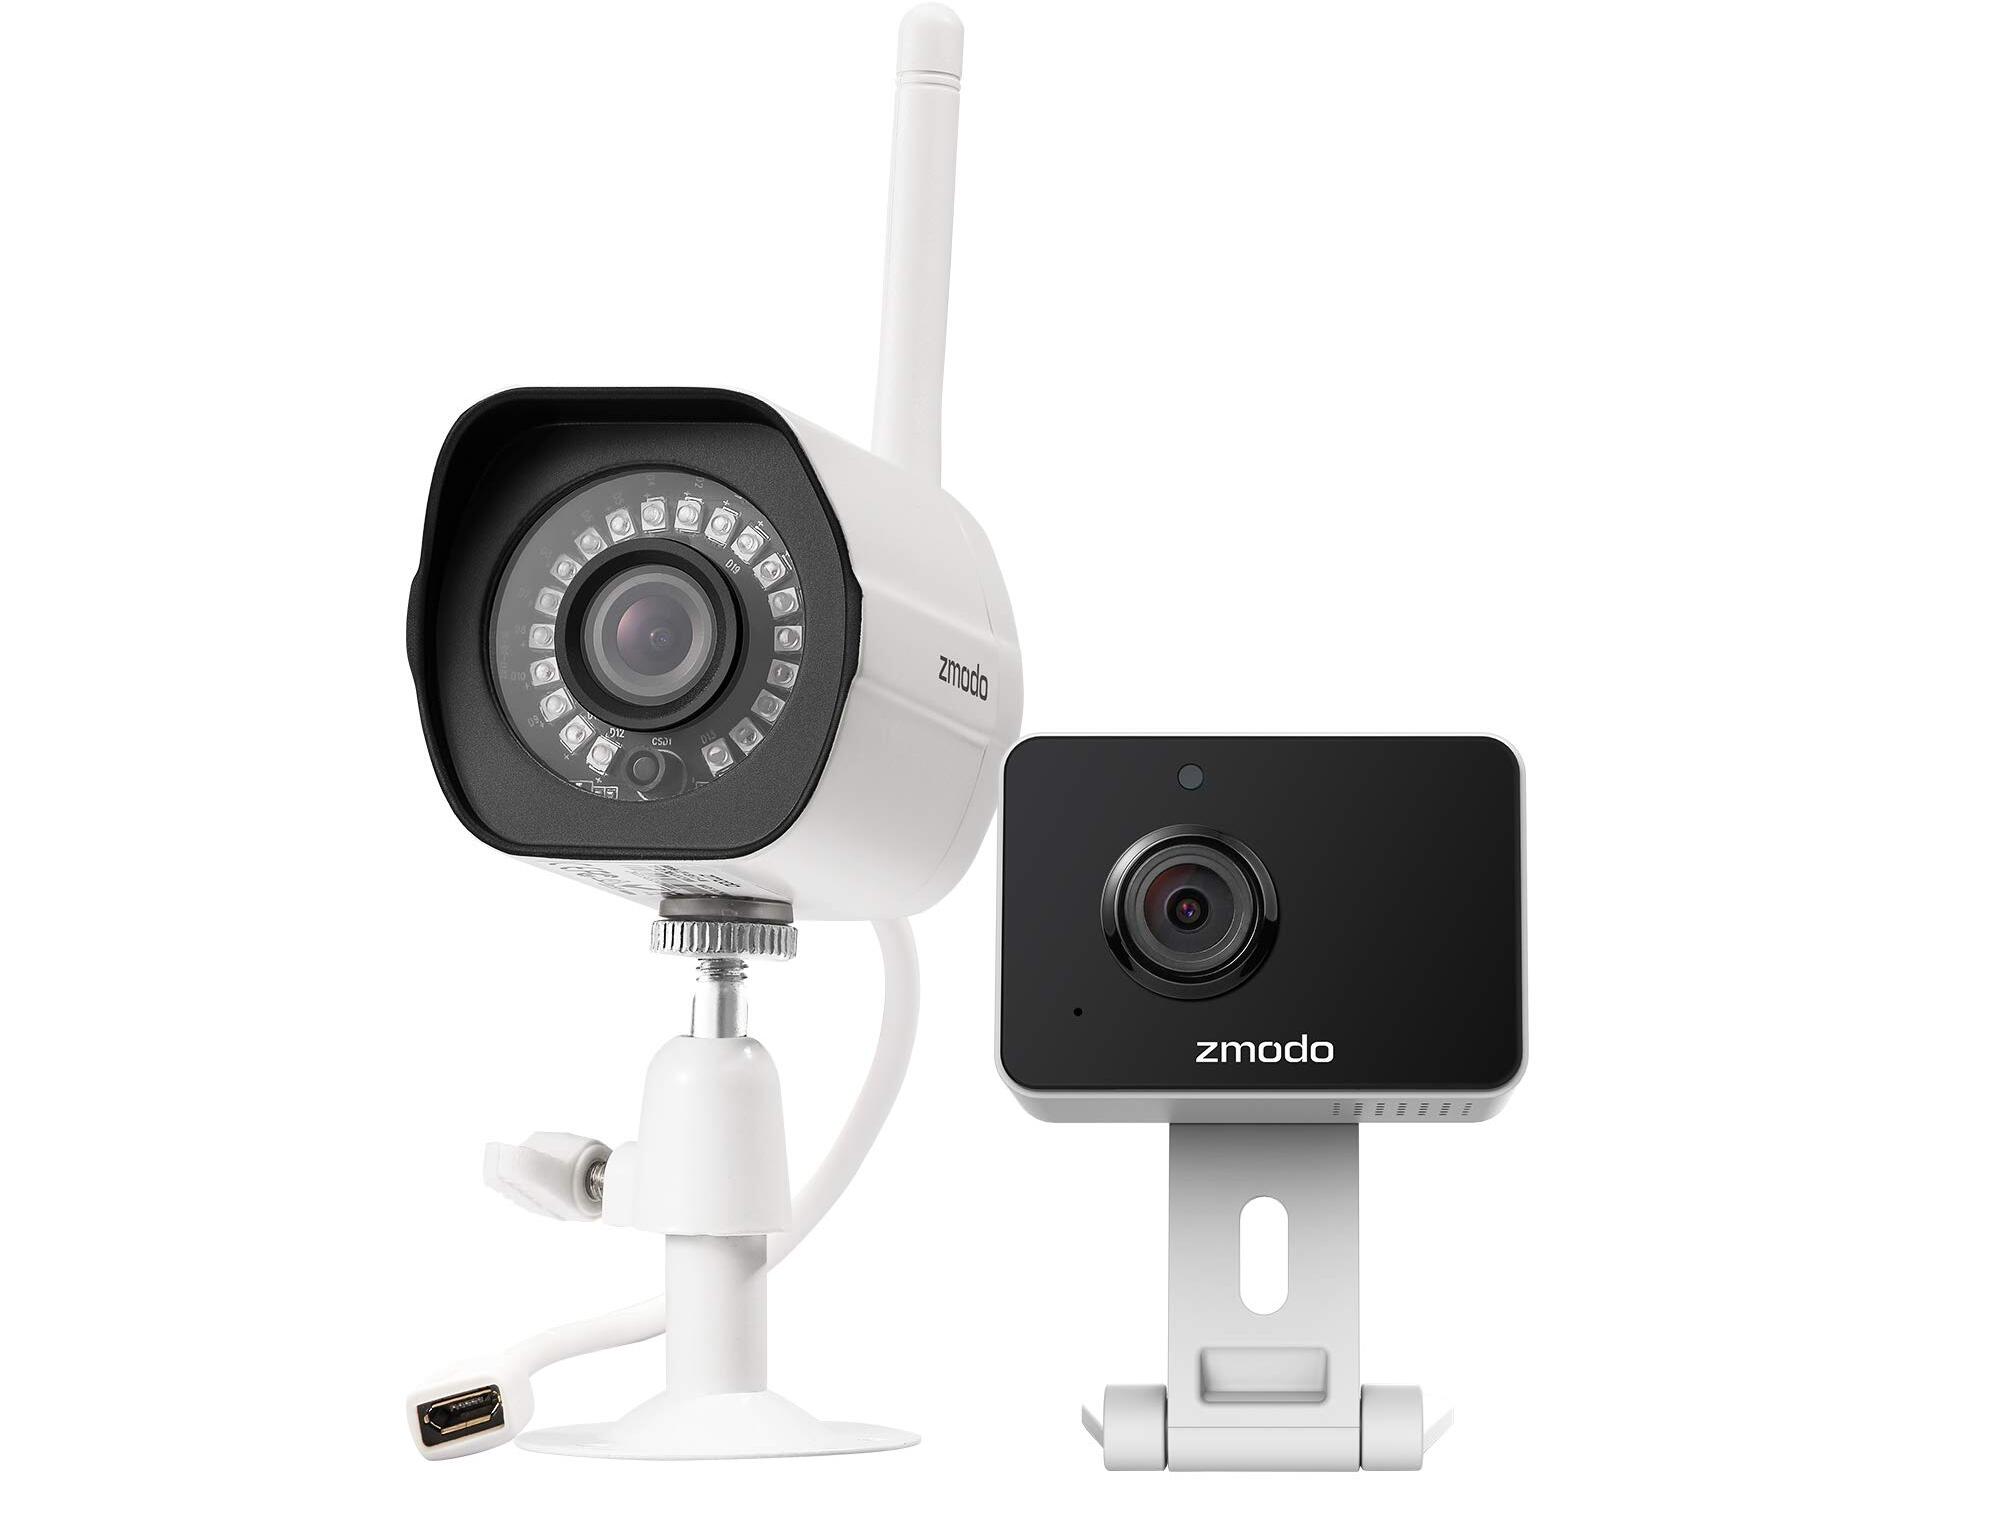
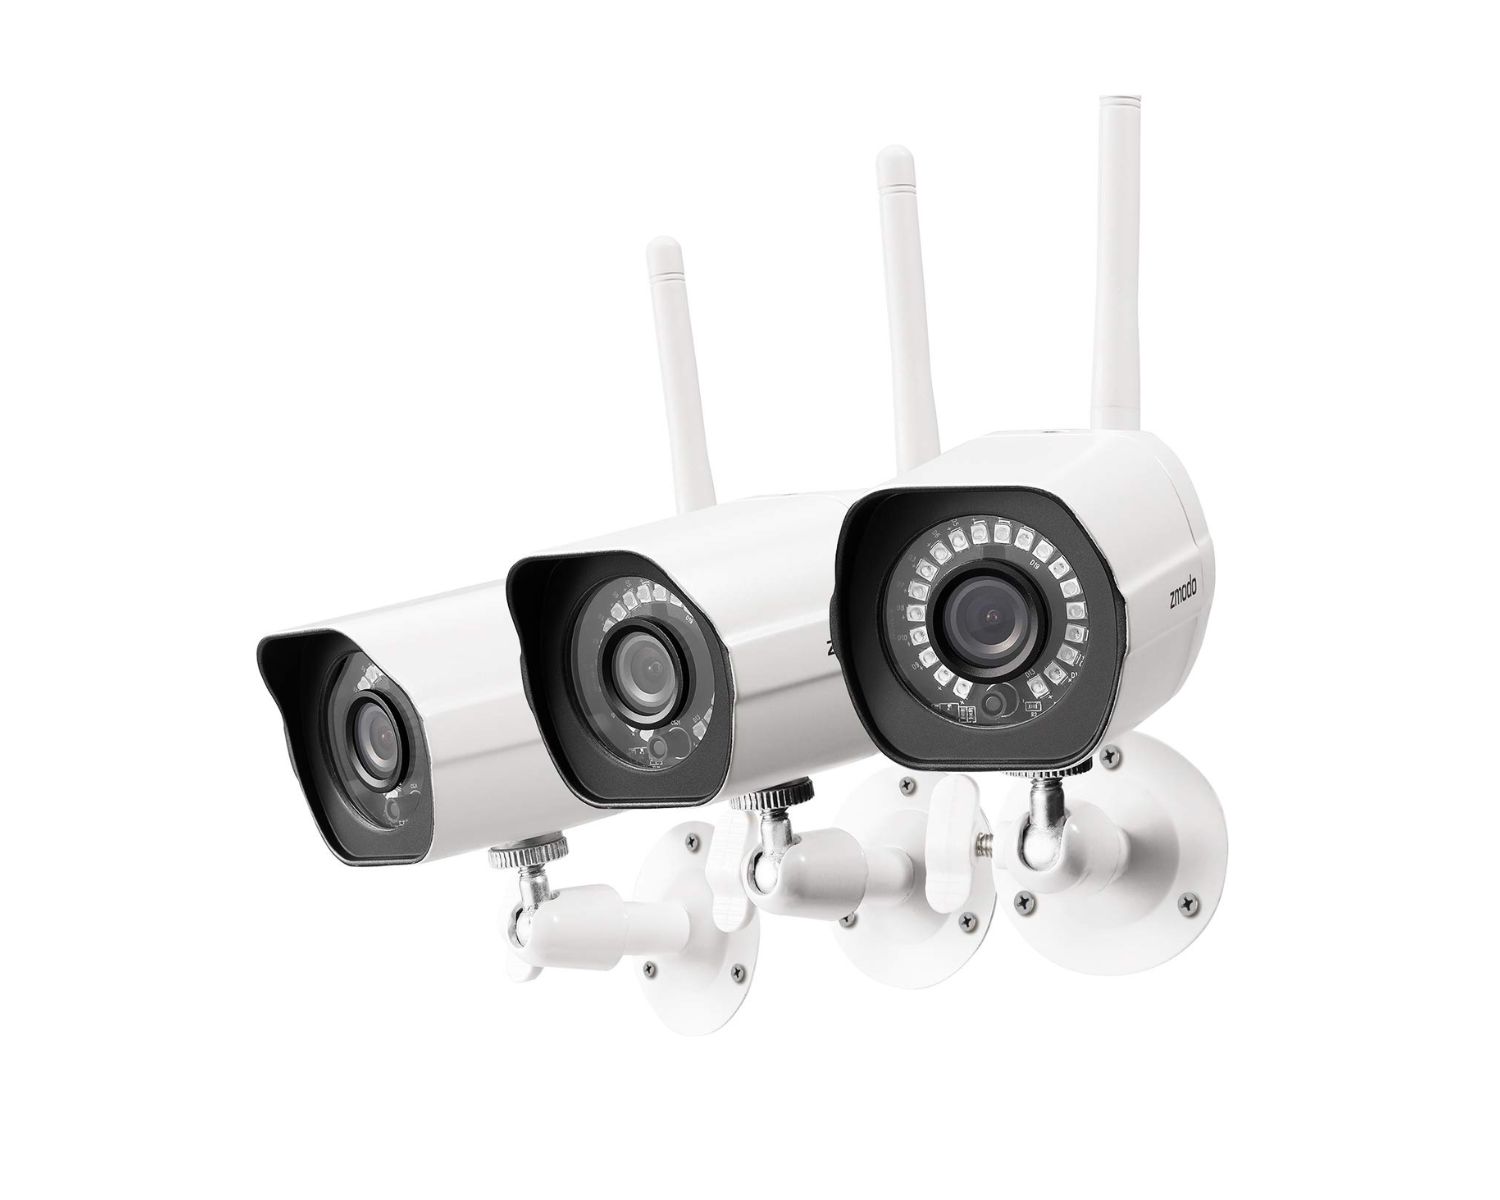
Zmodo is a trusted brand that offers a range of wireless security cameras known for their easy installation, user-friendly interfaces, and high-quality video footage. Whether you’re a DIY enthusiast or a technology novice, this guide will walk you through the step-by-step process of installing a Zmodo wireless security camera.
Before we dive into the installation process, it’s important to note that there are different models and types of Zmodo cameras available in the market. The specific installation steps may vary based on the model you have. However, the general process remains the same. Always refer to the manufacturer’s instructions and user manual for detailed guidance.
In this guide, we will cover the basic steps involved in setting up your Zmodo wireless security camera. From unboxing the camera to connecting it to your Wi-Fi network and configuring the settings, we’ve got you covered. So, let’s get started!
Key Takeaways:
- Installing a Zmodo wireless security camera is a breeze! From unboxing to syncing with the app, follow the simple steps to set up your camera and enjoy added peace of mind for your home security.
- With Zmodo’s user-friendly interface and advanced features, setting up your wireless security camera is a DIY dream. Just follow the steps to ensure optimal performance and surveillance for your home.
Step 1: Unboxing and Contents
The first step in installing your Zmodo wireless security camera is to unbox the package and familiarize yourself with the contents. Here’s what you can typically expect to find in the box:
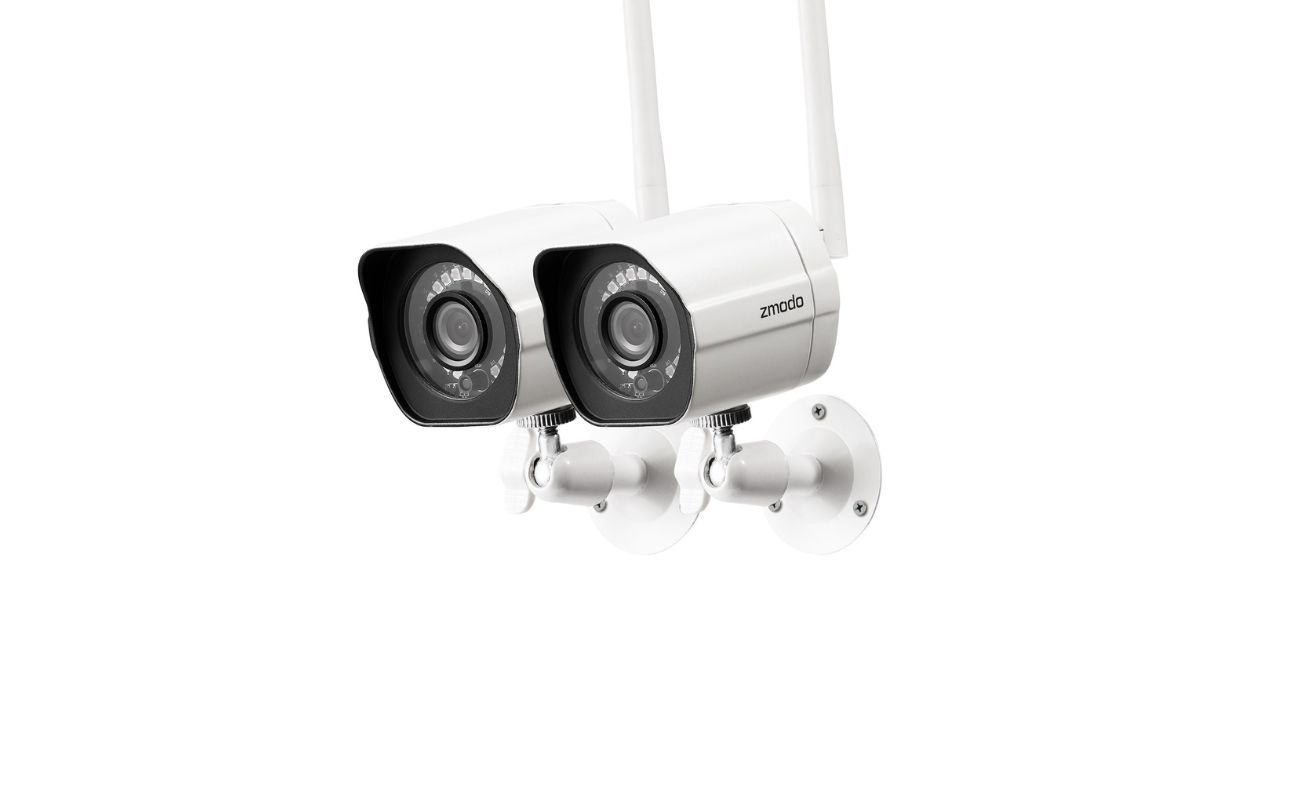
- Zmodo wireless security camera
- Mounting bracket
- Screws and anchors
- Power adapter
- Antenna
- Ethernet cable (if applicable)
- User manual and installation guide
Before proceeding, ensure that all the components are included and in good condition. If anything is missing or damaged, contact Zmodo customer support for assistance.
Once you have confirmed the contents, make sure you have any additional tools you may need, such as a screwdriver or drill, to assist with the installation process.
Now that you have everything you need, let’s move on to the next step: mounting the camera.
Step 2: Mounting the Camera
Mounting the camera is an essential step in installing your Zmodo wireless security camera. A properly mounted camera will provide an optimal viewing angle and ensure the camera stays securely in place. Here’s how you can mount your Zmodo camera:
- Select a suitable location: Choose a location for your camera that provides a clear view of the area you want to monitor. It should be positioned at an appropriate height and angle to capture the desired footage. Consider factors such as line of sight, coverage area, and any obstructions that may affect the camera’s effectiveness.
- Attach the mounting bracket: Using the screws provided, attach the mounting bracket to the desired location. Make sure it is firmly secured and level to ensure accurate positioning of the camera.
- Connect the camera: Once the mounting bracket is in place, carefully attach the Zmodo wireless security camera to the bracket. Ensure that it fits snugly and is aligned correctly.
- Adjust the camera angle: Depending on your camera model, you may be able to adjust the viewing angle manually or remotely using the Zmodo app. Tilt or rotate the camera to achieve the desired field of view.
- Double-check the mounting: Once you have adjusted the camera angle, double-check that the camera is securely mounted and in the correct position. This will help avoid any accidental dislodging or misalignment.
Keep in mind that the installation requirements may vary based on the camera model and the type of surface you are mounting it on. Always refer to the user manual or installation guide provided by Zmodo for specific instructions related to your camera model.
With the camera mounted, you can now move on to the next step: powering the camera.
Step 3: Powering the Camera
Powering your Zmodo wireless security camera is crucial to ensure it operates effectively and records surveillance footage. Here’s how you can power your camera:
- Locate a nearby power outlet: Identify a power outlet that is within reach of your camera’s power adapter. Make sure the outlet is easily accessible and not obstructed by any objects.
- Connect the power adapter: Plug one end of the power adapter into the camera’s power input port. Then, plug the other end into the power outlet. Ensure that the connection is secure.
- Check the power indicator: Most Zmodo cameras have a power indicator light located on the camera itself or the power adapter. Verify that the power indicator is illuminated, indicating that the camera is receiving power.
- Consider using a surge protector: To protect your camera from power surges or electrical fluctuations, it is recommended to connect the power adapter to a surge protector. This can help prevent damage to the camera during voltage spikes.
- Ensure proper cable management: Once the camera is powered, tidy up the cables to maintain a neat and organized installation. Conceal or secure any excess cables to prevent them from becoming a tripping hazard or obstructing the camera’s view.
It’s important to note that some Zmodo cameras come with rechargeable batteries or are powered by solar panels. In such cases, the power source may differ, and specific instructions will be provided by Zmodo for charging or connecting the camera to a solar panel.
Now that your camera is powered and ready, it’s time to move on to the next step: connecting it to your Wi-Fi network.
Step 4: Connecting to Wi-Fi
Connecting your Zmodo wireless security camera to your Wi-Fi network is essential for remote viewing and accessing the camera’s features through the Zmodo app. Follow these steps to connect your camera to Wi-Fi:
- Ensure your Wi-Fi network meets the requirements: Before proceeding, make sure that your Wi-Fi network is functioning properly and meets the camera’s compatibility requirements.
- Open the Zmodo app: Download and install the Zmodo app on your smartphone or tablet. Launch the app, and if you don’t have an account, create one by following the on-screen instructions.
- Add your camera to the app: Tap on the “+” icon in the app to add your camera. Select the appropriate camera model and follow the prompts to put the camera into Wi-Fi pairing mode.
- Connect to the camera’s Wi-Fi network: On your smartphone or tablet, go to the Wi-Fi settings and look for the camera’s Wi-Fi network name (SSID). It is usually labeled with the camera’s model number or a similar identification. Connect to this network.
- Return to the Zmodo app: Once connected to the camera’s Wi-Fi network, return to the Zmodo app. It should automatically detect the camera and prompt you to proceed with the Wi-Fi setup.
- Select your network and enter credentials: Select your home Wi-Fi network from the list of available networks in the app. Enter your Wi-Fi network’s password when prompted.
- Wait for the camera to connect: The Zmodo app will now attempt to connect your camera to your Wi-Fi network. Be patient, as this process may take a few moments. Once connected, you will receive a confirmation message in the app.
If you encounter any connectivity issues, ensure that you are in close proximity to your Wi-Fi router, and the camera’s antenna is properly aligned. Additionally, double-check that you have entered the correct Wi-Fi network credentials in the app.
With your Zmodo camera successfully connected to your Wi-Fi network, let’s move on to syncing the camera with the Zmodo app.
When installing a Zmodo wireless security camera, make sure to place it within the Wi-Fi range for a strong connection. Also, ensure the camera is mounted securely to prevent tampering.
Step 5: Syncing Camera with Zmodo App
Syncing your Zmodo wireless security camera with the Zmodo app allows you to access and control the camera’s features remotely. Here’s how you can sync your camera with the app:
- Launch the Zmodo app: Open the Zmodo app on your smartphone or tablet and log in to your account.
- Go to device settings: Within the Zmodo app, navigate to the device settings section. This is where you can manage and sync your camera.
- Select your camera: Locate your camera in the list of connected devices within the app. Tap on it to access the camera’s settings.
- Follow the app’s instructions: The Zmodo app will provide step-by-step instructions for syncing your camera. This usually involves pressing a sync button on the camera or scanning a QR code to establish a secure connection between the camera and the app.
- Wait for the sync to complete: Once you have initiated the sync process, wait for the app to complete syncing with the camera. This may take a few moments.
- Confirm successful sync: After the sync is complete, you should see the status of your camera as “online” or “connected” within the Zmodo app. This confirms that the camera has been successfully synced and is ready for use.
If you encounter any issues during the syncing process, ensure that your camera is powered and connected to Wi-Fi properly. Make sure your smartphone or tablet is connected to the same Wi-Fi network as your camera. Additionally, ensure that you have the latest version of the Zmodo app installed on your device.
Now that your Zmodo camera is synced with the Zmodo app, it’s time to move on to adjusting the camera settings according to your preferences.
Step 6: Adjusting Camera Settings
Adjusting the settings of your Zmodo wireless security camera is crucial to optimize its performance and customize it according to your specific needs. Here’s how you can adjust the camera settings:
- Access the camera settings: Open the Zmodo app on your smartphone or tablet and navigate to the camera settings section. This is where you can configure various options and features.
- Video quality and resolution: Adjust the video quality and resolution settings to optimize the clarity and storage usage of your camera’s recordings. Higher resolutions will result in clearer video capture but consume more storage space.
- Motion detection sensitivity: Fine-tune the motion detection feature of your camera by adjusting the sensitivity level. This determines how easily the camera detects and records motion events. Test different levels to find the optimal setting for your specific environment.
- Monitoring schedule: Set up a monitoring schedule to specify when your camera should actively monitor and record. This can help conserve energy and storage when the camera is not needed, such as during specific time periods or when you are at home.
- Notification preferences: Customize the notification settings to receive alerts and notifications on your smartphone or tablet when motion is detected or other events occur. Decide whether you want to receive push notifications, emails, or both.
- Two-way audio settings: If your Zmodo camera supports two-way audio, configure the audio settings to enable communication between you and whoever is near the camera. Adjust the microphone and speaker volume levels as per your preference.
Additionally, explore other available settings within the Zmodo app that may be specific to your camera model. These could include options for night vision, PTZ (pan, tilt, zoom) control, cloud storage, and more. Read the user manual or consult the Zmodo support resources for detailed instructions on specific settings.
By adjusting and customizing these camera settings, you can optimize the functionality and performance of your Zmodo wireless security camera to suit your unique surveillance requirements.
Now that you have successfully configured the camera settings, it’s time to move on to the final step: testing the camera and troubleshooting, if necessary.
Step 7: Testing Camera and Troubleshooting
After completing the installation and configuration process of your Zmodo wireless security camera, it’s essential to conduct a thorough testing to ensure that everything is working as expected. Here’s how you can test your camera and troubleshoot any issues that may arise:
- Verify live video feed: Open the Zmodo app on your smartphone or tablet and check if you can view the live video feed from your camera. Ensure that the camera is capturing the intended area and that the image quality is satisfactory.
- Test motion detection: Walk in front of the camera to trigger the motion detection feature. Check if the camera captures the motion event and sends you the appropriate notifications. Adjust the motion detection sensitivity if necessary.
- Assess night vision: If your Zmodo camera has night vision capabilities, test it in a low-light or dark environment. Verify if the night vision mode provides clear and visible footage.
- Check remote access: Leave your home Wi-Fi network and use a cellular data connection or a different Wi-Fi network to ensure that you can still access the camera and receive notifications remotely via the Zmodo app.
- Review playback and storage: Access the recorded footage from the Zmodo app to verify that it has been properly recorded and stored. Check if you can easily search and play back specific events or timeframes.
- Troubleshooting: If you encounter any issues during testing, consult the troubleshooting section in the user manual or access the Zmodo support resources for guidance. Common issues may include connectivity problems, camera not powering on, or poor video quality. Follow the recommended troubleshooting steps or contact Zmodo customer support for assistance if needed.
By conducting thorough testing, you can ensure that your Zmodo wireless security camera is functioning properly and providing the desired level of protection for your home. Regularly check the camera’s performance to ensure it continues to meet your surveillance needs.
Congratulations! You have successfully installed and set up your Zmodo wireless security camera. With proper maintenance and periodic updates, your camera will continue to enhance the security and peace of mind for you and your loved ones.
Remember to consult the Zmodo user manual, support resources, or contact Zmodo customer support for any specific instructions or assistance related to your camera model.
Now you can sit back, relax, and enjoy the added security provided by your Zmodo wireless security camera!
Conclusion
Installing a Zmodo wireless security camera in your home can greatly enhance your peace of mind and provide an extra layer of protection for your loved ones and belongings. With its user-friendly interface, easy installation process, and advanced features, Zmodo cameras are a popular choice for homeowners seeking reliable surveillance solutions.
In this comprehensive guide, we’ve walked you through the step-by-step process of installing your Zmodo wireless security camera. From unboxing and mounting the camera to powering it up, connecting it to Wi-Fi, syncing it with the Zmodo app, adjusting the settings, and conducting thorough testing, you now have the knowledge and tools to successfully set up your camera.
Remember to always consult the user manual and installation guide provided by Zmodo for specific instructions related to your camera model. Additionally, make use of the Zmodo app and its various features to customize your camera according to your surveillance preferences.
Regularly maintain and update your camera to ensure optimal performance. Check for firmware updates and keep an eye on any notifications or alerts generated by the Zmodo app to stay informed about any system updates or potential security vulnerabilities.
If you encounter any issues during the installation, configuration, or usage of your Zmodo camera, refer to the troubleshooting section in the user manual or access the Zmodo support resources for assistance. The Zmodo customer support team is always available to address any concerns or answer any questions you may have.
By following this guide and taking the necessary steps to install and set up your Zmodo wireless security camera properly, you are enhancing the security of your home and providing yourself and your loved ones with greater peace of mind. Enjoy the added protection and surveillance capabilities that your Zmodo camera brings into your life!
Now that you've mastered installing your Zmodo camera, consider strengthening your safety measures further by exploring our detailed article on home security. Once you've ensured your peace of mind, why not simplify and enhance daily routines by delving into the smart home technology trends set to redefine 2024?
Frequently Asked Questions about How To Install Zmodo Wireless Security Camera
Was this page helpful?
At Storables.com, we guarantee accurate and reliable information. Our content, validated by Expert Board Contributors, is crafted following stringent Editorial Policies. We're committed to providing you with well-researched, expert-backed insights for all your informational needs.