Home>Furniture & Design>Outdoor Furniture>How To Install Outdoor Wireless Security Cameras

Outdoor Furniture
How To Install Outdoor Wireless Security Cameras
Modified: September 1, 2024
Learn how to install outdoor wireless security cameras to protect your outdoor furniture and design. Follow our step-by-step guide for effective surveillance.
(Many of the links in this article redirect to a specific reviewed product. Your purchase of these products through affiliate links helps to generate commission for Storables.com, at no extra cost. Learn more)
Introduction
When it comes to safeguarding your home or business, outdoor wireless security cameras are an invaluable investment. These cutting-edge devices offer a proactive approach to security, allowing you to monitor your property remotely and deter potential intruders. Whether you're a tech enthusiast or a novice, the installation process can be straightforward and rewarding. In this comprehensive guide, we'll walk you through the step-by-step process of installing outdoor wireless security cameras, empowering you to enhance the protection of your property with confidence.
Before diving into the installation process, it's crucial to understand the importance of outdoor wireless security cameras. These devices provide a 24/7 surveillance solution, offering peace of mind and real-time insights into any suspicious activities in your surroundings. By strategically placing wireless security cameras around your property, you can monitor entry points, outdoor spaces, and vulnerable areas, effectively fortifying your security measures.
Moreover, the wireless functionality of these cameras eliminates the need for complex wiring, making installation significantly more convenient and versatile. With the ability to connect to your Wi-Fi network, these cameras can seamlessly transmit footage to your smartphone, tablet, or computer, ensuring that you can stay informed about your property's security status from anywhere in the world.
In addition to security benefits, outdoor wireless cameras can also serve as a deterrent to potential intruders. The visible presence of these cameras can dissuade trespassers and vandals, minimizing the risk of criminal activities on your premises. By investing in outdoor wireless security cameras, you're not only protecting your property but also sending a clear message that security is a top priority.
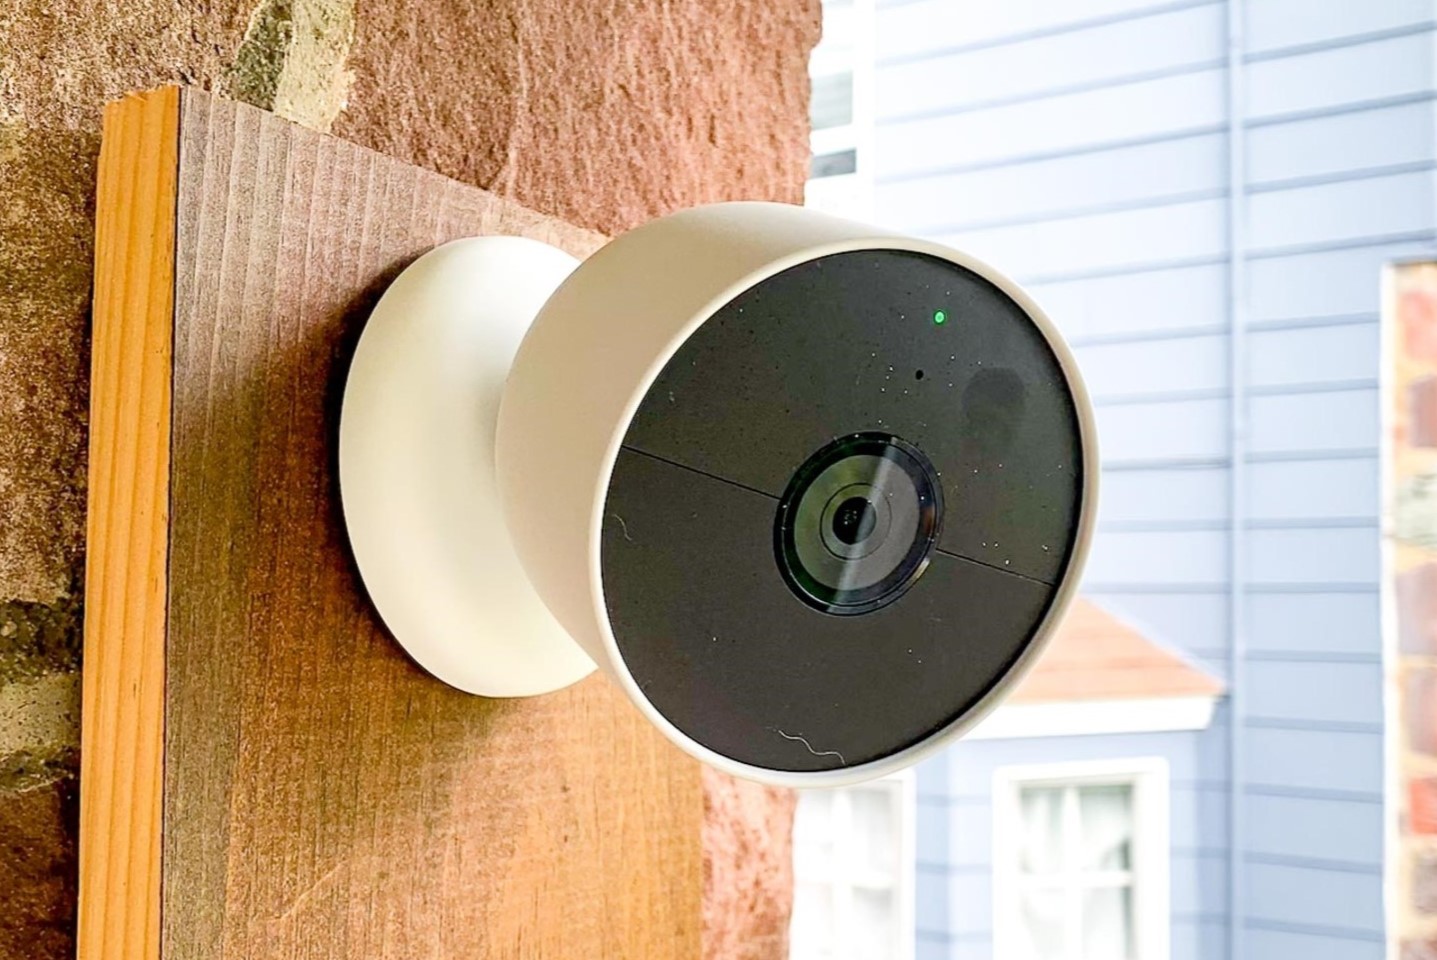
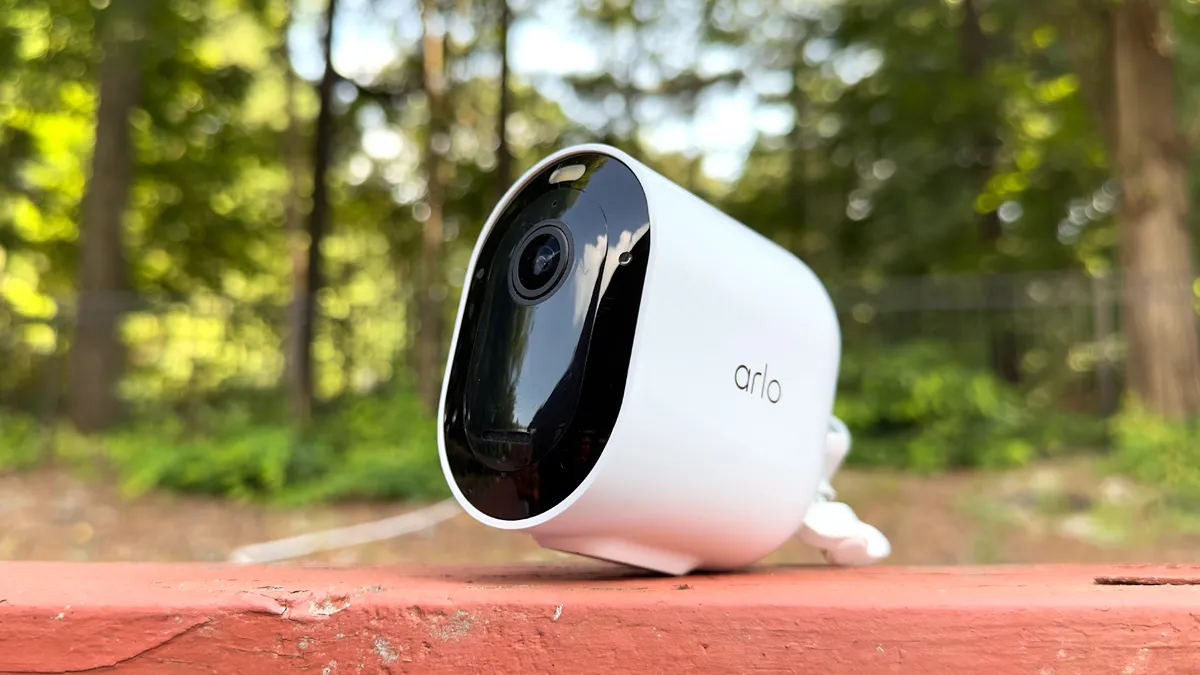
As we embark on this installation journey, it's important to note that the market offers a wide array of outdoor wireless security cameras, each with its unique features and capabilities. From weatherproof designs to advanced motion detection and night vision capabilities, choosing the right camera for your specific needs is a crucial first step in the installation process. Let's delve into the intricacies of selecting the perfect camera for your property.
Key Takeaways:
- Installing outdoor wireless security cameras enhances property security by providing 24/7 surveillance, deterring intruders, and offering remote monitoring capabilities, ensuring peace of mind for homeowners and businesses.
- Selecting the right camera, strategic placement, and thorough testing are crucial for maximizing the effectiveness of outdoor wireless security cameras, empowering users to proactively safeguard their properties with confidence.
Choosing the Right Camera
Before diving into the installation process, it’s essential to select an outdoor wireless security camera that aligns with your specific requirements. With a myriad of options available in the market, considering the following factors can help you make an informed decision:
- Weather Resistance: Given that outdoor cameras are exposed to the elements, opting for weatherproof models is imperative. Look for cameras with an IP65 or higher weatherproof rating to ensure they can withstand rain, snow, and extreme temperatures.
- Night Vision Capabilities: To maintain surveillance around the clock, prioritize cameras equipped with infrared night vision technology. This feature enables the camera to capture clear footage in low-light or no-light conditions, enhancing your property’s security during the night.
- Resolution and Field of View: High-resolution cameras coupled with a wide field of view are essential for capturing clear and comprehensive footage. Consider cameras with at least 1080p resolution and a wide-angle lens to ensure optimal coverage of the monitored areas.
- Motion Detection and Alerts: Look for cameras with advanced motion detection capabilities and customizable motion zones. This enables the camera to detect and alert you to any suspicious activity, reducing false alarms and ensuring that you’re promptly notified of relevant events.
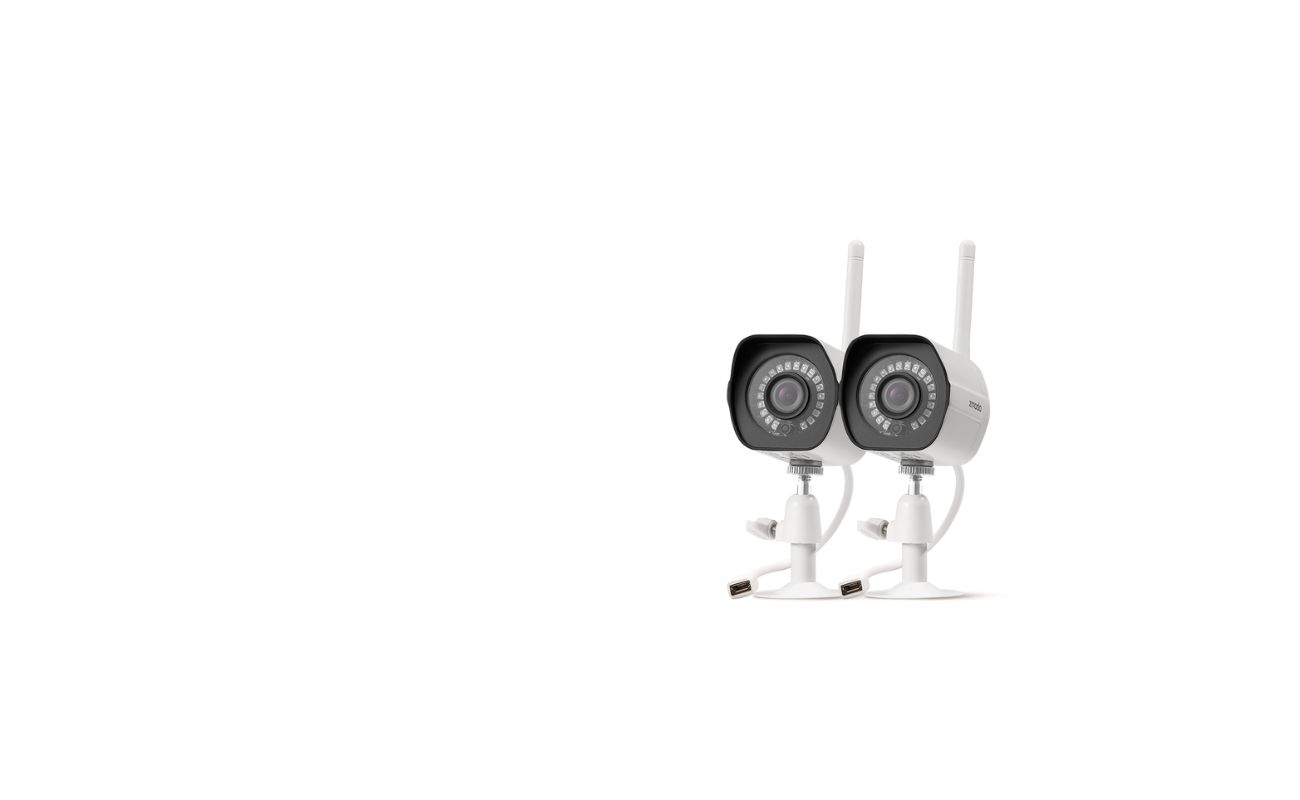
- Power Source: Outdoor wireless cameras can be powered by batteries, solar panels, or wired connections. Evaluate the pros and cons of each power source based on your property’s layout and accessibility to power outlets.
- Integration with Smart Home Systems: If you have an existing smart home ecosystem, consider cameras that seamlessly integrate with your preferred smart home platforms, such as Amazon Alexa or Google Assistant. This integration facilitates convenient control and monitoring through your existing devices.
- Storage Options: Assess the camera’s storage options, including cloud storage subscriptions and local storage capabilities. Determine the most suitable storage solution based on your preferences for accessibility and data security.
By carefully evaluating these factors, you can narrow down the options and select an outdoor wireless security camera that best suits your property’s unique security needs. Once you’ve chosen the ideal camera, the next step is to identify the optimal locations for installation, ensuring maximum coverage and effectiveness. Let’s explore the process of selecting the best locations for your outdoor wireless security cameras.
Selecting the Best Location
Strategic placement of outdoor wireless security cameras is paramount to maximize their effectiveness in monitoring and safeguarding your property. When determining the placement locations, consider the following guidelines to ensure comprehensive coverage and optimal performance:
- Entry Points: Install cameras near all entry points, including doors, windows, and garage openings. This provides a clear view of individuals entering and exiting the property, enhancing overall security.
- Perimeter Coverage: Position cameras to cover the entire perimeter of your property, minimizing blind spots and potential entry points for intruders.
- Vulnerable Areas: Identify and prioritize surveillance of vulnerable areas such as secluded pathways, dark corners, and outdoor storage spaces where criminal activities are more likely to occur.
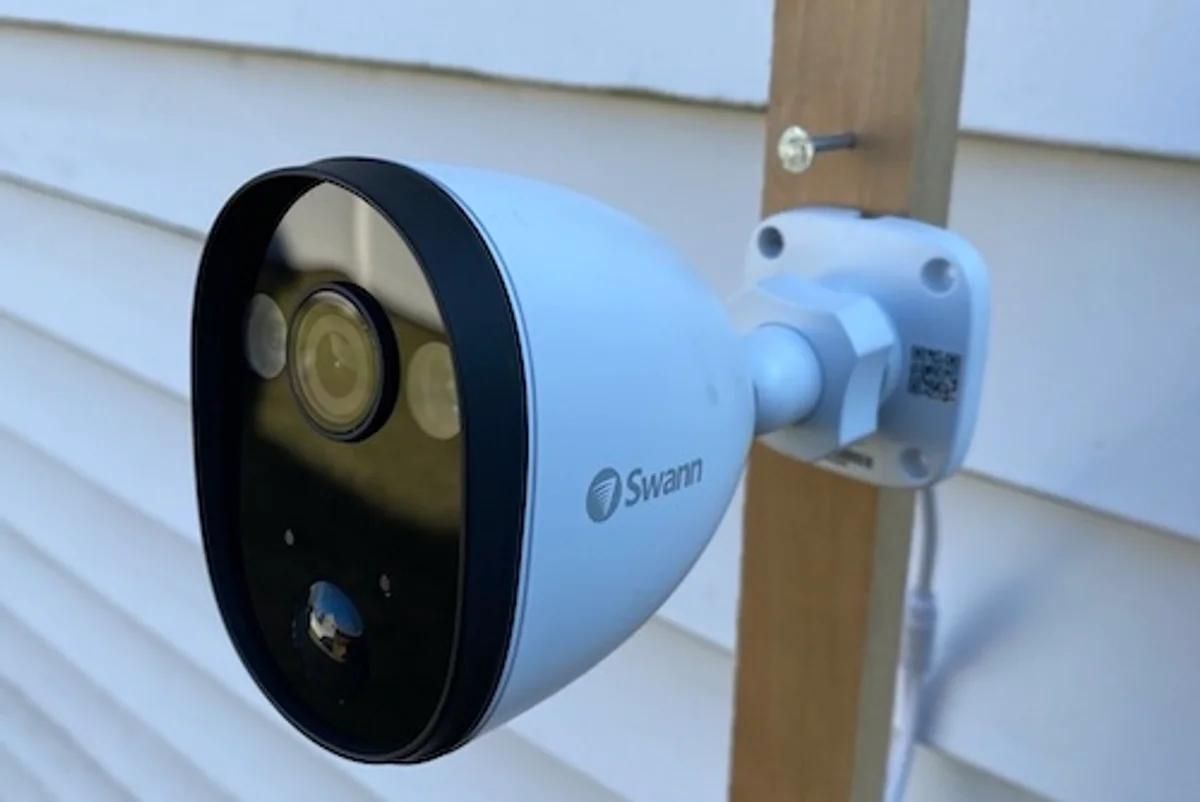
- Height and Angle: Mount cameras at an optimal height and angle to capture clear and unobstructed footage. Ensure they are out of reach to prevent tampering or vandalism.
- Consider Privacy: Respect your neighbors’ privacy and adhere to local regulations when aiming cameras to avoid capturing footage beyond your property boundaries.
- Wireless Signal Strength: Test the wireless signal strength at potential installation locations to ensure reliable connectivity to your Wi-Fi network.
- Power Source Accessibility: Choose installation locations with convenient access to the selected power source, whether it’s a power outlet, solar panel, or battery compartment.
- Obstruction-Free View: Avoid obstructing the camera’s field of view with foliage, decorative elements, or other obstructions that could compromise the clarity of captured footage.
By carefully assessing these factors, you can strategically position your outdoor wireless security cameras to effectively monitor key areas of your property. Once the installation locations are determined, the next step is to power the cameras, ensuring they are equipped to operate seamlessly. Let’s explore the various power options and considerations for outdoor wireless security cameras.
Powering the Camera
When it comes to powering outdoor wireless security cameras, several options are available, each with its unique considerations and benefits. Understanding these power sources is essential to ensure uninterrupted surveillance and seamless operation of the cameras. Here are the primary power options for outdoor wireless security cameras:
- Battery-Powered Cameras: These cameras offer exceptional flexibility in terms of installation, as they are not reliant on proximity to power outlets. They are ideal for locations where wiring may be challenging or inaccessible. However, regular monitoring and replacement of batteries are necessary to maintain continuous functionality.
- Solar-Powered Cameras: Solar-powered cameras harness energy from the sun, making them an eco-friendly and cost-effective option. They are particularly suitable for outdoor installations with ample sunlight, offering a sustainable power solution with minimal maintenance.
- Wired Cameras with Power Adapters: Cameras that require a constant power supply can be connected to power outlets using weatherproof power adapters. This ensures continuous operation without the need for battery replacements, making them a reliable choice for long-term surveillance needs.
When selecting the appropriate power source for your outdoor wireless security cameras, consider the specific requirements of each camera’s location, as well as your preferences for maintenance and long-term sustainability. Additionally, evaluate the accessibility to power sources and the feasibility of implementing solar-powered solutions based on the available sunlight in the installation areas.
Once the cameras are powered, the next crucial step is to connect them to your Wi-Fi network, enabling seamless transmission of surveillance footage and remote access to the camera feeds. Let’s delve into the process of connecting your outdoor wireless security cameras to Wi-Fi for comprehensive monitoring and control.
Connecting to Wi-Fi
Establishing a reliable connection between your outdoor wireless security cameras and your Wi-Fi network is essential to enable remote access, real-time monitoring, and seamless transmission of surveillance footage. The following steps outline the process of connecting your cameras to Wi-Fi:
- Camera Setup: Begin by following the manufacturer’s instructions to set up the camera. This typically involves powering on the camera and initiating the setup mode, allowing it to establish a Wi-Fi connection.
- Mobile App Installation: Download the corresponding mobile app provided by the camera’s manufacturer. This app will facilitate the configuration and connection process, offering a user-friendly interface to manage your cameras.
- Wi-Fi Network Selection: Access the camera’s settings within the mobile app and select the option to connect to a Wi-Fi network. Choose your home or business network from the available options and enter the required credentials, such as the network name and password.
- Pairing Process: Follow the on-screen instructions to initiate the pairing process between the camera and your Wi-Fi network. This typically involves scanning a QR code or pressing a designated button on the camera to establish the connection.
- Verification and Testing: Once the pairing process is complete, verify that the camera is successfully connected to your Wi-Fi network. Test the connection by accessing the camera feed through the mobile app to ensure seamless transmission of live footage.
- Network Security Considerations: Prioritize the security of your Wi-Fi network by implementing strong encryption, regularly updating your network credentials, and enabling additional security features such as two-factor authentication if supported by the camera and app.
By diligently following these steps, you can ensure that your outdoor wireless security cameras are securely connected to your Wi-Fi network, enabling you to monitor your property remotely and receive real-time alerts and notifications. Once the cameras are successfully connected, the next phase involves adjusting the settings to optimize their performance and customize their functionality according to your specific security preferences. Let’s explore the process of adjusting the settings for your outdoor wireless security cameras.
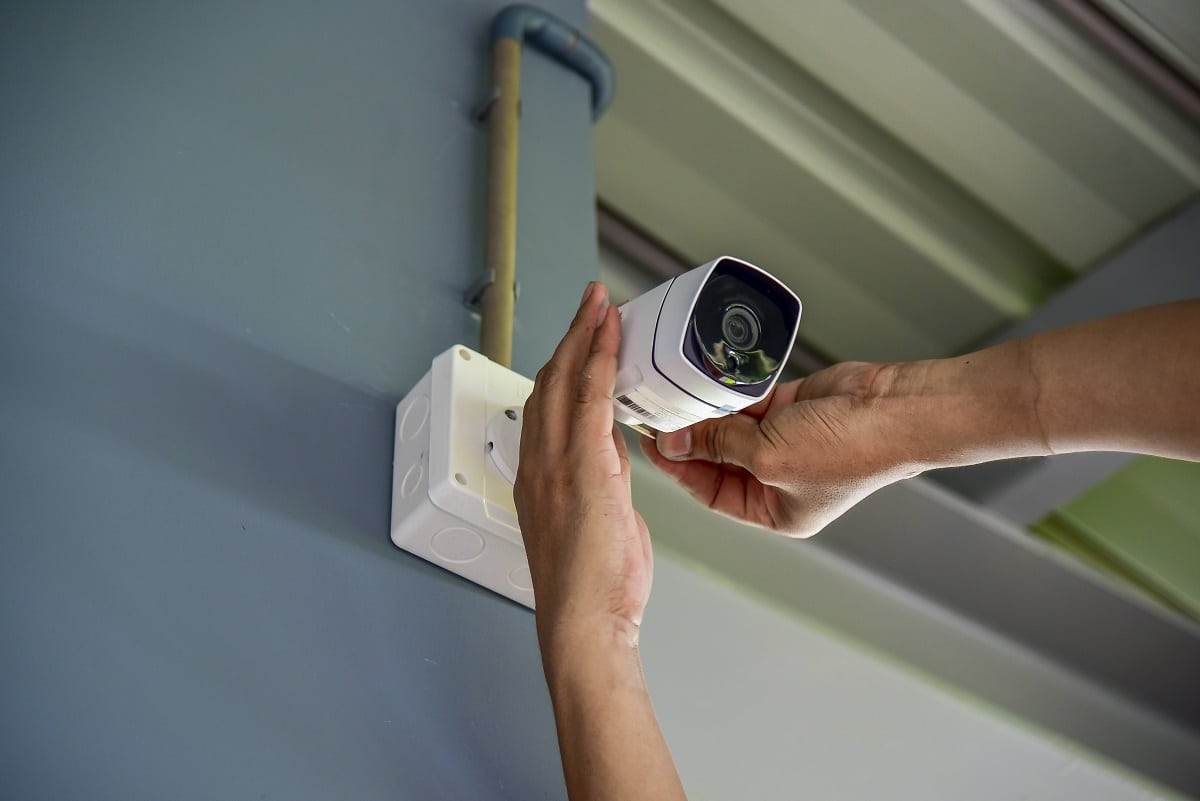
When installing outdoor wireless security cameras, make sure to place them high enough to avoid tampering, but low enough for easy maintenance. Also, ensure they have a clear line of sight and are protected from the elements.
Adjusting Settings
Customizing the settings of your outdoor wireless security cameras is crucial to optimize their performance, enhance security measures, and tailor the surveillance experience to your specific preferences. The following settings and configurations can be adjusted to maximize the effectiveness of your cameras:
- Motion Detection Sensitivity: Fine-tune the motion detection sensitivity to minimize false alarms while ensuring that relevant motion triggers are promptly detected and recorded.
- Customizable Motion Zones: Define specific areas within the camera’s field of view where motion detection should be active. This allows you to focus surveillance on critical areas while ignoring non-essential motion in the surroundings.
- Alert Notifications: Configure the app or camera settings to receive instant notifications and alerts on your mobile device or email when motion is detected or specific events occur, enabling timely response to potential security threats.
- Night Vision Settings: Adjust the night vision mode and settings to ensure optimal clarity and visibility during low-light conditions, allowing the camera to capture clear footage in the dark.
- Recording and Storage Preferences: Customize the recording settings, such as continuous recording, scheduled recording, or event-triggered recording, and select the preferred storage options, including cloud storage subscriptions or local storage devices.
- Two-Way Audio Configuration: If your camera supports two-way audio, adjust the audio settings to enable clear communication through the camera, enhancing remote interaction and security monitoring capabilities.
- Camera Access and Sharing: Manage user access and sharing permissions for the camera feed, granting specific individuals or family members the ability to view and monitor the surveillance footage as needed.
- Camera Health and Status: Regularly check and adjust settings related to camera health, status indicators, and firmware updates to ensure optimal performance and reliability.
By customizing these settings according to your specific security requirements and preferences, you can tailor the functionality of your outdoor wireless security cameras to effectively monitor and protect your property. Once the settings are adjusted, it’s essential to conduct thorough testing to ensure that the cameras are operating as intended and that the surveillance system is fully functional. Let’s explore the process of testing your outdoor wireless security cameras to validate their performance and functionality.
Testing the Camera
Thorough testing of your outdoor wireless security cameras is a critical step to validate their performance, ensure seamless functionality, and address any potential issues before relying on them for comprehensive surveillance. The following testing procedures can help you assess the cameras’ capabilities and confirm their effectiveness:
- Live Feed Monitoring: Access the live camera feed through the mobile app or web interface to verify the clarity, stability, and real-time transmission of the footage. Ensure that the feed is consistently accessible from various devices and network connections.
- Motion Detection Tests: Trigger motion events within the camera’s field of view to confirm that the motion detection feature promptly captures and records relevant activities. Adjust the sensitivity and motion zone settings as needed to optimize detection accuracy.
- Night Vision Evaluation: Test the night vision mode in low-light conditions and complete darkness to assess the camera’s visibility and recording quality during nighttime surveillance.
- Alert Notification Verification: Trigger motion events and specific events to confirm that alert notifications are promptly delivered to your mobile device or email, allowing you to stay informed about relevant activities in the camera’s vicinity.
- Two-Way Audio Testing: If your camera supports two-way audio, engage in a test conversation to ensure clear and reliable audio transmission, facilitating effective communication through the camera’s microphone and speaker.
- Recording and Storage Validation: Verify that the camera accurately records and stores footage based on the configured recording settings, and assess the accessibility and playback functionality of the stored footage through the designated storage options.
- Remote Access and Control: Test the remote access and control features to ensure that you can effectively monitor and manage the camera settings, feeds, and configurations from anywhere with a stable internet connection.
- Camera Resilience: Subject the camera to environmental factors such as weather conditions and temperature variations to assess its resilience and performance under real-world outdoor settings.
By conducting comprehensive testing encompassing these aspects, you can gain confidence in the reliability and functionality of your outdoor wireless security cameras, ensuring that they are poised to deliver consistent surveillance and security monitoring. Once the cameras have been thoroughly tested and validated, it’s essential to establish a maintenance routine and be prepared to address any potential troubleshooting needs that may arise during their operational lifespan. Let’s explore the best practices for maintenance and troubleshooting of your outdoor wireless security cameras.
Maintenance and Troubleshooting
Regular maintenance and proactive troubleshooting are essential to uphold the optimal performance and longevity of your outdoor wireless security cameras. By adhering to best practices for maintenance and promptly addressing any potential issues, you can ensure that your surveillance system remains reliable and effective. Here are key maintenance tasks and troubleshooting strategies to consider:
- Periodic Cleaning: Regularly clean the camera lenses and housing to remove dust, dirt, and debris that may compromise the clarity of the footage. Use a soft, lint-free cloth and a mild cleaning solution to gently wipe the camera surfaces.
- Battery and Power Source Checks: If your cameras are battery-powered or solar-powered, monitor the battery levels and the efficiency of solar panels to ensure consistent power supply. Replace batteries as needed and assess the solar panels’ exposure to sunlight for optimal performance.
- Weatherproofing Inspection: Verify the integrity of the camera’s weatherproofing seals and housing to safeguard against moisture, humidity, and extreme temperatures that could impact the camera’s functionality. Address any signs of wear or damage promptly.
- Firmware Updates: Stay informed about firmware updates released by the camera manufacturer and promptly install the latest updates to access new features, security enhancements, and performance optimizations.
- Network Connectivity Tests: Regularly assess the cameras’ connectivity to your Wi-Fi network and address any signal strength issues or connectivity disruptions that may impact the transmission of surveillance footage.
- Storage Management: Monitor the available storage capacity for cloud-based or local storage options and manage the stored footage to prevent storage limitations from affecting the continuous recording functionality.
- Environmental Considerations: Adjust camera settings or positioning in response to environmental changes, such as seasonal lighting variations, foliage growth, or construction activities that may impact the camera’s field of view and motion detection.
- Troubleshooting Guidance: Familiarize yourself with the troubleshooting resources provided by the camera manufacturer, including online guides, support forums, and customer service contacts, to effectively address any technical or operational issues that may arise.
By integrating these maintenance practices into your surveillance system management, you can mitigate potential issues and ensure that your outdoor wireless security cameras consistently deliver reliable performance. In the event of technical challenges or operational concerns, promptly engage in troubleshooting efforts, leverage manufacturer support resources, and seek professional assistance when necessary to address and resolve any issues effectively.
With a proactive approach to maintenance and troubleshooting, you can uphold the effectiveness of your outdoor wireless security cameras, providing enduring security and peace of mind for your home or business. As you embark on this journey of installation, maintenance, and security enhancement, you are empowered to safeguard your property with confidence and technological sophistication.
Conclusion
Embarking on the installation and maintenance of outdoor wireless security cameras is a proactive and empowering endeavor that significantly enhances the security and monitoring capabilities of your property. By carefully selecting the right cameras, strategically positioning them, and meticulously configuring their settings, you establish a robust surveillance system that offers peace of mind and real-time insights into your surroundings.
Through the seamless connection to your Wi-Fi network, these cameras enable remote access and monitoring, empowering you to stay informed about your property’s security status from anywhere in the world. The integration of advanced features such as motion detection, night vision, and two-way audio further amplifies the effectiveness of these cameras in fortifying your security measures.
As you navigate the installation process and diligently maintain your surveillance system, you are equipped to address potential challenges, ensure optimal performance, and proactively mitigate any operational issues. By embracing a proactive approach to maintenance and troubleshooting, you uphold the reliability and longevity of your outdoor wireless security cameras, reinforcing their pivotal role in safeguarding your home or business.
Ultimately, the investment in outdoor wireless security cameras transcends mere technology; it embodies a commitment to security, vigilance, and the protection of what matters most to you. With these cameras as stalwart sentinels, you cultivate a heightened sense of security, deter potential threats, and cultivate a safe and secure environment for your loved ones and assets.
As you navigate this journey, remember that the installation and maintenance of outdoor wireless security cameras are not merely technical tasks; they are expressions of your dedication to fortifying your security infrastructure and embracing the benefits of modern surveillance technology. By embracing this commitment, you embark on a path of proactive security management, technological empowerment, and enduring peace of mind.
Frequently Asked Questions about How To Install Outdoor Wireless Security Cameras
Was this page helpful?
At Storables.com, we guarantee accurate and reliable information. Our content, validated by Expert Board Contributors, is crafted following stringent Editorial Policies. We're committed to providing you with well-researched, expert-backed insights for all your informational needs.


0 thoughts on “How To Install Outdoor Wireless Security Cameras”