Home>Home Security and Surveillance>How To Change The Wireless Security On The Nintendo 3Ds
Home Security and Surveillance
How To Change The Wireless Security On The Nintendo 3Ds
Modified: October 20, 2024
Learn how to change the wireless security on your Nintendo 3DS and ensure your home security and surveillance is at its best.
(Many of the links in this article redirect to a specific reviewed product. Your purchase of these products through affiliate links helps to generate commission for Storables.com, at no extra cost. Learn more)
Introduction
Welcome to our guide on how to change the wireless security on the Nintendo 3DS! The Nintendo 3DS is a popular handheld gaming console beloved by gamers of all ages. In order to connect to the internet and enjoy online gaming, it is important to have the right wireless security settings in place. Whether you’re upgrading your security or switching to a new Wi-Fi network, this article will walk you through the steps to modify the wireless security on your Nintendo 3DS.
Having a secure wireless connection is essential to protect your personal information and ensure a safe online gaming experience. By following the instructions in this guide, you’ll be able to change the wireless security on your Nintendo 3DS and safeguard your gaming sessions from any potential security threats.
Please note that the steps outlined in this guide may vary slightly depending on the version of the Nintendo 3DS system you are using. However, the general process remains the same.
Now, let’s dive into the step-by-step instructions to change the wireless security on your Nintendo 3DS!
Key Takeaways:
- Keep your Nintendo 3DS secure by updating wireless settings. Choose WPA2-PSK for the highest protection and create a strong, unique password to safeguard your online gaming experience.
- After changing wireless security, test the connection to ensure it’s working. Regularly update settings and use strong passwords for a secure and seamless gaming experience.
Read more: How Much Does 3DS Repair Cost
Step 1: Accessing the System Settings
The first step to changing the wireless security on your Nintendo 3DS is to access the System Settings. This is where you’ll find all the necessary options to modify your wireless settings. Here’s how to do it:
- Turn on your Nintendo 3DS console by pressing the power button.
- From the Home Menu, located at the top of the touch screen, tap on the “System Settings” icon. It is represented by a spanner or gear icon.
- A new menu will open with several options. Look for and tap on the “Internet Settings” option. This will take you to the internet configuration settings for your Nintendo 3DS.
Congratulations! You have successfully accessed the System Settings on your Nintendo 3DS. Now, let’s move on to the next step to modify the wireless security settings.
Step 2: Opening the Internet Settings
In this step, we’ll guide you through the process of opening the Internet Settings on your Nintendo 3DS. This is where you can manage your Wi-Fi connections and adjust the wireless security. Follow the instructions below:
- Once you are in the System Settings menu, scroll down and look for the “Internet Settings” option. Tap on it to open the internet configuration settings.
- In the Internet Settings menu, you will see three options: “Connection Settings,” “Nintendo DS Connections,” and “Advanced Setup.” Tap on the “Connection Settings” option to continue.
By opening the Internet Settings, you are now one step closer to changing the wireless security on your Nintendo 3DS. Let’s proceed to the next step to select the current Wi-Fi connection.
Step 3: Selecting the Current Wi-Fi Connection
Now that you have opened the Internet Settings on your Nintendo 3DS, it’s time to select the current Wi-Fi connection. Follow the steps below to proceed:
- In the Connection Settings menu, you will see a list of available Wi-Fi connections. Look for the name of your current Wi-Fi network and tap on it. If you don’t see your network in the list, you may need to search for it or set it up manually by selecting “New Connection.”
- After selecting your Wi-Fi network, a list of options will appear. Choose the “Change Settings” option to modify the wireless security settings.
It’s important to select the correct Wi-Fi network that you are currently connected to. Selecting the wrong network may lead to connectivity issues. Once you have selected the correct network, you’re ready to proceed to the next step, where we will modify the wireless security settings.
Step 4: Modifying the Security Settings
Now that you have selected your current Wi-Fi connection, it’s time to modify the security settings on your Nintendo 3DS. Follow the steps below to proceed:
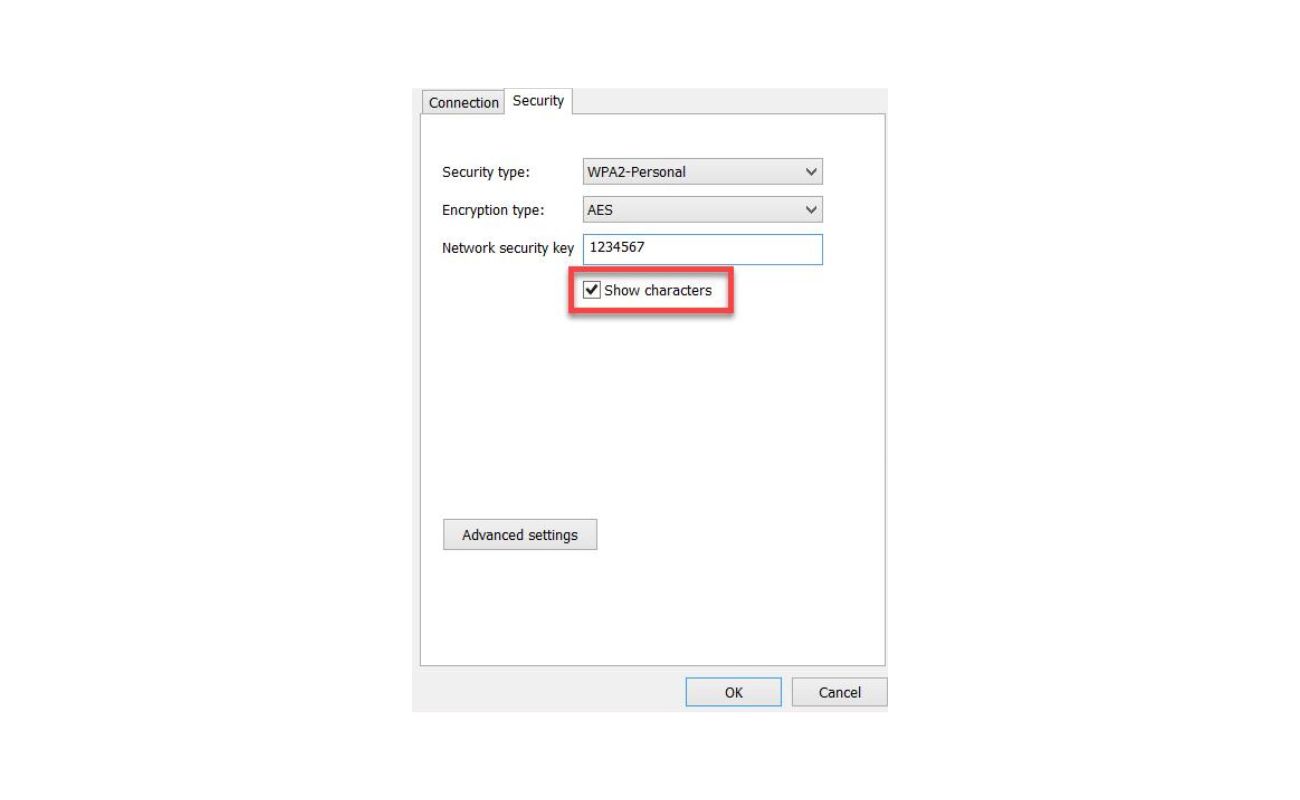
- After choosing the “Change Settings” option, you will be presented with a list of configurations for your Wi-Fi connection. Look for the “Security” option and tap on it.
- A new menu will open, displaying different options for wireless security types. The available options may vary depending on your Nintendo 3DS system version. Common security types include “WEP,” “WPA-PSK,” and “WPA2-PSK.”
- Select the security type based on your preference and the security level you want for your Wi-Fi connection.
Choosing the right security type is crucial for the protection of your wireless network. Each security type has its own level of encryption and authentication methods. It’s recommended to choose the highest security type available, such as “WPA2-PSK,” for better protection against unauthorized access.
Once you have selected the desired wireless security type, it’s time to move on to the next step, where we will enter the new wireless security key. Stay tuned!
To change the wireless security on your Nintendo 3DS, go to System Settings, then Internet Settings, and select your connection. Choose Change Security Settings and enter the new security key.
Read more: What Kind Of Screwdriver For New 3DS XL
Step 5: Choosing a New Wireless Security Type
Now that you have accessed the security settings on your Nintendo 3DS, it’s time to choose a new wireless security type. Follow the steps below to proceed:
- After selecting the security option, you will be presented with a list of available security types. The options may include “WEP,” “WPA-PSK,” “WPA2-PSK,” and others.
- Carefully consider the security needs of your Wi-Fi network. If your network supports it, it’s recommended to choose “WPA2-PSK” as it offers the highest level of encryption and security.
- Use the Nintendo 3DS stylus or the directional buttons to navigate through the options and tap on the desired security type.
Choosing the right wireless security type is essential for protecting your Wi-Fi connection from unauthorized access. It ensures that your personal information and data transmitted over the network remain secure.
Once you have selected the new wireless security type, we can proceed to the next step, where we will enter the new wireless security key. Let’s continue!
Step 6: Entering the New Wireless Security Key
Now that you have chosen a new wireless security type for your Nintendo 3DS, it’s time to enter the new wireless security key. The security key is a password that grants access to your Wi-Fi network. Follow the steps below to proceed:
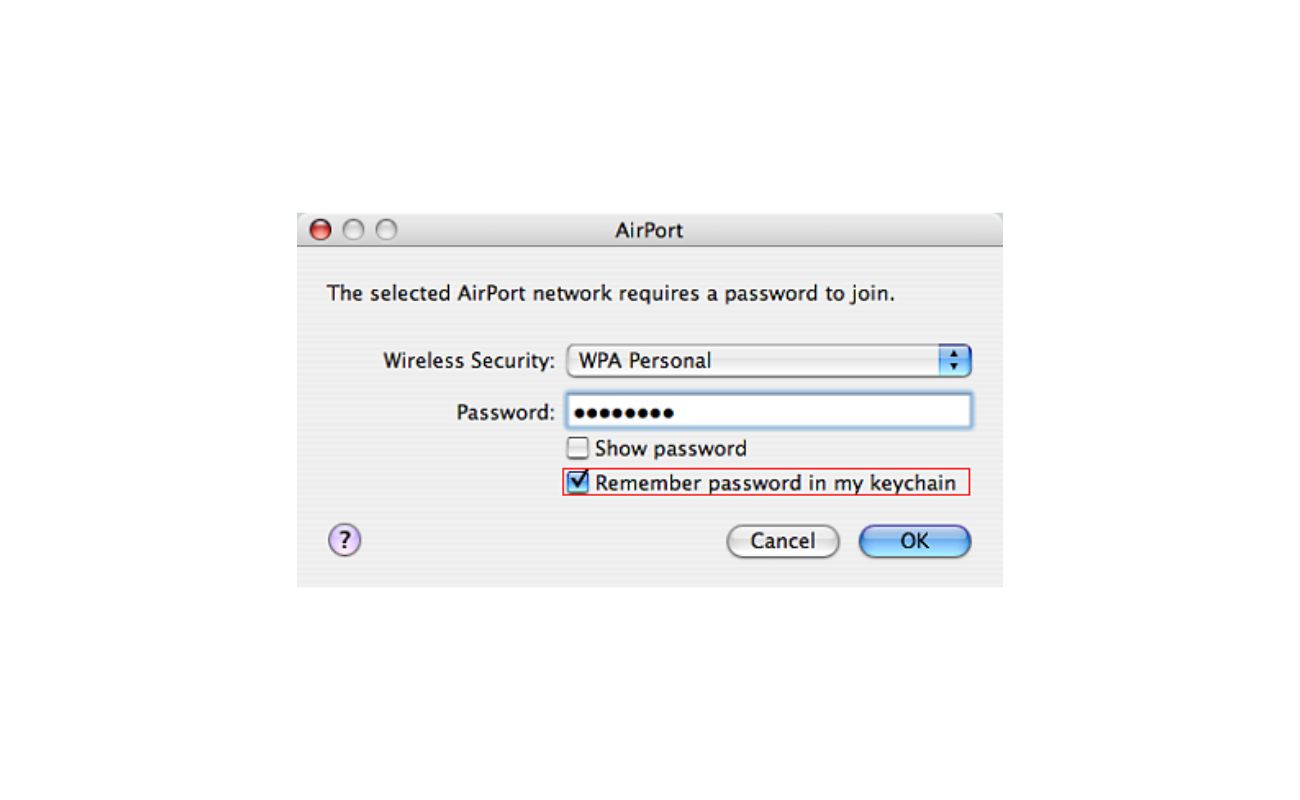
- After selecting the new security type, you will be prompted to enter the wireless security key.
- Using the on-screen keyboard, carefully enter the new wireless security key. Take note that the security key is case-sensitive, so be mindful of uppercase and lowercase letters.
- Once you have entered the security key, double-check to ensure it is accurate and doesn’t contain any errors.
It’s important to have an easy-to-remember yet secure wireless security key. Avoid using common passwords or personal information that can be easily guessed by potential intruders. Instead, create a strong, unique password that combines letters, numbers, and special characters.
After successfully entering the new wireless security key, we can move on to the final step, where we will save the changes and test the connection. Let’s proceed!
Step 7: Saving the Changes and Testing the Connection
Now that you have entered the new wireless security key, it’s time to save the changes and test the connection on your Nintendo 3DS. Follow the steps below to proceed:
- After entering the wireless security key, look for the “OK” or “Save” button on the screen. Tap on it to save the changes.
- The Nintendo 3DS will now attempt to connect to the Wi-Fi network using the new security settings. This may take a few moments.
- Once the connection is established, a confirmation message will be displayed on the screen. It will indicate that the connection was successful.
- To verify the connection, you can open a web browser or launch an online game on your Nintendo 3DS. If the internet is accessible and the game connects without any issues, it means the new security settings are working properly.
Congratulations! You have successfully changed the wireless security on your Nintendo 3DS. Your device is now connected to a Wi-Fi network with enhanced security and protection.
Remember, it’s always a good idea to regularly update your wireless security settings and use strong passwords to ensure the safety of your online gaming sessions and personal information.
Now you’re ready to enjoy a secure and seamless gaming experience on your Nintendo 3DS. Happy gaming!
Conclusion
Changing the wireless security settings on your Nintendo 3DS is crucial for maintaining a secure and safe online gaming experience. By following the steps outlined in this guide, you have learned how to access the system settings, open the internet settings, select the current Wi-Fi connection, modify the security settings, choose a new wireless security type, enter the new wireless security key, and save the changes.
Remember, having a strong and secure wireless connection is essential to protect your personal information and ensure a safe gaming environment. It is recommended to choose the highest security type available, such as WPA2-PSK, for better protection against unauthorized access.
Once you have successfully modified the wireless security settings, it’s important to test the connection to ensure everything is functioning properly. By verifying the internet accessibility and the ability to connect to online games, you can have peace of mind knowing that your Nintendo 3DS is securely connected to your Wi-Fi network.
Regularly updating your wireless security settings and using strong passwords is recommended to stay one step ahead of potential security threats. By taking these precautions, you can enjoy a seamless and secure gaming experience on your Nintendo 3DS.
We hope this guide has been helpful in assisting you in changing the wireless security on your Nintendo 3DS. Now, it’s time to dive into the world of online gaming with confidence and peace of mind. Happy gaming!
Frequently Asked Questions about How To Change The Wireless Security On The Nintendo 3Ds
Was this page helpful?
At Storables.com, we guarantee accurate and reliable information. Our content, validated by Expert Board Contributors, is crafted following stringent Editorial Policies. We're committed to providing you with well-researched, expert-backed insights for all your informational needs.