Home>Home Security and Surveillance>How To Install Foscam Outdoor Camera
Home Security and Surveillance
How To Install Foscam Outdoor Camera
Modified: March 6, 2024
Enhance your home security and surveillance with our step-by-step guide on how to install the Foscam outdoor camera. Protect your property and loved ones today.
(Many of the links in this article redirect to a specific reviewed product. Your purchase of these products through affiliate links helps to generate commission for Storables.com, at no extra cost. Learn more)
Introduction
Welcome to the world of home security and surveillance! In this article, we will guide you through the process of installing a Foscam outdoor camera, step by step. With the increasing need for home protection and monitoring, having a reliable outdoor camera is essential in ensuring the safety of your property and loved ones.
Foscam is a renowned brand known for its high-quality and innovative security cameras. Their outdoor cameras offer a range of features such as night vision, motion detection, and remote access, providing you with peace of mind even when you are away from home.
Installing an outdoor camera may sound daunting, but with the right equipment and our comprehensive guide, you’ll be able to set up your camera in no time. So let’s get started!
Key Takeaways:
- Installing a Foscam outdoor camera is a breeze with the right equipment and our step-by-step guide. Find the perfect spot, connect to power and network, and customize settings for enhanced home security!
- By following our guide, you can confidently install, configure, and test your Foscam outdoor camera for reliable surveillance. Enjoy peace of mind and remote access to monitor your property anytime, anywhere!
Read more: How To Reset Foscam Outdoor Camera FI8904W
Step 1: Gather the necessary equipment
Before you begin the installation process, it’s important to gather all the necessary equipment. Here’s a list of items you will need:
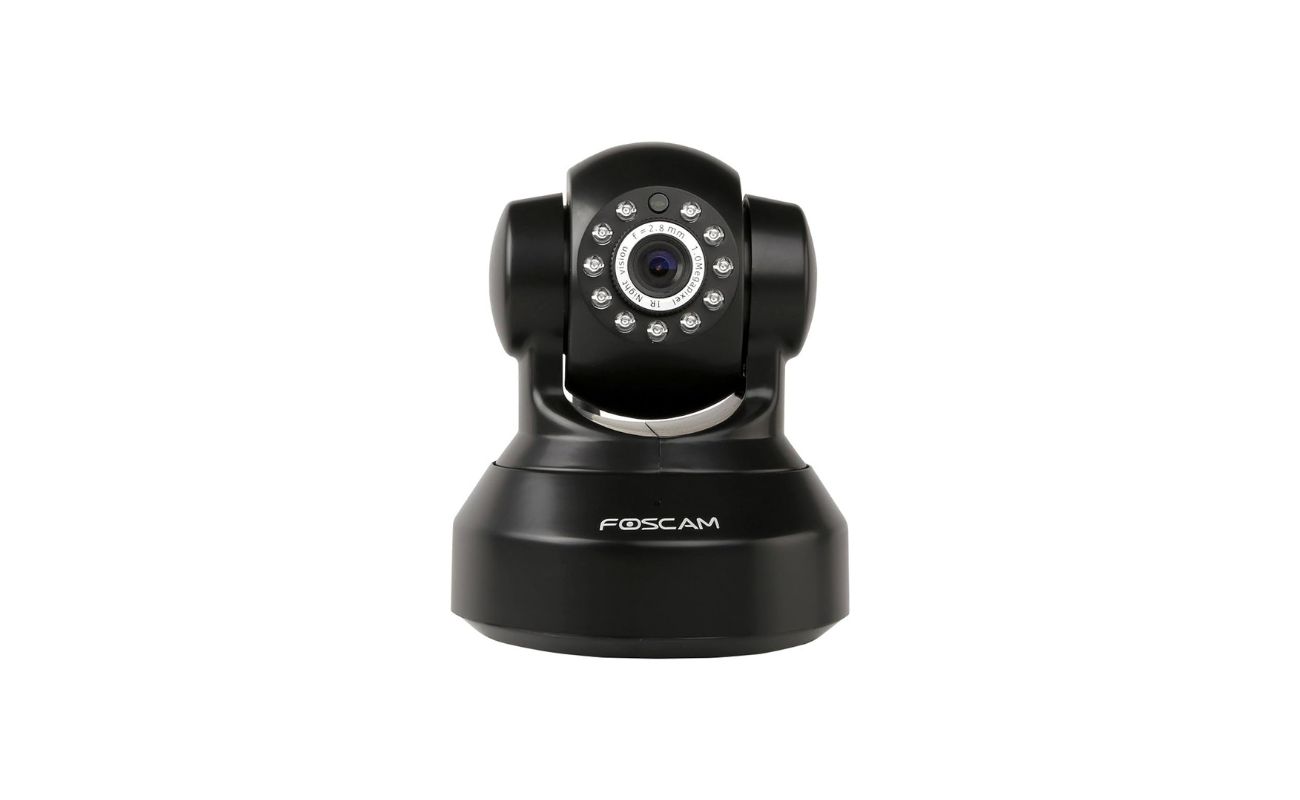
- Foscam outdoor camera: Make sure you have the specific model of Foscam outdoor camera that you want to install. Check the manufacturer’s website or product manual for more information.
- Power adapter: Foscam outdoor cameras typically come with a power adapter that needs to be plugged into an electrical outlet.
- Network cable: You will need an Ethernet cable to connect the camera to your router during the installation process.
- Mounting bracket: Depending on your camera model, it may come with a mounting bracket that allows you to securely attach the camera to a wall or other surfaces.
- Drill and screws: If the mounting bracket doesn’t come with screws, you will need to have a drill and appropriate screws to secure the bracket in place.
- Network router: Ensure that you have a functioning network router with an available Ethernet port to connect the camera.
- Smartphone or computer: You will need a smartphone or computer to access and configure the camera’s settings.
- Internet connection: A stable internet connection is necessary for remote access and monitoring of your camera.
Once you have gathered all the required equipment, you’re ready to move on to the next step: finding the optimal location for your outdoor camera.
Step 2: Find the optimal location for the camera
Choosing the right location for your Foscam outdoor camera is crucial for maximizing its effectiveness. Here are a few factors to consider when finding the optimal placement:
- Visibility: Ensure that the camera has a clear line of sight to the area you want to monitor. Avoid obstructions such as trees, bushes, or walls that may obstruct the camera’s view.
- Height: Position the camera at an appropriate height to capture a wide-angle view. Generally, installing the camera at around 10 feet above the ground provides a good balance between capturing a clear image and maintaining security.
- Lighting conditions: Consider the lighting conditions in the area you want to monitor. If the area is poorly lit at night, choose a camera with good night vision capabilities or install additional lighting to ensure clear visibility.
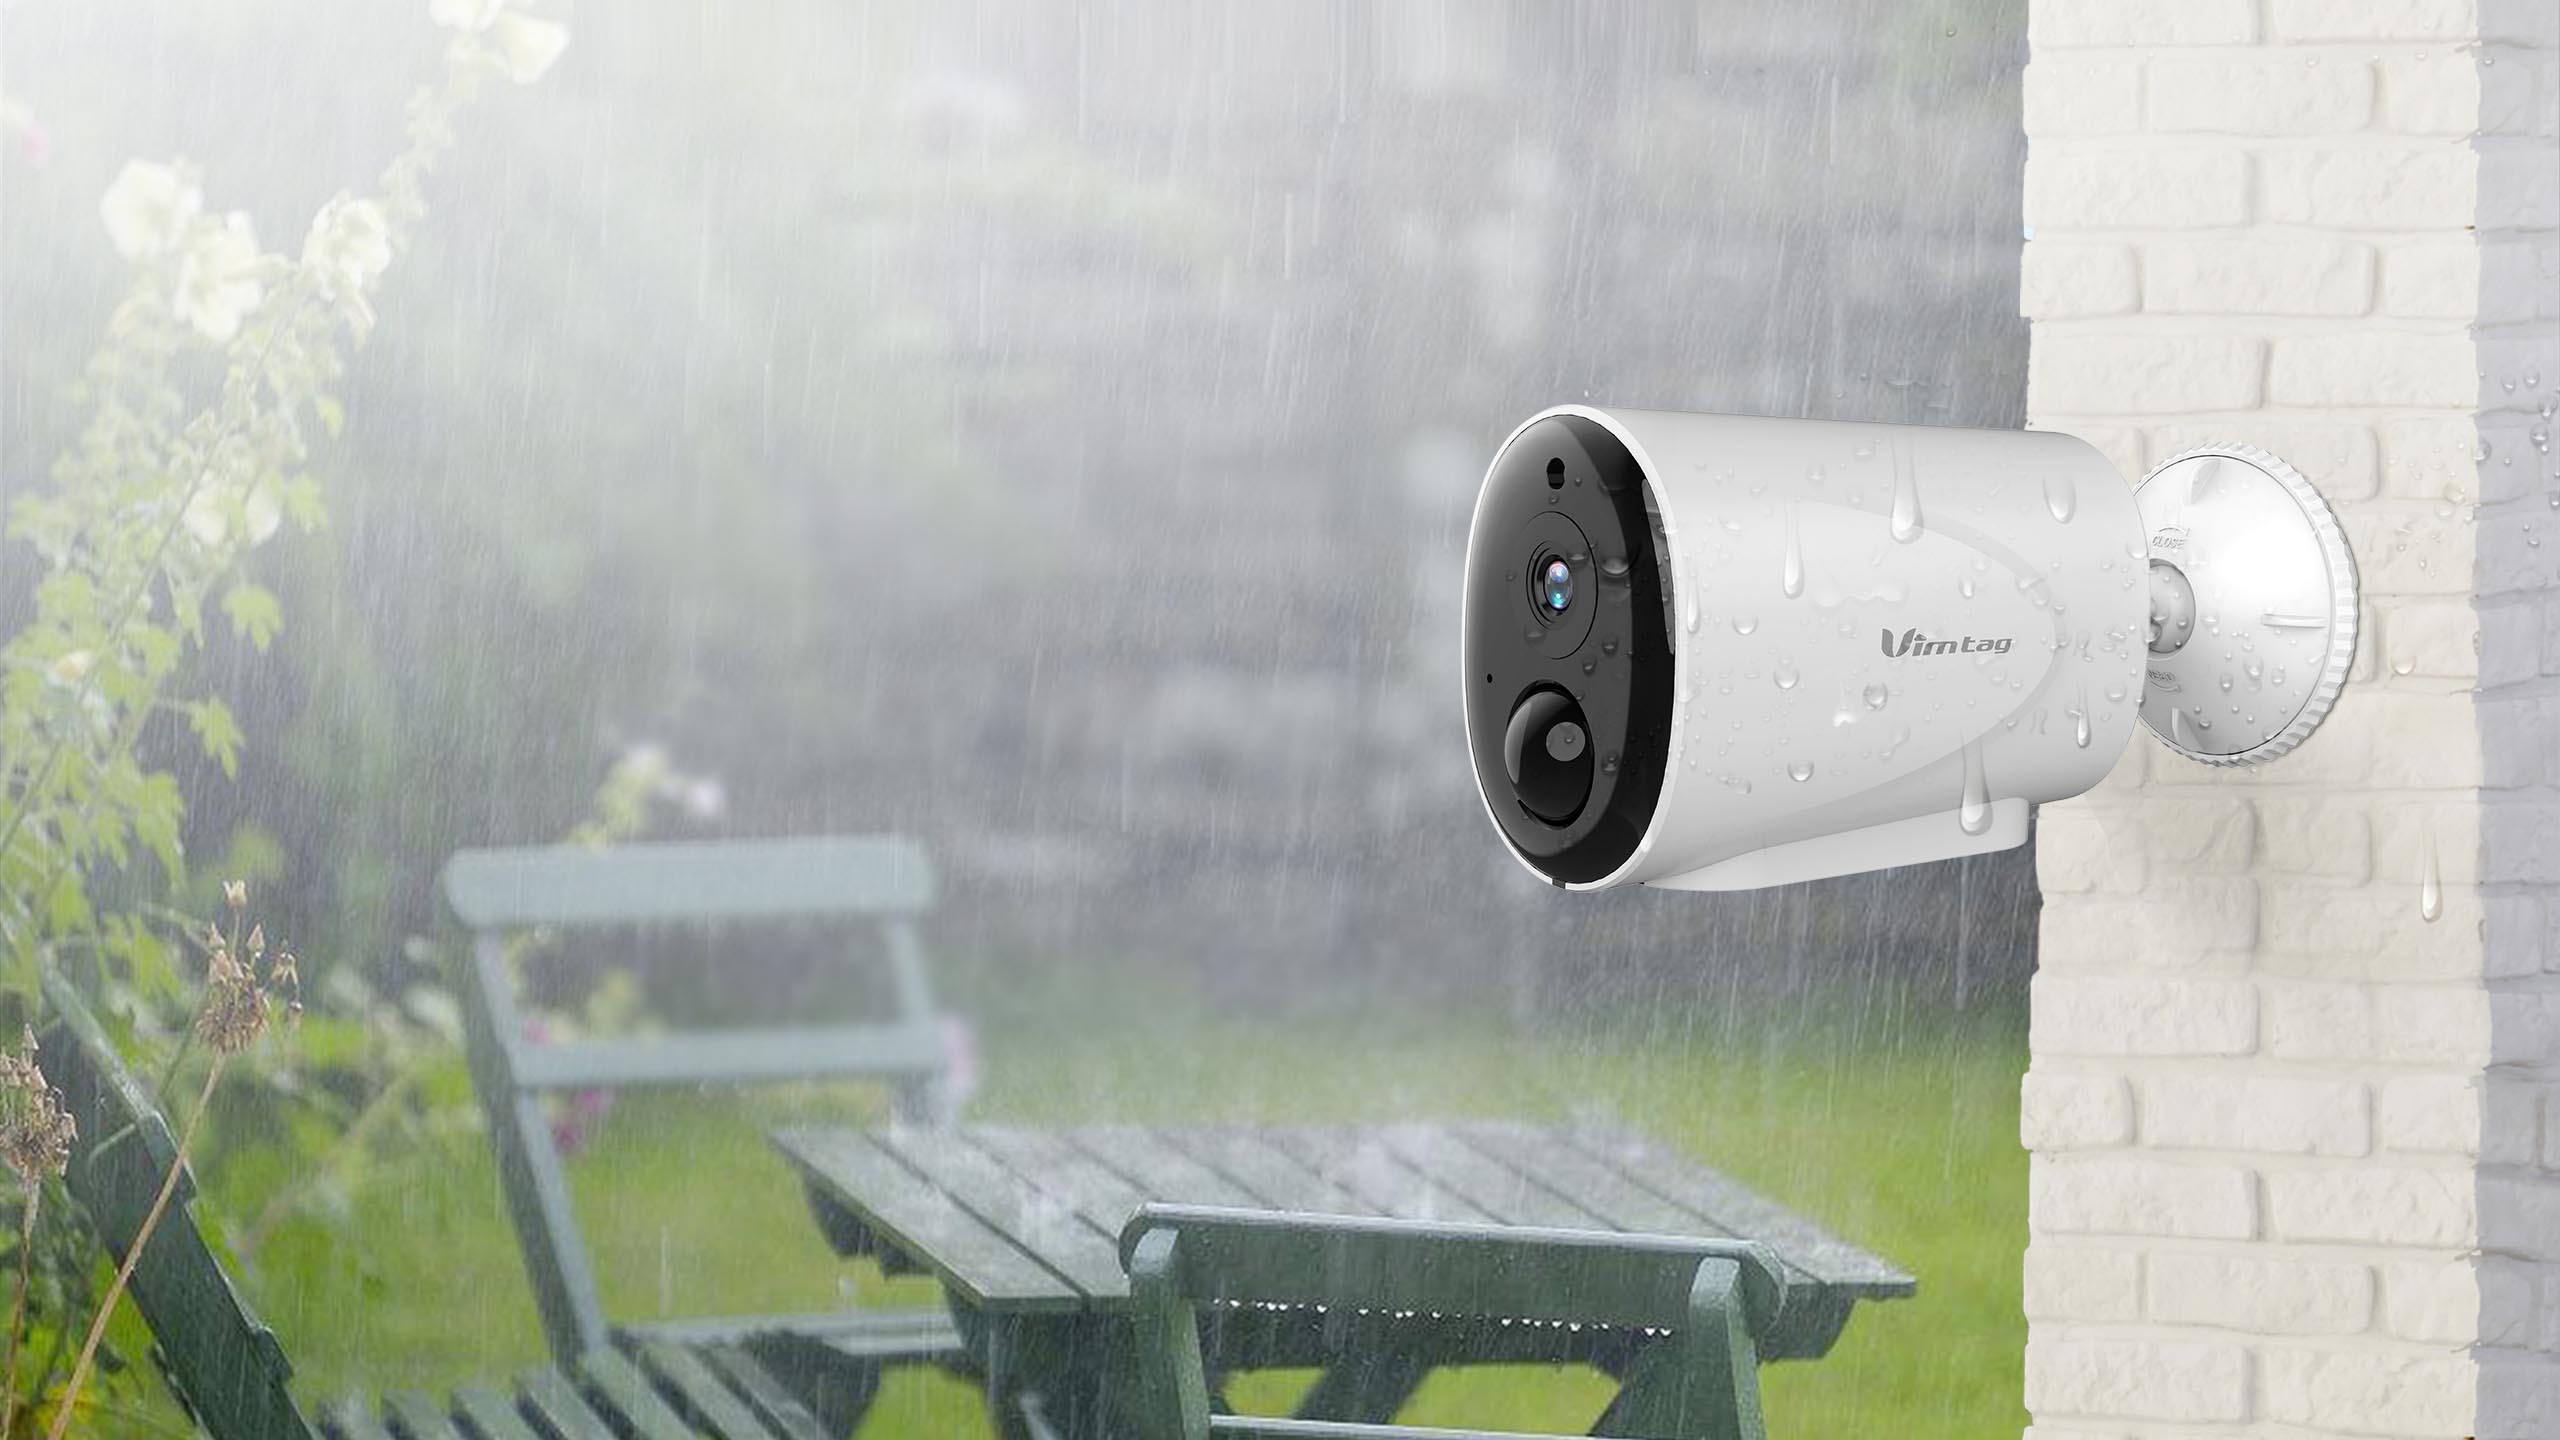
- Weather resistance: If you live in an area with harsh weather conditions, make sure to choose a camera that is weatherproof and can withstand elements like rain, snow, and extreme temperatures.
- Accessibility: Ensure that the camera is easily accessible for maintenance and adjustments when needed. Choose a location where you can easily reach the camera for cleaning or repositioning if required.
Once you have identified the optimal location, it’s time to proceed to the next step: mounting the camera bracket.
Step 3: Mount the camera bracket
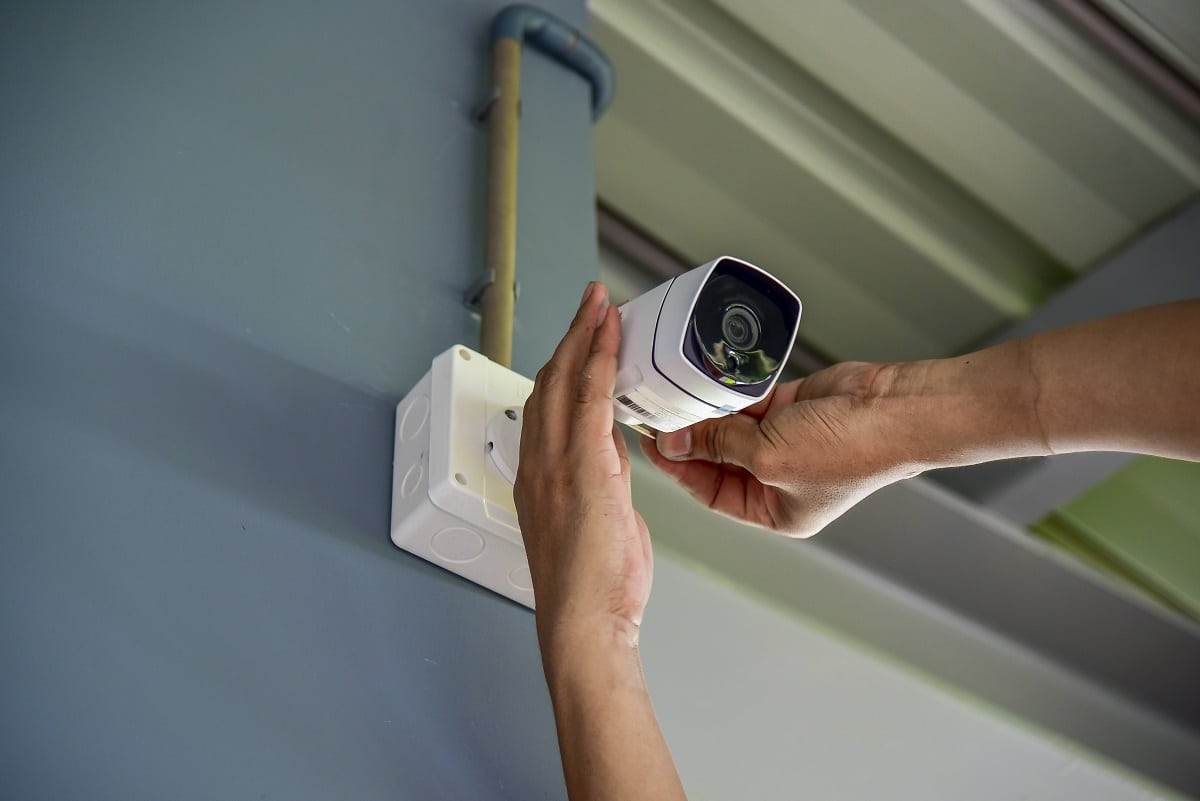
Mounting the camera bracket is an important step in ensuring the stability and security of your Foscam outdoor camera. Here’s how to do it:
- Using the provided screws, attach the mounting bracket to the desired location. Make sure the bracket is securely fastened and level.
- Check the angle of the bracket to ensure that it provides the desired view of the area you want to monitor.
- If necessary, adjust the angle of the bracket by loosening the screws and repositioning it accordingly.
- Once you are satisfied with the angle and position of the bracket, tighten the screws to secure it in place.
- Ensure that the bracket is stable and can support the weight of the camera.
Once the mounting bracket is securely installed, you can move on to the next step: connecting the camera to the power source.
Step 4: Connect the camera to the power source
Now that the camera bracket is in place, it’s time to connect your Foscam outdoor camera to the power source. Follow these steps:
- Locate the power adapter that came with your camera. Plug one end into the power port on the camera, usually located on the back or bottom.
- Connect the other end of the power adapter to a nearby electrical outlet. Ensure that the outlet is easily accessible and can provide a stable power supply.
- Once connected, check that the camera’s LED lights turn on, indicating that it is receiving power.
- Wait for the camera to fully power on. This usually takes a minute or two.
By connecting the camera to a reliable power source, you ensure that it remains operational 24/7, providing continuous surveillance and security for your property.
Next, you’ll learn how to connect the camera to your network, allowing you to access and control it remotely. Proceed to step 5 for further instructions.
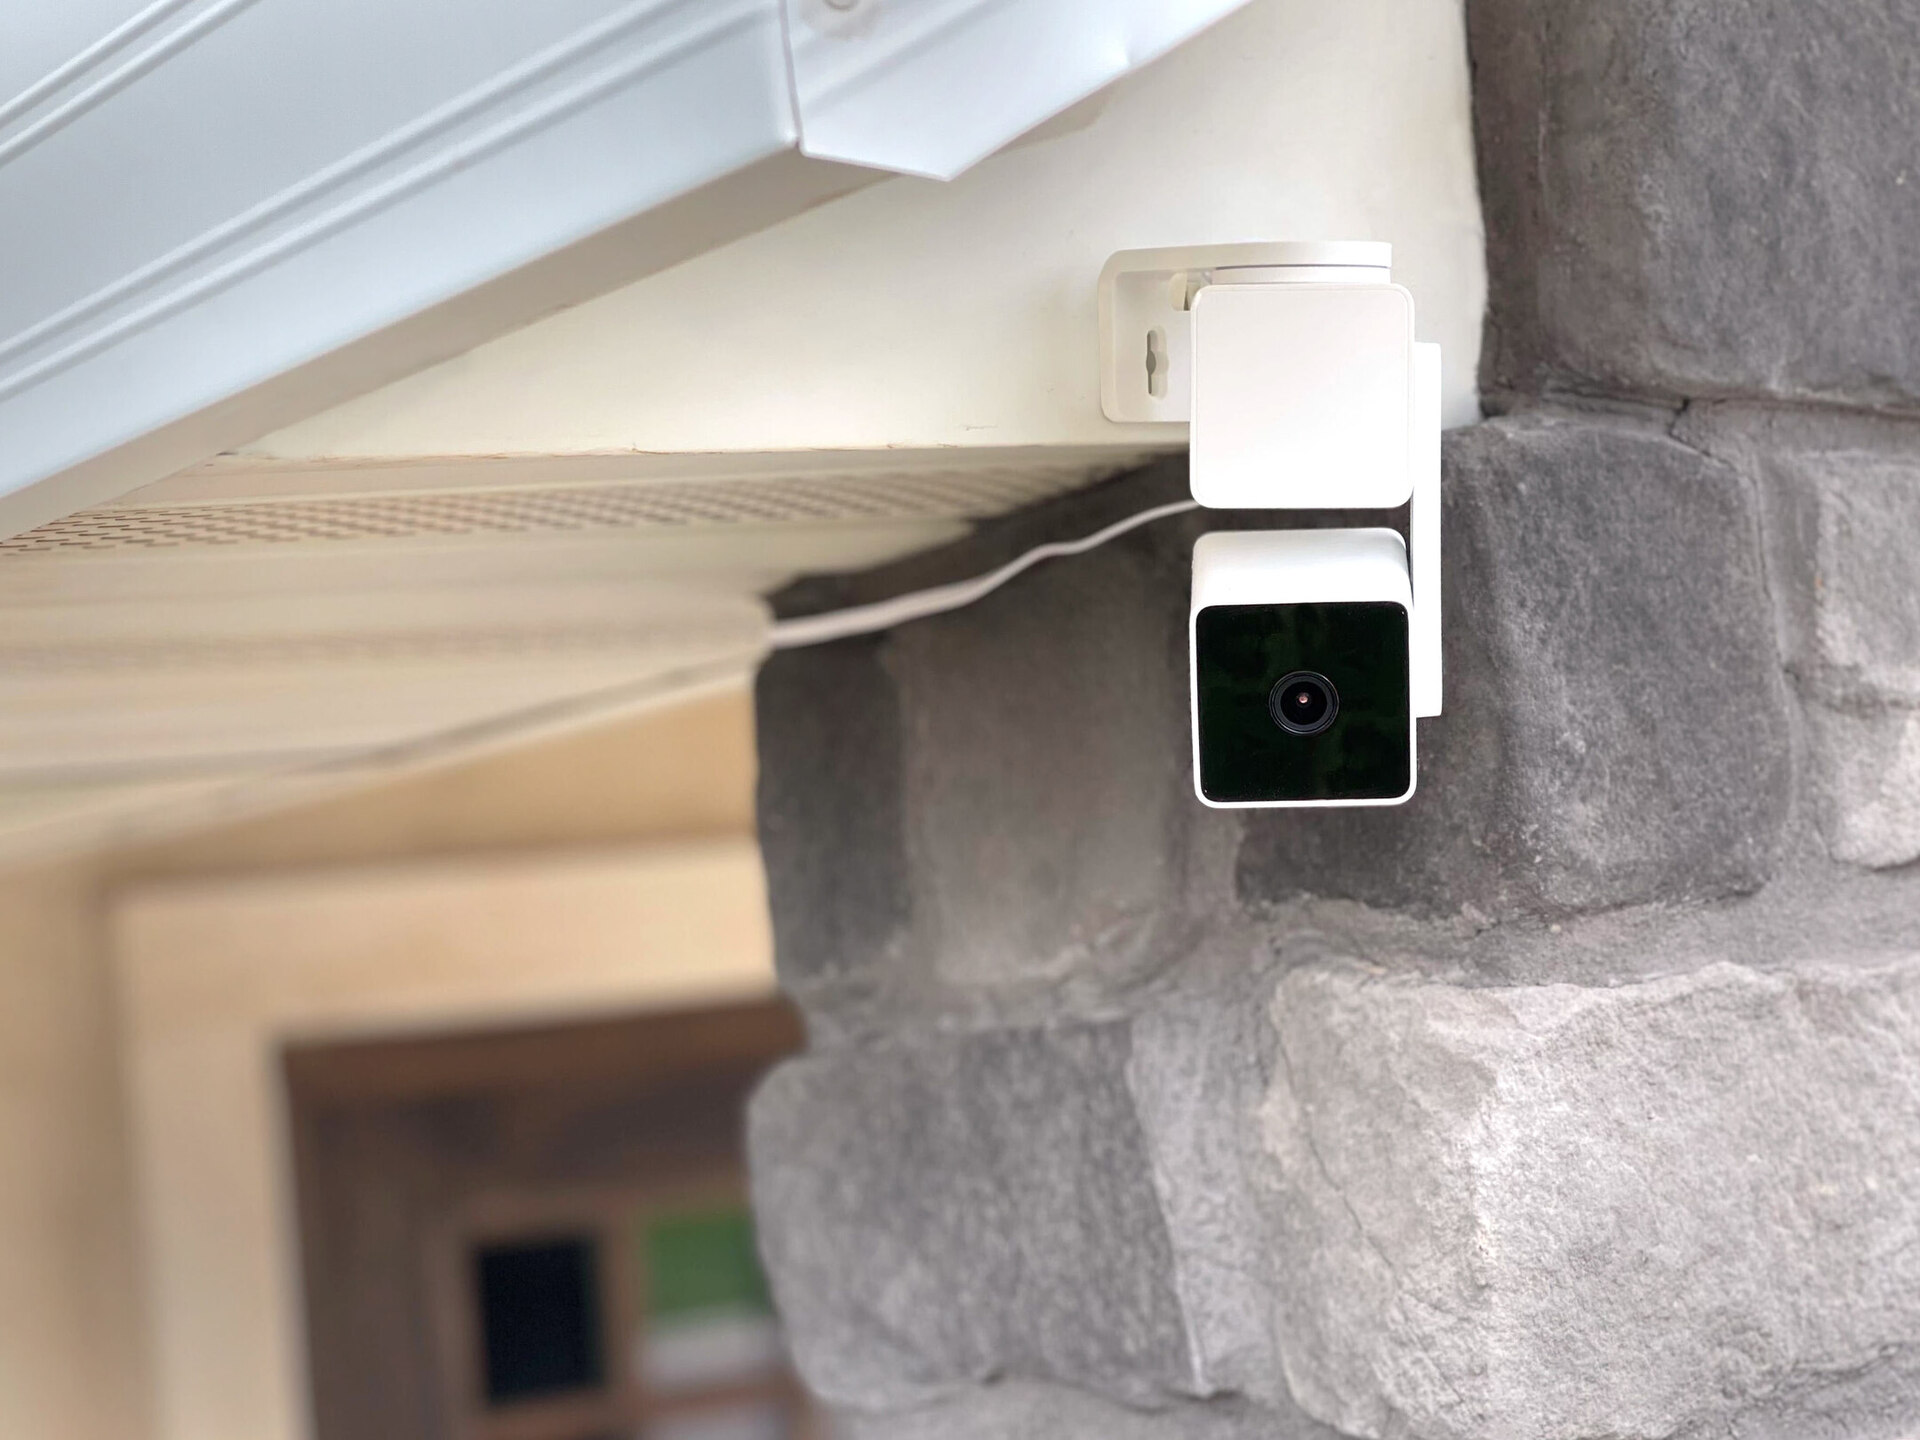
When installing a Foscam outdoor camera, make sure to choose a location with a strong Wi-Fi signal and a clear view of the area you want to monitor. Also, use the included mounting hardware to securely attach the camera to a wall or other surface.
Read more: How To Install A Vivint Outdoor Camera
Step 5: Connect the camera to your network
Now that your Foscam outdoor camera is powered on, it’s time to connect it to your network for remote access and monitoring. Follow these steps:
- Locate the network cable that came with your camera. Connect one end of the cable to the Ethernet port on the camera, usually located on the back or bottom.
- Connect the other end of the network cable to an available Ethernet port on your network router.
- Make sure that your network router is powered on and connected to the internet.
- Allow a few minutes for the camera to establish a connection with your network.
- Check the camera’s LED lights to confirm that it is connected to the network. Many Foscam cameras have an indicator light that turns green when successfully connected.
Once the camera is successfully connected to your network, you can proceed to the next step: accessing the camera’s settings to customize and configure its features.
With the camera connected to your network, you’ll be able to view the live video feed and access the camera remotely using a smartphone, computer, or tablet. This allows you to monitor your property, receive motion alerts, and make any necessary adjustments to the camera’s settings.
In the next step, we’ll guide you through accessing and configuring the camera’s settings to optimize its performance and tailor it to your specific needs.
Step 6: Access the camera’s settings
Now that your Foscam outdoor camera is connected to your network, it’s time to access its settings to customize and configure its features. Follow these steps:
- Open a web browser on your computer or launch the Foscam app on your smartphone.
- Enter the IP address of your camera in the web browser’s address bar or select the camera from the list of devices in the app.
- You will be prompted to enter the login credentials for your camera. This information is typically provided in the camera’s user manual. Enter the username and password to log in.
- Once logged in, you will have access to the camera’s settings dashboard. Here, you can customize various features such as motion detection sensitivity, recording settings, and remote access preferences.
- Take some time to explore the different settings and familiarize yourself with the options available. Read the camera’s user manual for a more detailed explanation of each setting.
By accessing the camera’s settings, you can personalize its functionality to best suit your needs. You can set up motion detection alerts, schedule recording times, adjust image quality, and much more.
In the next step, we’ll guide you through configuring the camera’s settings to optimize its performance and enhance your home security.
Step 7: Configure the camera’s settings
With access to your Foscam outdoor camera’s settings dashboard, it’s time to configure the camera’s settings to optimize its performance and enhance your home security. Follow these steps:
- Adjust the camera’s image settings: Fine-tune the camera’s brightness, contrast, and saturation levels to ensure clear and accurate image quality.
- Enable motion detection: Set up motion detection alerts so that the camera notifies you whenever motion is detected in its field of view. Adjust the sensitivity level to avoid false alarms from small movements or environmental factors.
- Configure recording settings: Decide whether you want the camera to continuously record footage or only when motion is detected. Set the duration of the recorded clips and choose where they will be stored, such as an SD card or cloud storage.
- Set up remote access: If you want to monitor the camera’s feed remotely, enable remote access and create an account with Foscam. This will allow you to access the camera through the Foscam app or web portal from anywhere with an internet connection.
- Customize email alerts: If you prefer to receive email alerts when motion is detected, configure the camera to send notifications to your preferred email address. You can also specify the frequency of the alerts.
- Explore additional features: Depending on your camera model, there may be additional features such as two-way audio, pan-tilt-zoom capabilities, or night vision settings. Familiarize yourself with these features and configure them according to your preferences.
By configuring the camera’s settings, you can tailor it to suit your specific security needs and preferences. Take the time to experiment with different settings and test the camera’s functionality to ensure optimal performance.
In the next step, we’ll guide you through testing your camera’s functionality to ensure everything is working as intended.
Step 8: Test your camera’s functionality
After configuring your Foscam outdoor camera’s settings, it’s important to test its functionality to ensure that everything is working as intended. Follow these steps:
- Check the live video feed: Make sure that you can see a clear, real-time video feed from the camera on your computer or smartphone. Ensure that the camera is capturing the desired area and that the image quality is satisfactory.
- Trigger motion detection: Test the camera’s motion detection capabilities by intentionally moving within its field of view. Verify that the camera detects the motion and sends the appropriate alerts or begins recording, based on your settings.
- Test remote access: If you enabled remote access, try accessing the camera’s feed and settings from a different location using the Foscam app or web portal. Confirm that you can connect to the camera and perform the desired actions, such as viewing live footage or adjusting settings.
- Check night vision: If your camera has night vision capabilities, test it in a low-light or dark environment. Verify that the camera switches to night vision mode and provides clear visibility during nighttime monitoring.
- Review notifications: If you set up email alerts or push notifications, trigger motion detection and check if you receive the alerts on your designated email address or smartphone.
By testing your camera’s functionality, you can be confident that it is operating correctly and providing the level of security and surveillance that you expect. If you encounter any issues, refer to the camera’s user manual or contact Foscam support for assistance.
Congratulations! You have successfully installed, configured, and tested your Foscam outdoor camera. Now you can enjoy the benefits of enhanced home security and peace of mind knowing that your property is being monitored.
Remember to regularly maintain and update your camera’s settings to ensure optimal performance. Stay vigilant and use the camera’s features to their fullest potential to keep your home and loved ones secure.
Thank you for choosing Foscam and taking the time to follow this installation guide. If you have any questions or need further assistance, don’t hesitate to reach out for support.
Stay safe and enjoy the added security of your Foscam outdoor camera!
Read more: How To Install Blink Outdoor Cameras
Conclusion
Installing a Foscam outdoor camera can significantly enhance your home security and provide you with peace of mind. By following the step-by-step guide outlined in this article, you have successfully learned how to install, configure, and test your camera to ensure optimal performance.
Throughout the installation process, you gathered the necessary equipment, found the optimal location for the camera, mounted the camera bracket securely, connected the camera to a power source, hooked it up to your network, accessed and customized its settings, and finally tested its functionality to ensure everything is working as intended.
With your Foscam outdoor camera in place, you have the ability to remotely access and monitor your property, receive motion detection alerts, and customize features such as recording settings and image quality. This enables you to keep a close eye on your home and loved ones, even when you are away.
Remember to regularly maintain and update your camera’s settings to ensure it continues to provide reliable and effective surveillance. Additionally, familiarize yourself with the camera’s user manual and reach out to Foscam support if you encounter any issues or need further assistance.
By investing in a Foscam outdoor camera and following this installation guide, you have taken a proactive step towards enhancing the security of your home. Enjoy the added peace of mind and take advantage of the advanced features provided by your Foscam camera to protect what matters most to you.
Thank you for choosing Foscam and for taking the time to follow this guide. We hope it has been informative and helpful in setting up your Foscam outdoor camera.
Stay vigilant, stay secure!
Frequently Asked Questions about How To Install Foscam Outdoor Camera
Was this page helpful?
At Storables.com, we guarantee accurate and reliable information. Our content, validated by Expert Board Contributors, is crafted following stringent Editorial Policies. We're committed to providing you with well-researched, expert-backed insights for all your informational needs.