Home>Home Security and Surveillance>How To Run Power To Outdoor Camera
Home Security and Surveillance
How To Run Power To Outdoor Camera
Modified: September 2, 2024
Learn how to easily run power to your outdoor camera for enhanced home security and surveillance. Discover expert tips and step-by-step instructions to ensure a successful installation.
(Many of the links in this article redirect to a specific reviewed product. Your purchase of these products through affiliate links helps to generate commission for Storables.com, at no extra cost. Learn more)
Introduction
When it comes to securing your home or property, outdoor surveillance cameras play a crucial role in providing peace of mind and added security. However, one of the common challenges that homeowners face is how to run power to these outdoor cameras. Fortunately, there are several options available to ensure that your outdoor cameras receive the necessary power supply.
In this guide, we will walk you through the process of running power to outdoor cameras, whether you choose to run the power cable underground or expose it. We will also discuss the importance of selecting the right power source, installing weatherproof connectors, and mounting the camera securely. By following our step-by-step instructions, you will be able to set up your outdoor camera system with ease and efficiency.
Before we dive into the specifics, it is essential to understand the different factors that will influence your choice of power source. Consider the distance between the camera location and the nearest power source, the availability of power outlets, and the environmental conditions in your area. By taking these factors into account, you can choose the most suitable power source for your outdoor cameras.
Now that you have an overview, let’s delve into the details of running power to outdoor cameras and ensure a seamless installation process.
Key Takeaways:
- Choose the right power source for your outdoor camera based on distance, power requirements, and accessibility. Consider options like existing outlets, PoE technology, or battery/solar-powered cameras for a reliable power supply.
- Plan and prepare for installation by selecting the ideal camera location, calculating cable length, gathering necessary tools, and checking local regulations. Proper planning ensures a smooth and efficient installation process for your outdoor camera system.
Read more: How To Weatherproof The Outdoor Camera Power
Choosing the Right Power Source
Before you begin the process of running power to your outdoor cameras, it is crucial to select the right power source. The power source you choose will depend on various factors, including the distance between the camera location and the nearest power outlet, the power requirements of the camera, and the convenience of accessing the power source.
One common option for powering outdoor cameras is to connect them to an existing power outlet on the exterior of your home. This can be a simple and convenient solution if you have an outlet located in close proximity to the camera installation site. However, it is important to ensure that the power outlet can handle the power requirements of the camera and that the wiring is safe and secure.
If there are no accessible power outlets nearby, or if you want to avoid running power cables across long distances, another viable option is to utilize Power over Ethernet (PoE) technology. PoE allows you to supply power and transmit data over a single Ethernet cable, eliminating the need for additional power cables. To utilize PoE, you will need a PoE switch or injector to connect the camera to your network and provide power.
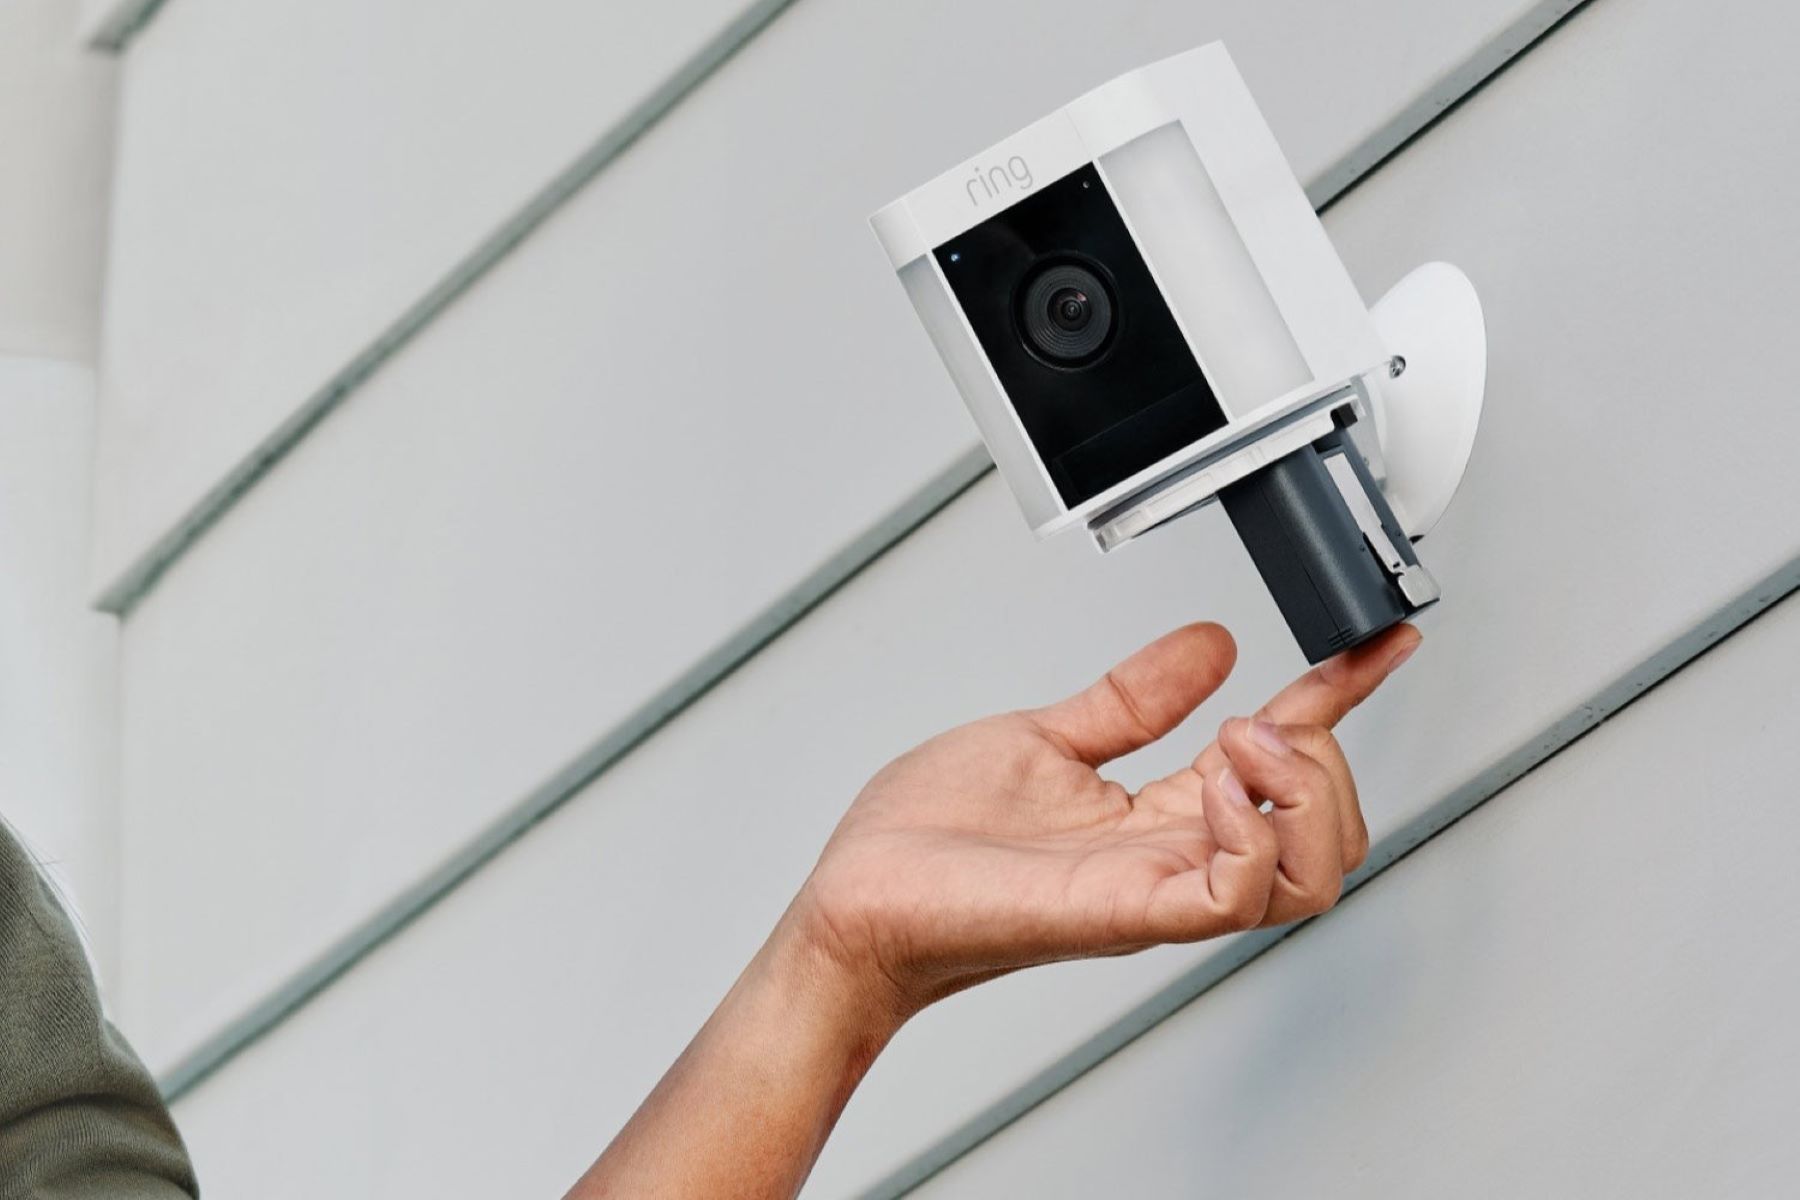
In instances where both these options are not feasible, you may opt for a battery-powered outdoor camera. Battery-powered cameras are a convenient choice as they eliminate the need for a nearby power source or running power cables. However, it is important to consider the battery life and the need for regular battery replacements or recharging.
Additionally, if you are using a solar-powered outdoor camera, you will need to ensure that the camera receives sufficient sunlight throughout the day to charge the built-in battery. Solar-powered cameras are an environmentally friendly option and can be an excellent choice for locations with ample sunlight.
When choosing the right power source, keep in mind the specific requirements of your outdoor camera and the feasibility of accessing power at the installation site. By selecting the appropriate power source, you can ensure a reliable and uninterrupted power supply for your outdoor surveillance cameras.
Plan and Prepare for Installation
Before you begin the installation process, it is essential to plan and prepare accordingly. Proper planning will ensure a smooth and efficient installation of power for your outdoor cameras. Here are the steps to follow:
- Camera Placement: Determine the ideal location for your outdoor cameras. Consider areas that require monitoring, such as entrances, driveways, or backyard. Take into account factors like visibility, coverage, and accessibility.
- Power Source Selection: Based on your camera location and power requirements, choose the most suitable power source. Decide if you will connect to an existing power outlet, use PoE technology, or opt for battery or solar-powered cameras.
- Cable Length Calculation: Measure the distance between the camera location and the selected power source. This will help determine the length of power cable you need.
- Prepare Necessary Tools and Materials: Gather all the required tools and materials for the installation process. This may include power cables, connectors, drill, mounting hardware, and any additional equipment specific to your chosen power source.
- Inspect the Camera: Before installation, carefully check the camera and ensure that all components are in working order. This will help avoid any issues during the installation process.
- Check Local Regulations: Research and familiarize yourself with any local regulations or guidelines regarding outdoor camera installations. Ensure compliance and obtain any necessary permits, if required.
Once you have completed the above steps, you are ready to proceed with the installation process. Planning and preparation are key to a successful installation, allowing you to tackle any potential challenges and ensure that all necessary tools and materials are readily available.
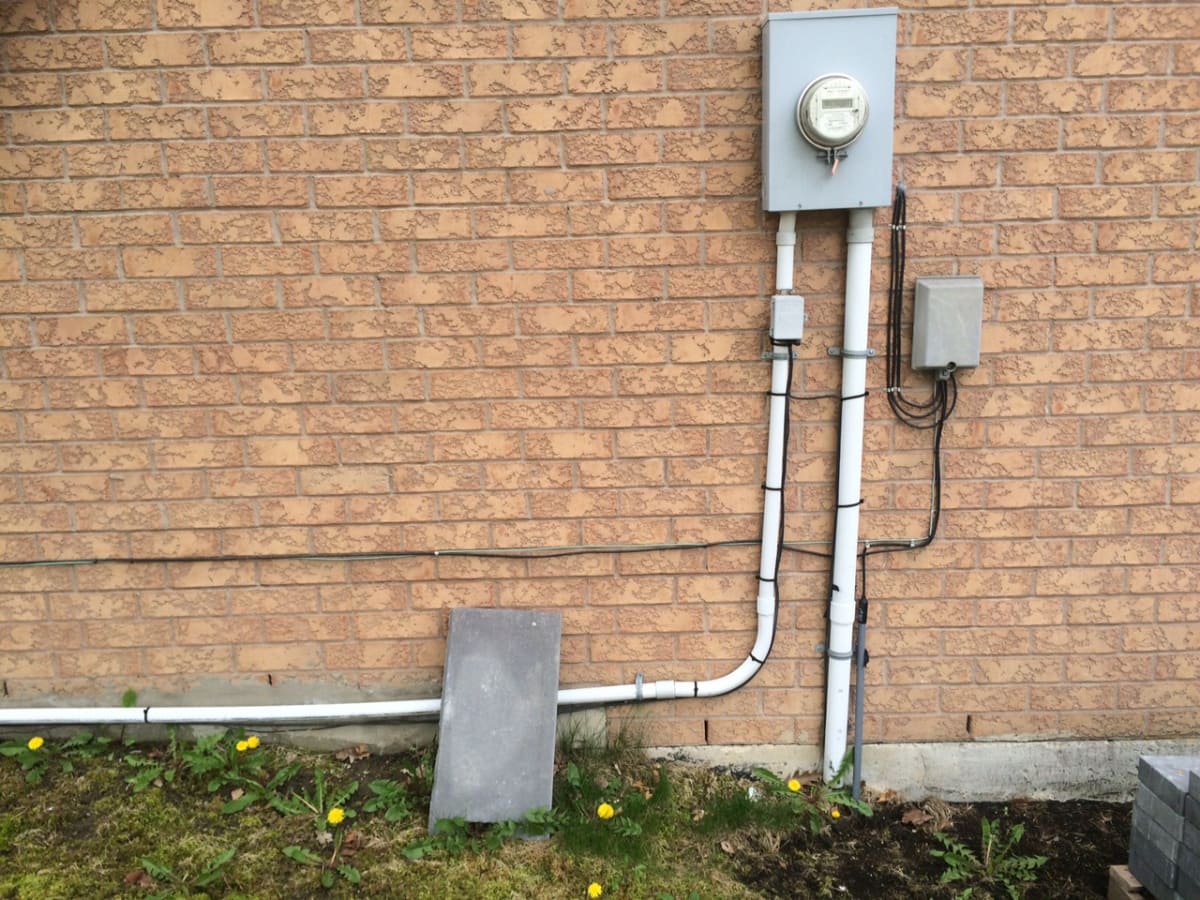
Running Power Cable Underground
If you’ve decided to run the power cable for your outdoor camera underground, follow these steps to ensure a safe and effective installation:
- Choose the Right Cable: Select an outdoor-rated power cable designed for underground use. Make sure it is long enough to reach from the power source to the camera location.
- Prepare the Trench: Dig a trench from the power source to the camera location. The trench should be deep enough to bury the cable at least 18-24 inches underground to protect it from damage.
- Protect the Cable: Place the power cable in electrical conduit for added protection. The conduit will shield the cable from moisture, pests, and accidental damage. Secure the conduit in the trench using stakes or clips.
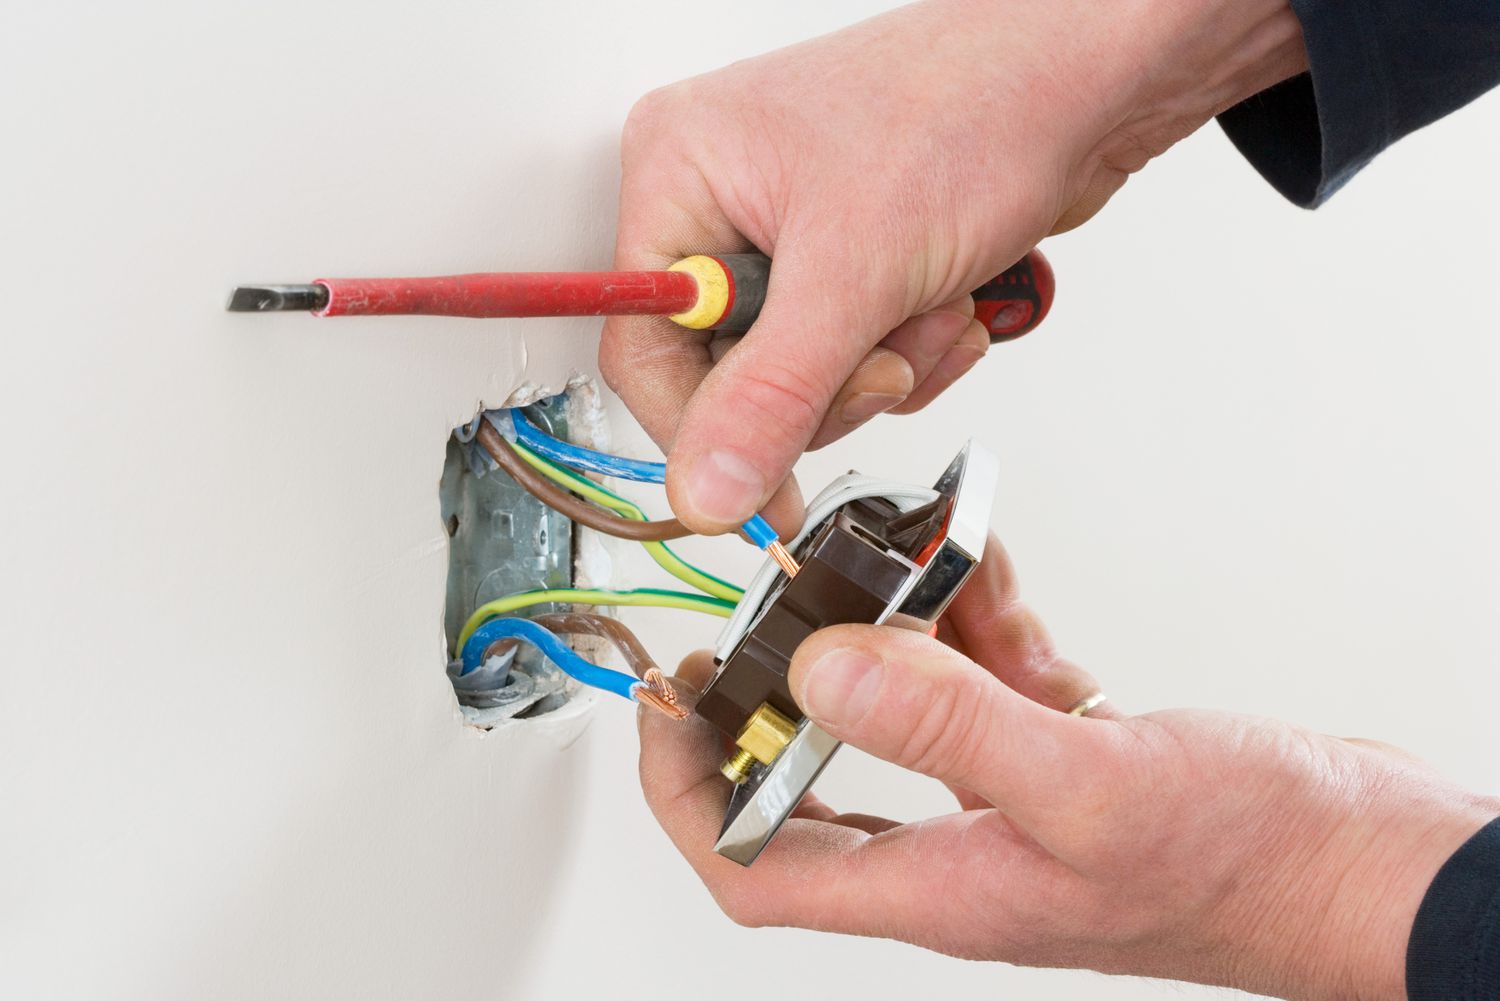
- Make a Connection: At the power source end and the camera end, strip the ends of the power cable carefully to expose the wires. Connect the wires to the appropriate terminals or connectors, ensuring a secure and tight connection.
- Bury the Cable: Once the connections are made, carefully bury the cable and conduit in the trench using the soil removed during excavation. Fill the trench evenly, ensuring no exposed cables or conduits are left visible. Be sure to avoid placing any heavy objects or equipment on top of the buried cable.
- Test the Connection: After burying the cable, test the connection to ensure that the power is successfully reaching the outdoor camera. Check for any signs of damage or loss of power along the cable path.
It is important to note that when running power cable underground, you may encounter obstacles such as tree roots, rocks, or other underground utilities. Take caution while digging the trench and adjust the route if necessary to avoid any potential obstacles or hazards.
Before starting the installation process, consult with a professional if you are uncertain about local building codes or regulations regarding burying power cables underground.
By following these steps and taking the necessary precautions, you can ensure that your outdoor camera receives a reliable and protected power supply through an underground cable installation.
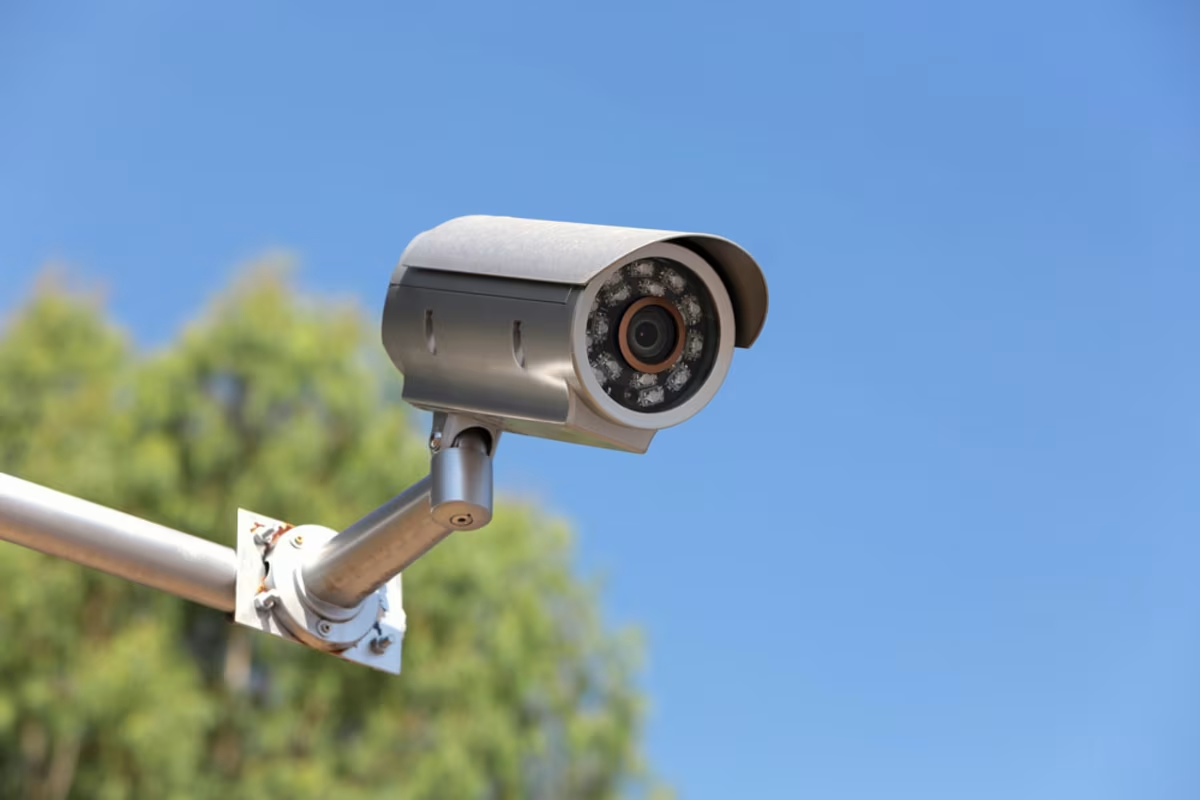
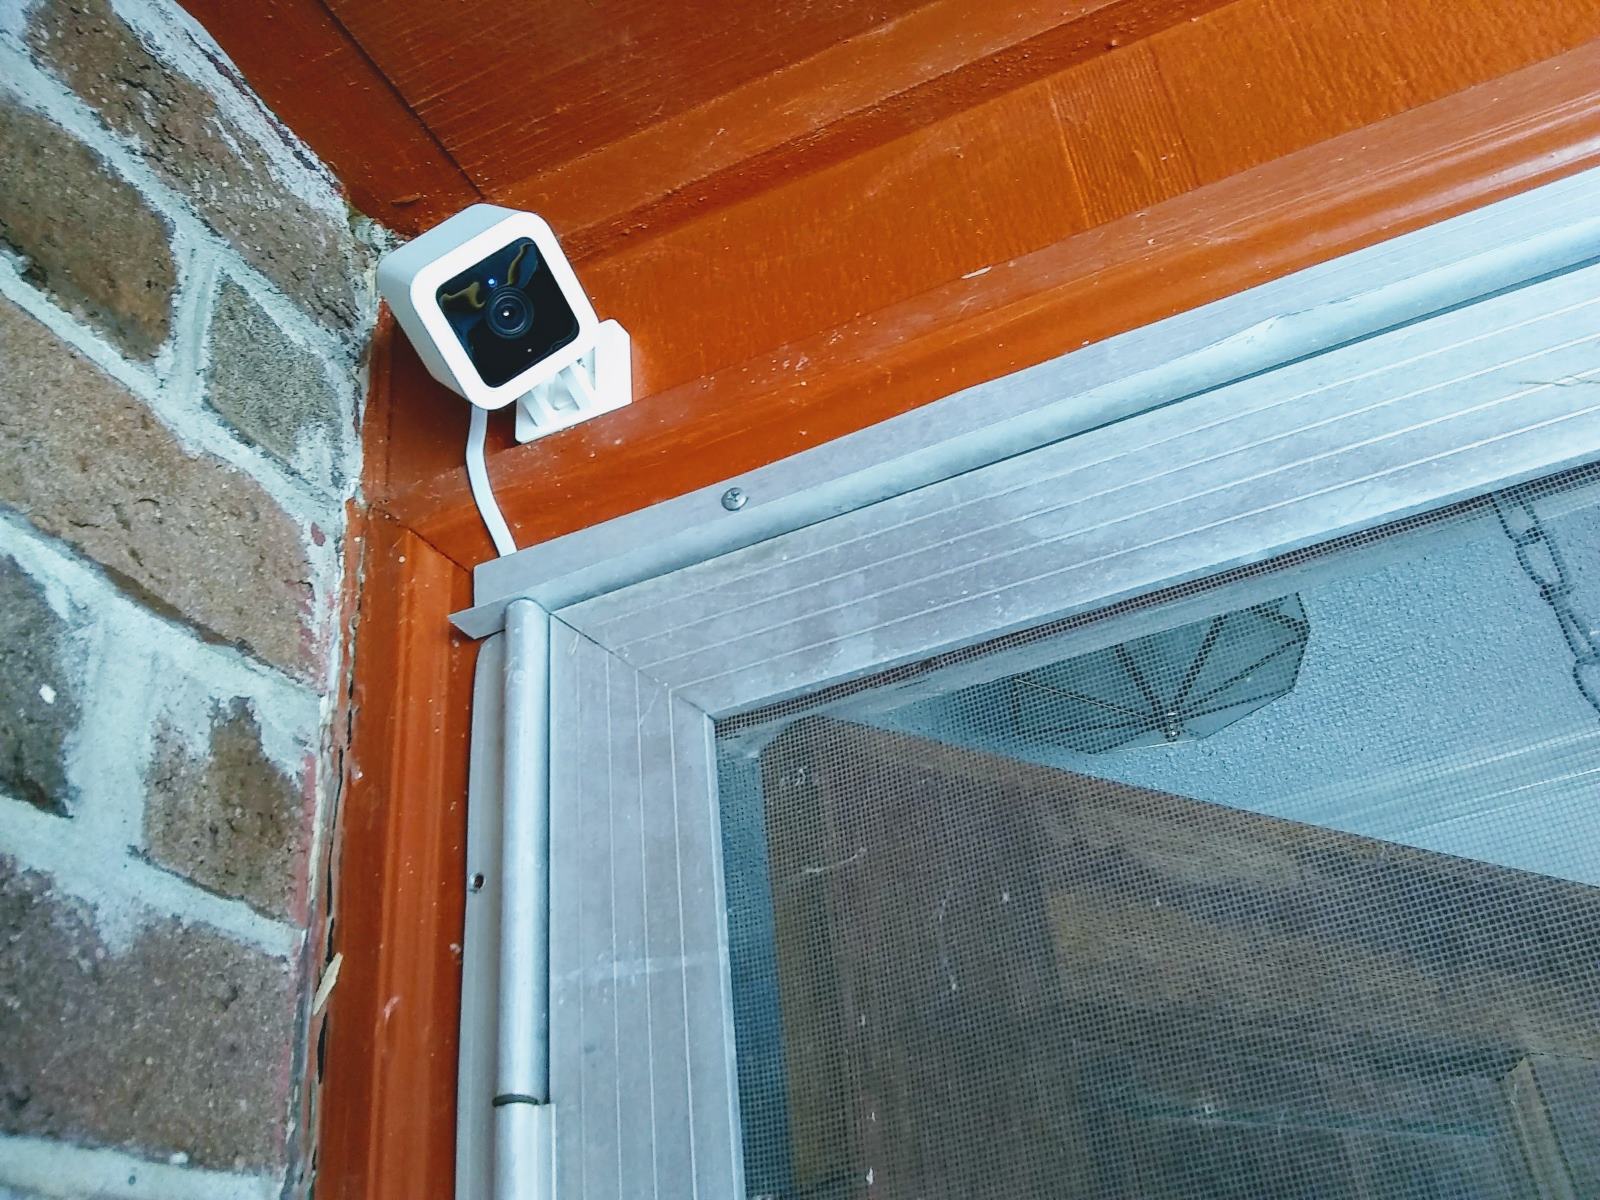
Running Power Cable Exposed
If you’ve decided to run the power cable for your outdoor camera exposed, follow these steps to ensure a safe and effective installation:
- Select the Right Cable: Choose an outdoor-rated power cable designed to withstand weather conditions. Ensure that the cable is long enough to reach from the power source to the camera location.
- Identify the Path: Determine the most suitable route for running the exposed power cable. Consider factors such as the distance, accessibility, and visibility. Avoid areas where the cable may be easily damaged or pose a tripping hazard.
- Secure the Cable: Use cable clips or cable ties to secure the power cable along the chosen path. Ensure that the cable is firmly attached to walls, fences, or other structures, keeping it out of the way and minimizing the risk of accidental damage.
- Protect the Cable: Install a protective conduit or tubing around the exposed cable to protect it from the elements, UV rays, and potential physical damage. The conduit should be weatherproof and durable enough to withstand outdoor conditions.
- Make a Connection: At the power source end and the camera end, carefully strip the ends of the power cable to expose the wires. Connect the wires to the appropriate terminals or connectors, ensuring a secure and tight connection.
- Secure the Connections: Use waterproof connectors or weatherproof electrical tape to secure and protect the connections from moisture and water ingress. This will help maintain a reliable power supply to the outdoor camera.
- Test the Connection: After securing the connections and protecting the exposed cable, test the connection to ensure that the power is reaching the outdoor camera effectively. Check for any signs of power loss or any issues with the cable or connections.
When running power cable exposed, it is important to consider the aesthetic aspect as well. Take care to position and secure the cable in a visually pleasing manner, aligning it with the architectural features or landscape of your property.
Remember to follow local building codes and regulations regarding exposed power cables. If you are unsure about the requirements, consult with a professional to ensure compliance.
By following these steps, you can safely and effectively run power to your outdoor camera through an exposed cable installation.
When running power to an outdoor camera, use weatherproof conduit to protect the wiring from the elements. Make sure to use outdoor-rated cables and connectors to ensure safety and reliability.
Read more: What Solar Panels Can Run An Outdoor Camera
Installing Weatherproof Connectors
When running power to your outdoor camera, it is crucial to install weatherproof connectors to ensure the integrity of the power connection and protect it from the elements. Weatherproof connectors are designed to withstand outdoor conditions, maintaining a secure and reliable power supply. Here are the steps to install weatherproof connectors:
- Select the Right Connectors: Choose high-quality weatherproof connectors that are compatible with your power cable and camera. Look for connectors that are specifically designed for outdoor use and provide a tight seal against moisture.
- Prepare the Cable: Strip the power cable’s outer insulation carefully, following the connector manufacturer’s instructions. Take care not to damage the inner wires during this process.
- Prepare the Connectors: Open the weatherproof connectors and inspect the internal components. Familiarize yourself with the connector’s design and assembly instructions provided by the manufacturer.
- Assemble the Connectors: Insert the stripped ends of the power cable into the appropriate slots or terminals inside the connectors. Ensure that the wires are securely connected and properly aligned according to the connector’s design.
- Tighten and Seal: Follow the manufacturer’s instructions to tighten the connectors, ensuring a tight and secure connection. Use the provided tools, such as wrenches or pliers, to achieve the recommended tightness without over-tightening.
- Check for Proper Seal: Inspect the connectors to ensure that there is a proper seal, preventing moisture from entering. Look for any gaps, cracks, or signs of poor sealing. If necessary, apply additional sealant or tape recommended by the manufacturer to enhance the weatherproofing.
- Perform a Functionality Test: After installing the weatherproof connectors, conduct a functionality test to ensure that the power connection is secure and the camera is receiving a reliable power supply. Confirm that there are no power fluctuations, interruptions, or issues with the connector’s performance.
Remember to follow the instructions provided by the connector manufacturer closely and exercise caution during the installation process. If you are unsure about the correct installation procedure, consult with a professional to ensure that you are effectively installing weatherproof connectors for your outdoor camera.
By installing weatherproof connectors, you can protect your power connection from moisture and other outdoor elements, ensuring the longevity and reliability of your outdoor camera system.
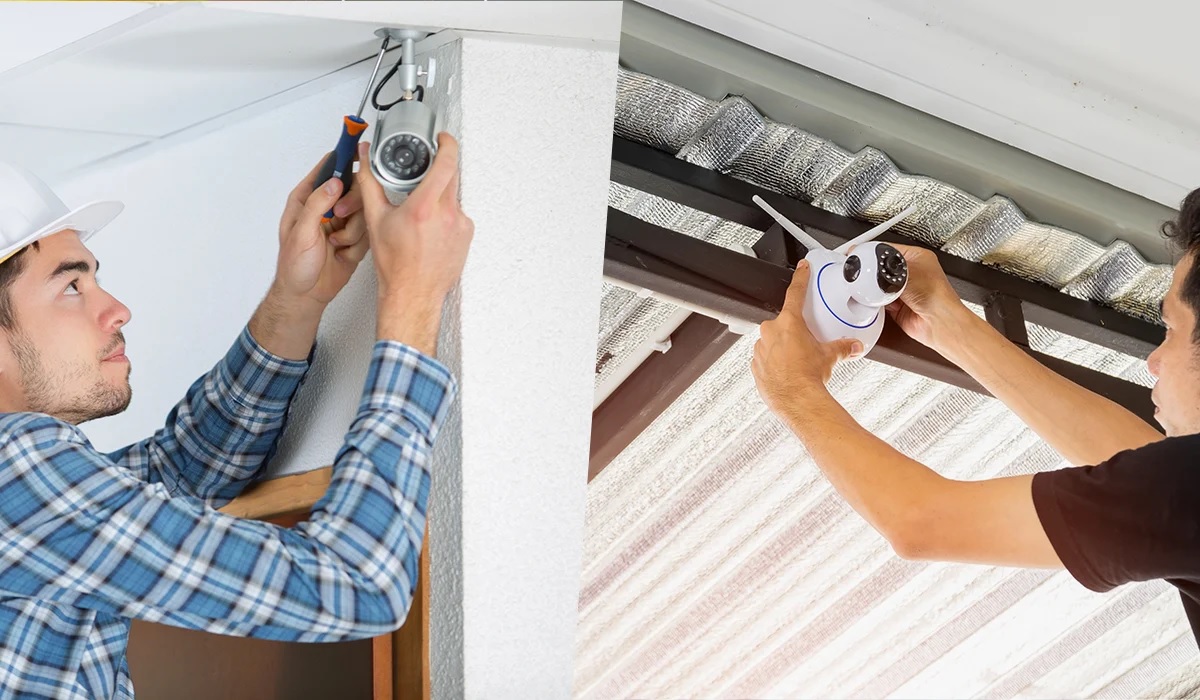
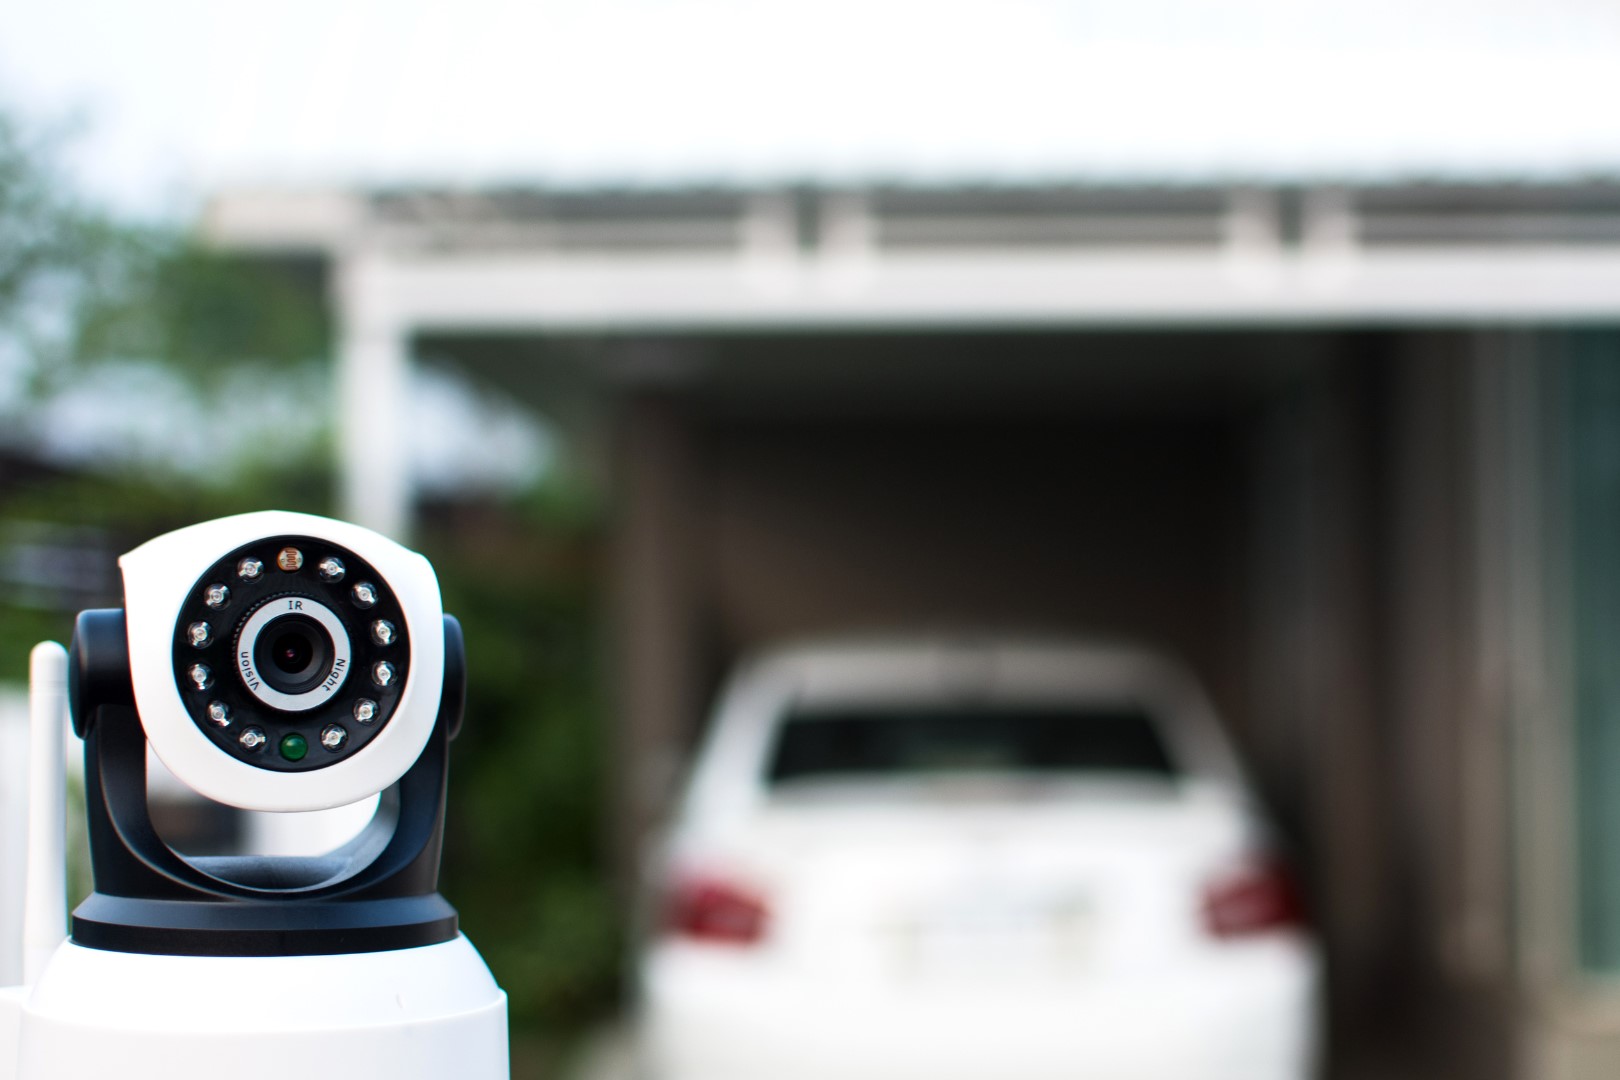
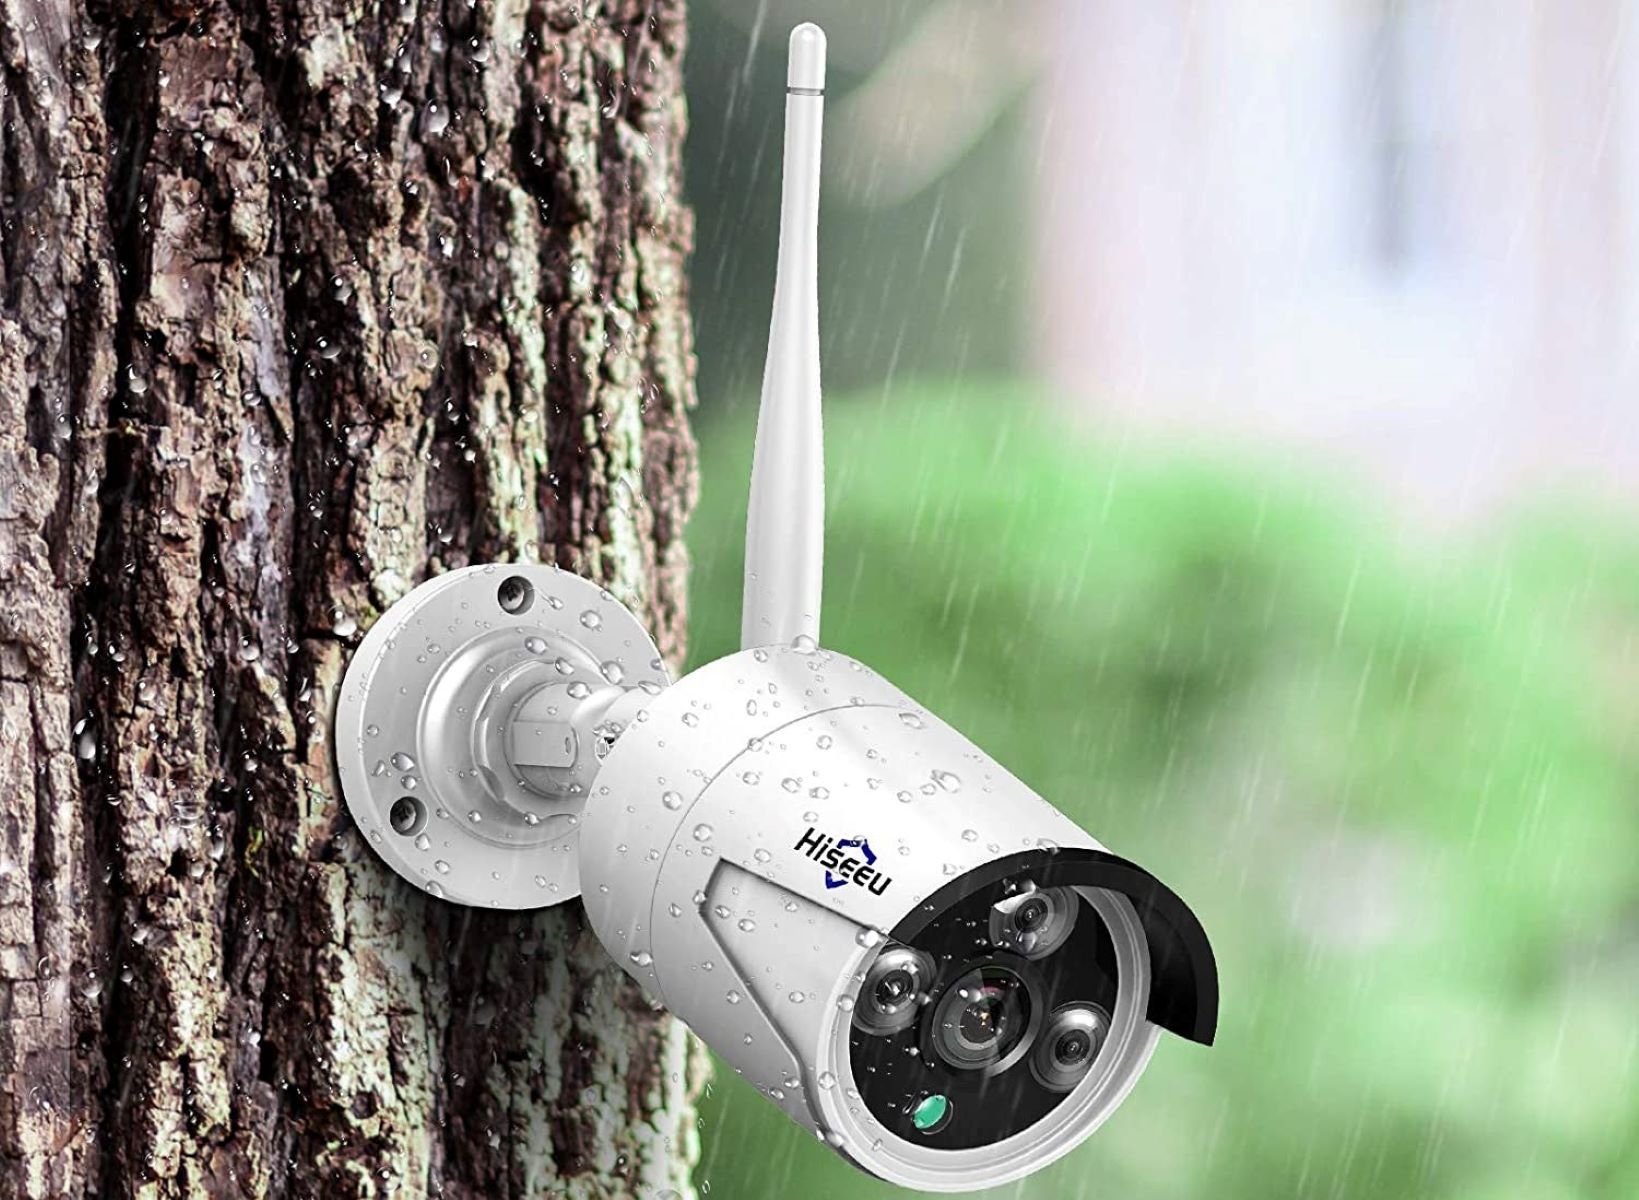
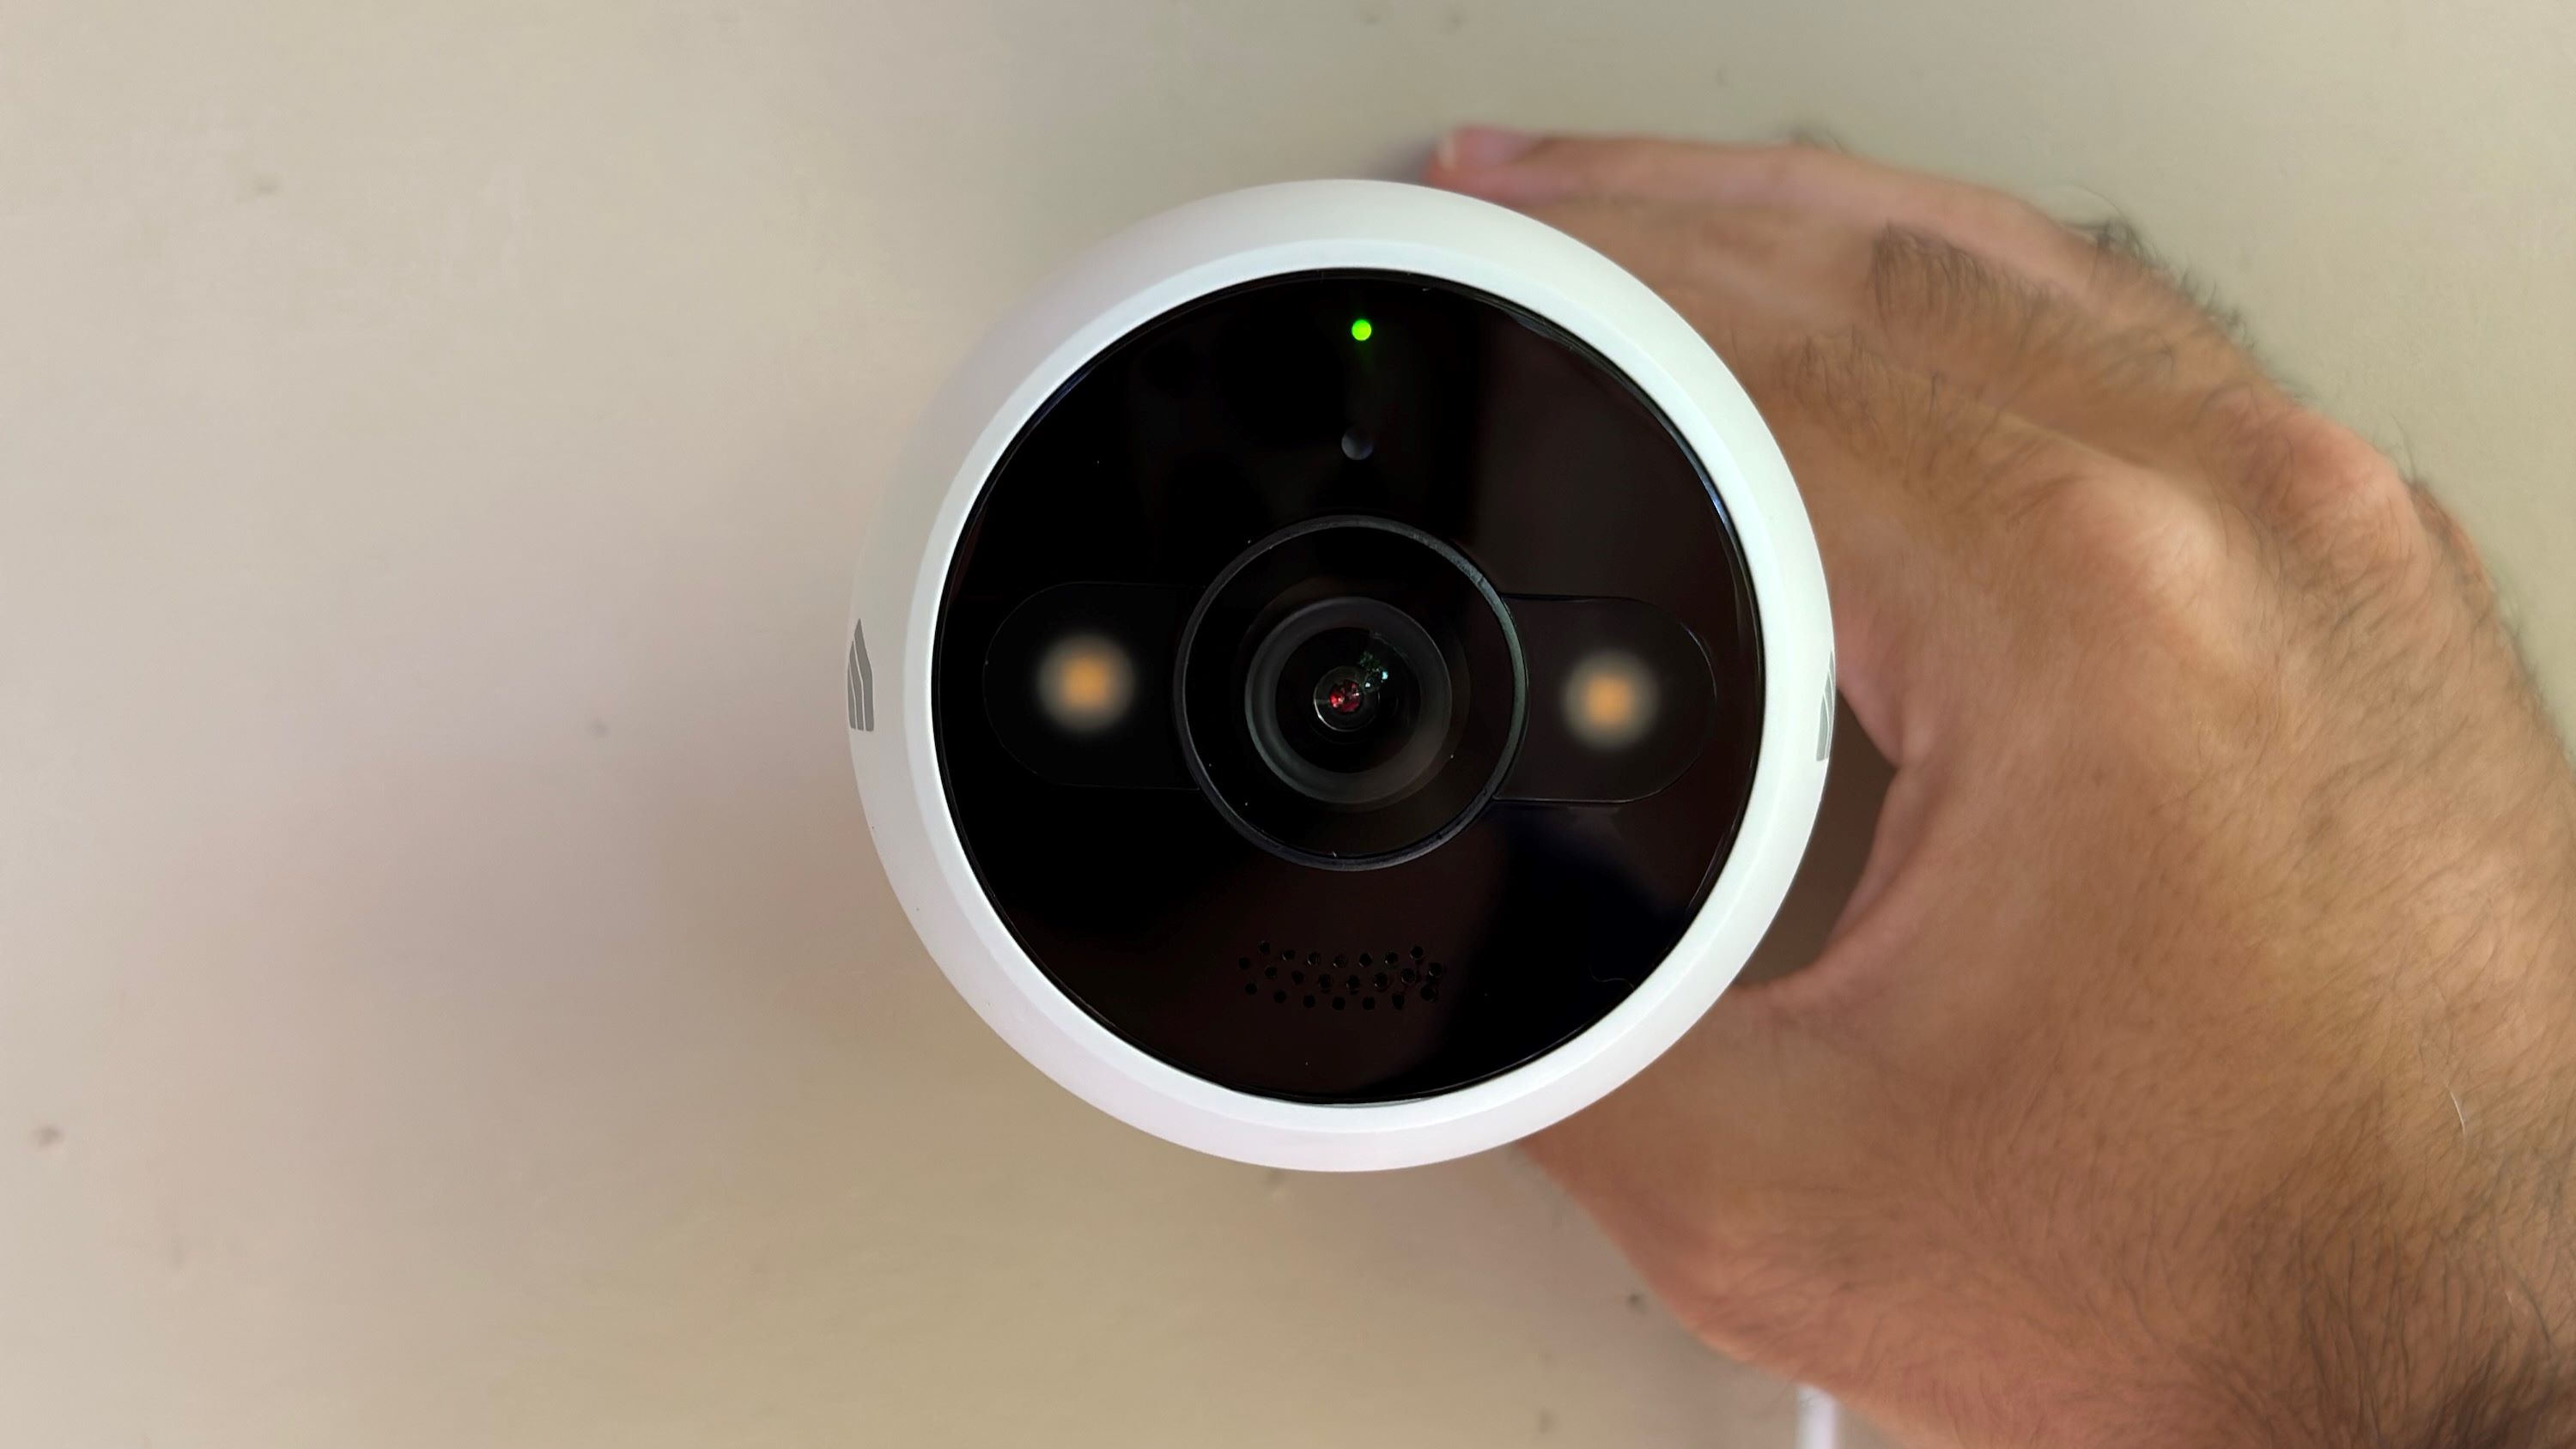
Mounting and Securing the Outdoor Camera
Mounting and properly securing your outdoor camera is essential to ensure optimal performance and stability. Here are the steps to mount and secure your outdoor camera:
- Select the Mounting Location: Choose a suitable location for your camera that provides the desired coverage and vantage point. Consider factors such as visibility, accessibility for maintenance, and minimizing blind spots.
- Prepare the Mounting Surface: Ensure that the mounting surface is clean, flat, and stable. Remove any dirt, debris, or loose materials that may interfere with the camera’s attachment.
- Attach the Mounting Bracket: Depending on the design of your camera, attach the mounting bracket using screws or other provided hardware. Ensure that the mount is securely attached to the surface, providing a stable base for the camera.
- Connect Power and Cables: Connect the power cable and any necessary cables, such as Ethernet or audio cables, to the camera. Ensure that the connections are secure and properly aligned with the camera’s ports.
- Align the Camera: Adjust the camera’s position to achieve the desired view. Use the adjustable mount or swivel capability of the mounting bracket to angle the camera appropriately for optimal coverage.
- Secure the Camera: Once the camera is aligned, tighten any screws or locking mechanisms on the mounting bracket to secure the camera in place. Ensure that the camera is stable and resistant to any unwanted movements.
- Test the Camera: Power on the camera and verify that the video feed is clear and stable. Check for any distortions, obstructions, or issues with the camera’s functionality. Make any necessary adjustments to optimize the camera’s positioning if required.
- Consider Additional Security Measures: To enhance the security of your outdoor camera, consider additional measures such as installing tamper-proof screws or using a security housing or enclosure to protect the camera from vandalism or harsh weather conditions.
It is important to follow the manufacturer’s instructions and guidelines specific to your camera model during the mounting and securing process. These instructions will provide additional details and considerations for your particular camera.
By properly mounting and securing your outdoor camera, you can ensure that it remains stable, provides optimal coverage, and delivers reliable video footage for your home security and surveillance needs.
Testing and Troubleshooting
After the installation of your outdoor camera system, it is essential to perform thorough testing to ensure its proper functionality. Here are the steps to test and troubleshoot your outdoor camera:
- Power Supply Test: Verify that the camera is receiving a consistent power supply by checking the power source and connections. Ensure that there are no power fluctuations or interruptions that could affect the camera’s operation.
- Video Feed Test: Check the video feed from the camera to confirm that it is clear, sharp, and properly aligned. Adjust the camera positioning if necessary to achieve the desired coverage and angle.
- Check Night Vision: If your outdoor camera has night vision capabilities, test this feature by checking the quality of the recorded video in low-light conditions. Make any adjustments to the camera’s settings or positioning to optimize night vision performance.
- Connectivity Test: If your camera is connected to a network or a video recording system, test the connectivity to ensure that the camera is properly communicating with the designated devices. Verify that you can access the camera feed remotely, if applicable.
- Motion Detection Test: If your camera has motion detection capabilities, activate this feature and test its responsiveness. Walk through the camera’s field of view to ensure that it detects and records motion events accurately.
- Troubleshooting: If you encounter any issues during the testing phase, troubleshoot the problem systematically. Start by checking the power supply, connections, and settings. Consult the camera’s user manual or contact the manufacturer’s support for guidance if needed.
- Consider Professional Help: If you are unable to resolve any issues or if you are uncertain about the installation or troubleshooting process, it may be beneficial to seek the assistance of a professional technician or the manufacturer’s support team.
Remember to conduct regular maintenance checks and testing to ensure the ongoing functionality of your outdoor camera system. Clean the camera lens periodically, inspect the cables and connections for any signs of wear or damage, and review the camera’s settings to optimize its performance.
By thoroughly testing your outdoor camera system and addressing any troubleshooting issues promptly, you can ensure that your home security and surveillance setup remains reliable and effective.
Conclusion
Running power to your outdoor camera is a critical step in setting up a comprehensive home security and surveillance system. By following the steps outlined in this guide, you can ensure a safe and effective installation process.
Choosing the right power source, whether it’s connecting to an existing power outlet, utilizing Power over Ethernet (PoE) technology, or opting for battery or solar-powered cameras, is crucial. Assess the distance, power requirements, and availability of power sources to make an informed decision.
Planning and preparing for the installation is essential to ensure a smooth process. Proper cable routing, selection of tools, and understanding local regulations will help you tackle potential challenges more effectively.
Whether you choose to run the power cable underground or expose it, taking the necessary precautions is important. When running the cable underground, protect it with electrical conduit and secure the connections with weatherproof connectors. If running the cable exposed, use cable clips or ties to secure it along the chosen route and install a protective conduit.
Mounting and securing the outdoor camera properly will ensure optimal performance and stability. Align the camera, tighten the screws, and perform thorough testing to ensure a clear video feed and proper functionality.
Lastly, don’t forget to test the camera’s power supply, video feed, connectivity, and other features, such as night vision and motion detection, to ensure they are working correctly. If you encounter any issues, troubleshoot the problem systematically or seek professional help if needed.
By following the steps outlined in this guide and investing time and effort in the installation process, you can create a robust and reliable outdoor camera system to enhance your home security and surveillance. Enjoy the peace of mind that comes with knowing your property is protected and monitored.
Frequently Asked Questions about How To Run Power To Outdoor Camera
Was this page helpful?
At Storables.com, we guarantee accurate and reliable information. Our content, validated by Expert Board Contributors, is crafted following stringent Editorial Policies. We're committed to providing you with well-researched, expert-backed insights for all your informational needs.