Home>Furniture & Design>Outdoor Furniture>How To Run Outdoor Electrical Conduit

Outdoor Furniture
How To Run Outdoor Electrical Conduit
Modified: May 6, 2024
Learn how to safely and effectively run outdoor electrical conduit for your outdoor furniture and design projects. Find step-by-step instructions and tips to ensure a successful installation.
(Many of the links in this article redirect to a specific reviewed product. Your purchase of these products through affiliate links helps to generate commission for Storables.com, at no extra cost. Learn more)
Introduction
Welcome to the world of outdoor electrical conduit installation – a crucial aspect of setting up electrical systems in outdoor spaces such as gardens, patios, and outdoor kitchens. Running electrical conduit outdoors requires careful planning, precise execution, and adherence to safety standards. Whether you're a seasoned DIY enthusiast or a professional electrician, this guide will walk you through the essential steps of running outdoor electrical conduit, ensuring that your outdoor electrical systems are installed safely and effectively.
Installing outdoor electrical conduit is a project that demands attention to detail and a thorough understanding of the materials and techniques involved. By following the steps outlined in this guide, you'll gain the knowledge and confidence to tackle this project with precision and skill.
In the following sections, we'll delve into the planning and preparation phase, the selection of the right conduit for your specific needs, the process of digging trenches to accommodate the conduit, the actual installation of the conduit, connecting the wiring, testing the system, and implementing crucial safety measures. Each step is vital in ensuring that your outdoor electrical conduit system is not only functional but also safe and compliant with relevant regulations.
So, let's embark on this electrifying journey into the world of outdoor electrical conduit installation, where we'll explore the intricacies of this essential aspect of outdoor design and functionality. Whether you're aiming to illuminate your garden, power outdoor appliances, or enhance the ambiance of your outdoor living space, understanding how to run outdoor electrical conduit is a valuable skill that promises to elevate the functionality and aesthetics of your outdoor environment.
Key Takeaways:
- Planning and preparation are crucial for installing outdoor electrical conduit. Consider the electrical requirements, local regulations, conduit layout, tools/materials, and environmental factors to ensure a successful and safe installation.
- Choosing the right conduit, digging trenches, installing the conduit, connecting the wiring, and testing the system are essential steps in running outdoor electrical conduit. Prioritize precision, safety, and compliance for a reliable outdoor electrical system.
Read more: How To Run Outdoor Conduit
Planning and Preparation
Before embarking on the installation of outdoor electrical conduit, meticulous planning and thorough preparation are essential. Start by identifying the specific electrical requirements for your outdoor space. Determine the types of electrical appliances, lighting fixtures, or power outlets that will be connected to the conduit. This initial assessment will guide you in selecting the appropriate conduit size and material.
Next, familiarize yourself with the local building codes and regulations governing outdoor electrical installations. Compliance with these standards is imperative to ensure the safety and legality of your electrical system. Consider consulting with a qualified electrician to ensure that your plans align with the necessary regulations.
Once the electrical requirements and regulations are understood, create a comprehensive plan for the conduit layout. Determine the optimal placement of the conduit to accommodate the electrical wiring, considering factors such as the proximity to power sources, the layout of outdoor fixtures, and the overall aesthetics of the space. This planning phase is crucial in optimizing the functionality and visual appeal of the outdoor electrical system.
With the plan in place, gather the necessary tools and materials for the project. This may include the outdoor electrical conduit, conduit fittings, a trenching shovel, a conduit bending tool if required, and appropriate personal protective equipment. Additionally, consider the type of wiring that will be housed within the conduit and ensure that it is suitable for outdoor use, resistant to moisture, and compatible with the chosen conduit material.
Lastly, assess the environmental factors that may impact the installation process. Consider the presence of underground utilities, the composition of the soil, and any potential obstacles that may affect the trenching and installation of the conduit. Taking these factors into account during the planning phase will help anticipate and mitigate potential challenges during the installation process.
By meticulously planning and preparing for the outdoor electrical conduit installation, you set the stage for a smooth and successful implementation of the system. The next steps will involve selecting the right conduit, digging trenches, and executing the installation with precision and care.
Choosing the Right Conduit
When it comes to running outdoor electrical conduit, selecting the right conduit is a critical decision that directly impacts the performance and longevity of the electrical system. Several factors should be considered when choosing the conduit, including the environmental conditions, the types of wiring being used, and the aesthetic preferences for the outdoor space.
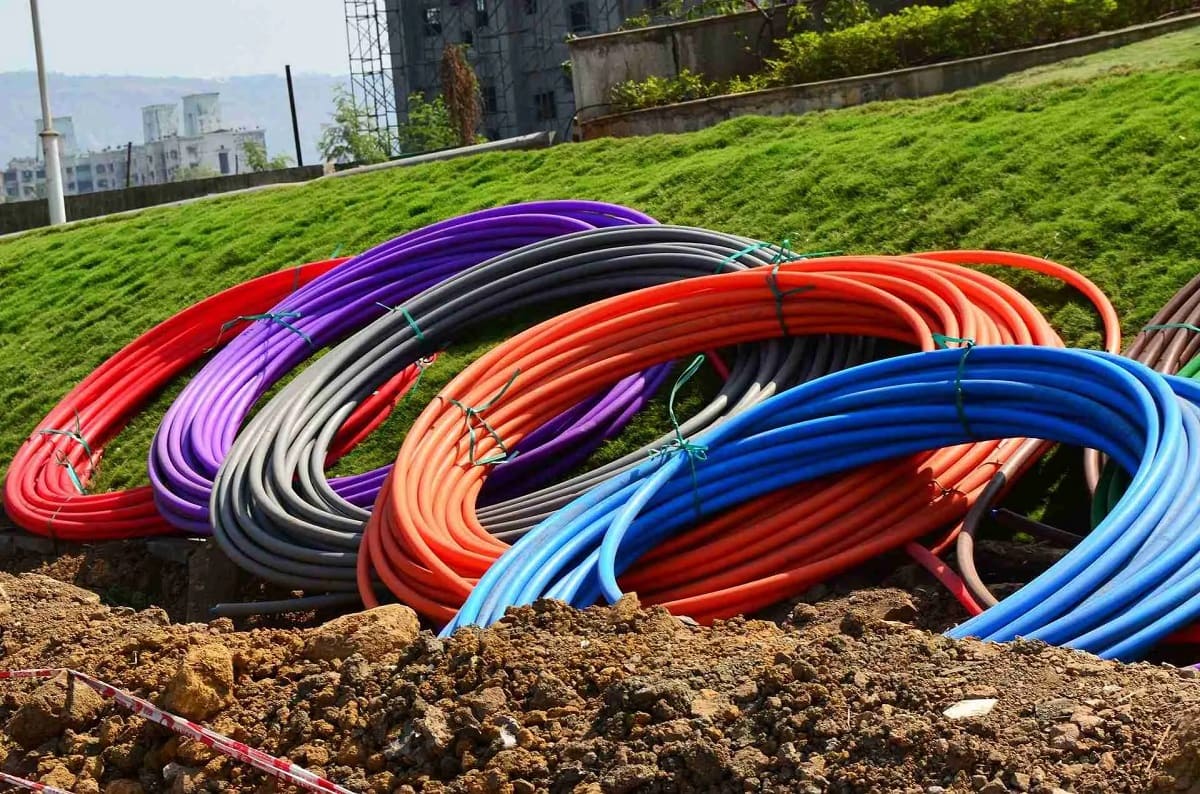
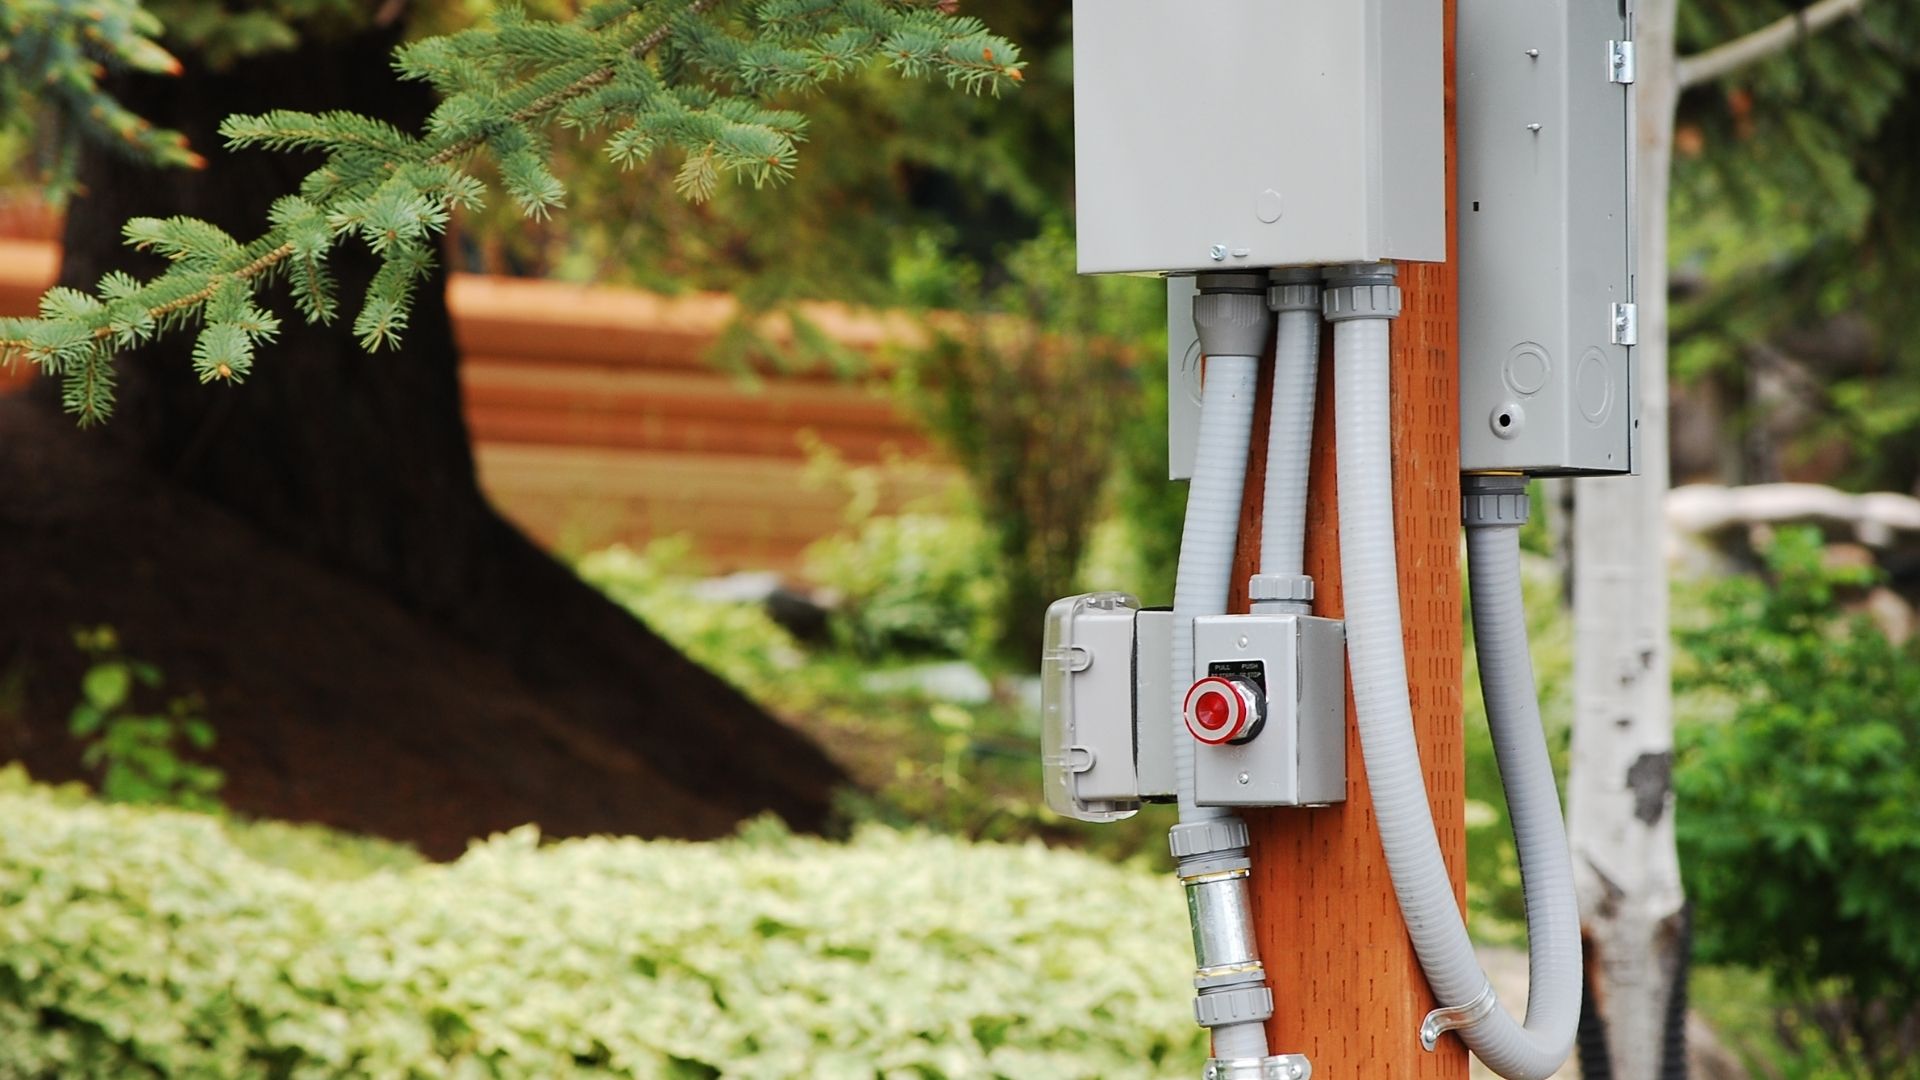
One of the primary considerations is the material of the conduit. Common options include PVC, rigid metal, and flexible metal conduits. PVC conduits are lightweight, cost-effective, and resistant to corrosion, making them suitable for many outdoor applications. Rigid metal conduits, often made of galvanized steel, provide robust protection for wiring but may require specialized tools for bending and installation. Flexible metal conduits offer versatility and are ideal for areas that require flexibility around corners and obstacles.
Consider the environmental factors that the conduit will be exposed to. If the outdoor space is subject to extreme temperatures, UV exposure, or moisture, choose a conduit material that is specifically designed to withstand these conditions. UV-resistant PVC conduits, for example, are well-suited for outdoor installations where prolonged exposure to sunlight is a concern.
Another crucial aspect is the size of the conduit. The size should accommodate the number and gauge of the wires being installed, allowing for easy pulling and future maintenance. It’s essential to accurately determine the conduit fill, ensuring that the conduit has ample space for the wiring while avoiding overcrowding, which can lead to overheating and performance issues.
Furthermore, consider the aesthetics of the outdoor space when selecting the conduit. If the conduit will be visible in the landscape, choose a color or finish that complements the surroundings. Some PVC conduits are available in earth tones or can be painted to blend seamlessly with outdoor elements, providing a visually pleasing installation.
Ultimately, the choice of conduit should prioritize functionality, durability, and compliance with local electrical codes. By carefully evaluating the material, size, environmental resistance, and aesthetic considerations, you can select the right conduit that forms the backbone of a reliable and visually harmonious outdoor electrical system. With the conduit selected, the next step involves preparing the trenches for installation.
Digging Trenches
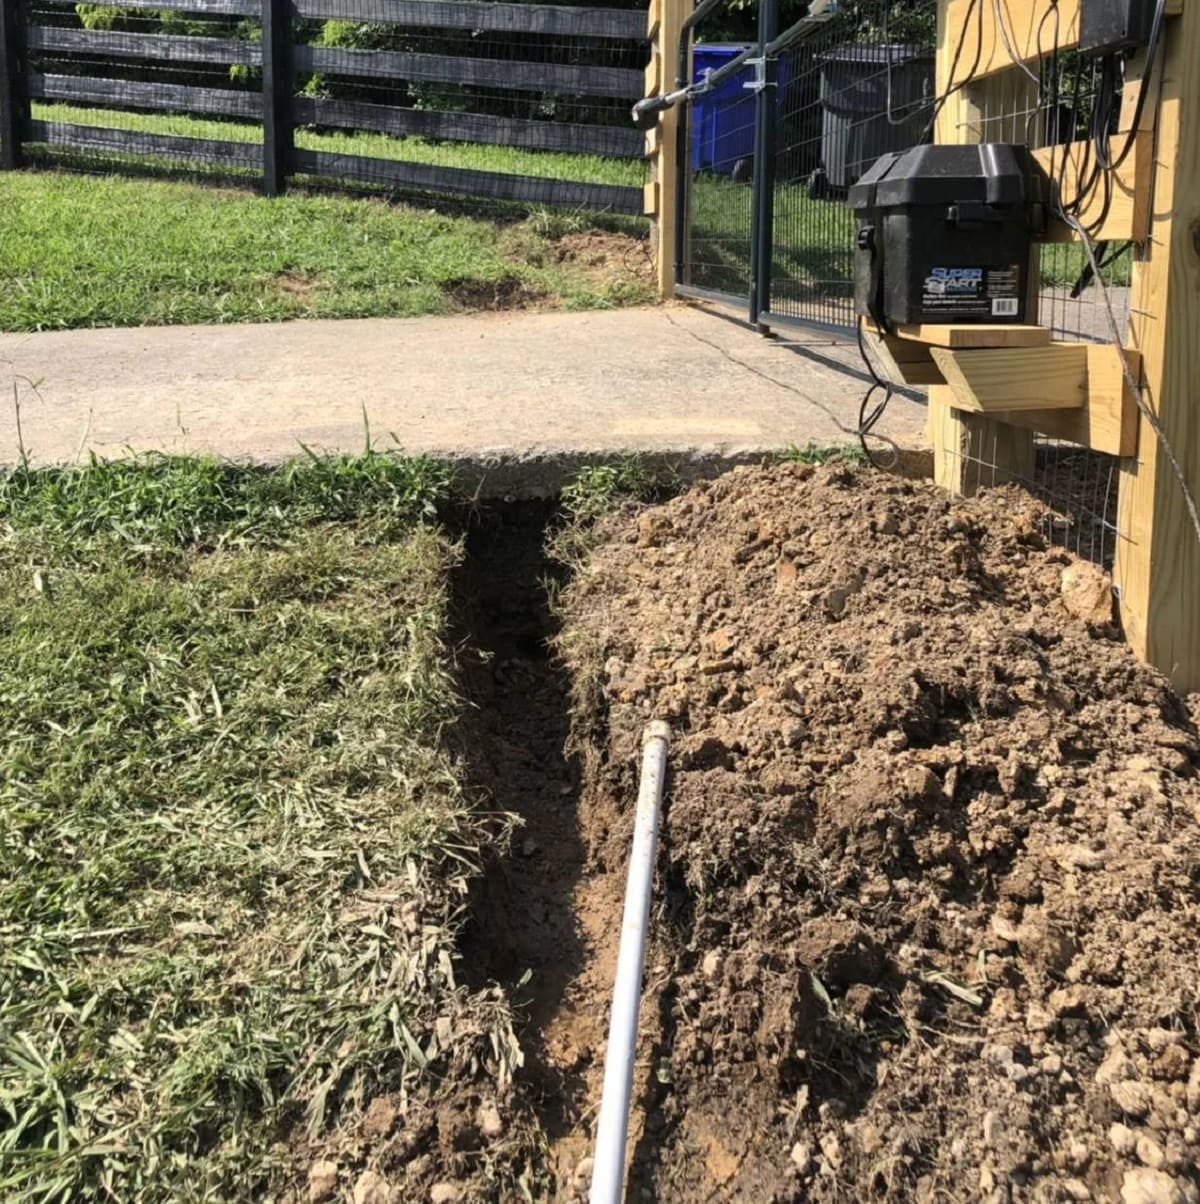
As you embark on the installation of outdoor electrical conduit, the process of digging trenches to accommodate the conduit is a crucial step that demands precision and attention to detail. The trenches will house the conduit, providing protection for the electrical wiring and facilitating the safe distribution of power throughout the outdoor space.
Prior to digging trenches, it is essential to verify the location of underground utilities to avoid potential hazards. Contact the local utility companies or utilize a cable and pipe locator to identify the presence of buried cables, pipes, or other underground infrastructure. This proactive measure is vital for safety and prevents unintended damage to existing utilities during the trenching process.
When planning the trench layout, consider the optimal path for the conduit that minimizes disruption to the landscape and maximizes the efficiency of the electrical system. The trenches should follow a straight path where possible, avoiding sharp turns and obstructions that could impede the installation of the conduit.
Using a trenching shovel or a trenching machine, carefully excavate the trenches to the appropriate depth and width to accommodate the selected conduit. The depth of the trenches should comply with local building codes and regulations, typically ranging from 18 inches to 24 inches deep, depending on the specific requirements and the conduit type. Ensure that the trenches are wide enough to comfortably fit the conduit and allow for proper backfilling once the installation is complete.
As you dig the trenches, pay attention to the composition of the soil and any potential obstacles such as rocks or tree roots that may impede the progress. Clear the trenches of any debris and ensure a smooth, uniform bottom to facilitate the installation of the conduit without obstructions or uneven surfaces.
Throughout the trenching process, prioritize safety by using appropriate personal protective equipment, maintaining clear communication if working with a team, and adhering to safe digging practices. Additionally, be mindful of the environmental impact of the trenching process, taking care to minimize disruption to the surrounding landscape and restore the area once the conduit installation is complete.
By meticulously digging trenches that align with the conduit layout and comply with safety standards, you set the stage for a seamless installation of the outdoor electrical conduit. With the trenches prepared, the next phase involves the actual installation of the conduit, bringing you one step closer to a fully functional outdoor electrical system.
When running outdoor electrical conduit, make sure to use weatherproof fittings and conduit to protect the wiring from moisture and other outdoor elements. This will help ensure the safety and longevity of your electrical system.
Installing the Conduit
With the trenches prepared, the next crucial step in the installation of outdoor electrical conduit is the actual placement and securing of the conduit. This phase requires precision, attention to detail, and adherence to best practices to ensure the integrity and functionality of the electrical system.
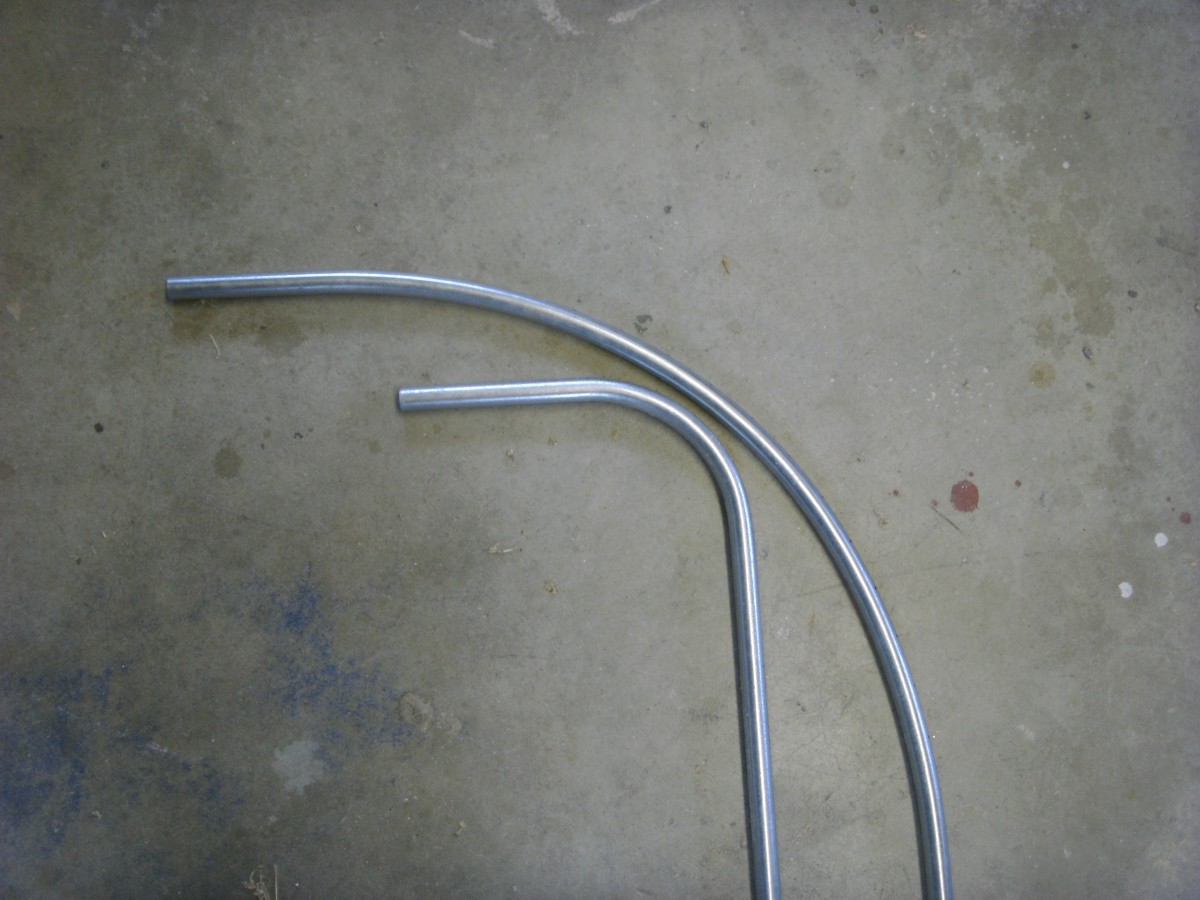
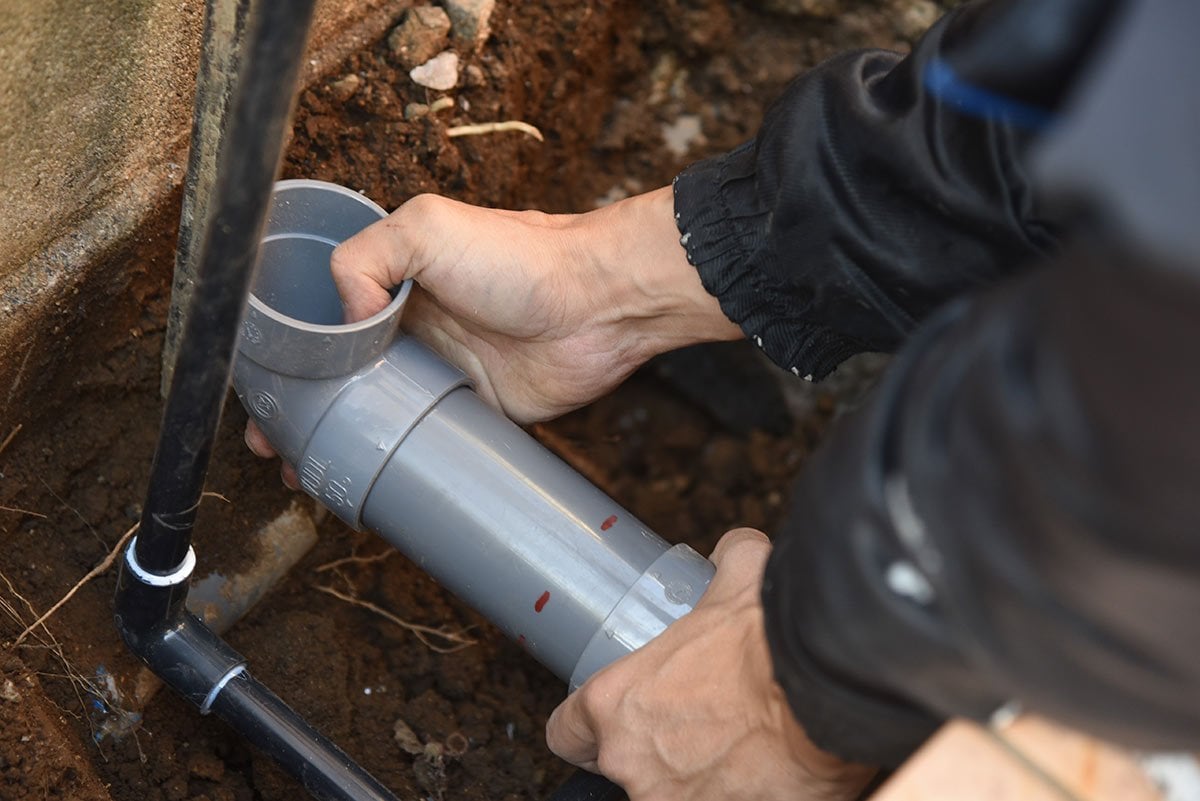
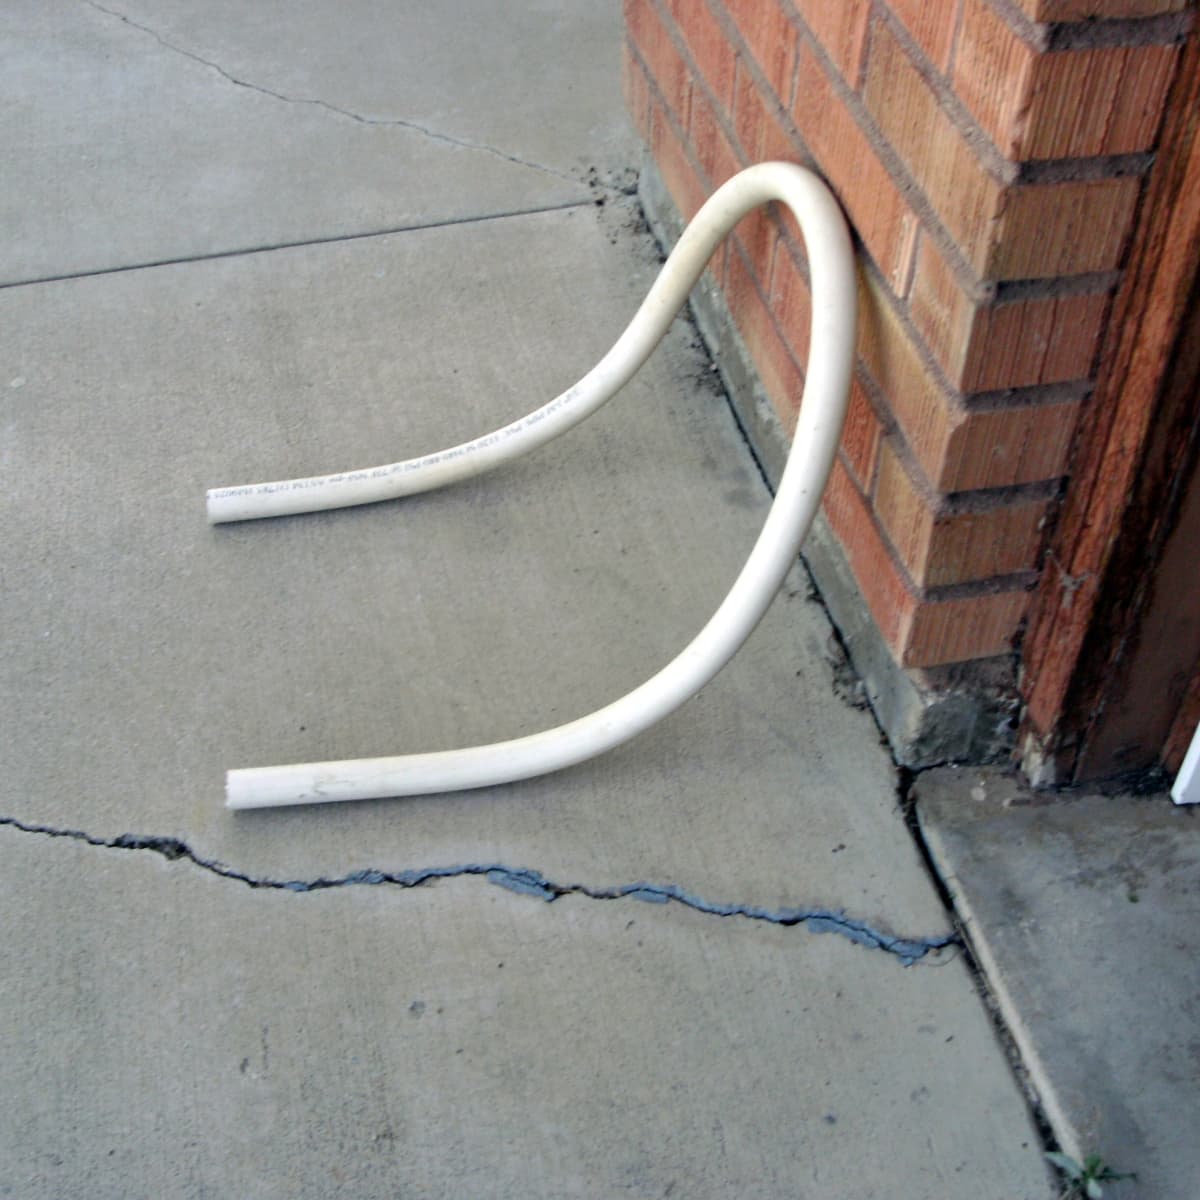
Begin by laying the conduit in the trenches, following the predetermined path and layout. Carefully feed the conduit into the trenches, avoiding any sharp bends or kinks that could impede the passage of electrical wiring. If necessary, utilize conduit bending tools to create gradual bends and curves, maintaining the integrity of the conduit and facilitating the smooth installation of wiring.
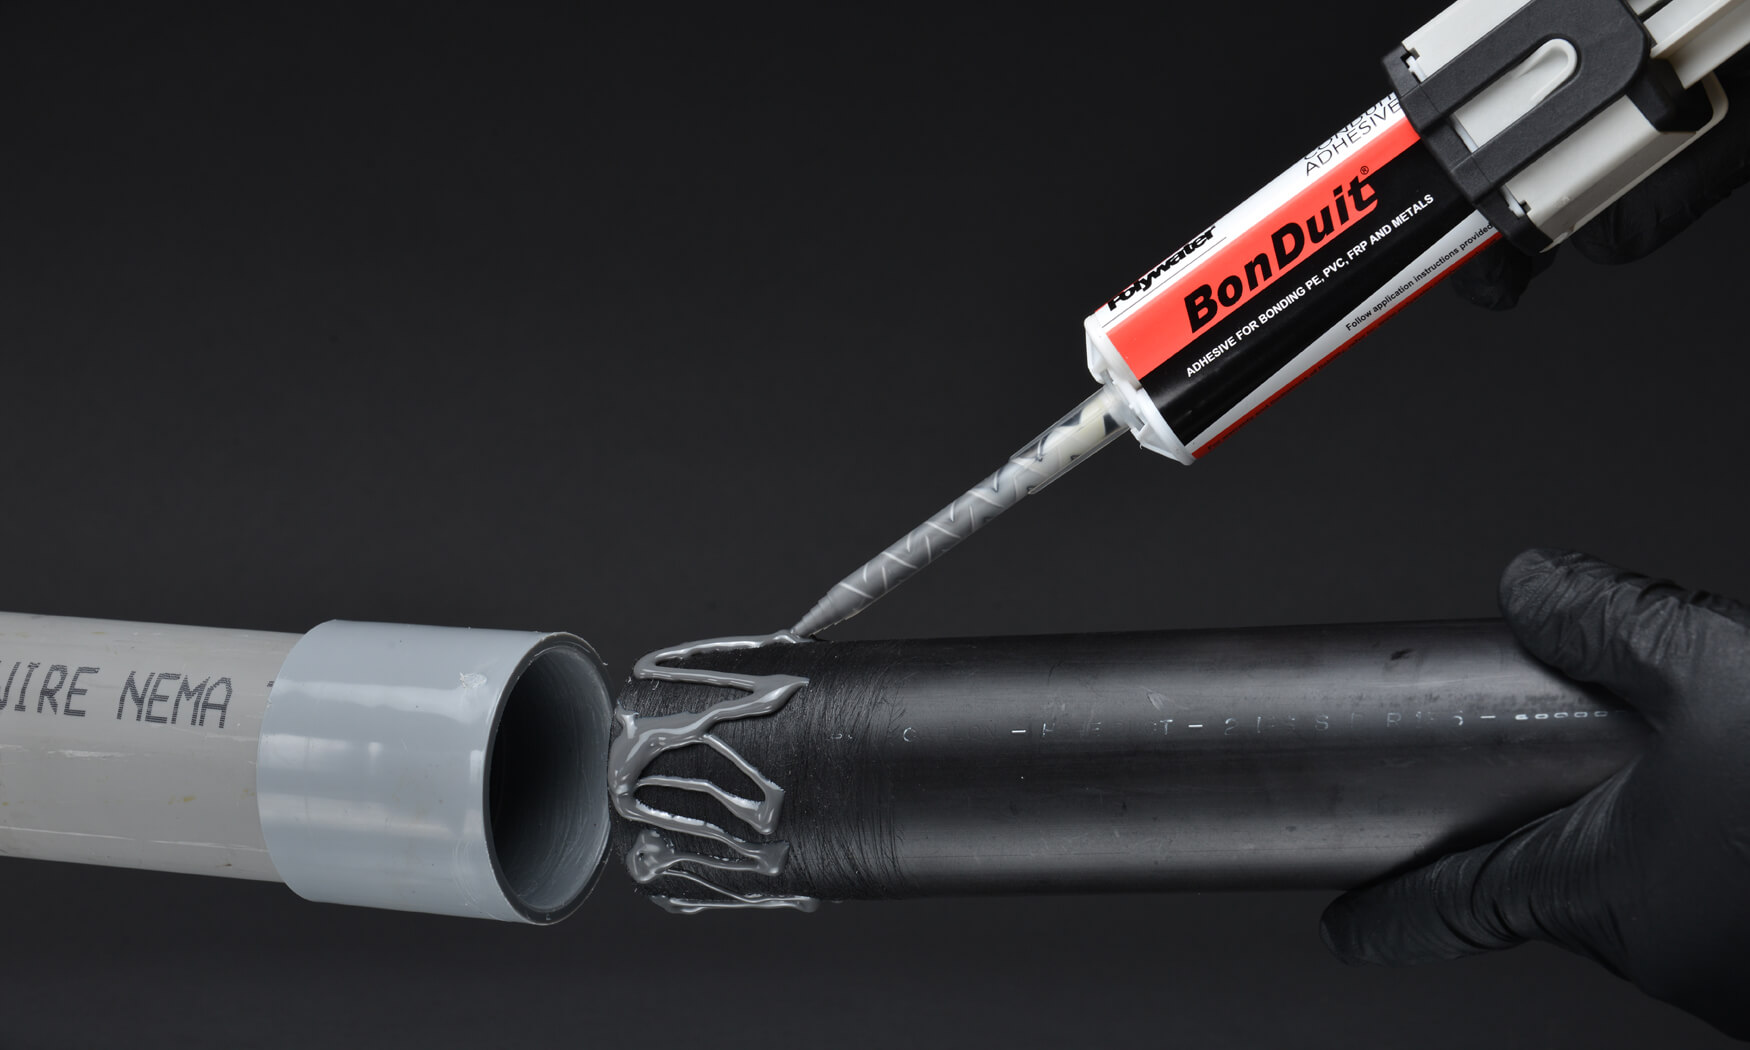
As you position the conduit in the trenches, ensure that it is seated securely and uniformly along the length of the trenches. The conduit should be at the appropriate depth, aligning with the local building codes and regulations, and positioned to facilitate the efficient pulling and routing of electrical wiring. Additionally, verify that the conduit fittings are securely attached, providing a watertight and secure connection between conduit sections and at any bends or junctions.
Once the conduit is in place, backfill the trenches with care, using the appropriate materials and techniques to secure the conduit in position and provide stability. Avoid compacting the soil excessively, as this can exert pressure on the conduit and compromise its integrity. Instead, backfill the trenches in layers, tamping the soil gently to achieve the desired compaction while safeguarding the conduit from excessive stress.
Throughout the installation process, prioritize the protection of the conduit from potential damage or stress. Avoid placing heavy objects on the conduit, and take precautions to prevent accidental impact or disturbance during the backfilling and subsequent phases of the installation.
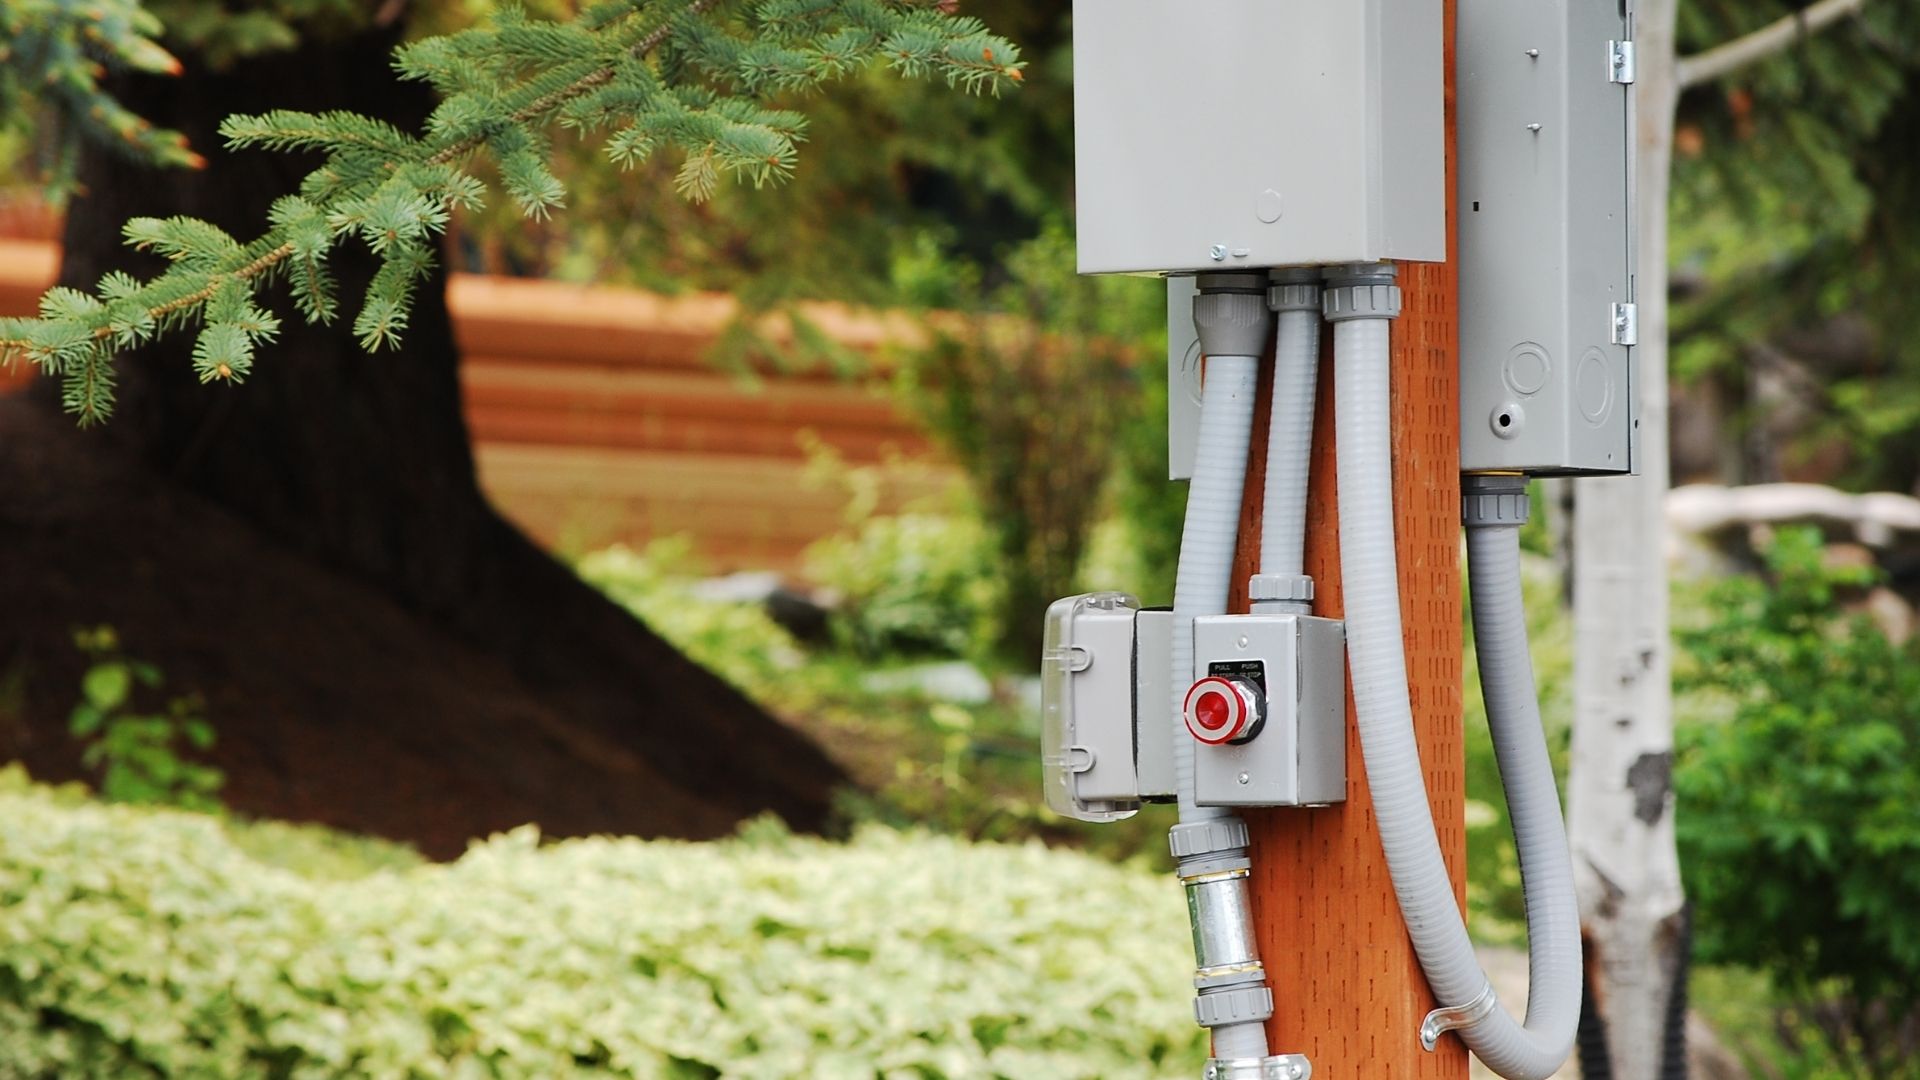
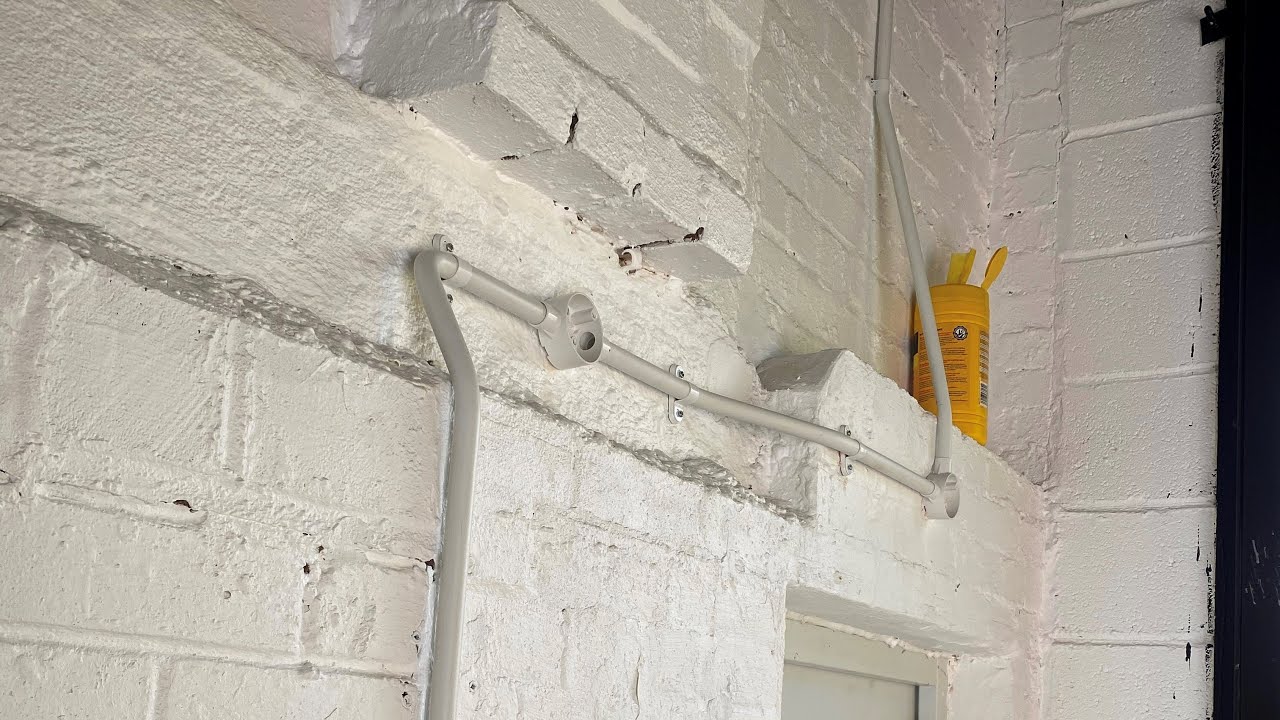
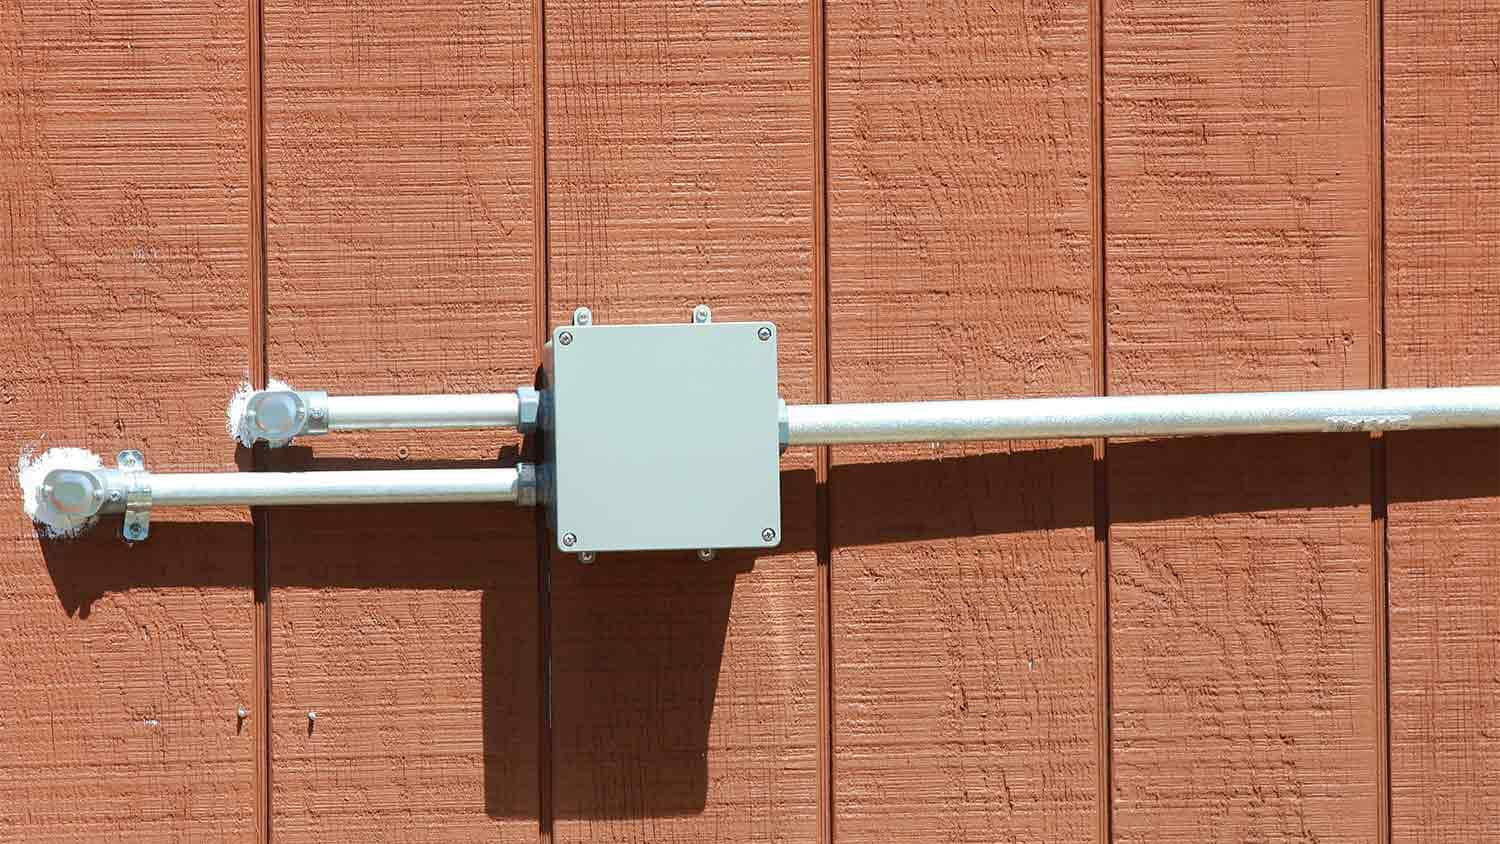
If the conduit extends above ground level, consider installing appropriate protective measures such as conduit straps or clamps to secure the conduit and prevent movement or damage due to external forces or environmental factors. These measures contribute to the longevity and reliability of the outdoor electrical conduit system.
By meticulously installing the conduit with precision and care, you establish the foundation for a robust and resilient outdoor electrical system. With the conduit securely in place, the next phase involves connecting the wiring, bringing the outdoor electrical system one step closer to functionality and efficiency.
Read more: How To Run An Electrical Conduit
Connecting the Wiring
As the outdoor electrical conduit takes shape, the next pivotal stage in the installation process is connecting the wiring, a task that demands meticulous attention to detail and adherence to electrical standards. Properly routing and securing the wiring within the conduit is essential for ensuring the safe and efficient distribution of power to outdoor fixtures, appliances, and lighting.
Begin by carefully pulling the appropriate electrical wiring through the installed conduit, ensuring that the wiring is free from kinks, twists, or damage during the routing process. It is imperative to select wiring that is specifically designed for outdoor use, resistant to moisture, and suitable for the intended electrical load and voltage requirements.
As you pull the wiring through the conduit, maintain a gradual and consistent pulling force, avoiding sudden jerks or tension that could damage the wiring or compromise the integrity of the conduit. If the conduit includes multiple bends or turns, utilize pulling lubricants to reduce friction and facilitate smooth wire installation without causing damage to the insulation or conductors.
Once the wiring is successfully pulled through the conduit, carefully secure and organize the wiring within the conduit, ensuring that it is positioned to allow for future maintenance and minimizing the risk of damage due to movement or external forces. Utilize appropriate supports, such as conduit straps or clamps, to secure the wiring at regular intervals and prevent excessive sagging or strain on the conductors.
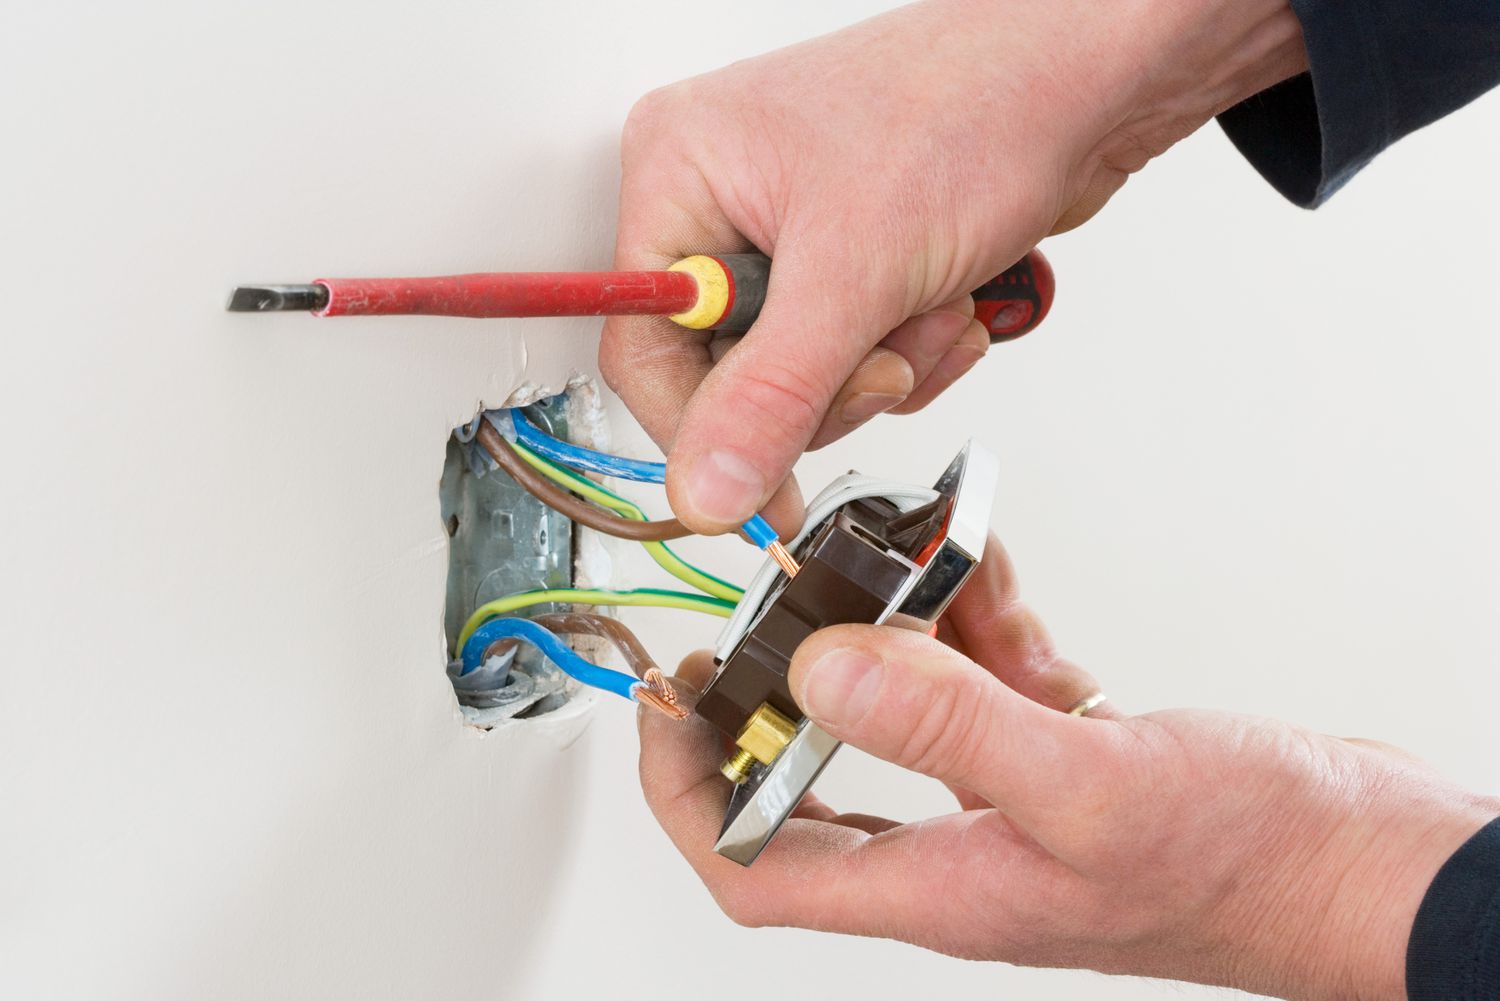
At this stage, it is crucial to verify that the wiring is accurately connected to the power source, junction boxes, and any outdoor fixtures or outlets. Ensure that the wiring connections are made in accordance with electrical codes and best practices, utilizing appropriate connectors, terminal blocks, or wire nuts to establish secure and reliable electrical connections.
Throughout the wiring connection process, prioritize safety by adhering to insulation and grounding requirements, verifying the absence of exposed conductors, and implementing measures to protect the wiring from environmental factors such as moisture, UV exposure, and physical damage.
Once the wiring is securely connected and organized within the conduit, conduct a thorough inspection to verify the integrity of the connections, the absence of any exposed conductors, and the overall compliance with electrical standards. This meticulous approach sets the stage for the final phases of testing the system and implementing crucial safety measures, ensuring that the outdoor electrical conduit system is ready for operation.
Testing and Safety Measures
As the installation of the outdoor electrical conduit nears completion, the critical steps of testing the system and implementing safety measures are paramount to ensuring the functionality, reliability, and safety of the electrical installation. Thorough testing and adherence to safety protocols are essential for mitigating potential hazards and guaranteeing the optimal performance of the outdoor electrical system.
Commence the testing phase by conducting a comprehensive inspection of the entire electrical conduit system. Verify the integrity of the conduit, the secureness of the wiring connections, and the absence of any visible damage or irregularities. Pay particular attention to the areas where the conduit is exposed, ensuring that it is adequately protected and secured against environmental factors and potential physical damage.
Once the visual inspection is complete, proceed to test the electrical system for continuity, insulation resistance, and proper grounding. Utilize appropriate testing equipment, such as multimeters and insulation resistance testers, to verify the integrity of the wiring, the absence of electrical faults, and the effectiveness of the grounding system. This step is crucial for identifying any potential issues that could compromise the safety and performance of the electrical system.
Following the electrical tests, implement measures to safeguard the outdoor electrical conduit from environmental factors and external influences. This may include the installation of weatherproof enclosures for junction boxes, the application of protective coatings or sealants where necessary, and the utilization of conduit fittings and accessories designed to enhance the resilience of the system against moisture, UV exposure, and physical impact.
As part of the safety measures, ensure that appropriate warning labels and signage are in place to indicate the presence of buried electrical conduit and to communicate the necessary precautions to individuals working in the vicinity. Clear and visible markings contribute to the awareness and safety of personnel and prevent accidental damage to the electrical system.
Prior to energizing the outdoor electrical system, conduct a final verification of the installation’s compliance with local electrical codes and regulations. Ensure that all safety measures, including grounding, bonding, and insulation requirements, are meticulously addressed, and that the system is ready for operation without compromising the safety of individuals or the integrity of the electrical infrastructure.
By rigorously testing the system and implementing comprehensive safety measures, you establish a robust and secure outdoor electrical conduit system, poised to deliver reliable power and illumination to your outdoor space while prioritizing the safety of its users and the surrounding environment.
Conclusion
Congratulations on completing the installation of your outdoor electrical conduit system! By navigating the intricacies of planning, trenching, conduit selection, installation, wiring, testing, and safety measures, you’ve embarked on a journey that enhances the functionality and aesthetics of your outdoor space while prioritizing safety and compliance with electrical standards.
As you reflect on the journey of running outdoor electrical conduit, recognize the significance of meticulous planning and preparation in laying the groundwork for a successful installation. The careful consideration of conduit materials, environmental factors, and aesthetic preferences has culminated in the creation of an electrical infrastructure that seamlessly integrates with your outdoor environment.
The process of digging trenches and installing the conduit represents a harmonious balance between precision and practicality, as you navigated the landscape to create a conduit system that optimally distributes power while minimizing disruption to the surroundings. Your attention to detail during the conduit installation has established a resilient and visually unobtrusive electrical infrastructure.
Connecting the wiring within the conduit epitomizes the fusion of technical expertise and safety consciousness, as you meticulously routed, secured, and organized the wiring to ensure the reliability and longevity of the electrical system. The thorough testing and implementation of safety measures underscore your commitment to creating an electrical conduit system that prioritizes the well-being of its users and the preservation of the outdoor environment.
As you stand at the culmination of this electrifying endeavor, take pride in the transformation of your outdoor space into a hub of functionality and illumination, powered by a meticulously installed electrical conduit system. Embrace the newfound potential for outdoor lighting, appliances, and entertainment, knowing that your outdoor electrical system is not just functional, but also safe, compliant, and seamlessly integrated into the landscape.
With the installation of your outdoor electrical conduit complete, may your outdoor space be illuminated, powered, and enriched, providing a testament to your dedication to excellence and your commitment to enhancing the outdoor living experience. As you bask in the radiance of your outdoor environment, may the journey of running outdoor electrical conduit serve as a source of inspiration and empowerment, propelling you to further heights of outdoor design and functionality.
Ready to tackle another DIY project? If you've mastered running outdoor electrical conduit, you might find conduit installation within walls just as engaging. Our next guide offers detailed instructions on how to seamlessly integrate conduits inside your walls, enhancing your home's functionality without disrupting its style. Dive into this next adventure and ensure your wiring is not only effective but also neatly tucked away.
Frequently Asked Questions about How To Run Outdoor Electrical Conduit
Was this page helpful?
At Storables.com, we guarantee accurate and reliable information. Our content, validated by Expert Board Contributors, is crafted following stringent Editorial Policies. We're committed to providing you with well-researched, expert-backed insights for all your informational needs.


0 thoughts on “How To Run Outdoor Electrical Conduit”