Home>Home Security and Surveillance>How To Mount An Outdoor Camera
Home Security and Surveillance
How To Mount An Outdoor Camera
Modified: March 6, 2024
Learn how to mount an outdoor camera for your home security and surveillance needs. Step-by-step guide and expert tips included
(Many of the links in this article redirect to a specific reviewed product. Your purchase of these products through affiliate links helps to generate commission for Storables.com, at no extra cost. Learn more)
Introduction
In the ever-evolving world we live in, home security has become a top priority for many homeowners. With the rise in crime rates and the need for a secure environment, it’s no wonder that more and more people are investing in home security systems.
One of the most important components of any home security system is an outdoor camera. These cameras are designed to monitor the exterior of your property and provide you with a sense of safety and peace of mind. Whether you’re concerned about burglaries, package theft, or simply want to keep an eye on who’s coming and going, mounting an outdoor camera is an effective way to enhance the security of your home.
This article will guide you through the step-by-step process of mounting an outdoor camera. From choosing the right camera to adjusting the camera angle, we’ll cover everything you need to know to successfully install and configure your outdoor surveillance system.
So, if you’re ready to take control of your home security, let’s dive in and learn how to mount an outdoor camera. By the end of this article, you’ll have the knowledge and confidence to install your own outdoor camera system and protect your home and loved ones.
Key Takeaways:
- Choosing the right outdoor camera, finding the best mounting location, and securing the cables are crucial steps in setting up an effective home surveillance system.
- Regularly monitoring and maintaining your outdoor camera ensures long-term reliability and optimal performance, providing peace of mind and enhanced home security.
Read more: How To Mount Wyze Outdoor Camera
Step 1: Choose the Right Camera
Choosing the right outdoor camera is crucial to ensure that you capture clear and high-quality footage of any potential incidents. With a wide range of options available on the market, it’s important to consider a few factors before making your purchase.
First and foremost, consider the resolution of the camera. Higher resolution cameras will provide you with more details in the footage, allowing you to easily identify faces or license plates if needed. Look for cameras with at least 1080p resolution or higher for optimal clarity.
Next, consider the field of view of the camera. The field of view refers to how much area the camera can cover. Determine the specific areas you want to monitor and choose a camera with a wide enough angle to cover those areas effectively. Some cameras also come with adjustable lenses, allowing you to narrow or widen the field of view as needed.
Another important factor to consider is the camera’s weather resistance rating. Since the camera will be exposed to the elements, it needs to be able to withstand various weather conditions such as rain, snow, and extreme temperatures. Look for cameras with an IP65 or higher rating to ensure durability and longevity.
Additionally, consider whether you want a wired or wireless camera. Wired cameras require an Ethernet cable connection for power and data transmission, while wireless cameras use Wi-Fi to connect to your home network. Wireless cameras offer more flexibility in terms of placement and installation but may require a strong Wi-Fi signal for reliable connectivity.
Lastly, think about any additional features you may want in a camera. Some cameras offer night vision capabilities, allowing you to capture clear footage even in low-light conditions. Others may have motion detection, two-way audio, or integration with smart home systems. Consider your specific needs and priorities to choose a camera with the features that best suit your requirements.
By taking the time to carefully select the right outdoor camera, you can ensure that you have a reliable and effective surveillance system in place for your home. With the next step, we’ll guide you through determining the ideal mounting location for your camera.
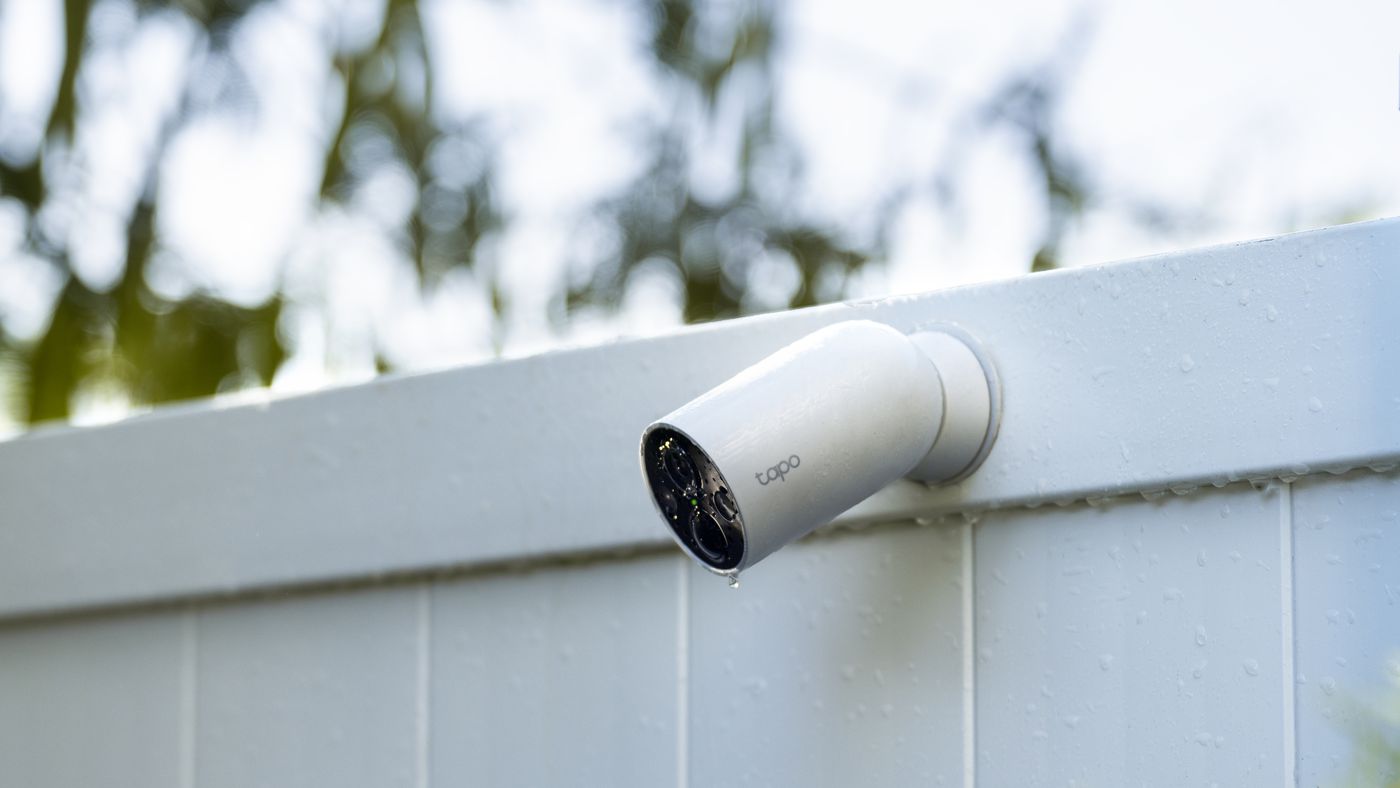
Step 2: Determine the Ideal Mounting Location
Finding the ideal mounting location for your outdoor camera is crucial for capturing the best possible footage and maximizing its effectiveness. Here are some considerations to help you determine the ideal location:
1. Coverage Area: Determine the areas you want to monitor and ensure that the camera’s field of view covers those areas effectively. Consider the angles and distances required to capture the desired footage and ensure there are no obstructions or blind spots.
2. Height: Mounting the camera at an appropriate height is important to ensure optimal coverage. Ideally, mount the camera at a height that is out of reach but still captures a wide view of the area. This will not only provide a better vantage point but also minimize the risk of tampering.
3. Accessibility: Consider accessibility when choosing the mounting location. Ensure that the camera is easily accessible for maintenance, cleaning, and adjusting its position if needed. However, make sure it is not easily accessible by potential intruders or vandals.
4. Power Source: Take into account the proximity of a power source when determining the mounting location. If you opt for a wired camera, ensure that there is an electrical outlet nearby or plan for the necessary wiring to reach the camera’s location.
5. Connectivity: If you are using a wireless camera, ensure that the mounting location is within range of your Wi-Fi network. Test the signal strength in the area to ensure a stable connection and reliable transmission of footage.
6. Protection from the Elements: Consider the camera’s exposure to the elements. Look for a location that provides some protection from rain, snow, and direct sunlight. Avoid placing the camera in areas where water or direct sunlight can obstruct the lens and impact the quality of the footage.
7. Legal Considerations: Familiarize yourself with any local regulations or laws regarding the placement of outdoor cameras. Ensure that your chosen location complies with these regulations to avoid any potential legal issues.
Once you have taken these factors into account, you can determine the ideal mounting location for your outdoor camera. In the next step, we’ll guide you through the process of gathering the required tools and materials for the installation.
Step 3: Gather the Required Tools and Materials
Before you begin the installation process, it’s important to gather all the necessary tools and materials. Having everything prepared beforehand will make the installation smoother and more efficient. Here’s a list of the tools and materials you will need:
1. Outdoor Camera: Make sure you have chosen the right outdoor camera that suits your needs as discussed in Step 1.
2. Mounting Bracket: Check if your camera comes with a mounting bracket or if you need to purchase one separately. The mounting bracket helps to secure the camera in place and provides flexibility in adjusting the camera’s angle.
3. Power Source: If you’re using a wired camera, ensure that there is an electrical outlet near the mounting location. If not, consider the necessary wiring and electrical components required to connect the camera to a power source.
4. Power cables and extension cords: Depending on the distance between the camera and the power source, you may need power cables and extension cords to connect the camera to the electrical outlet.
5. Mounting Hardware: This includes screws, anchors, and any other necessary mounting hardware to securely attach the camera and mounting bracket to the wall or other surfaces.
6. Screwdrivers, Drill, and Drill Bits: A set of screwdrivers will be needed to secure the mounting bracket and camera. A drill and appropriate drill bits will be necessary for drilling holes and installing anchors if needed.
7. Ladder or Stepladder: Depending on the height at which you plan to mount the camera, a ladder or stepladder may be required to reach the desired location safely.
8. Weatherproofing Materials: Consider using weatherproofing materials, such as silicone sealant or weather-resistant tape, to protect the camera’s connections and reduce the risk of water damage.
9. Cable Clips or Cable Management System: These will help you secure and organize the cables running from the camera to the power source or recording device.
10. Test Monitor or Mobile Device: Having a monitor or mobile device handy will allow you to test the camera’s feed and adjust the angle as needed during the installation process.
By ensuring that you have all the necessary tools and materials beforehand, you can streamline the installation and minimize any potential disruptions. Now that you have everything you need, let’s move on to Step 4, where we will guide you through the process of installing the mounting bracket.
Step 4: Install the Mounting Bracket
Installing the mounting bracket is the first physical step in mounting your outdoor camera. The mounting bracket provides stability and allows you to adjust the camera’s position and angle. Follow these steps to install the mounting bracket:
1. Select the Mounting Location: Refer to Step 2 to determine the ideal mounting location for your camera. Mark the spot where you plan to install the bracket.
2. Preparing the Mounting Surface: Ensure that the mounting surface is clean and free from dust, debris, or any other obstructions. If necessary, use a brush or cloth to clean the surface before proceeding.
3. Positioning the Bracket: Hold the mounting bracket against the wall or mounting surface at the marked spot. Use a level to ensure that it is perfectly horizontal or angled as desired.
4. Marking Drill Holes: Once the bracket is correctly positioned, use a pencil or marker to mark the spots where you need to drill the holes for the screws. Ensure that the marks align with the mounting holes on the bracket.
5. Drilling Holes: Using an appropriate drill bit, carefully drill the holes at the marked spots. If you’re drilling into a masonry or concrete surface, use suitable anchors to provide extra stability for the bracket.
6. Attaching the Bracket: Place the bracket over the drilled holes and align the mounting holes on the bracket with the holes in the mounting surface. Insert screws through the bracket into the holes and tighten them securely using a screwdriver.
7. Double-checking Stability: Once the bracket is attached, ensure that it is firmly secured to the mounting surface. Give it a gentle shake and check for any wobbling or looseness. If necessary, re-tighten the screws to ensure the bracket is stable.
8. Test the Bracket: After installing the bracket, place your camera onto the bracket and adjust the position and angle to see if it aligns with your desired field of view. Make any necessary adjustments to the bracket’s position if needed.
By following these steps, you have successfully installed the mounting bracket for your outdoor camera. The next step is to attach the camera to the bracket, which we will cover in Step 5.
Read more: How To Mount A Wyze Outdoor Camera
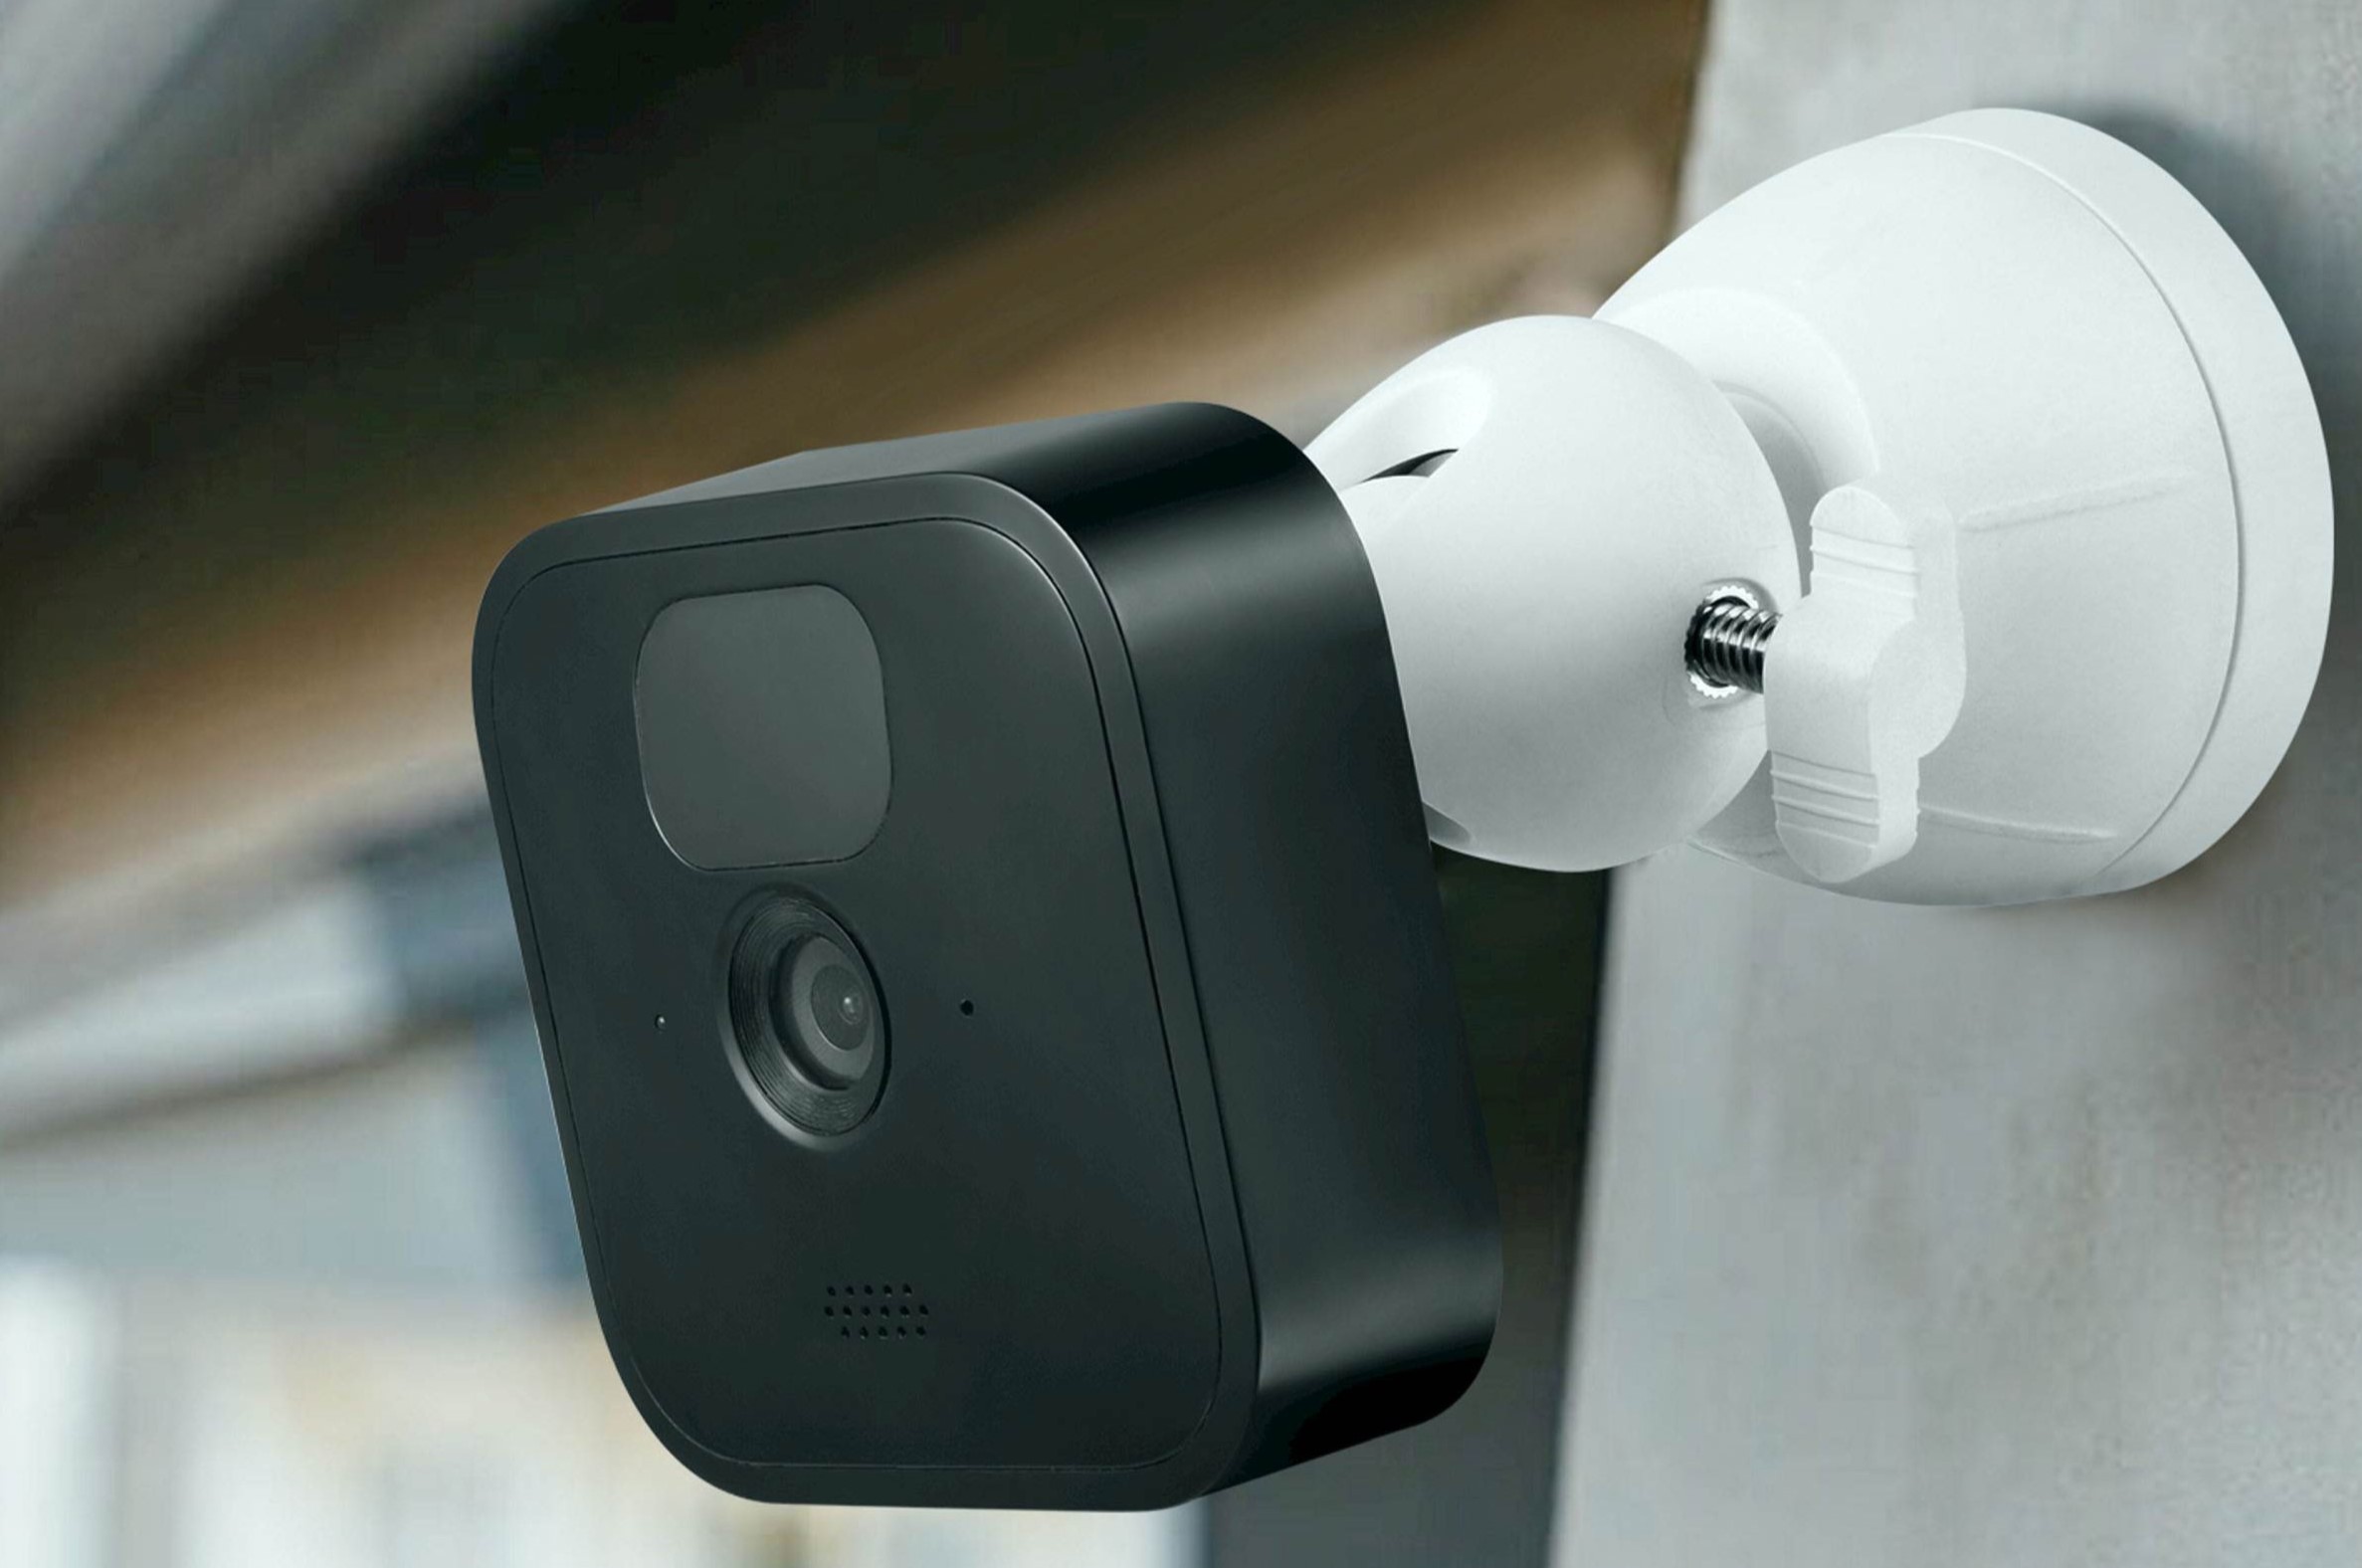
Step 5: Attach the Camera to the Bracket
Now that the mounting bracket is securely installed, it’s time to attach the camera to the bracket. Follow these steps to properly attach the camera:
1. Prepare the Camera: Remove any protective covering on the camera lens or mounting plate. Check the camera for any loose screws or attachments, and make sure it is powered off during the installation process.
2. Align the Camera: Gently position the camera over the mounting bracket, ensuring that the screw holes on the camera align with the corresponding holes on the bracket.
3. Secure the Camera: Once the camera is properly aligned with the bracket, use the screws that came with the camera or the mounting bracket to attach the camera to the bracket. Carefully tighten the screws to ensure a secure fit, but be mindful not to overtighten and potentially damage the camera.
4. Double-Check the Position: After attaching the camera, double-check that it is level and positioned as desired. Make any necessary adjustments to ensure that the camera’s lens is pointing in the direction you want to monitor and that the field of view covers the intended area.
5. Test the Camera’s Movement: If your camera has adjustable angles or a swivel mount, gently move the camera to test its range of motion. This will help you fine-tune the camera’s positioning and ensure that it covers the desired area effectively.
6. Ensure Stability: Once the camera is attached, give it a gentle shake to ensure that it is securely mounted and doesn’t wobble or shift. If needed, check and tighten any screws on the camera or bracket to ensure stability.
7. Consider Cable Management: At this stage, it’s important to consider cable management. Route any necessary cables from the camera through the bracket or alongside the mounting surface. Use cable clips or a cable management system to keep the cables neatly organized and secured.
By following these steps, you will successfully attach your outdoor camera to the mounting bracket. Now that your camera is securely in place, let’s move on to Step 6, where we will guide you on how to adjust the camera angle for optimal coverage.
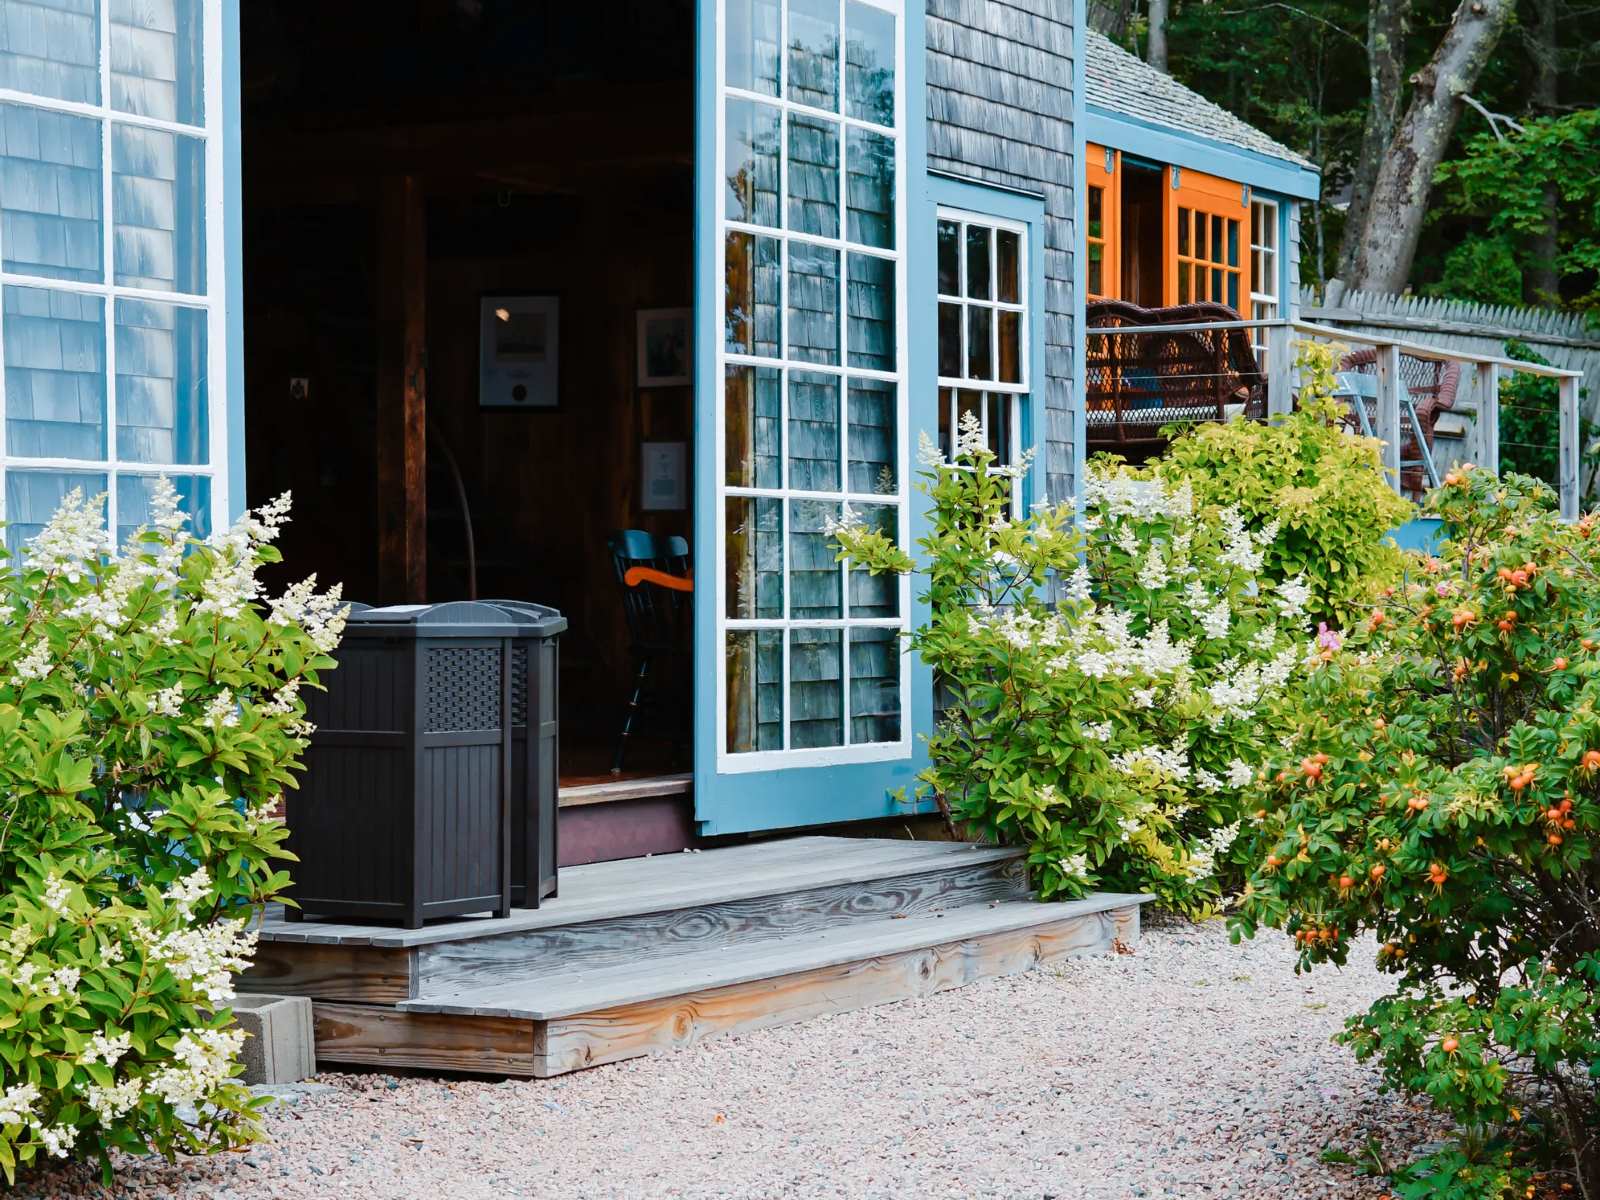
When mounting an outdoor camera, make sure to choose a location with a clear view and good lighting. Also, use weatherproof mounting hardware to protect the camera from the elements.
Step 6: Adjust the Camera Angle
Adjusting the camera angle is a crucial step in ensuring optimal coverage and maximizing the effectiveness of your outdoor camera. Here are the steps to follow to adjust the camera angle:
1. Check the Field of View: Stand in the area you want to monitor and check the live feed or viewfinder of the camera on a test monitor or mobile device. Assess if the camera captures the desired field of view and if any adjustments are needed.
2. Loosen the Tilt and Swivel Mechanisms: Most outdoor cameras come with tilt and swivel mechanisms that allow you to adjust the camera’s angle. Locate these mechanisms on the camera or mounting bracket and gently loosen them to enable movement.
3. Tilt Adjustment: Adjust the camera’s tilt by moving it up or down to achieve the desired angle. Tilt the camera downward if you want to focus on a specific area closer to the camera or tilt it upward for a broader view. Make small adjustments and check the live feed to ensure that you’re capturing the desired area.
4. Swivel Adjustment: If your camera has a swivel mechanism, use it to adjust the camera’s horizontal angle. This allows you to rotate the camera either left or right to cover a wider or narrower area. Fine-tune the swivel adjustment until the camera captures the desired field of view.
5. Test the Angle: Once you have made adjustments, check the live feed or viewfinder again to ensure that the camera angle provides the necessary coverage. Walk around the monitored area and assess if any blind spots or areas of concern need further adjustment.
6. Lock the Tilt and Swivel Mechanisms: Once you’re satisfied with the camera angle, tighten the tilt and swivel mechanisms to lock the camera in place. Ensure that the camera remains stable and doesn’t move or shift after locking the mechanisms.
7. Review the Footage: After adjusting the camera angle, review recorded footage or check the live feed over a period of time to ensure that it captures the desired areas and angles. Make any necessary adjustments if you find any areas that are not adequately covered or if the angle needs further refinement.
By following these steps, you can adjust the camera angle to achieve optimal coverage of the monitored area. In the next step, we’ll guide you through the process of connecting and securing the cables for your outdoor camera in Step 7.
Step 7: Connect and Secure the Cables
Once the camera is properly positioned and angled, it’s time to connect and secure the cables for your outdoor camera. Follow these steps to ensure a proper connection and minimize the risk of cable damage:
1. Determine Cable Length: Measure the distance between the camera and the power source or recording device to determine the required cable length. Consider any obstacles or corners that the cable needs to navigate around.
2. Connect the Power Cable: If your camera is wired, connect the power cable from the camera to the power source. Ensure that the power source is turned off before making the connection. Follow the manufacturer’s instructions for properly connecting the power cable. If required, use extension cables or power supply units to achieve the necessary length.
3. Secure the Cables: Use cable clips or a cable management system to secure and route the cables along the mounting bracket or nearby surfaces. This helps to minimize cable exposure, reducing the risk of damage from environmental factors and potential tampering.
4. Weatherproof the Connections: Outdoor cameras are exposed to various weather conditions, so it’s important to protect the connections. Consider using weatherproofing materials such as silicone sealant or weather-resistant tape to seal the connections between the camera and the cables. This helps to prevent moisture ingress and ensure long-term reliability.
5. Test the Connection: After connecting and securing the cables, turn on the power source and test the camera’s functionality. Check if the camera powers on and if the live feed is transmitted correctly to the recording device or monitor. Use the camera’s controls or a monitoring software to adjust settings and ensure proper operation.
6. Adjust Cable Positioning: Double-check the positioning and routing of the cables. Ensure they are neatly secured and out of the way to prevent any interference with the camera’s field of view or potential tripping hazards.
7. Regularly Inspect and Maintain: Regularly inspect the cables and connections for signs of wear or damage. Clean the camera lens and housing to maintain clear visibility. Perform maintenance tasks as recommended by the manufacturer, such as cleaning or tightening connections.
By following these steps, you can properly connect and secure the cables for your outdoor camera. This ensures a reliable and efficient system that minimizes the risk of cable damage and ensures uninterrupted surveillance. In the next step, we’ll guide you through testing the camera and adjusting its settings in Step 8.
Step 8: Test the Camera and Adjust Settings
After connecting and securing the cables, it’s time to test the camera and adjust its settings to ensure optimal performance. Here are the steps to follow:
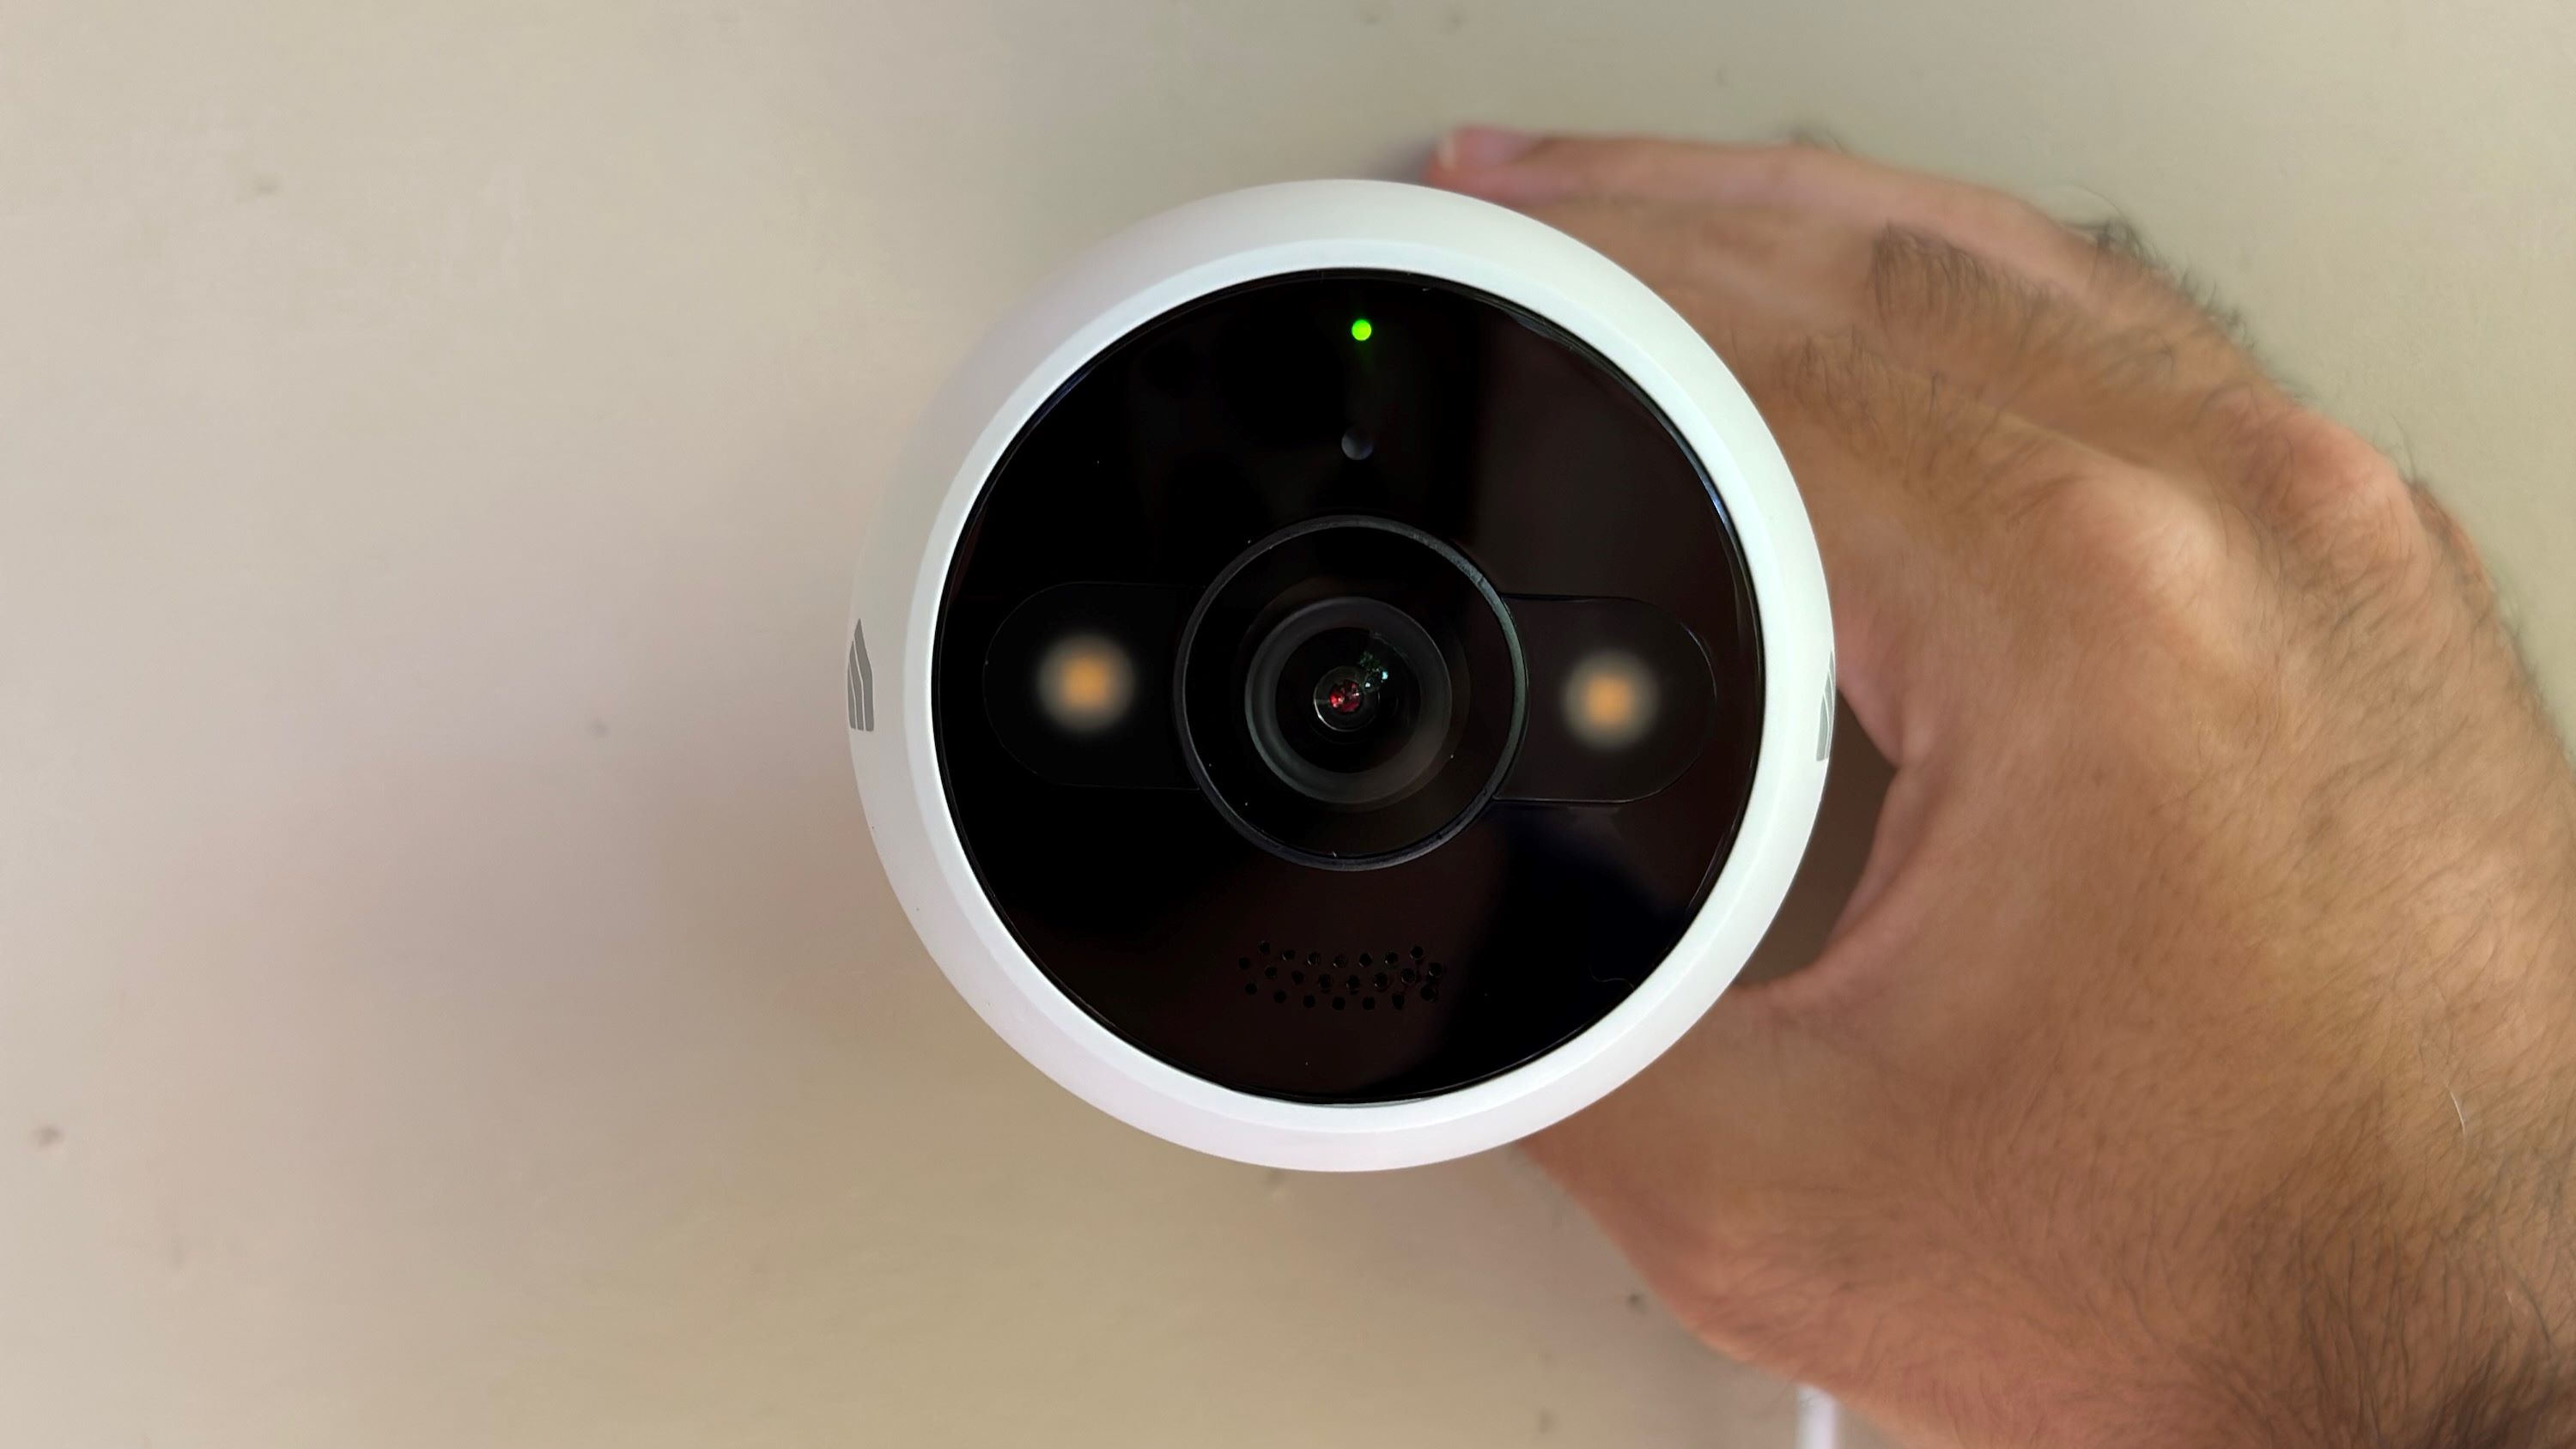
1. Power On the Camera: Turn on the camera and ensure that it is receiving power. Check for any LED indicator lights or notifications that indicate the camera is functioning properly.
2. Monitor the Live Feed: Use a test monitor or mobile device connected to your camera’s feed to monitor the live footage. Verify that the camera captures the desired field of view and that the image quality is clear and sharp. Adjust the camera angle or position if necessary.
3. Check for Night Vision: If your camera has night vision capabilities, test it in low-light conditions or during nighttime. Ensure that the night vision mode provides clear and detailed footage, allowing you to monitor your property effectively even in the dark.
4. Adjust Camera Settings: Most outdoor cameras have various settings that can be adjusted to suit your specific needs. These may include motion detection sensitivity, video resolution, recording modes, or email notification alerts. Refer to the camera’s user manual or software interface to access and customize these settings based on your preferences.
5. Verify Motion Detection: If your camera has motion detection capabilities, test its sensitivity and accuracy by walking in the monitored area. Adjust the motion detection settings as needed to reduce false alarms or ensure that all relevant motions are captured.
6. Set Up Recording or Storage Options: Determine how you want to store or access the camera’s recorded footage. This can include using a network video recorder (NVR), a cloud-based solution, or directly storing footage on an SD card. Set up the recording or storage options according to your preference.
7. Test Remote Access: If your camera supports remote access, set up the necessary configuration and test whether you can view the camera’s feed and access recorded footage from a remote location using a smartphone, tablet, or computer.
8. Fine-tune the Settings: Over time, you may find it necessary to fine-tune the camera’s settings based on specific scenarios or changing needs. Make adjustments to the camera settings as required to ensure consistent performance and optimal security monitoring.
By testing the camera and adjusting its settings, you can ensure that it is functioning correctly and optimized for your specific requirements. In the next step, we’ll discuss how to monitor and maintain your outdoor camera for long-term effectiveness in Step 9.
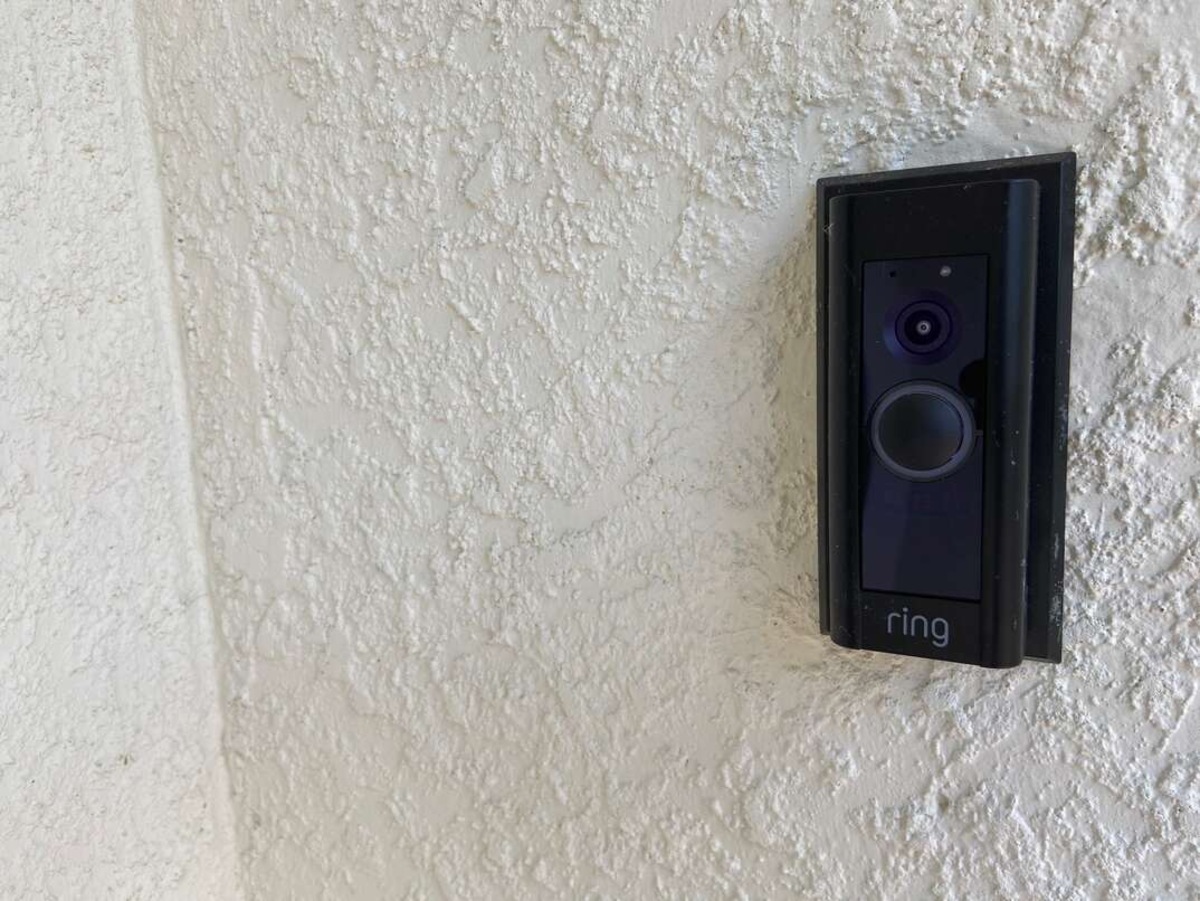
Read more: How To Mount A Ring Outdoor Camera
Step 9: Monitor and Maintain the Outdoor Camera
Once your outdoor camera is installed and configured, it’s important to regularly monitor and maintain it to ensure its long-term effectiveness. Follow these steps to effectively monitor and maintain your outdoor camera:
1. Regularly Check Camera Functionality: Periodically check the camera’s live feed and ensure that it is functioning properly. Monitor for any issues such as blurry or distorted footage, connectivity problems, or other technical issues. Address any problems promptly to maintain optimal performance.
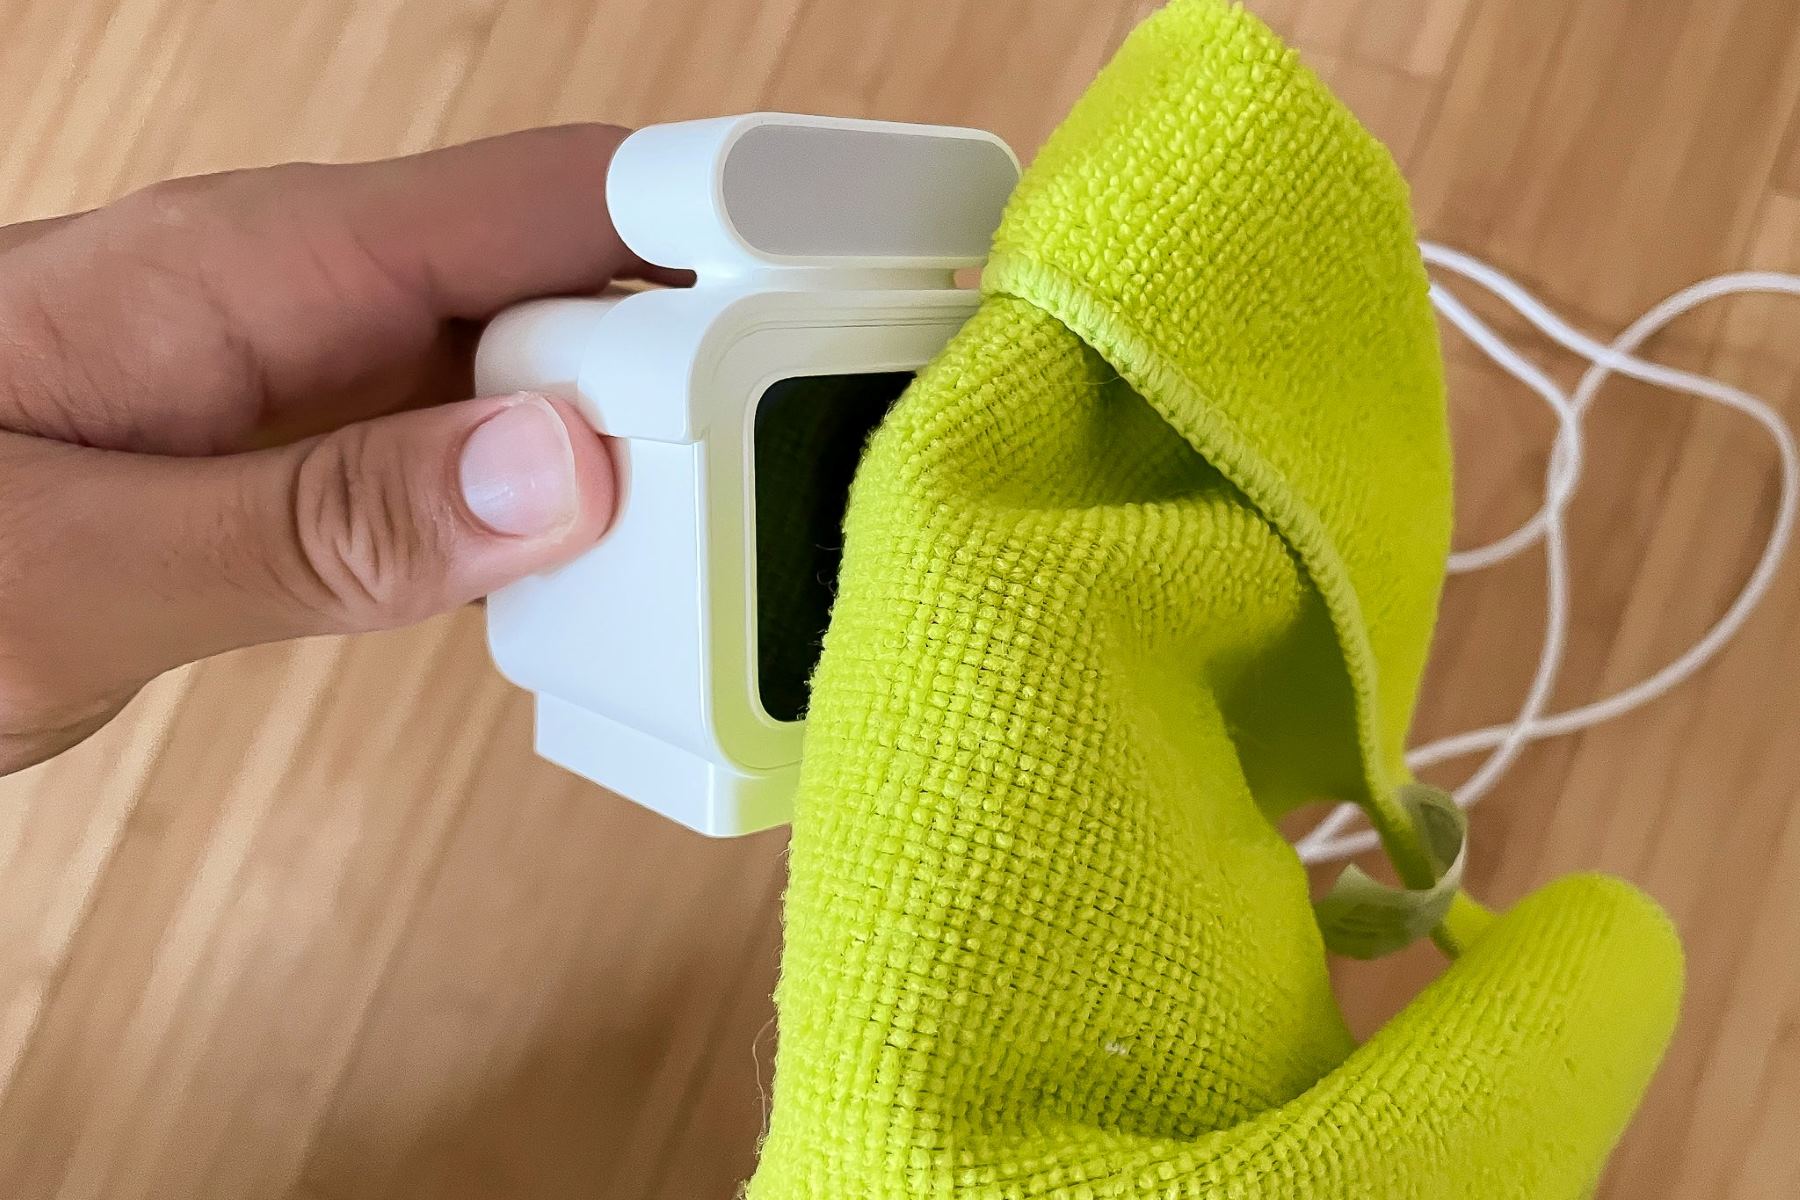
2. Clean the Camera: Regularly clean the camera lens and housing to remove dirt, dust, or any debris that may obstruct the view. Use a soft, lint-free cloth and a mild cleaning solution to gently wipe the lens and housing. Avoid using harsh chemicals that may damage the camera.
3. Inspect the Mounting Bracket: Regularly inspect the mounting bracket to ensure it remains securely attached to the wall or mounting surface. Check for any signs of damage or wear that may compromise the stability of the camera. Tighten any loose screws or address any issues immediately.
4. Monitor Recording and Storage Space: If your camera records footage, regularly check the recording and storage device to ensure that it has enough space to store new recordings. Regularly delete unnecessary or old footage to free up storage space.
5. Test Motion Detection and Alerts: Periodically test the motion detection capabilities of your camera by intentionally triggering motion in the monitored area. Ensure that motion alerts are correctly triggered and that you receive timely notifications, if applicable. Adjust the motion detection settings if necessary.
6. Update Firmware: Check for firmware updates regularly and install them as recommended by the manufacturer. Firmware updates often include bug fixes, security enhancements, and new features that can improve the camera’s performance and functionality.
7. Maintain Proper Power Supply: Regularly check the power supply and cables to ensure that they are in good condition and securely connected. Address any power-related issues, such as faulty connections or power outages, promptly to avoid disruptions in camera functionality.
8. Monitor Weather Resistance: Keep an eye on the camera’s weather resistance over time. Look for any signs of wear or damage due to exposure to the elements, such as cracks in the housing or water ingress. Take the necessary steps to weatherproof or repair the camera if needed.
9. Follow Manufacturer’s Maintenance Guidelines: Refer to the manufacturer’s guidelines and recommendations for specific maintenance tasks and intervals. This may include tasks such as firmware updates, cleaning schedules, or other maintenance procedures. Adhering to these guidelines will help ensure the longevity and effectiveness of your outdoor camera.
By regularly monitoring and maintaining your outdoor camera, you can ensure reliable performance and maximize its effectiveness in enhancing the security of your home. Stay vigilant and address any issues promptly to maintain a secure environment.
Conclusion
Mounting an outdoor camera is a crucial step in enhancing the security and surveillance of your home. By following the steps outlined in this guide, you can successfully install and configure your outdoor camera system, providing you with peace of mind and enhanced protection.
Choosing the right camera, determining the ideal mounting location, gathering the necessary tools and materials, and installing the mounting bracket are all vital components of the process. Attaching the camera to the bracket, adjusting the camera angle, and connecting and securing the cables ensure optimal functionality and coverage.
Testing the camera, adjusting settings, and monitoring its performance are essential to ensure ongoing effectiveness. Regularly maintaining and inspecting the camera, including cleaning it and checking the mounting bracket, will help maintain its long-term reliability.
Remember to comply with local regulations and laws regarding the placement of outdoor cameras, and respect the privacy of others while ensuring the security of your property. Regularly monitor and maintain your outdoor camera to guarantee its continued effectiveness in safeguarding your home.
By taking the time to mount an outdoor camera correctly and following these steps, you can create a secure environment and enjoy the benefits of enhanced home security, peace of mind, and the ability to monitor and protect your property with ease. So, get started on mounting your outdoor camera today and take control of your home security.
Frequently Asked Questions about How To Mount An Outdoor Camera
Was this page helpful?
At Storables.com, we guarantee accurate and reliable information. Our content, validated by Expert Board Contributors, is crafted following stringent Editorial Policies. We're committed to providing you with well-researched, expert-backed insights for all your informational needs.