Home>Home Security and Surveillance>How To Run Cables For Security Cameras
Home Security and Surveillance
How To Run Cables For Security Cameras
Modified: October 21, 2024
Learn how to properly run cables for your security cameras at home. Enhance your home security and surveillance with our step-by-step guide.
(Many of the links in this article redirect to a specific reviewed product. Your purchase of these products through affiliate links helps to generate commission for Storables.com, at no extra cost. Learn more)
Introduction
Welcome to the world of home security and surveillance! In today’s modern age, ensuring the safety and protection of our homes and loved ones has become a top priority for many homeowners. With advancements in technology, it is now easier than ever to install and monitor security cameras to keep a watchful eye on our property, even when we are away.
In this comprehensive guide, we will walk you through the process of running cables for security cameras, ensuring that you have a solid understanding of the necessary components, tools, and techniques required for a successful installation. Whether you are a tech-savvy DIY enthusiast or a professional installer, this article will provide you with the knowledge you need to make informed decisions and achieve optimal results.
Installing security cameras requires careful planning and consideration. One of the most critical aspects of the installation process is running the cables to connect the cameras to the recording devices or monitors. The cables carry both power and data, so it is essential to ensure they are installed correctly and safely.
Before diving into the specifics of running cables for security cameras, let’s take a moment to understand the basic components involved in a security camera system. This will give you a better grasp of how everything fits together and why running cables is crucial.
Key Takeaways:
- Running cables for security cameras involves careful planning, proper cable selection, and precise termination. It’s essential to ensure organized cable routes, secure connections, and thorough testing for a reliable surveillance system.
- Consider factors like camera locations, cable concealment, and regular maintenance to maximize the effectiveness of your security camera system. Upgrading to high-resolution cameras and staying updated with software and firmware can enhance security.
Understanding the Basic Components
Before embarking on any security camera installation project, it’s essential to have a clear understanding of the basic components that make up a security camera system. Let’s take a closer look at each component:
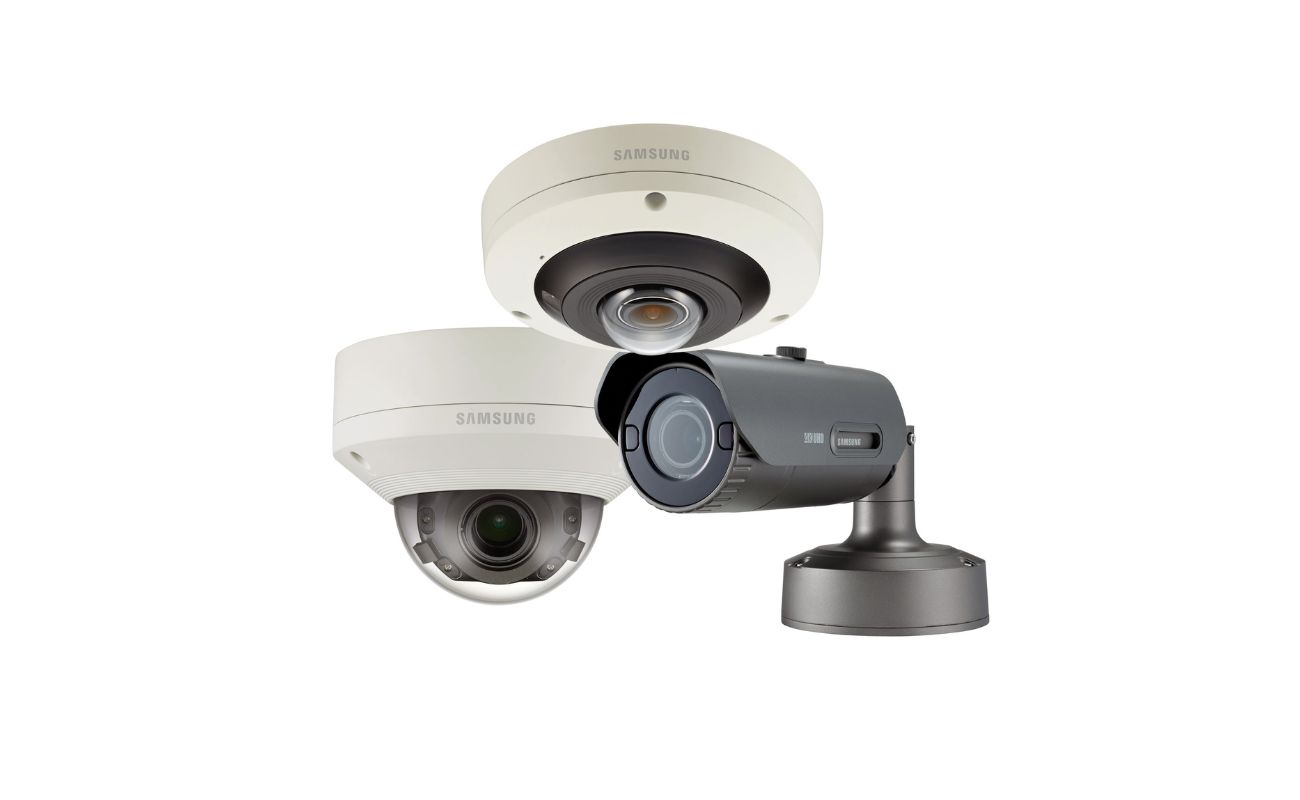
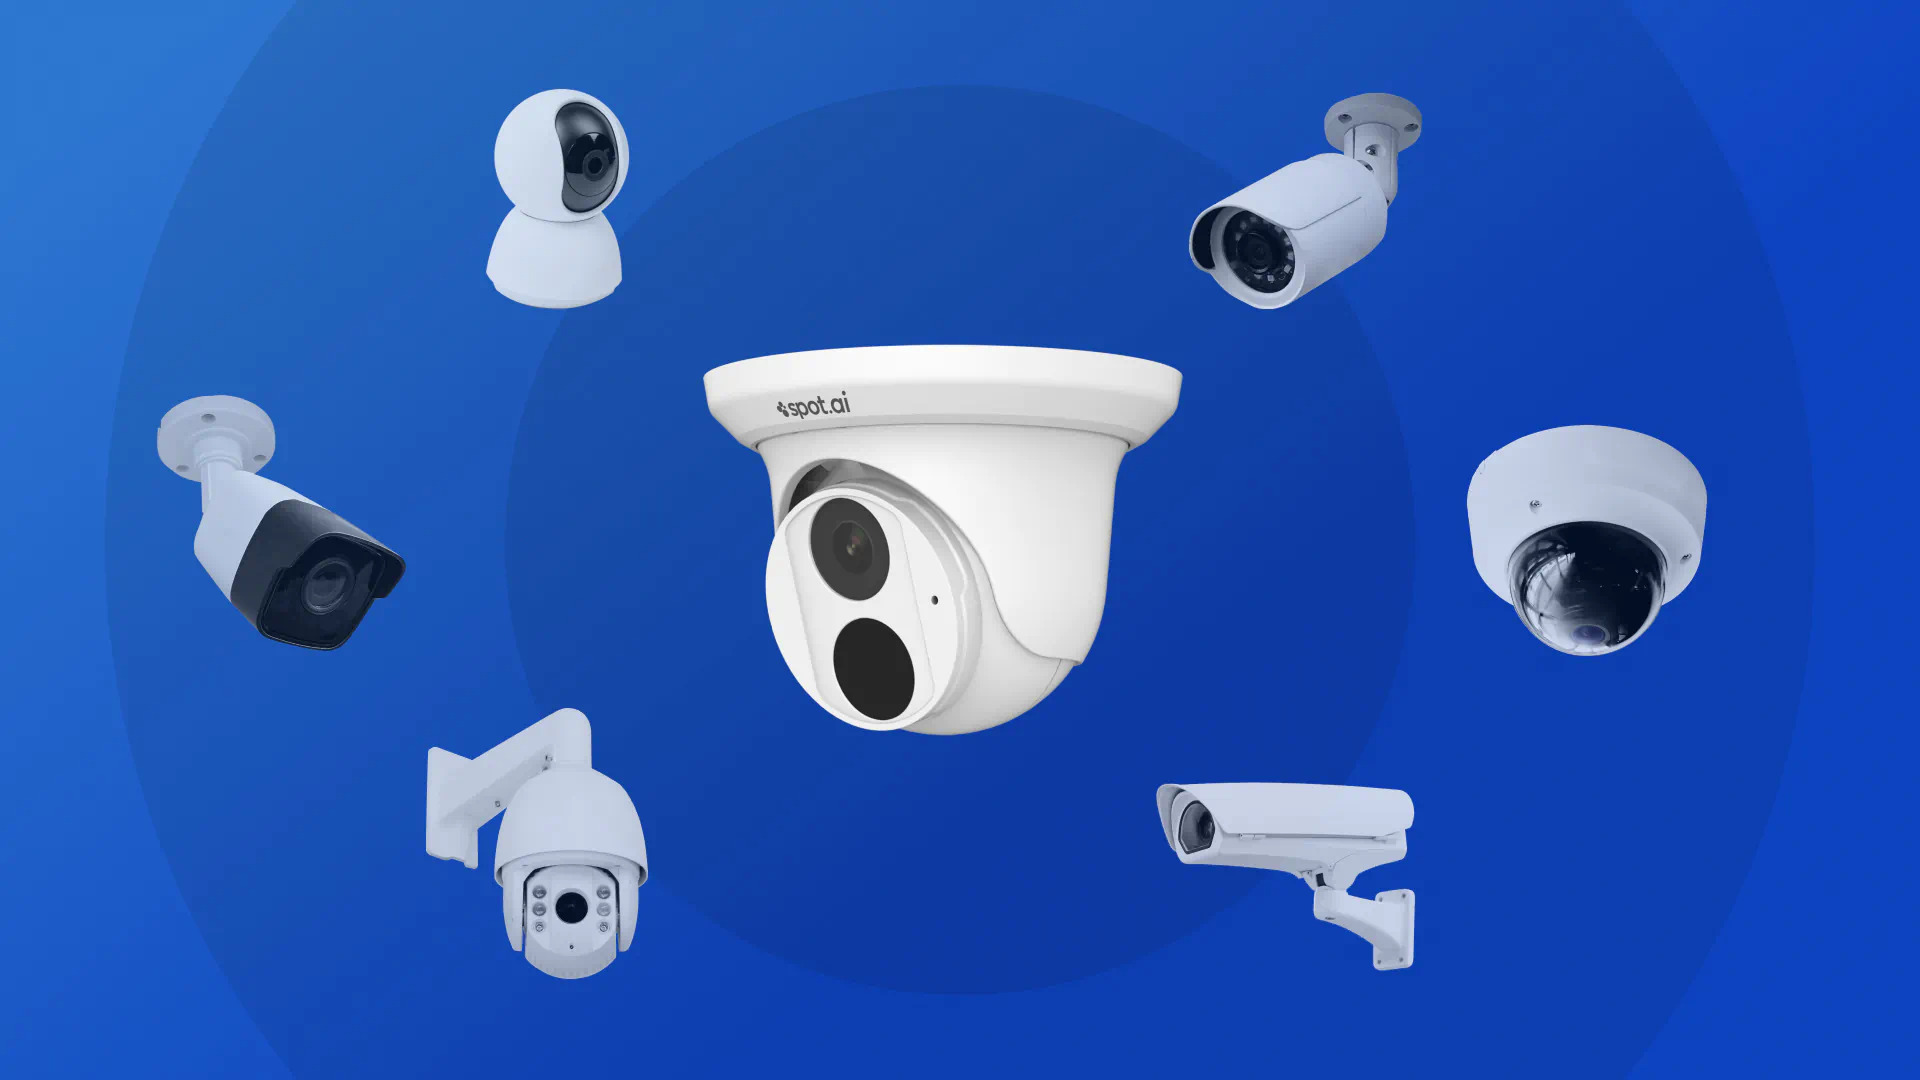
- Security Cameras: These are the devices responsible for capturing video footage. They come in various types and designs, including dome cameras, bullet cameras, and PTZ (Pan-Tilt-Zoom) cameras. Choose cameras that best suit your surveillance needs and preferences.
- DVR/NVR: The Digital Video Recorder (DVR) or Network Video Recorder (NVR) is the central hub of the security camera system. It records and stores the video footage captured by the cameras. DVRs are used for analog camera systems, while NVRs are designed for IP camera systems.
- Power Supply: Security cameras require a power source to operate. The power supply can be in the form of an individual power adapter for each camera or a central power supply that connects multiple cameras.
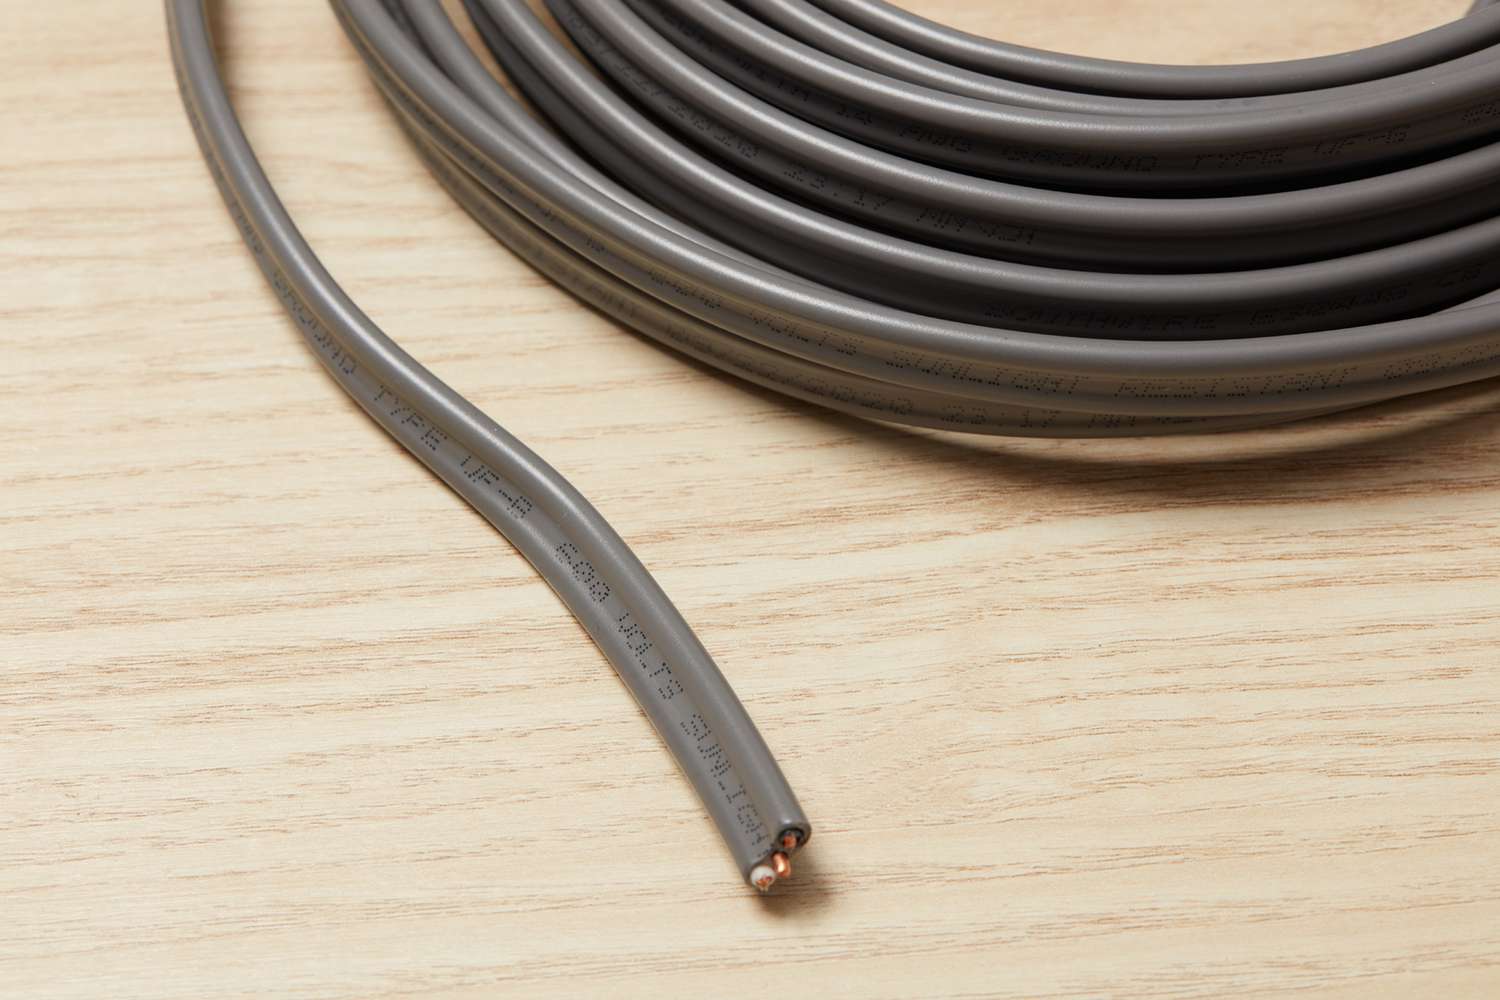
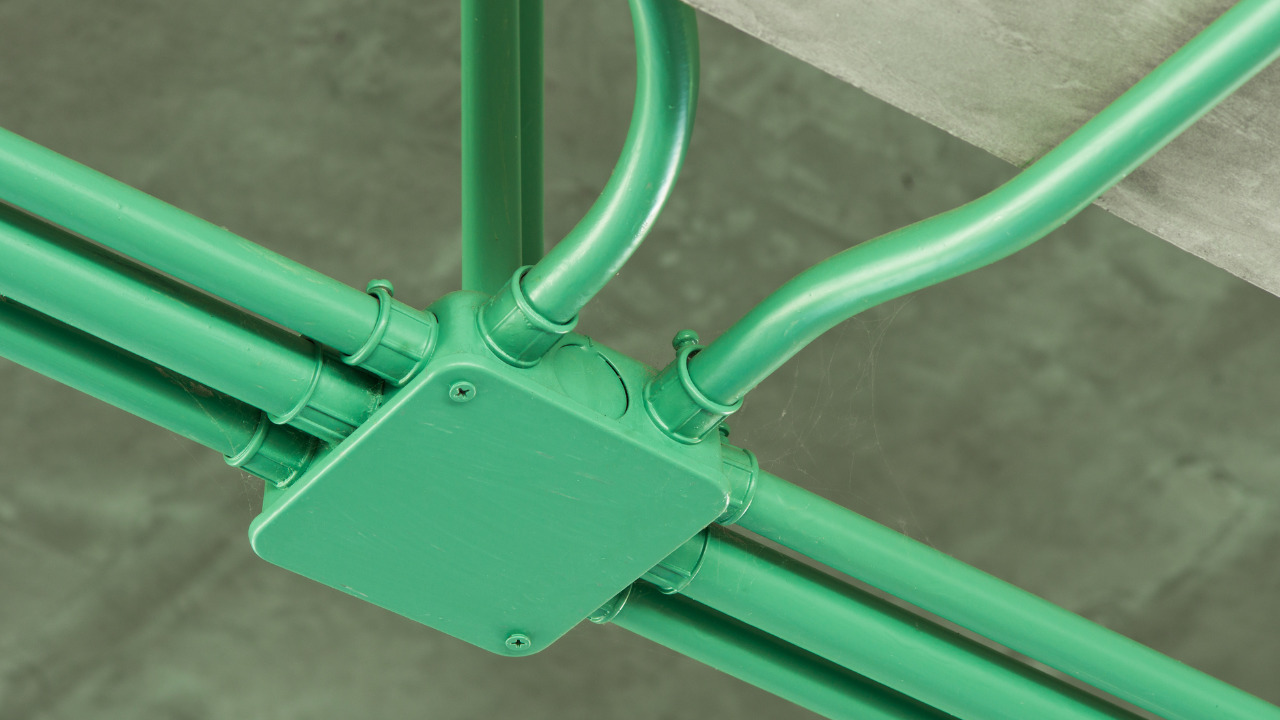
- Cables: Cables are an integral part of any security camera installation. They carry both power and video signals between the cameras and the recording device. There are different types of cables available, including coaxial cables (RG59 or RG6) for analog cameras and Ethernet cables (Cat5e or Cat6) for IP cameras.
- Connectors: Connectors are used to join the cables to the cameras and recording devices. For coaxial cables, BNC connectors are commonly used, while Ethernet cables use RJ45 connectors. Proper termination of connectors ensures secure and reliable connections.
- Monitor or Display: This is where you view the live video feed or recorded footage. You can connect the DVR/NVR to a monitor or a TV screen to access the camera feeds.
- Network: If you are using IP cameras, a network connection is required. This can be a wired Ethernet connection or a wireless connection, depending on your setup.
Understanding these basic components will help you better plan and execute the cable running process. Now that we have a solid foundation, let’s move on to determining the camera locations and assessing the best positions to ensure comprehensive surveillance coverage.
Determining Camera Locations
When it comes to setting up your security camera system, determining the right locations for your cameras is crucial. Proper camera placement plays a vital role in maximizing surveillance coverage and capturing critical footage. Here are some factors to consider when deciding on camera locations:
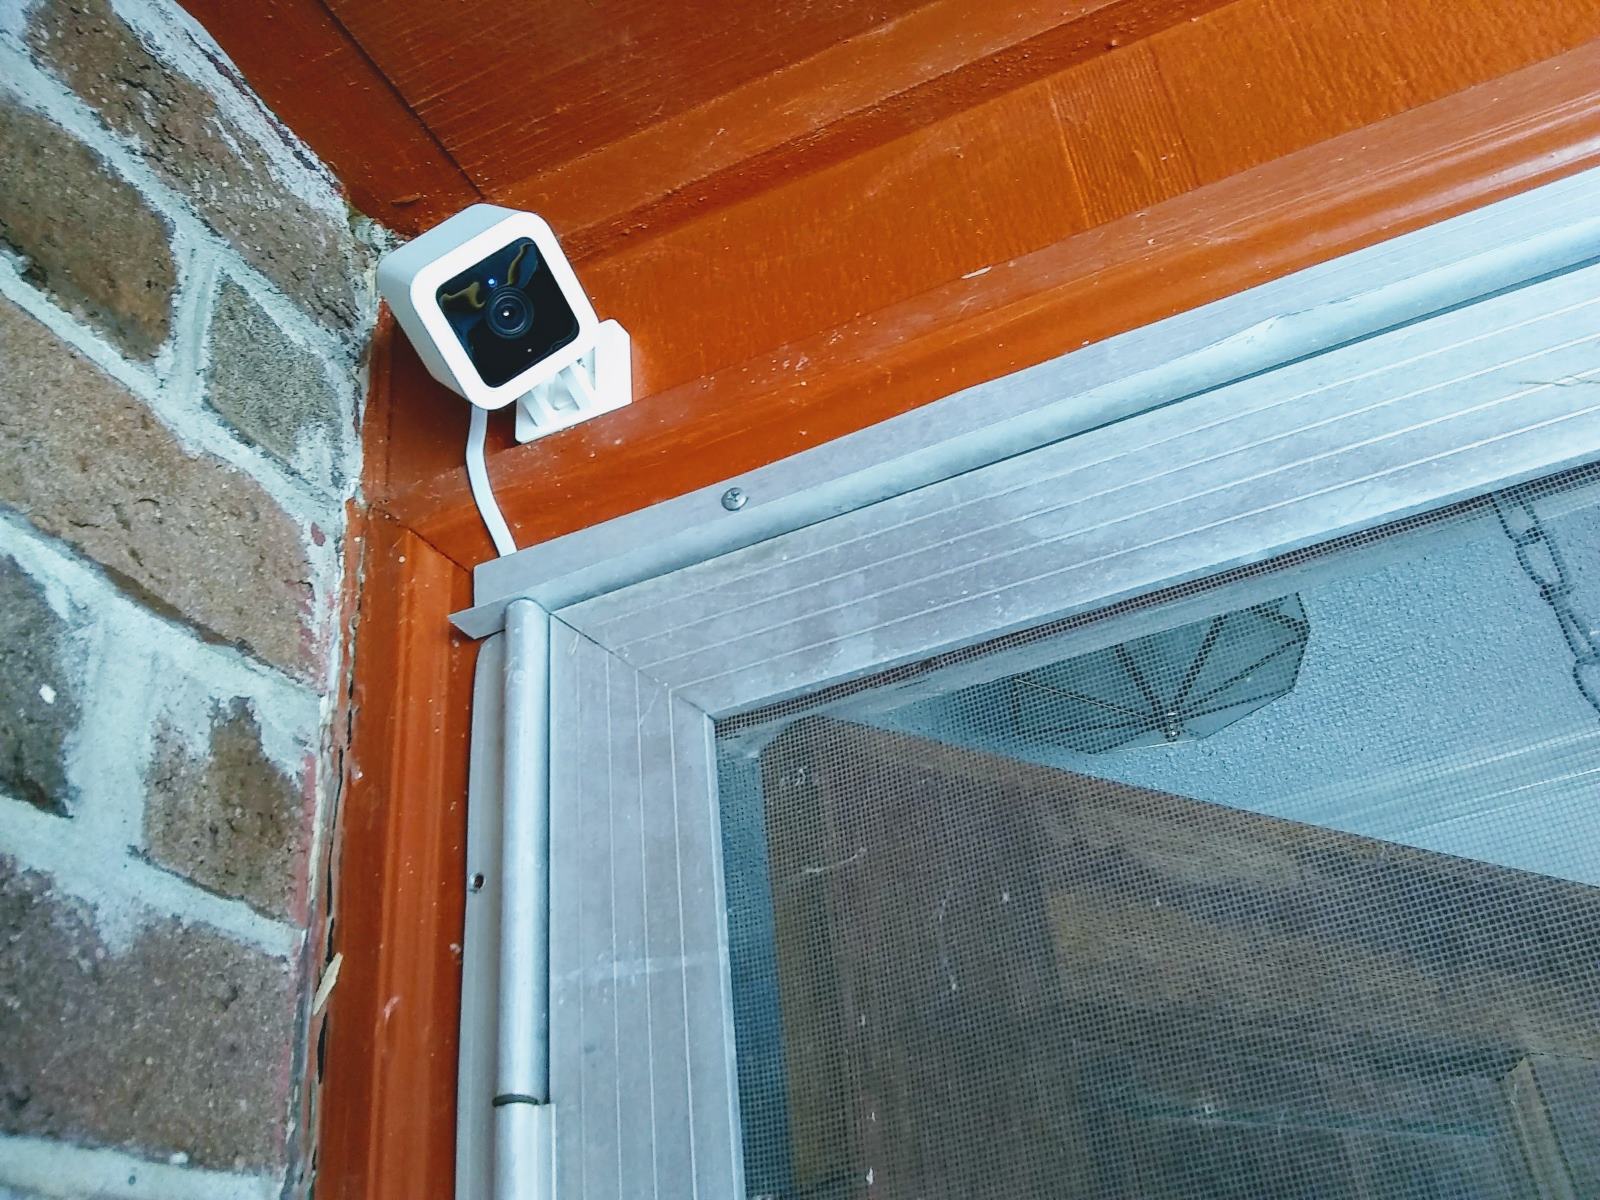
- Points of Entry: Identify the main entry points to your property, such as doors and windows, that are most susceptible to break-ins or intrusions. Installing cameras near these points will help capture any suspicious activity.
- Exterior Perimeter: Assess the exterior perimeter of your property and identify areas that require monitoring, such as the backyard, garage, or driveway. Strategic camera placement along the exterior perimeter can help deter and capture potential threats.
- High-Risk Areas: Identify any high-risk areas on your property, such as secluded corners, blind spots, or areas with valuable assets. These areas should be prioritized for camera installation to ensure maximum security coverage.
- Common Areas: Consider installing cameras in common areas, both indoors and outdoors, such as the living room, kitchen, or patio. This helps keep an eye on daily activities and ensures a comprehensive surveillance system.
- Line of Sight: Ensure that the cameras are placed in locations where they have a clear line of sight without any obstructions. Avoid placing cameras behind trees, shrubs, or any other objects that may limit their field of view.
- Height and Angle: Position the cameras at an optimal height and angle for the best view and coverage. Placing cameras too high or too low can compromise their effectiveness. Aim for a height that allows the camera to capture facial features and other identifying details.
- Weather Protection: Consider the exposure of the camera to weather elements such as rain, snow, or extreme heat. Choose cameras that are weatherproof and install them in locations that provide adequate protection.
- Accessibility: Ensure that the cameras are easily accessible for maintenance and adjustments. Avoid installing them in hard-to-reach areas that may make it difficult to service or clean the cameras.
By carefully considering these factors, you can determine the optimal locations for your security cameras that provide comprehensive coverage and enhanced security. Once you have identified the camera locations, the next step is selecting the appropriate cables for your system. Let’s explore the different types of cables available and their pros and cons.
Choosing the Right Cables
When it comes to running cables for security cameras, choosing the right type of cable is critical to ensure efficient and reliable data transmission. There are different types of cables available for security camera installations, each with its own advantages and considerations. Here are the most commonly used cables:
- Coaxial Cables: Coaxial cables, such as RG59 or RG6, are often used for analog camera systems. They are durable and can transmit both power and video signals over long distances without significant signal loss. Coaxial cables are compatible with BNC connectors, which provide a secure connection between the camera and the recording device.
- Ethernet Cables: Ethernet cables, such as Cat5e or Cat6, are popular for IP camera systems. These cables are capable of transmitting power and data using Power over Ethernet (PoE) technology. PoE allows the camera to receive power directly from the Ethernet cable, eliminating the need for additional power cables. Ethernet cables use RJ45 connectors for secure connections.
- Combination Cables: Combination cables, also known as Siamese cables, are a combination of coaxial and power cables. They simplify the installation process by providing both power and video transmission within a single cable. Siamese cables are commonly used in analog camera systems.
- Fiber Optic Cables: Fiber optic cables are used for long-distance transmissions or in environments with electromagnetic interference. They offer high-speed data transmission, excellent signal quality, and immunity to electrical interference. However, fiber optic cables are more expensive and require specialized equipment for termination.
When choosing the right cables for your security camera system, consider factors such as the type of cameras you are using, the distance between the cameras and the recording device, and any environmental factors that may affect signal quality.
It is also essential to ensure that the cables meet the necessary industry standards, such as UL (Underwriters Laboratories) certifications for fire resistance and CMR (Communications Riser) or CMP (Communications Plenum) ratings for installation in riser or plenum spaces. These certifications ensure the cables’ safety and compliance with building codes.
Proper cable selection is crucial to avoid signal degradation and ensure a reliable and high-quality surveillance system. Now that you have an understanding of the cables available, let’s move on to the tools and equipment you will need for the cable running process.
Tools and Equipment Needed
Running cables for security cameras requires a set of tools and equipment to ensure a smooth and efficient installation process. Here are the essential tools you will need:
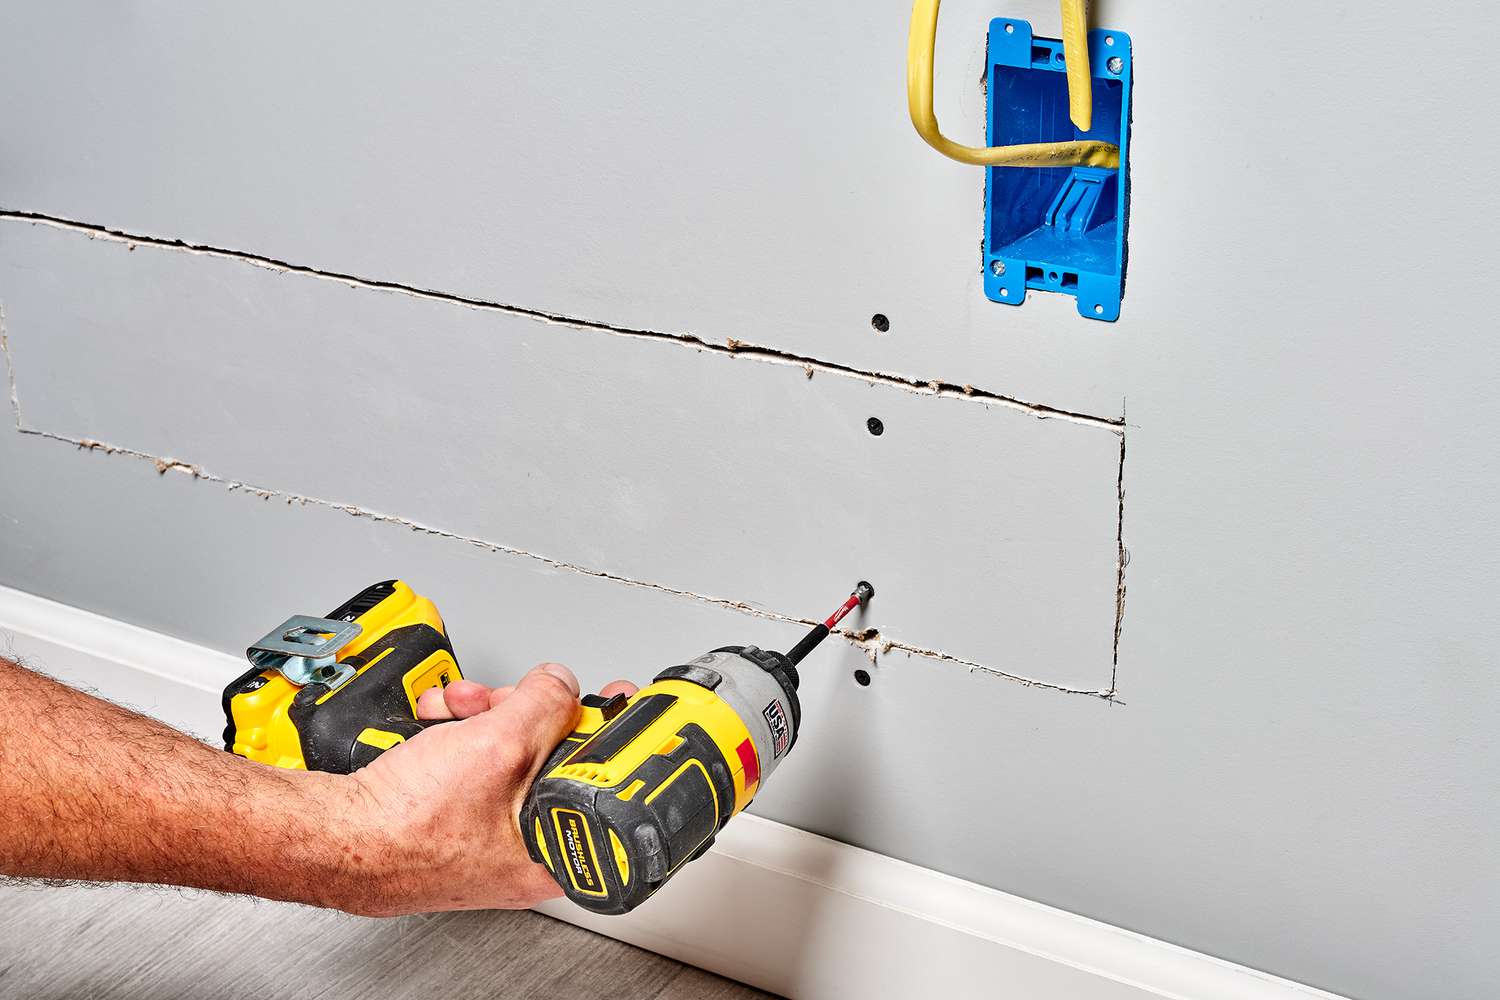
- Drill and Drill Bits: A power drill is necessary for creating holes to route the cables through walls, ceilings, or other surfaces. Make sure to have various drill bits on hand to accommodate different materials and sizes.
- Fish Tape or Rods: Fish tape or rods are used to guide the cables through tight spaces, conduit, or attics. This tool helps prevent damage to the cable and makes it easier to navigate around obstacles.
- Pliers: Pliers are versatile tools that come in handy for various tasks, such as stripping insulation from cables, crimping connectors, or tightening nuts and bolts.
- Cable Tester: A cable tester is essential for verifying the integrity and functionality of the cables before and after installation. It helps identify any wiring faults or connectivity issues, ensuring a successful installation.
- Cable Crimper: A cable crimper is used to terminate connectors onto the cables securely. It provides a professional and sturdy connection, ensuring reliable data transmission.
- Labeling Tools: Labeling tools, such as cable tags or markers, are helpful for organizing and identifying the different cables. Proper labeling simplifies future maintenance or troubleshooting and saves time and effort.
- Cable Ties and Mounting Hardware: Cable ties and mounting hardware, such as clips or brackets, are used to secure and organize the cables along their routes. They help prevent cable sagging, maintain a neat appearance, and protect the cables from accidental damage.
- Fishing Poles and Hooks: If you need to pass cables through high ceilings or walls, fishing poles and hooks can be useful for reaching and maneuvering the cables through these areas.
- Ladder or Step Stool: Depending on the height of your installation, you may need a ladder or step stool to reach higher areas for cable routing or camera placement. Ensure you have a stable and secure platform to work from.
Having these tools and equipment readily available will make the cable running process much more efficient and help ensure a successful installation. Now that we have covered the necessary tools, let’s move on to planning the cable routes to ensure a well-organized and effective installation.
Read more: How To Run Electrical Wire On Concrete Wall
Planning the Cable Routes
Planning the cable routes is a crucial step in the installation process to ensure efficient and organized cable management. This involves determining the paths the cables will take from the cameras to the recording device. Here are some key considerations for planning the cable routes:
- Camera to Recording Device: Start by identifying the location of the cameras and the recording device. Determine the shortest and most direct path for the cables to connect the cameras to the recording device.
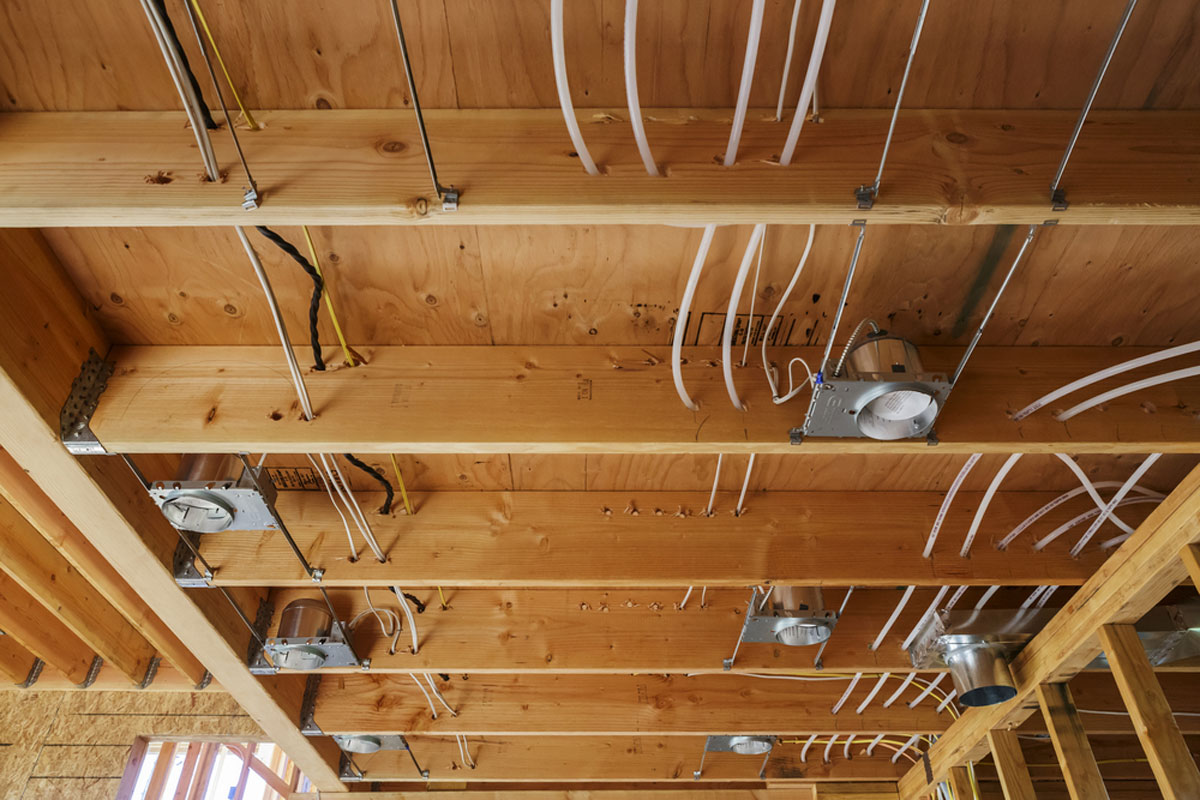
- Interior vs. Exterior: Different cable routing methods may be required for running cables indoors or outdoors. Consider whether the cables will run through walls, ceilings, floors, or external surfaces, and plan the appropriate routing method for each scenario.
- Wireless Options: If running cables is not feasible for certain areas, consider using wireless options such as Wi-Fi or wireless transmitters for video transmission. However, keep in mind that wireless signals can be subject to interference and may not provide the same level of reliability as wired connections.
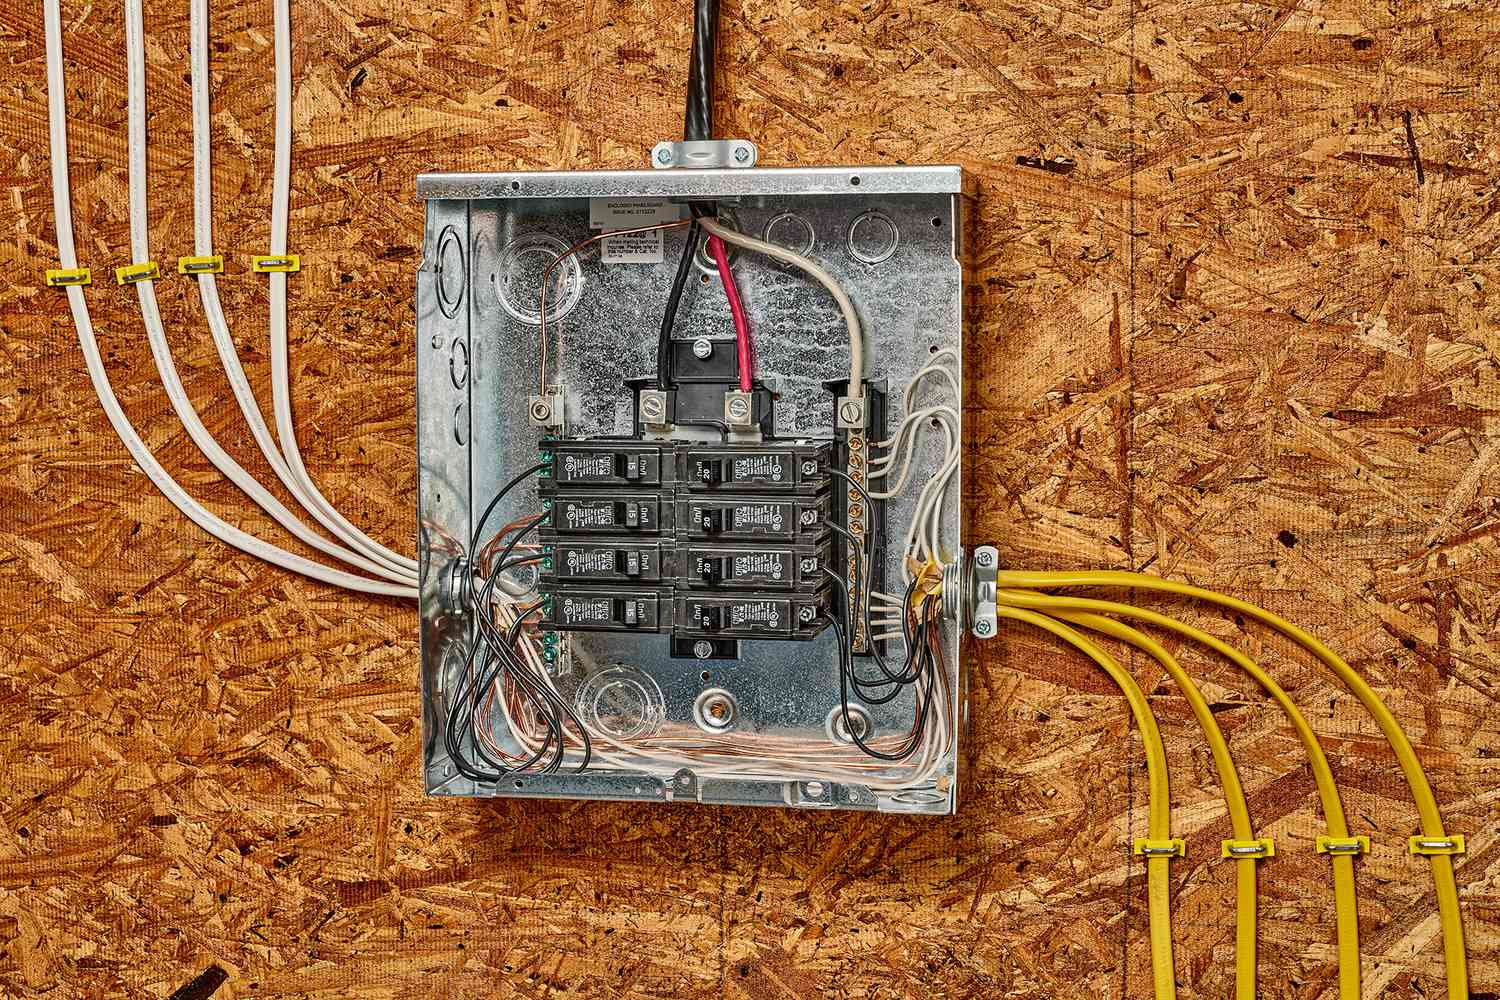
- Avoiding Interference: Keep in mind that certain electrical devices or sources of interference, such as fluorescent lights, motors, or electrical panels, can affect the quality of the video signal. Plan cable routes to avoid these potential sources of interference as much as possible.
- Cable Length: Ensure that the cables you choose are long enough to reach from the cameras to the recording device. Consider adding some extra length to accommodate any unexpected obstacles or changes in the installation plan.
- Cable Concealment: If aesthetics are a concern, plan for cable concealment options, such as running cables through walls or using cable raceways, to achieve a clean and professional-looking installation. This helps minimize the visibility of cables and reduces the risk of accidental damage.
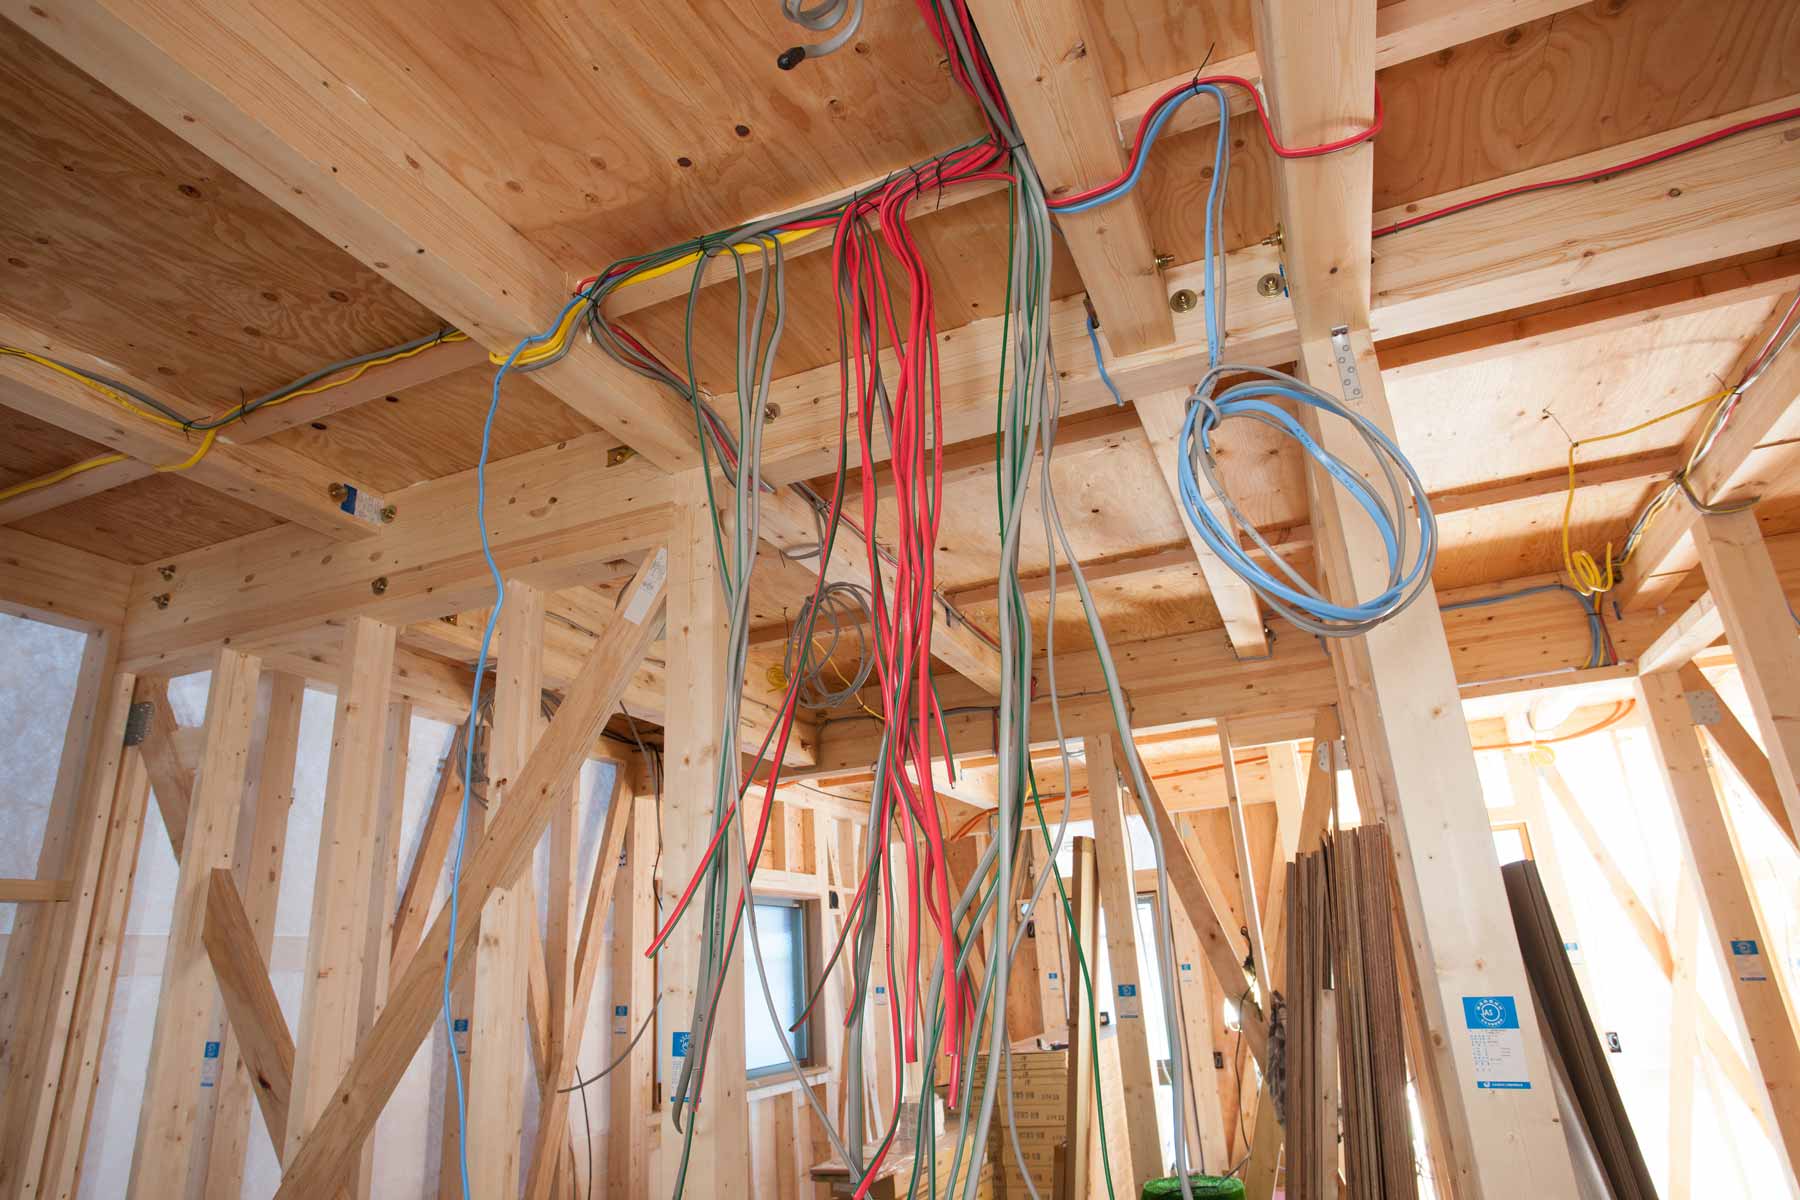
- Multiple Cameras: If you have multiple cameras to install, plan the cable routes to minimize cable clutter and avoid potential tangling or confusion. Consider grouping cameras with common cable paths to simplify the installation process.
Taking the time to plan the cable routes ensures a well-organized and efficient installation. It helps reduce cable mess, simplifies future maintenance or upgrades, and facilitates troubleshooting if needed. With the cable routes planned, it’s time to dive into the specifics of running cables both indoors and outdoors. Stay tuned!
When running cables for security cameras, make sure to use weatherproof and UV resistant cables to protect them from the elements and ensure long-term durability.
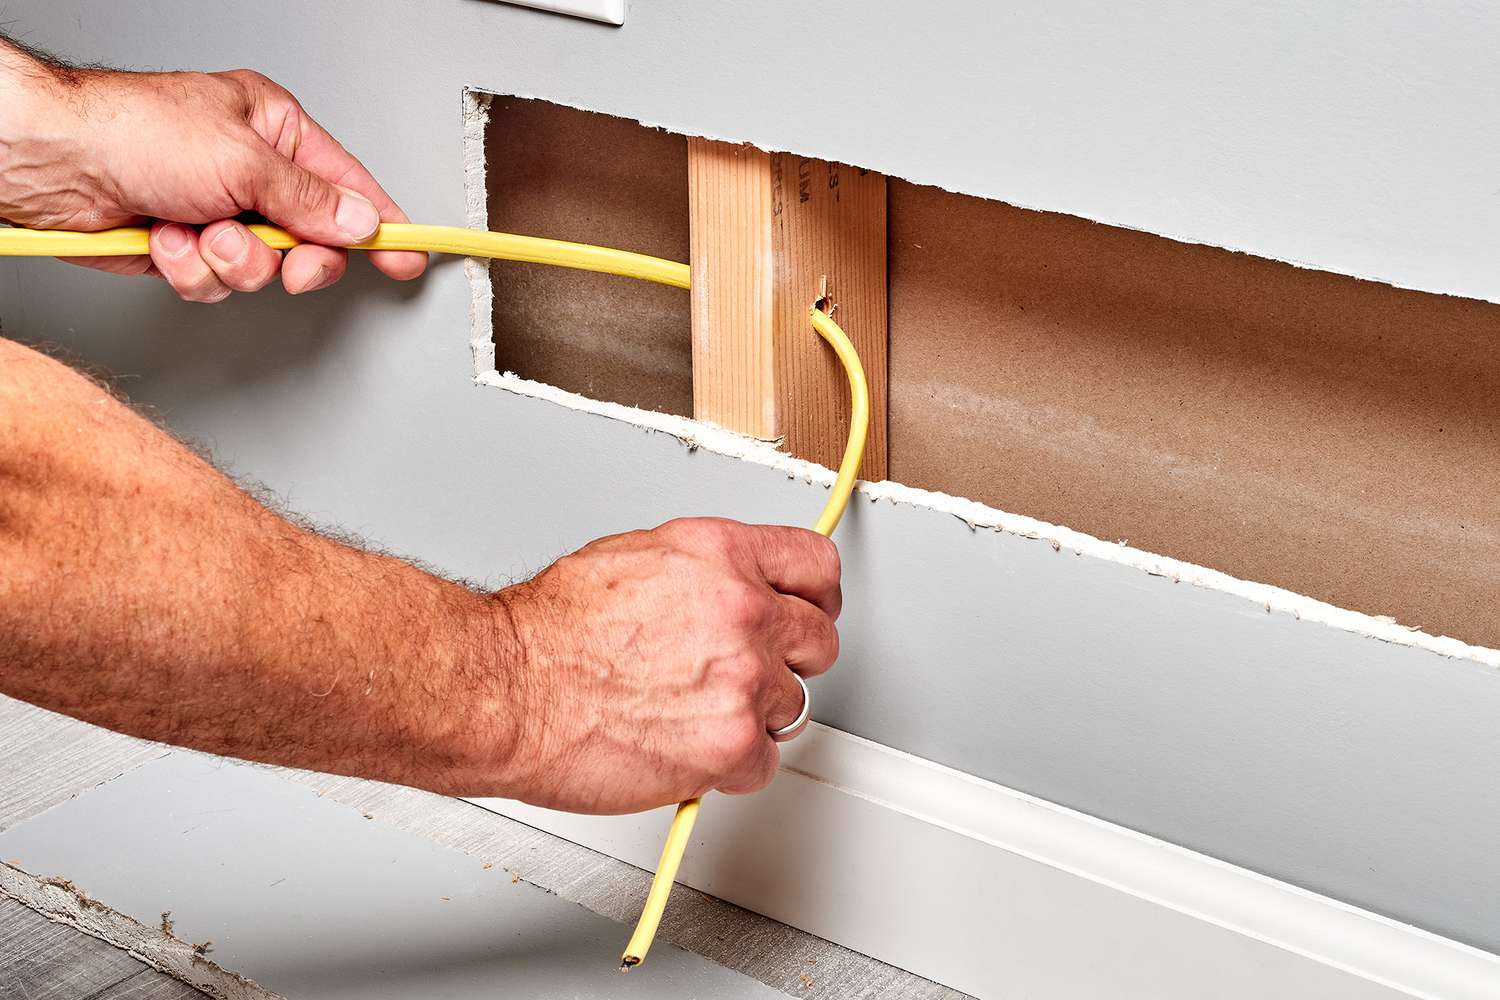
Running Cables Indoors
Running cables indoors for your security camera system requires careful consideration and planning to ensure a clean and professional installation. Here are the steps to follow when running cables indoors:
1. Plan the Route: Begin by planning the route the cables will take from the cameras to the recording device. Consider the shortest and most direct path, taking into account obstacles such as walls, floors, and furniture.
2.
3.
4.
5.
6.
7.
8.
9.
10.
Remember to follow all safety precautions when running cables indoors, such as turning off the power and using appropriate safety gear when drilling into walls or ceilings. Taking the time to run the cables properly indoors will result in a tidy and professional installation. With the indoor cables in place, let’s move on to running cables outdoors next.
Running Cables Outdoors
Running cables outdoors for your security camera system requires careful planning and consideration to ensure durability and protection from environmental elements. Here are the steps to follow when running cables outdoors:
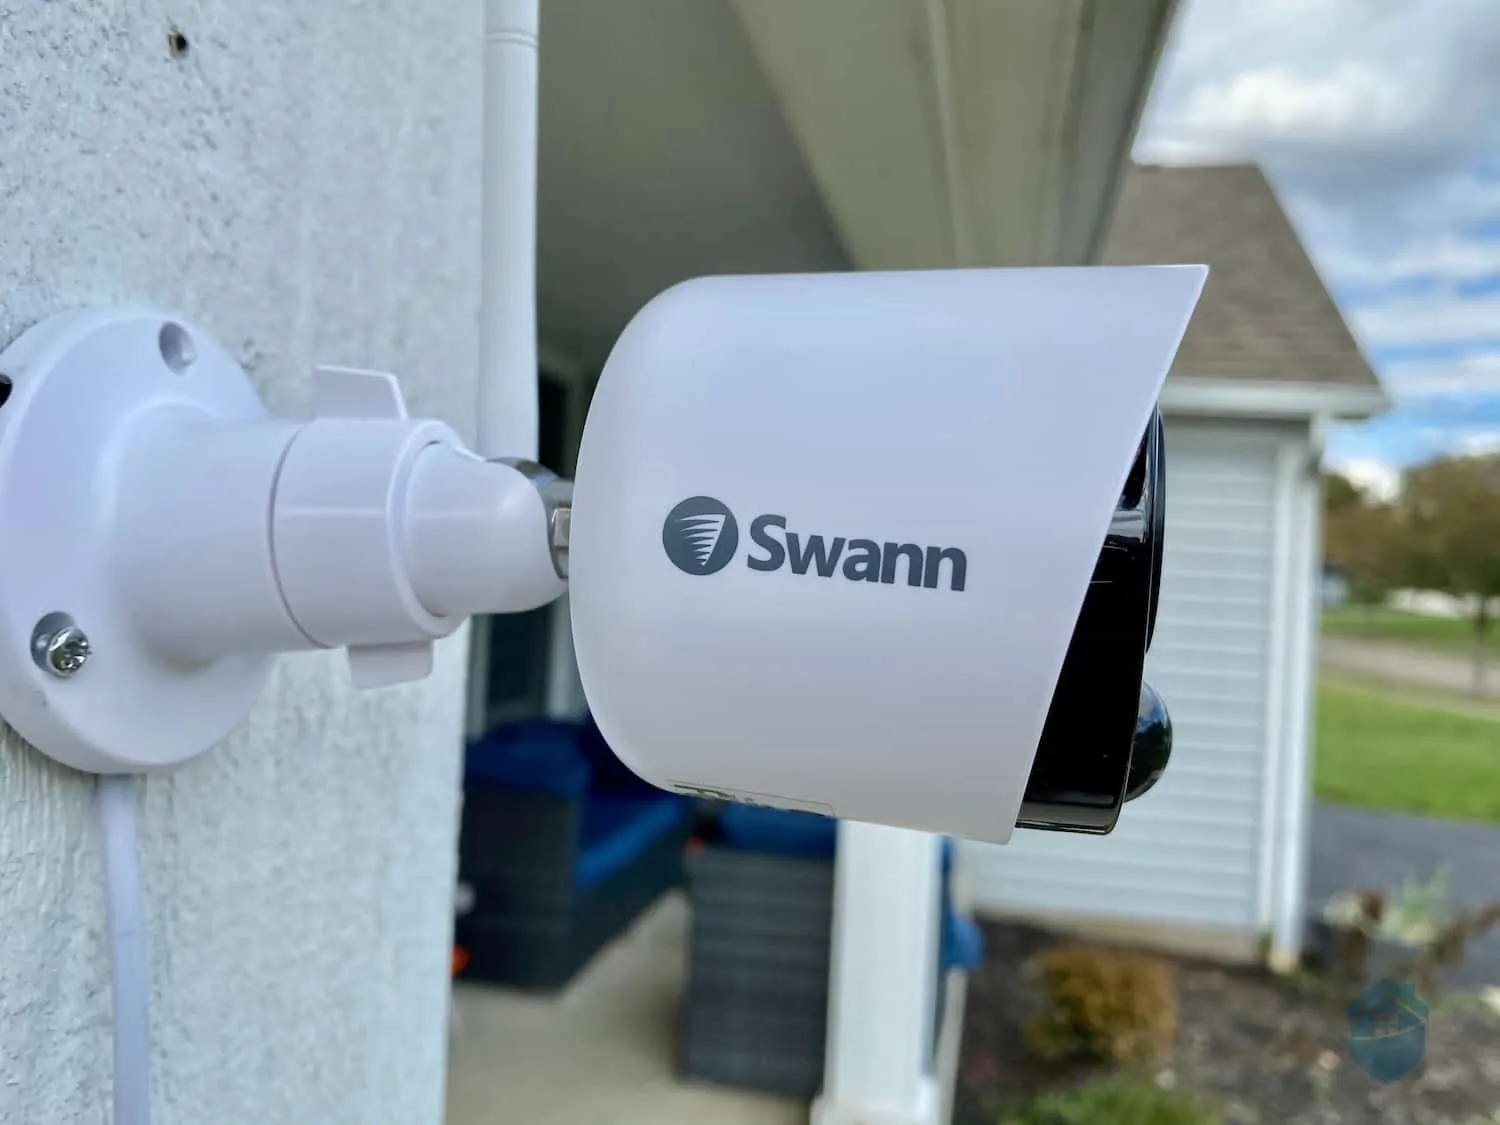
1. Choose Weatherproof Cables: Opt for cables specifically designed for outdoor use. These cables have additional protection against moisture, UV rays, and extreme temperatures. Look for cables with a durable outer jacket, such as UV-resistant and weatherproof coatings.
2.
3.
4.
5.
6.
7.
8.
9.
10.
Remember to adhere to local building codes and regulations when running cables outdoors. If you are unsure about any aspect of the installation, it may be best to consult a professional to ensure a safe and reliable installation. With the cables now in place indoors and outdoors, we can move on to concealing and protecting them for a clean and professional finish.
Concealing and Protecting Cables
Concealing and protecting cables is an important step in the security camera installation process. Proper cable management not only enhances the aesthetics of your property but also helps protect the cables from accidental damage and wear. Here are some tips for concealing and protecting your security camera cables:
1.
2.
3.
4.
5.
6.
7.
8.
9.
Remember, safety should always be a top priority when concealing and protecting cables. Be cautious when working with electrical wires and consult a professional if you are unsure about any aspect of the installation process.
With the cables properly concealed and protected, the next step is to terminate the cables and ensure secure connections. Read on to learn more about terminating the cables for your security camera system.
Terminating the Cables
Terminating the cables is a crucial step in the security camera installation process. Proper termination ensures secure connections and reliable data transmission between the cameras and the recording device. Here’s how to terminate your security camera cables:
1.
2.
3.
4.
5.
6.
7.
8.
9.
10.
By following these steps, you can ensure proper termination of your security camera cables, creating reliable connections and optimal data transmission. Once the cables are terminated, it’s important to conduct thorough testing and troubleshooting to ensure everything is functioning as expected.
Testing and Troubleshooting
Testing and troubleshooting are essential steps in the security camera installation process to ensure that your system is functioning correctly and capturing clear and reliable video footage. Here’s how to test and troubleshoot your security camera system:
1.
2.
3.
4.
5.
6.
7.
8.
9.
Regular testing and maintenance are key to ensuring that your security camera system remains in optimal working condition. Conduct periodic checks to identify any issues early on and address them promptly to maintain the effectiveness of your surveillance system.
With the testing and troubleshooting process complete, you can have peace of mind knowing that your security camera system is capturing reliable video footage. Taking the time to test and troubleshoot ensures that any potential issues are resolved, allowing you to fully enjoy the benefits of a secure and protected property.
Final Thoughts and Tips
Congratulations on successfully running cables for your security camera system! With the installation complete, here are some final thoughts and tips to ensure optimal performance and continued satisfaction:
1. Regular Maintenance: Keep up with regular maintenance tasks such as cleaning camera lenses and checking cables for wear or damage. This helps maintain the effectiveness of your security camera system and ensures clear and reliable video footage.
2. Upgrade to High-Resolution Cameras: If you’re looking to enhance the quality of your video footage, consider upgrading to high-resolution cameras. Higher resolution cameras capture more details and provide better image quality, allowing for better identification and video evidence.
3. Set up Motion Detection: Enable motion detection on your security camera system to minimize storage space usage. This feature triggers recordings only when motion is detected, preserving storage capacity and making it easier to review specific events.
4. Secure Your Cameras: Ensure that your cameras are securely mounted and protected from vandalism or tampering. Consider using camera housings or installing them in areas that are less accessible to intruders.
5. Regularly Review and Archive Footage: Dedicate time to review your security camera footage regularly. This not only allows you to monitor any suspicious activity but also ensures that your system is functioning properly and that all cameras are providing desired coverage.
6. Keep Software and Firmware Updated: Stay up-to-date with the latest software and firmware updates for your cameras and recording device. Updates often contain bug fixes, security patches, and new features that can improve the performance and functionality of your system.
7. Ensure Proper Lighting: Consider adding adequate lighting to your property to improve the quality of your video footage. Well-lit areas help capture clearer images, especially during nighttime or low-light conditions.
8. Inform Others About Surveillance: If you have security cameras installed in visible locations, it’s a good practice to inform others about their presence. Display signage indicating that the property is under surveillance. This can act as a deterrent to potential intruders and also alerts visitors to the presence of cameras.
9. Regularly Backup Footage: Set up a regular backup system for storing your security camera footage. This can be done through cloud storage, external hard drives, or network-attached storage (NAS) systems. Regular backups ensure that you have access to the footage even if the recording device is damaged or stolen.
10. Seek Professional Assistance: If you are unsure about any aspect of the installation or encounter issues beyond your expertise, don’t hesitate to seek professional assistance. Professional installers have the knowledge and experience to ensure a secure and reliable system.
By following these final thoughts and tips, you can maximize the effectiveness and longevity of your security camera system. Remember, a well-planned and properly installed system provides peace of mind and enhances the security of your home or property.
Frequently Asked Questions about How To Run Cables For Security Cameras
Was this page helpful?
At Storables.com, we guarantee accurate and reliable information. Our content, validated by Expert Board Contributors, is crafted following stringent Editorial Policies. We're committed to providing you with well-researched, expert-backed insights for all your informational needs.