Home>Home Security and Surveillance>How To Set Up A Complete System Of Weatherproof Outdoor Cameras
Home Security and Surveillance
How To Set Up A Complete System Of Weatherproof Outdoor Cameras
Modified: August 17, 2024
Learn how to set up a comprehensive home security and surveillance system with weatherproof outdoor cameras. Protect your property and loved ones with these essential tips and techniques.
(Many of the links in this article redirect to a specific reviewed product. Your purchase of these products through affiliate links helps to generate commission for Storables.com, at no extra cost. Learn more)
Introduction
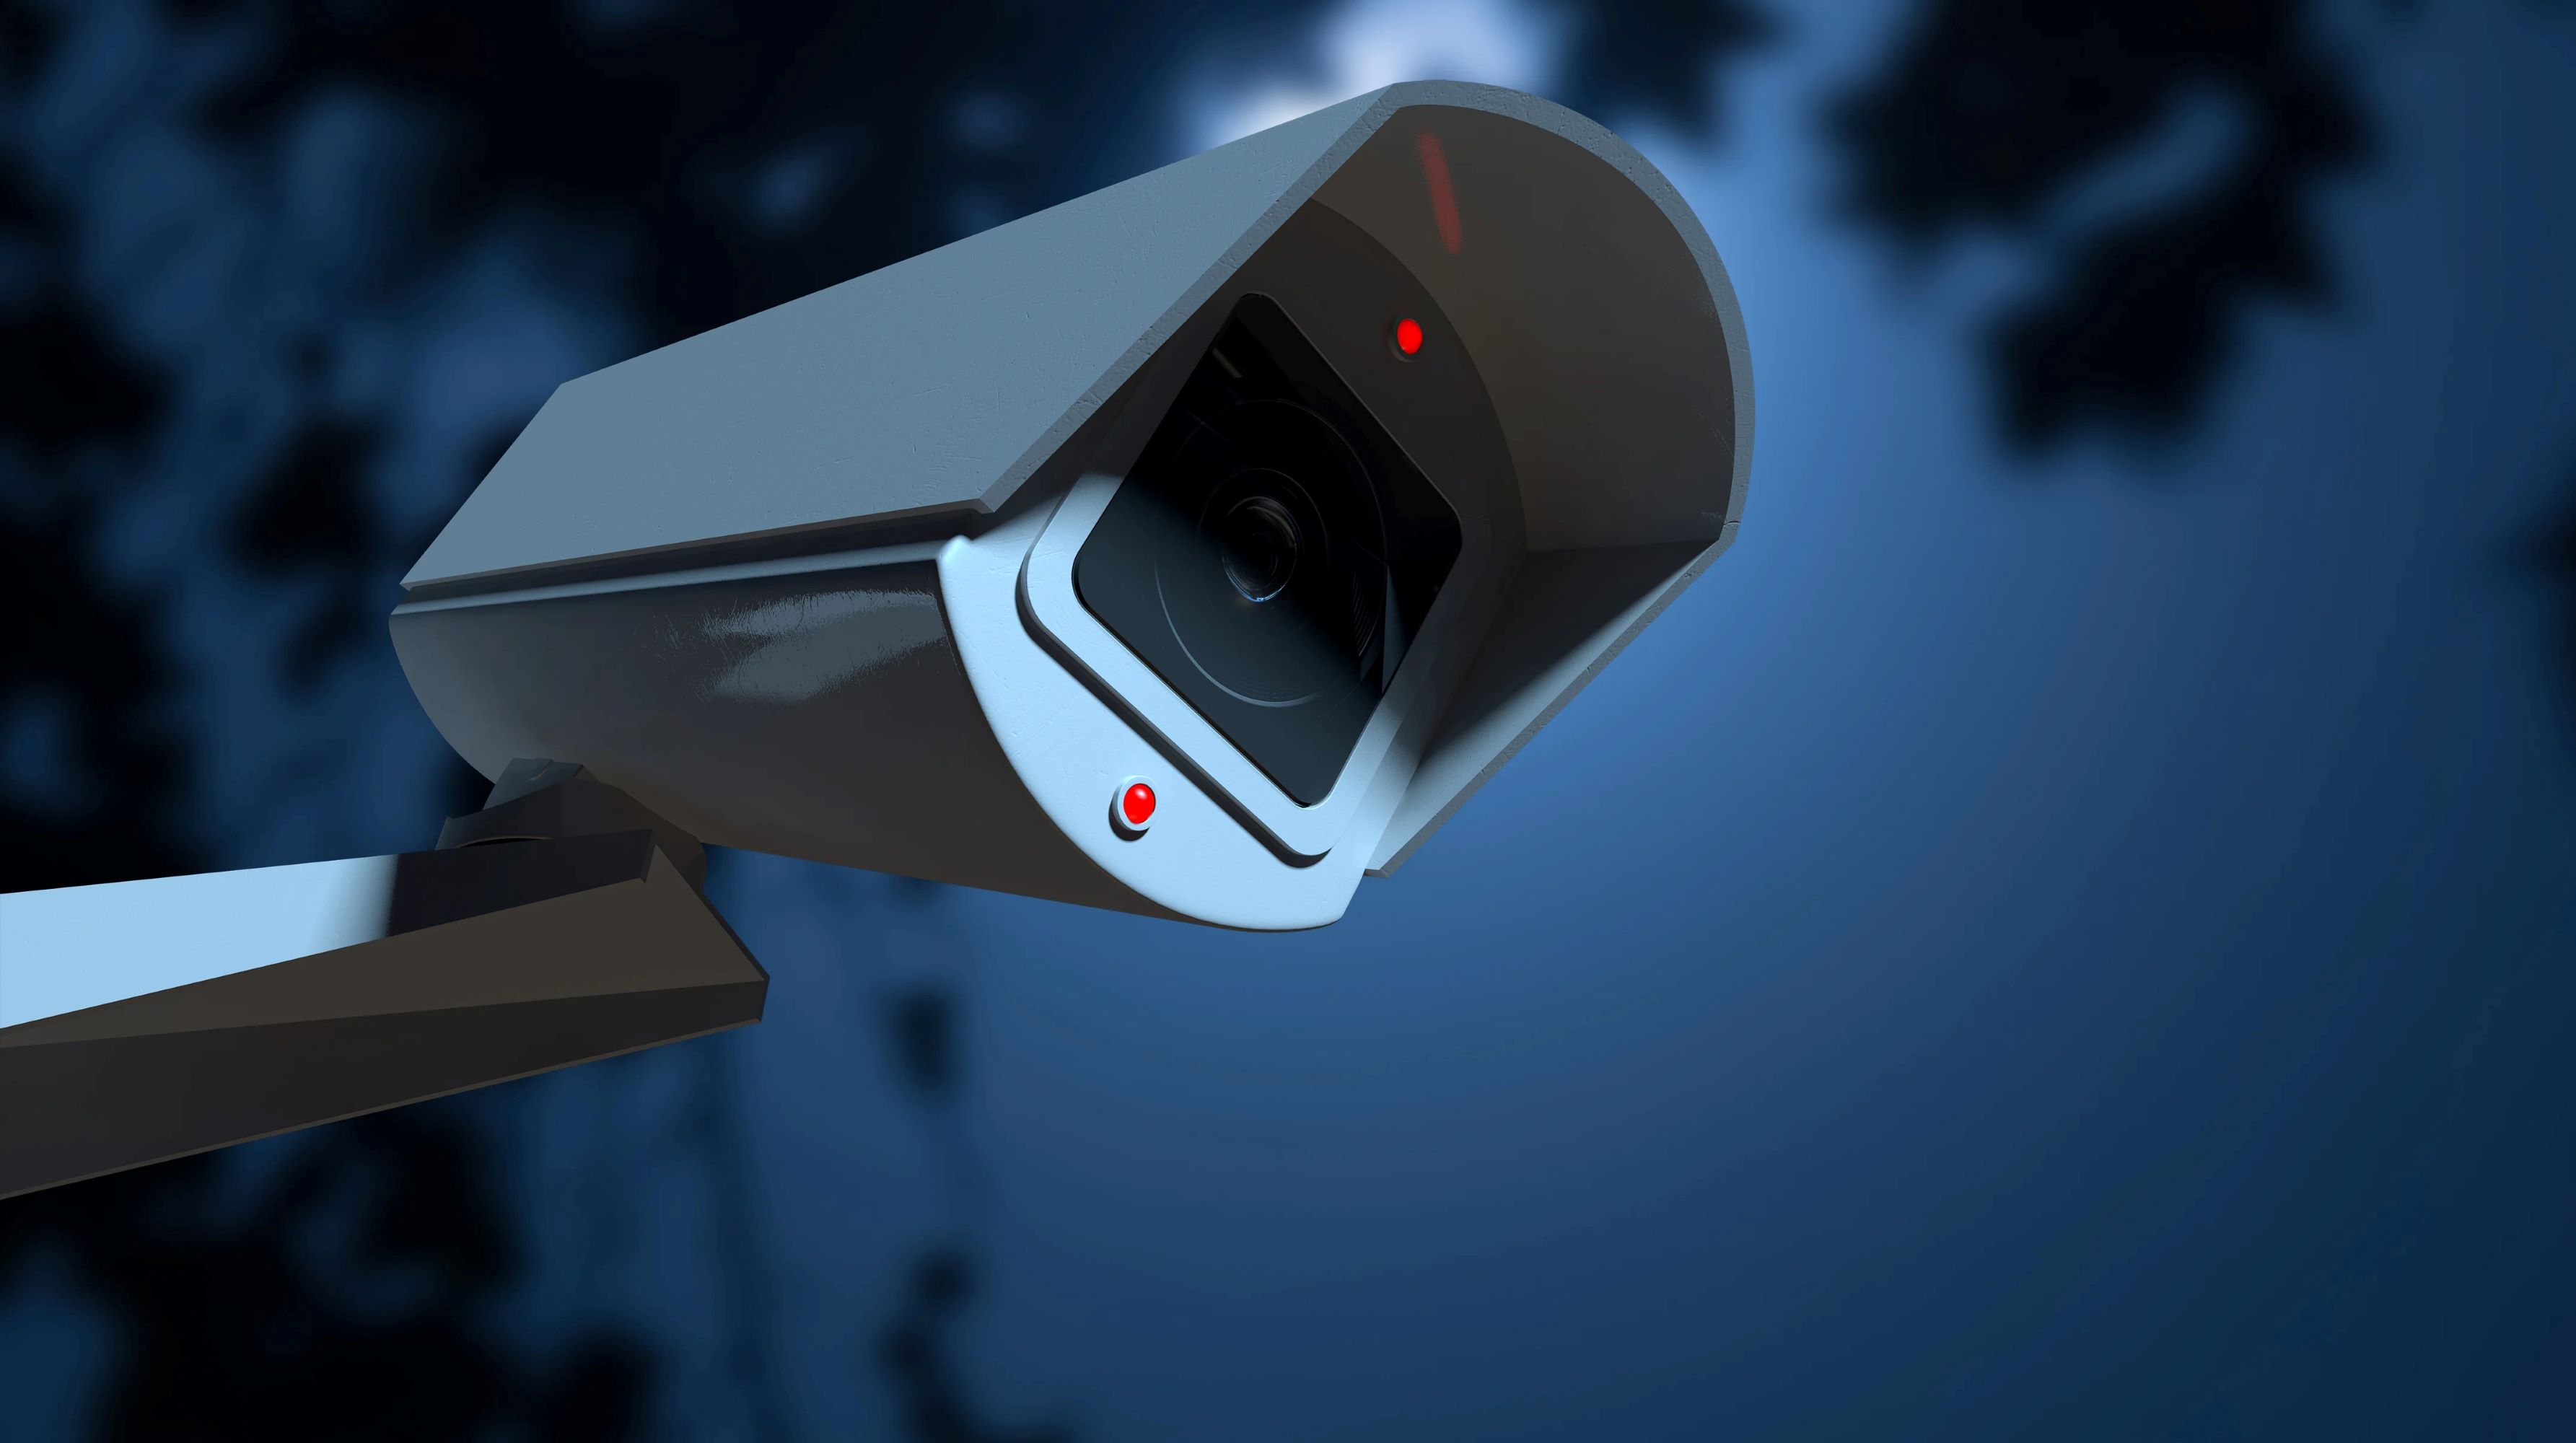
Welcome to the world of home security and surveillance! With advancements in technology, setting up a complete system of weatherproof outdoor cameras has become more accessible and affordable than ever before. Whether you want to keep an eye on your property, monitor your outdoor spaces, or enhance the security of your home, outdoor cameras are an essential part of any comprehensive security setup.
Outdoor cameras provide crucial surveillance and deterrence, ensuring that you have eyes on your property at all times. Whether it’s to monitor potential intruders, capture evidence of suspicious activity, or simply keep a watchful eye on loved ones and pets, these cameras offer peace of mind.
In this article, we will guide you through the process of setting up a complete system of weatherproof outdoor cameras. We will cover everything from determining your camera needs, choosing the right equipment, selecting suitable mounting locations, ensuring proper power supply and connectivity, to installing and setting up the cameras, configuring settings and features, setting up remote viewing and monitoring, and maintaining your outdoor camera system. So let’s dive in!
Key Takeaways:
- Choose outdoor cameras with high resolution, wide field of view, and weatherproof rating. Consider night vision, connectivity, and quality to meet your specific surveillance needs and ensure effective monitoring of your property.
- Regularly test and maintain your outdoor camera system, clean lenses, review footage, update firmware, and secure remote access. This proactive approach enhances security and provides peace of mind for your home.
Read more: How To Weatherproof The Outdoor Camera Power
Determine Your Camera Needs
The first step in setting up your complete system of weatherproof outdoor cameras is to determine your specific camera needs. This involves assessing your property, understanding your security goals, and identifying the areas you want to monitor.
Start by surveying your property and making a list of all the outdoor areas you want to cover. Common areas include the front and back doors, driveways, walkways, garages, and any other vulnerable points of entry. Consider any blind spots or areas with limited visibility that may need additional coverage.
Next, determine the primary objectives for installing outdoor cameras. Are you primarily concerned with preventing burglaries and intrusions? Or are you also interested in monitoring packages being delivered, keeping an eye on children playing in the yard, or observing wildlife activity?
Consider your budget and prioritize your camera needs accordingly. If you have a limited budget, focus on the areas that are most vulnerable or where you spend the most time. You can always add more cameras in the future as your budget allows.
Lastly, think about the specific features you require from your outdoor cameras. Do you want cameras with motion detection capabilities that will send alerts to your smartphone? Would you like cameras with night vision to capture clear footage even in low-light conditions? Are you interested in cameras with two-way audio to communicate with visitors remotely? Listing these desired features will help you narrow down your options when choosing the right outdoor cameras.
By taking the time to determine your specific camera needs, you can ensure that the outdoor camera system you set up will meet your expectations and provide the necessary security and surveillance for your property.
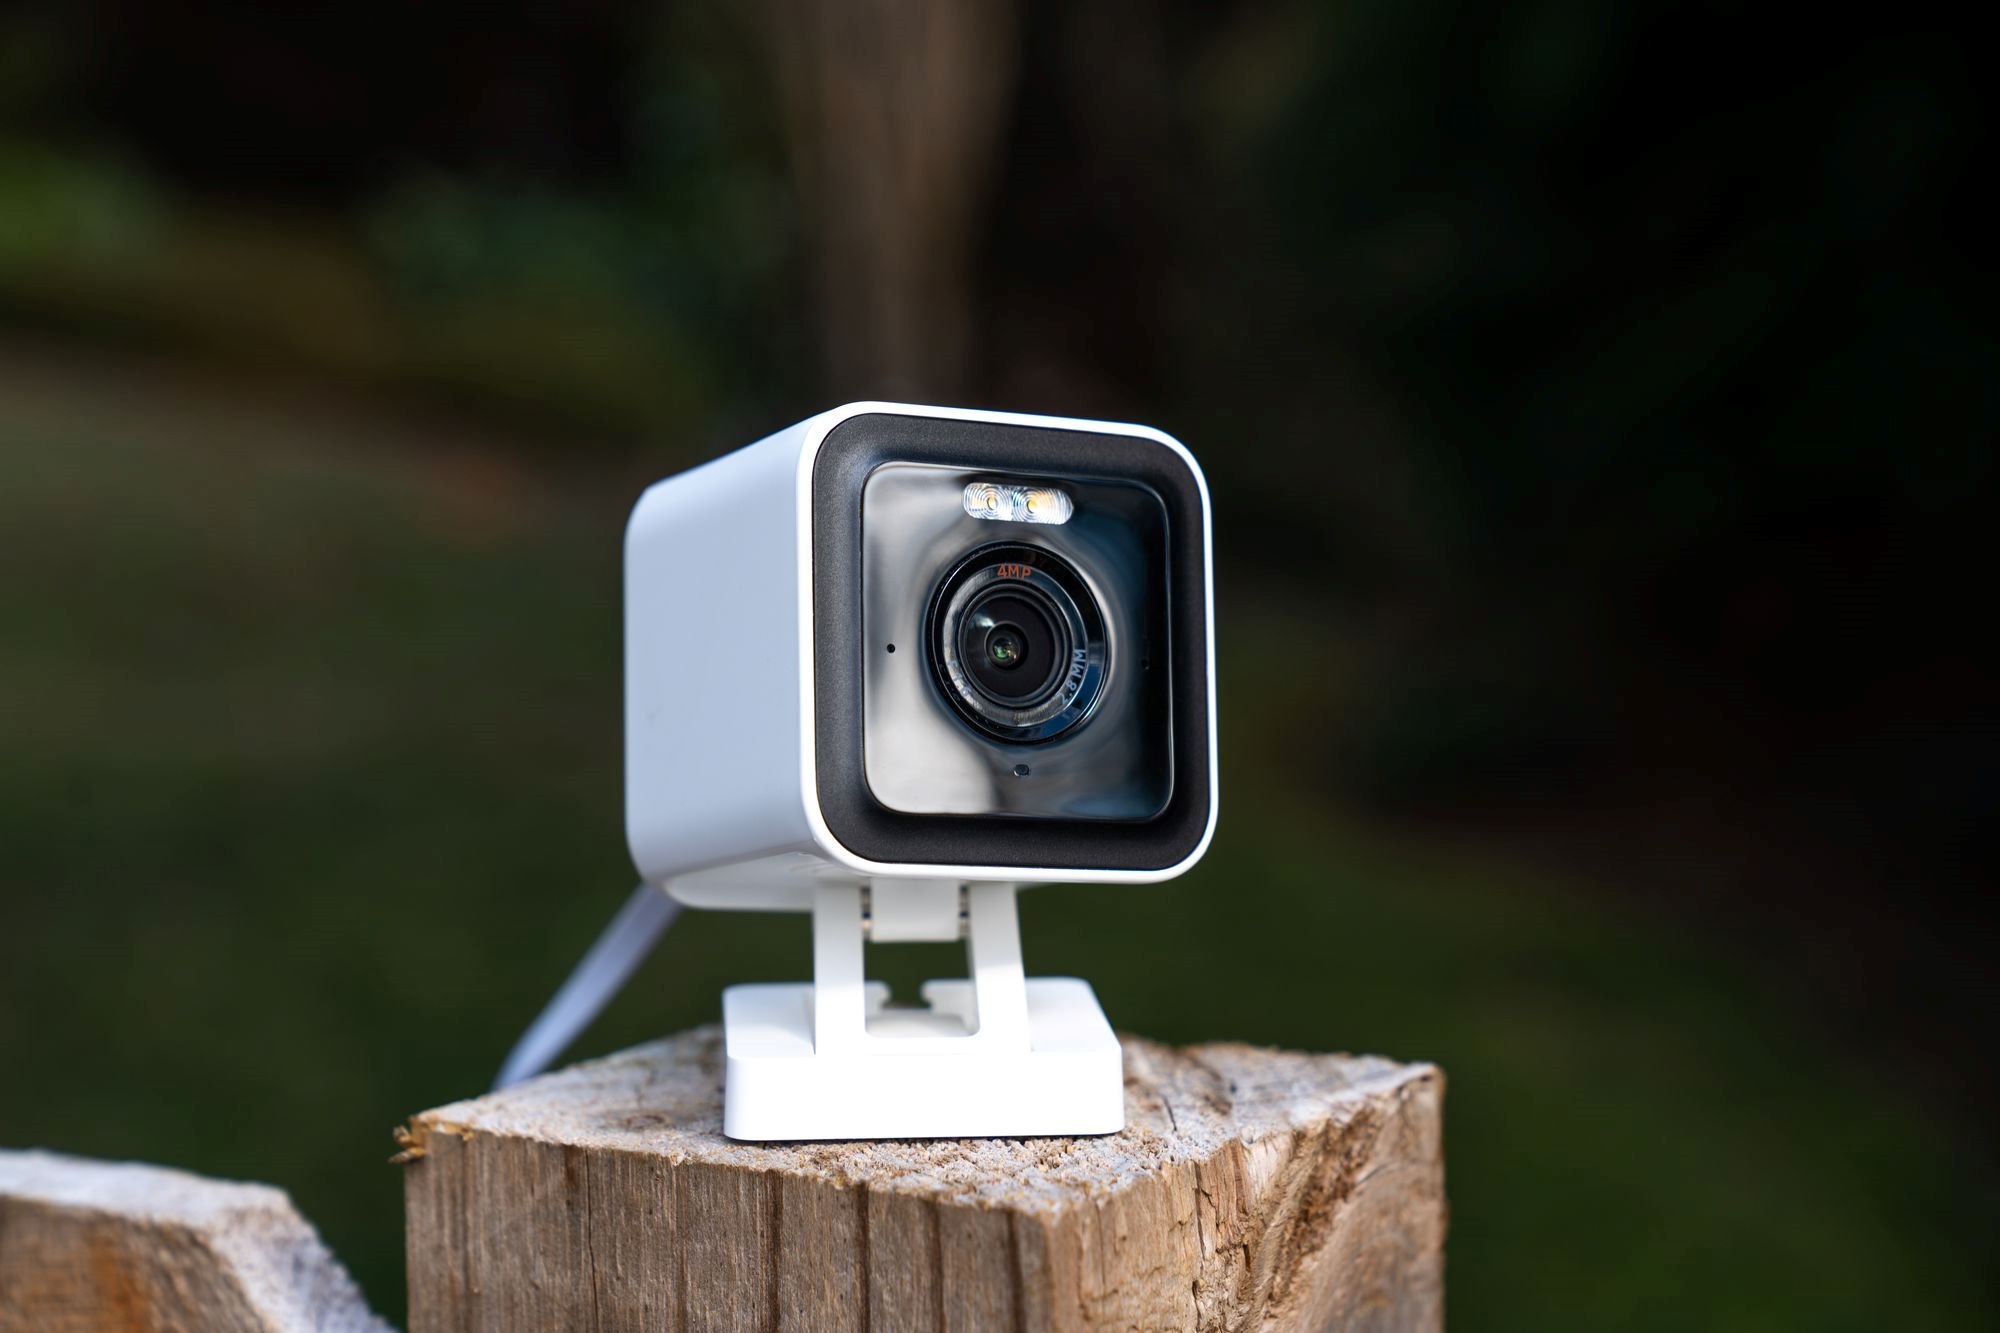
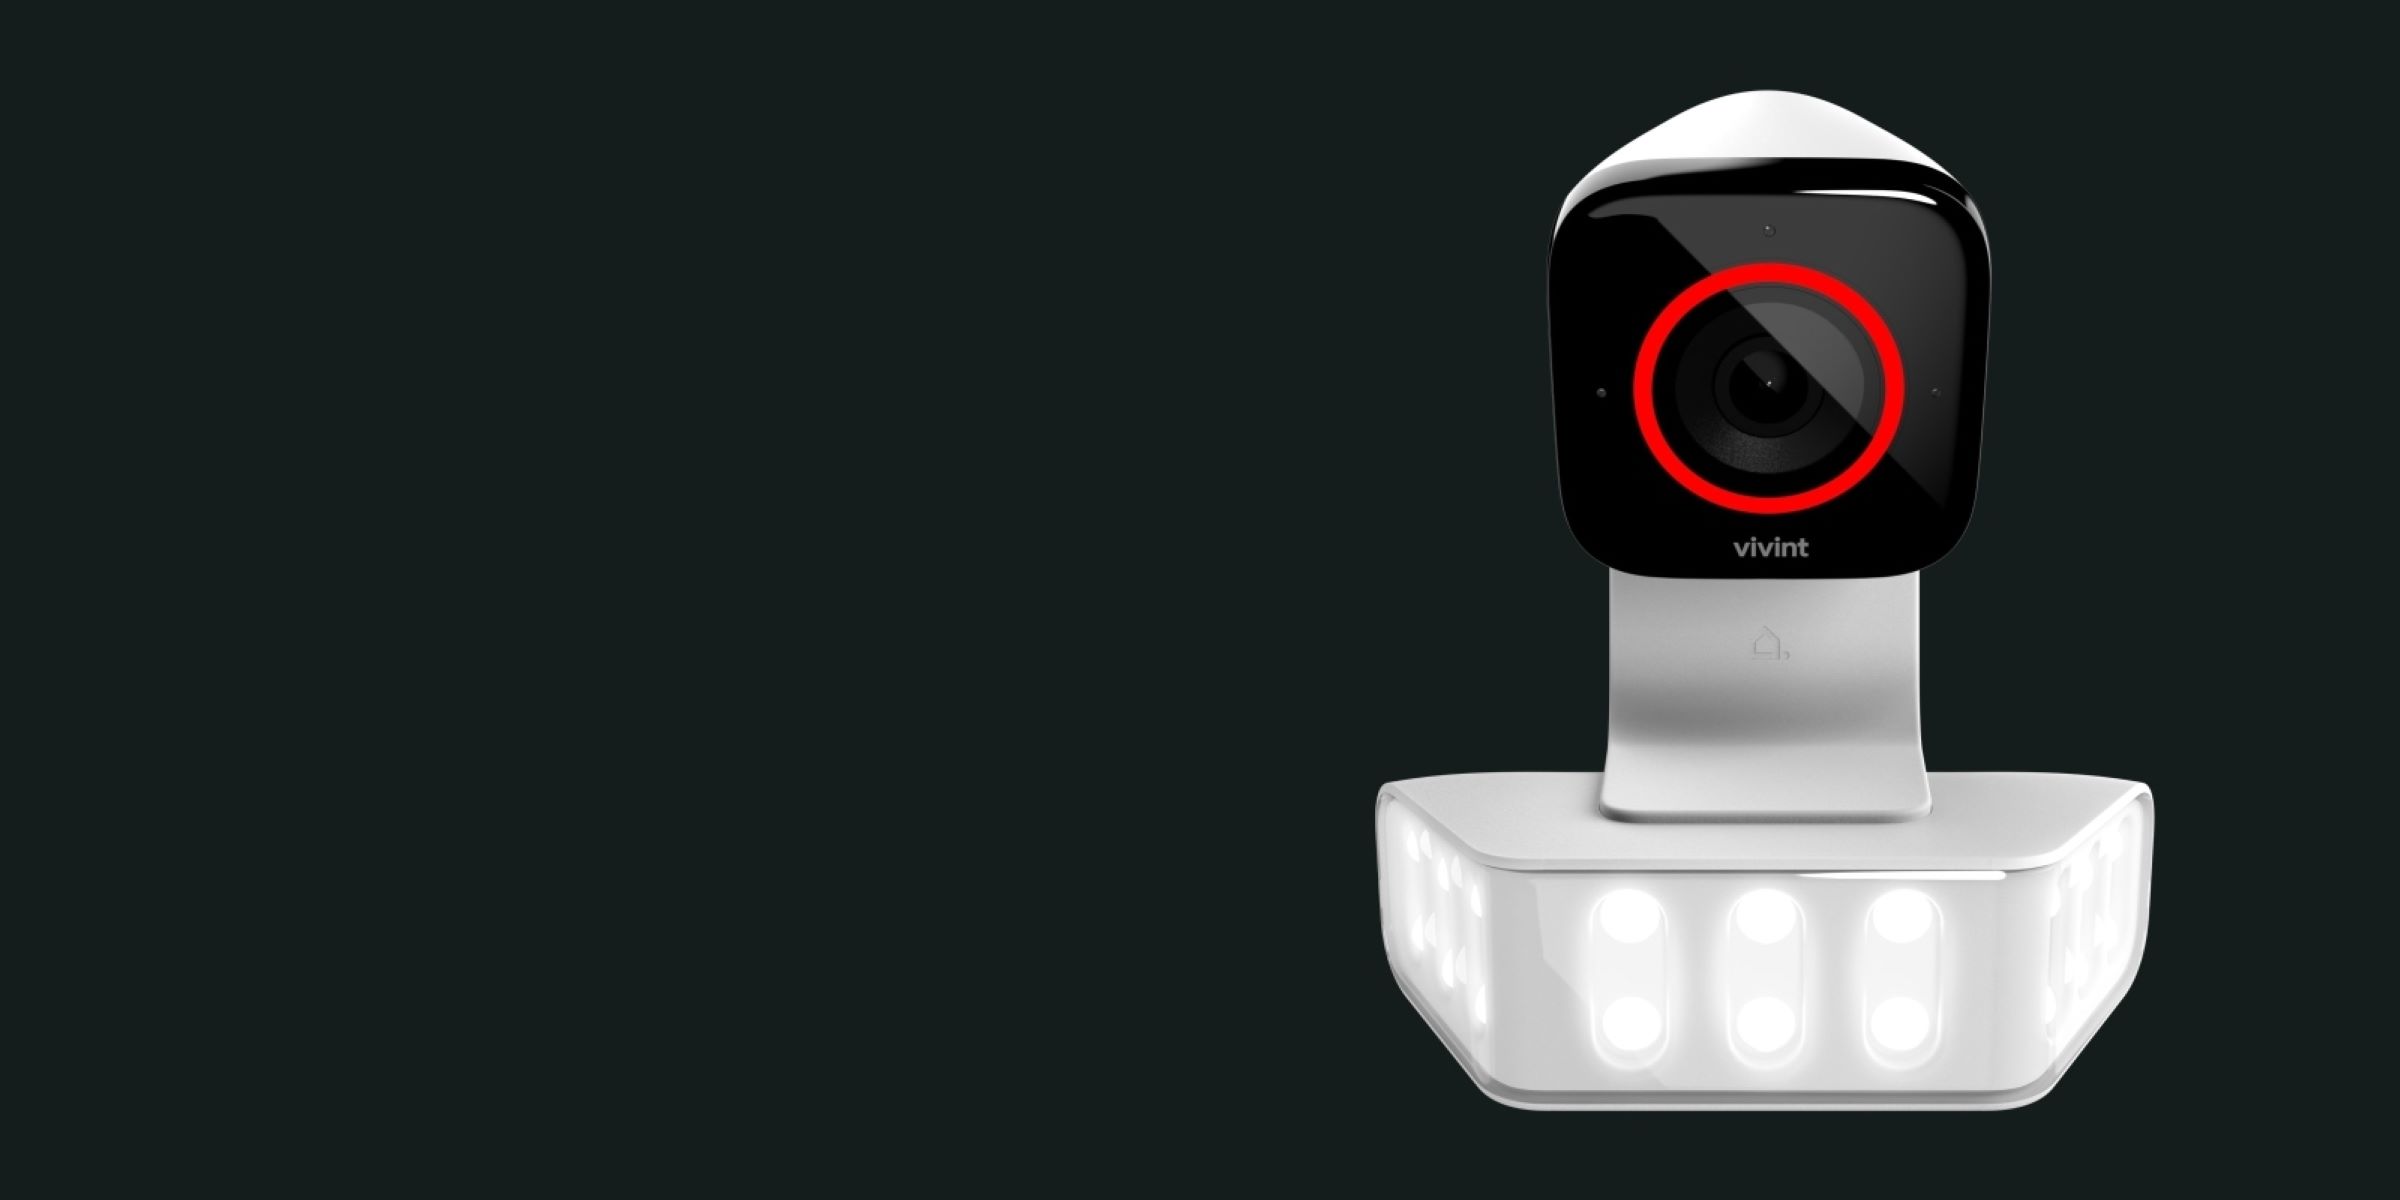
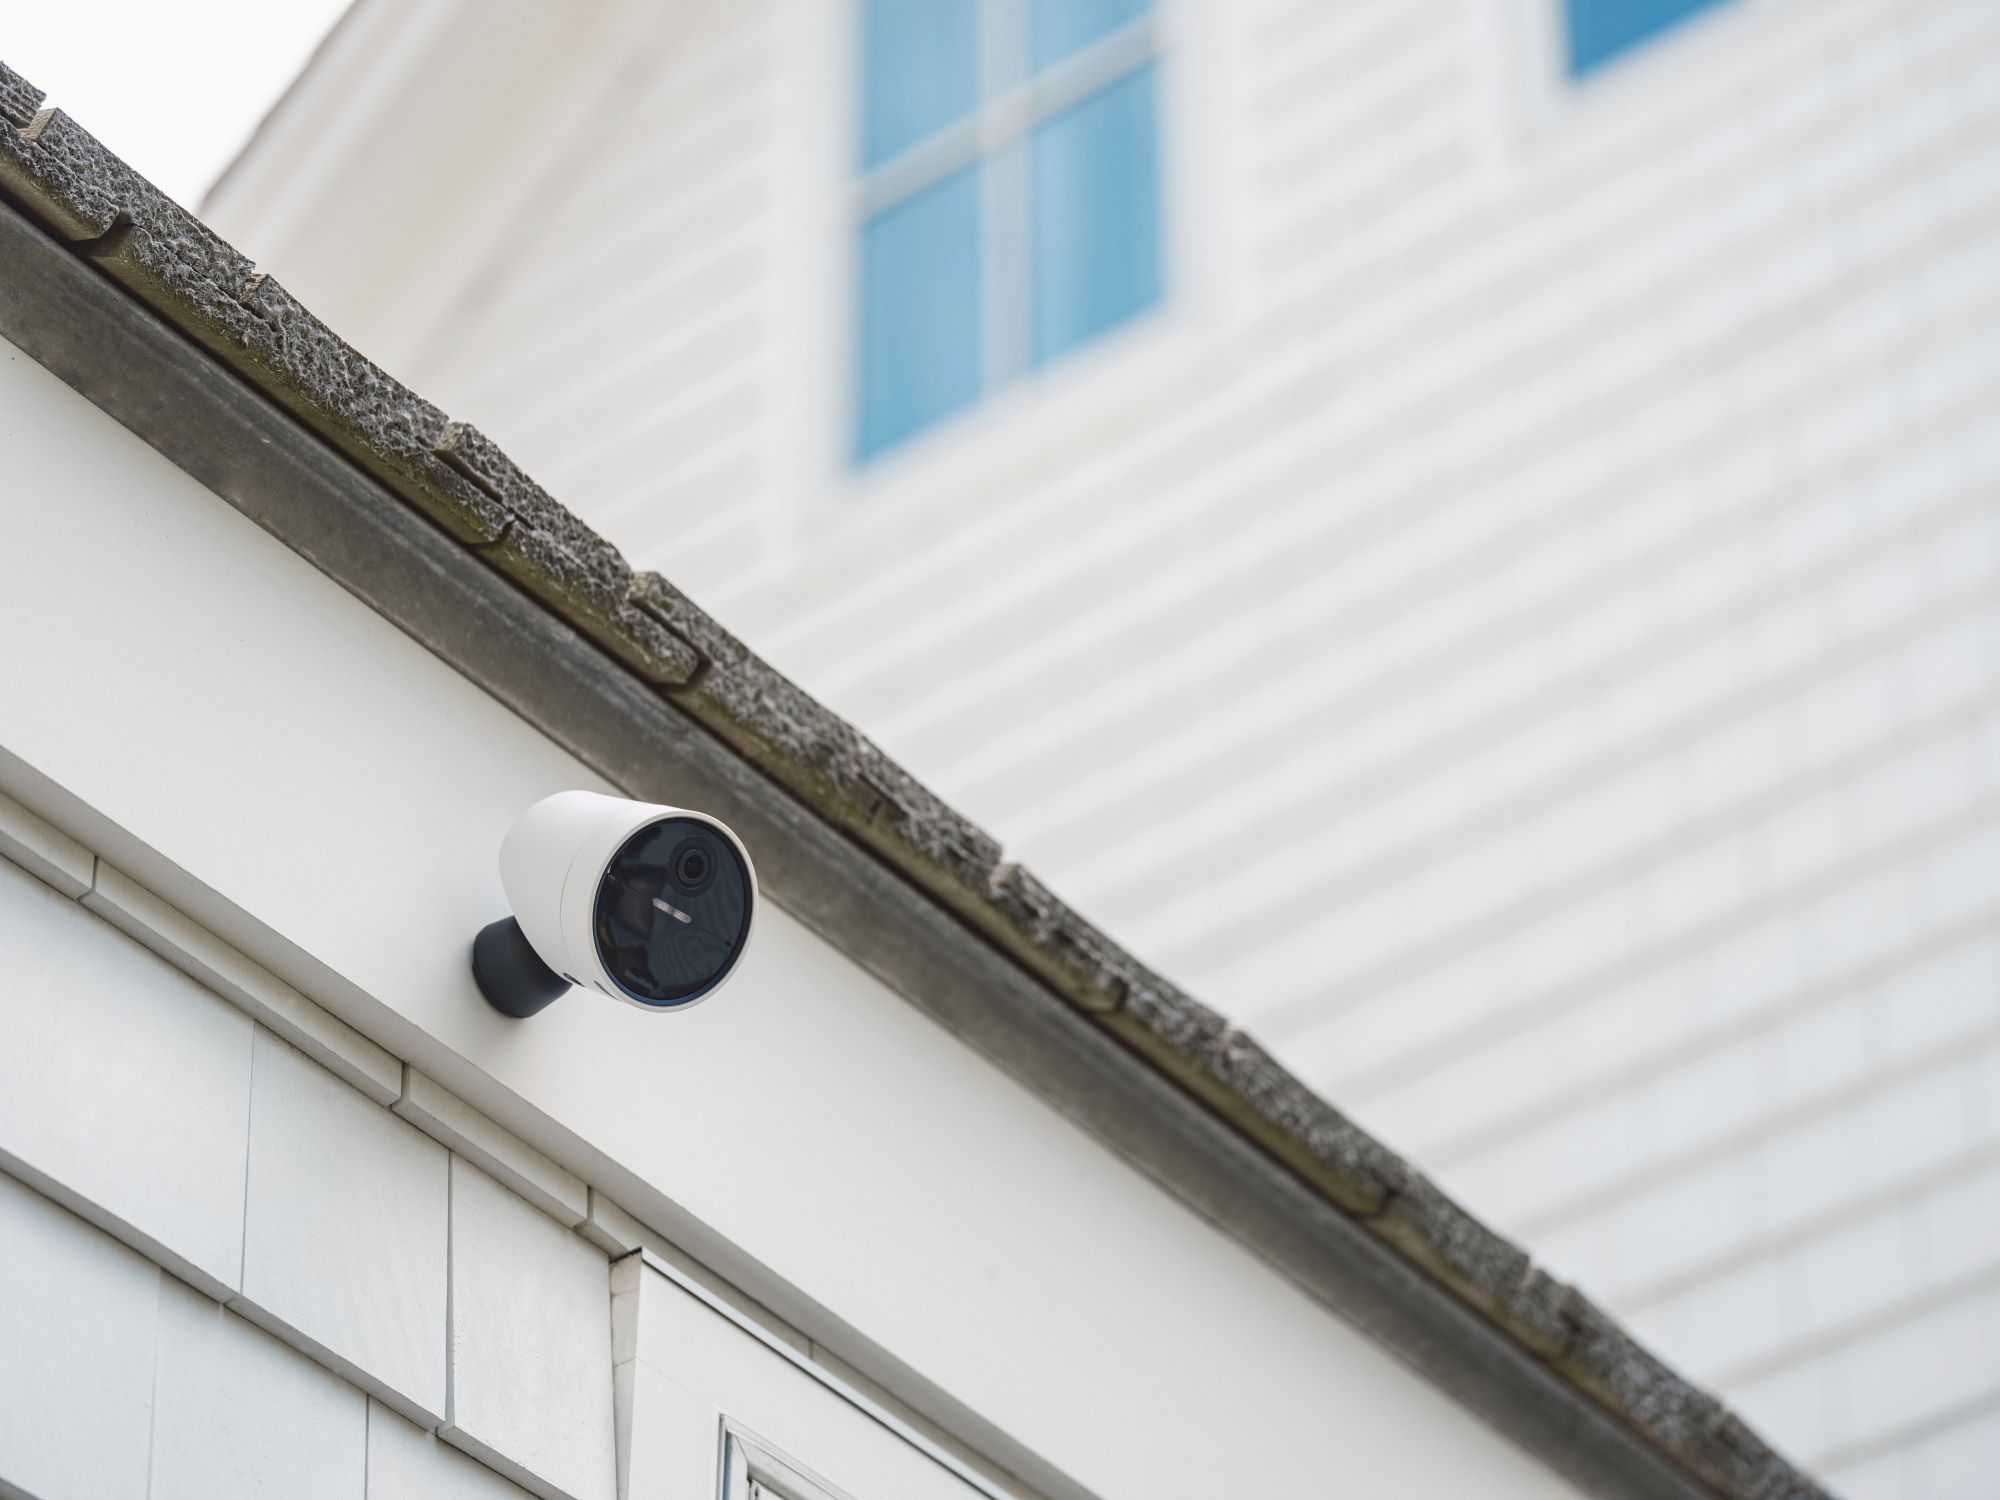
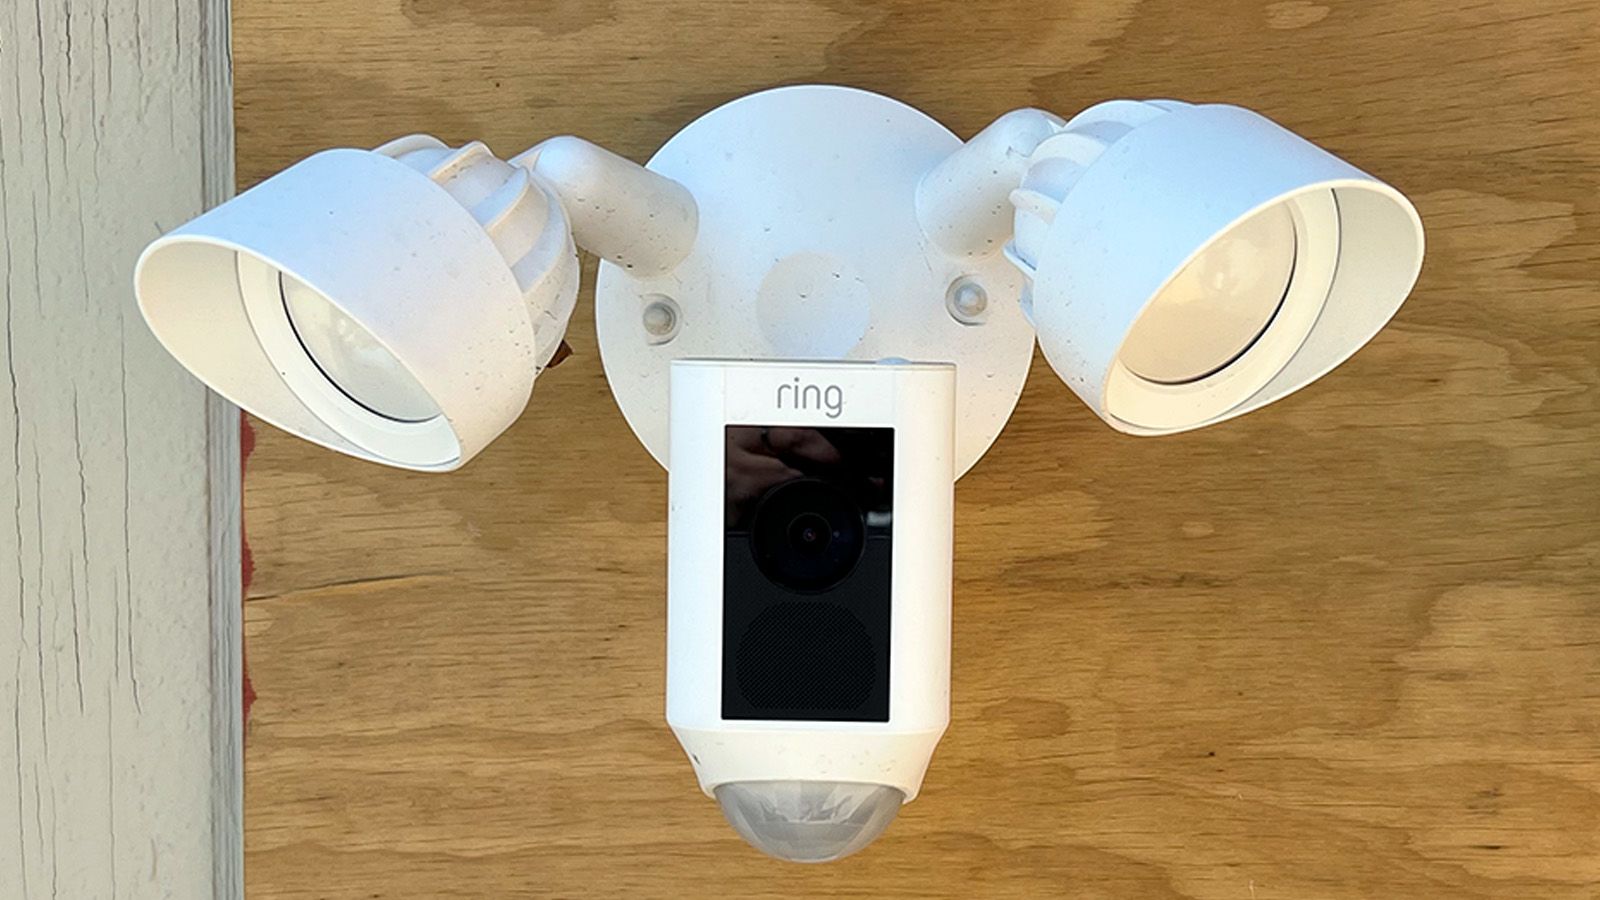
Choose the Right Outdoor Cameras
Once you have determined your camera needs, it’s time to choose the right outdoor cameras for your system. There are several factors to consider to ensure you select cameras that best fit your requirements.
One of the most important considerations is the camera’s resolution. Higher resolution cameras capture more detailed and clearer footage, allowing you to see important details such as facial features or license plate numbers. Look for cameras with at least 1080p resolution for optimal clarity.
Next, consider the camera’s field of view (FOV). The FOV determines how wide an area the camera can cover. A wider FOV means you can monitor a larger area with fewer cameras. However, keep in mind that a wider FOV may result in some loss of detail. Strike a balance between coverage and detail to ensure effective surveillance.
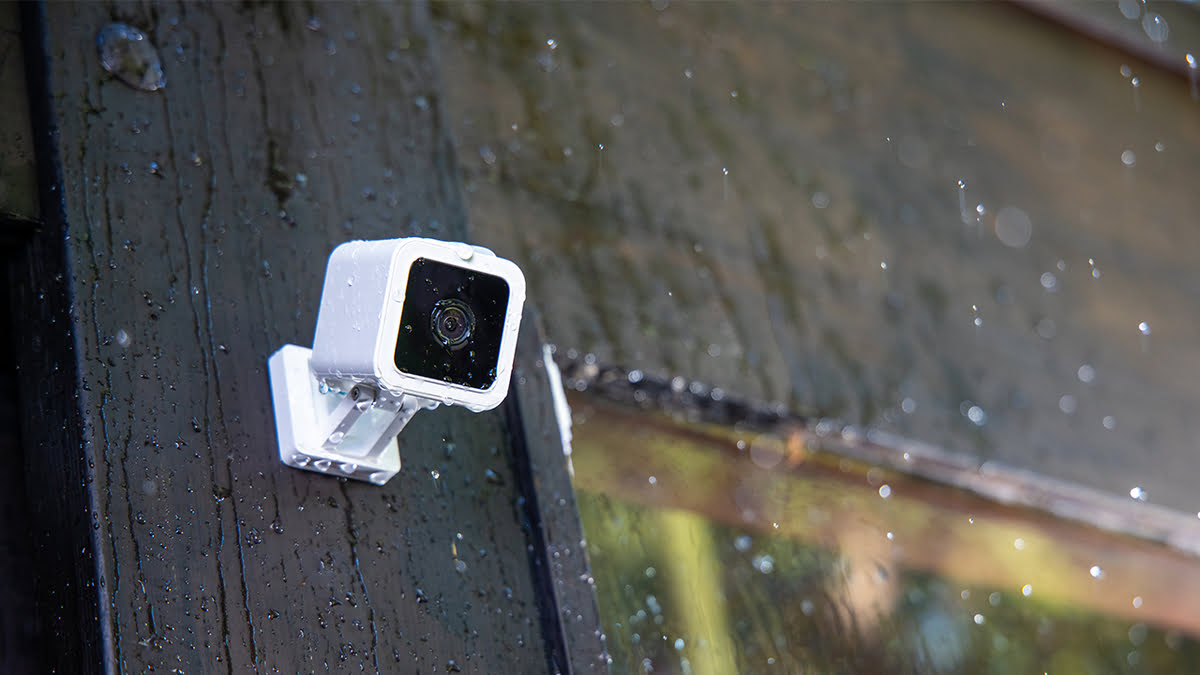
Consider the camera’s weatherproof rating as well. Since these cameras will be installed outdoors, they must be able to withstand various weather conditions. Look for cameras with an IP65 or higher rating, indicating resistance to dust and water.
It’s also worth considering cameras with infrared (IR) night vision capabilities. This feature allows the cameras to capture clear footage even in low-light or no-light conditions. Look for cameras with a decent night vision range, typically around 30 to 100 feet, depending on your requirements.
Another important aspect is the camera’s connectivity options. Most outdoor cameras offer either wired or wireless connectivity. Wired cameras require a physical connection to a power source and the recording device, while wireless cameras rely on Wi-Fi connectivity. Consider your setup preferences and the availability of power and internet connections when choosing between wired and wireless cameras.
Lastly, pay attention to the overall build quality and reliability of the cameras. Read reviews, check customer ratings, and choose cameras from reputable manufacturers to ensure you invest in quality equipment that will last.
By considering factors such as resolution, FOV, weatherproof rating, night vision capabilities, connectivity options, and overall quality, you can choose the right outdoor cameras that meet your specific needs and provide the necessary surveillance for your property.
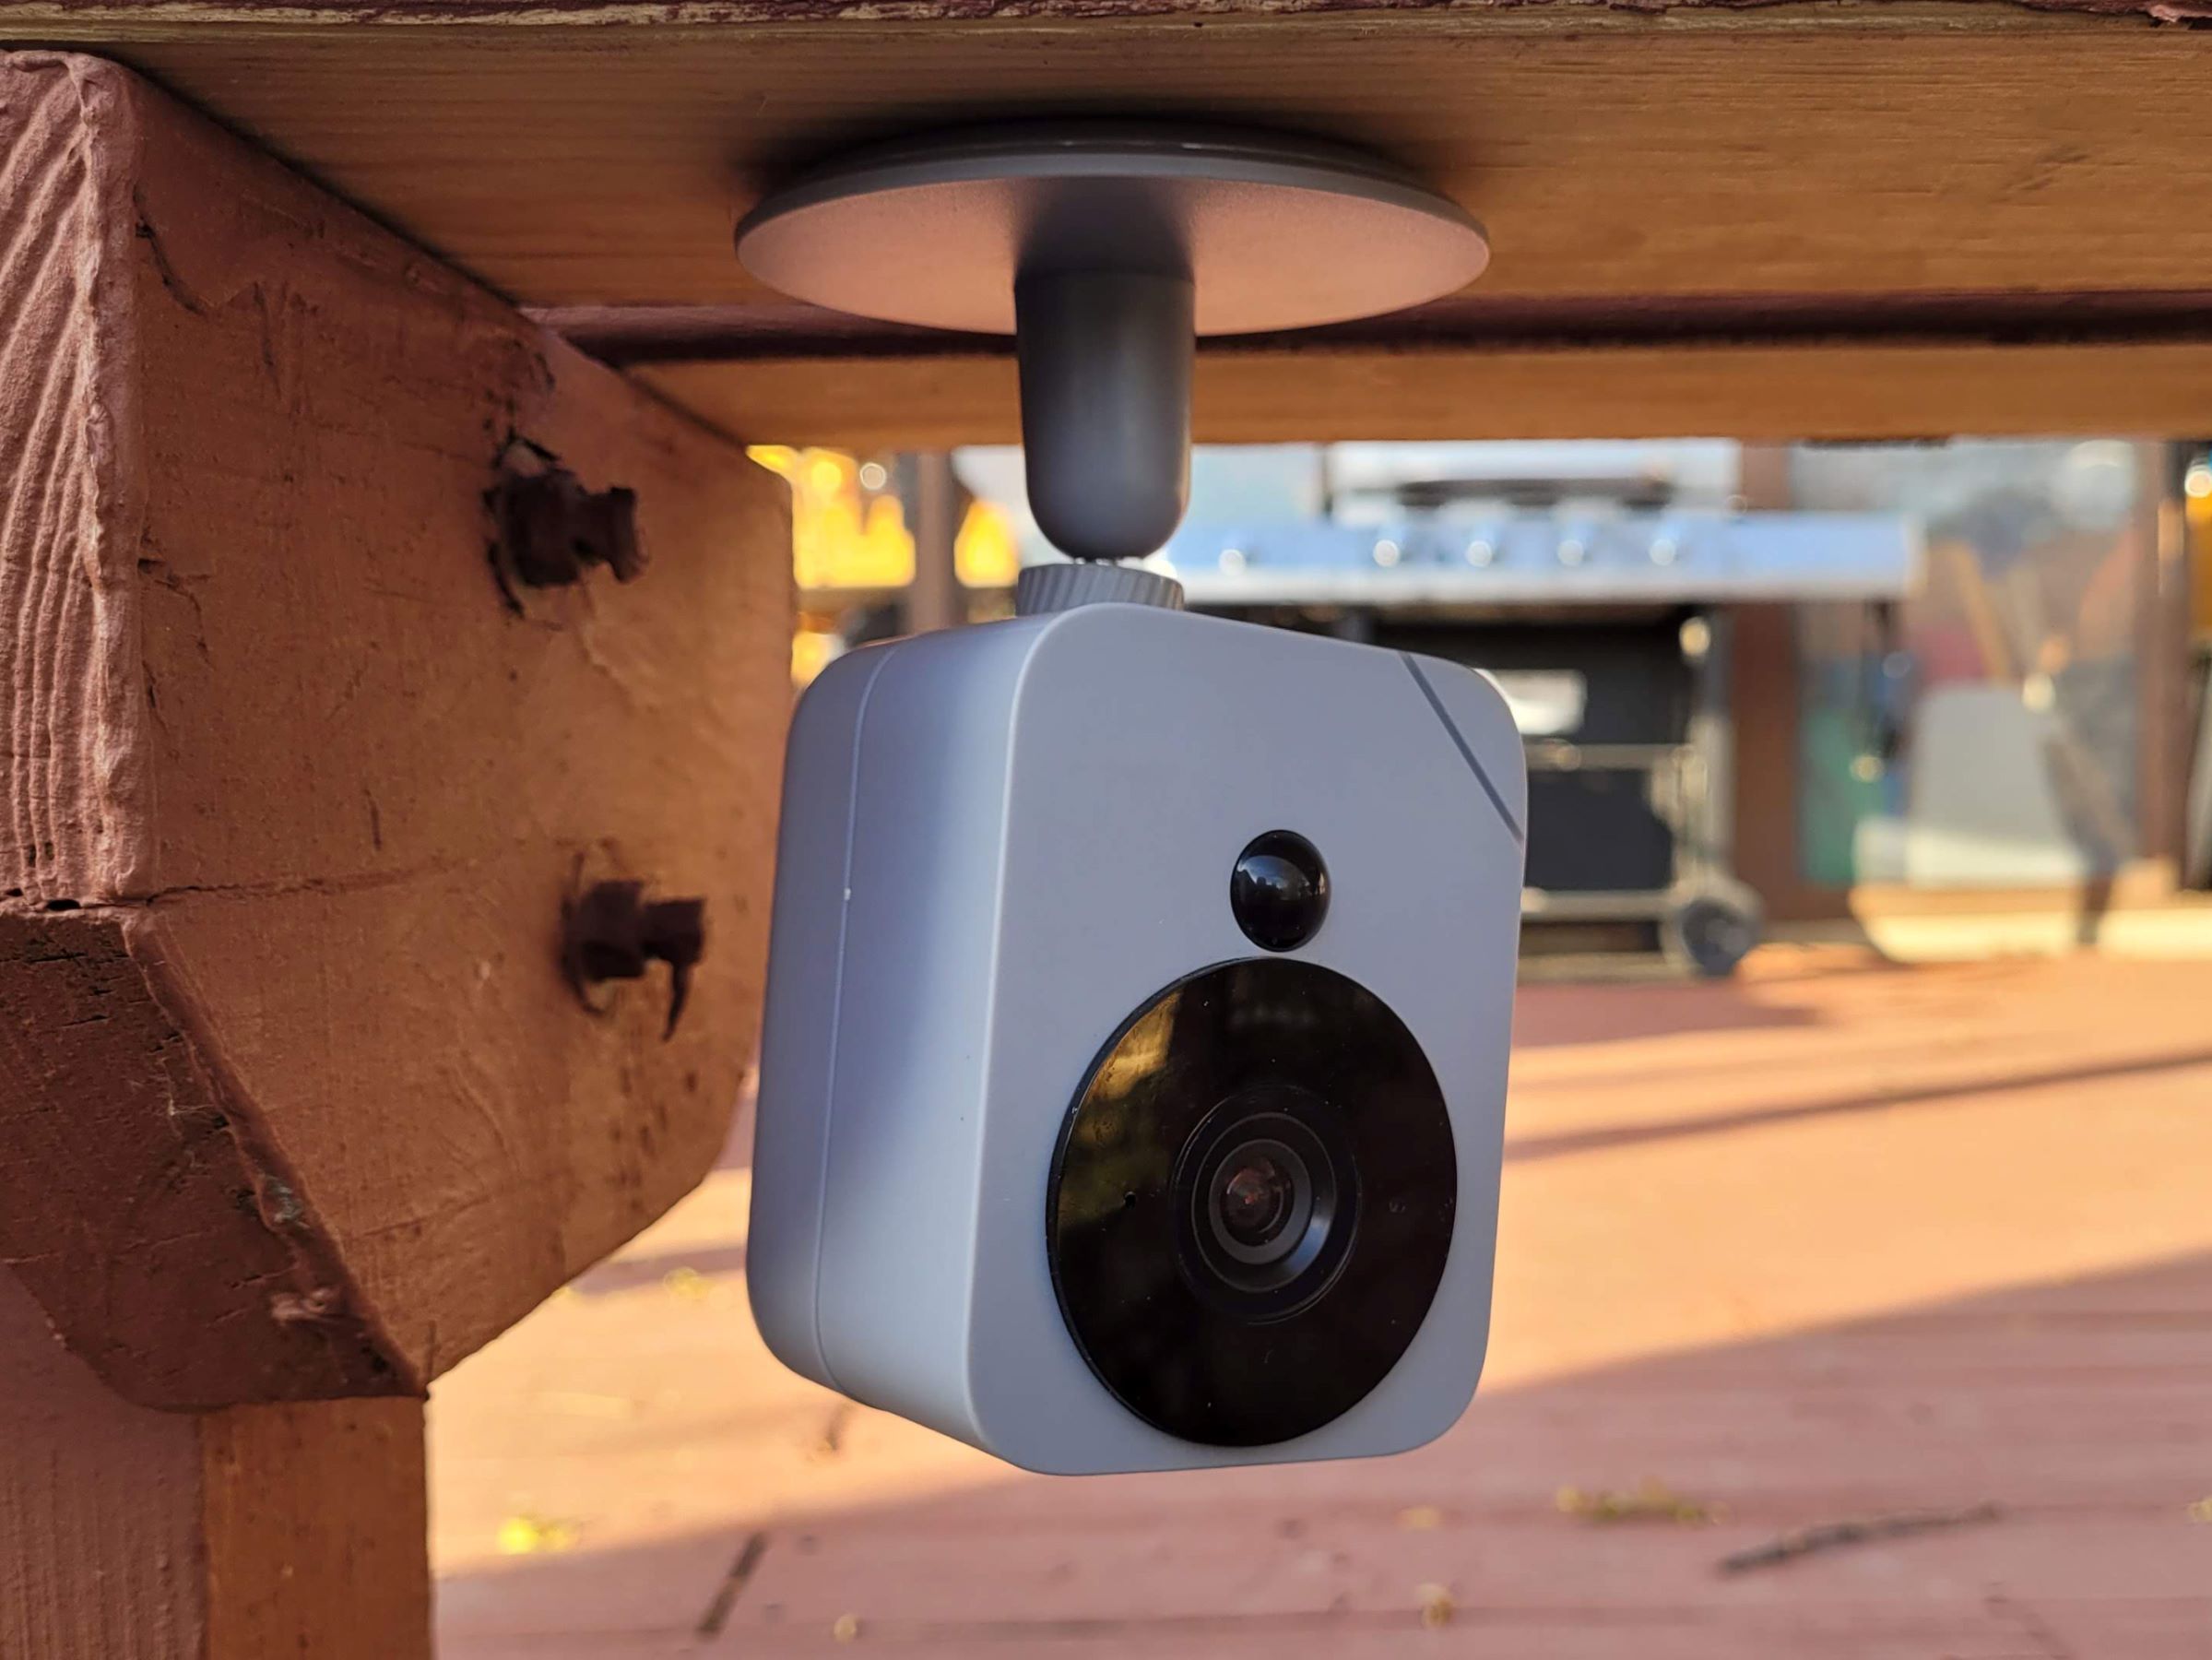
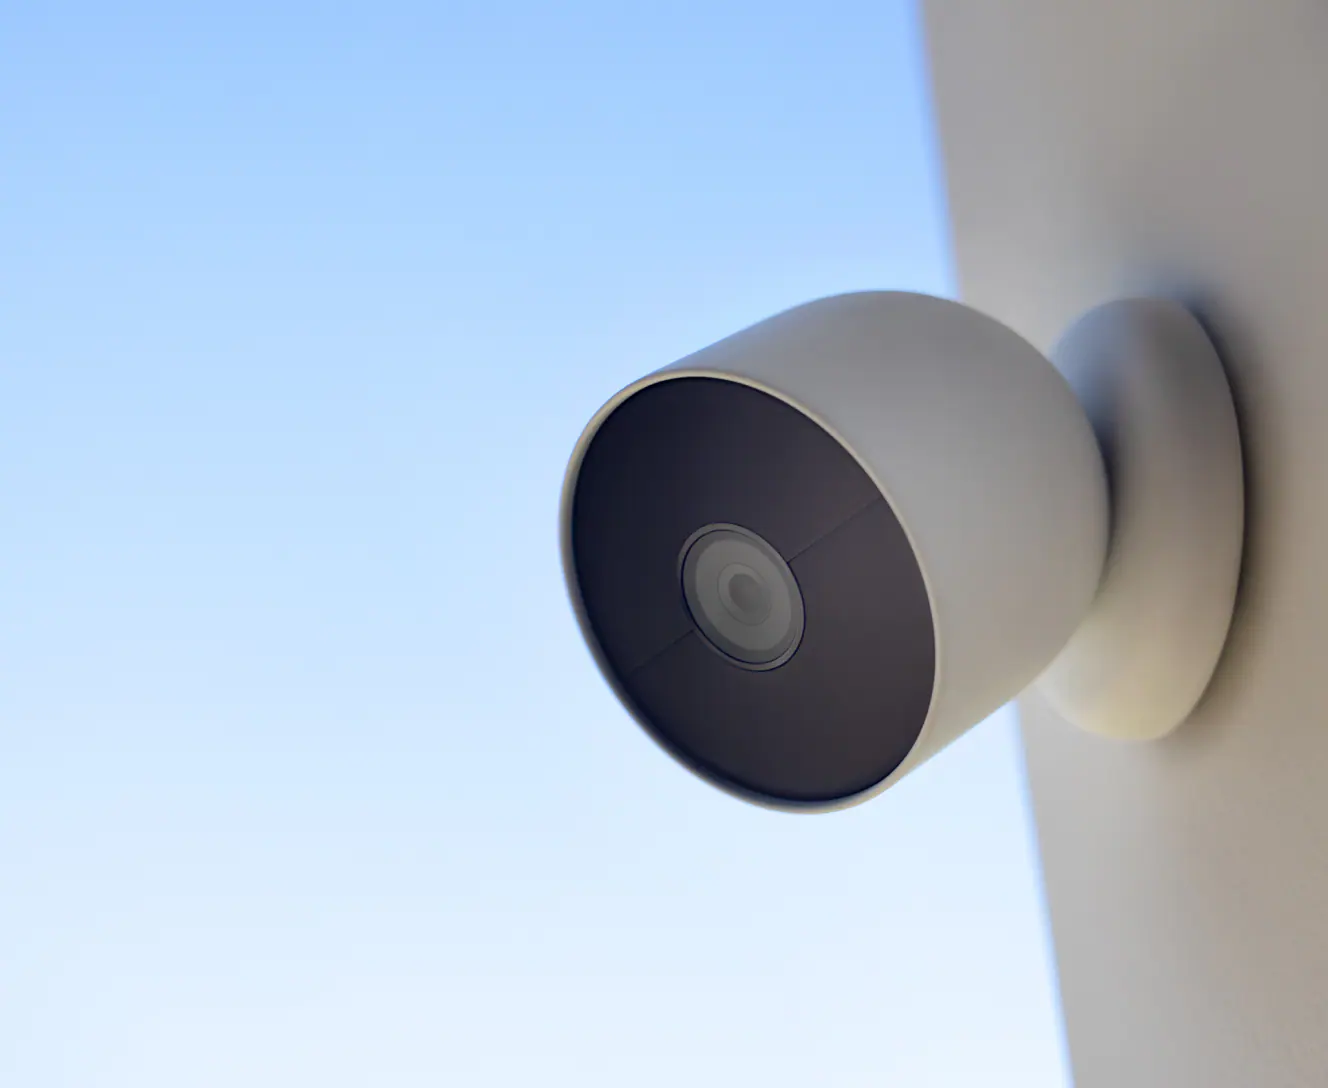
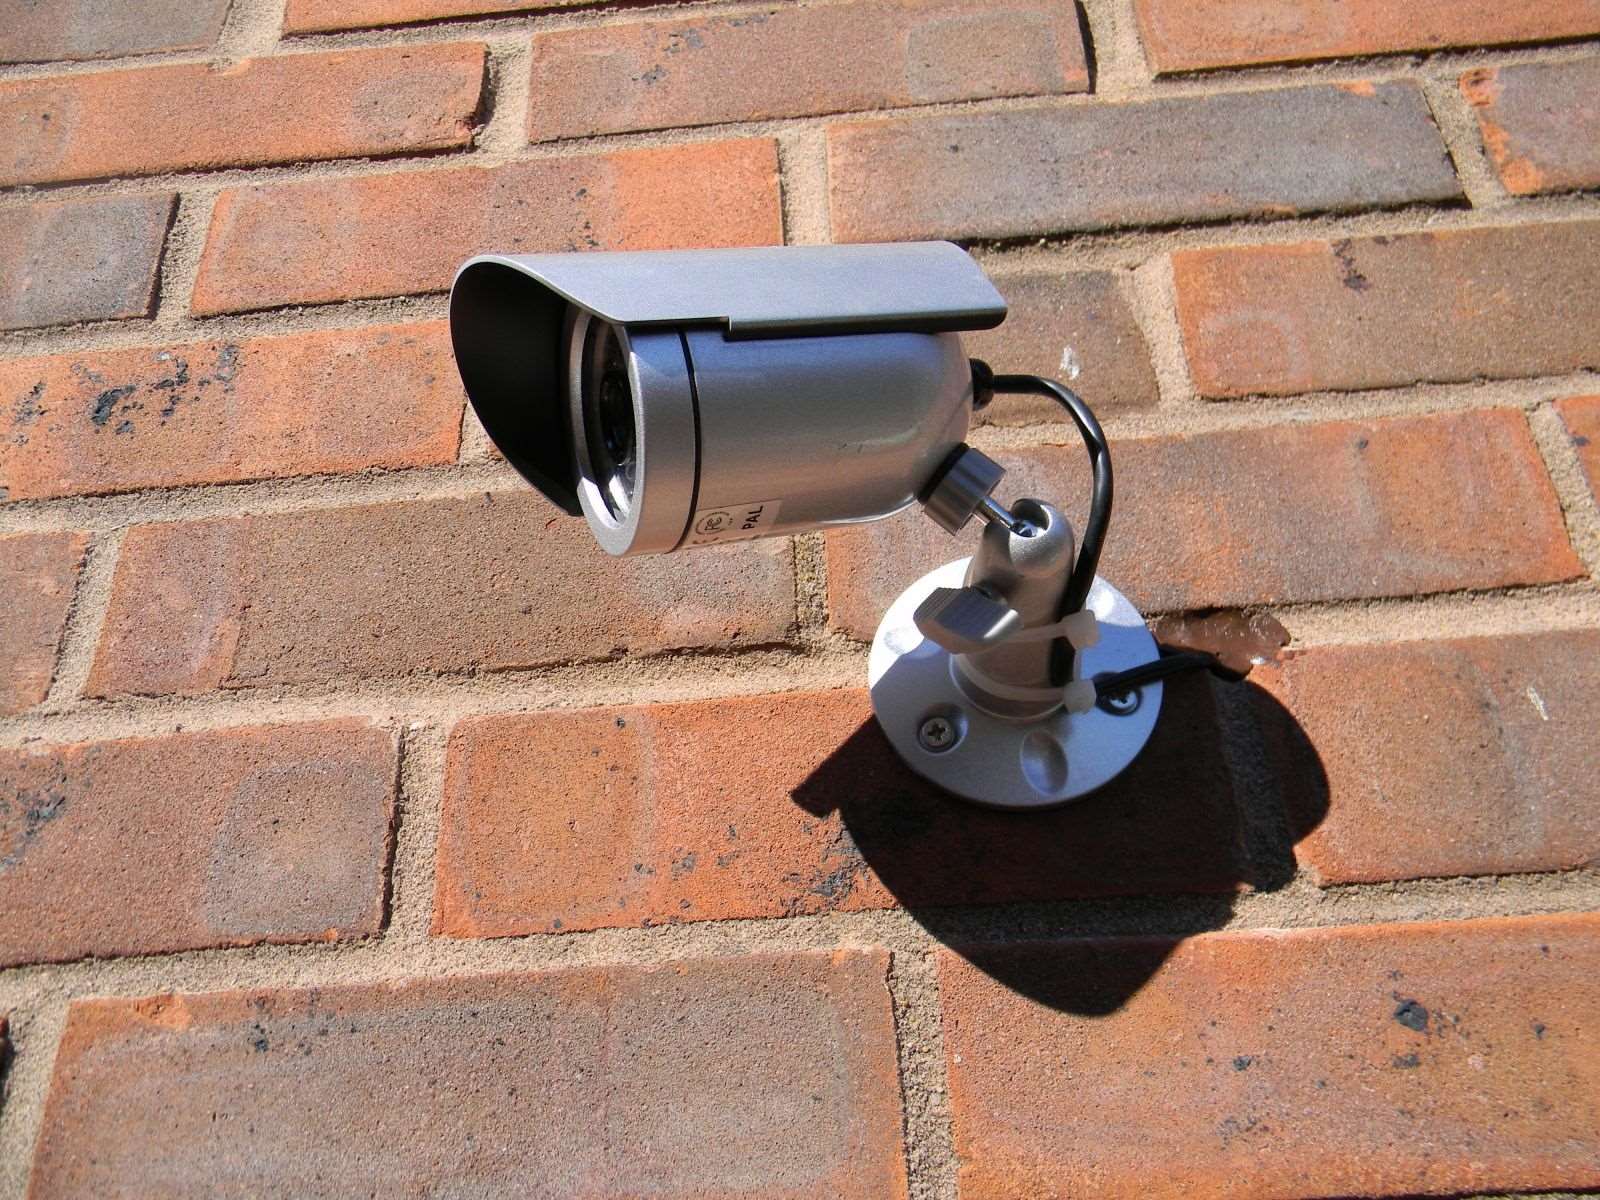
Select Suitable Mounting Locations
Choosing suitable mounting locations for your outdoor cameras is essential to maximize their effectiveness and coverage. Here are some factors to consider when selecting the perfect spots:
1. Coverage area: Identify the areas you want to monitor and make sure the cameras have a clear line of sight. Consider vulnerable entry points, high-traffic areas, and blind spots that need extra attention.
2. Height and angle: Mount the cameras at a height that provides an optimal view of the area. Generally, installing cameras at a height of 9 to 10 feet allows for a wide coverage area while remaining out of reach. Adjust the angle to capture the desired field of view and minimize any obstructions.
3. Accessibility: Ensure the cameras are easily accessible for maintenance and adjustments. Mounting them too high or in hard-to-reach areas may make it challenging to clean or adjust the camera angle if needed.
4. Power and connectivity: Consider the proximity to power outlets and existing network infrastructure. If using wired cameras, make sure the mounting location is within reasonable distance from power and network connections or plan for appropriate wiring and cabling.
5. Protection from weather and vandalism: Choose mounting locations that offer protection from extreme weather conditions. Look for areas that provide shelter or use weatherproof camera housings. Additionally, consider the security of the camera itself and select spots that are less prone to tampering or vandalism.
6. Lighting conditions: Evaluate the lighting conditions in the area. Avoid mounting the cameras directly facing bright lights or direct sunlight, as this can affect visibility and image quality. Adjust the angle or use shade or lens filters, if necessary, to minimize glare.
When selecting suitable mounting locations, it is helpful to create a map or diagram of your property, marking the areas where you plan to install the cameras. This will allow you to visualize the coverage and make adjustments as needed.
By carefully considering the coverage area, height, accessibility, power and connectivity requirements, weather protection, lighting conditions, and security considerations, you can select suitable mounting locations that provide optimal surveillance and peace of mind.
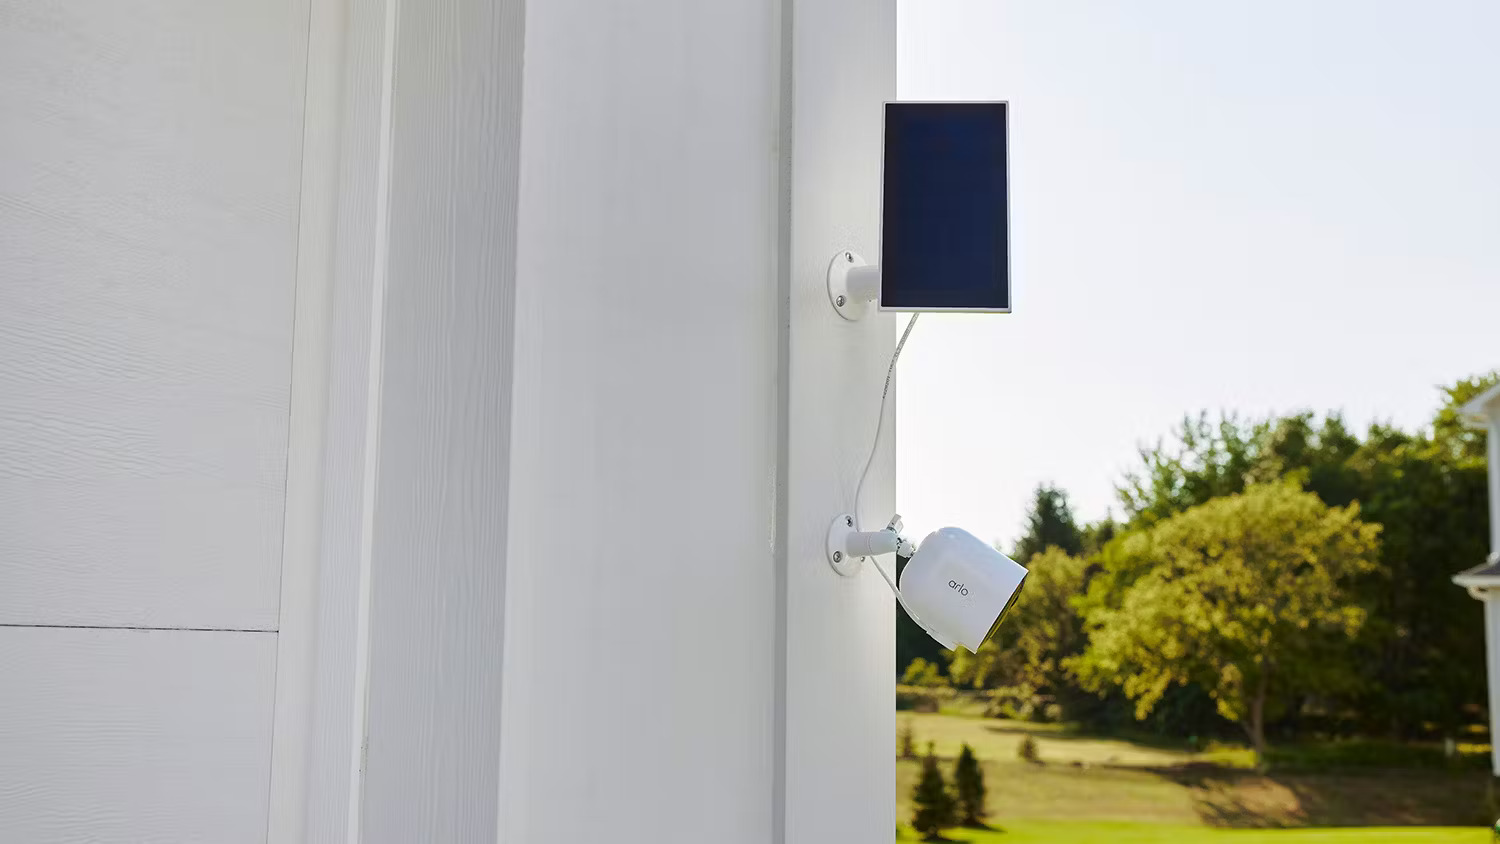
Ensure Proper Power Supply and Connectivity
To ensure that your outdoor camera system is functioning properly, it is essential to establish a reliable power supply and connectivity. Here are some key considerations:
1. Power source: Determine how you will power your cameras. If you opt for wired cameras, you will need to ensure that power outlets are accessible near the mounting locations. Consider using weatherproof outdoor electrical outlets or hire a professional electrician to install them.
2. Extension cords and surge protection: If you need to use extension cords, ensure that they are rated for outdoor use and are properly grounded. Additionally, consider using surge protectors to safeguard your cameras against power surges and voltage fluctuations.
3. Battery-powered cameras: If you choose wireless battery-powered cameras, ensure that you have a consistent plan for recharging or replacing batteries. Check the manufacturer’s recommendations for battery life and invest in rechargeable batteries if applicable.
4. Network connectivity: For wireless cameras, ensure that your network signal is strong and stable in the areas where you plan to install them. If the signal is weak, consider using Wi-Fi extenders or mesh network systems to improve coverage.
5. Network bandwidth: Consider the number of cameras you will be installing and the bandwidth required for streaming and remote access. If you have multiple cameras or expect high levels of activity, it may be necessary to upgrade your internet plan to ensure smooth and uninterrupted connectivity.
6. Network security: Protect your camera system and network by implementing strong passwords, enabling encryption, and keeping your router firmware up to date. Regularly monitor and review network and device settings to ensure optimal security.
7. Connectivity testing: Before completing the installation, test the cameras and ensure that they are properly connected to the network and that the live feed is accessible through the designated viewing platforms.
By ensuring a proper power supply and reliable connectivity, you can confidently monitor your outdoor areas and have peace of mind knowing that your camera system is running smoothly.
When setting up a complete system of weatherproof outdoor cameras, make sure to invest in cameras with a high IP rating to ensure they can withstand the elements. Additionally, consider using a centralized power source and a secure mounting system to protect the cameras from tampering or theft.
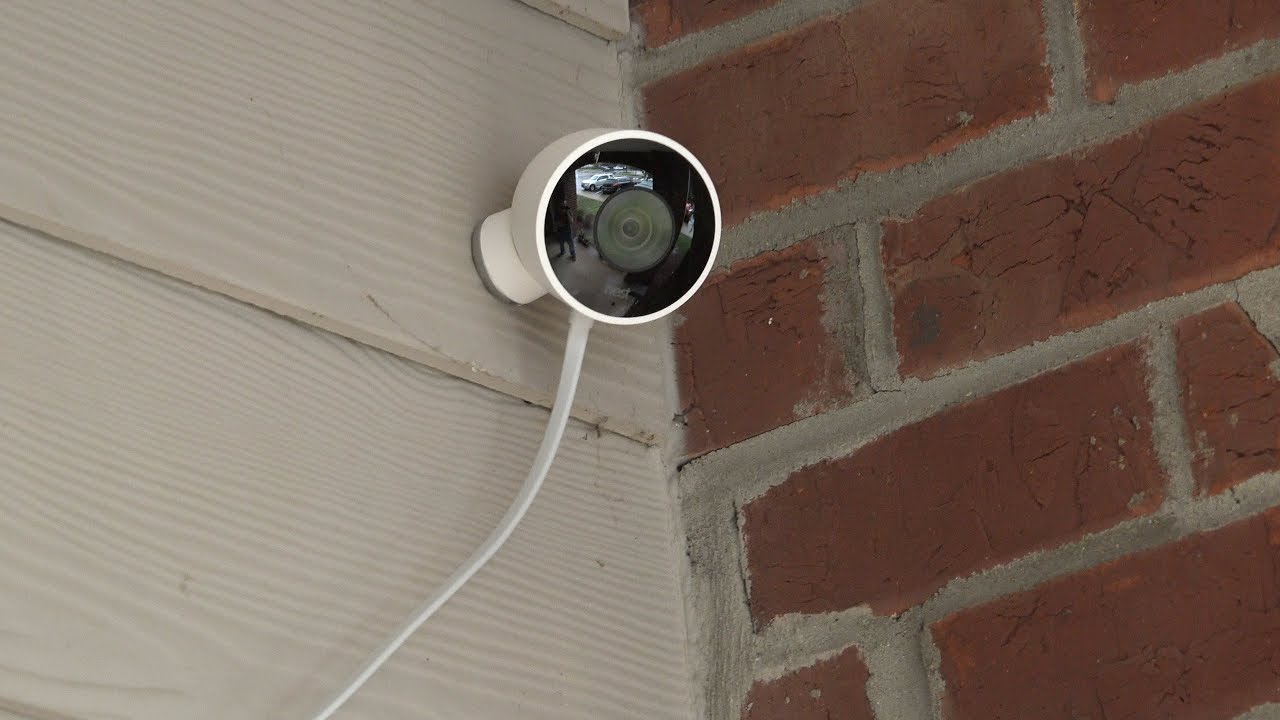
Install and Set Up the Cameras
Now that you have determined the camera locations and ensured proper power supply and connectivity, it’s time to install and set up your outdoor cameras. Follow these steps for a successful installation:
1. Gather the necessary tools: Before you begin, gather the tools you’ll need, such as a drill, screws, wall anchors, a screwdriver, and a ladder. Make sure you have all the equipment handy.
2. Mount the cameras: Carefully mount the cameras at the selected locations using the appropriate hardware. Ensure that they are securely attached to the walls, ceilings, or other surfaces. Follow the manufacturer’s instructions for proper installation.
3. Adjust the camera angles: Once the cameras are mounted, adjust their angles to capture the desired field of view. Ensure that they are facing the areas you want to monitor and that there are no obstructions affecting the view.
4. Connect to power: If using wired cameras, connect them to the power source using the provided cables. For battery-powered cameras, ensure that the batteries are properly installed or charged.
5. Connect to the network: For wireless cameras, follow the manufacturer’s instructions to connect them to your Wi-Fi network. This usually involves using a mobile app or a web portal to scan for available networks and entering the network credentials.
6. Test the cameras: Once the cameras are powered and connected, test their functionality by checking the live feed on your designated viewing platform, such as a smartphone app or a computer. Ensure that you can see clear and uninterrupted footage from each camera.
7. Fine-tune camera settings: Explore the camera’s settings and features to customize them according to your preferences. Adjust settings such as motion detection sensitivity, recording modes, notifications, and other advanced options based on your needs.
Remember to refer to the camera’s user manual for specific installation and setup instructions. If you’re unsure about any step or encounter difficulties, consult the manufacturer’s support resources or consider seeking professional assistance.
By following these steps, you can successfully install and set up your outdoor cameras, bringing your surveillance system to life and ensuring effective monitoring of your property.
Configure Camera Settings and Features
Once your outdoor cameras are installed and set up, it’s important to configure their settings and features to optimize their performance and meet your specific needs. Here are some key settings to consider:
1. Motion detection: Adjust the motion detection sensitivity and detection zones to minimize false alarms while capturing any relevant activity. This setting helps conserve storage space and ensures you are alerted to important events.
2. Recording modes: Choose the recording mode that suits your requirements. Options typically include continuous recording, scheduled recording, or motion-triggered recording. Depending on your camera’s capabilities, you may also have the option to record only when certain criteria are met, like specific motion patterns.
3. Video quality and resolution: Fine-tune the camera’s video quality and resolution settings to strike a balance between image clarity and storage space. Higher resolution settings offer more detail but require more storage capacity.
4. Storage options: Determine how your camera will store recorded footage. Popular options include local storage on a microSD card, cloud storage subscriptions, or dedicated Network Video Recorders (NVRs). Evaluate the available options and choose one that aligns with your budget and storage requirements.
5. Privacy masking: If there are areas within the camera’s field of view that you wish to exclude from recording or monitoring, consider implementing privacy masking. This feature allows you to specify regions where the camera will not capture video.
6. Two-way audio: If your camera supports two-way audio, configure the audio settings and ensure the microphone and speaker are functioning properly. This feature allows you to communicate with visitors or potential intruders remotely.
7. Alerts and notifications: Set up alerts and notifications to be informed of any detected motion or specified events. Configure how and when you receive these notifications, such as through push notifications, email alerts, or SMS messages.
8. Firmware updates: Regularly check for firmware updates provided by the camera manufacturer. Keeping the camera’s firmware up to date ensures that you have access to the latest features, bug fixes, and security patches.
Take the time to explore your camera’s settings menus and configure them based on your preferences and requirements. Every camera model may have different options and features, so refer to the camera’s user manual or the manufacturer’s support resources for detailed instructions.
By configuring the camera settings and features, you can optimize the functionality of your outdoor cameras and tailor them to meet your specific surveillance needs.
Set Up Remote Viewing and Monitoring
One of the major benefits of modern outdoor camera systems is the ability to remotely view and monitor your cameras from anywhere at any time. With the following steps, you can set up remote viewing and monitoring for your outdoor cameras:
1. Mobile app or software: Install the mobile app or software provided by the camera manufacturer on your smartphone, tablet, or computer. These applications allow you to access and view the live feed from your cameras remotely.
2. Create an account: Register and create an account within the app or software. This account will enable you to securely access your camera system and personalize your settings.
3. Connect cameras to your account: Follow the app’s instructions to add your cameras to your account. This usually involves scanning a QR code or entering a unique camera identification number. Ensure that your cameras are connected to the same network as your viewing device during this process.
4. Network configuration: Configure your router and network settings to enable remote access to your cameras. This typically involves setting up port forwarding or enabling UPnP (Universal Plug and Play) in your router’s settings. Consult your camera’s documentation or manufacturer’s support resources for specific instructions.
5. Test remote access: Once the network configuration is complete, test remote access by connecting to your camera system using the app or software from a location outside your home network. Ensure that you can view the live feed and access the camera’s settings remotely.
6. Secure your remote access: Protect your remote access by using strong passwords for your camera system account and enabling two-factor authentication whenever possible. This extra layer of security helps safeguard your camera system from unauthorized access.
7. Mobile data vs. Wi-Fi: Be aware that remote viewing and monitoring consume data. If you are using your mobile device’s cellular data plan for remote access, monitor your data usage and consider connecting to a Wi-Fi network whenever possible to conserve data.
8. Test and troubleshoot: Regularly test the remote viewing and monitoring functionality to ensure everything is working correctly. If you encounter any issues, consult the camera’s documentation, manufacturer’s support resources, or consider contacting customer support for assistance.
With remote viewing and monitoring set up, you can conveniently access your outdoor camera system from anywhere, keeping a watchful eye on your property and loved ones even when you are away.
Test and Maintain Your Outdoor Camera System
Testing and maintaining your outdoor camera system is crucial to ensure it continues to function properly and provide effective surveillance. Follow these steps to conduct regular tests and maintenance:
1. Test camera functionality: Periodically test each camera to verify its functionality. Check the live feed, ensure the cameras are capturing clear footage, and verify that the motion detection and other features are working as intended.
2. Clean and inspect cameras: Regularly clean the camera lenses to remove any dirt, dust, or debris that may impact image quality. Inspect the cameras for signs of damage or wear and tear. Replace any damaged cables, connectors, or camera housings to ensure optimal performance.
3. Check power supply and connectivity: Verify that the power supply for each camera is stable and reliable. Ensure that all cables and connections are secure and undamaged. Test network connectivity to ensure a steady connection to your camera system.
4. Review recorded footage: Review the recorded footage periodically to ensure it is being captured correctly and of sufficient quality. This is especially important in case of any incidents or suspicious activities that may require reviewing the footage for evidence.
5. Update firmware: Regularly check for firmware updates provided by the camera manufacturer and apply them as needed. Firmware updates often include bug fixes, performance improvements, and security patches to keep your camera system up to date.
6. Evaluate camera positioning: Over time, assess the effectiveness of the camera locations and angles. Consider any changes to your property, landscaping, or security needs that may require adjustments to the camera positions for better coverage.
7. Test remote access: Continuously test the remote viewing and monitoring functionality to ensure it remains accessible and reliable. Verify that you can access the camera system remotely and receive notifications or alerts as intended.
8. Maintain network security: Regularly review the security settings of your camera system and network. Update passwords, enable two-factor authentication, and ensure that your router’s firmware is up to date. Regularly monitor for any suspicious activity or unauthorized access attempts.
By regularly testing and maintaining your outdoor camera system, you can ensure its optimal performance, reliability, and longevity. This proactive approach enhances the security of your property and provides peace of mind knowing that your surveillance system is functioning at its best.
Conclusion
Setting up a complete system of weatherproof outdoor cameras is a smart investment to enhance the security and surveillance of your home. By following the steps outlined in this article, you can successfully install and configure an effective outdoor camera system that meets your specific needs.
Start by determining your camera needs and objectives, assessing the areas to monitor, and prioritizing your budget. Choose the right outdoor cameras based on resolution, field of view, weatherproof rating, night vision capabilities, and connectivity options.
Select suitable mounting locations that provide optimal coverage, accessibility, protection from weather and vandalism, and consider lighting conditions. Ensure proper power supply and connectivity, whether using wired cameras or battery-powered wireless ones.
Once installed, configure the camera settings and features, such as motion detection, recording modes, video quality, storage options, and privacy masking. Set up remote viewing and monitoring using mobile apps or software, ensuring secure access and testing the functionality outside your home network.
Regularly test and maintain your outdoor camera system by checking camera functionality, cleaning and inspecting cameras, reviewing recorded footage, updating firmware, evaluating camera positions, and maintaining network security.
With a well-designed and properly maintained outdoor camera system, you can have peace of mind knowing that you have eyes on your property at all times. By deterring potential intruders, capturing important footage, and providing remote access, your outdoor camera system helps enhance the security and surveillance of your home.
Remember to review the documentation provided by the camera manufacturer, consult their support resources, and seek professional assistance when needed. By following these steps, you can create a comprehensive outdoor camera system that contributes significantly to your home’s safety and security.
Frequently Asked Questions about How To Set Up A Complete System Of Weatherproof Outdoor Cameras
Was this page helpful?
At Storables.com, we guarantee accurate and reliable information. Our content, validated by Expert Board Contributors, is crafted following stringent Editorial Policies. We're committed to providing you with well-researched, expert-backed insights for all your informational needs.