Home>Home Security and Surveillance>How To Hook Up Outdoor Cameras That Need A Power Source
Home Security and Surveillance
How To Hook Up Outdoor Cameras That Need A Power Source
Modified: October 20, 2024
Learn how to easily hook up outdoor cameras that require a power source for your home security and surveillance needs.
(Many of the links in this article redirect to a specific reviewed product. Your purchase of these products through affiliate links helps to generate commission for Storables.com, at no extra cost. Learn more)
Introduction
Welcome to the world of home security and surveillance! In today’s evolving landscape, ensuring the safety of your home and loved ones has become more important than ever. Outdoor cameras play a vital role in monitoring and deterring potential threats, providing you with peace of mind and a sense of security.
Choosing the right outdoor camera can be overwhelming, as there are numerous options available on the market. From advanced features to varying power requirements, it’s crucial to select a camera that suits your specific needs and budget.
This article will guide you through the process of setting up outdoor cameras that require a power source. We’ll cover everything from selecting the right camera and preparing the power source to mounting the camera and adjusting its settings. By the end, you’ll have the knowledge and confidence to set up your outdoor surveillance system effectively.
So, let’s dive in and explore the world of outdoor camera installation!
Key Takeaways:
- Choose the right outdoor camera with high resolution, weather resistance, and night vision. Consider power source, connectivity, storage, and integration for a comprehensive surveillance solution.
- Prepare the power source, mount the camera securely, connect it to power, adjust settings, and test thoroughly for a reliable and effective outdoor surveillance system.
Read more: How To Hook Up A Wi-Fi Outdoor Camera
Choosing the Right Outdoor Camera
When it comes to choosing the right outdoor camera for your home security needs, several factors should be taken into consideration. Here are some key points to keep in mind:
- Resolution: Opt for a camera with high-resolution capabilities, ideally 1080p or higher, to ensure clear and detailed video footage.
- Field of View: Consider the camera’s field of view, which determines the area it can cover. A wide-angle lens or a camera with pan and tilt features can provide more comprehensive surveillance.
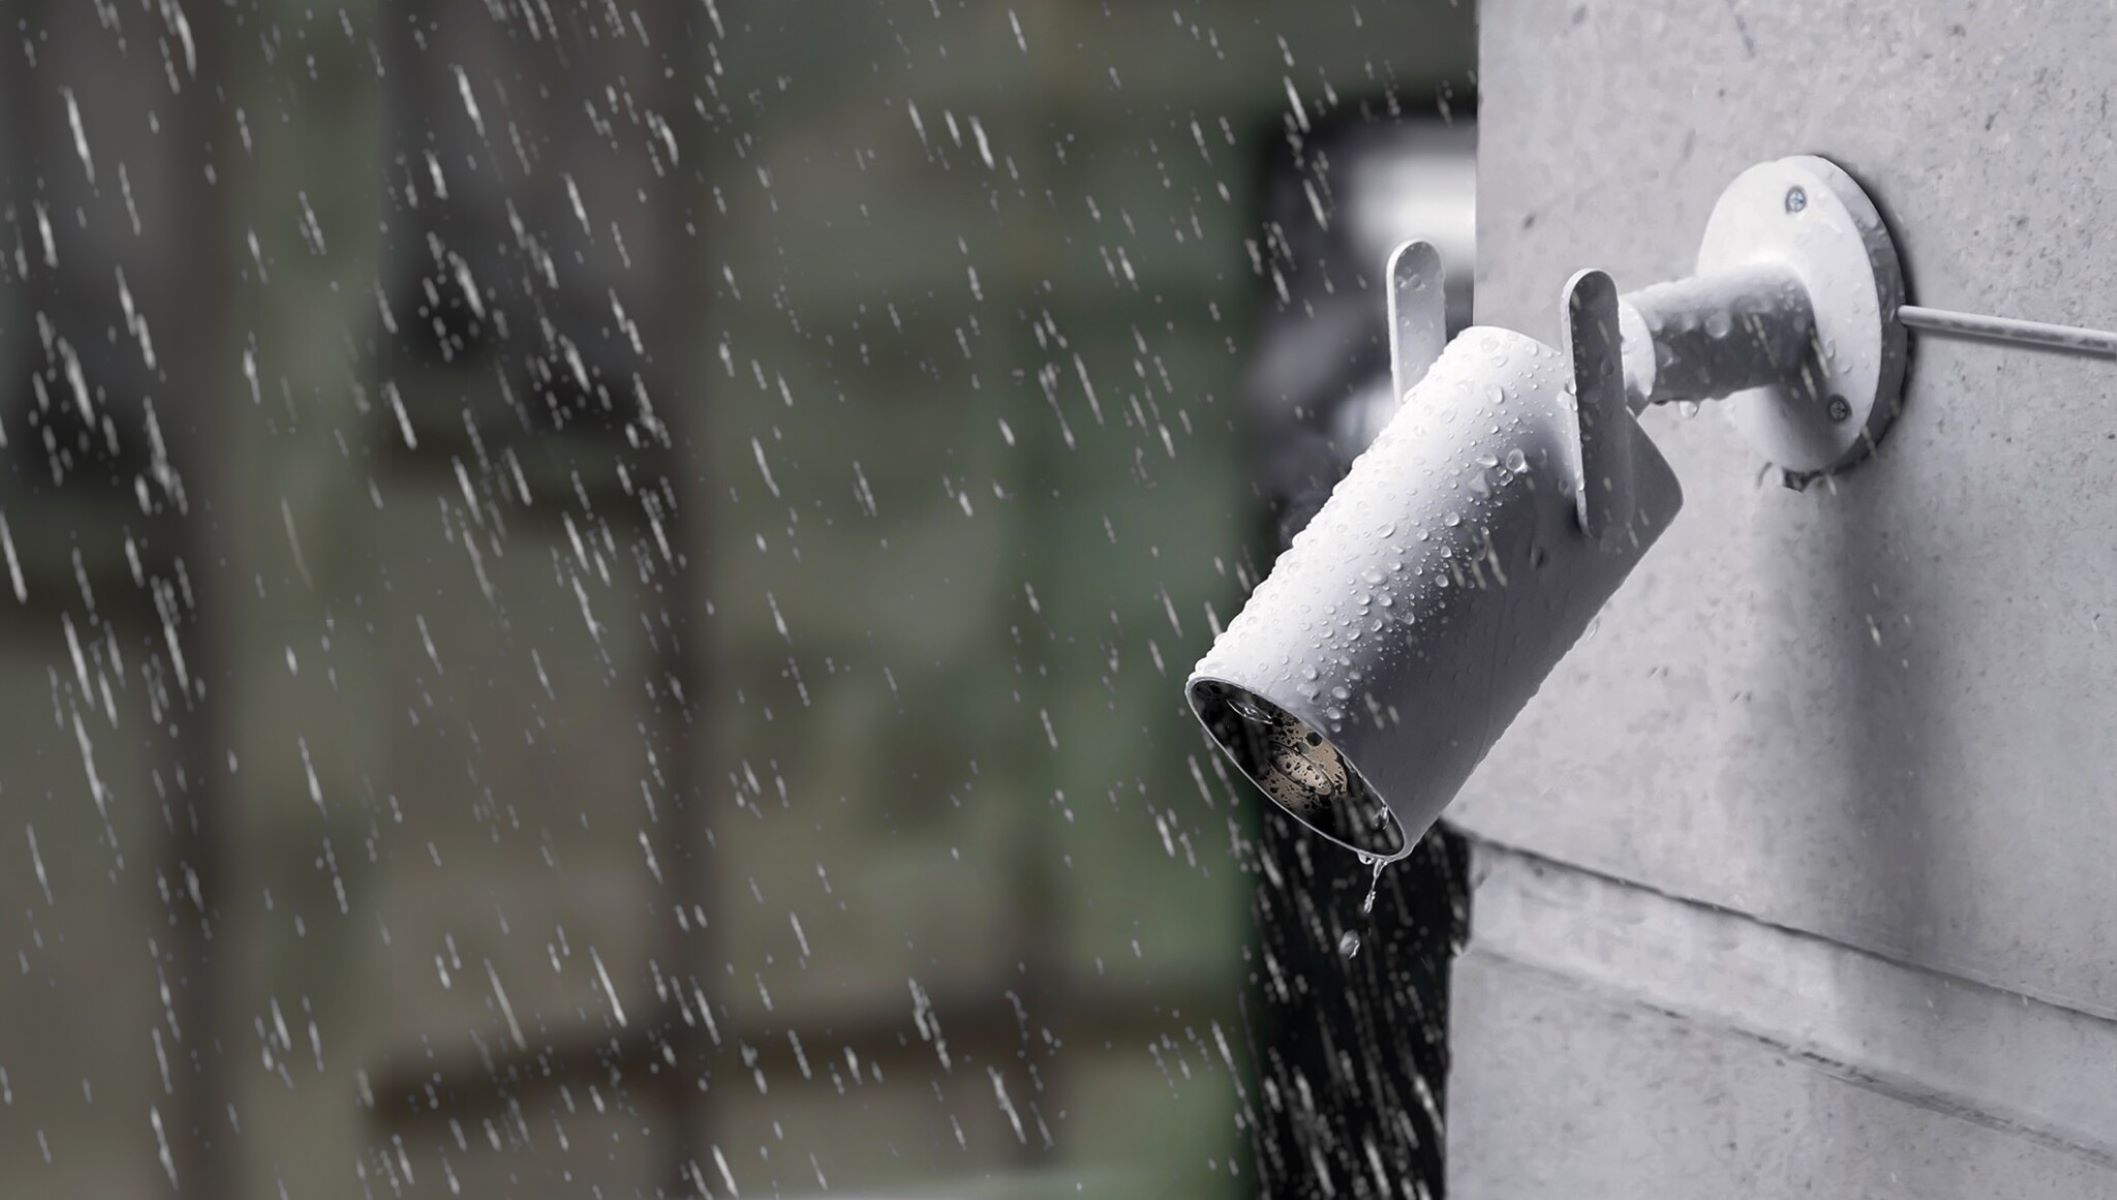
- Weather Resistance: Outdoor cameras are exposed to various weather conditions, so it’s crucial to choose a camera that is weatherproof and designed to withstand elements such as rain, snow, and extreme temperatures.
- Night Vision: Look for a camera with infrared or night vision capabilities to ensure visibility in low-light or no-light situations.
- Power Source: Consider whether you prefer a camera that is battery-powered, solar-powered, or requires a wired connection to a power source. In this article, we will focus on cameras that require a power source.
- Connectivity: Ensure that the camera offers reliable and secure connectivity options, such as Wi-Fi or Ethernet, for easy access and remote monitoring.
- Storage: Check if the camera has built-in storage capabilities or if it supports cloud storage options to store and access recorded footage.
- Integration: If you already have a home security system in place, consider cameras that can integrate seamlessly with your existing setup.
By considering these factors, you can narrow down your options and select an outdoor camera that best fits your specific requirements.
Preparing the Power Source
Before installing your outdoor camera, it’s crucial to prepare the power source to ensure a seamless and uninterrupted operation. Here are the steps to follow:
- Determine the Power Source: Consider the location of your outdoor camera and the nearest power outlet. If the camera requires a wired connection to a power source, ensure there is an electrical outlet nearby or plan for the installation of a new outlet.
- Outdoor-rated Power Outlet: If you need to install a new power outlet, make sure it is outdoor-rated and meets the necessary safety standards. Outdoor-rated outlets are designed to withstand the elements and provide a secure power connection for your camera.
- Professional Installation: If you’re unsure about electrical work or prefer a hassle-free installation, it’s recommended to hire a professional electrician. They have the expertise to install the required outdoor power outlet safely and efficiently.
- Cable Management: Plan the route for the power cable from the outdoor camera to the power source. Consider using conduit or cable management solutions to protect and hide the cables, ensuring a cleaner and more professional installation.
- Weatherproofing: To protect the power connection from the elements, use weatherproofing techniques such as outdoor-rated conduit or waterproof cable connectors. This will prevent moisture or water from interfering with the power supply and potentially damaging the camera.
- Power Surge Protection: Consider installing a power surge protector to safeguard your camera from power surges and voltage fluctuations. This additional measure of protection can help extend the lifespan of your camera.
By preparing the power source beforehand, you’ll ensure a seamless and reliable power connection for your outdoor camera, minimizing the risk of power interruptions that could compromise your home security.
Mounting the Outdoor Camera
Once you have prepared the power source, it’s time to mount your outdoor camera. Follow these steps for a successful installation:
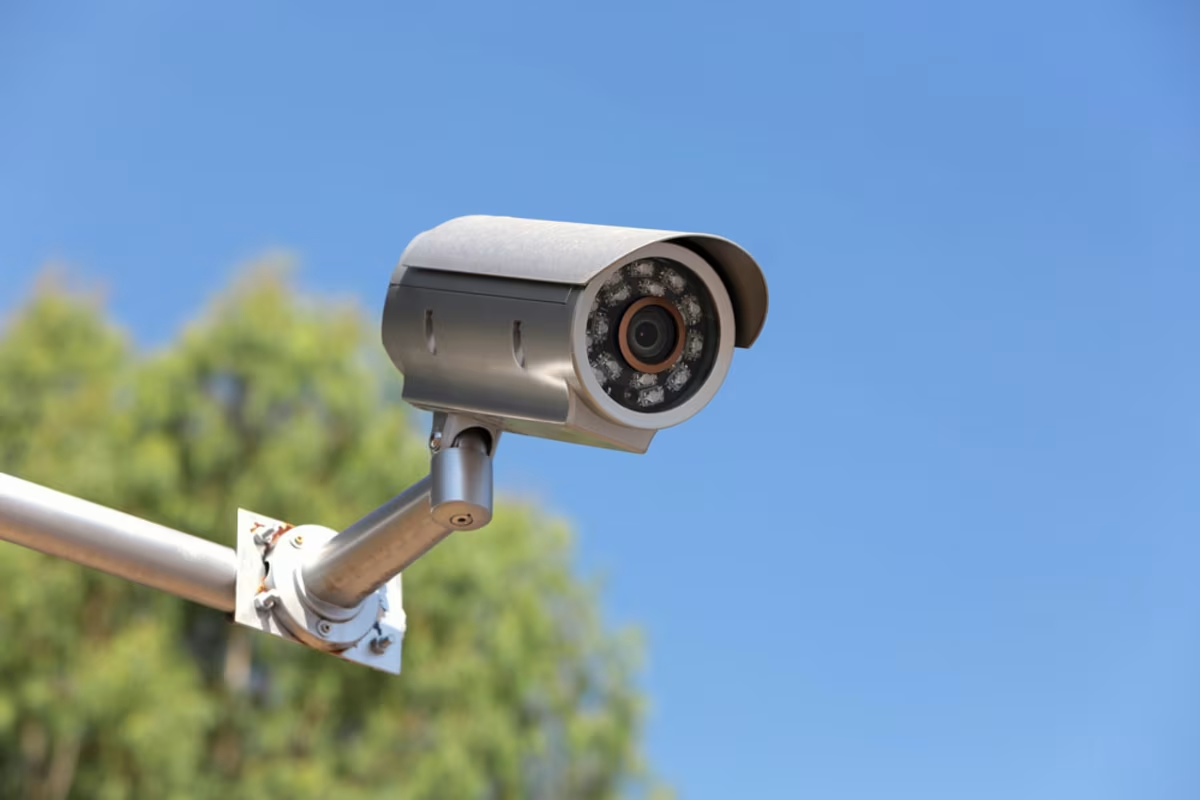
- Select the Mounting Location: Choose a strategic location for your camera that provides maximum coverage of the desired area. Consider factors such as the camera’s field of view, the height at which it should be mounted, and any possible obstructions that might interfere with the camera’s line of sight.
- Ensure Stability: Ensure that the mounting surface is secure and stable enough to support the weight of the camera. If necessary, use mounting brackets or hardware provided by the camera manufacturer to ensure a sturdy installation.
- Follow the Manufacturer’s Instructions: Carefully read and follow the manufacturer’s instructions for mounting the camera. These instructions will provide specific guidance on mounting methods, tools required, and any additional considerations to keep in mind.
- Position the Camera: Align the camera to the desired angle and adjust its position to ensure the best possible view of the area you want to monitor. Most cameras allow for adjusting the tilt, pan, and rotation to achieve the desired positioning.
- Securing the Camera: Once the camera is positioned correctly, secure it in place using the provided screws, bolts, or clamps. Double-check the stability and ensure there is no movement or wobbling.
- Consider Camera Visibility: While it’s essential to position the camera strategically for maximum coverage, consider the visibility of the camera itself. In some cases, it may be beneficial to place the camera in a visible location as a deterrent to potential intruders.
- Test the Camera’s View: Before finalizing the installation, test the camera’s view to confirm that it covers the desired area and provides clear footage. Adjust the positioning if necessary to achieve optimal coverage.
By carefully following these steps, you’ll be able to mount your outdoor camera securely and ensure optimal surveillance coverage for your home.
When hooking up outdoor cameras that need a power source, make sure to use weatherproof power outlets and outdoor-rated extension cords to protect the cameras from the elements.
Connecting the Camera to Power
Now that the outdoor camera is securely mounted, it’s time to connect it to the power source. Follow these steps to establish a reliable power connection:
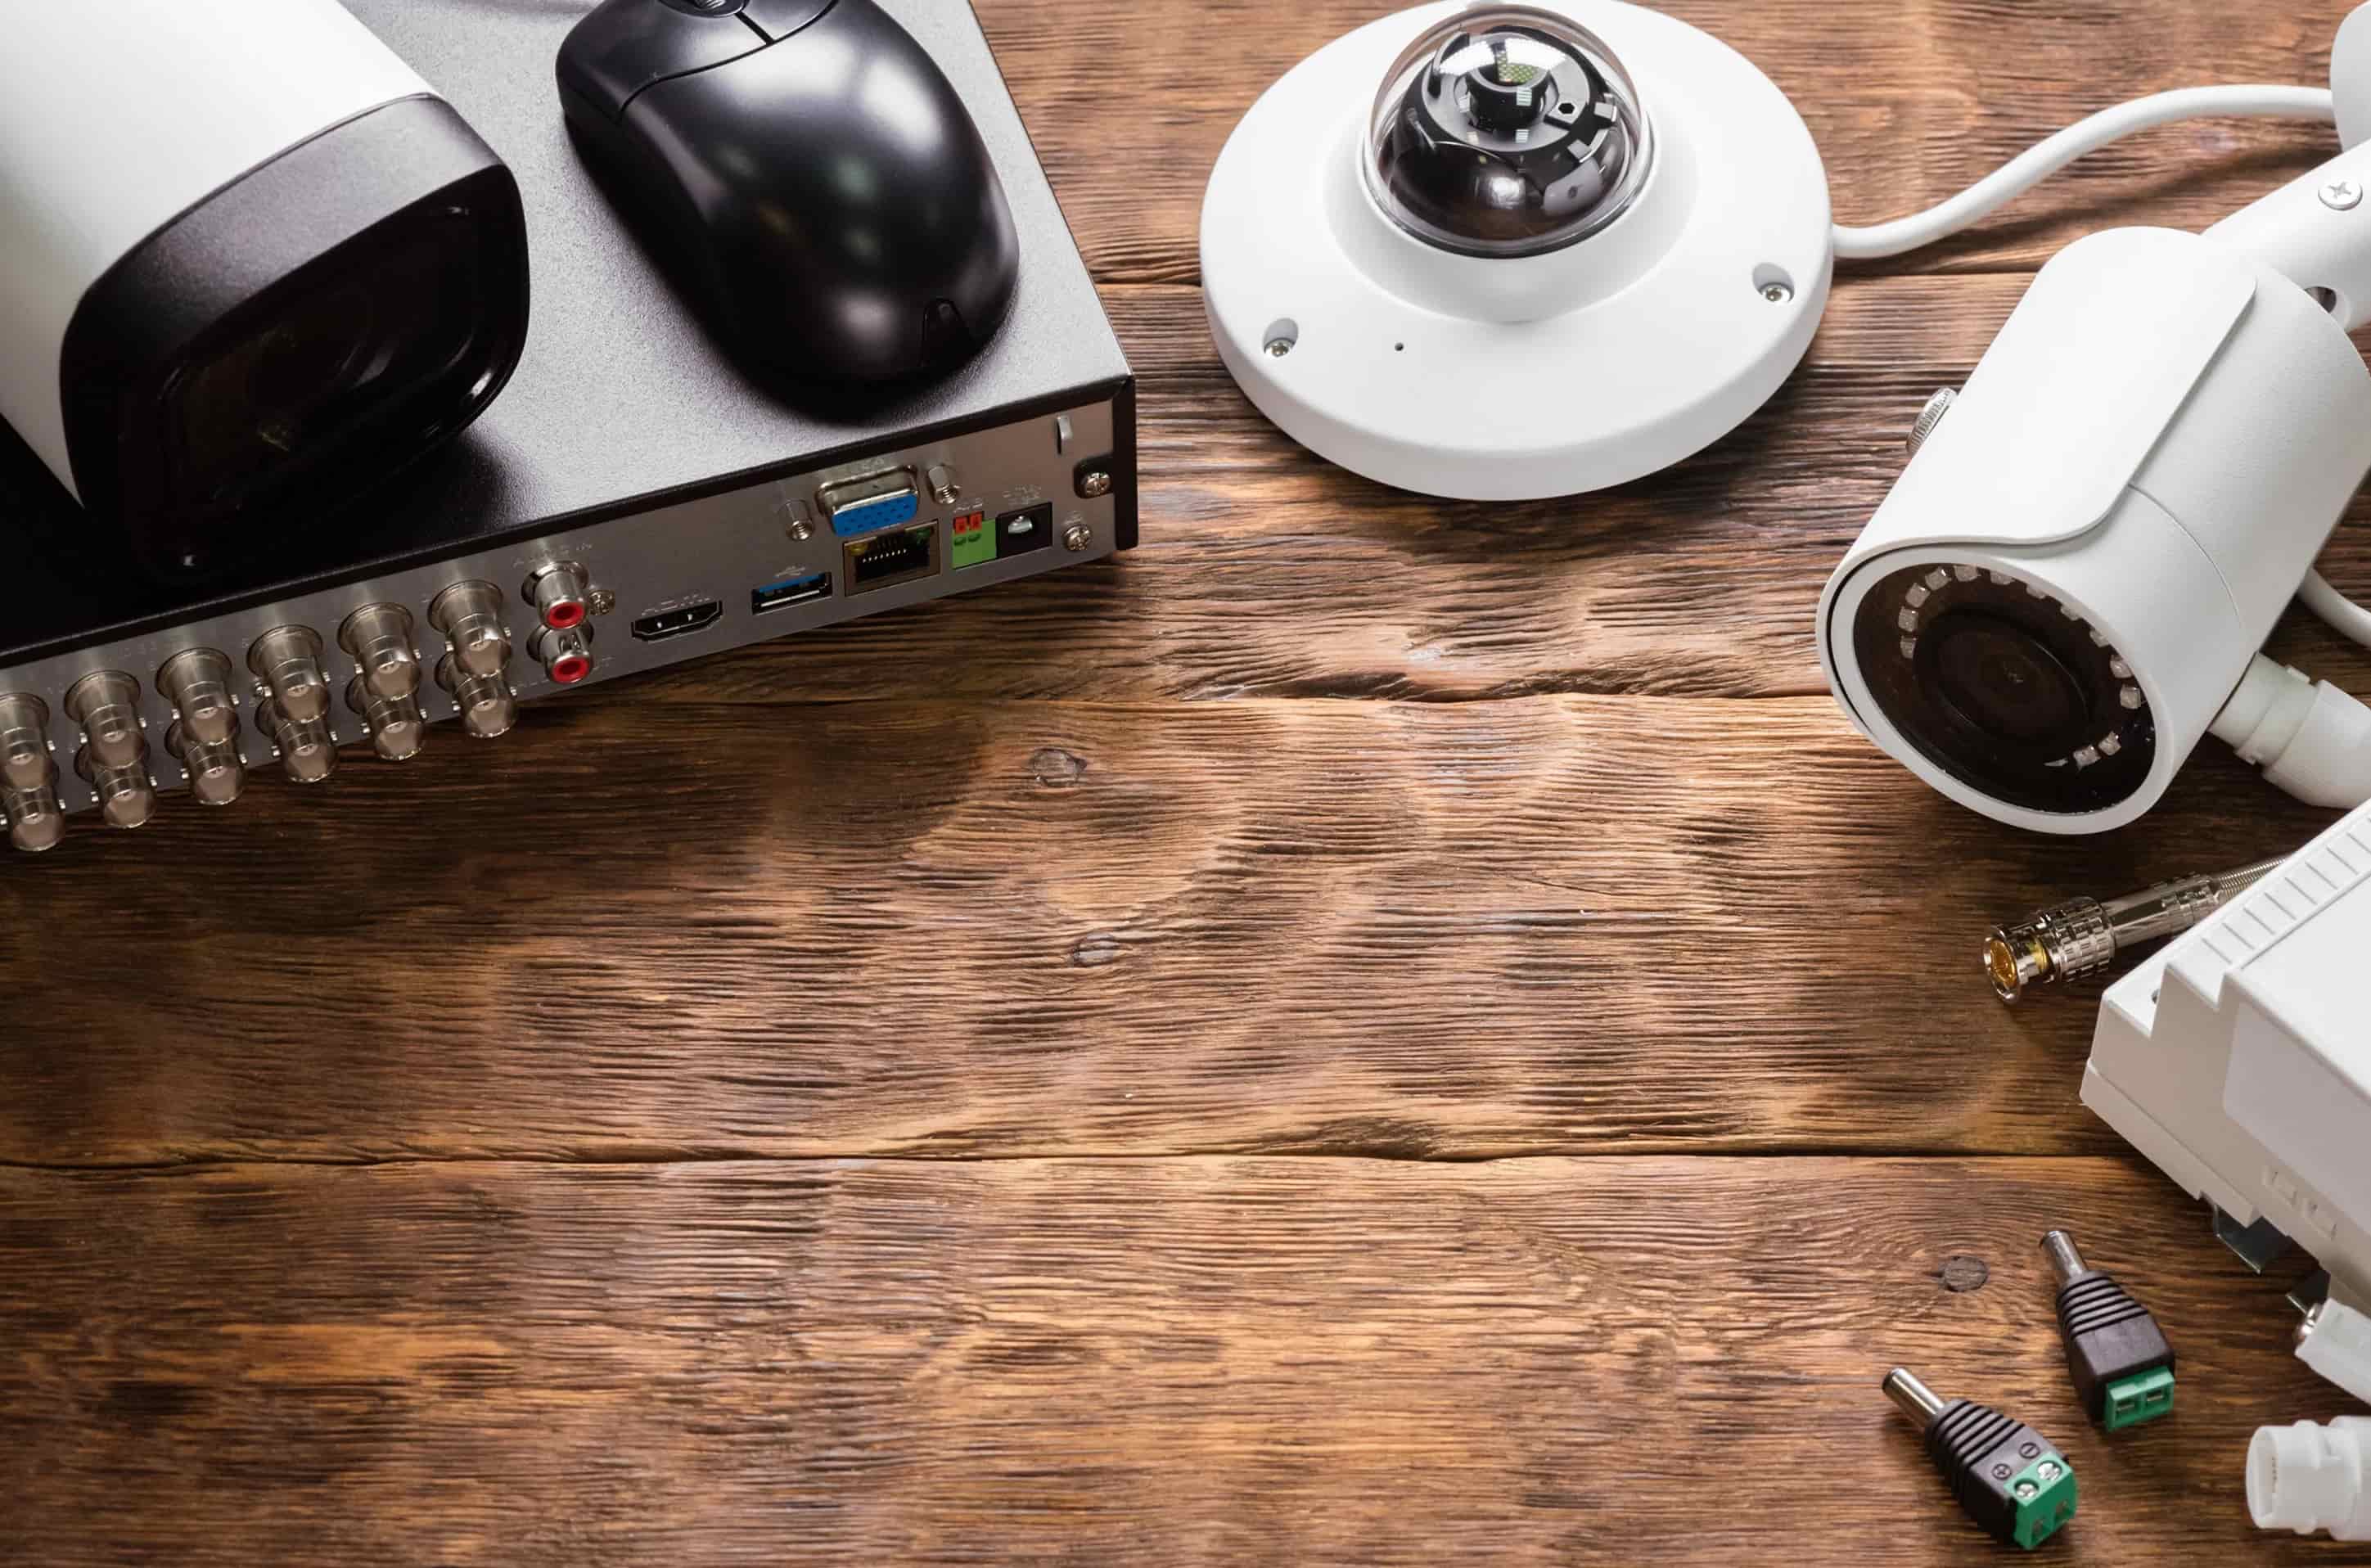
- Gather the Necessary Cables: Depending on the camera model, you may need a power adapter or cable to connect the camera to the power source. Ensure you have the correct cables and adapters beforehand.
- Locate the Camera’s Power Input: Identify the power input port on the camera. This port is typically located at the back or bottom of the camera housing. Refer to the camera’s user manual for specific guidance if needed.
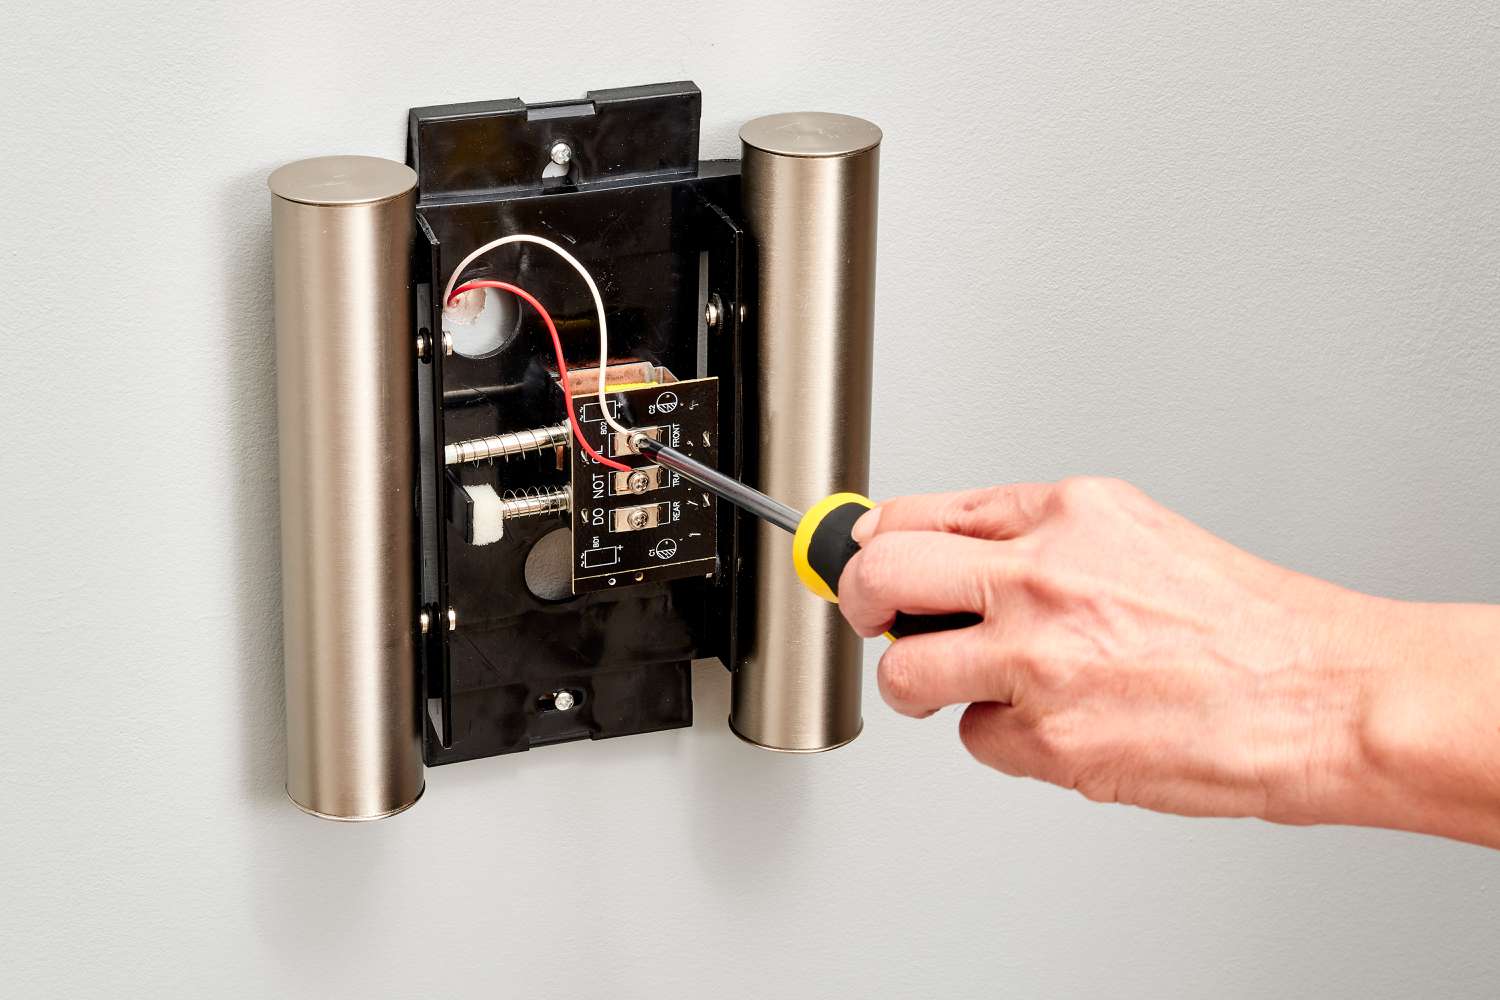
- Connect the Power Cable: Plug one end of the power cable into the camera’s power input port and the other end into the power source, such as an outdoor-rated power outlet or a power adapter connected to the wired power source.
- Ensure a Secure Connection: Make sure the power cable is securely connected to both the camera and the power source. Check for any loose connections that could result in power interruptions or loss of functionality.
- Hide or Secure the Power Cable: Depending on your preference and the camera’s positioning, you may choose to hide or secure the power cable for a cleaner installation. Use cable clips, cable management solutions, or outdoor-rated conduit to keep the cable protected and discreet.
- Test the Power Connection: Once the camera is connected to power, verify that it receives a steady power supply. Check the camera’s indicator lights or access its settings to confirm that it’s powered up and functioning properly.
- Consider Power Backup Options: In case of power outages or interruptions, it’s beneficial to have a backup power source for your outdoor camera. Consider investing in a battery backup or a UPS (Uninterruptible Power Supply) to keep your camera running during power failures.
By following these steps, you’ll successfully establish a reliable power connection for your outdoor camera, ensuring ongoing surveillance and peace of mind.
Adjusting Camera Settings
Once your outdoor camera is connected to power, it’s time to adjust its settings to optimize its performance and meet your specific surveillance needs. Follow these steps to fine-tune the camera settings:
- Access the Camera’s User Interface: Use the camera’s manual or instructions provided by the manufacturer to access its user interface. This can typically be done through a web browser, a mobile app, or dedicated software.
- Set Up Network Connectivity: If your camera supports Wi-Fi or Ethernet connectivity, configure the network settings to ensure the camera is connected to your home network. Follow the instructions provided by the camera manufacturer to establish a stable and secure connection.
- Configure Camera Preferences: Explore the camera’s settings menu to customize preferences such as video quality, motion detection sensitivity, recording modes, and notification settings. Adjust these settings according to your surveillance requirements and personal preferences.
- Enable Motion Detection: Activate the camera’s motion detection feature to receive alerts or notifications when motion is detected within the camera’s field of view. Adjust the sensitivity settings to minimize false alarms while ensuring accurate detection of relevant activity.
- Set Recording Options: Determine how you want the camera to record and store footage. The camera may offer options such as continuous recording, scheduled recording, or motion-triggered recording. Choose the appropriate recording mode that suits your needs and available storage capacity.
- Configure Privacy Settings: If necessary, adjust the camera’s privacy settings to avoid capturing or recording areas that should not be monitored, such as neighboring properties or private spaces.
- Set Up Remote Access: If remote monitoring is desired, configure the camera for remote access. This will allow you to view the camera’s live feed, playback recorded footage, and manage the camera settings from anywhere using a smartphone, tablet, or computer.
- Update Firmware: Check for firmware updates for your camera and install them if available. Firmware updates often include bug fixes, security enhancements, and improved performance, ensuring your camera operates at its best.
By adjusting the camera settings to align with your specific needs, you can maximize its effectiveness and customize the surveillance experience according to your preferences.
Testing and Troubleshooting
After setting up and adjusting your outdoor camera, it is essential to perform thorough testing to ensure that everything is functioning correctly. Here are some steps you can follow for testing and troubleshooting:
- Verify Power and Connectivity: Check that the camera is receiving power and has a stable network connection. Ensure that the power cable is securely connected and that the camera is connected to your home network.
- Live Feed Testing: Access the camera’s live feed on your computer or mobile device to verify that the camera is capturing and transmitting video properly. Check for any lag or latency issues in the live feed and adjust camera settings if necessary.
- Motion Detection Testing: Test the camera’s motion detection capabilities by moving within its field of view. Verify that the camera accurately detects and records motion, and that you receive notifications or alerts as expected.
- Video Recording and Playback: Initiate the camera’s recording function and verify that it records video footage properly. Playback the recorded footage to ensure it is clear and of satisfactory quality.
- Test Night Vision: If your camera has night vision capabilities, test its performance in low-light or dark conditions. Ensure that the camera provides clear visibility and that the infrared or night vision features are functioning as intended.
- Check Remote Access: Test the camera’s remote access feature by accessing the live feed and recorded footage from a different location using a smartphone or computer. Ensure that you can successfully connect to the camera and access the desired functions remotely.
- Troubleshooting: If you encounter any issues during testing, consult the camera’s user manual or manufacturer’s support resources for troubleshooting guidance. Common troubleshooting steps may include resetting the camera, checking network settings, or updating firmware.
- Professional Assistance: If you are unable to resolve any issues on your own, consider reaching out to the camera manufacturer’s customer support or consulting with a professional installer for further assistance.
Thorough testing and troubleshooting will help identify any potential issues early on and ensure that your outdoor camera is functioning as intended, providing you with reliable home security and surveillance.
Conclusion
Setting up outdoor cameras that require a power source is a crucial step towards enhancing the security and surveillance of your home. By carefully selecting the right camera, preparing the power source, mounting the camera securely, connecting it to power, adjusting the settings, and performing thorough testing, you can create a robust surveillance system that provides you with peace of mind and a sense of security.
When choosing an outdoor camera, consider factors such as resolution, field of view, weather resistance, night vision capabilities, power source requirements, connectivity options, storage options, and integration with existing security systems. This will help you select a camera that meets your specific needs.
Preparing the power source involves determining the location of the camera, ensuring a stable power supply, utilizing outdoor-rated power outlets, and taking measures to protect the power connection from the elements.
Mounting the outdoor camera involves strategically selecting the mounting location, ensuring stability of the mounting surface, following manufacturer instructions, positioning the camera correctly, securing it in place, and testing the camera’s view for optimal coverage.
Connecting the camera to power requires gathering the necessary cables, locating the camera’s power input port, connecting the power cable securely, hiding or securing the power cable, and testing the power connection for functionality.
Adjusting the camera settings involves accessing the camera’s user interface, setting up network connectivity, configuring preferences such as video quality and motion detection, enabling recording and notification options, considering privacy settings, setting up remote access, and updating firmware as necessary.
Finally, testing and troubleshooting the camera’s functionality is important to ensure that it is capturing video, detecting motion, recording properly, providing clear night vision, and allowing remote access. If any issues arise, consult the camera’s user manual or seek assistance from the manufacturer or a professional installer.
By following these steps, you can successfully set up outdoor cameras that require a power source, creating a robust surveillance system that enhances the security and protection of your home. Enjoy the peace of mind knowing that your property and loved ones are being monitored and safeguarded.
Frequently Asked Questions about How To Hook Up Outdoor Cameras That Need A Power Source
Was this page helpful?
At Storables.com, we guarantee accurate and reliable information. Our content, validated by Expert Board Contributors, is crafted following stringent Editorial Policies. We're committed to providing you with well-researched, expert-backed insights for all your informational needs.