Home>Home Security and Surveillance>How To Set Up Cobra Security Cameras
Home Security and Surveillance
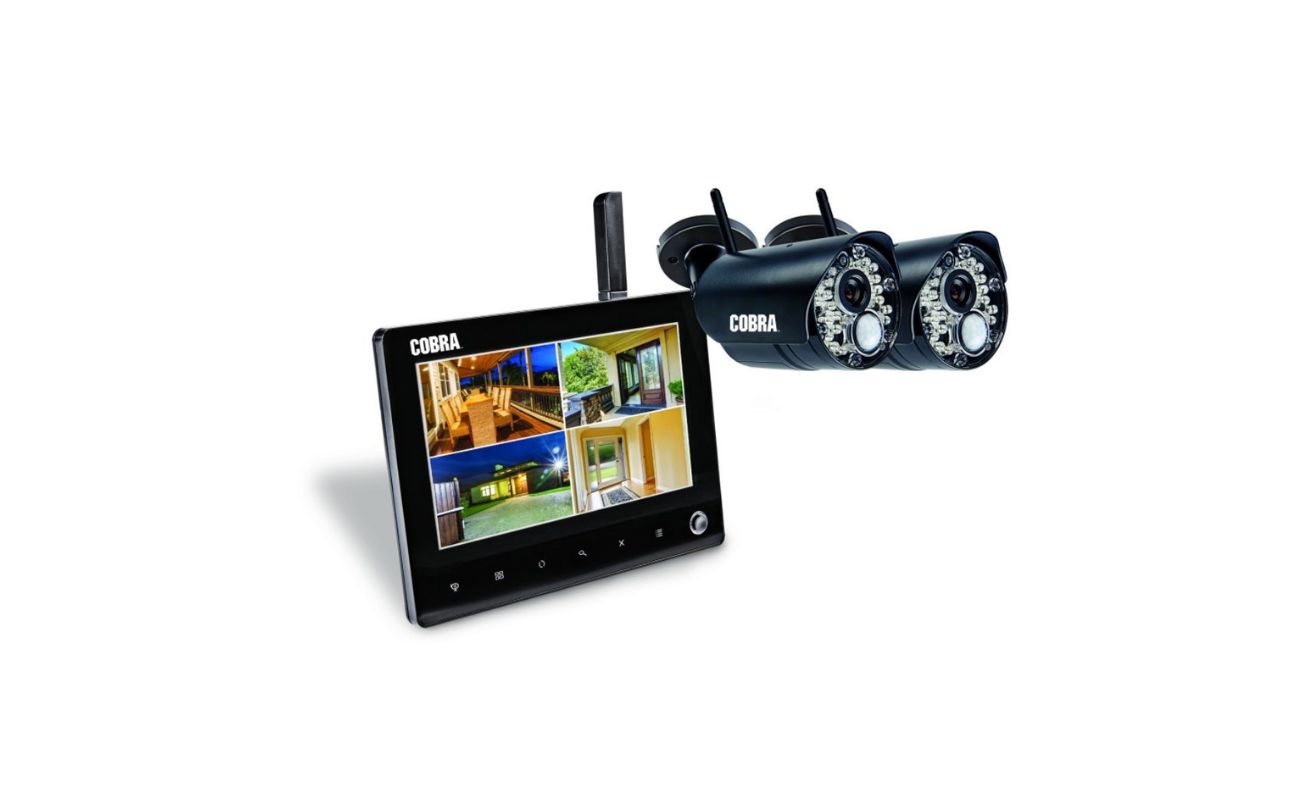
How To Set Up Cobra Security Cameras
Modified: October 20, 2024
Learn how to set up Cobra security cameras for your home security and surveillance needs. Improve your peace of mind and protect your property.
(Many of the links in this article redirect to a specific reviewed product. Your purchase of these products through affiliate links helps to generate commission for Storables.com, at no extra cost. Learn more)
Introduction
Welcome to the world of home security and surveillance! Whether you are concerned about protecting your property, keeping an eye on your loved ones, or simply increasing your peace of mind, installing a reliable security camera system can provide you with the added layer of protection you need. In this guide, we will walk you through the process of setting up Cobra security cameras, renowned for their advanced features and cutting-edge technology.
With the rapidly evolving landscape of smart home devices, security cameras have become more accessible and user-friendly than ever before. Cobra security cameras offer a wide range of options to suit different needs, from outdoor monitoring solutions to indoor surveillance setups. In just a few simple steps, you can have a comprehensive security system up and running in your home.
Before diving into the installation process, it’s important to assess your security needs. Are you looking for a basic camera system to monitor your front porch? Or do you need a more comprehensive setup to cover multiple areas of your property? Understanding your requirements will help you choose the right Cobra security camera system that fits your needs and budget.
Once you have determined your needs, it’s time to select the best Cobra security camera system for your home. Consider factors such as camera resolution, field of view, night vision capabilities, and additional features like two-way audio or motion detection. Cobra offers a variety of options to cater to different preferences, so take your time to compare and choose the system that suits you best.
Before getting started with the installation process, make sure you have all the necessary tools and materials on hand. Commonly required items include a power drill, screwdriver, cable clips, cables, and a monitor or smartphone for viewing the camera feed. Having everything ready before you begin will make the process smoother and more efficient.
Now that you’re prepared, it’s time to mount the cameras. Determine the optimal locations for your cameras, considering factors such as the area you want to cover, the camera’s field of view, and any potential blind spots. Whether you’re mounting the camera on a wall, ceiling, or other surfaces, make sure it is securely fastened to ensure stable and reliable monitoring.
With the cameras in place, it’s time to run the cables and connect them to the DVR. Depending on the system you’ve chosen, you may need to run cables through walls, attic spaces, or conduit to connect the cameras to the DVR. Take care to properly secure the cables to prevent any accidental damage or tripping hazards.
Next, you’ll need to set up the DVR. Connect it to a power source, as well as to your monitor or smartphone for live viewing. Follow the manufacturer’s instructions to ensure that everything is properly connected and functional. The DVR acts as the central hub for your security camera system, where you can view and store footage, configure settings, and manage your cameras.
Once the DVR is set up, it’s time to configure your security camera settings. Use the interface provided by the manufacturer to adjust settings such as motion detection sensitivity, recording duration, and notification preferences. Take advantage of features such as mobile app integration to receive alerts and access the camera feed from anywhere using your smartphone or tablet.
With everything set up, it’s crucial to test and optimize your camera placement. Monitor the camera feed to ensure that it covers the desired areas and provides clear and reliable footage. Adjust the camera angle and settings as needed to minimize blind spots and capture important details. Regularly check and clean the cameras to maintain their effectiveness.
Lastly, familiarize yourself with troubleshooting common issues that may arise with your Cobra security camera system. From connectivity problems to image quality issues, being aware of common glitches and their potential solutions will help you quickly resolve any unexpected challenges that may arise.
Now that you have a comprehensive understanding of how to set up Cobra security cameras, it’s time to embark on creating a safe and secure environment for your home. Follow the steps outlined in this guide and enjoy the peace of mind that comes with knowing your property is protected by advanced surveillance technology.
Remember, proper installation, regular maintenance, and staying up to date with firmware updates are essential for the optimal performance of your security camera system. Take the time to educate yourself on the various features and functionalities of your Cobra security cameras, and make the most of this valuable investment in your home’s security.
Key Takeaways:
- Setting up Cobra security cameras involves assessing your needs, choosing the right system, gathering tools, mounting cameras, and configuring settings. Regular maintenance and troubleshooting are essential for optimal performance.
- Proper camera placement, cable management, and testing are crucial for effective surveillance. Troubleshooting common issues and staying informed about updates ensure a reliable and secure home security system.
Read more: How To Set Up A Webcam As A Security Camera
Step 1: Assessing your security needs
The first step in setting up your Cobra security cameras is to assess your security needs. Before investing in a security camera system, it’s essential to evaluate what areas of your property you want to monitor and the specific requirements you have for surveillance.
Start by identifying the vulnerable areas of your home, such as entrances, windows, and any other potential points of entry. Consider any previous incidents or concerns you may have had, and prioritize those areas accordingly.
Next, determine the purpose of your security camera system. Are you primarily looking to deter potential intruders, monitor activity in and around your home, or both? Understanding your goals will help guide your decision-making process when choosing the right camera system and features.
Consider the type of property you have and any unique security considerations it may require. For example, if you have a large yard or multiple outbuildings, you may need outdoor cameras with a wider field of view and excellent night vision capabilities.
Additionally, take into account your lifestyle and how you plan to use the cameras. Are you frequently away from home and want the ability to monitor your property remotely? In that case, you may want to opt for a camera system with mobile app integration for easy access and real-time notifications.
Budget is also an important factor to consider. Determine how much you’re willing to invest in a security camera system, keeping in mind that more advanced features and higher camera resolutions may come at a higher cost.
To gain a better understanding of your security needs, you can also consult with a professional security consultant or seek advice from experienced homeowners. They can provide insights based on their knowledge and expertise to help you make an informed decision.
By carefully assessing your security needs, you can ensure that you choose a Cobra security camera system that meets your specific requirements and provides the level of protection you desire for your home. Remember that the goal is to create a comprehensive security solution that gives you peace of mind and enhances the overall safety of your property.
Step 2: Choosing the right Cobra security camera system
Now that you have assessed your security needs, it’s time to choose the right Cobra security camera system for your home. With a wide range of options available, selecting the one that best fits your requirements can be a daunting task. Here are some factors to consider:
Camera Resolution: The resolution of a camera determines the clarity of the footage it captures. Higher resolution cameras offer more detailed images, which can be crucial for identifying people or objects. Cobra provides a range of options, including cameras with resolutions up to 4K, ensuring crisp and clear video surveillance.
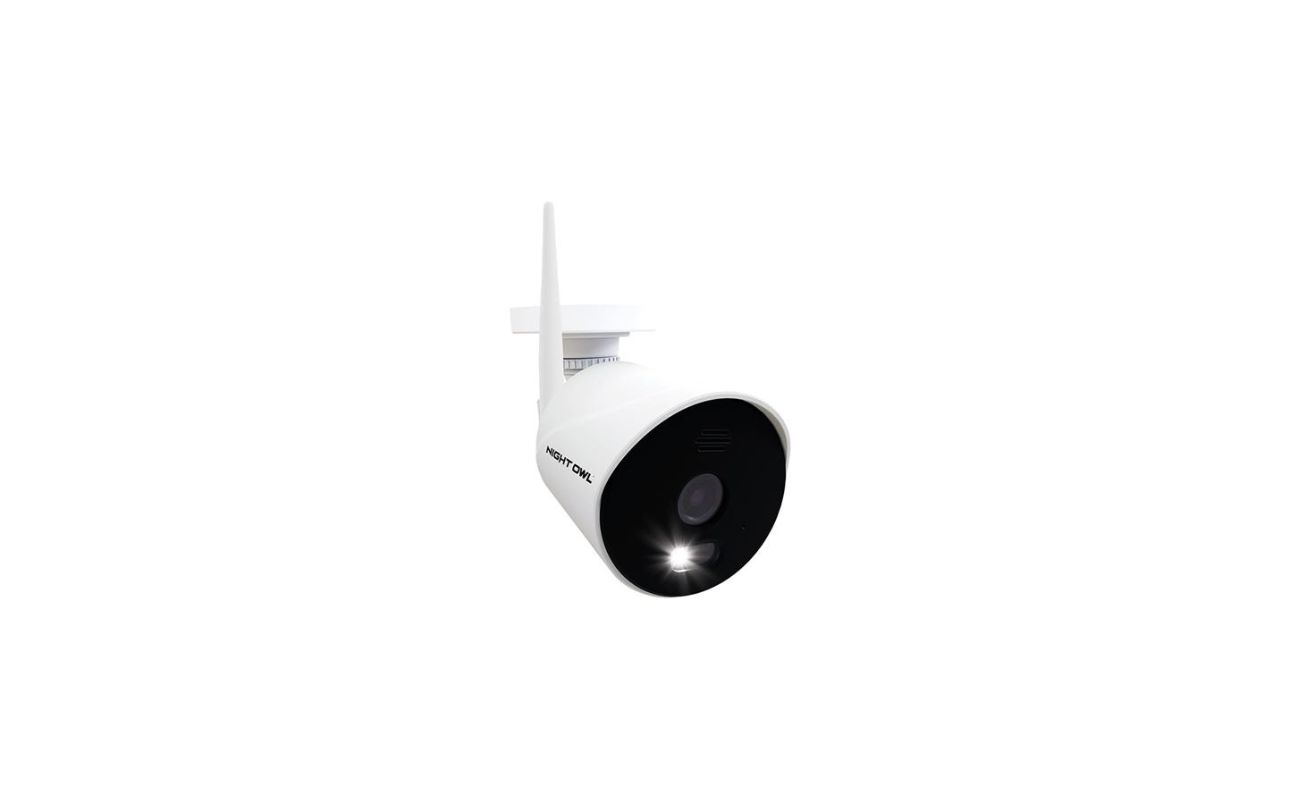
Night Vision: If you want to monitor your property during the night, it’s essential to choose a camera system with excellent night vision capabilities. Look for Cobra cameras equipped with infrared (IR) LEDs, enabling them to capture clear footage even in complete darkness.
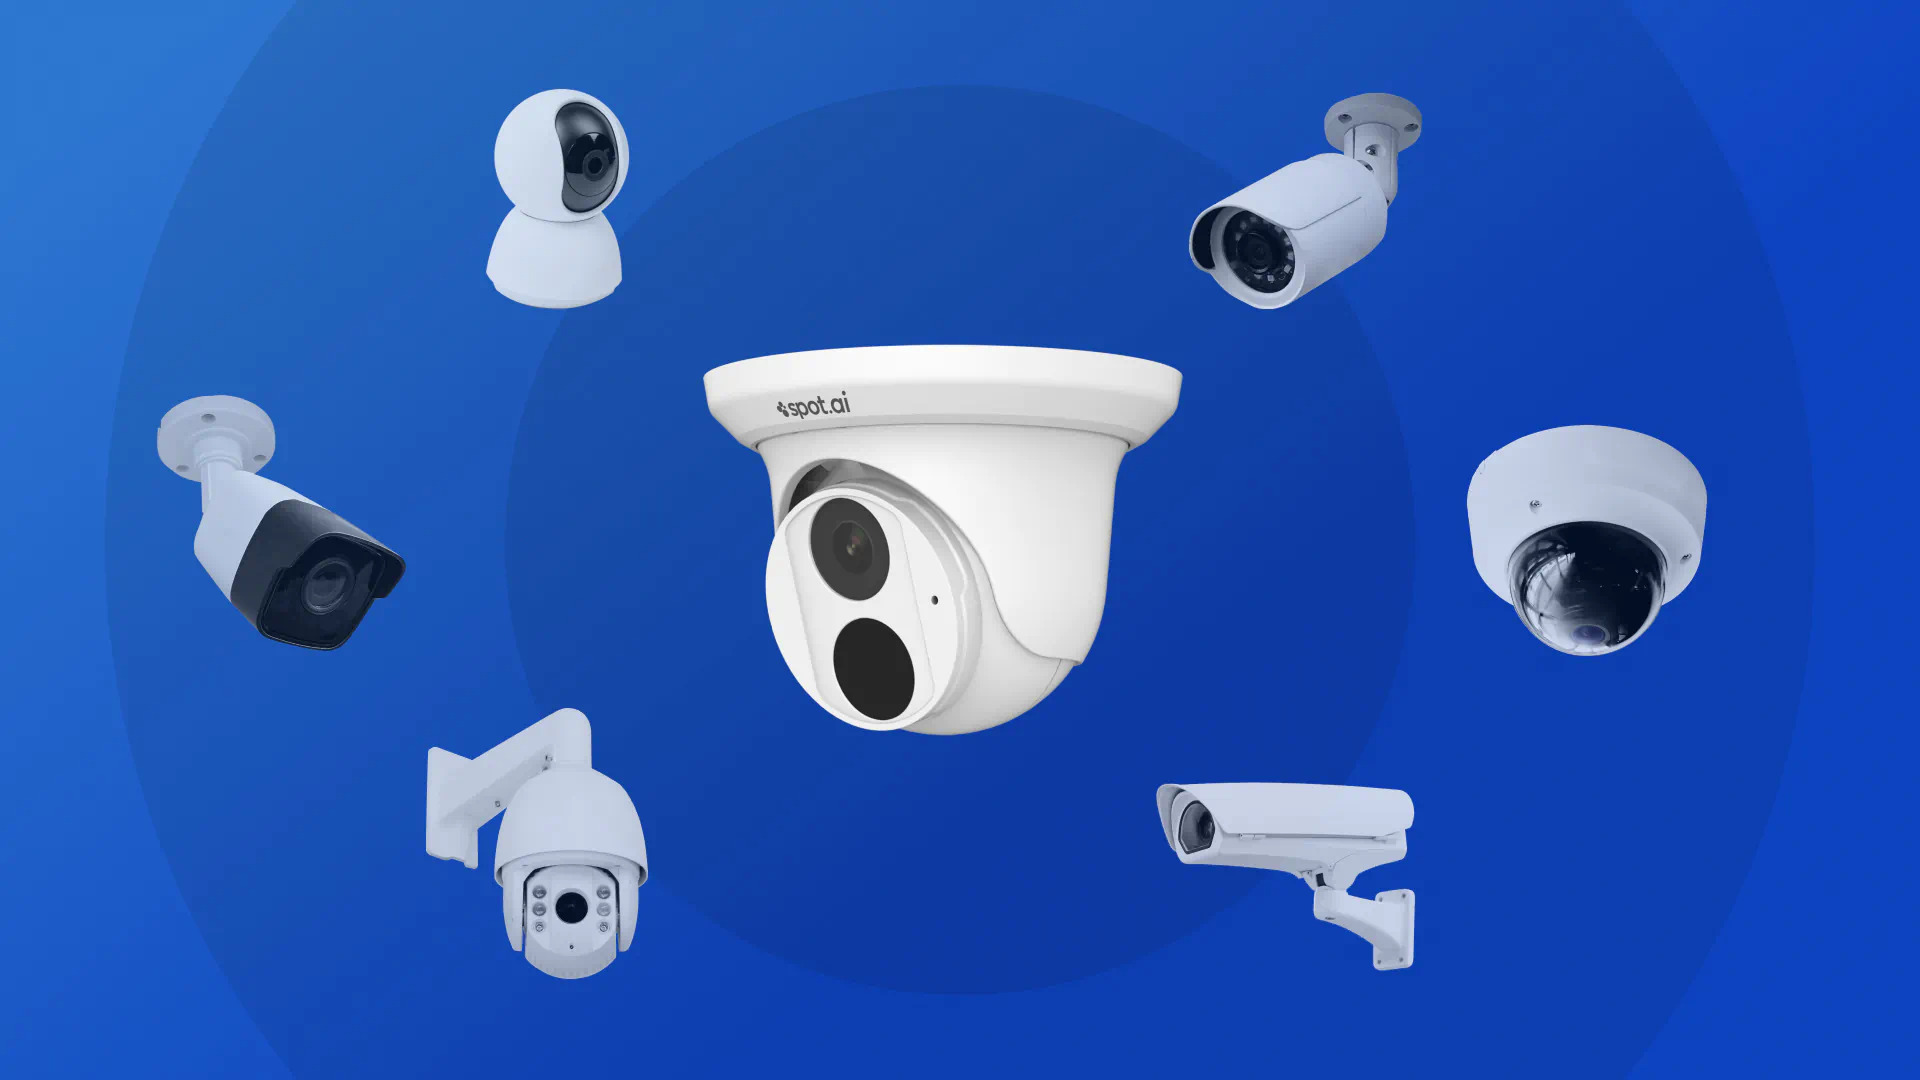
Field of View: Consider the field of view required to cover your desired areas. A wider field of view allows the camera to capture more of the scene, reducing the number of cameras needed. Cobra cameras offer a variety of lens options, enabling you to customize the field of view to suit your specific monitoring needs.
Weather Resistance: If you plan to install outdoor cameras, ensure they are weather-resistant and designed to withstand the elements. Cobra offers outdoor cameras with durable housing that can withstand rain, wind, and extreme temperatures, ensuring reliable performance in any weather conditions.
Additional Features: Consider any additional features that may enhance the functionality of your security camera system. Cobra offers cameras with two-way audio, allowing you to communicate with people near the camera. Motion detection, remote viewing through mobile apps, and cloud storage are also valuable features to consider.
Budget: Determine your budget for the security camera system. Cobra provides a range of options to fit various budgets, so you can find a system that meets your needs without exceeding your financial limitations.
Research and Reviews: Take the time to read reviews and gather information from reputable sources to gain insights into the performance and reliability of different Cobra camera models. This will help you make an informed decision and ensure you choose a system that meets your expectations.
Scalability: Consider the scalability of the camera system. If you plan to expand your surveillance coverage in the future, choose a system that allows for easy integration of additional cameras without significant limitations.
By considering these factors and conducting thorough research, you can choose the right Cobra security camera system that aligns with your needs, preferences, and budget. Remember that investing in a high-quality camera system ensures the long-term security and protection of your home.
Step 3: Gathering necessary tools and materials
Now that you have chosen the right Cobra security camera system, it’s time to gather the necessary tools and materials for the installation process. By having everything prepared beforehand, you can ensure a smooth and efficient setup. Here are the essential items you will need:
Power Drill: A power drill will be needed to create holes for mounting the cameras and running cables. Make sure you have the appropriate drill bits for the type of surface you will be working on.
Screwdriver: A screwdriver is essential for securing camera brackets, mounting plates, and any other hardware included with your Cobra security camera system. Have both flathead and Phillips head screwdrivers available to accommodate different types of screws.
Cable Clips: Cable clips are used to secure the cables along the walls or ceilings, keeping them organized and preventing them from becoming a tripping hazard. Make sure you have a sufficient supply of cable clips to install the cameras and run the cables throughout your property.
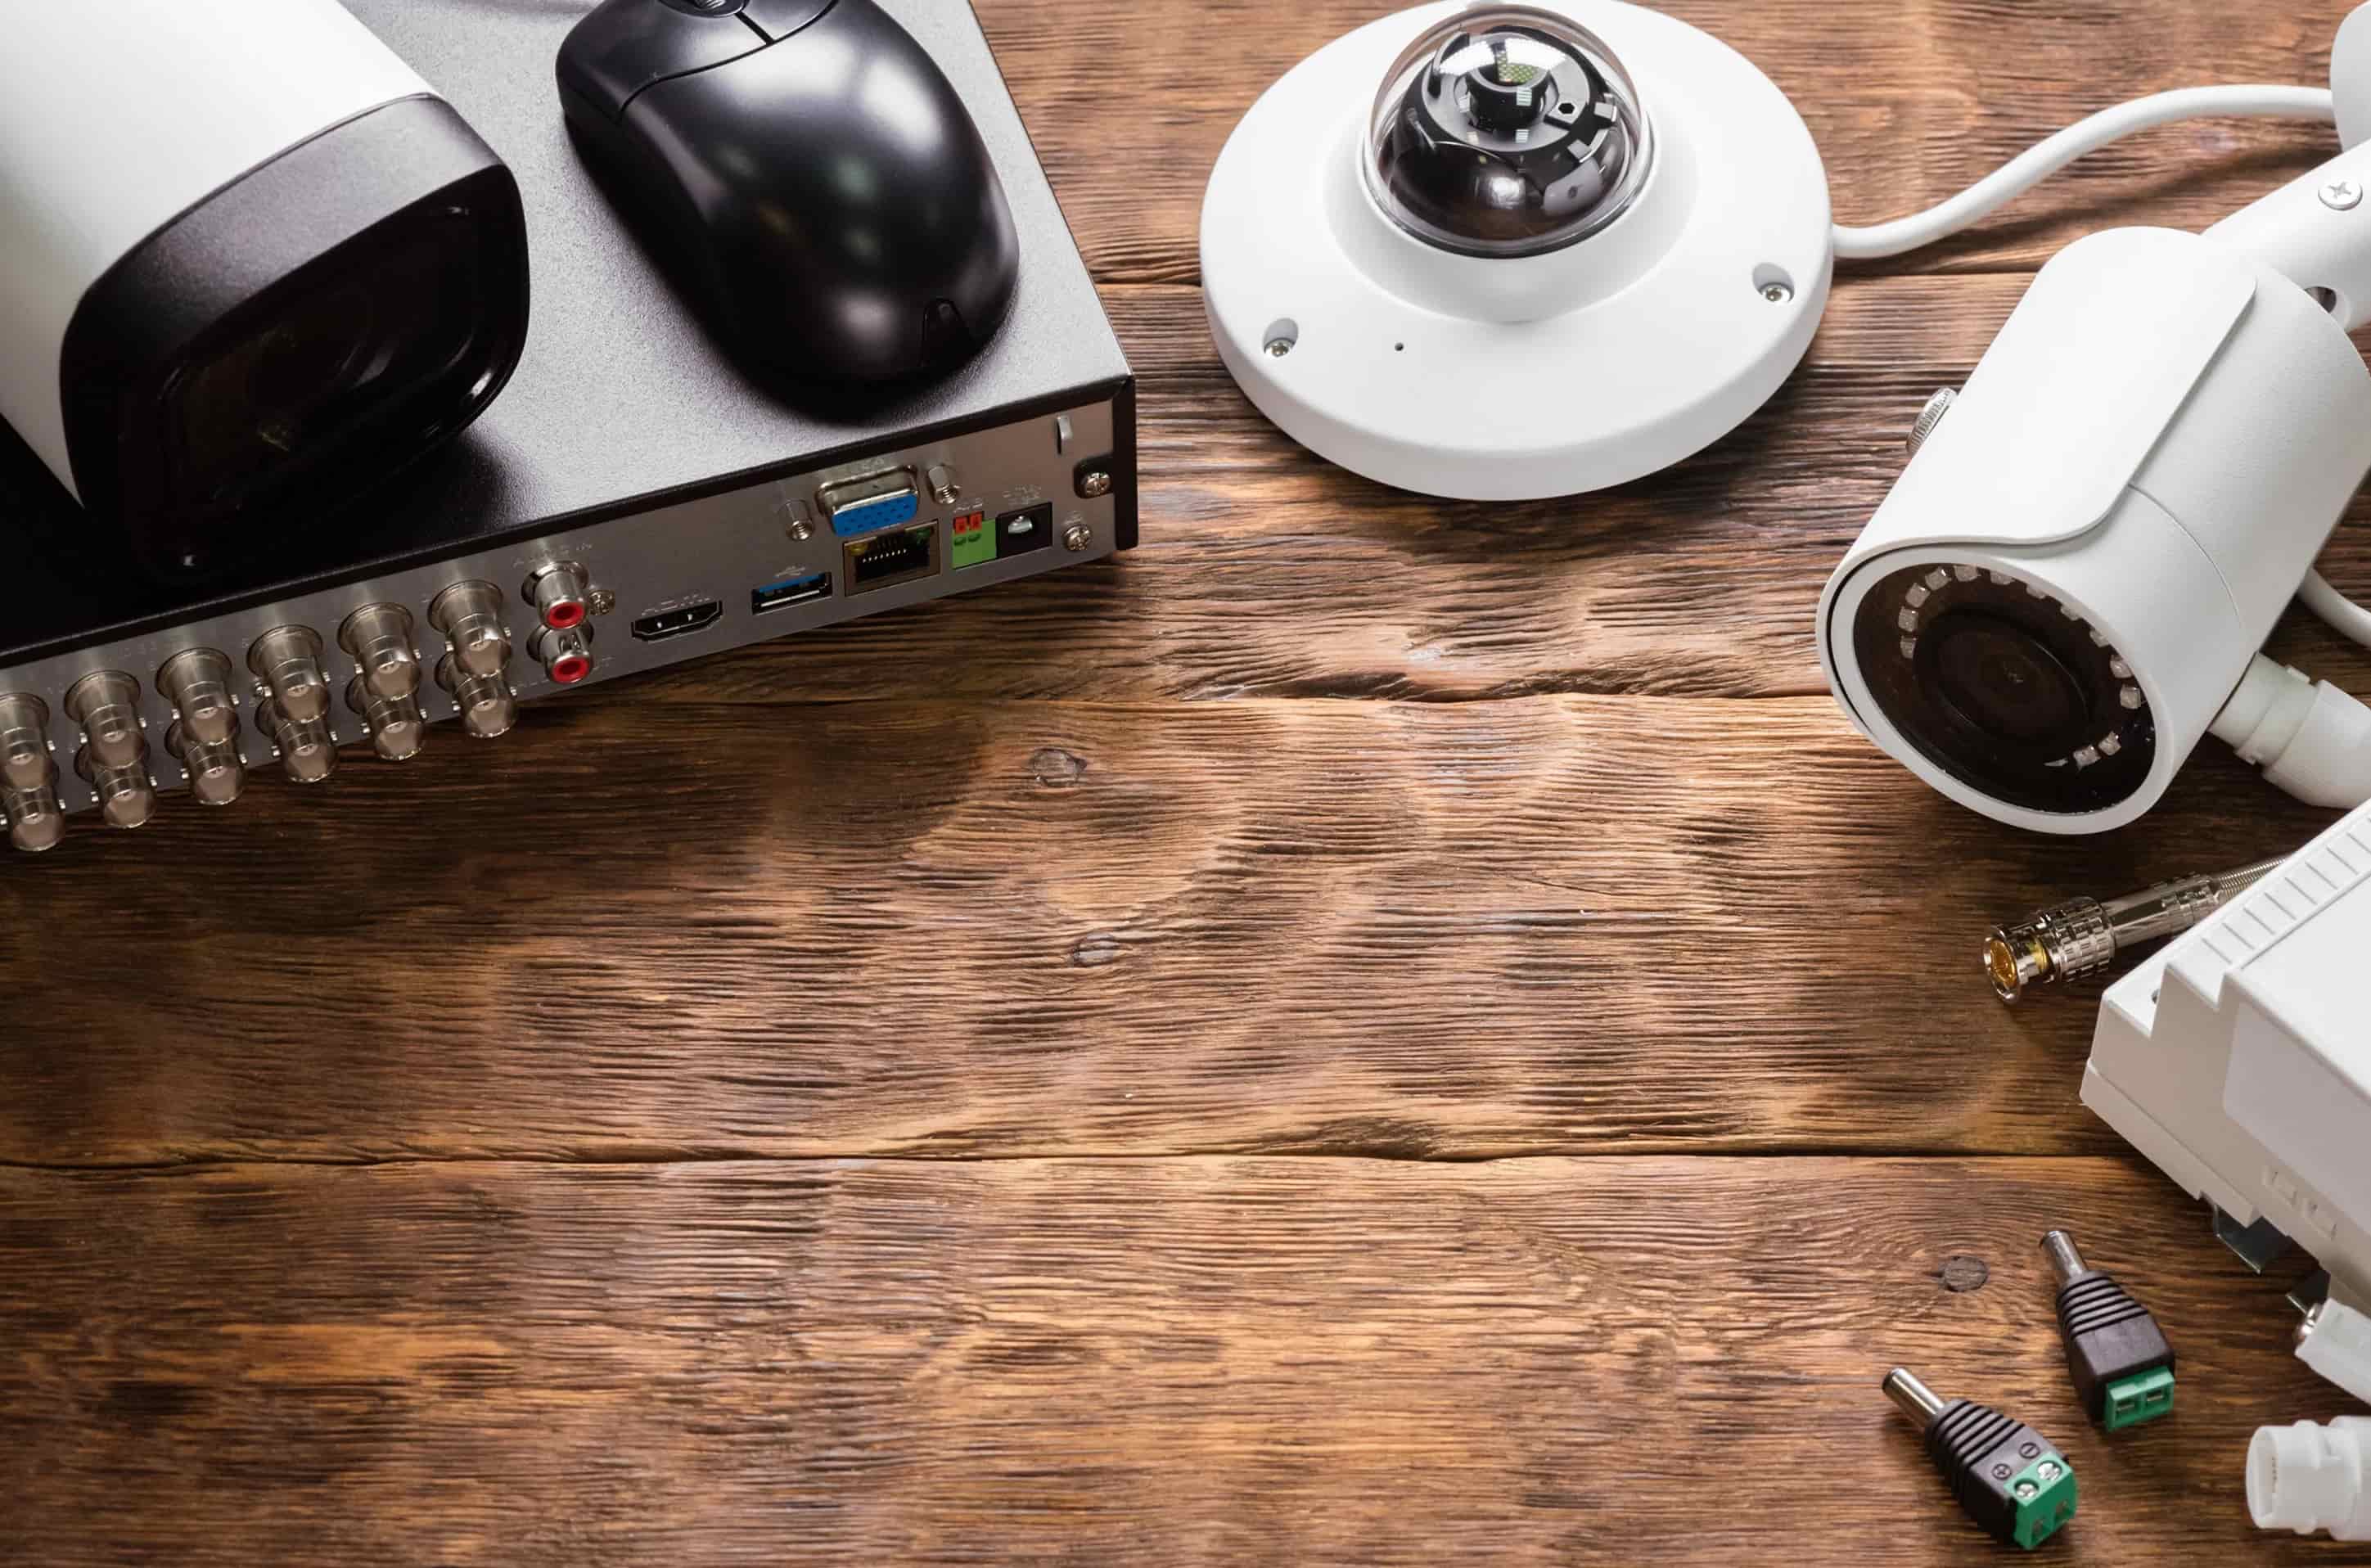
Cables: Depending on the Cobra security camera system you have chosen, different types of cables may be required. Typically, BNC (Bayonet Neill–Concelman) cables are used for transmitting video signals and power to the cameras. Ensure you have enough cables to connect each camera to the DVR.
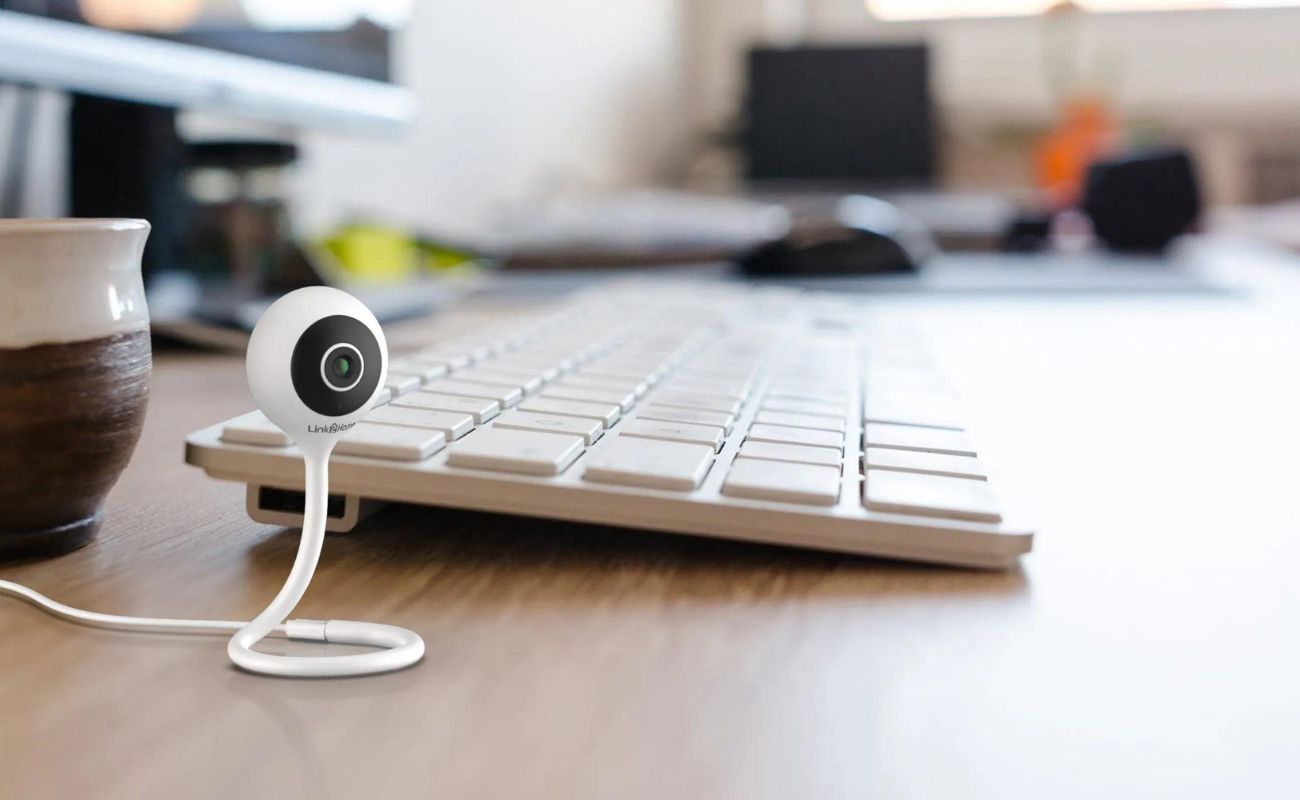
Monitor or Smartphone: You will need a display device to view the camera feed and configure the system. This can be a dedicated monitor or even your smartphone or tablet if the Cobra security camera system supports remote viewing through a mobile app.
Tape Measure: A tape measure will come in handy for measuring the distances between mounting points and ensuring accurate camera placement. Use it to calculate the length of cables needed and to ensure the field of view of each camera covers the intended area.
Pencil or Marker: Use a pencil or marker to mark the mounting points and cable paths before drilling holes or running the cables. This will help ensure precise installation and minimize any damage to your walls or ceilings.
Ladder or Step Stool: Depending on the height at which your cameras will be mounted, you may need a ladder or step stool to reach the desired locations safely. Ensure you have the necessary equipment for accessing high or hard-to-reach areas.
Power Extension Cords: In some cases, you may need power extension cords to reach electrical outlets for the cameras or the DVR. Make sure you have sufficient length and quantity of extension cords to accommodate your installation needs.
Extra Screws and Anchors: It’s always a good idea to have some extra screws and wall anchors on hand in case any are lost or damaged during installation.
By gathering these tools and materials before beginning the installation process, you can ensure a more organized and efficient setup of your Cobra security camera system. Having everything at your disposal will save you time and frustration, allowing you to focus on achieving optimal camera placement and reliable surveillance coverage for your home.
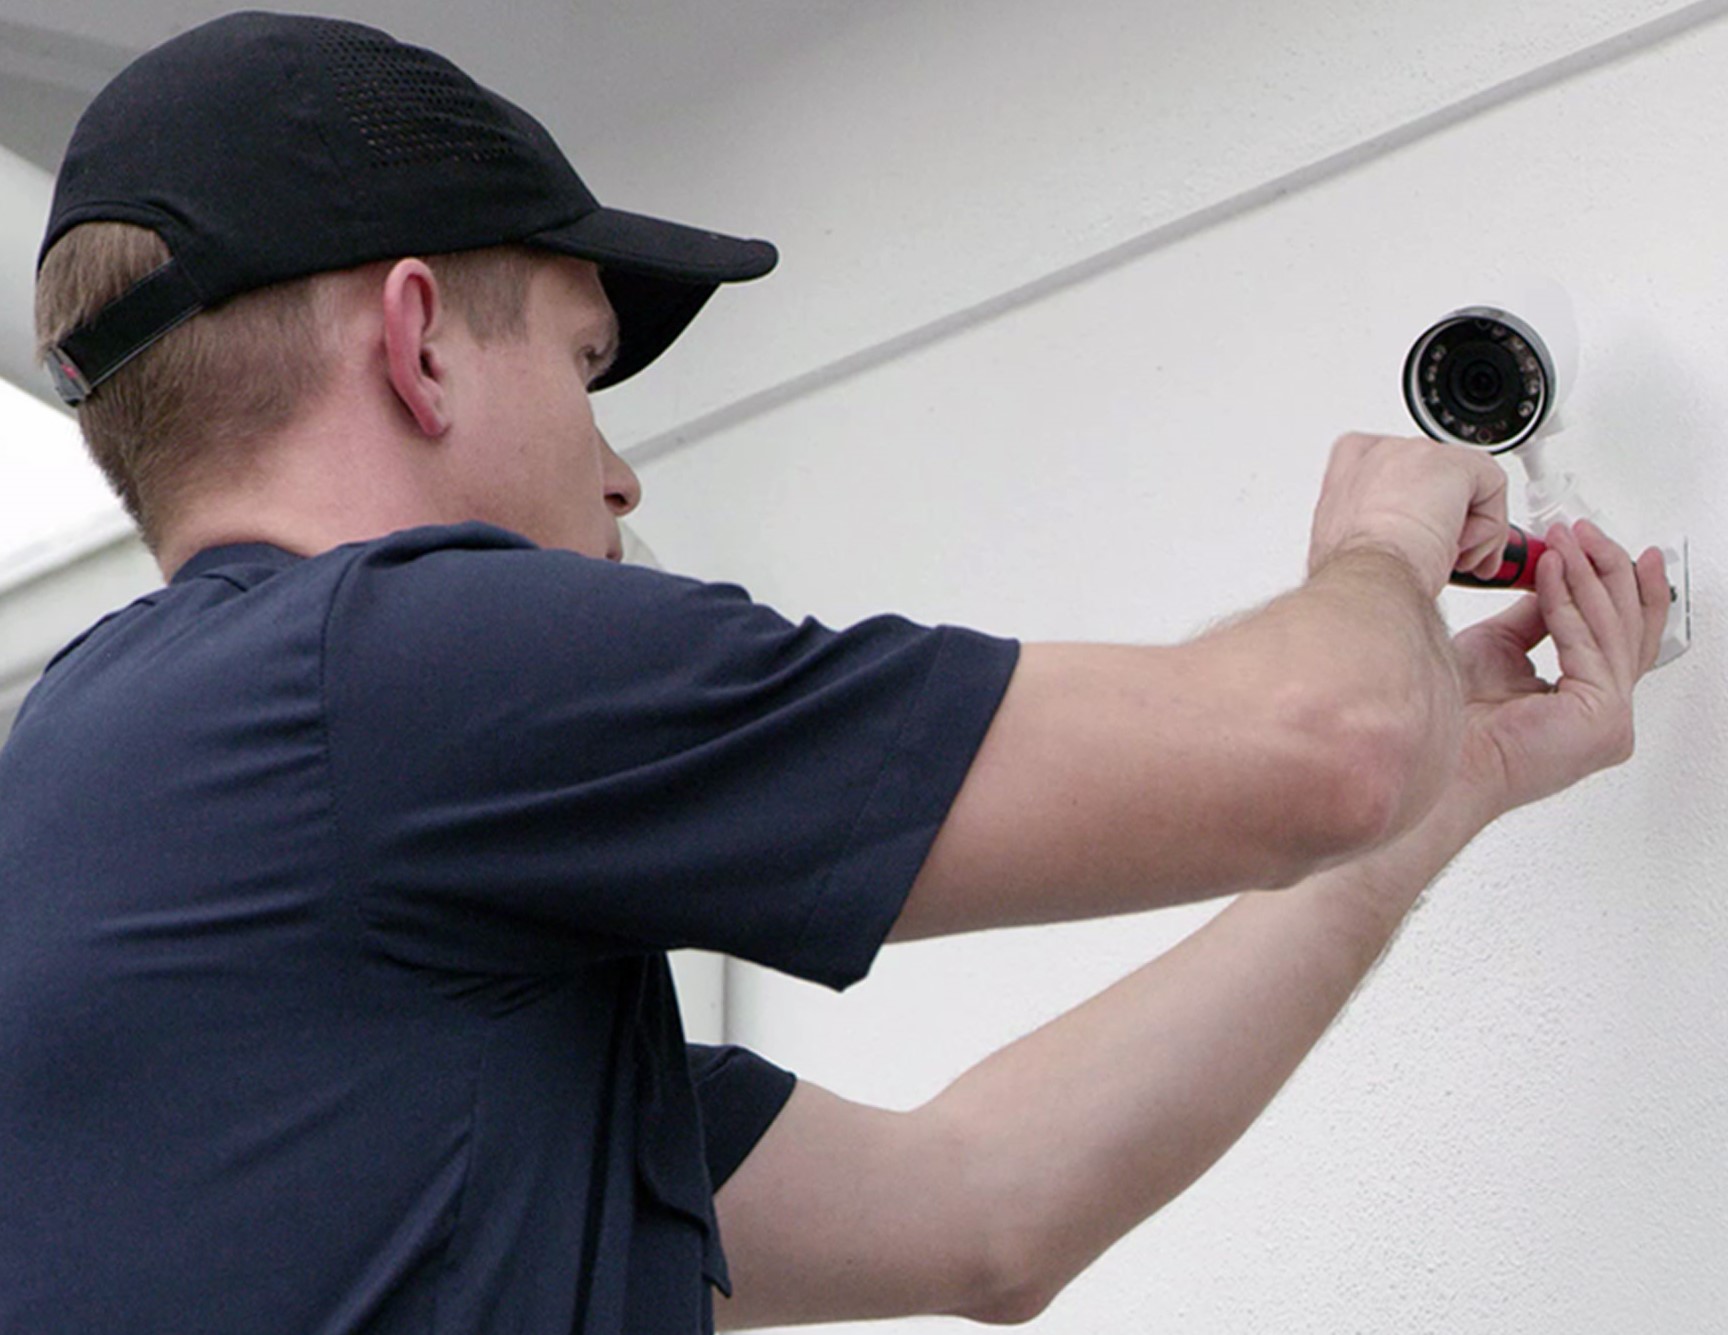
Step 4: Mounting the cameras
Now that you have gathered the necessary tools and materials, it’s time to move on to the next step: mounting the Cobra security cameras. Proper camera placement is crucial for optimal surveillance coverage and capturing high-quality footage. Here’s how to mount your cameras:
1. Choose optimal mounting locations: Begin by identifying the best locations for your cameras. Consider the areas you want to monitor, such as entrances, driveways, or backyards. Take into account the camera’s field of view and any potential obstructions or blind spots that may affect its effectiveness.
2. Prepare the mounting brackets: Depending on the model of your Cobra security camera, it may come with a mounting bracket. Attach the camera to the bracket according to the manufacturer’s instructions. Ensure that the camera is tightly secured to the bracket to prevent any movement or misalignment.
3. Mark the mounting points: Use a pencil or marker to mark the locations where you plan to mount the cameras. Double-check the height and angle to ensure optimal viewing angles. Take measurements to ensure consistent placement if you are mounting multiple cameras.
4. Drill holes: With the mounting points marked, use a power drill and the appropriate drill bit to create holes for the camera brackets. Ensure the holes are the correct size and depth to provide a snug fit for the screws or wall anchors.
5. Attach the cameras: After drilling the holes, attach the camera brackets to the wall or surface using screws or wall anchors. Make sure the brackets are securely fastened to provide stable support for the cameras.
6. Adjust camera angle and level: Once the cameras are mounted, adjust their angles to capture the desired area. Use a level tool to ensure that the cameras are aligned horizontally and vertically for a professional and tidy installation.
7. Test camera range and coverage: After mounting the cameras, it’s essential to test their range and coverage. Check the camera’s field of view and adjust the angle if necessary to minimize blind spots and maximize coverage. Verify that the cameras capture the intended areas and provide clear, unobstructed views.
Tips:
- Consider using camera mounts or extension poles to achieve the desired height or adjust the angle of the cameras.
- If you are mounting cameras outdoors, ensure they are weather-resistant and provide proper protection against elements such as rain and extreme temperatures.
- Refer to the manufacturer’s instructions for specific guidelines and recommendations for mounting the Cobra security cameras.
- Take into account the wiring and cable routes when choosing the best mounting points to ensure easy and tidy cable management.
By following these steps, you can ensure that your Cobra security cameras are properly mounted, providing effective surveillance coverage for your home. Remember to take your time with this step to ensure accurate placement and alignment, as it forms the foundation for the functionality and performance of your security camera system.
Read more: How To Set Up Home Security Camera
Step 5: Running cables and connecting the cameras
Now that you have mounted your Cobra security cameras, it’s time to run the cables and connect the cameras to the Digital Video Recorder (DVR). Proper cable management is essential to ensure reliable connectivity and minimize any potential signal loss. Here’s how to run cables and connect the cameras:
1. Plan your cable routes: Before running the cables, plan the routes to ensure a neat and organized installation. Consider the shortest and most direct paths from each camera to the DVR. Avoid running the cables near power lines or high-voltage wires to prevent interference.
2. Measure and cut the cables: Measure the required length for each cable and cut them accordingly. It’s always better to have some extra length for flexibility. Remember to label the cables or keep a record of which cable corresponds to each camera location for ease of identification during the connection process.
3. Run the cables: Carefully run the cables along the planned routes, ensuring they are securely fastened to prevent sagging or any potential damage. Use cable clips or secure them in place using adhesive clips. For outdoor installations, consider using weatherproof conduit or protective covers for added durability.
4. Connect the cables to the cameras: At each camera location, connect the corresponding cable to the camera. Most Cobra security cameras use BNC connectors for video signal transmission and power. Ensure a secure and tight connection to avoid any signal loss or interruptions.
5. Route the cables to the DVR: Run the cables along the planned routes to reach the DVR location. Use cable clips to fix the cables along walls, ceilings, or other surfaces. Keep in mind the tidy arrangement of the cables to prevent tangling or accidental damage.
6. Connect the cables to the DVR: At the DVR location, connect each camera cable to the corresponding input port on the back of the DVR. Make sure to match the colors or designated labels on both ends to ensure proper connectivity and avoid confusion. Tighten the connectors to establish a secure and stable connection.
7. Power the cameras: Connect the power adapters or power supply cables to the cameras. Ensure that you have a sufficient power source nearby and that the power supply matches the requirements of your Cobra security cameras.
8. Test the camera connections: Once all the cables are connected, power on the DVR and the cameras. Use the monitor or smartphone connected to the DVR to verify that the camera feeds are displaying correctly. Check for any connectivity issues, distorted images, or missing cameras, and make necessary adjustments.
Tips:
- Use cable management techniques such as cable ties or sleeves to keep the cables organized and minimize any clutter.
- Consider using a cable tester to ensure the integrity of the connections and to troubleshoot any potential issues during installation.
- Always follow the manufacturer’s instructions for connecting the cables and powering the cameras to avoid any potential damage.
- If you are unsure about running cables or making connections, consider consulting a professional installer to ensure a proper and reliable installation.
By following these steps, you can ensure a successful cable installation and connection of your Cobra security cameras. Proper cable management and secure connections are essential for maintaining the functionality and performance of your surveillance system.
When setting up Cobra security cameras, make sure to place them in high-traffic areas and at entry points for maximum coverage. Test the cameras to ensure they are capturing clear footage before finalizing their placement.
Step 6: Setting up the DVR (Digital Video Recorder)
Now that you have connected the cameras to the cables, it’s time to set up the DVR (Digital Video Recorder). The DVR is the central hub of your Cobra security camera system, where you can view live footage, record video, and adjust various settings. Follow these steps to set up your DVR:
1. Connect the DVR to a power source: Plug the power cable of the DVR into a nearby electrical outlet. Ensure that the power source is stable and reliable to avoid any potential disruptions to the DVR’s operation.
2. Connect the DVR to a display device: Use the appropriate video cable (such as HDMI or VGA) to connect the DVR to a monitor or TV. If your Cobra security camera system supports network connectivity, you may also have the option to connect the DVR to a smartphone or computer for remote viewing and management.
3. Power on the DVR: Press the power button on the DVR to turn it on. Allow the system a few moments to boot up and initialize.
4. Access the DVR’s interface: Once the DVR is powered on, you should see the interface displayed on your connected monitor or TV. Use the provided remote control or front panel buttons to navigate through the on-screen menus.
5. Set up system preferences: Within the DVR’s interface, you will have access to various system preferences and settings. This includes adjusting the date and time settings, language preferences, display settings, and network connections. Follow the manufacturer’s instructions to configure these settings according to your preferences.
6. Configure storage settings: Determine the storage settings for your DVR. This includes selecting the desired recording mode (continuous, scheduled, or motion-based) and setting up the storage location for recorded footage. Depending on the DVR model, you may have the option to utilize an internal hard drive, external storage devices, or cloud-based storage solutions.
7. Set up user accounts and security settings: Consider setting up user accounts with different access levels. This allows you to control who can view or modify the DVR’s settings. Set strong passwords to ensure the security of your system and prevent unauthorized access.
8. Configure camera settings: Within the DVR’s settings menu, you will have the ability to adjust various camera-related parameters. This includes enabling motion detection, configuring recording schedules, adjusting image settings like brightness and contrast, and setting up email or push notifications when motion is detected. Take your time to explore the available options and customize them to your specific needs.
9. Test the DVR functionality: Once you have configured the settings, test the functionality of your DVR. Verify that you can view the camera feeds on the connected monitor or TV. Check if the recordings are being saved properly and that the motion detection features are working as intended. Make any necessary adjustments based on your observations.
Tips:
- Refer to the manufacturer’s user manual or online resources for detailed instructions on setting up your specific Cobra DVR model.
- Regularly update the firmware of your DVR to ensure that you have the latest features and security enhancements.
- If network connectivity is available, consider configuring remote access to your DVR to view the camera feeds and manage the system from anywhere using a smartphone, tablet, or computer.
- Keep the DVR in a secure location to prevent unauthorized physical access.
By following these steps, you can effectively set up and configure your Cobra DVR for seamless operation and optimal usage of your security camera system. Take the time to familiarize yourself with the DVR’s interface and explore its features to make the most out of your surveillance system.
Step 7: Configuring security camera settings
After setting up your DVR, the next step is to configure the security camera settings to customize the functionality and performance of your Cobra security camera system. By adjusting the settings, you can optimize your surveillance system to meet your specific needs. Follow these steps to configure the security camera settings:
1. Access the camera settings: Using the DVR’s interface, navigate to the camera settings menu. This menu allows you to modify various parameters for each camera connected to the system.
2. Adjust camera positioning and angle: Review the camera positioning and angle to ensure optimal coverage. Make any necessary adjustments to minimize blind spots and maximize the field of view. Take note of any potential obstructions, such as trees or walls, that may impact the camera’s performance. Fine-tune the camera position to obtain the best view of the desired area.
3. Configure motion detection: Enable motion detection and adjust its sensitivity settings. This feature allows the cameras to detect any motion within their field of view and trigger recording or notifications. Fine-tune the sensitivity level to minimize false alarms while capturing important events.
4. Set up recording preferences: Determine the recording preferences for each camera. Choose the recording mode (continuous, scheduled, or motion-based) and adjust the recording duration for each event. Consider the amount of storage available on your DVR and set the recording preferences accordingly.
5. Enable notifications: If your Cobra security camera system supports notifications, configure email or push notifications to alert you when motion is detected or specific events occur. This ensures that you are promptly informed of any potential security incidents.
6. Adjust image settings: Fine-tune the image settings of each camera to optimize the visual quality. Adjust parameters such as brightness, contrast, and saturation to achieve the desired image clarity and visibility. Consult the camera’s user manual for specific instructions on adjusting these settings.
7. Explore advanced features: Depending on the model of your Cobra security cameras, there may be additional advanced features available. These can include two-way audio, digital zoom, PTZ (pan-tilt-zoom) functionality, or integration with external devices. Familiarize yourself with these features and configure them as desired.
8. Save and apply the settings: Once you have adjusted the camera settings, save and apply the changes. The DVR will store the settings, and the cameras will start functioning based on the newly configured parameters.
Tips:
- Regularly evaluate and adjust your security camera settings based on your needs and the surveillance environment.
- Consider creating multiple camera profiles or presets for different scenarios, such as day and night monitoring or specific areas of interest.
- Experiment with different settings and monitor the results to find the optimal configuration for your specific security needs.
- Refer to the user manual or online resources provided by the manufacturer for detailed instructions and recommendations on configuring the camera settings.
By following these steps and customizing the security camera settings, you can tailor your Cobra security camera system to match your specific requirements and ensure efficient surveillance. Regularly review and fine-tune the settings to maintain the optimal functionality and performance of your surveillance system.
Step 8: Testing and optimizing camera placement
After configuring the camera settings, it is crucial to test and optimize the camera placement to ensure proper surveillance coverage and clear footage. Conducting thorough testing helps identify any potential blind spots, adjust camera angles, and optimize the field of view. Follow these steps to test and optimize your Cobra security camera placement:
1. Test the camera feeds: With the cameras in place and the DVR operational, carefully monitor the camera feeds on your connected display device. Verify that each camera captures the intended areas and provides clear and unobstructed views. Ensure that there are no issues with connectivity, image quality, or camera positioning.
2. Identify blind spots: Pay close attention to any potential blind spots or areas that may be out of the camera’s field of view. Move around the monitored area and assess if there are any areas where people or objects can go undetected. Adjust the camera angles or consider adding additional cameras to eliminate or minimize these blind spots.
3. Optimize camera angles: Fine-tune the camera angles to enhance the surveillance coverage. Adjust the tilt, pan, or rotation of the cameras as needed to capture the desired areas effectively. Consider the specific security needs of your property and ensure that critical entry points and vulnerable areas are within the camera’s field of view.
4. Check for obstructions: Look for any potential obstructions that may affect the camera’s performance, such as branches, signs, or walls. Ensure that there are no objects obstructing the camera’s view or causing unnecessary shadows. By removing or adjusting these obstructions, you can improve the camera’s ability to capture clear and unobstructed footage.
5. Assess lighting conditions: Evaluate the lighting conditions during different times of day. Ensure that the cameras adjust well to changing lighting conditions, both during daylight and at night. Fine-tune the camera settings to optimize the image quality under various lighting conditions, and consider adding additional lighting if necessary.
6. Perform test recordings: Activate the recording function on the DVR and conduct test recordings to assess the quality of the footage. Review the recorded videos to ensure that the images are clear and that important details are captured. Adjust the camera settings or positions if necessary to enhance the quality of the recorded footage.
7. Monitor camera performance over time: Keep an eye on the camera performance over an extended period. Check for any changes in image quality, connectivity, or surveillance coverage. Regularly inspect the cameras for any signs of wear or damage, such as loose connections or lens dirt. Clean the cameras as needed to maintain their optimal performance.
Tips:
- Consider consulting with a security expert or professional installer for an objective assessment of camera placement and surveillance coverage.
- Document the optimal camera positions and settings for easy reference and future maintenance.
- Make sure to comply with any local regulations and laws regarding privacy and surveillance when setting up your cameras.
- Regularly review and adjust camera placement as needed to accommodate changes in the monitored area or security requirements.
By thoroughly testing and optimizing the camera placement, you can ensure that your Cobra security camera system provides effective surveillance coverage and delivers clear and detailed footage. Regular monitoring and maintenance will help maintain optimal performance and enhance the overall security of your property.
Read more: How To Set Up Wireless Security Camera
Step 9: Troubleshooting common issues
While setting up and using your Cobra security camera system, you may encounter some common issues. Being able to troubleshoot and resolve these issues will help ensure the smooth operation of your surveillance system. Here are some common issues and troubleshooting steps to address them:
1. No camera feed: If you’re not receiving any camera feed on your monitor or connected device, check the following:
- Verify that the cameras and DVR are powered on and properly connected.
- Check the camera cables for any loose connections or damage.
- Ensure that the correct input channel is selected on the DVR for the camera you are trying to view.
- Restart the DVR and monitor to refresh the connection.
2. Poor image quality: If the camera feed appears blurry or pixelated, try the following troubleshooting steps:
- Clean the camera lens using a soft, lint-free cloth to remove any dirt or smudges.
- Check the camera settings for brightness, contrast, and focus, and adjust them as needed.
- Ensure that the camera is not positioned too far from the subject, as it may affect image clarity.
- Confirm that the camera resolution is set correctly in the DVR settings.
3. Connectivity issues: If you’re experiencing connectivity problems with your Cobra security camera system, consider the following troubleshooting steps:
- Check the network cables and connections between the cameras and the DVR or router.
- Restart the DVR and router to refresh the network connections.
- Ensure that the network settings in the DVR are properly configured, including IP address and port settings.
- Confirm that your network has sufficient bandwidth to support the camera feeds and adjust any bandwidth limitations if necessary.
4. False motion detection alerts: If you’re receiving excessive false motion detection alerts, try these troubleshooting steps:
- Adjust the motion detection sensitivity settings in the camera or DVR settings to a lower level.
- Review the camera placement to ensure that there are no moving objects, such as trees or curtains, causing unintended triggers.
- Modify the motion detection areas to focus on specific regions of interest and exclude areas with regular movement, such as roads or trees.
- Ensure that the cameras are not positioned where environmental factors, such as changing light or shadows, may trigger false alerts.
5. DVR or camera firmware issues: If you’re experiencing issues with the DVR or camera firmware, try the following troubleshooting steps:
- Check the manufacturer’s website for firmware updates and install any available updates for your specific model.
- Follow the firmware update instructions carefully to ensure a successful installation.
- If the issue persists, try resetting the DVR or camera to factory settings and reconfigure the system from scratch.
- Contact the manufacturer’s support team for further assistance if needed.
Tips:
- Always consult the user manual or online support resources provided by the manufacturer for specific troubleshooting steps for your Cobra security camera system.
- Document any changes or troubleshooting steps you take during the process to keep track of the solutions that work for future reference.
- Consider reaching out to technical support or consulting with a professional installer if you encounter persistent issues that you can’t resolve on your own.
By following these troubleshooting steps, you can address common issues that may arise with your Cobra security camera system. Regular maintenance, updating firmware, and practicing patience in resolving issues will help ensure the optimal performance and longevity of your surveillance system.
Conclusion
Congratulations on successfully setting up your Cobra security camera system! By following the steps outlined in this guide, you have taken a significant step towards enhancing the safety and security of your home. With your new surveillance system in place, you can enjoy peace of mind knowing that you have a reliable and effective solution for monitoring your property.
Throughout the installation process, you assessed your security needs, selected the right Cobra security camera system, gathered the necessary tools and materials, mounted the cameras, ran the cables, and connected everything to the DVR. You took the time to configure the camera and DVR settings, tested and optimized the camera placement, and troubleshooted common issues that may have arisen along the way.
As you continue to use your Cobra security camera system, remember to maintain regular monitoring and maintenance. Take the time to review and adjust camera settings, perform routine checks for any issues, and clean the cameras regularly to ensure optimal performance.
Additionally, stay informed about firmware updates and new features released by the manufacturer. Keeping your system up to date ensures that you have access to the latest advancements and security enhancements.
Remember, a well-designed and properly installed security camera system is just one component of a comprehensive home security strategy. It should be complemented by other preventive measures such as proper lighting, secure locks, and an alarm system to provide maximum protection for your home and loved ones.
Lastly, if at any point you have questions or encounter difficulties, do not hesitate to consult the user manual, reach out to technical support, or seek assistance from a professional installer. They can provide guidance and expertise to help resolve any issues and optimize the functionality of your Cobra security camera system.
Thank you for embarking on this journey to improve the security and surveillance capabilities of your home. By investing in a high-quality security camera system like Cobra, you have taken a proactive step towards creating a safer and more secure living environment.
Stay vigilant, stay informed, and enjoy the peace of mind that comes with knowing that you have a reliable and trustworthy security camera system keeping watch over your home 24/7.
Frequently Asked Questions about How To Set Up Cobra Security Cameras
Was this page helpful?
At Storables.com, we guarantee accurate and reliable information. Our content, validated by Expert Board Contributors, is crafted following stringent Editorial Policies. We're committed to providing you with well-researched, expert-backed insights for all your informational needs.