Home>Home Security and Surveillance>How To Set Up Home Security Camera
Home Security and Surveillance
How To Set Up Home Security Camera
Modified: March 6, 2024
Learn how to set up a home security camera system for optimal home security and surveillance. Ensure peace of mind with our step-by-step guide.
(Many of the links in this article redirect to a specific reviewed product. Your purchase of these products through affiliate links helps to generate commission for Storables.com, at no extra cost. Learn more)
Introduction
Welcome to the world of home security and surveillance! In this day and age, it has become more important than ever to safeguard our homes and protect our loved ones. Fortunately, advancements in technology have made it easier and more affordable than ever to set up a home security camera system.
In this comprehensive guide, we will take you through the step-by-step process of setting up a home security camera. Whether you are a tech enthusiast or a novice, this article will provide you with all the information you need to get started.
But first, why should you consider installing a home security camera? The answer is simple: peace of mind. A home security camera system allows you to keep a watchful eye on your property, deter potential burglars, and provide valuable evidence in case of incidents. It also enables you to remotely monitor your home, whether you are at work, on vacation, or simply in another room.
Now, let’s dive into the steps necessary to set up your home security camera system.
Key Takeaways:
- Setting up a home security camera involves determining your needs, choosing the right camera, and selecting suitable locations. It’s crucial to test the cameras and adjust settings for optimal performance.
- In addition to security cameras, consider implementing extra measures like lighting, alarms, and secure entry points to enhance home security. Regular maintenance and updates are essential for a reliable security system.
Read more: How To Set Up A Webcam As A Security Camera
Step 1: Determine Your Security Needs
The first and most crucial step in setting up a home security camera is determining your specific security needs. This will help you make informed decisions regarding the type of camera, features, and placement options that are best suited for your home.
Start by assessing the areas of your home that you want to monitor. Consider both the interior and exterior spaces that are most vulnerable to intrusion or suspicious activity. Common areas include entryways, windows, driveways, and backyard.
Next, determine the purpose of your surveillance system. Are you primarily concerned with deterring potential burglars? Do you want to monitor your children or pets while you’re away? Or do you simply want the peace of mind that comes with having a visual record of any incidents that may occur?
Once you have a clear understanding of your security needs, consider the following factors:
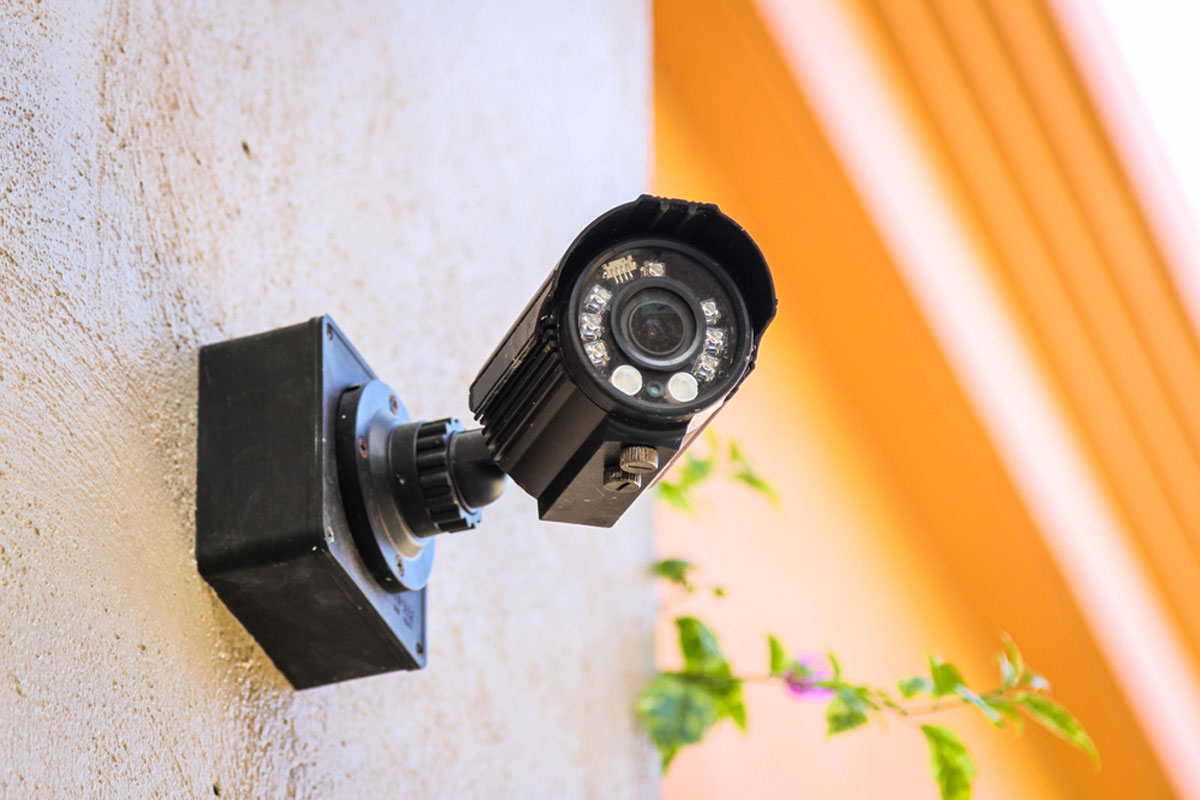
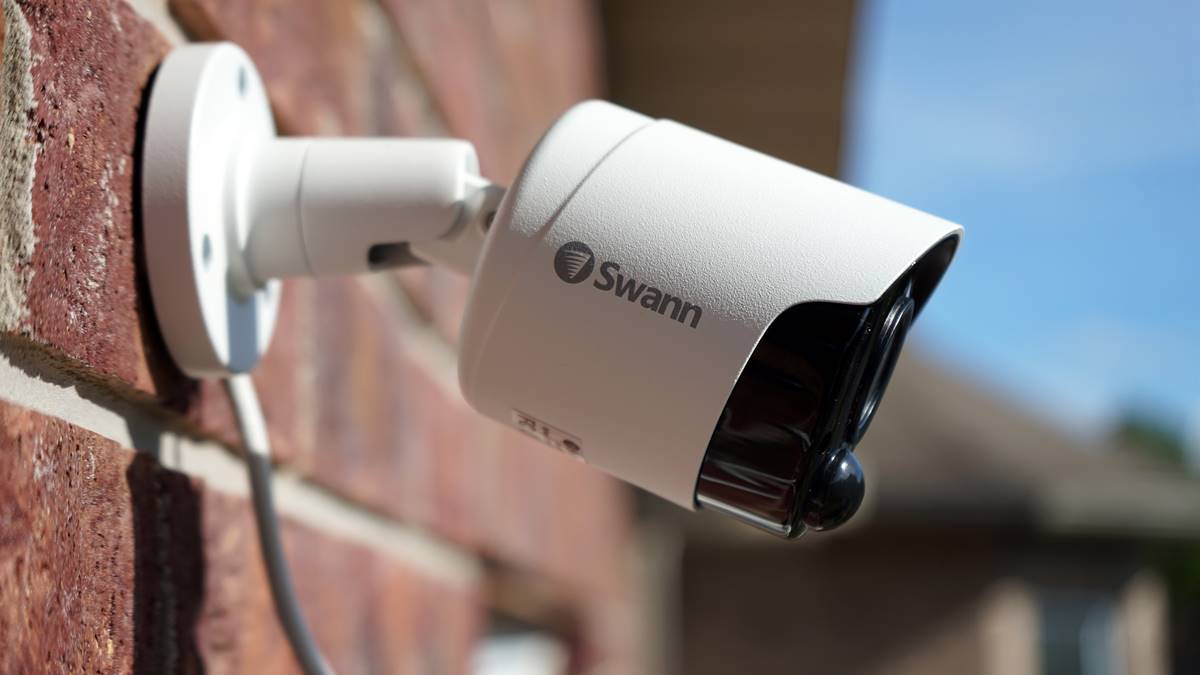
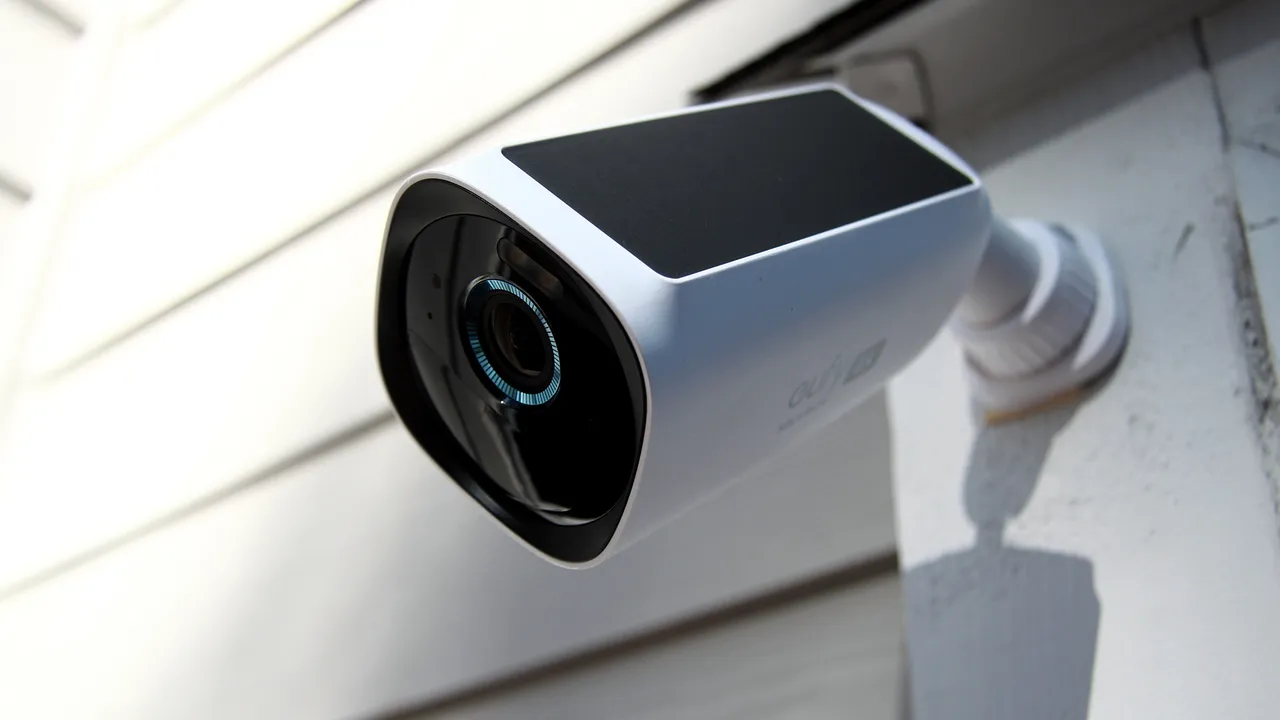
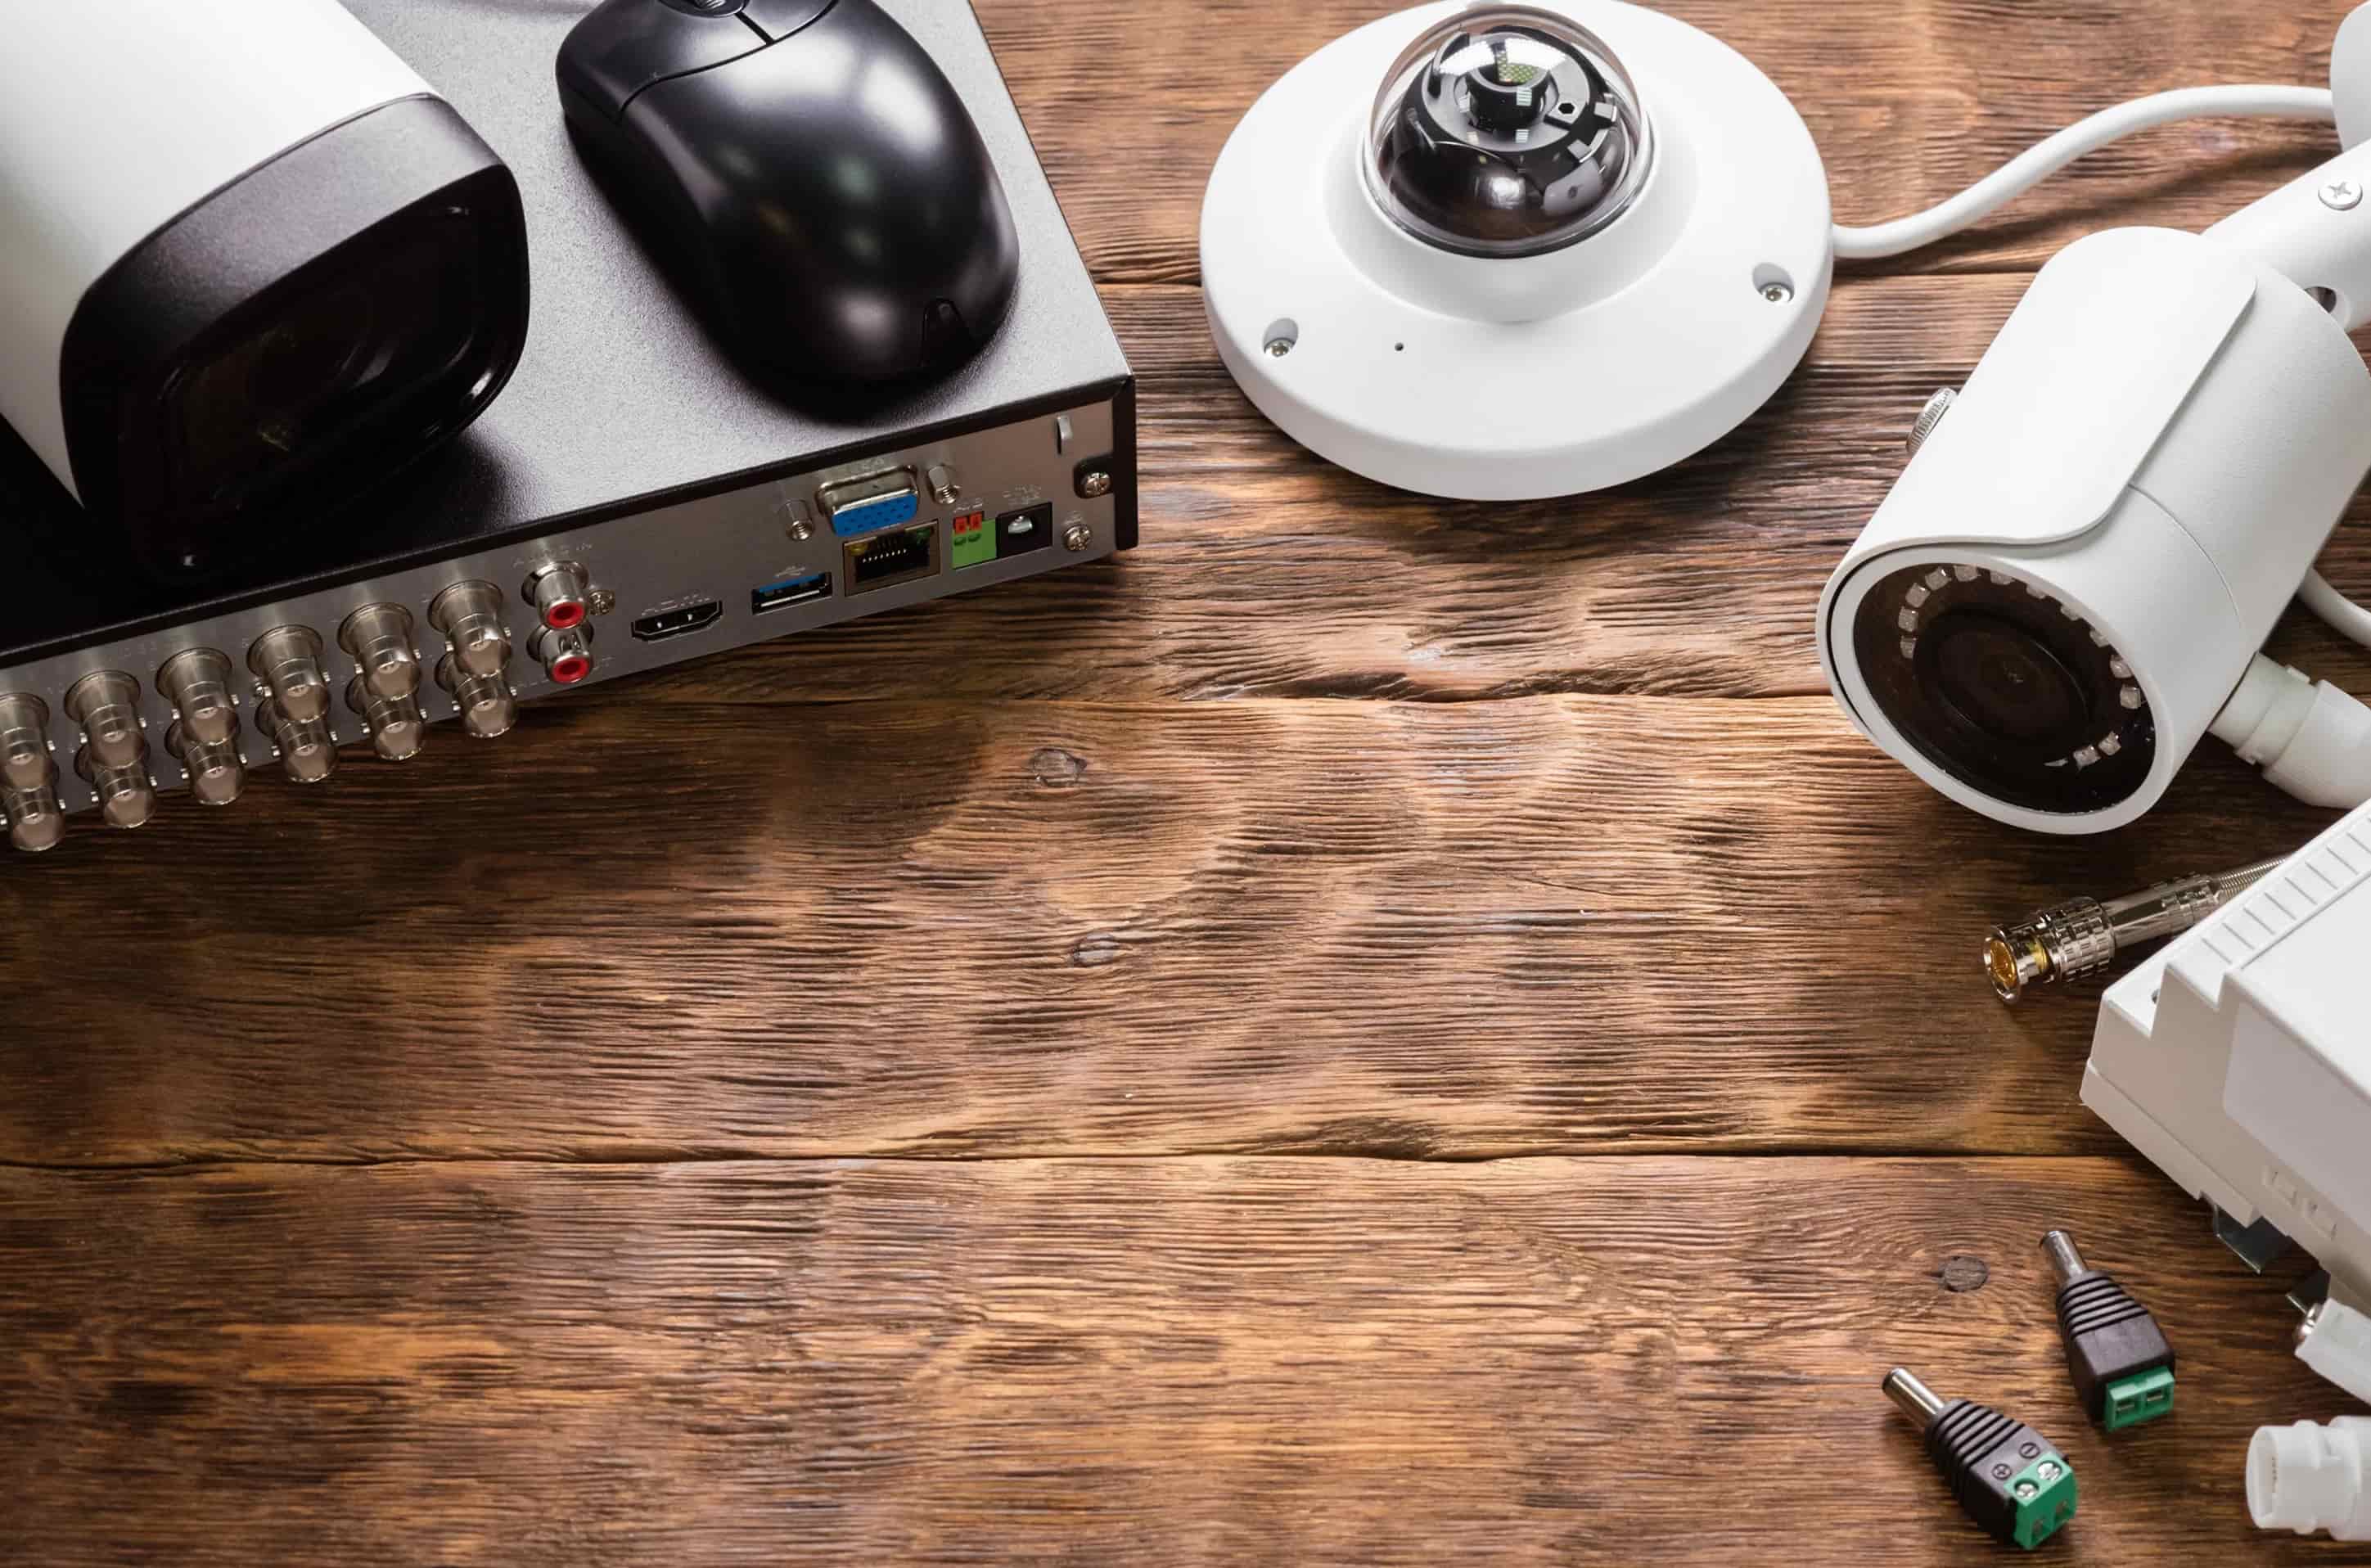
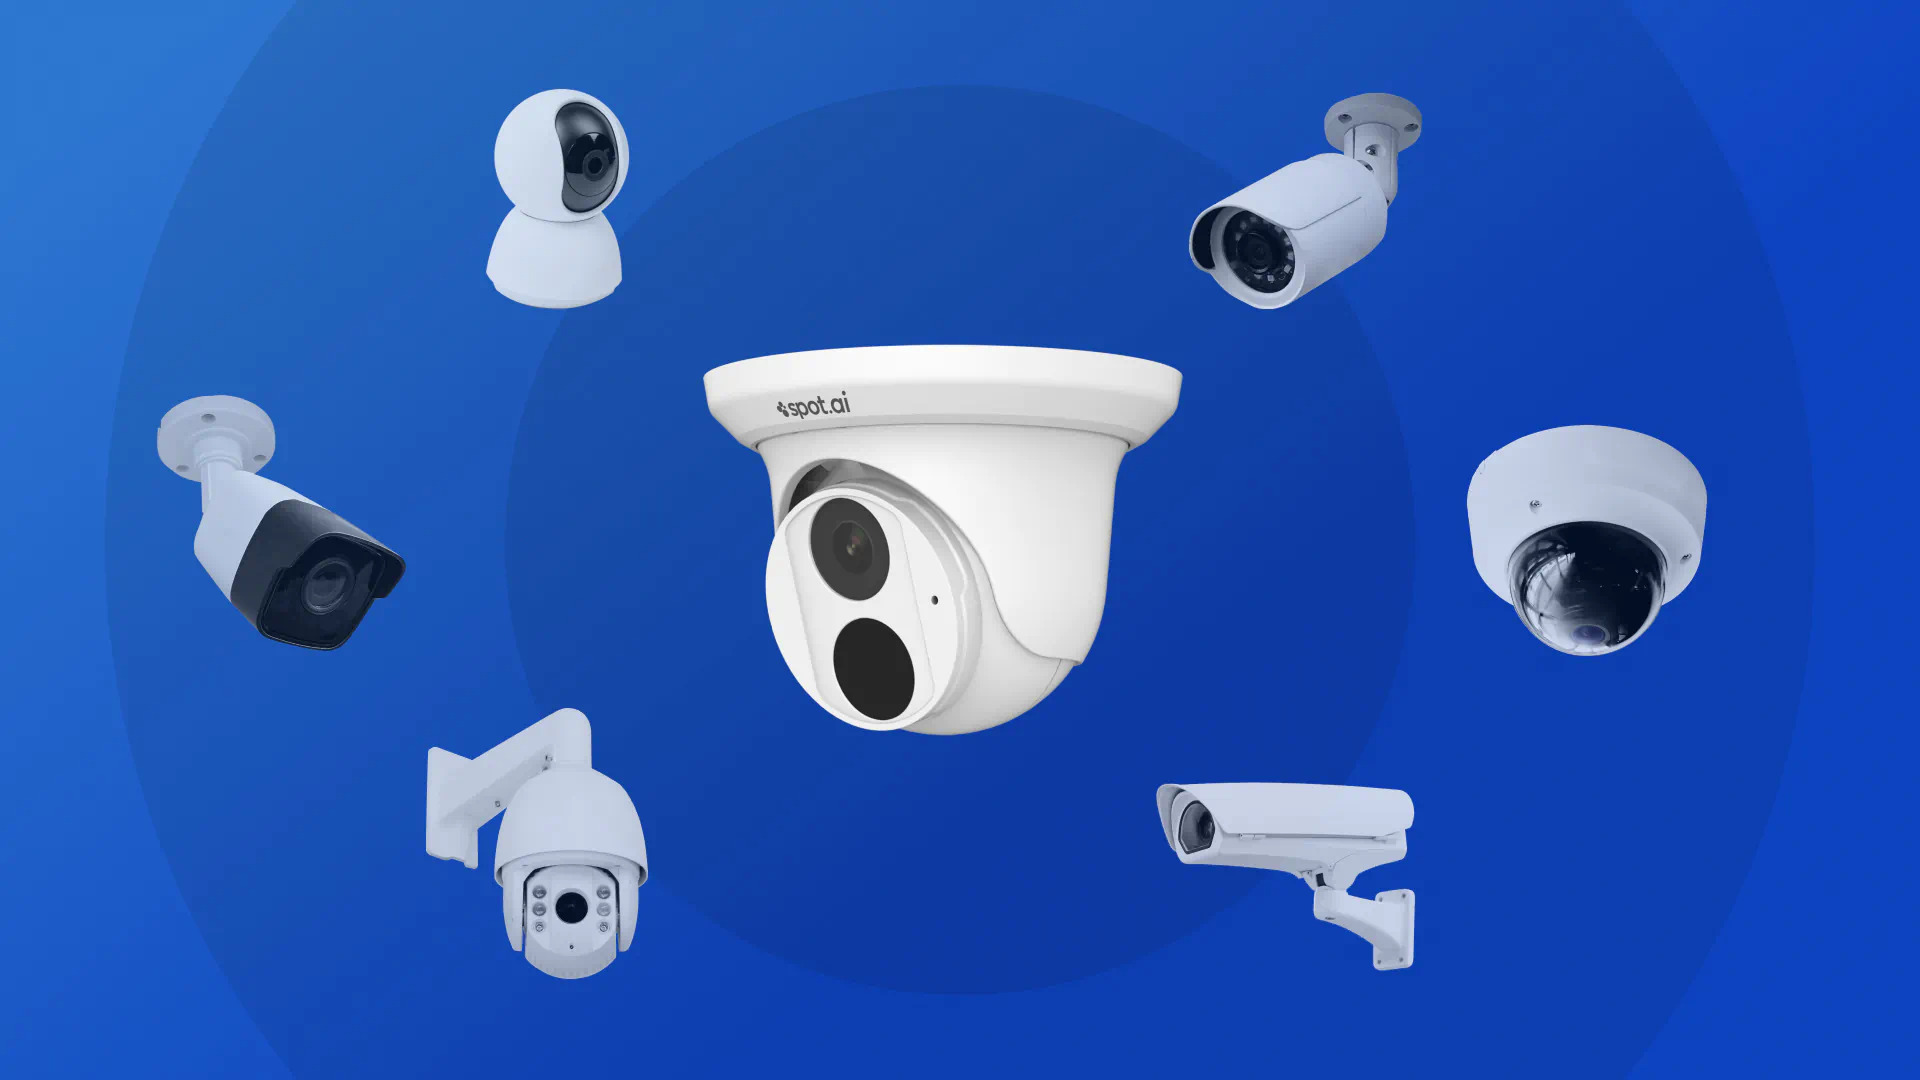
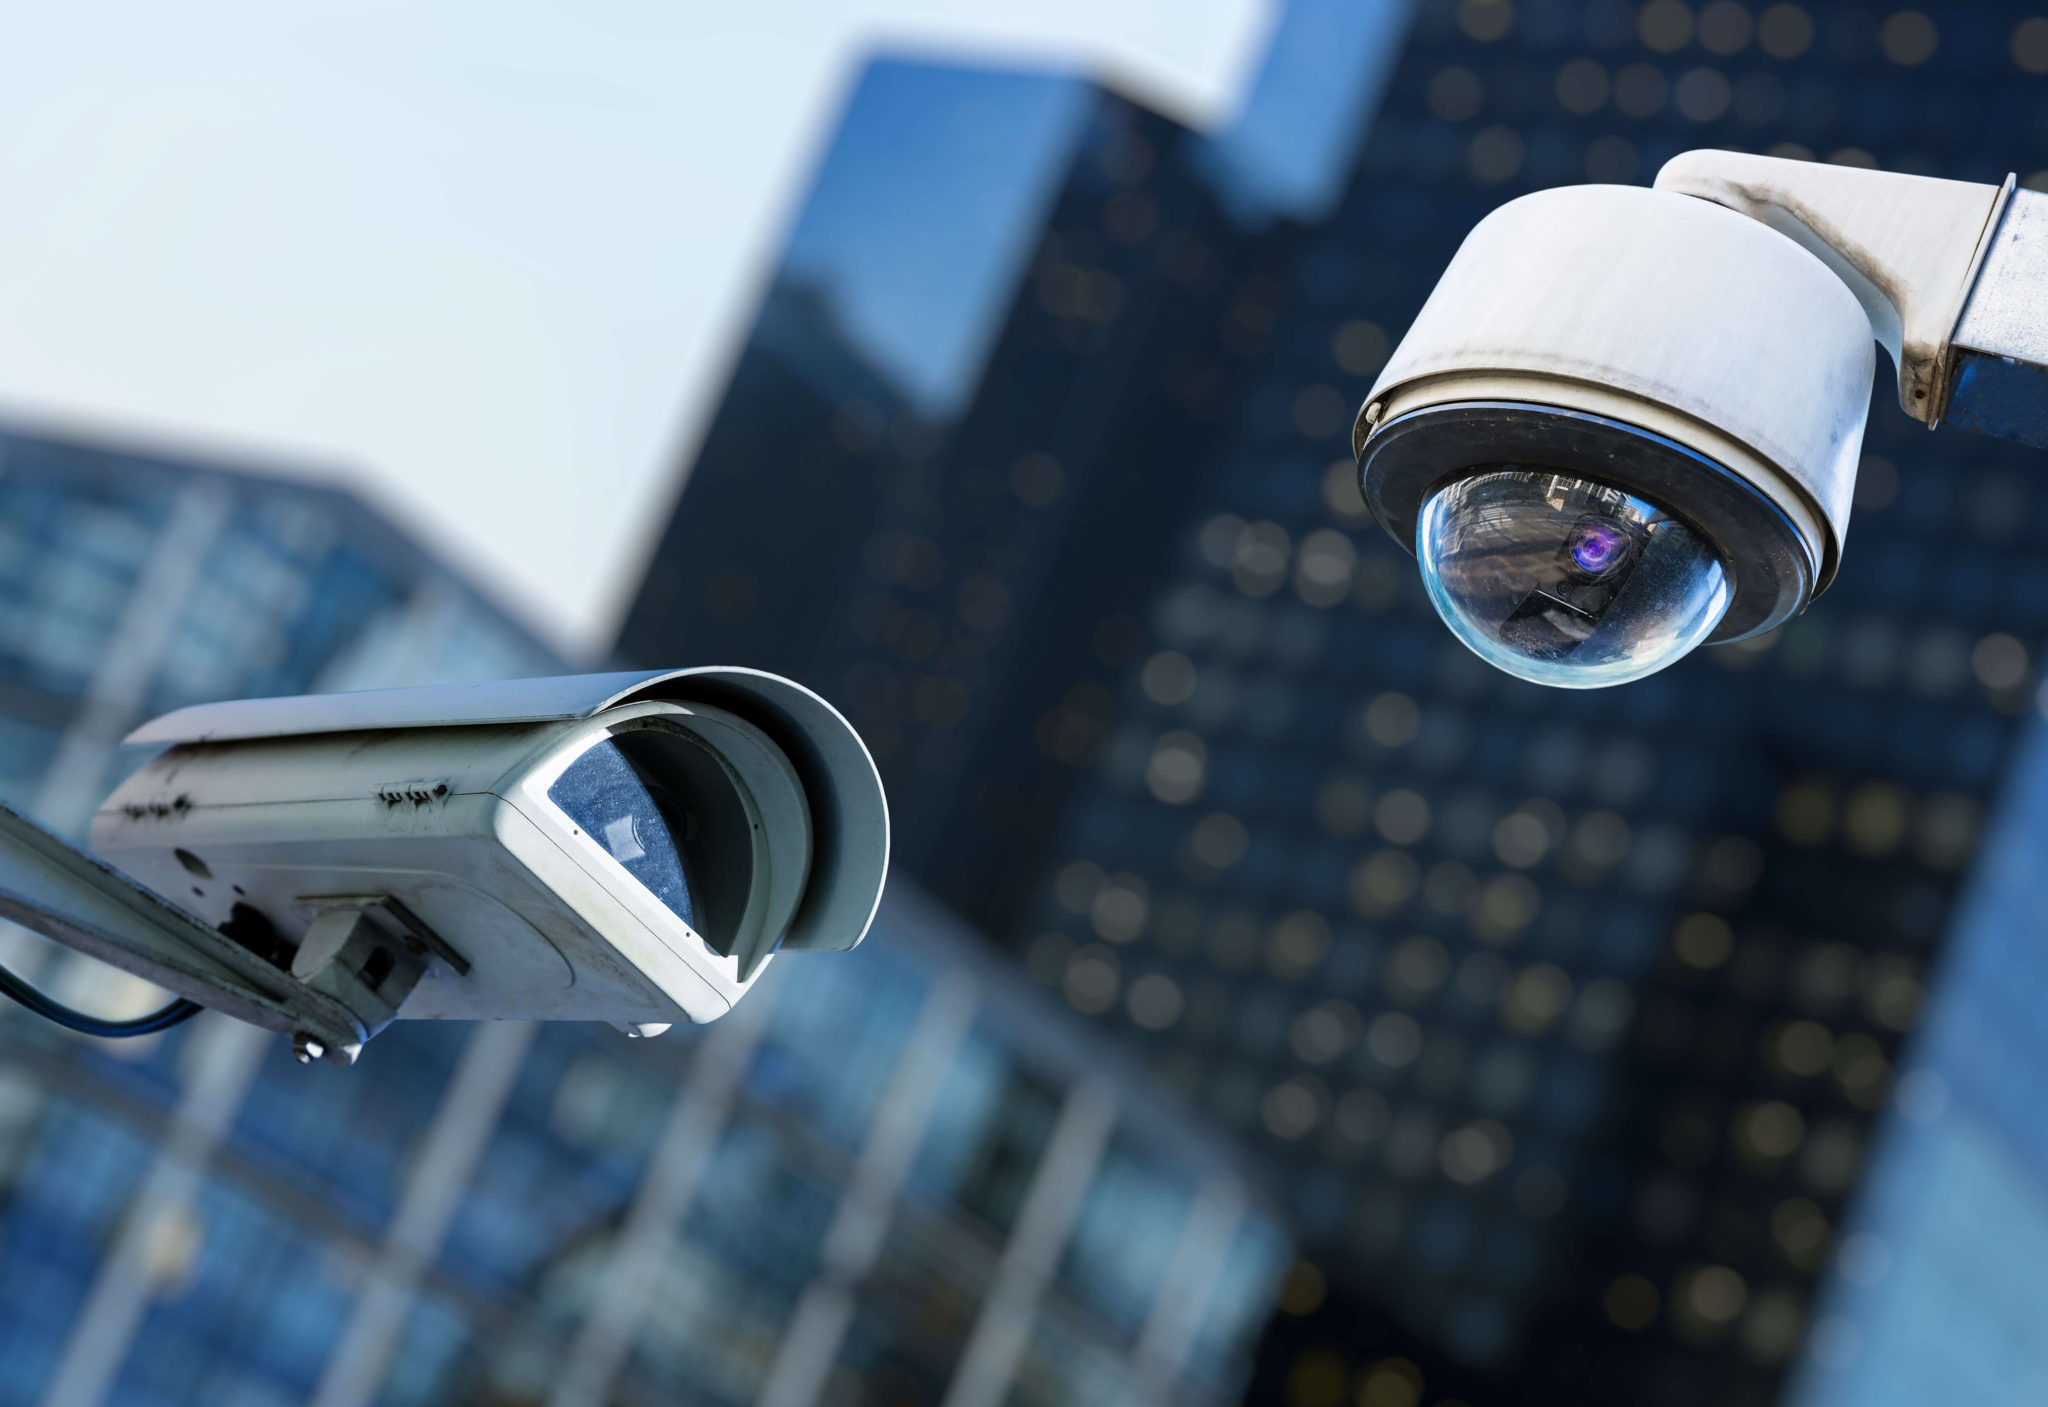
- Camera Type: There are various types of security cameras available, including dome cameras, bullet cameras, indoor cameras, and outdoor cameras. Each type has its own advantages and is designed to suit different environments. Consider factors such as weather resistance, visibility, and ease of installation when selecting a camera type.
- Resolution: The camera’s resolution determines the clarity of the footage it captures. Higher resolutions, such as 1080p or 4K, provide clearer and more detailed images. However, higher resolution cameras may come at a higher price.
- Field of View: The field of view refers to the area that the camera can capture. A wider field of view is beneficial for covering larger areas, while a narrower field of view can provide more detailed footage in a specific area.
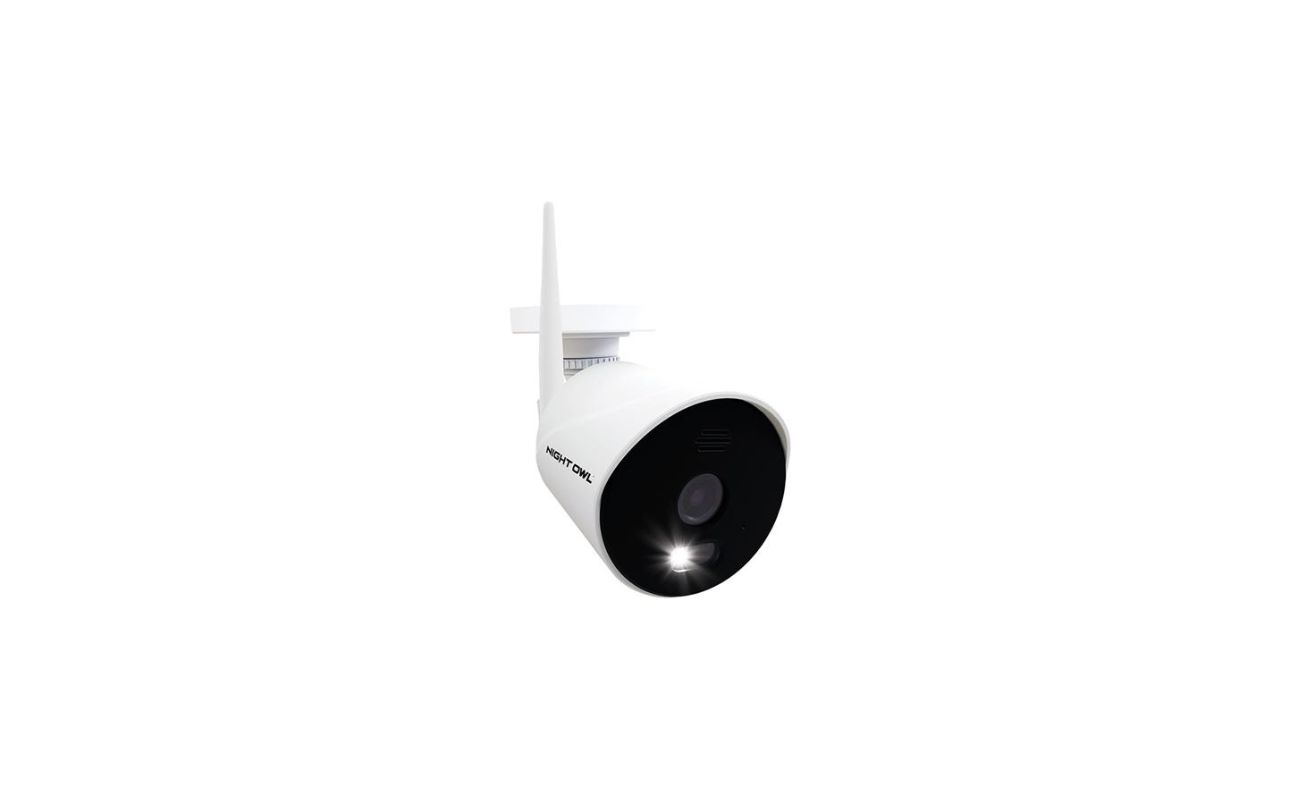
- Night Vision: If you want to monitor your property during nighttime hours, consider a camera with infrared or low-light capabilities. These cameras can capture clear footage even in low light conditions.
- Two-Way Audio: Some security cameras are equipped with built-in speakers and microphones, allowing you to communicate with individuals near the camera. This can be useful for remote monitoring or interacting with delivery people.
By considering these factors, you can determine the specific features and capabilities that best align with your security needs. This will help guide your decision-making process when choosing the right security camera for your home.
Step 2: Choose the Right Security Camera
Now that you’ve determined your security needs, it’s time to choose the right security camera for your home. With so many options available in the market, it’s important to consider certain factors that will ensure you select the most suitable camera for your specific requirements.
Consider the following factors when choosing a security camera:
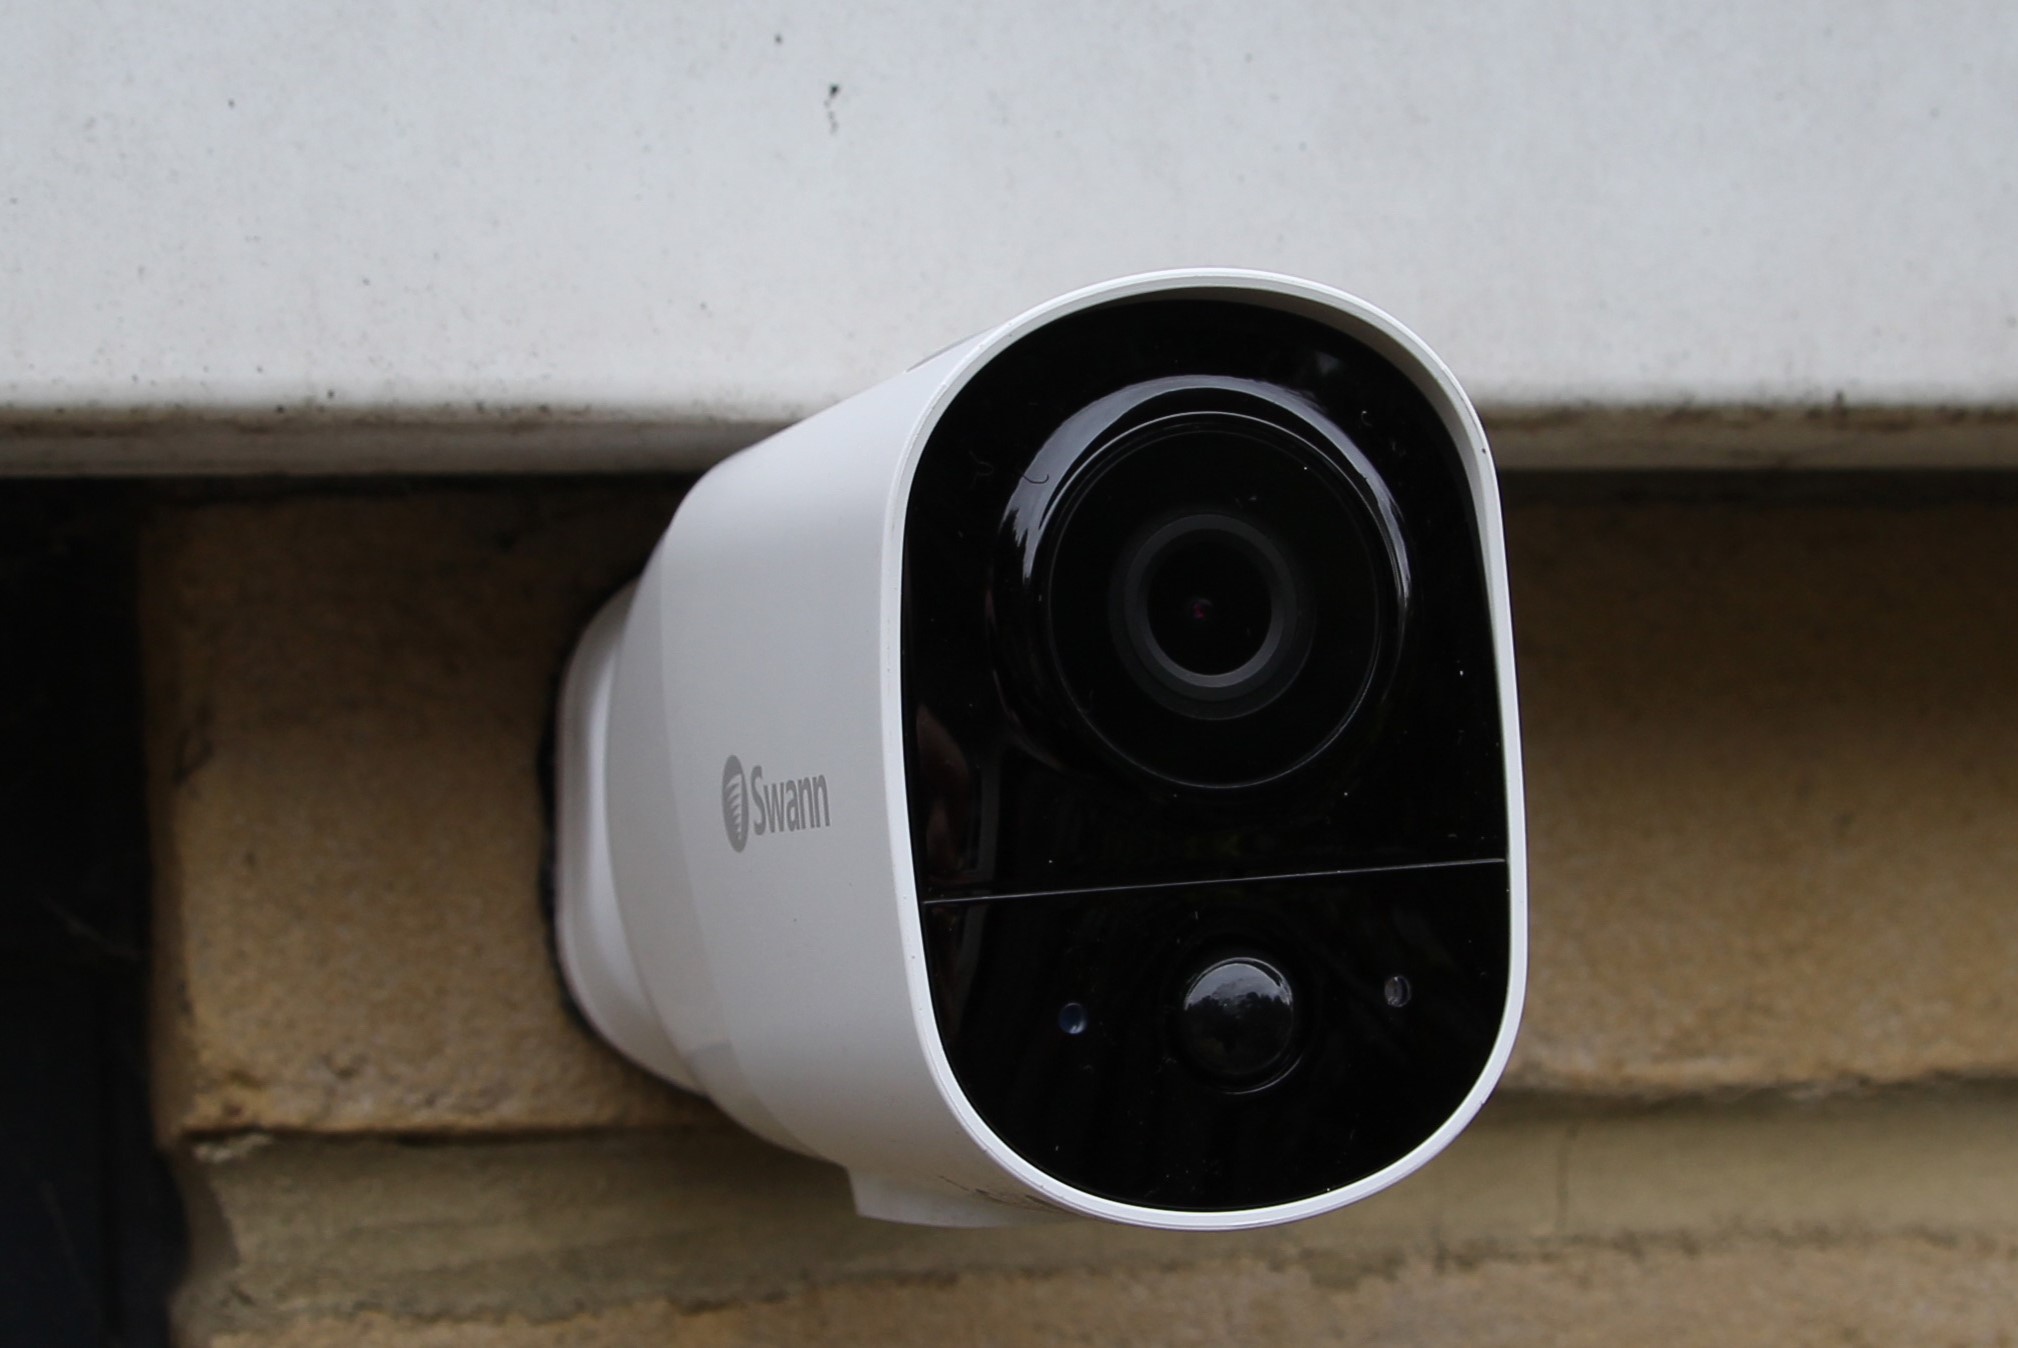
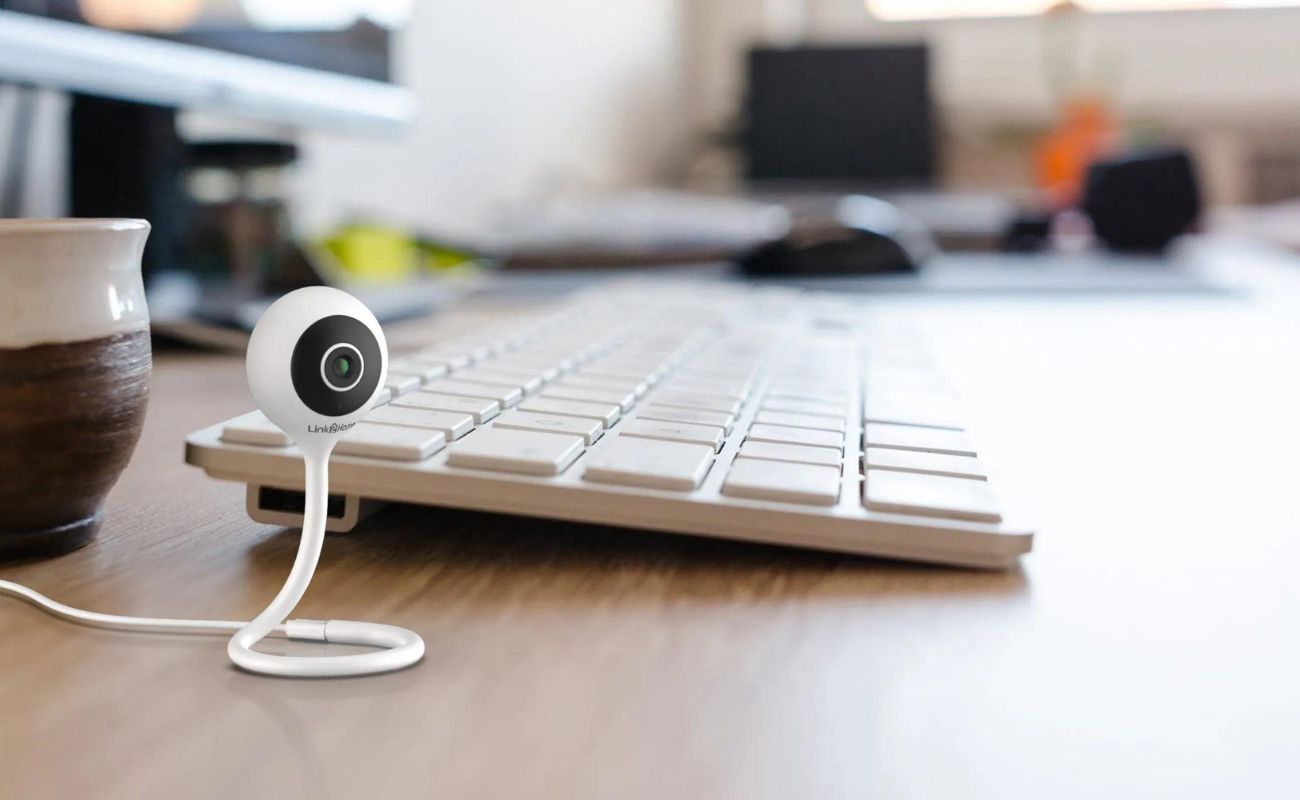
- Indoor or Outdoor: Decide whether you need a camera for indoor monitoring, outdoor surveillance, or both. Outdoor cameras should be weatherproof and able to withstand harsh conditions.
- Wired or Wireless: Decide if you prefer a wired camera that requires a physical connection or a wireless camera that connects to your home’s Wi-Fi network. Wireless cameras provide flexibility in terms of installation, but may require a stable Wi-Fi signal.
- Resolution and Image Quality: Opt for a camera with a high resolution, such as 1080p or higher, for clear and detailed footage. Higher resolution cameras are especially important for facial recognition and license plate identification.
- Field of View: Consider the field of view that best suits your monitoring needs. Cameras with wider angles can cover more area, while those with narrower angles provide more detailed footage of specific areas.
- Storage Options: Decide whether you want local storage, such as SD cards or hard drives, or cloud storage for your camera footage. Cloud storage offers convenience and accessibility from anywhere, while local storage may provide additional security.
- Advanced Features: Explore advanced features such as motion detection, facial recognition, pan-tilt-zoom (PTZ) capabilities, and two-way audio. These features can enhance the functionality and effectiveness of your security camera system.
Additionally, consider the reputation and reliability of the camera manufacturer. Look for reputable brands that offer quality warranty support and regular firmware updates to ensure the longevity and functionality of your security camera.
Remember, each home is unique, and the right security camera for your neighbor may not necessarily be the best choice for you. Consider your budget, specific requirements, and any special considerations for your property when making your decision.
By carefully evaluating these factors, you can choose a security camera that meets your needs and provides reliable surveillance for your home.
Step 3: Select a Suitable Location
Now that you have chosen the right security camera for your home, it’s time to determine the best locations to install them. The placement of your cameras plays a crucial role in ensuring optimal surveillance coverage.
Consider the following factors when selecting a suitable location:
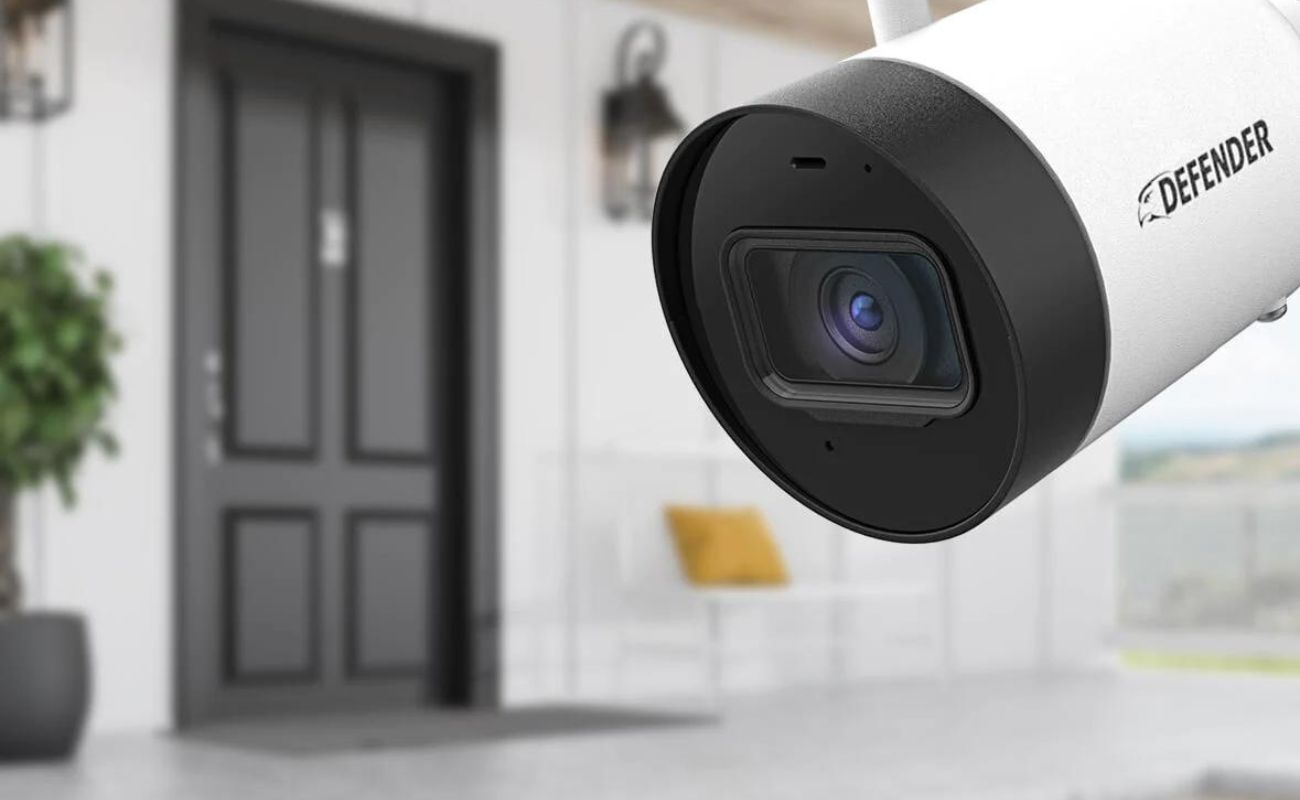
- Entry Points: Install cameras near all entry points, such as doors and windows, to capture any suspicious activity or potential break-ins.
- High-Volume Areas: Place cameras in high-traffic areas of your property, both indoors and outdoors, to monitor activities and deter any unwanted incidents.
- Line of Sight: Ensure that your cameras have a clear line of sight to the areas you want to monitor. Avoid obstructions like trees, bushes, or walls that may hinder the camera’s view.
- Minimize Blind Spots: Identify and address any potential blind spots where the camera’s view could be obstructed. Consider additional camera placements or the use of wide-angle lenses to cover these areas.
- Height Placement: Position your cameras at an appropriate height to capture clear footage. Mounting them too high or too low can affect the camera’s effectiveness.
- Power and Connectivity: Ensure that the selected locations have access to power outlets or consider using wireless cameras if power availability is limited.
It’s essential to find a balance between providing adequate coverage and maintaining the aesthetics of your home. Make sure the cameras are not easily accessible or obstructed by potential intruders.
Keep in mind that strategic camera placement can be a deterrent on its own. Visible cameras can discourage potential criminals from targeting your property.
Consider consulting with a professional for expert advice on camera placement. They can provide valuable insights based on their experience and knowledge of optimal surveillance techniques.
Remember to also take into account any local regulations or privacy concerns that may affect the placement of your security cameras. Familiarize yourself with the laws and guidelines in your area to ensure compliance.
By carefully selecting suitable locations for your security cameras, you can maximize the effectiveness of your surveillance system and provide comprehensive coverage for your home.
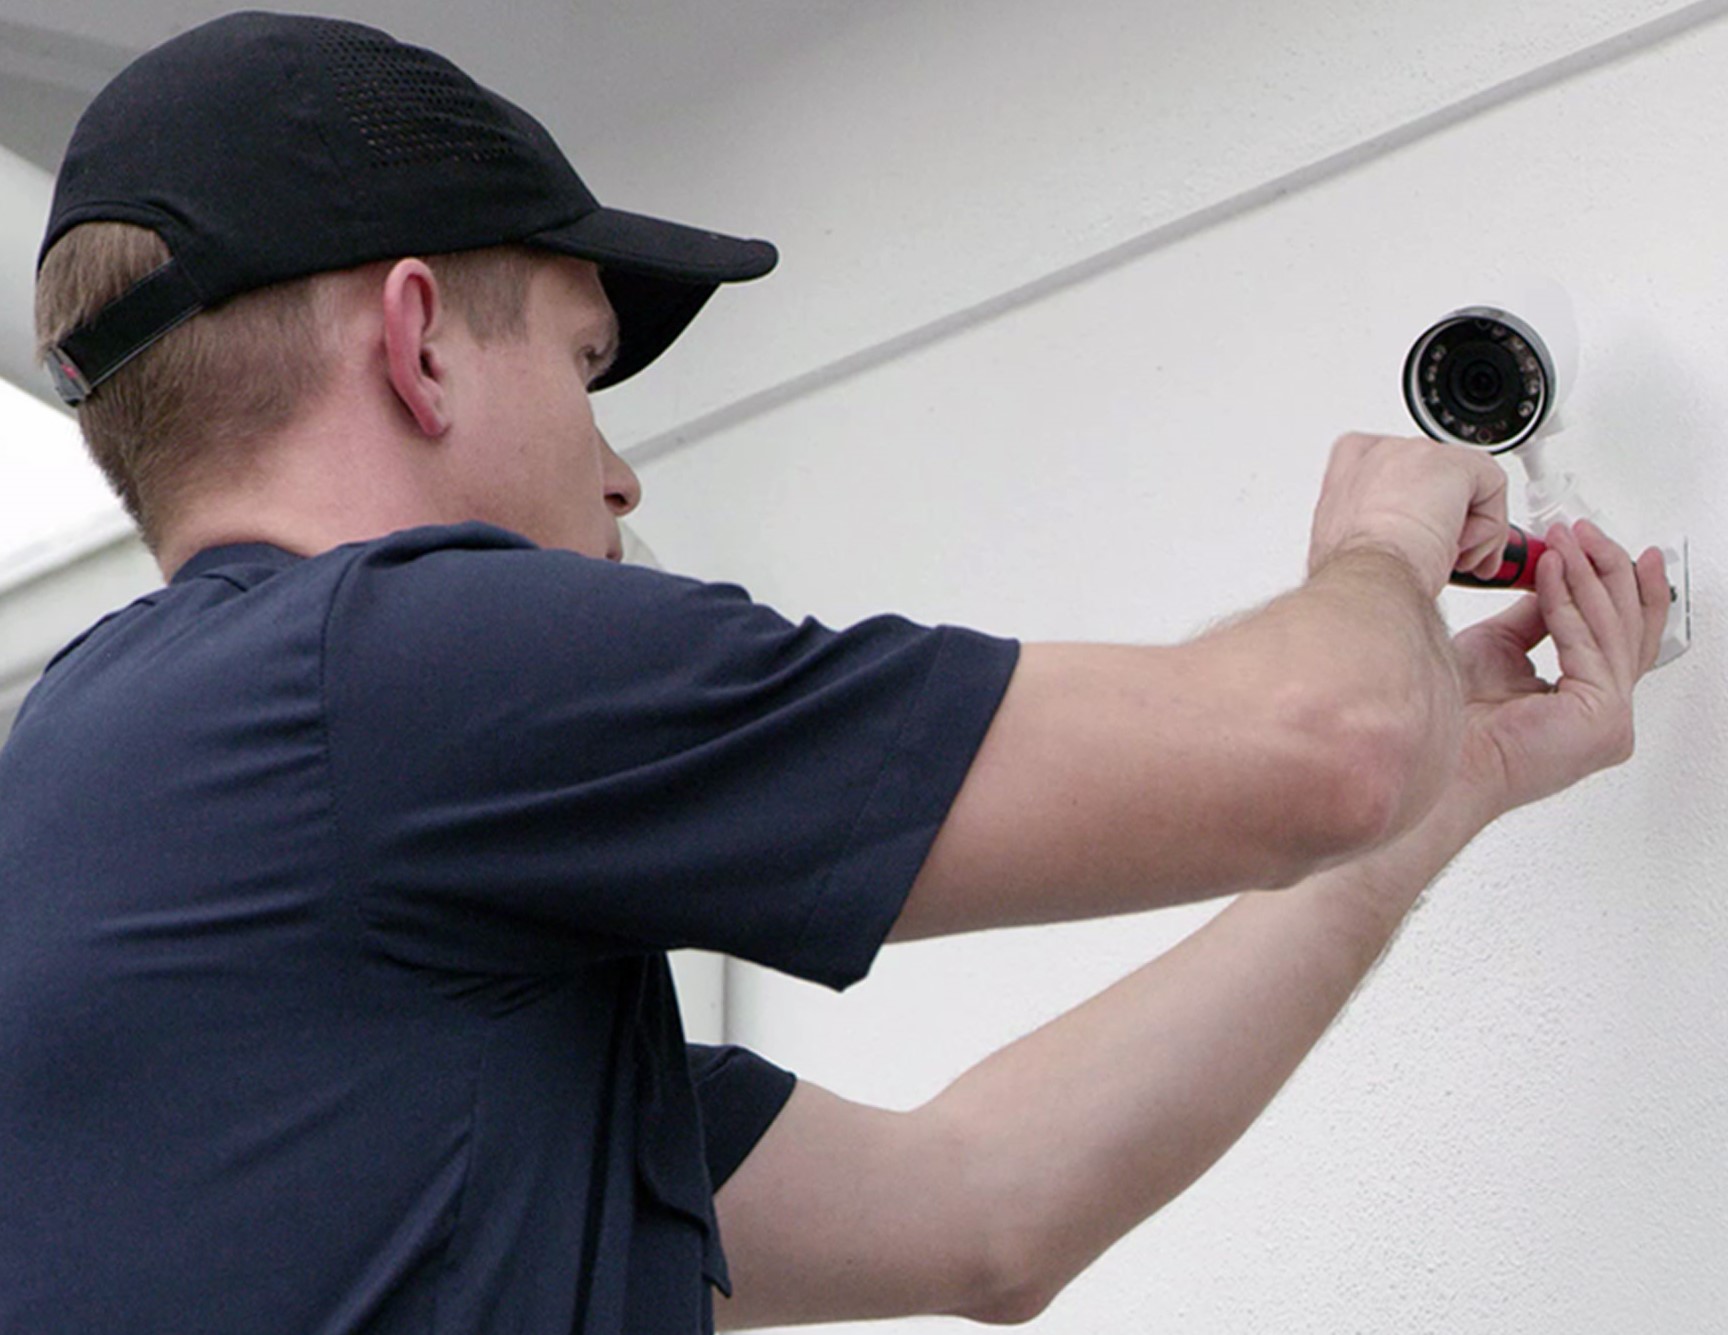
Step 4: Mounting the Camera
Now that you have determined the best locations for your security cameras, it’s time to mount them securely. Proper installation ensures that the cameras are stable and provide a clear view of the area you want to monitor.
Follow these steps to mount your security cameras:
- Gather Your Tools: Before you begin, gather the necessary tools, including a drill, screws, anchors, a screwdriver, and a ladder or step ladder.
- Prepare the Mounting Bracket: Most security cameras come with a mounting bracket. Follow the manufacturer’s instructions to attach the bracket securely to the chosen location. Make sure it is level and aligned properly.
- Mount the Camera: Attach the camera to the mounting bracket, ensuring that it is secure and facing the desired direction. Adjust the angle as needed to cover the desired area.
- Route the Cables: Carefully route the camera cables to prevent them from being easily accessible or damaged. Use cable clips or conduit to secure the cables along walls or ceilings.
- Secure the Cables: Use cable staples or adhesive clips to secure the cables along their route. This prevents them from getting tangled and ensures a neat and professional installation.
- Test the Camera Placement: Double-check the camera’s view to ensure that it provides the desired coverage. Make any necessary adjustments to the camera angle or placement before fully securing it.
During the mounting process, it’s essential to take precautions to protect the camera from weather elements and potential tampering. If you are installing outdoor cameras, make sure they are weatherproof and securely mounted to withstand harsh conditions.
Consider using security camera enclosures or housings to provide additional protection against vandalism or extreme weather conditions. These enclosures can help prolong the lifespan of your cameras and ensure optimal performance.
Keep in mind that each camera may have specific mounting requirements, so refer to the manufacturer’s instructions for detailed guidance. If you are uncertain about the installation process, it is advisable to consult a professional for assistance.
By properly mounting your security cameras, you can ensure they are positioned securely and provide effective surveillance coverage for your home.
Read more: How To Set Up Cobra Security Cameras
Step 5: Set Up the Camera System
With your cameras securely mounted, it’s time to set up and configure your camera system. This step involves connecting the cameras to a recording device or network, configuring settings, and ensuring everything is functioning correctly.
Follow these steps to set up your camera system:
- Connect to Power: Ensure that each camera is properly connected to a power source. Plug the power adapter into a nearby outlet and connect it to the camera’s power input.
- Connect to a Recording Device: If you are using a digital video recorder (DVR) or network video recorder (NVR), connect each camera to the respective device using the provided cables. Follow the manufacturer’s instructions for proper connectivity.
- Configure Network Settings: If you are using a network-connected camera, make sure it is properly connected to your home network. This may involve connecting an Ethernet cable from the camera to your router or configuring Wi-Fi settings via the camera’s software.
- Install and Configure Camera Software: Install any necessary software or mobile apps provided by the camera manufacturer. This software will allow you to access and configure your cameras remotely.
- Set up Recording and Playback: Configure your recording device to specify recording settings such as continuous recording or motion-triggered recording. Set up the storage location for recorded footage, whether it is stored locally on the device or in the cloud.
- Configure Camera Settings: Customize camera settings such as video quality, motion detection sensitivity, email notifications, and other available features. Refer to the camera’s user manual or software interface for detailed instructions on configuring these settings.
- Test the Camera System: Once everything is set up, test each camera to ensure that it is functioning properly. Verify that live video feeds are displayed on the recording device or accessible through the software or app.
During the setup process, it’s important to keep in mind any security measures you may want to implement, such as setting up secure passwords, enabling encryption, or restricting access to your camera system.
If you encounter any difficulties during the setup process, refer to the camera manufacturer’s support documentation or seek assistance from their customer support team. They can provide guidance and troubleshooting tips specific to your camera model.
By properly setting up and configuring your camera system, you can ensure that it is operational and ready to monitor your home effectively.
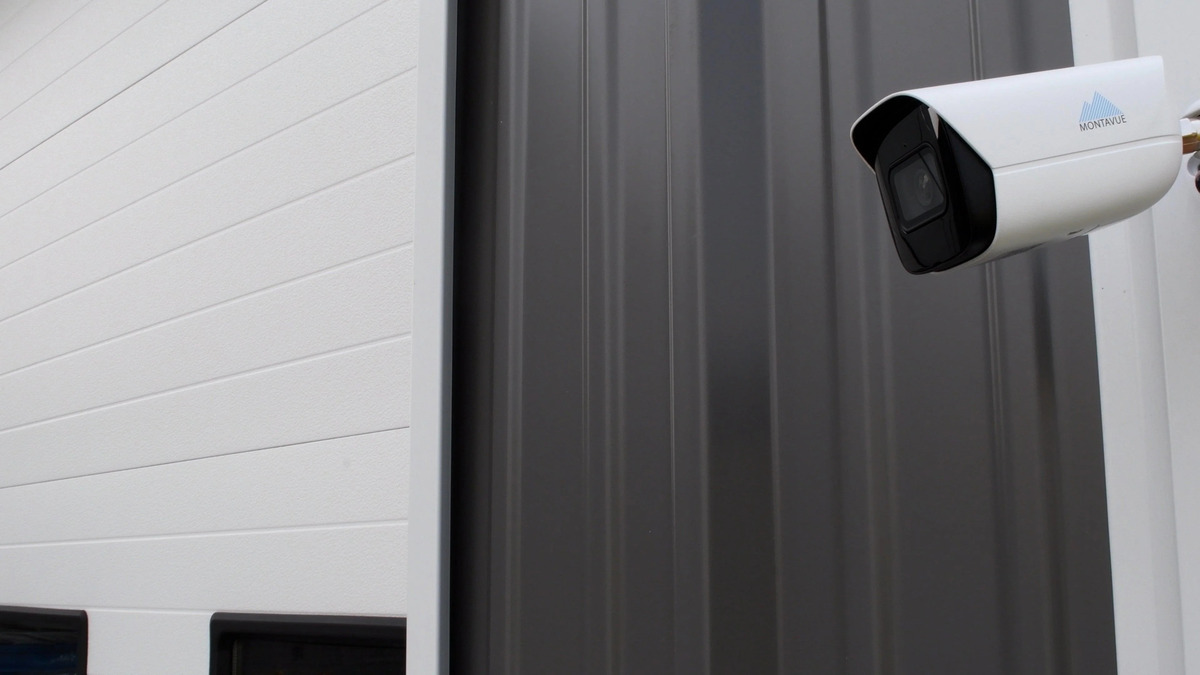
When setting up a home security camera, make sure to place it in a high, unobstructed location for a clear view. Also, secure the camera’s wiring to prevent tampering.
Step 6: Connect to a Network
Connecting your home security camera system to a network allows you to access and monitor the cameras remotely using various devices such as smartphones, tablets, or computers. This step involves connecting your cameras to your home network for seamless access and control.
Follow these steps to connect your security cameras to a network:
- Check Your Network Requirements: Ensure that your home network meets the minimum requirements for connecting your security cameras. This includes having a stable internet connection and a Wi-Fi router.
- Choose a Network Connection Method: Determine the connection method that best suits your cameras and network setup. This can include a wired Ethernet connection or a wireless connection using Wi-Fi.
- Wired Connection: If your camera supports a wired Ethernet connection, connect an Ethernet cable from the camera to your router or network switch. This ensures a reliable and stable network connection.
- Wireless Connection: If your camera supports Wi-Fi connectivity, follow the manufacturer’s instructions to connect it to your home Wi-Fi network. Typically, this involves accessing the camera’s settings, scanning for available networks, and inputting your Wi-Fi credentials.
- Configure Network Settings: Once the camera is connected to your network, configure the network settings for each camera. This may include assigning static IP addresses or setting up port forwarding if you plan to access the cameras remotely from outside your home network.
- Test Network Connectivity: After configuring the network settings, verify that the cameras are successfully connected to the network. Check the camera’s status or network settings to ensure it has obtained an IP address and is communicating with the network.
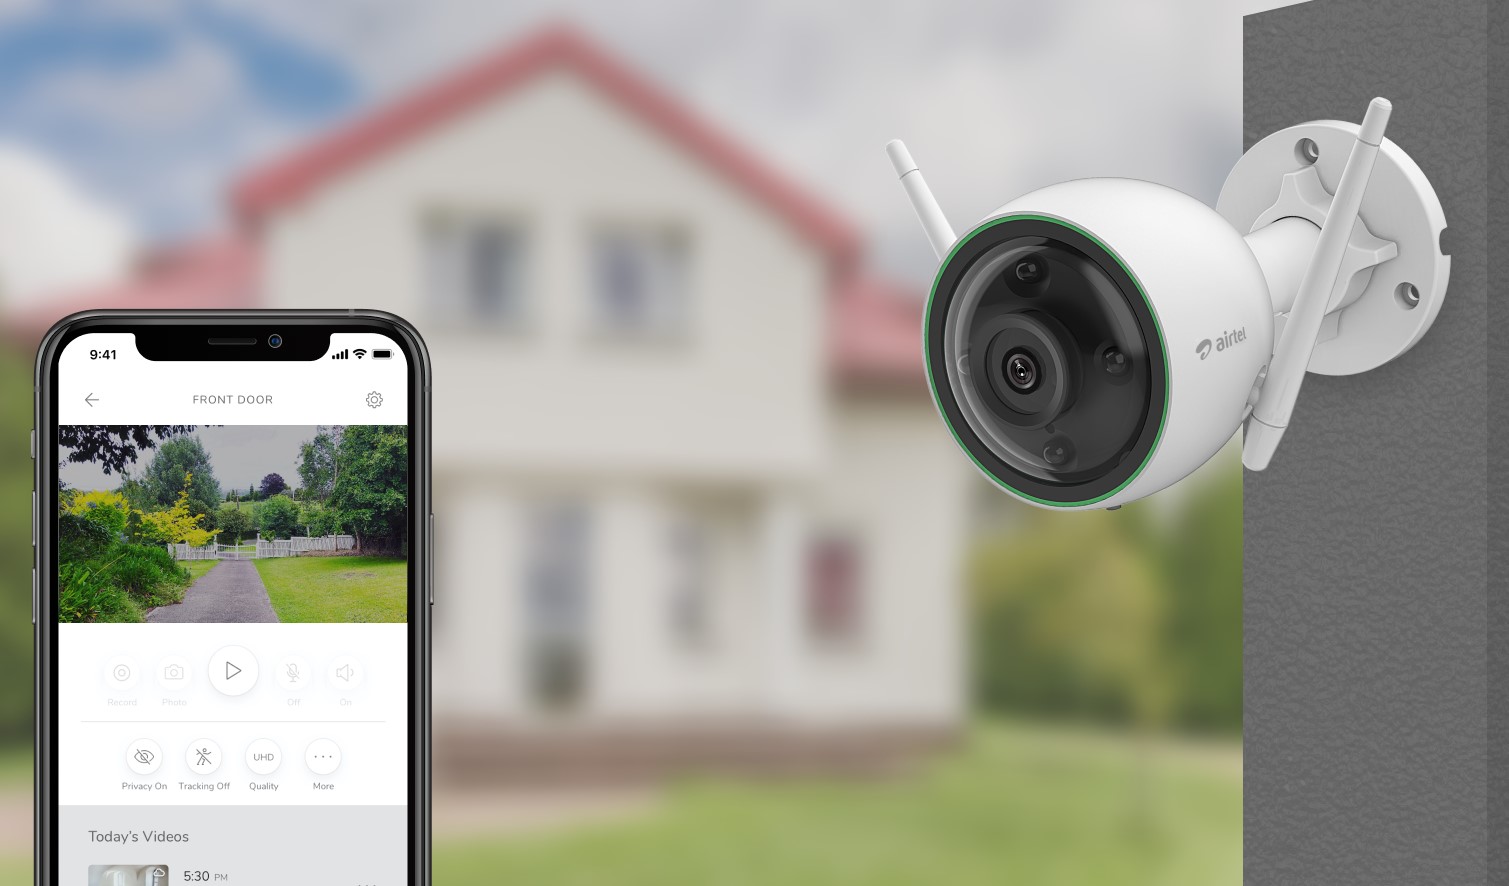
- Access Cameras Remotely: With the cameras connected to your home network, you can now access and monitor them from anywhere using the manufacturer’s provided software or mobile app. Install the software or app on your devices and follow the instructions to set up remote access.
It’s important to remember to secure your network and cameras by using strong passwords and enabling any available security features such as encryption or two-factor authentication. This helps protect your cameras from unauthorized access.
If you encounter any difficulties during the network connection process, consult the camera’s user manual or contact the manufacturer’s support team for assistance.
By connecting your security cameras to a network, you can conveniently access and monitor your cameras remotely, enhancing the effectiveness and usability of your home security system.
Step 7: Test Your Home Security Camera
After setting up and connecting your home security camera system, it’s essential to thoroughly test the cameras to ensure they are functioning correctly and capturing the desired footage. Testing your security cameras will give you peace of mind and allow you to make any necessary adjustments before relying on them for surveillance.
Here are some steps to effectively test your home security cameras:
- Check Camera Angles and Coverage: Verify that each camera is capturing the intended area and that there are no blind spots. Make sure the camera angles are adjusted to cover the desired viewing area.
- Move Around and Trigger Motion Detection: Walk around the areas being monitored and test the camera’s motion detection capabilities. Ensure that the camera properly detects movement and starts recording or alerts you as expected.
- Review Recorded Footage: Access the recorded footage and review it to ensure that it is clear and of good quality. Look for any issues such as blurry images, pixelation, or gaps in the recorded footage.
- Test Night Vision: If your cameras have night vision capabilities, test them in low-light or dark conditions. Make sure the infrared lights are functioning properly and that the nighttime footage is clear and effective.
- Check Remote Access: Use the software or mobile app to remotely access your cameras from different devices and locations. Ensure that you can view live feeds, playback recorded footage, and receive alerts, if applicable.
- Adjust Camera Settings: Take note of any adjustments you may need to make in camera settings, such as motion sensitivity or recording duration. Fine-tune these settings to optimize the performance and accuracy of your security cameras.
While testing, pay attention to any potential issues or areas where your cameras can be further optimized. Addressing these issues in the testing phase will allow you to fine-tune your camera system for optimal performance.
If you discover any problems during the testing process, refer to the camera’s user manual or contact the manufacturer’s support team for guidance and troubleshooting assistance. They can help you identify and resolve any issues you may encounter.
By thoroughly testing your home security cameras, you can ensure that they are functioning as expected and provide reliable surveillance for your home. Regular testing and maintenance will help you maintain the effectiveness of your security camera system over time.
Step 8: Adjust Settings and Customization
Once you have tested your home security camera system and ensured that it is functioning properly, it’s time to adjust the settings and customize the features according to your specific preferences and needs. Fine-tuning the settings and customization options will allow you to optimize the performance and functionality of your security cameras.
Here are some steps to help you adjust settings and customize your home security camera system:
- Camera Configuration: Access the camera’s settings menu through the manufacturer’s provided software or app. Explore the available options to adjust various camera settings such as resolution, frame rate, and exposure.
- Motion Detection: Fine-tune the motion detection settings to reduce false alarms or ensure that all relevant motion is detected. Adjust the sensitivity level and define specific areas of interest within the camera’s view that should trigger motion alerts or recording.
- Recording Schedule: Customize the recording schedule based on your preferences and needs. Decide whether you want continuous recording or motion-triggered recording during specific time periods, and configure the appropriate settings accordingly.
- Alert Notifications: Set up alert notifications to receive notifications on your mobile device or via email when motion is detected or specific events occur. Customize the notification settings to suit your preferences and ensure prompt notifications for critical events.
- Remote Access: Explore the options available for remote access to your home security camera system. Customize the live view, playback, and camera management settings within the software or app to suit your specific requirements.
- Cloud Storage: If your camera system supports cloud storage, configure the settings for storing and accessing your recorded footage. Customize the retention periods and any additional cloud storage features provided by the manufacturer.
- User Access and Permissions: If multiple users need access to the camera system, customize user permissions and access levels accordingly. Restrict or grant access privileges as needed to ensure the security and privacy of your camera system.
Take the time to familiarize yourself with the available settings and customization options for your specific camera system. Refer to the camera’s user manual or online support resources provided by the manufacturer for detailed guidance on adjusting these settings.
Regularly revisit and adjust the settings as necessary to accommodate changes in your home environment or security needs. Continuously optimizing and customizing your camera system will help maintain its effectiveness and ensure it meets your evolving requirements.
By adjusting the settings and customization options, you can tailor your home security camera system to your specific preferences, enhancing its performance and functionality.
Read more: How To Set Up Wireless Security Camera
Step 9: Additional Security Measures
While setting up and configuring your home security camera system is a crucial step in increasing the safety and security of your home, there are additional security measures you can take to enhance overall protection. These measures complement the functionality of your cameras and further strengthen your home’s security.
Consider implementing the following additional security measures:
- Lighting: Install outdoor lighting, including motion-sensor lights, around the perimeter of your property. Well-lit areas can deter potential intruders and improve the visibility captured by your cameras at night.
- Alarms and Sensors: Install an alarm system and additional sensors, such as door and window sensors or glass break detectors, to provide an extra layer of protection. These systems can be integrated with your security cameras for enhanced monitoring and response.
- Secure Entry Points: Reinforce entry points, such as doors and windows, with sturdy locks and security hardware. Consider installing security film on windows to prevent them from shattering easily.
- Fencing and Gates: Secure your property with fencing and gates, making it more difficult for unauthorized individuals to access your home. Install cameras near your gates to monitor any activity in those areas.
- Neighborhood Watch: Engage with your neighbors and participate in a neighborhood watch program. This collaborative effort can improve overall security by increasing vigilance and communication among neighbors.
- Signage: Display signs indicating that your property is under surveillance, even if you don’t have visible cameras in every area. This can act as a deterrent to potential intruders.
- Regular Maintenance: Perform regular maintenance on your security camera system, including checking for any loose connections, cleaning camera lenses, and updating firmware to ensure optimal performance.
- Secure Wi-Fi Network: Strengthen the security of your home network by changing the default router password, enabling encryption, and using a strong, unique Wi-Fi password. This prevents unauthorized access to your cameras and network.
- Backup and Redundancy: Implement a backup solution for your camera footage to protect against any potential loss or damage. This can include local storage options or cloud-based backup services.
Remember, security is a continuous process, and it’s important to stay up to date with the latest security practices and technologies. Regularly assess your security measures and make necessary updates or improvements as needed.
By incorporating these additional security measures, you can create a comprehensive and robust security system that works in conjunction with your home security cameras, providing optimal protection for your home and peace of mind for you and your family.
Conclusion
Setting up a home security camera system is a vital step in securing your home and protecting your loved ones. With the advancements in technology, it has become easier and more accessible for homeowners to install their own surveillance systems.
In this comprehensive guide, we have taken you through the step-by-step process of setting up a home security camera system. From determining your security needs to selecting the right camera, choosing suitable locations, mounting the cameras, and configuring the system, each step is crucial in ensuring the effectiveness of your surveillance system.
Testing the cameras, adjusting settings, and implementing additional security measures are essential to optimize the performance of your system. By taking these steps, you can have confidence in the protection provided by your security cameras.
Remember, your home security camera system is just one component of a comprehensive home security strategy. It’s important to combine your cameras with other security measures, such as alarms, lighting, secure entry points, and a vigilant neighborhood watch. By incorporating these additional elements, you create a multi-layered security approach that enhances the overall protection of your home.
As technology continues to advance, so does the field of home security and surveillance. Stay informed about new features, updates, and advancements in security technology to ensure that your system remains up to date and effective.
Remember to regularly maintain and update your security cameras and systems. Check for any firmware updates, ensure the positioning of your cameras is still optimal, and perform any necessary maintenance to keep your system in top shape.
By following this guide and implementing the necessary steps, you can create a safer environment for your home and loved ones. A home security camera system gives you peace of mind and allows you to monitor your property even when you’re away.
Investing in the security of your home is a wise decision, and the benefits of a home security camera system far outweigh the initial effort and cost. So, take action, secure your home, and enjoy the peace of mind that comes with knowing your property is protected.
Frequently Asked Questions about How To Set Up Home Security Camera
Was this page helpful?
At Storables.com, we guarantee accurate and reliable information. Our content, validated by Expert Board Contributors, is crafted following stringent Editorial Policies. We're committed to providing you with well-researched, expert-backed insights for all your informational needs.